How to Replace a Kitchen Sink on an RV
Replacing the kitchen sink on an RV may seem like a daunting task, but with the right tools and knowledge, it can be a straightforward and rewarding DIY project. Whether you're looking to upgrade your current sink or need to replace a damaged one, this step-by-step guide will walk you through the process and provide helpful tips along the way.


How to Replace a Kitchen Sink on an RV


RV Kitchen Sink Replacement: Tips and Tricks
Before you begin, it's important to have a game plan in place. Here are a few tips and tricks to keep in mind:


RV Kitchen Sink Replacement: Tips and Tricks


Step-by-Step Guide to Replacing an RV Kitchen Sink
Now, let's get into the nitty-gritty of replacing your RV kitchen sink.

Step-by-Step Guide to Replacing an RV Kitchen Sink


DIY RV Kitchen Sink Replacement: A Comprehensive Guide
Undertaking a DIY project like replacing an RV kitchen sink can be a fun and rewarding experience. However, it's essential to take the necessary precautions and follow these steps to ensure a successful installation.

DIY RV Kitchen Sink Replacement: A Comprehensive Guide


Replacing an RV Kitchen Sink: What You Need to Know
When it comes to replacing your RV kitchen sink, there are a few key things to keep in mind:


Replacing an RV Kitchen Sink: What You Need to Know


RV Kitchen Sink Replacement: Common Mistakes to Avoid
While replacing an RV kitchen sink is a relatively simple process, there are some common mistakes you'll want to avoid:

RV Kitchen Sink Replacement: Common Mistakes to Avoid

Upgrading Your RV Kitchen Sink: A Beginner's Guide
If you're new to RVing or DIY projects, replacing your kitchen sink may seem overwhelming. However, with the right tools and instructions, it's a manageable task that can greatly improve your RV kitchen's functionality and aesthetic.


Upgrading Your RV Kitchen Sink: A Beginner's Guide


Replacing an RV Kitchen Sink: Tools and Materials You'll Need
Here's a list of essential tools and materials for replacing an RV kitchen sink:


Replacing an RV Kitchen Sink: Tools and Materials You'll Need


RV Kitchen Sink Replacement: How to Choose the Right Sink
When it comes to selecting a new sink for your RV, here are some things to consider:

RV Kitchen Sink Replacement: How to Choose the Right Sink

Step-by-Step Guide to Replacing an RV Kitchen Sink Faucet
If you're only looking to replace your RV kitchen sink faucet, here's a quick guide to help you out:


Step-by-Step Guide to Replacing an RV Kitchen Sink Faucet


Replacing the Kitchen Sink on an RV: A Simple Guide

Why Replace Your RV Kitchen Sink?
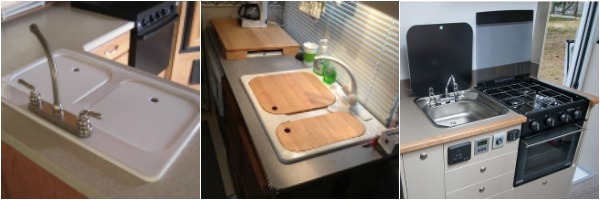
 When it comes to living on the road, every inch of space in an RV is valuable. The kitchen is no exception, and the sink is one of the most used and essential components. Over time, your RV kitchen sink may start to show signs of wear and tear, such as chips, cracks, or stains. Replacing it can not only improve the overall look of your RV, but also make it more functional and efficient. If you're wondering how to go about replacing your RV kitchen sink, this article will serve as a simple guide.
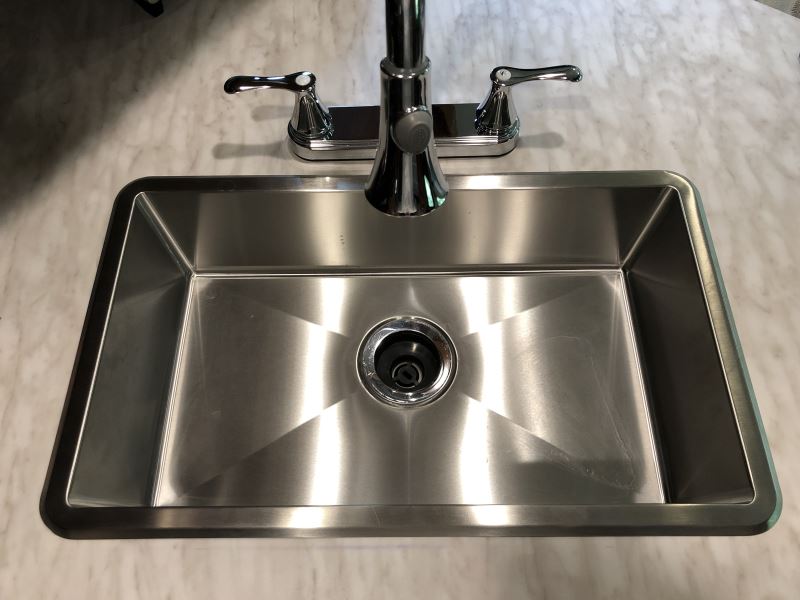
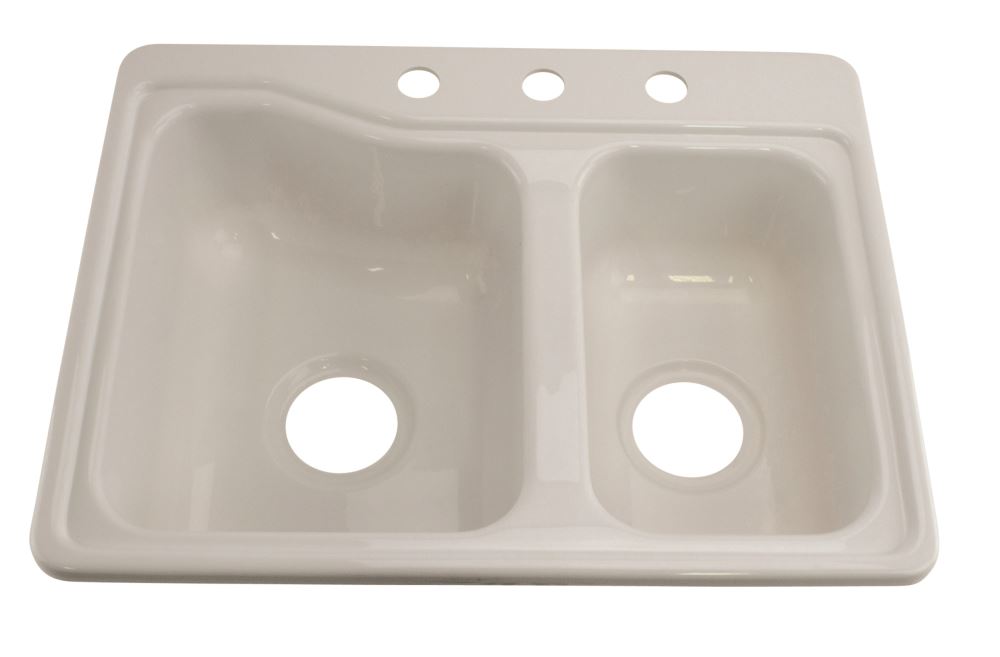
Choose the Right Replacement Sink
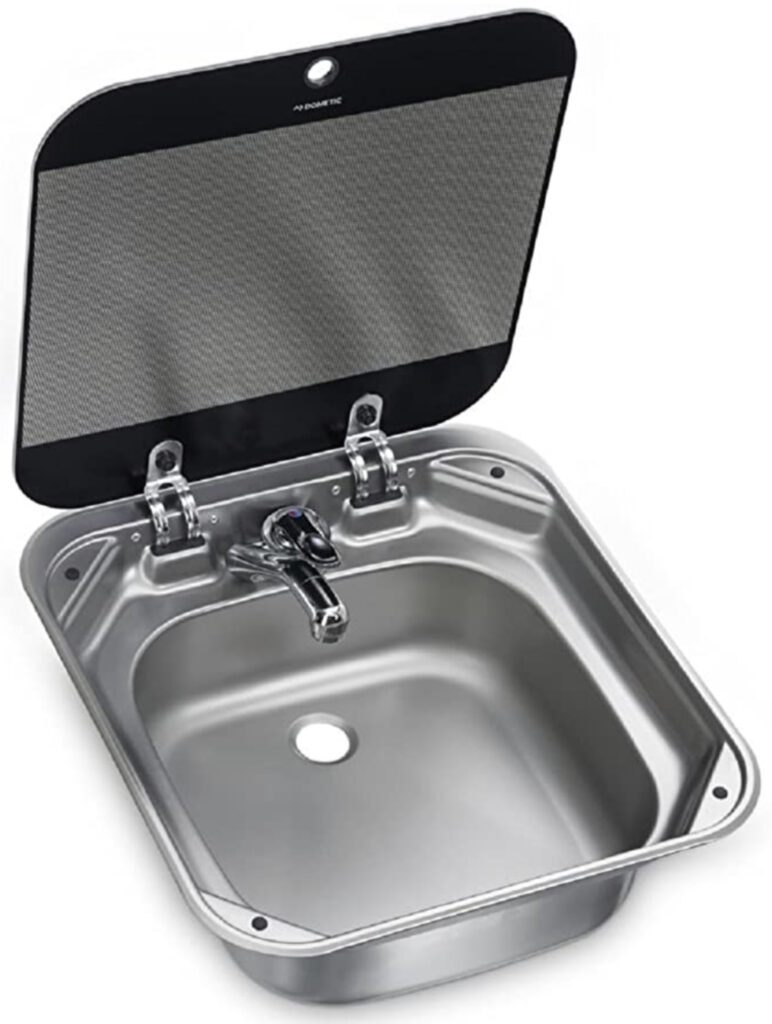
 The first step in replacing your RV kitchen sink is to choose the right replacement. There are several factors to consider, such as size, material, and style.
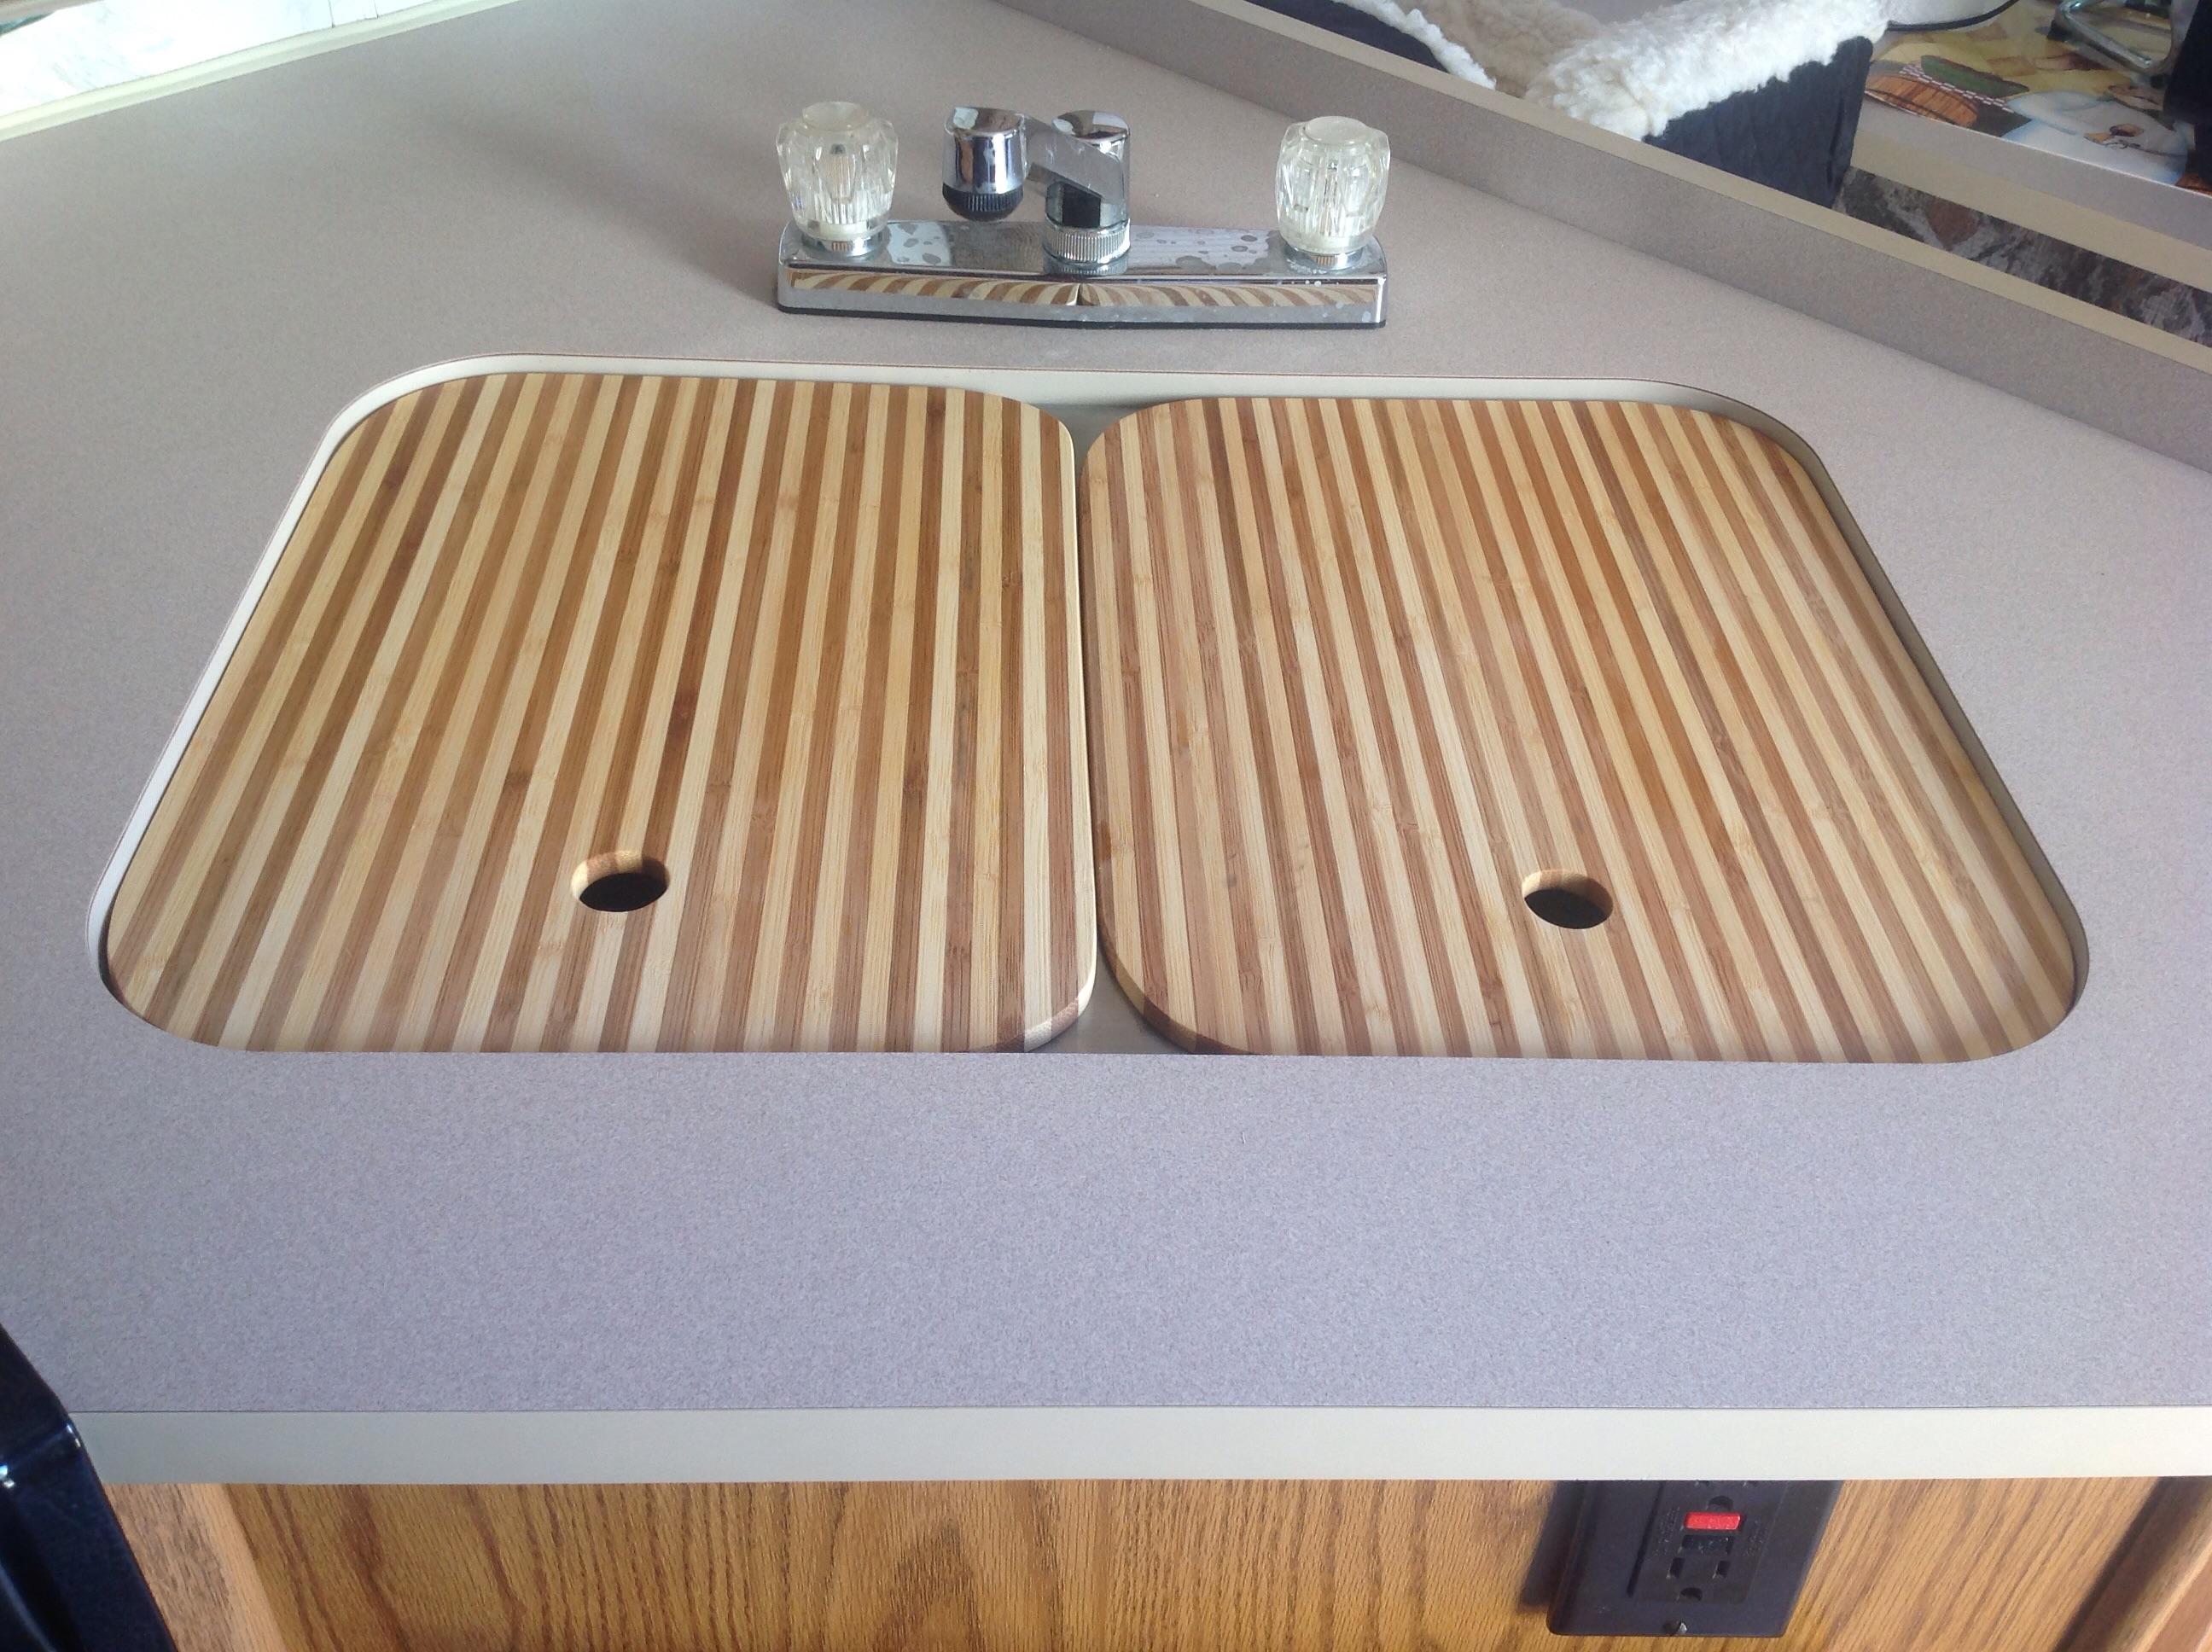
Measure the dimensions of your old sink
, making sure to take into account any existing fixtures such as faucets and drains.
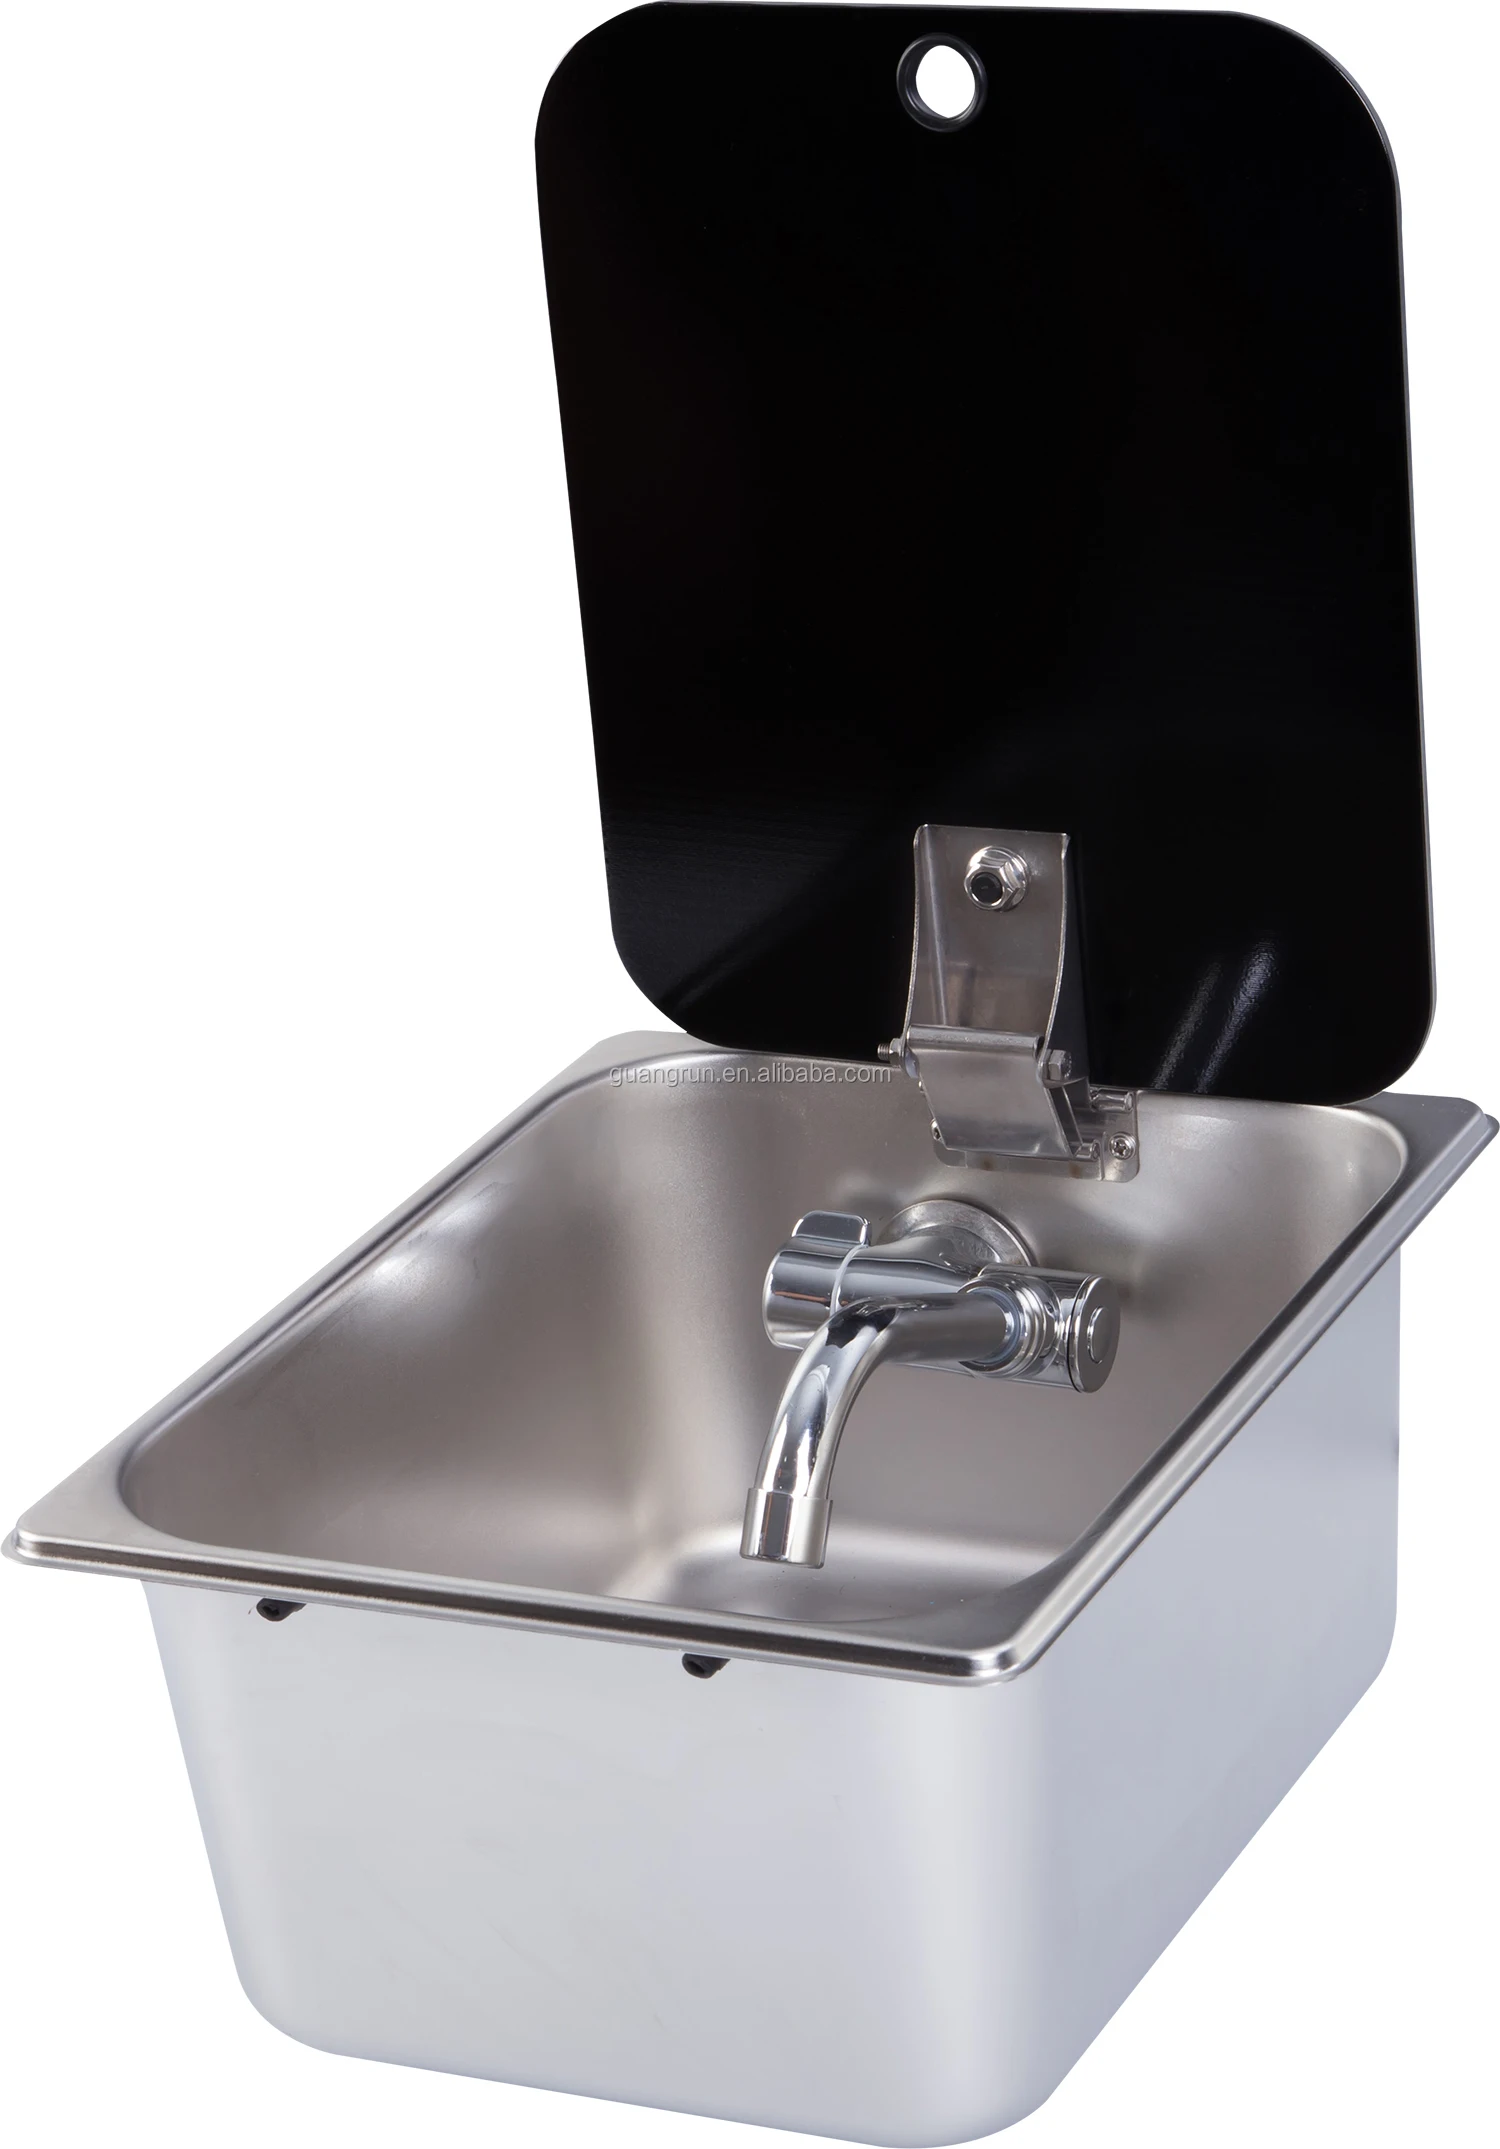
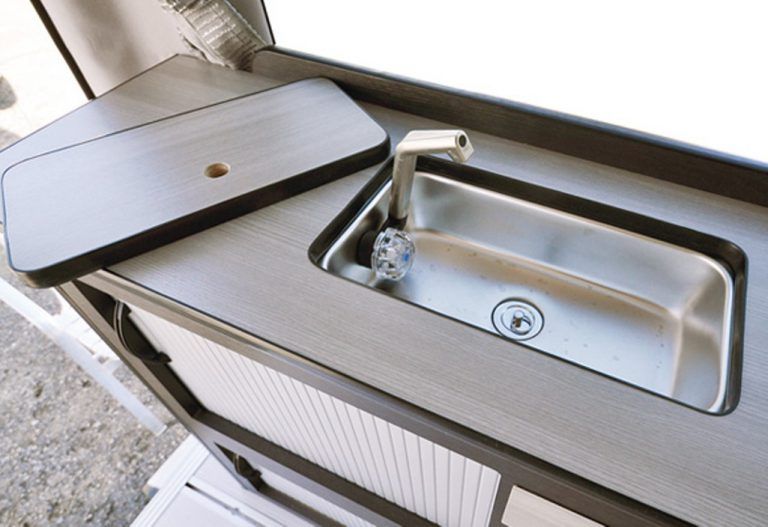
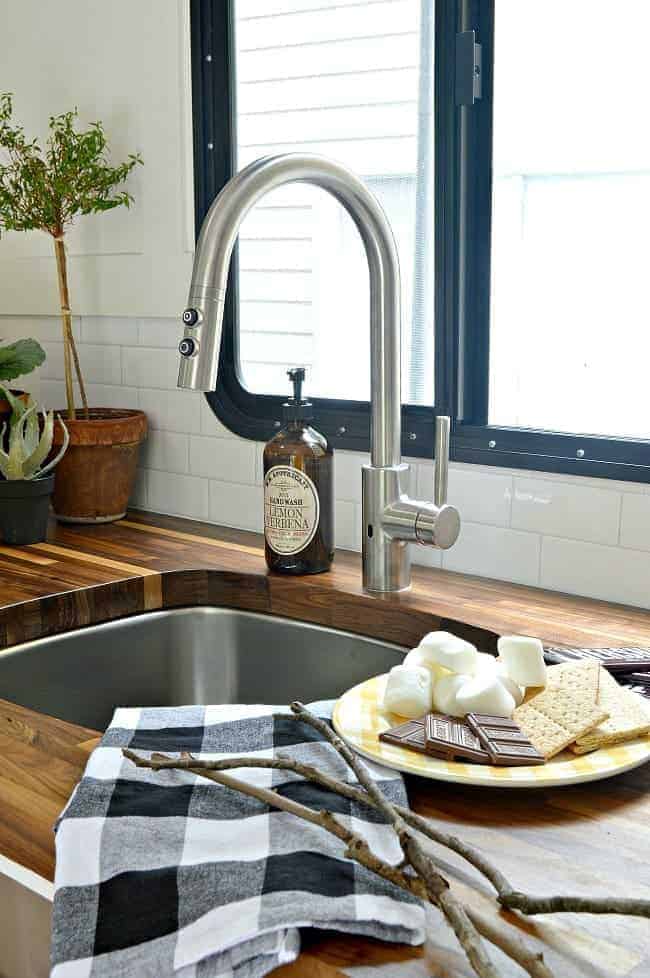
Stainless steel and acrylic are popular materials for RV sinks
, as they are lightweight, durable, and easy to clean. When it comes to style, consider the
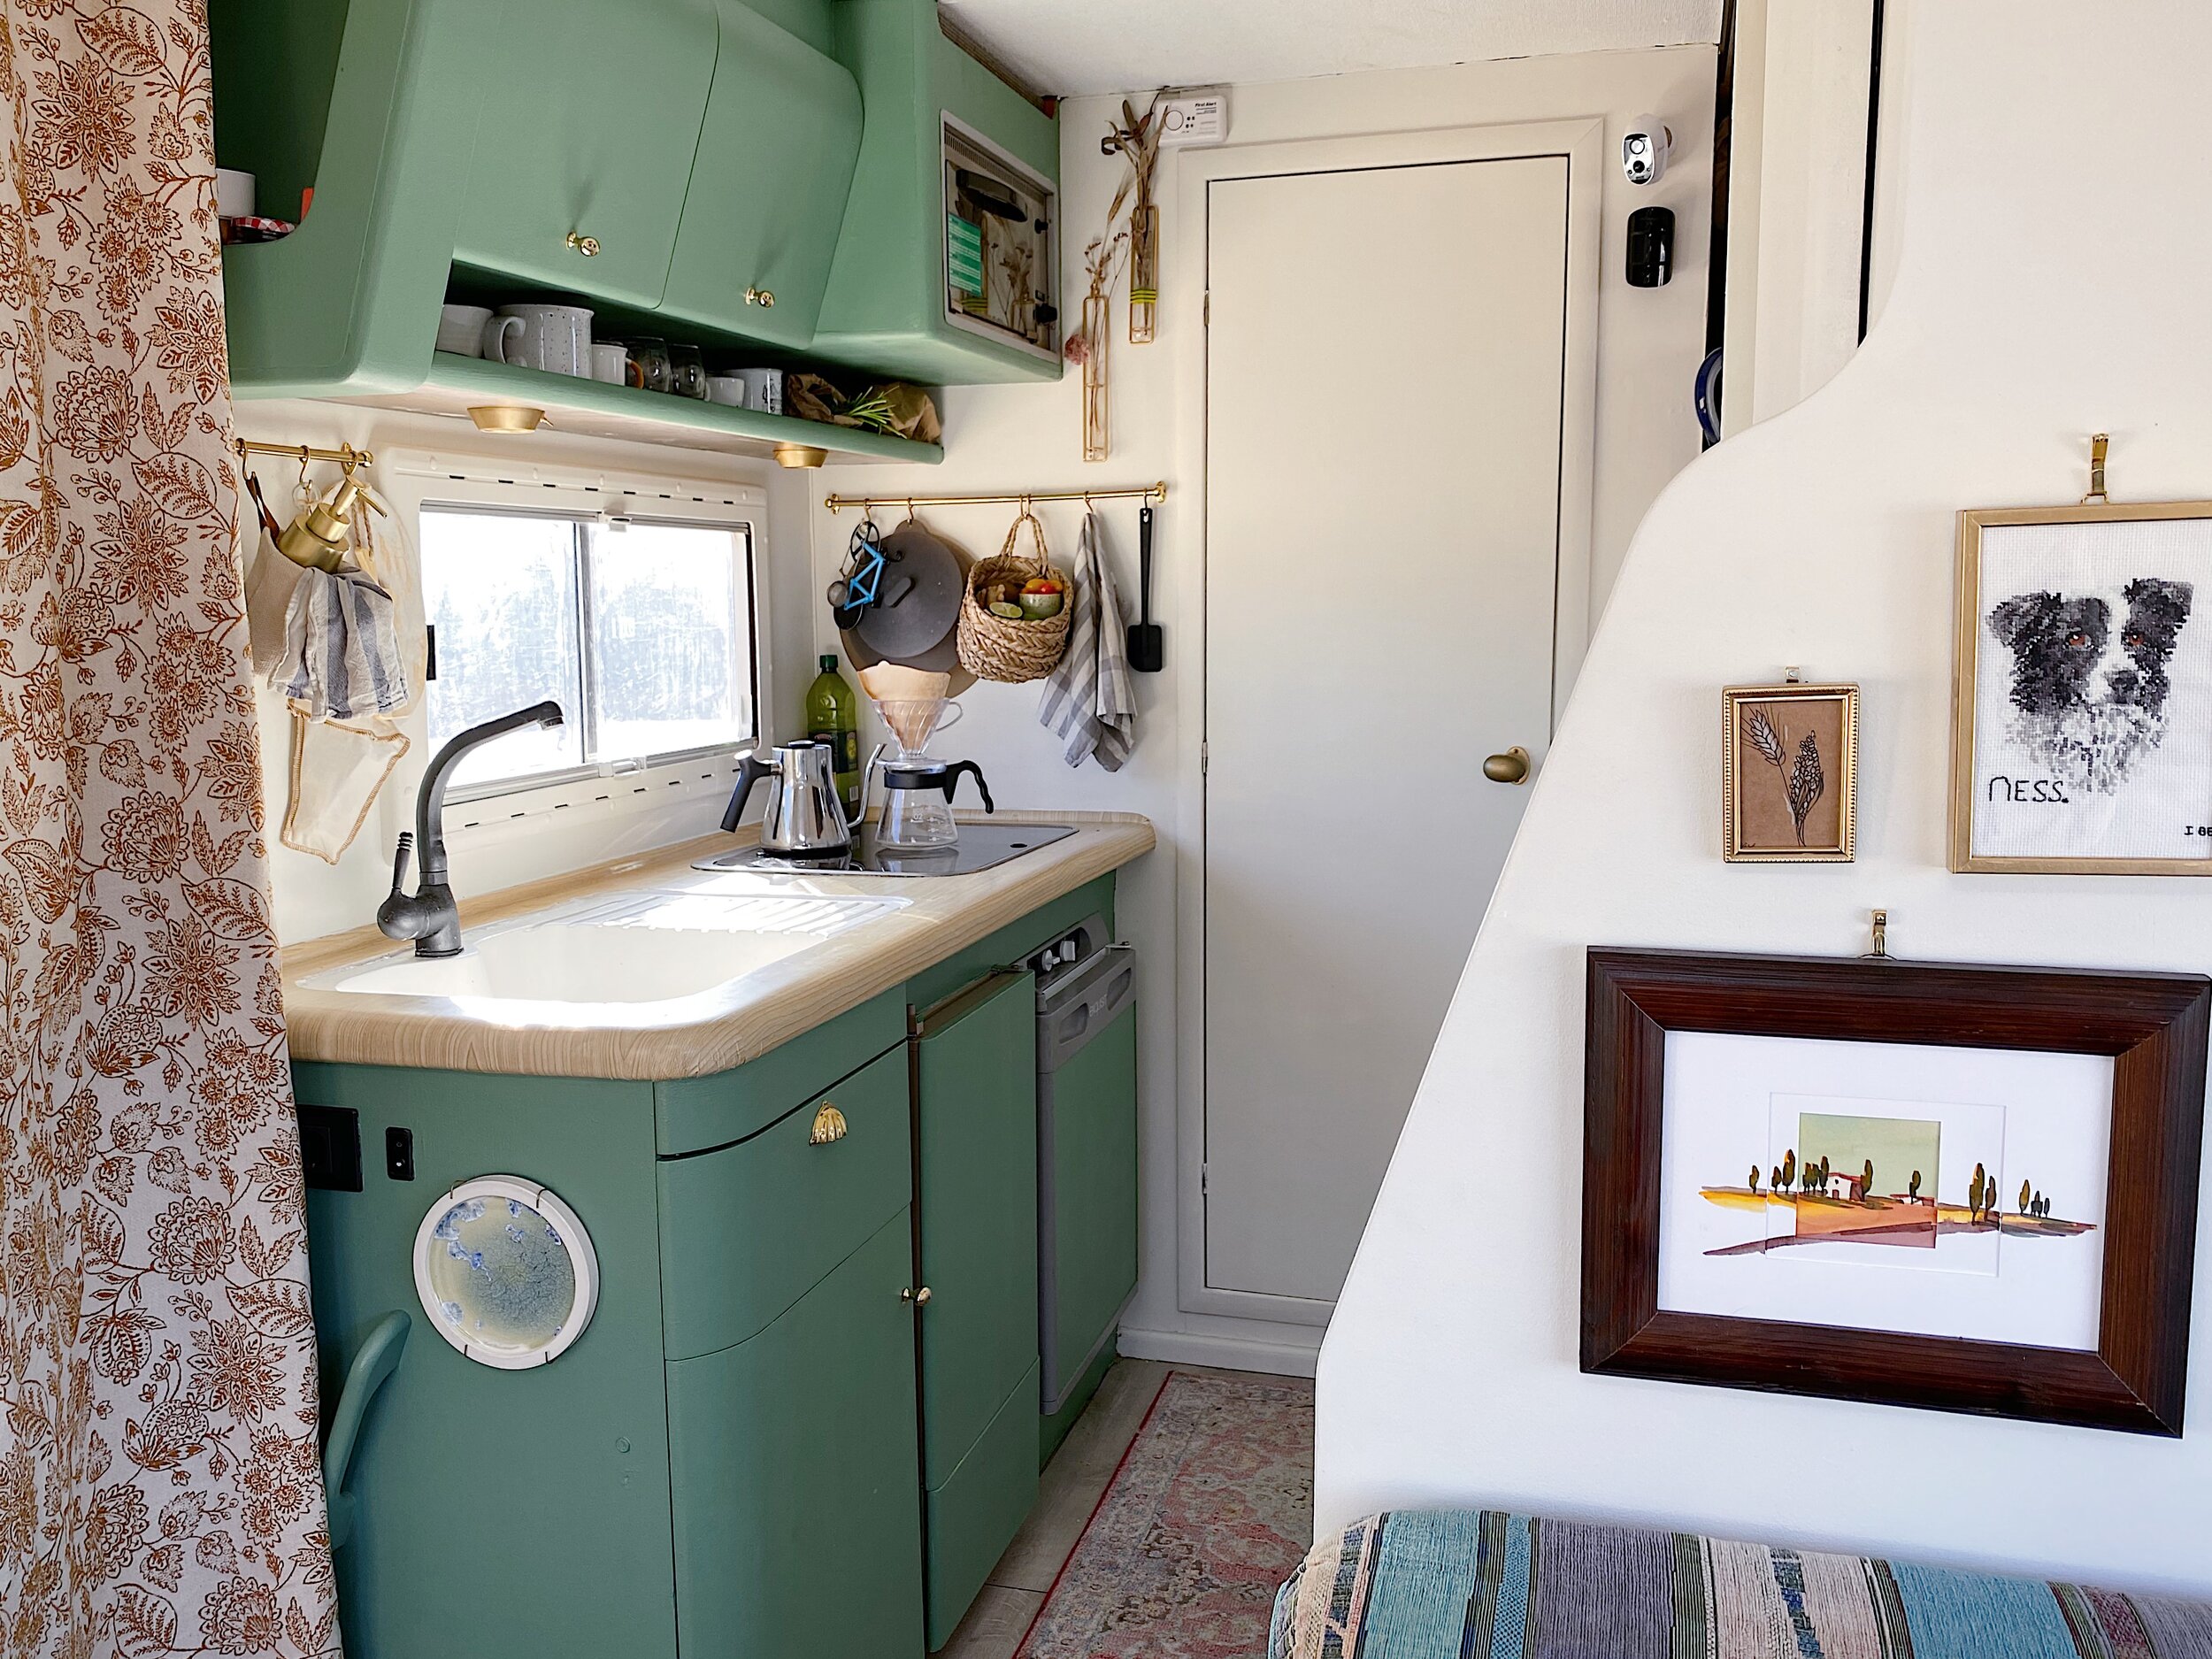
layout and design of your RV kitchen
to ensure the new sink fits seamlessly.
The first step in replacing your RV kitchen sink is to choose the right replacement. There are several factors to consider, such as size, material, and style.
Measure the dimensions of your old sink
, making sure to take into account any existing fixtures such as faucets and drains.
Stainless steel and acrylic are popular materials for RV sinks
, as they are lightweight, durable, and easy to clean. When it comes to style, consider the
layout and design of your RV kitchen
to ensure the new sink fits seamlessly.
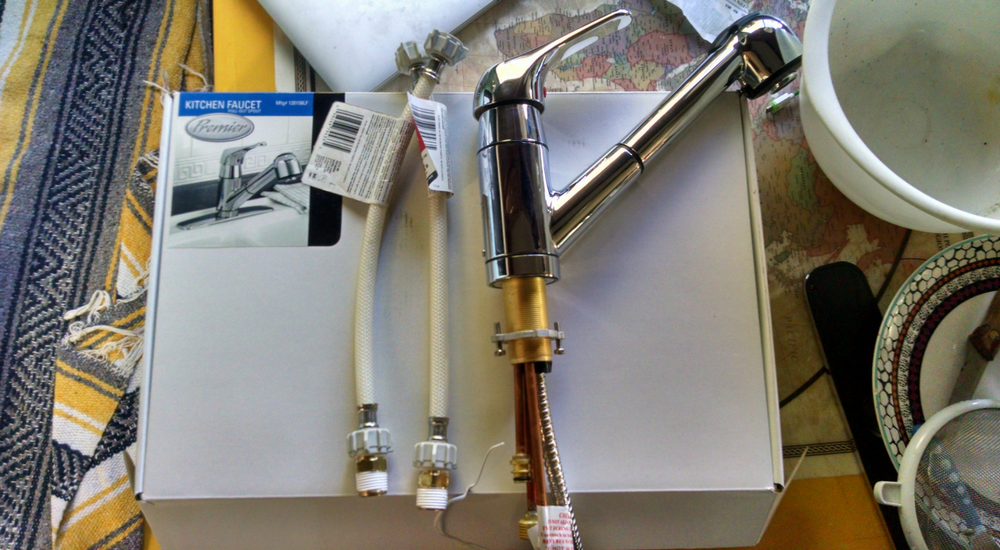
Gather the Necessary Tools and Materials
 Once you have chosen your replacement sink, make sure you have all the necessary tools and materials before starting the installation process. Some common tools you may need include a wrench, screwdriver, putty knife, and plumber's tape.
Be sure to also purchase any additional materials such as sealant and silicone caulk
to properly secure the sink and prevent any leaks.
Once you have chosen your replacement sink, make sure you have all the necessary tools and materials before starting the installation process. Some common tools you may need include a wrench, screwdriver, putty knife, and plumber's tape.
Be sure to also purchase any additional materials such as sealant and silicone caulk
to properly secure the sink and prevent any leaks.
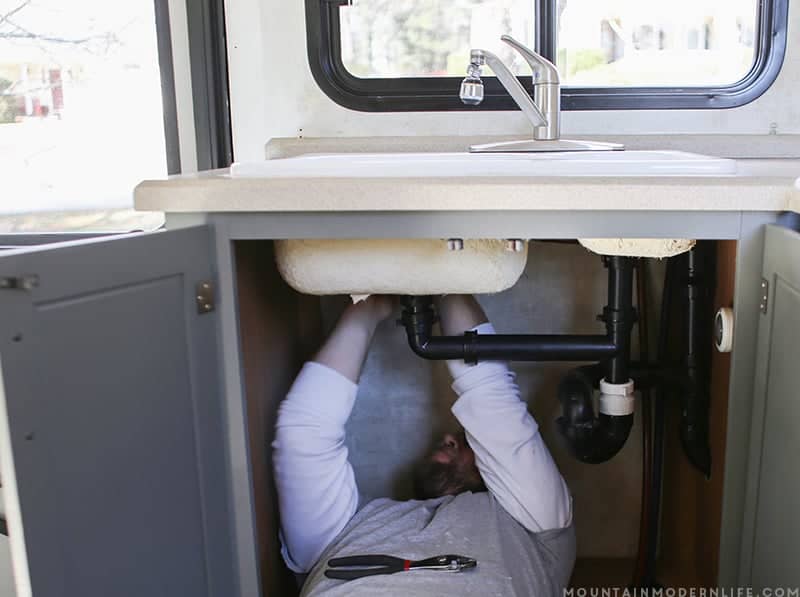
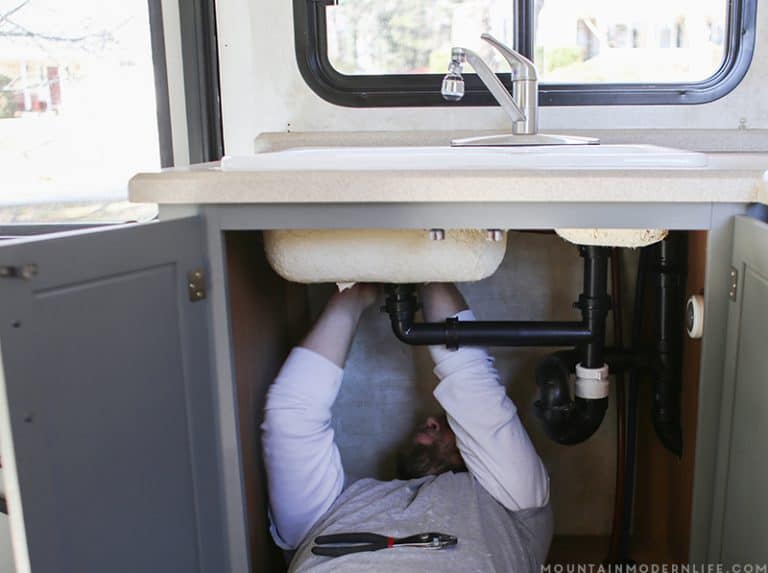
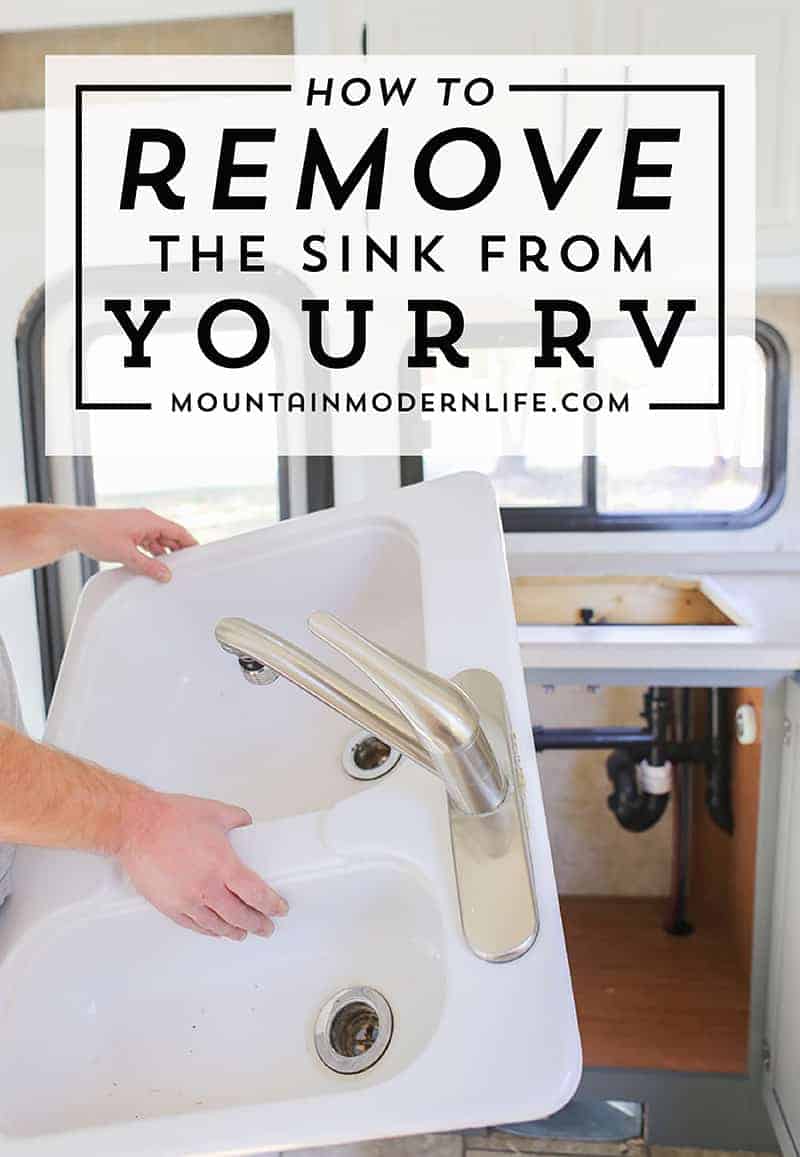
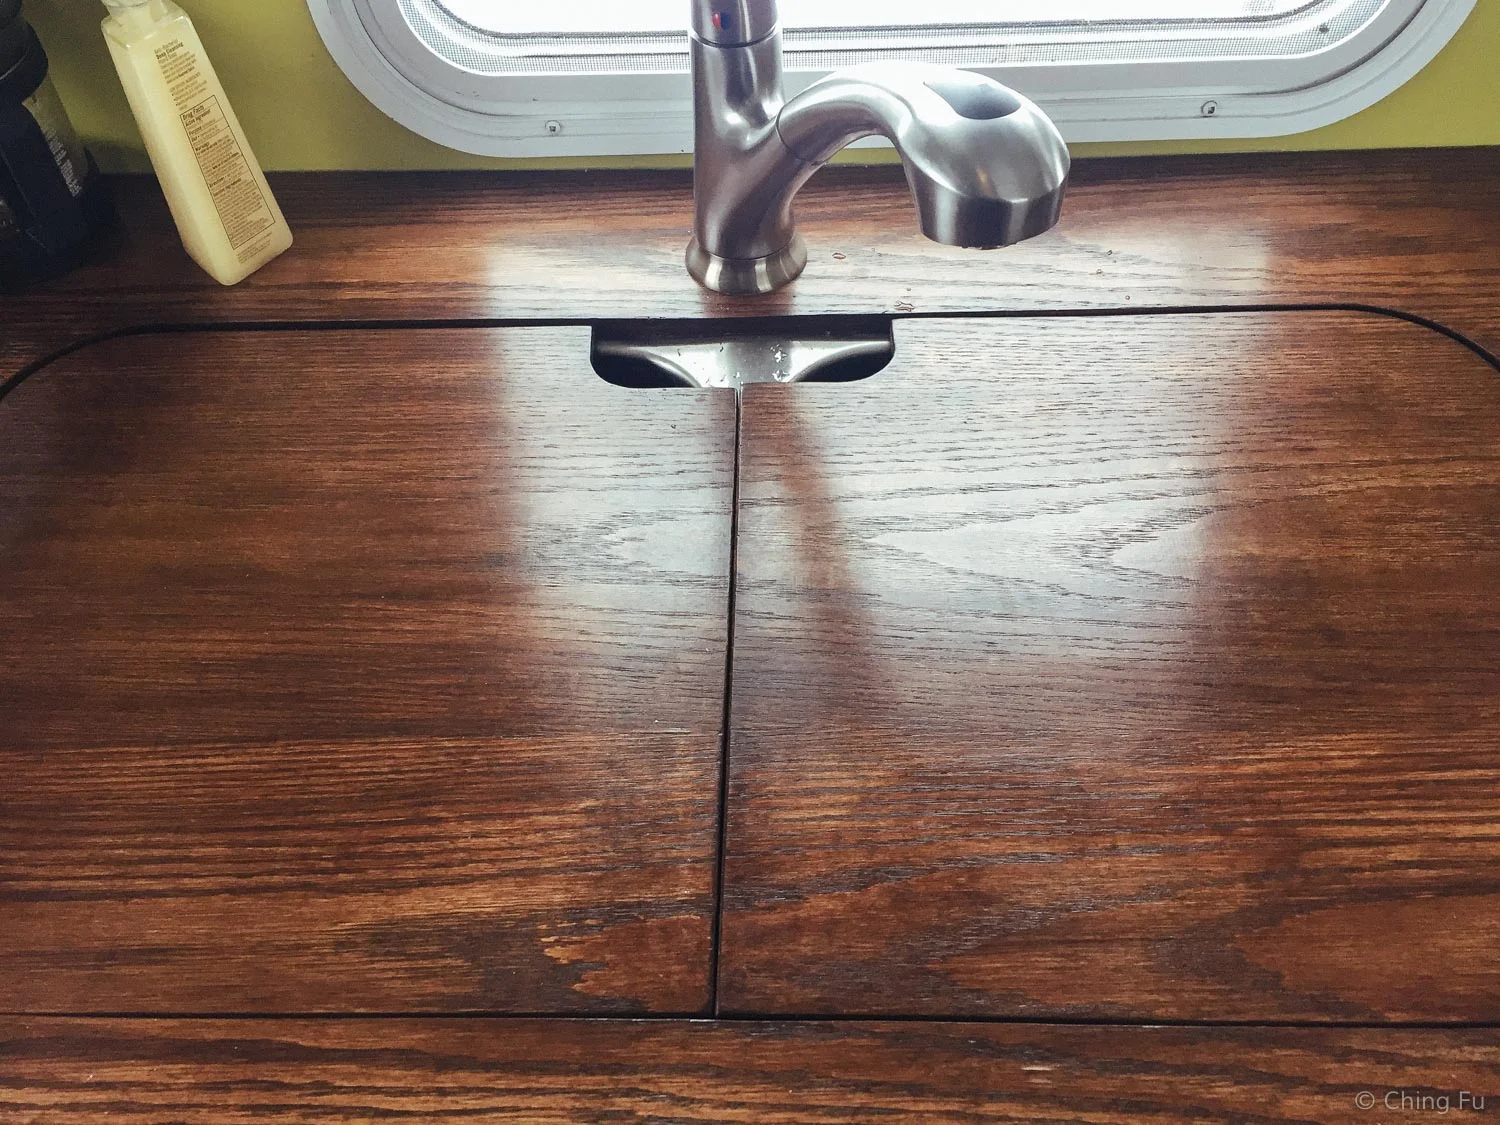
Remove the Old Sink
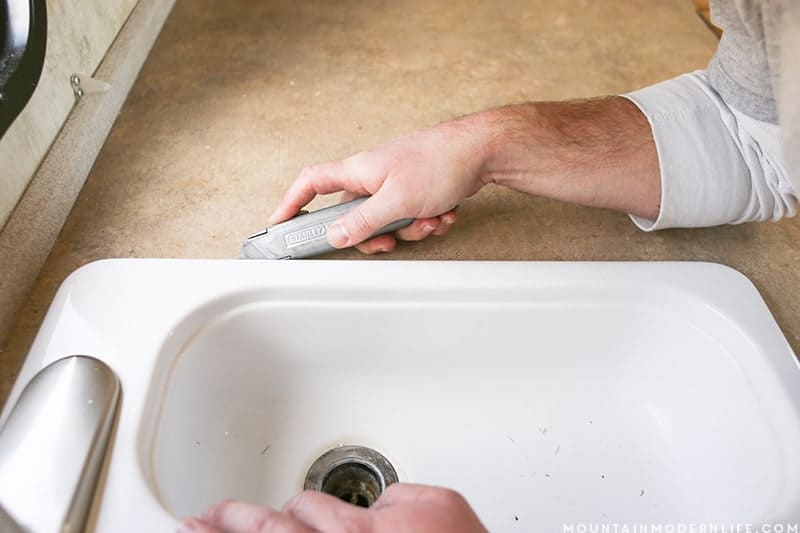
 Before installing the new sink, you will need to remove the old one.
Turn off the water supply
and
disconnect the plumbing and drain lines
from the old sink. Use a putty knife to
carefully loosen the sealant or caulk holding the sink in place
. Once the sink is free,
lift it out and clean the area thoroughly
to prepare for the new sink.
Before installing the new sink, you will need to remove the old one.
Turn off the water supply
and
disconnect the plumbing and drain lines
from the old sink. Use a putty knife to
carefully loosen the sealant or caulk holding the sink in place
. Once the sink is free,
lift it out and clean the area thoroughly
to prepare for the new sink.
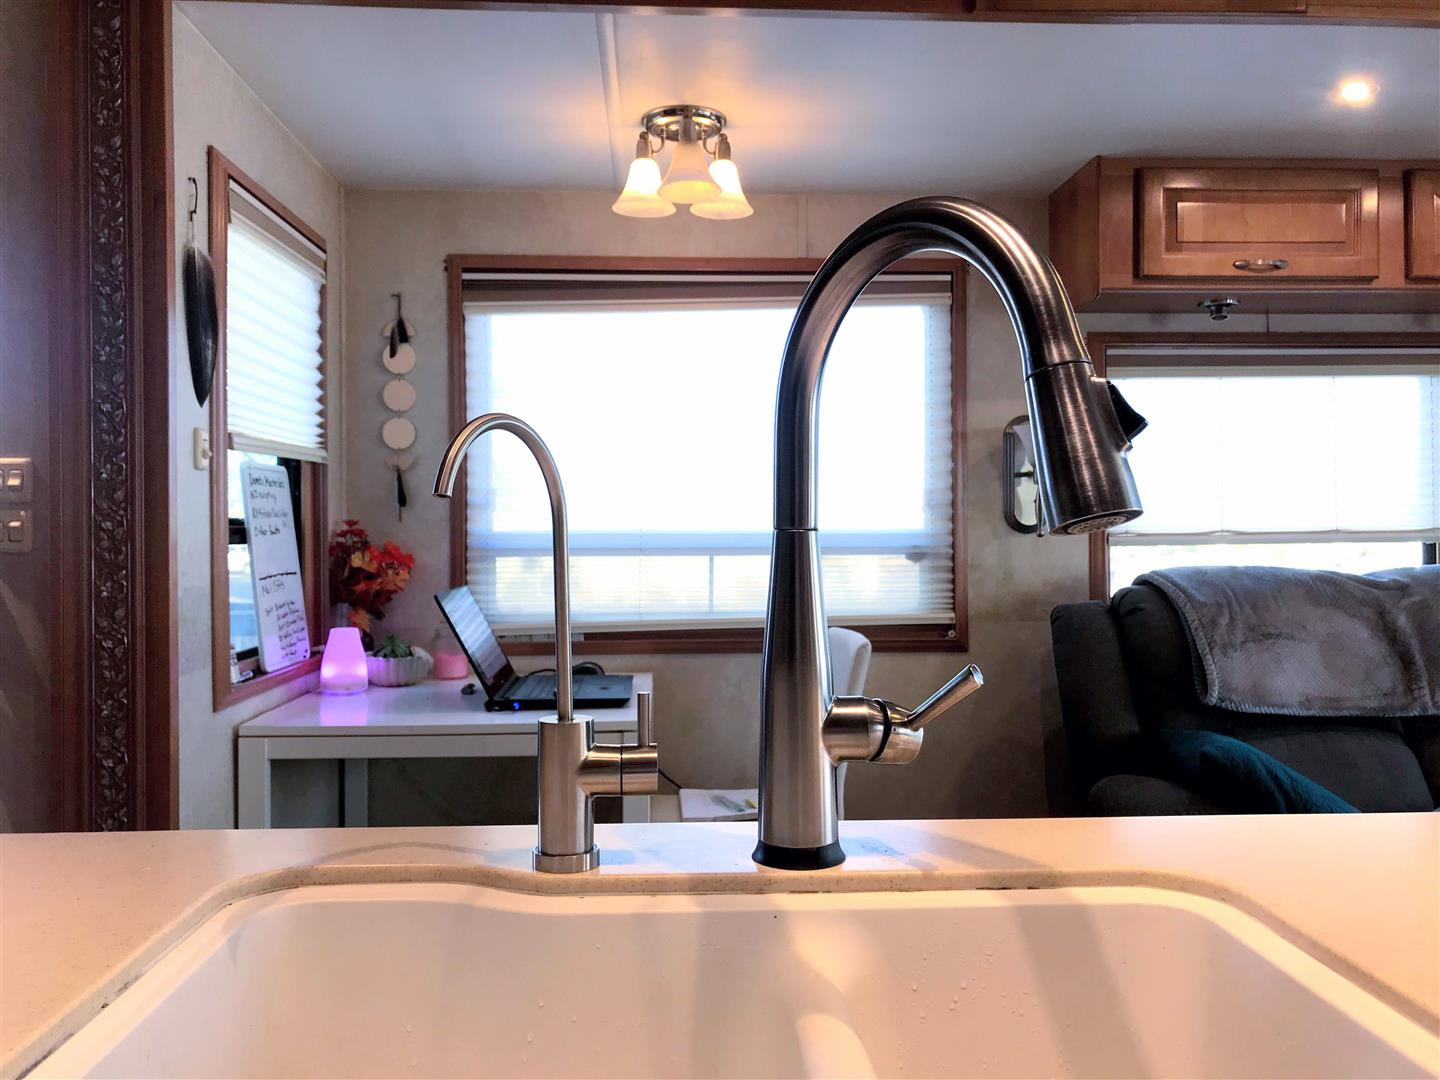
Install the New Sink
 With the old sink removed, it's time to install the new one.
Apply a thin layer of sealant or caulk around the edges of the sink
and carefully
lower it into place
.
Reconnect the plumbing and drain lines
and use plumber's tape to ensure a tight seal.
Let the sink sit for a few hours
to allow the sealant or caulk to dry before using it.
With the old sink removed, it's time to install the new one.
Apply a thin layer of sealant or caulk around the edges of the sink
and carefully
lower it into place
.
Reconnect the plumbing and drain lines
and use plumber's tape to ensure a tight seal.
Let the sink sit for a few hours
to allow the sealant or caulk to dry before using it.
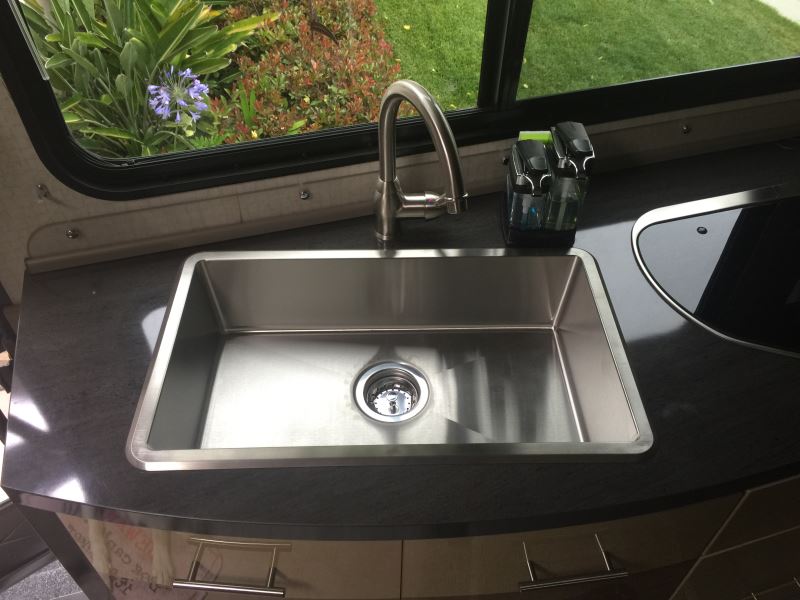
Enjoy Your Newly Replaced Kitchen Sink
 Congratulations, you have successfully replaced your RV kitchen sink! With a new sink in place, your RV kitchen will not only look better but also function better.
Be sure to regularly clean and maintain your new sink
to keep it in top condition and prolong its lifespan. Now that you know how easy it is to replace your RV kitchen sink, you can confidently tackle any other renovation projects in your home on wheels.
Congratulations, you have successfully replaced your RV kitchen sink! With a new sink in place, your RV kitchen will not only look better but also function better.
Be sure to regularly clean and maintain your new sink
to keep it in top condition and prolong its lifespan. Now that you know how easy it is to replace your RV kitchen sink, you can confidently tackle any other renovation projects in your home on wheels.