Replacing a kitchen sink tap may seem like a daunting task, but it is actually a simple and straightforward process that anyone can do. Whether you are looking to upgrade your tap for aesthetic reasons or because it is old and malfunctioning, this guide will provide you with all the steps you need to successfully replace your kitchen sink tap.How to Replace a Kitchen Sink Tap


How to Replace a Kitchen Sink Tap


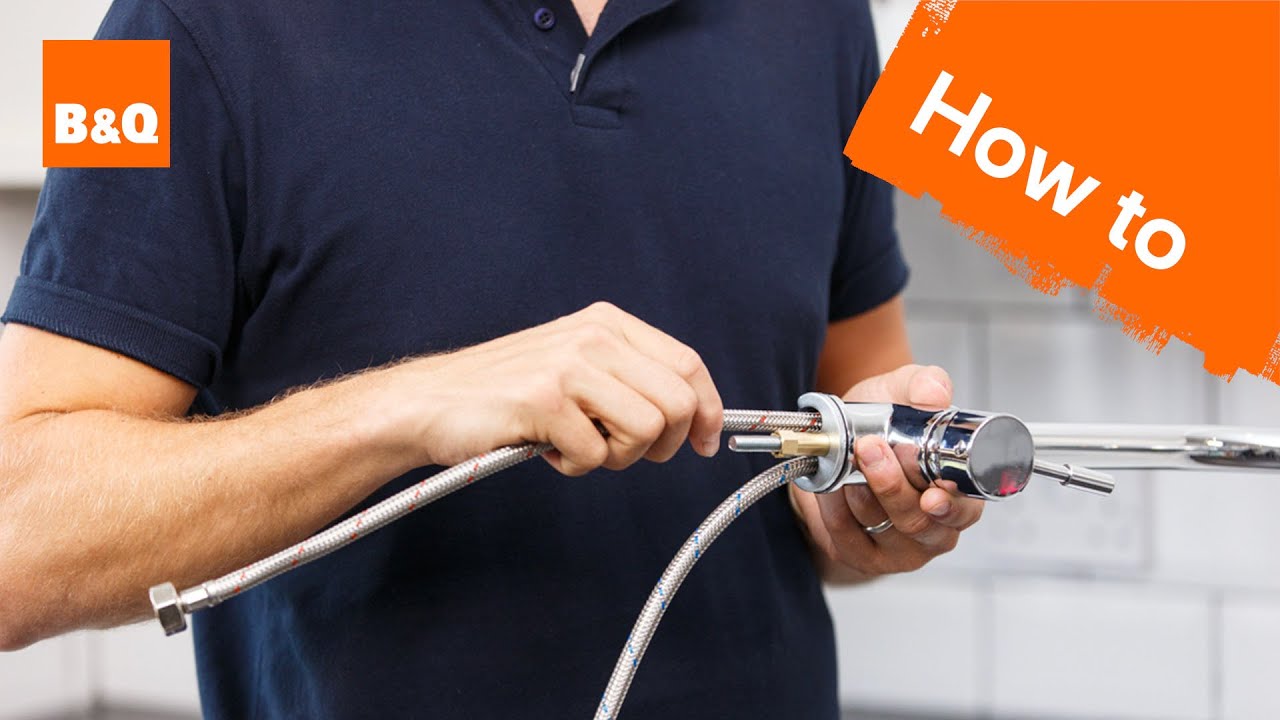
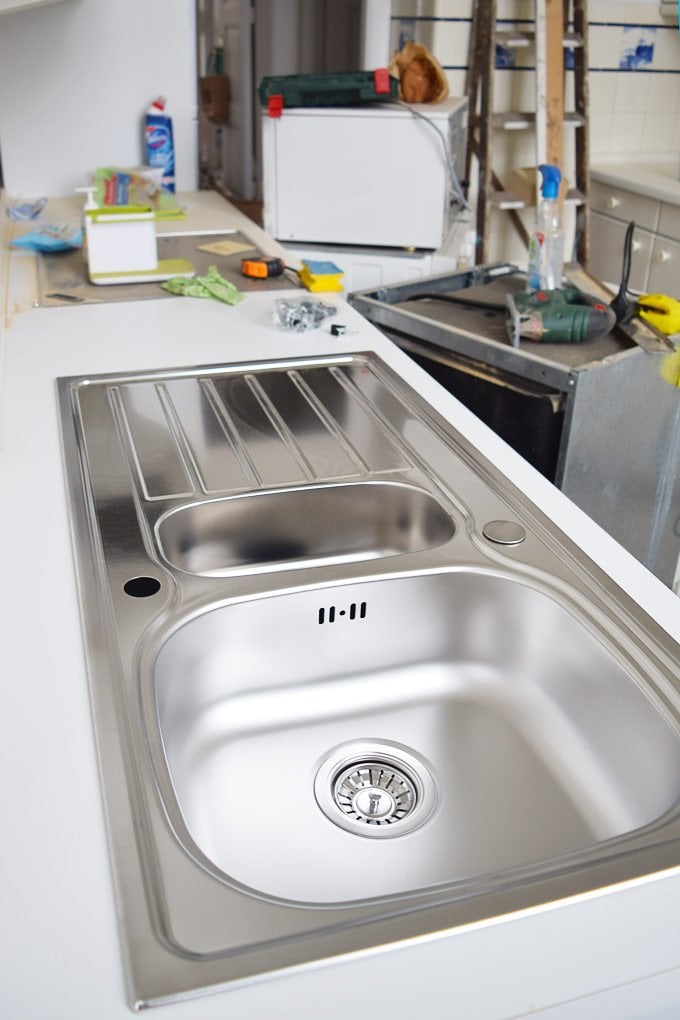
Before you begin, make sure to turn off the water supply to your sink. You can usually find the shut-off valve under the sink or near the main water supply in your home. Once the water is turned off, follow these steps: Step 1: Remove the Old Tap First, you will need to remove the old tap. This can be done by unscrewing the nuts that hold the tap in place and disconnecting the water supply lines. Use a basin wrench to loosen and remove the nuts, and then gently pull the tap out of the sink. Step 2: Clean the Sink Surface With the old tap removed, now is a good time to clean the sink surface. Use a mild cleaner and a scrub brush to remove any built-up grime or residue. This will ensure a clean and smooth surface for the new tap installation. Step 3: Install the New Tap Place the new tap into the sink, making sure it is centered and level. Then, use the mounting hardware to secure it in place. Make sure to follow the manufacturer's instructions for the specific tap you are installing. Step 4: Connect the Water Supply Lines Next, you will need to connect the water supply lines to the new tap. Use Teflon tape to ensure a tight and leak-free connection. Then, turn the water supply back on and check for any leaks. Step 5: Test the Tap Once the tap is installed and connected, turn on the water and test the new tap. Make sure hot and cold water are flowing correctly and that there are no leaks. If there are any issues, double-check the connections and make any necessary adjustments.Replacing a Kitchen Sink Tap: Step-by-Step Guide


Replacing a Kitchen Sink Tap: Step-by-Step Guide


:no_upscale()/cdn.vox-cdn.com/uploads/chorus_asset/file/19495086/drain_0.jpg)

If you are feeling handy, replacing a kitchen sink tap is a perfect DIY project. Not only will you save money on installation fees, but you will also gain the satisfaction of completing a home improvement project on your own. Just make sure to follow the steps mentioned in this guide and have the necessary tools and materials on hand.DIY: Replacing a Kitchen Sink Tap


DIY: Replacing a Kitchen Sink Tap


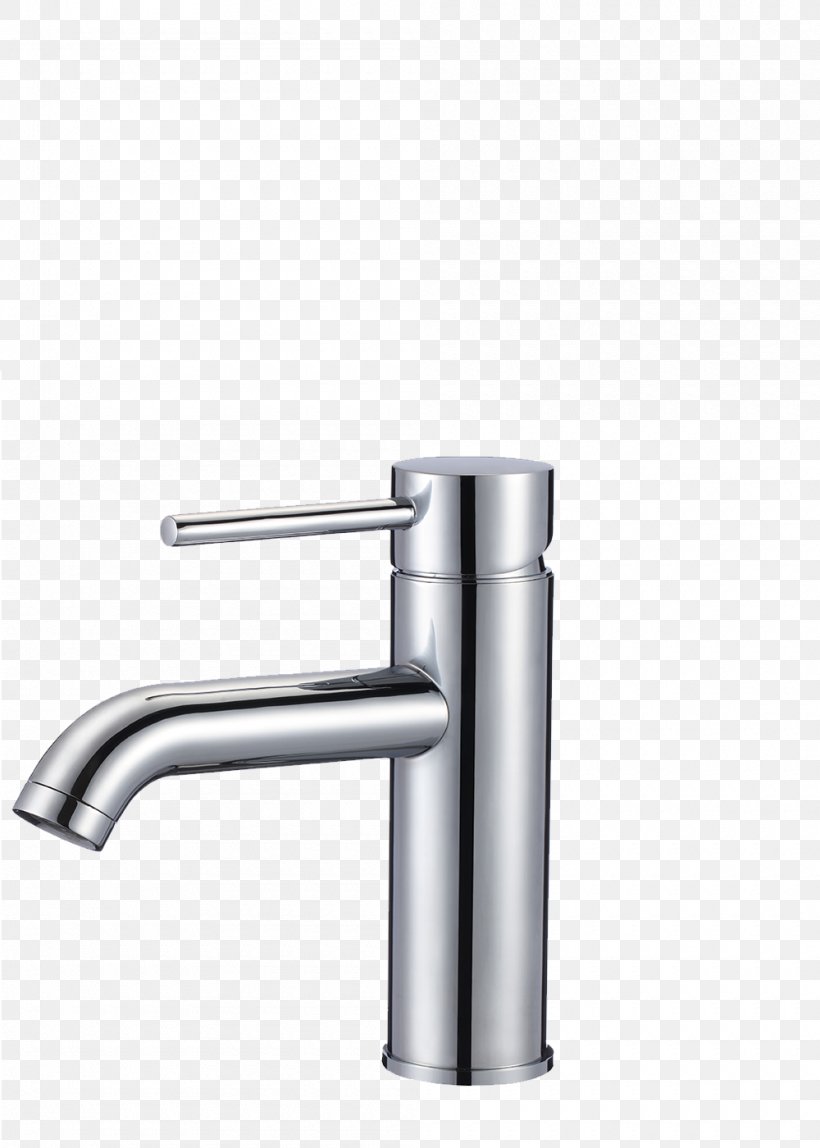
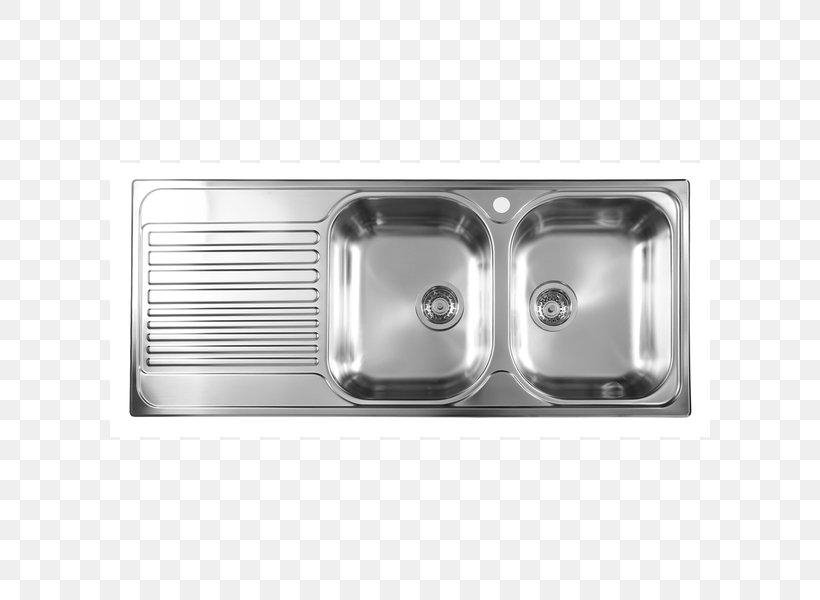
Before you begin the replacement process, there are a few things you should know. Firstly, make sure to choose a tap that is compatible with your sink and has the right number of holes. Additionally, consider the style and finish of the tap to ensure it matches the overall aesthetic of your kitchen. It is also important to note that some tap installations may require additional steps, such as removing and replacing the sink itself. If you are unsure about any part of the process, it is always best to consult a professional plumber.Replacing a Kitchen Sink Tap: What You Need to Know


Replacing a Kitchen Sink Tap: What You Need to Know


To summarize, here is a step-by-step guide for replacing a kitchen sink tap: Step 1: Turn off the water supply. Step 2: Remove the old tap. Step 3: Clean the sink surface. Step 4: Install the new tap. Step 5: Connect the water supply lines. Step 6: Test the tap.Step-by-Step Guide for Replacing a Kitchen Sink Tap

Step-by-Step Guide for Replacing a Kitchen Sink Tap


Here are some additional tips and tricks to keep in mind when replacing a kitchen sink tap: Bold Tip: To make the installation process easier, gather all necessary tools and materials before starting. Bold Tip: Use a cloth or towel to protect the sink surface while removing the old tap. Bold Tip: If you are replacing a single-handle tap with a double-handle tap, you may need to create an additional hole in the sink.Replacing a Kitchen Sink Tap: Tips and Tricks

Replacing a Kitchen Sink Tap: Tips and Tricks


While replacing a kitchen sink tap is a relatively simple task, there are some common mistakes that can occur. Avoid these mistakes to ensure a smooth and successful installation: Bold Mistake: Not turning off the water supply before beginning the installation. Bold Mistake: Incorrectly connecting the water supply lines, resulting in leaks. Bold Mistake: Not following the manufacturer's instructions for installation.Replacing a Kitchen Sink Tap: Common Mistakes to Avoid

Replacing a Kitchen Sink Tap: Common Mistakes to Avoid


When it comes to choosing a replacement tap for your kitchen sink, there are a few factors to consider: Bold Factor: Number of holes in the sink. Bold Factor: Style and finish. Bold Factor: Compatibility with your sink.How to Choose the Right Replacement Tap for Your Kitchen Sink


How to Choose the Right Replacement Tap for Your Kitchen Sink


:max_bytes(150000):strip_icc()/Basic-kitchen-sink-types-1821207_color_rev-0b539306b9ef4236a136624ad2a89a4c.jpg)


Here are the tools and materials you will need for replacing a kitchen sink tap: Tools: Basin wrench, adjustable wrench, pliers, screwdriver, Teflon tape, and a cloth or towel. Materials: New tap, mounting hardware, water supply lines, and mild cleaner.Replacing a Kitchen Sink Tap: Tools You'll Need

Replacing a Kitchen Sink Tap: Tools You'll Need


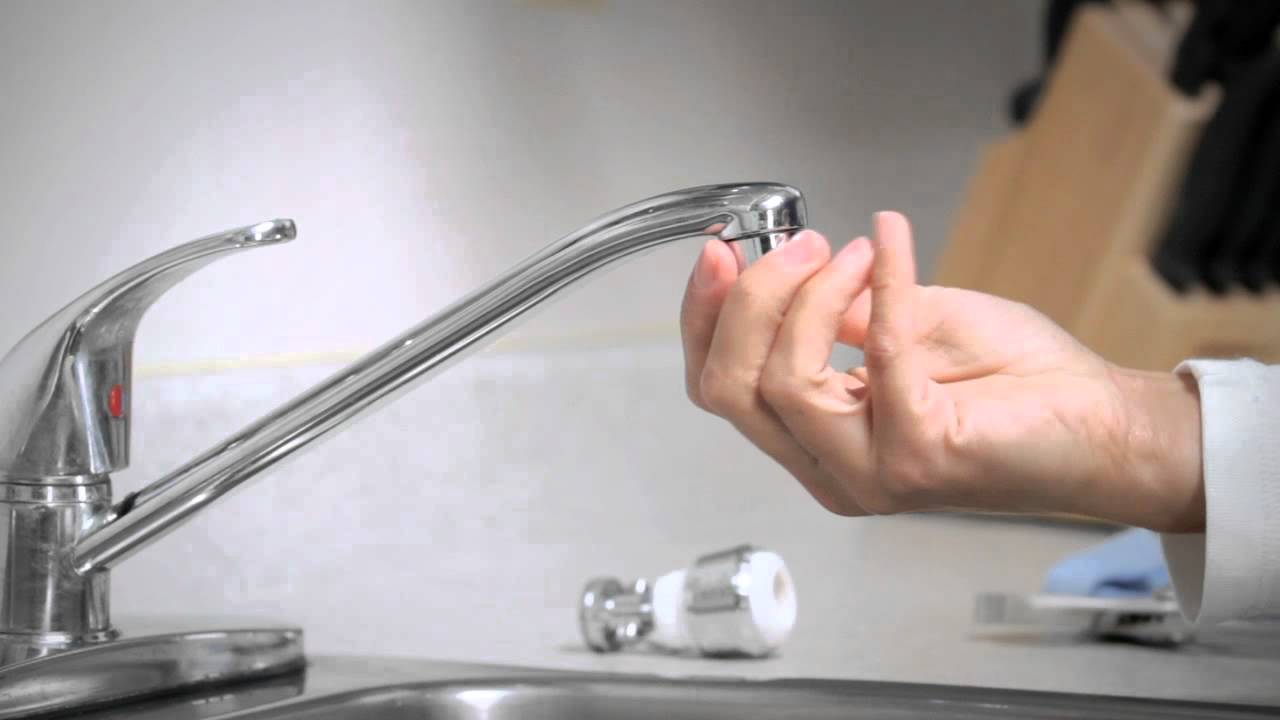
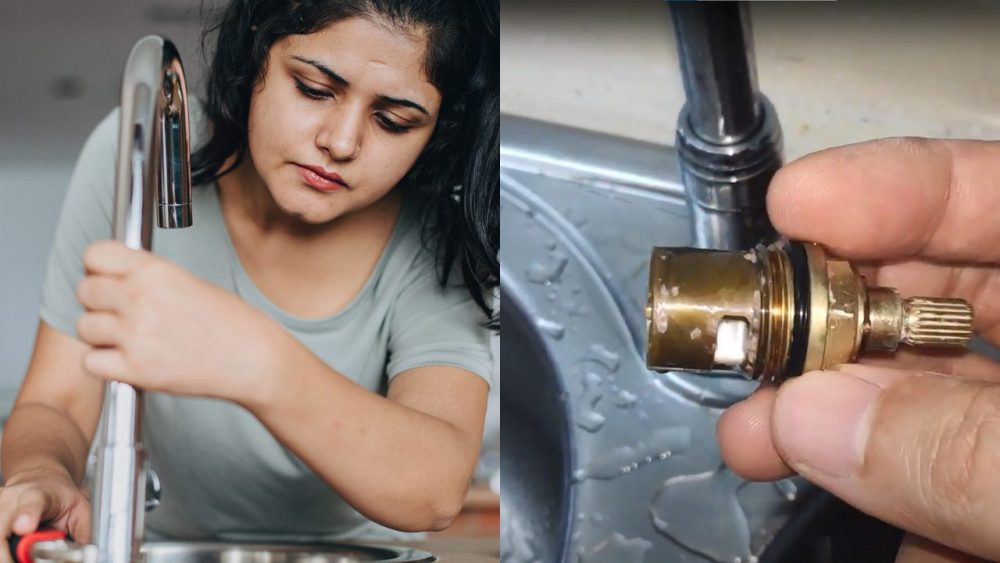
To ensure a successful tap replacement, here are some expert tips to keep in mind: Bold Tip: Take a picture of the old tap before removing it to use as a reference for installing the new tap. Bold Tip: Use Teflon tape on all threaded connections to prevent leaks. Bold Tip: Clean the tap aerator before installing it to ensure proper water flow. Replacing a kitchen sink tap is a straightforward process that can be done by anyone with the right tools and knowledge. By following this step-by-step guide and keeping these tips in mind, you can successfully upgrade your kitchen sink with a new tap. Enjoy the benefits of a functioning and aesthetically pleasing tap in your kitchen! Expert Tips for Replacing a Kitchen Sink Tap

Expert Tips for Replacing a Kitchen Sink Tap


Replacing a Tap in Your Kitchen Sink: A Simple Guide
When it comes to designing and renovating your home, the kitchen is often one of the main focal points. From choosing the perfect countertops to selecting the ideal appliances, every detail matters. However, one essential aspect of kitchen design that is often overlooked is the tap in your kitchen sink. A tap not only serves as a functional element but can also add style and personality to your kitchen. If you're looking to upgrade your sink tap, or simply need to replace a faulty one, we've got you covered with this simple guide on how to replace a tap in your kitchen sink.
Step 1: Gather Your Tools and Materials
Before you begin, make sure you have all the necessary tools and materials on hand. This includes a new tap, basin wrench, adjustable wrench, plumber's tape, and a towel or rag for cleanup.
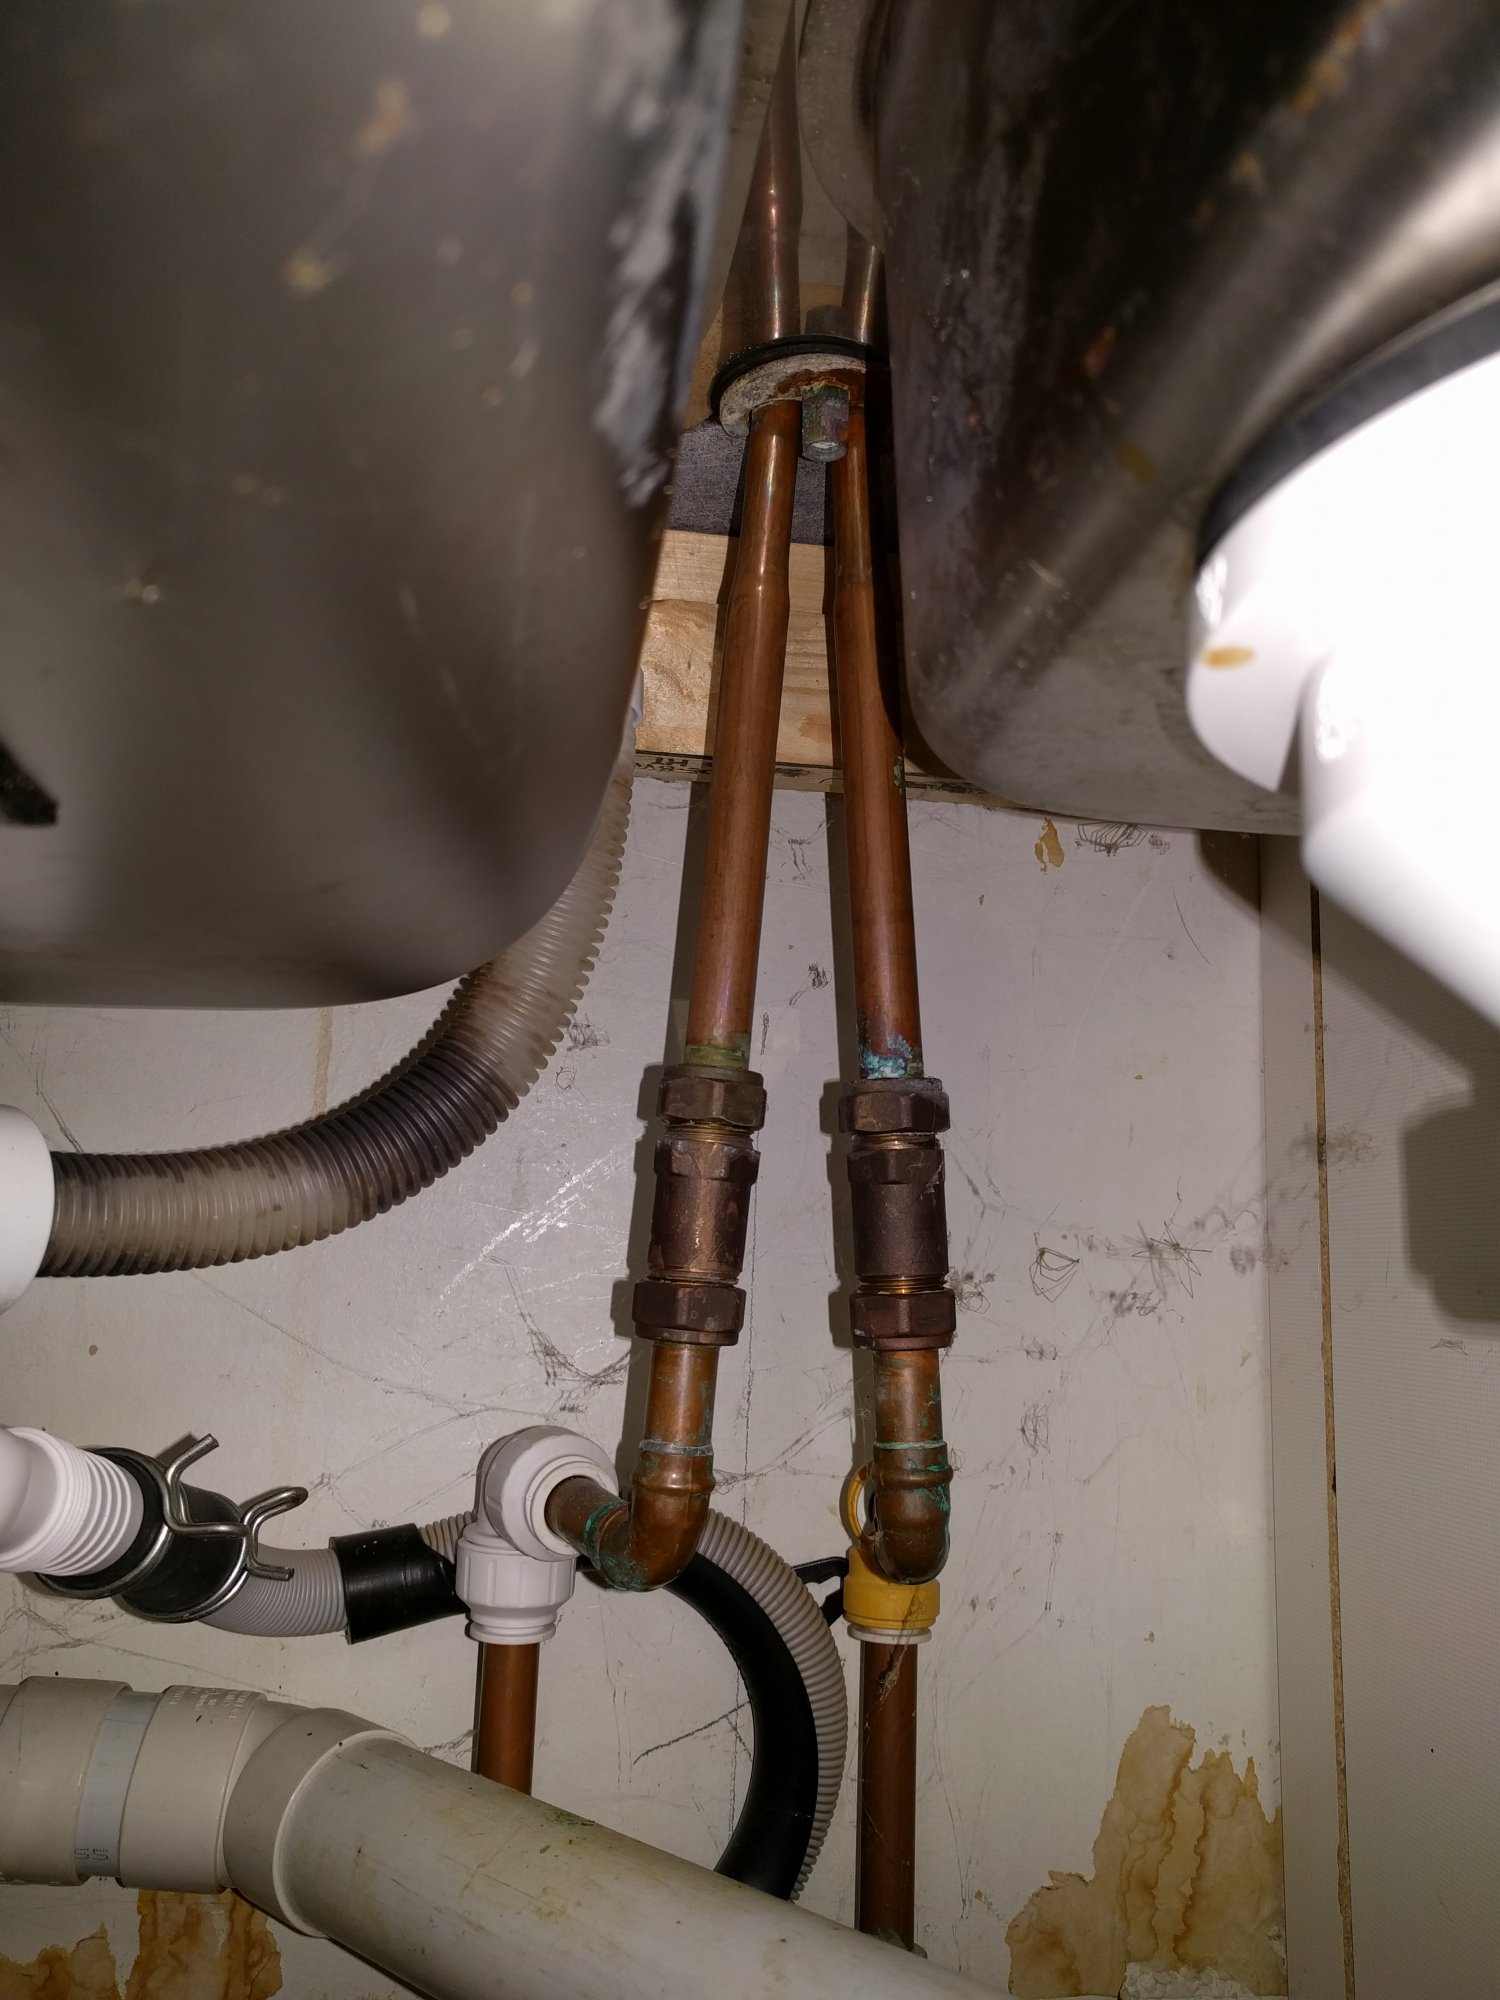
Step 2: Shut off the Water Supply

The first step to replacing a tap in your kitchen sink is to shut off the water supply. This can usually be done by turning off the main water valve under the sink or at the main water supply for your home. It's crucial to ensure that the water is completely turned off before proceeding with the next steps.
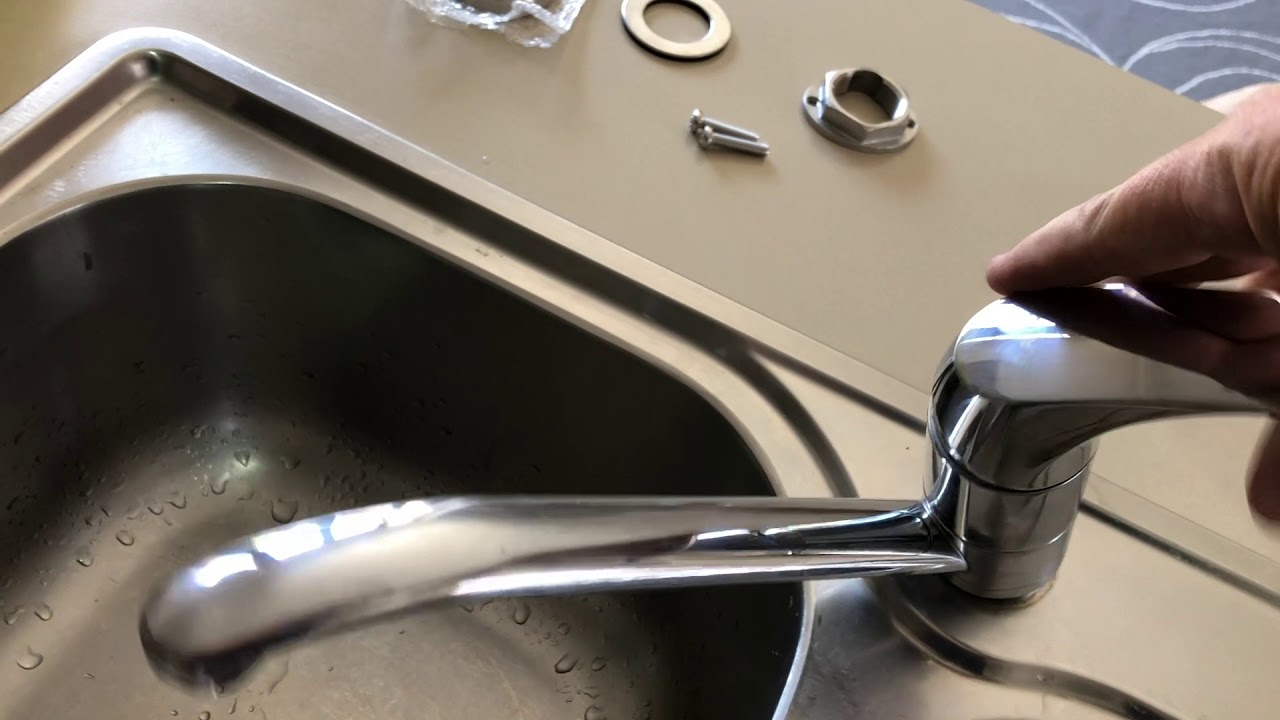
Step 3: Remove the Old Tap

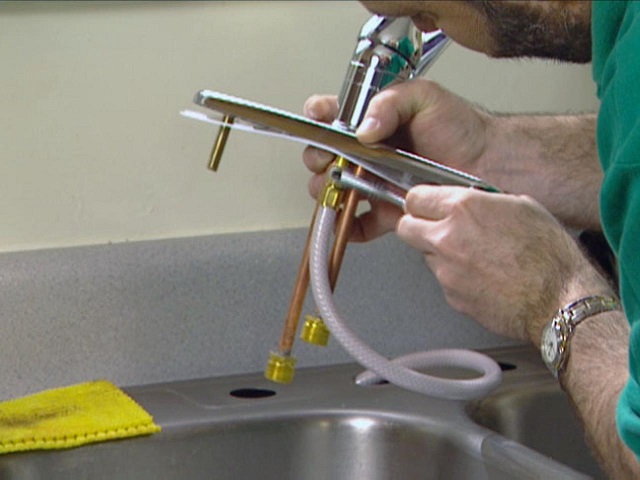
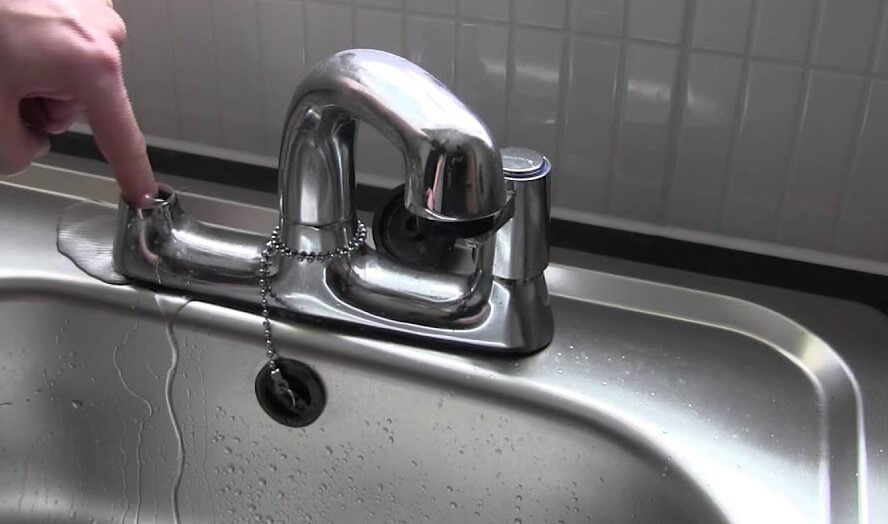
Using your basin wrench, loosen and remove the nuts and bolts that hold the old tap in place. Once the tap is loose, carefully detach it from the sink and set it aside. You may need to use your adjustable wrench to loosen any stubborn nuts.
Step 4: Clean and Prep the Sink

With the old tap removed, take the time to thoroughly clean the area where the new tap will be installed. Wipe away any debris or residue and make sure the surface is dry before proceeding.
Step 5: Install the New Tap

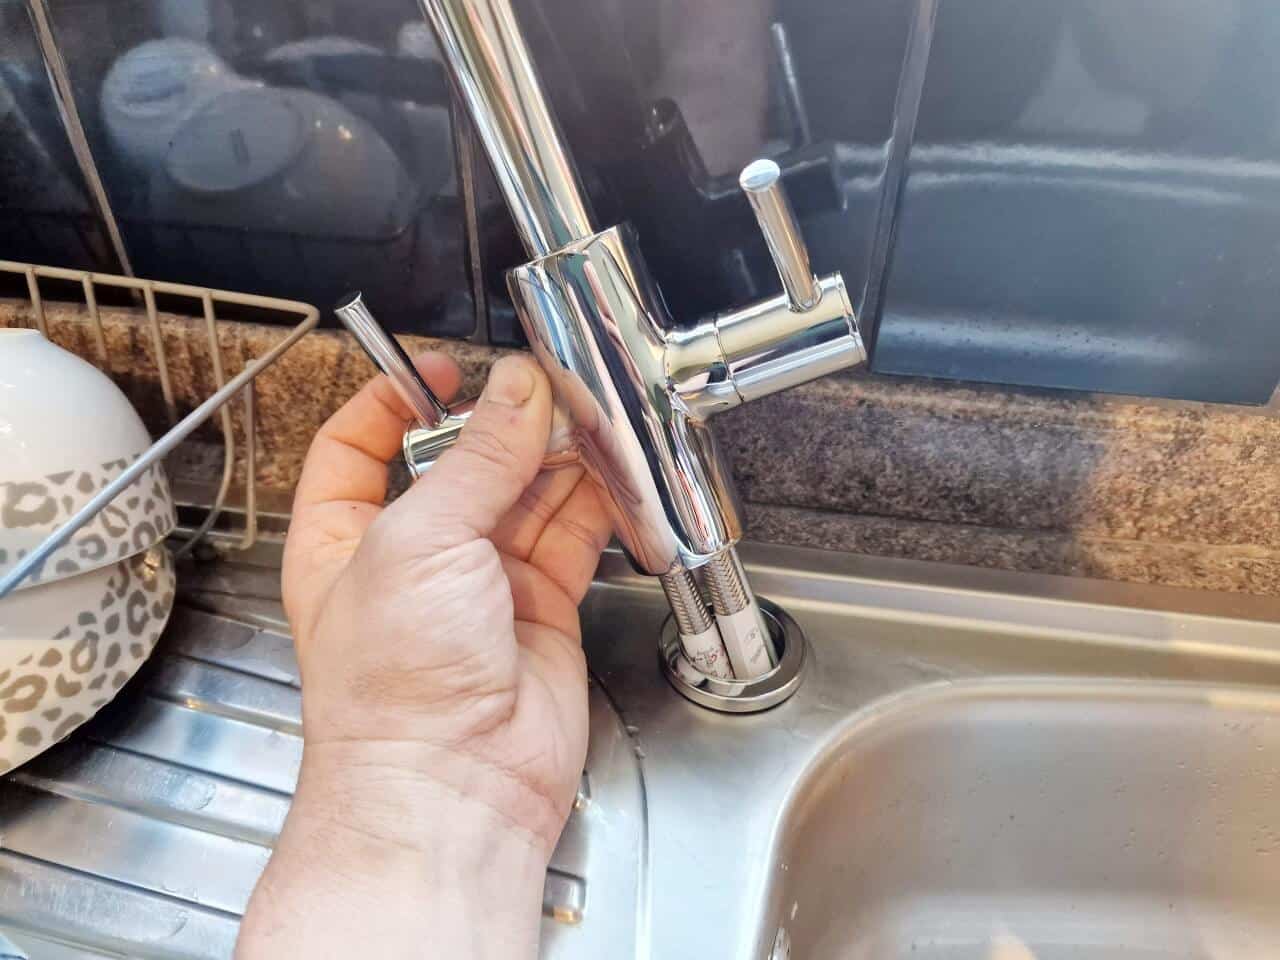
Follow the manufacturer's instructions to install the new tap. This may involve screwing on the mounting hardware, applying plumber's tape to the connections, and securing the tap in place with the nuts and bolts provided.
Step 6: Turn on the Water Supply and Test

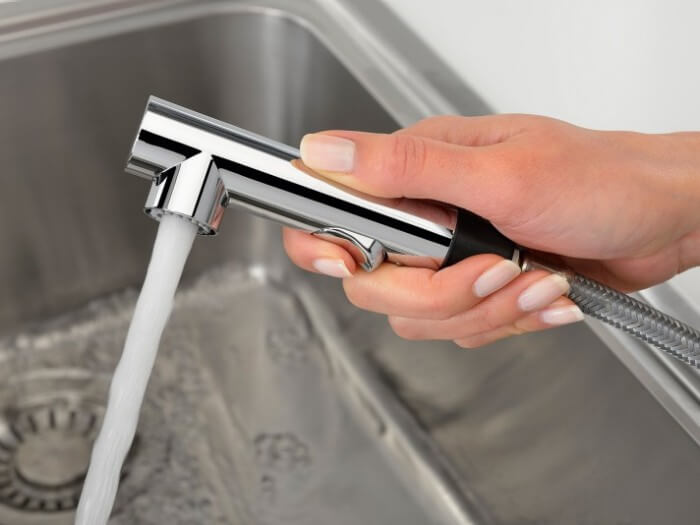
Once the new tap is securely in place, turn the water supply back on and test the tap by turning it on and off. Check for any leaks and make any necessary adjustments to ensure a tight fit.
Step 7: Clean Up and Enjoy Your New Tap

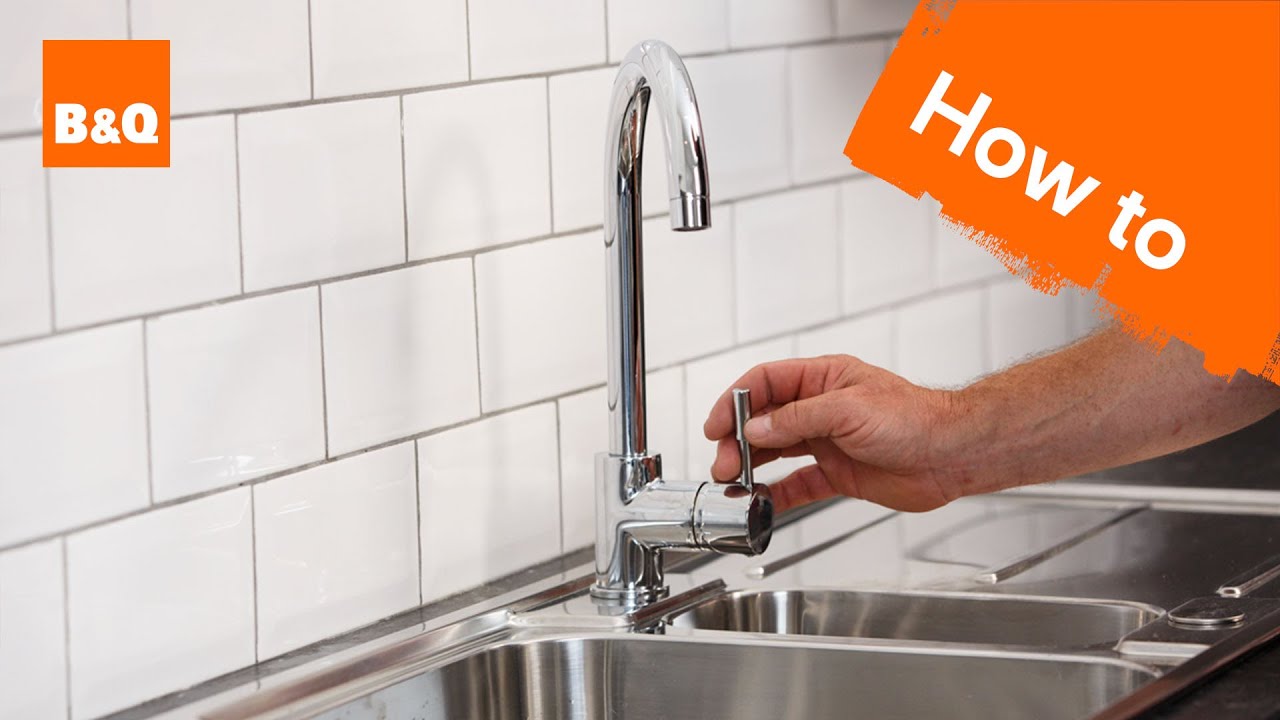
Finally, clean up any excess water or debris and enjoy your newly installed tap in your kitchen sink. Admire how it adds a touch of style and functionality to your kitchen design.
By following these simple steps, you can easily replace a tap in your kitchen sink and elevate the overall look and feel of your kitchen. Remember to take your time, follow the instructions carefully, and don't hesitate to call a professional if needed. With a new tap in place, your kitchen will not only look great but also function at its best.