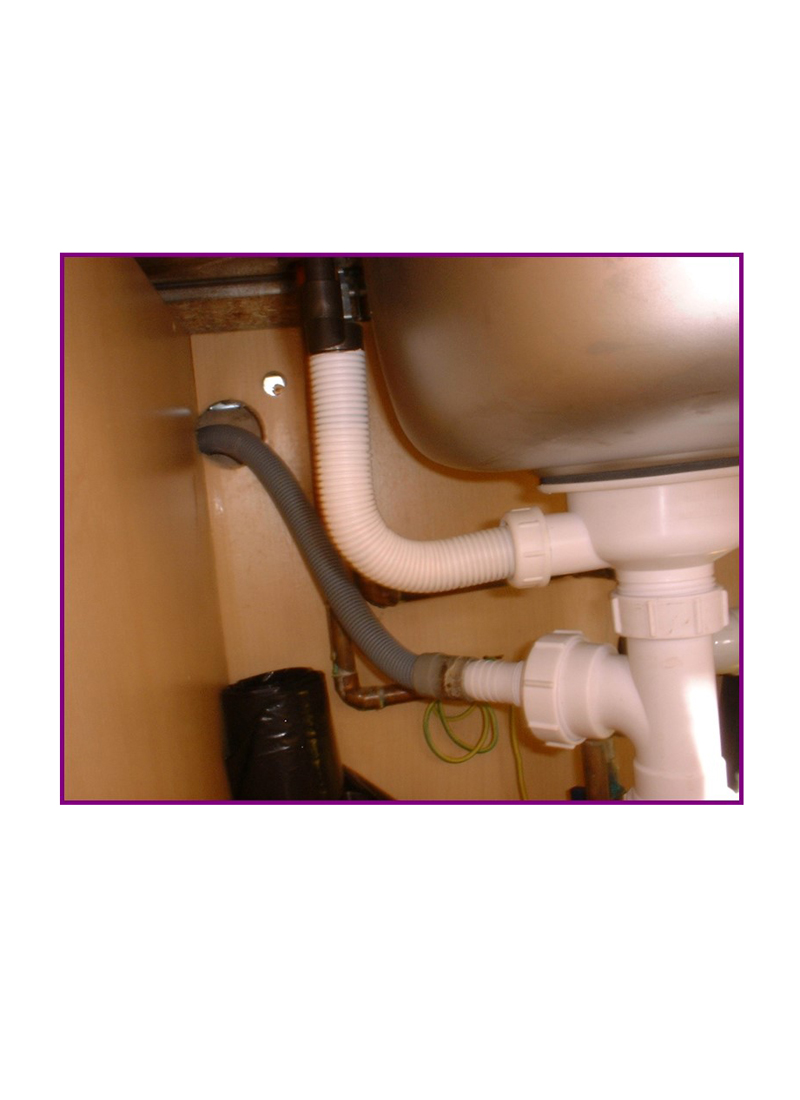
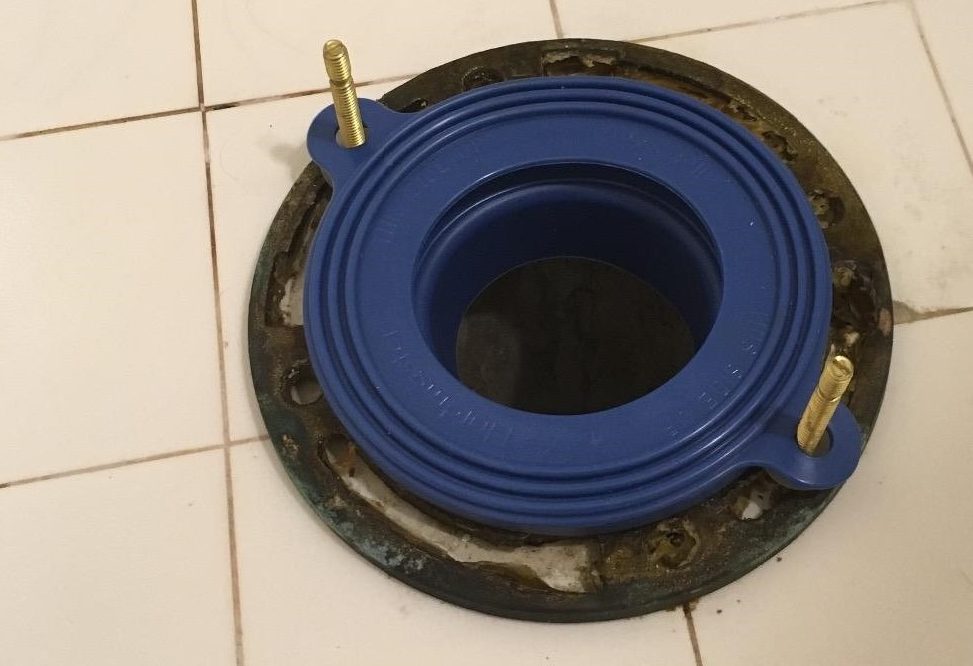
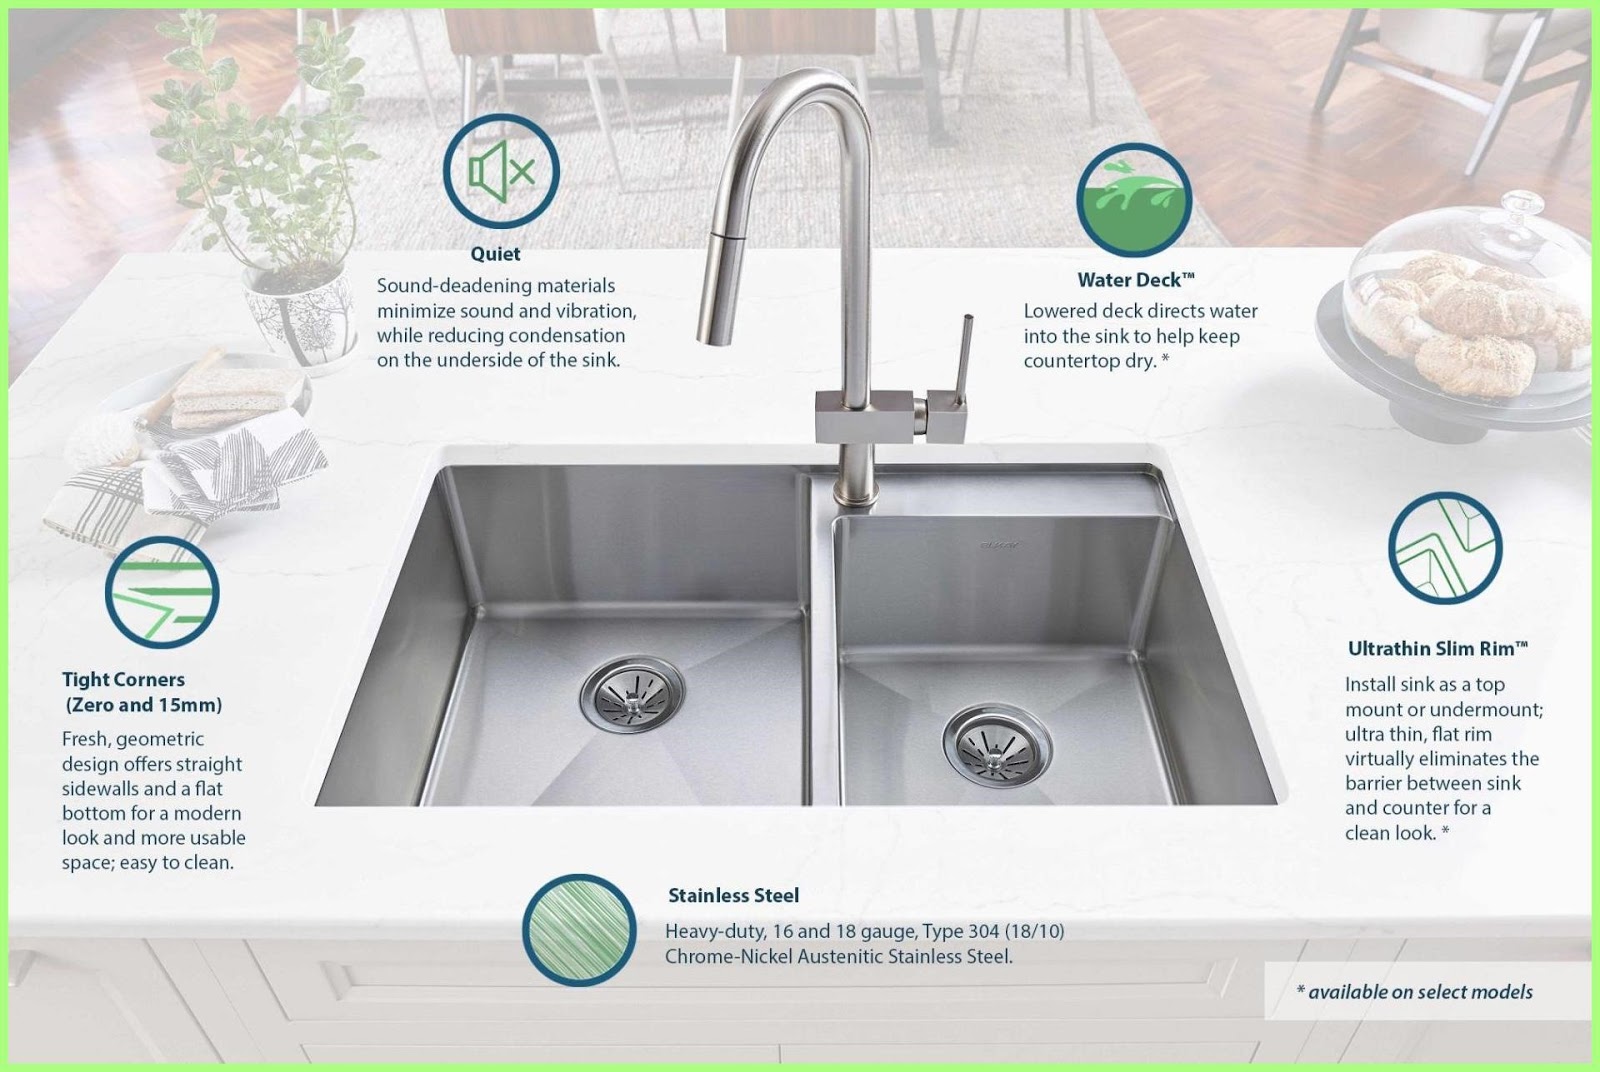
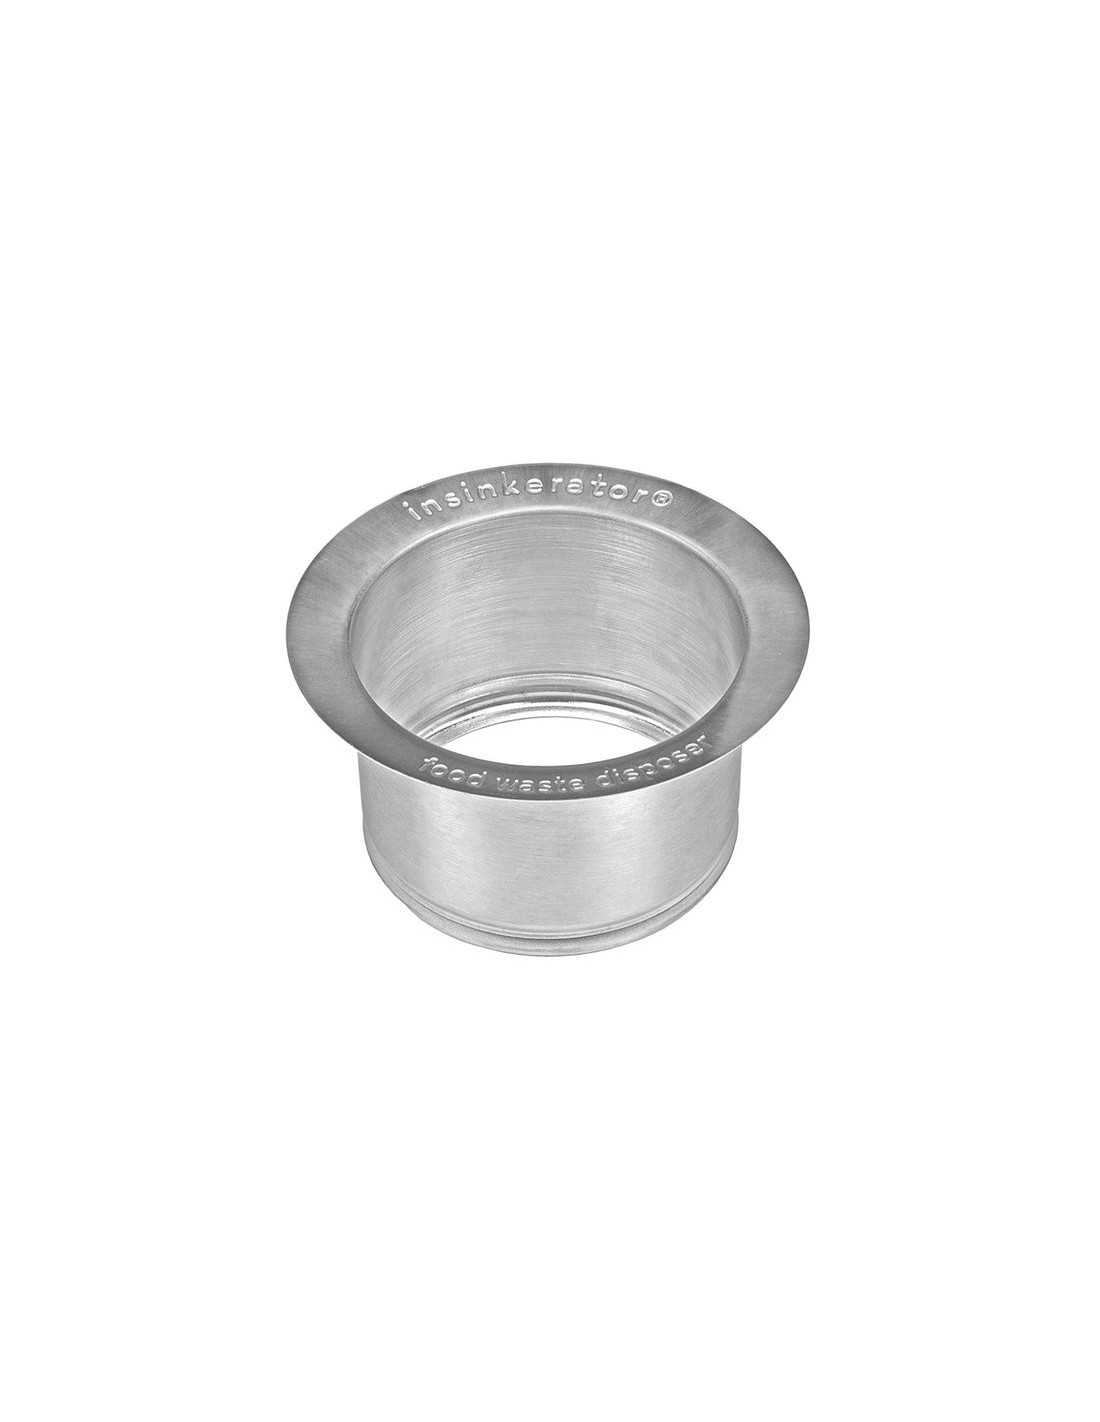
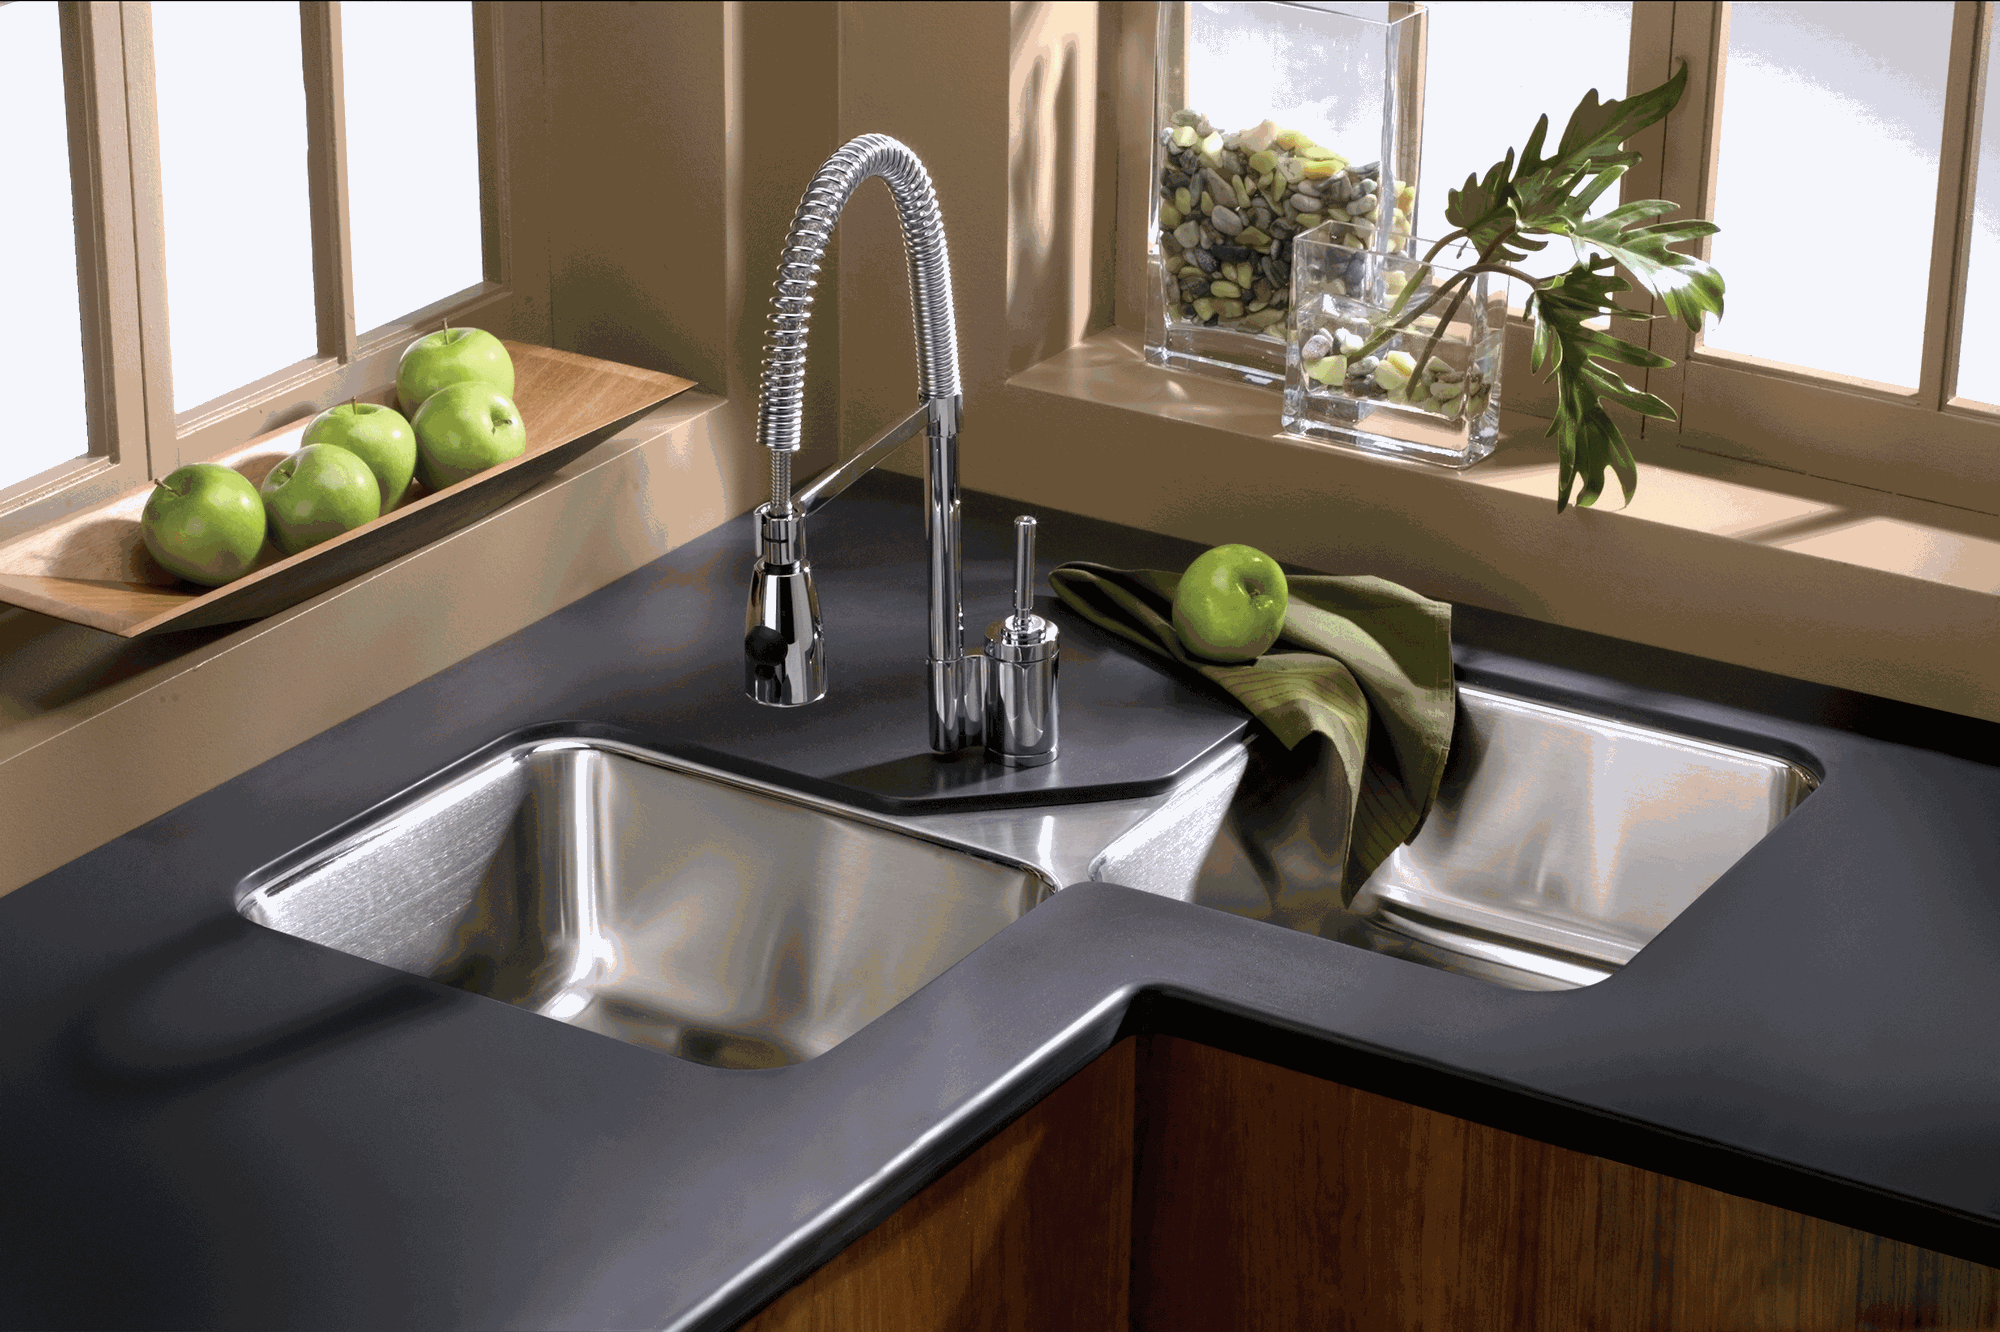
Replacing a sink flange in your kitchen may seem like a daunting task, but with the right tools and knowledge, it can be a simple and straightforward DIY project. The sink flange, also known as the mounting ring, is the piece that connects your sink to the drain and garbage disposal. Over time, it may become worn or damaged, leading to leaks and other issues. In this guide, we will walk you through the steps of replacing a sink flange in your kitchen. How to Replace a Sink Flange in the Kitchen
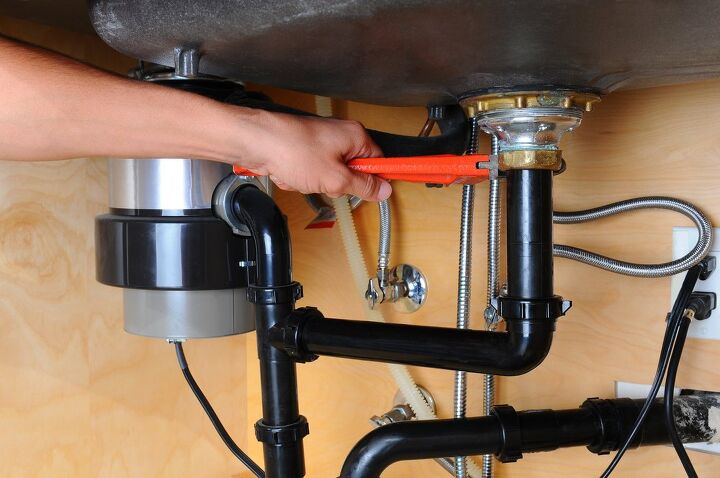
The first step in replacing a kitchen sink flange is to gather all the necessary tools and materials. You will need an adjustable wrench, a screwdriver, plumber's putty, a new sink flange, and a rag or towel. Once you have these items, you can begin the process of replacing the flange. Step 1: The first step is to shut off the water supply to your sink. You can do this by turning off the shut-off valves under the sink or by shutting off the main water supply to your home. Step 2: Next, you will need to disconnect the drain and garbage disposal from the sink. Using your adjustable wrench, loosen and remove the bolts connecting the drain and disposal to the sink. Once they are disconnected, you can remove the drain and disposal from the sink. Step 3: Now it's time to remove the old sink flange. Using your screwdriver, loosen and remove the screws holding the flange in place. Once the screws are removed, you can pull the old flange out of the sink. Step 4: Before installing the new flange, you will need to clean the area where the old flange was removed. Use a rag or towel to wipe away any debris or old putty. Replacing a Kitchen Sink Flange: A Step-by-Step Guide
If you're replacing your sink flange yourself, it's important to make sure you have a good seal to prevent leaks. This is where plumber's putty comes in. Take a small amount of putty and roll it into a thin rope. Place the putty around the edge of the sink hole where the flange will be installed. Step 5: Now you can install the new sink flange. Carefully place the flange on top of the putty and press it down firmly to create a seal. Once the flange is in place, you can secure it with the screws provided. Step 6: Reconnect the drain and garbage disposal to the sink. Make sure to tighten the bolts securely with your adjustable wrench. Step 7: Turn the water supply back on and test for any leaks. If everything looks good, you can now use your sink as normal. DIY Kitchen Sink Flange Replacement
Replacing a kitchen sink flange can be a messy job, so it's important to be prepared. Have a towel or rag handy to clean up any excess putty or debris. It's also a good idea to have a bucket or pan ready to catch any water that may leak out during the process. Additionally, make sure to read the instructions that come with your new sink flange carefully. This will ensure that you install it correctly and avoid any potential issues. Replacing a Kitchen Sink Flange: Tips and Tricks
Now that you know the basic steps of replacing a kitchen sink flange, let's break it down into a step-by-step guide for easy reference: Step 1: Shut off the water supply to the sink. Step 2: Disconnect the drain and garbage disposal from the sink. Step 3: Remove the old sink flange. Step 4: Clean the area where the old flange was removed. Step 5: Apply plumber's putty and install the new flange. Step 6: Reconnect the drain and garbage disposal. Step 7: Turn the water supply back on and check for leaks. Step-by-Step Guide for Replacing a Kitchen Sink Flange
When choosing a new sink flange, make sure to get one that is compatible with your sink and garbage disposal. It's also a good idea to invest in a high-quality flange to ensure a tight seal and avoid any future issues. Additionally, if you are not confident in your DIY skills, it's always best to hire a professional plumber to replace your sink flange. They have the necessary experience and tools to ensure the job is done correctly. Replacing a Kitchen Sink Flange: What You Need to Know
One of the most common mistakes when replacing a kitchen sink flange is not using enough plumber's putty. This can result in leaks and a faulty seal. Make sure to use enough putty to create a tight seal around the flange. Another mistake is not properly tightening the bolts that secure the flange to the sink. This can also lead to leaks and other issues. Use your adjustable wrench to securely tighten the bolts. Replacing a Kitchen Sink Flange: Common Mistakes to Avoid
Replacing a kitchen sink flange may seem like a daunting task, but with the right tools and knowledge, it can be a simple and straightforward process. By following the steps outlined in this guide, you can easily replace your sink flange and ensure a tight seal to prevent leaks and other issues. How to Replace a Kitchen Sink Flange: A Comprehensive Guide
To replace a kitchen sink flange, you will need the following tools and materials: - Adjustable wrench - Screwdriver - Plumber's putty - New sink flange - Rag or towel Make sure to have these items on hand before starting the replacement process. Replacing a Kitchen Sink Flange: Tools and Materials You'll Need
If you encounter any issues during the replacement process, it's important to troubleshoot them immediately to avoid further problems. If you notice leaks or a faulty seal, make sure to check that the flange is properly installed and that the bolts are tightened securely. If the issue persists, it's best to consult a professional plumber for assistance. Now that you have a comprehensive understanding of how to replace a kitchen sink flange, you can confidently tackle this DIY project and keep your sink running smoothly. With the right tools and knowledge, you can save time and money by replacing the flange yourself. Remember to always follow safety precautions and consult a professional if you are unsure about any steps in the process. Happy DIY-ing!Replacing a Kitchen Sink Flange: Troubleshooting Common Issues
Why Replacing the Sink Flange in Your Kitchen is an Important Design Choice

Upgrade Your Kitchen's Aesthetics
 The sink flange may seem like a small and insignificant part of your kitchen, but it actually plays a major role in the overall design and aesthetic of the space. A damaged or outdated sink flange can make your kitchen look old and unappealing, while a new and stylish flange can instantly upgrade the look of your kitchen. By
replacing the sink flange
, you can choose a design that complements your kitchen's style and gives it a fresh, modern look.
Improve Functionality and Efficiency
 Not only does the sink flange contribute to the appearance of your kitchen, but it also affects its functionality and efficiency. A damaged flange can lead to leaks and water damage, which can be costly and time-consuming to fix. By
installing a new sink flange
, you can ensure that your sink is functioning properly and efficiently. This means avoiding any potential plumbing issues and saving you time and money in the long run.
Customize Your Sink to Fit Your Needs
 Another benefit of replacing the sink flange is the ability to customize it to fit your specific needs. There are various sizes and designs available in the market, allowing you to choose the perfect fit for your sink and kitchen. You can also opt for additional features such as a garbage disposal or a strainer to make your sink more functional. This allows you to
personalize your kitchen
and make it more tailored to your lifestyle.
Increase the Value of Your Home
 Replacing the sink flange may seem like a small and insignificant upgrade, but it can actually increase the value of your home. A modern and functional kitchen is a major selling point for potential buyers, and a new sink flange can contribute to that. By investing in this small but important design choice, you can potentially increase the value of your home and make it more appealing to buyers in the future.
Conclusion
 In conclusion, replacing the sink flange in your kitchen is not just a simple repair or maintenance task, but a crucial design decision that can greatly impact the overall look, functionality, and value of your home. By choosing a new flange that fits your style and needs, you can upgrade your kitchen and make it more efficient and desirable. So don't overlook the importance of this seemingly small detail and consider
replacing your sink flange
as a valuable investment in your home.


