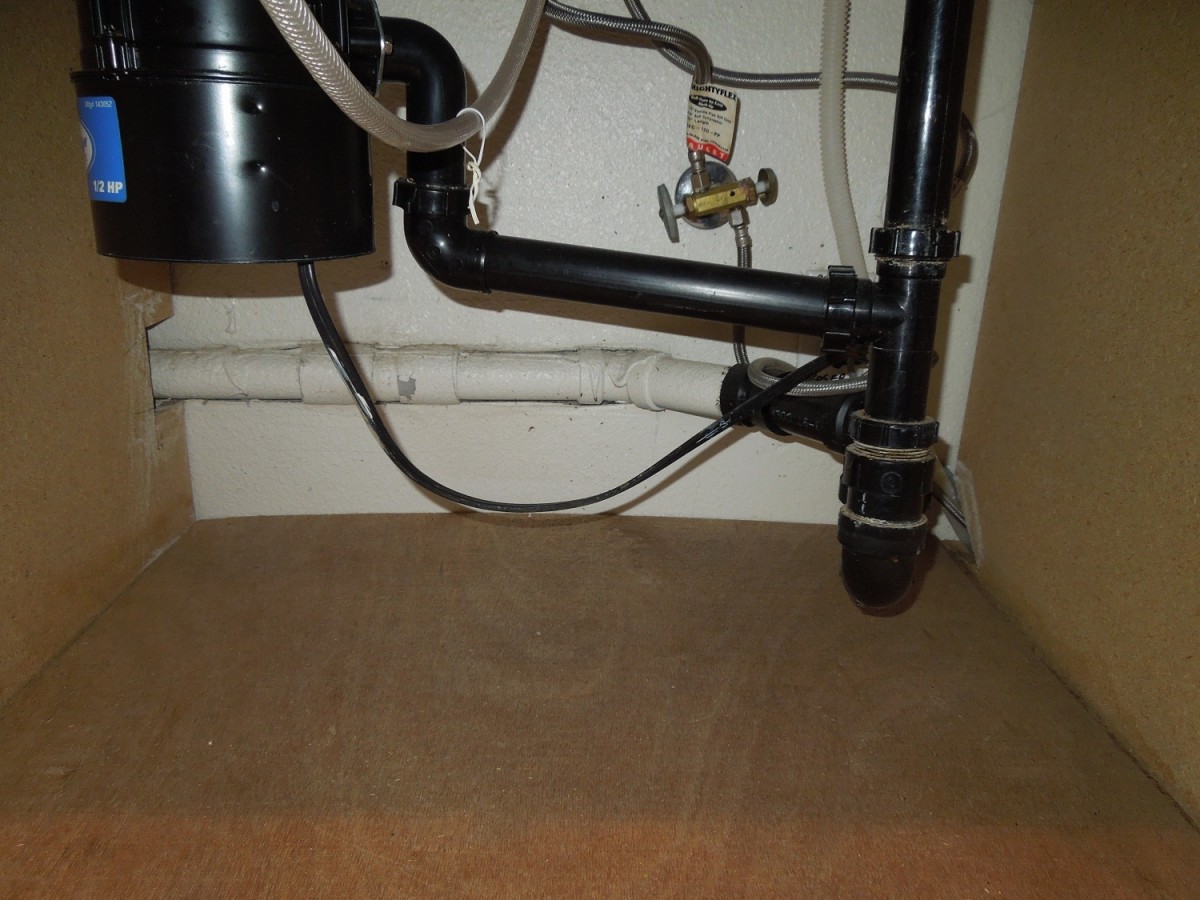
Dealing with a rotten wood under your kitchen sink can be a frustrating and daunting task. Not only does it affect the structural integrity of your kitchen, but it can also lead to mold and mildew growth, causing potential health hazards. However, with the right tools and materials, you can replace the rotten wood and restore your sink to its former glory. In this article, we will guide you through the process of replacing rotten wood under a kitchen sink.How to Replace Rotten Wood Under a Kitchen Sink


How to Replace Rotten Wood Under a Kitchen Sink


If the damage to the wood is minimal, you may be able to repair it instead of replacing it. This method is more cost-effective and less time-consuming. Start by removing any loose or damaged wood using a chisel or scraper. Then, apply wood filler to the affected area and let it dry. Sand down the surface until it is smooth and even. Finally, seal the repaired area with a wood sealant to prevent further damage.How to Repair Rotten Wood Under a Kitchen Sink
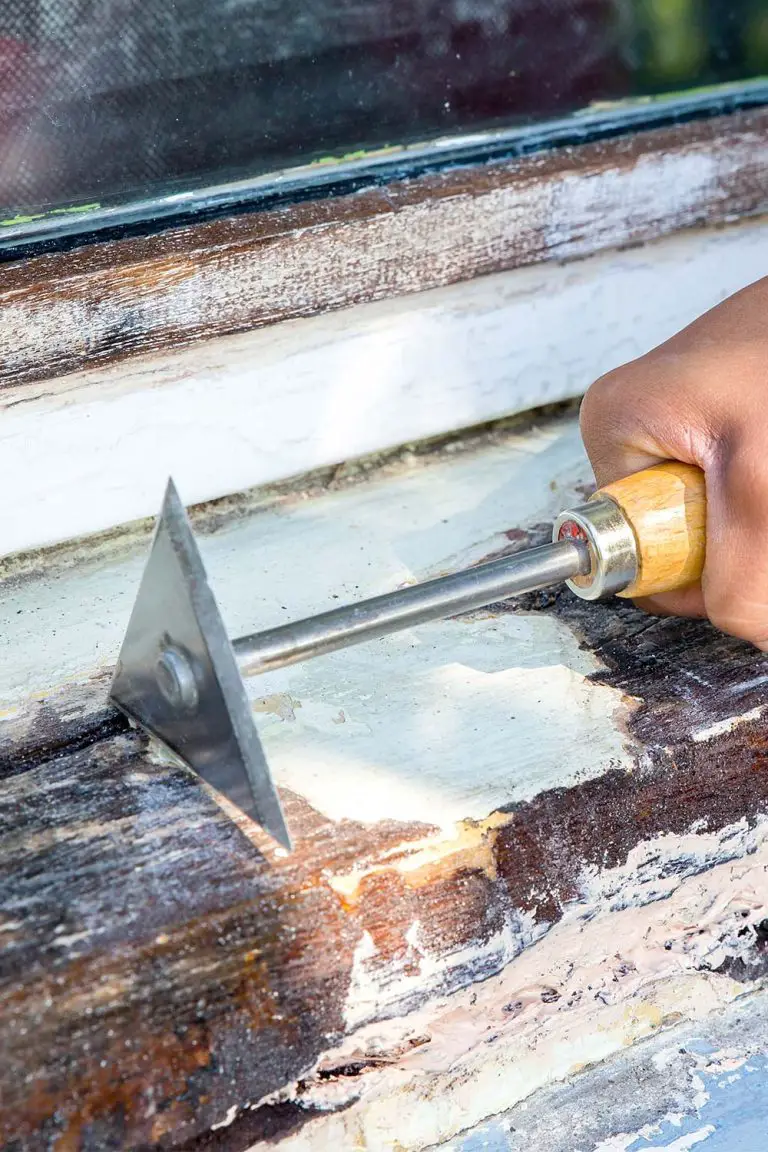
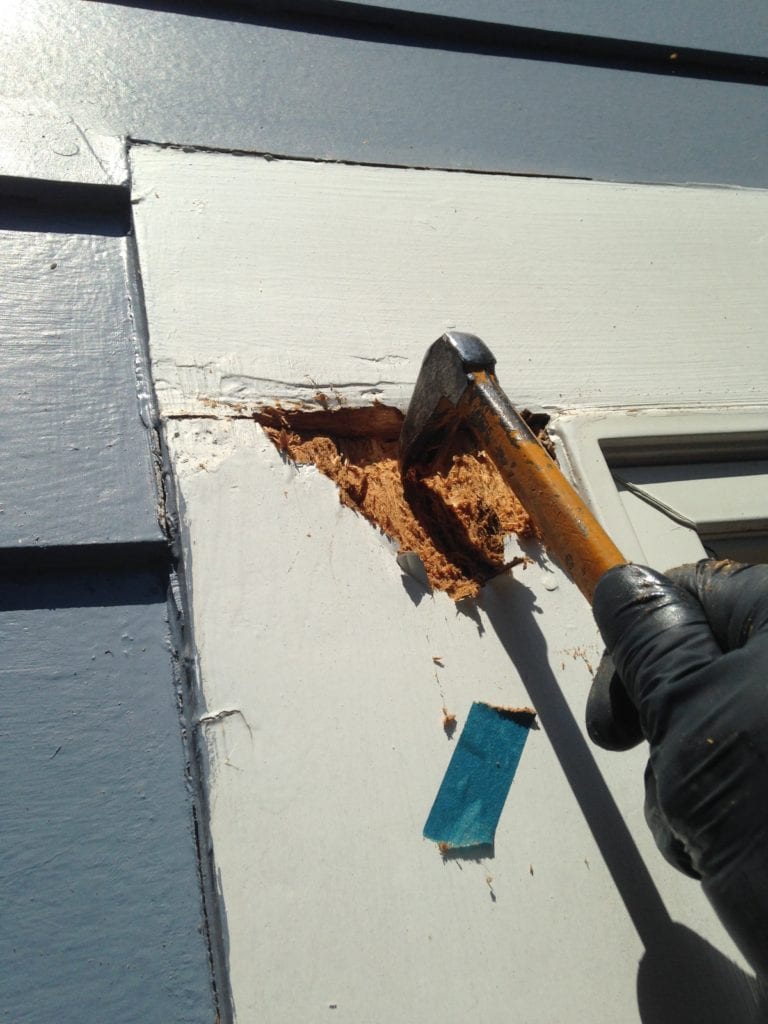

How to Repair Rotten Wood Under a Kitchen Sink

/GettyImages-159751873-5ab00416ac414371b3c84681237337e7.jpg)
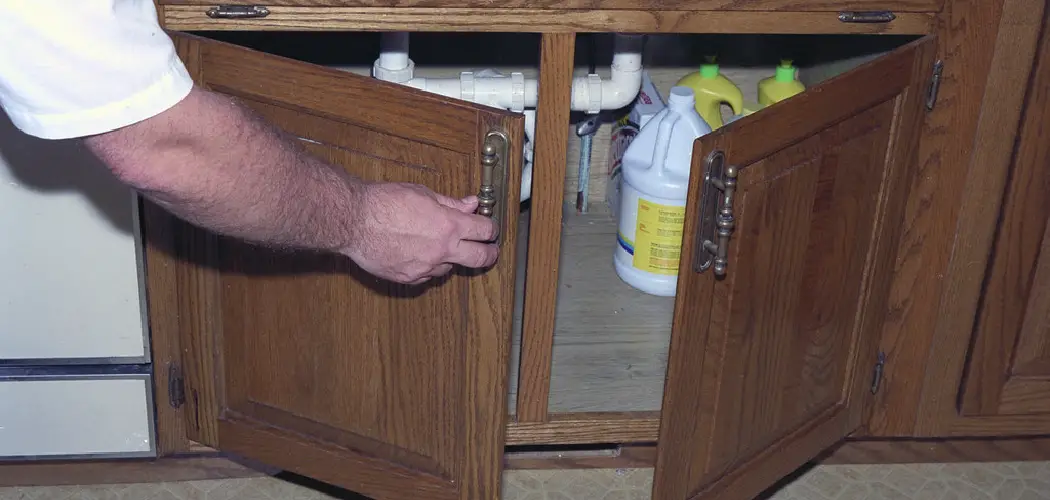
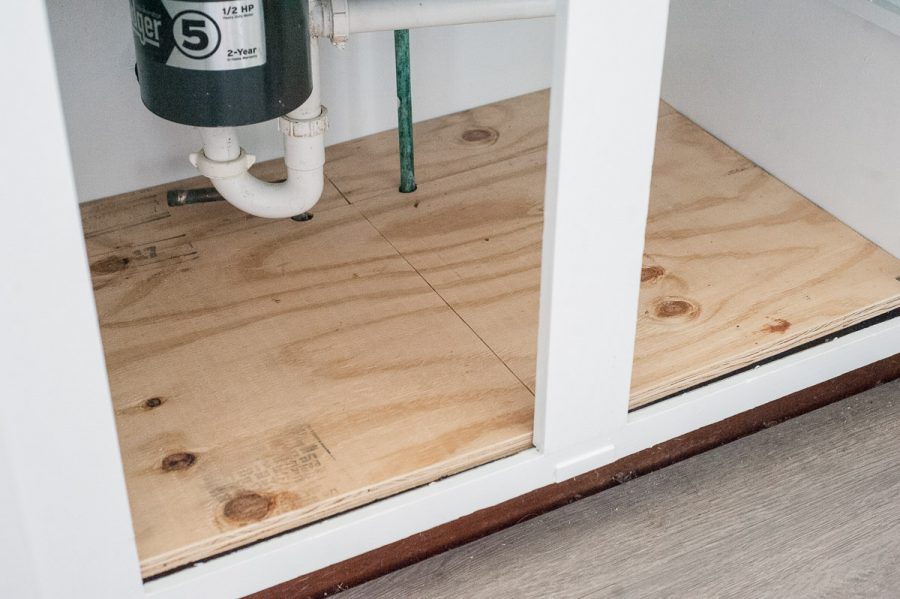
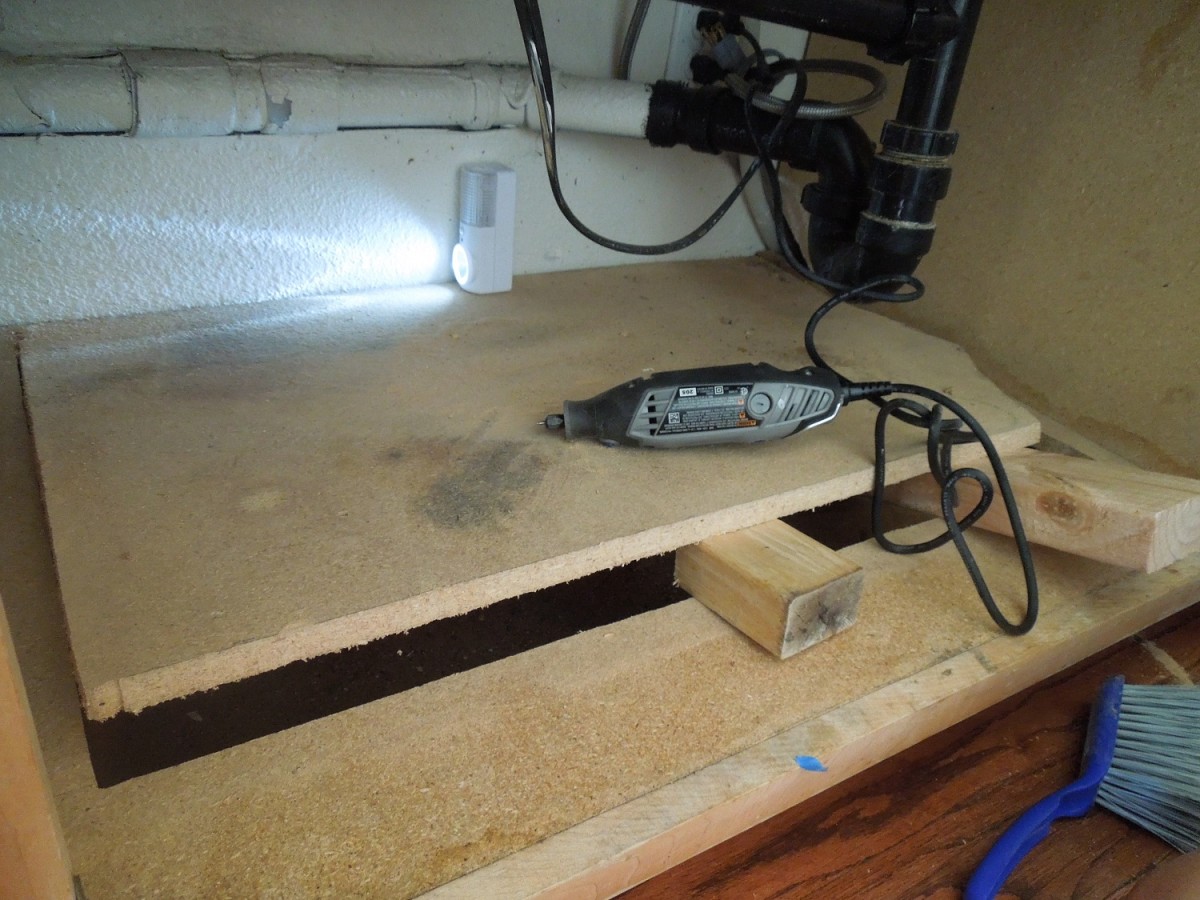
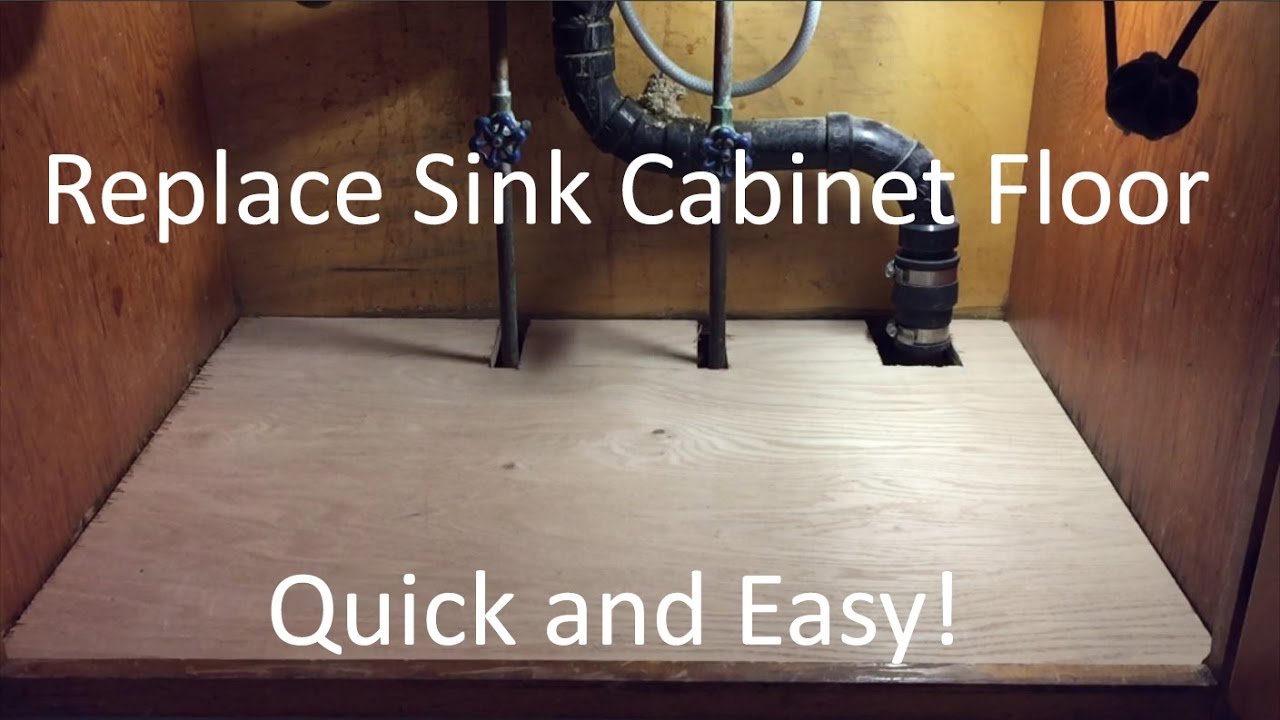
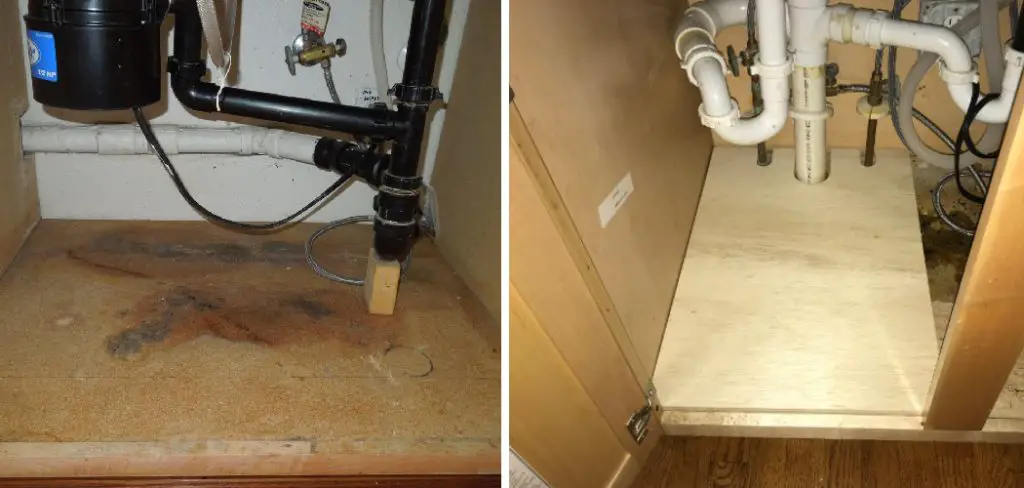
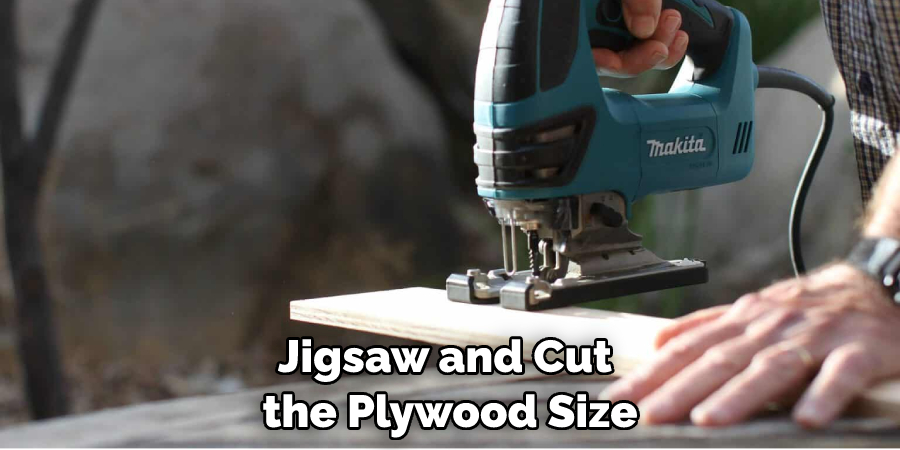
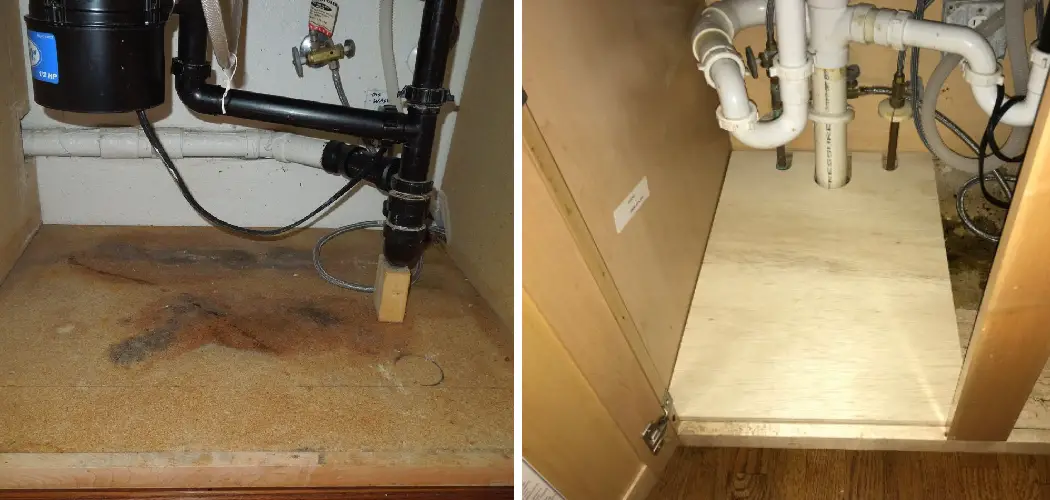
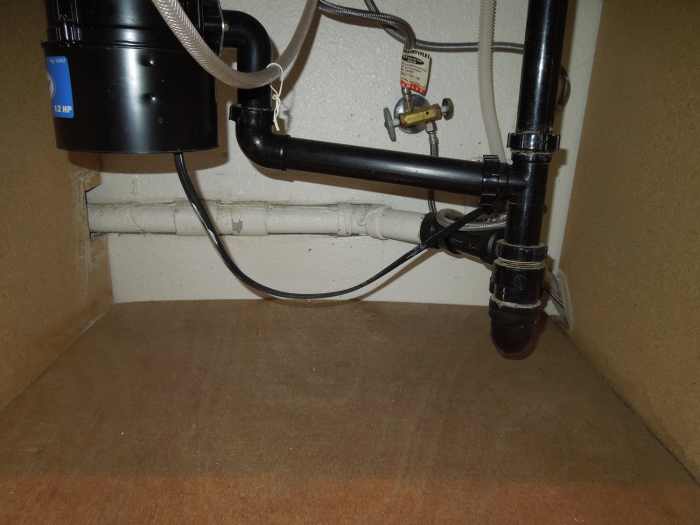
Replacing rotten wood under a kitchen sink is a DIY project that requires some basic carpentry skills. To start, turn off the water supply and disconnect the plumbing. Then, use a saw to cut through the damaged wood and remove it. Next, measure and cut a new piece of wood to fit the space. Secure it in place using wood screws or adhesive. Reconnect the plumbing and turn on the water supply to test for any leaks.DIY Guide for Replacing Rotten Wood Under a Kitchen Sink


DIY Guide for Replacing Rotten Wood Under a Kitchen Sink


If you're new to DIY projects, it can be helpful to have a step-by-step guide to follow. Firstly, gather all the necessary tools and materials, including a saw, drill, wood screws, and new wood. Next, disconnect the plumbing and remove the old wood. Measure and cut the new wood to fit the space and secure it in place. Finally, reconnect the plumbing and turn on the water supply to check for any leaks.Step-by-Step Tutorial for Replacing Rotten Wood Under a Kitchen Sink


Step-by-Step Tutorial for Replacing Rotten Wood Under a Kitchen Sink


Replacing rotten wood under a kitchen sink can be a messy and challenging task. Here are some tips to make the process smoother: use a respirator mask to protect yourself from dust and debris, wear gloves to avoid splinters, and have a helper to assist with holding and securing the new wood in place.Tips for Replacing Rotten Wood Under a Kitchen Sink


Tips for Replacing Rotten Wood Under a Kitchen Sink

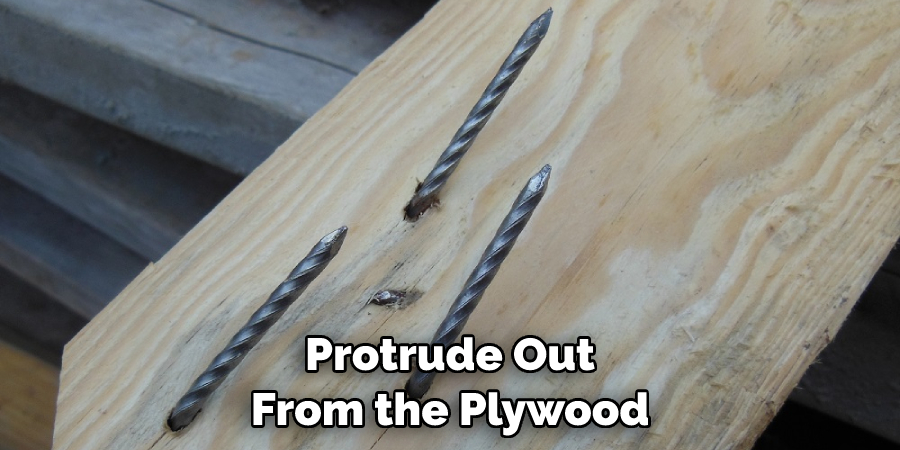
Having the right tools is crucial for a successful wood replacement project. Some of the essential tools you will need include a saw, drill, chisel, scraper, hammer, and screwdriver. It's also helpful to have a level and measuring tape to ensure the new wood is installed correctly.Tools Needed for Replacing Rotten Wood Under a Kitchen Sink


Tools Needed for Replacing Rotten Wood Under a Kitchen Sink

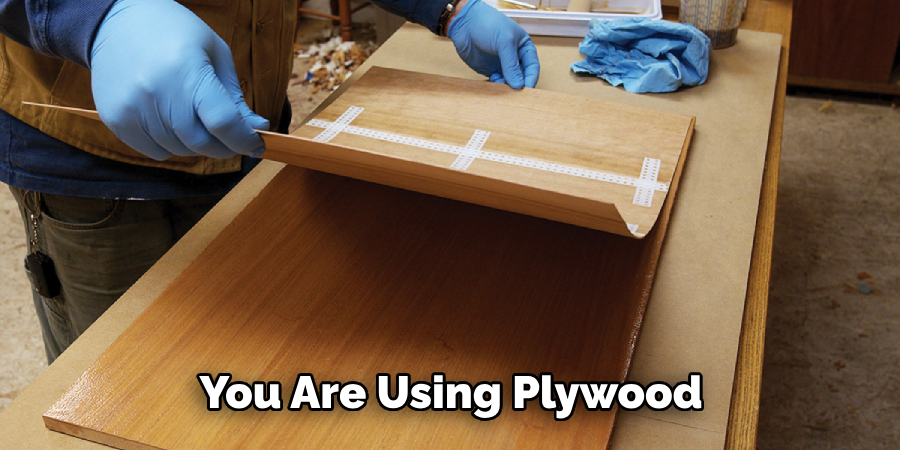


Aside from tools, you will also need materials to replace the rotten wood. This includes the new wood, wood screws or adhesive, wood filler, and wood sealant. It's important to use high-quality materials to ensure the longevity of your repair.Materials for Replacing Rotten Wood Under a Kitchen Sink


Materials for Replacing Rotten Wood Under a Kitchen Sink

Replacing rotten wood can be a tricky task, and there are some common mistakes you should avoid. These include not wearing protective gear, using the wrong tools, not measuring accurately, and not securing the new wood properly. It's also crucial to address any underlying issues, such as a leaking pipe, before replacing the wood to prevent future damage.Common Mistakes to Avoid When Replacing Rotten Wood Under a Kitchen Sink


Common Mistakes to Avoid When Replacing Rotten Wood Under a Kitchen Sink


The best way to deal with rotten wood is to prevent it from happening in the first place. Regularly inspect your kitchen sink and plumbing for any leaks or water damage. Fix any issues promptly to avoid wood rot. You can also use a waterproof sealant on the wood to protect it from moisture.How to Prevent Rotten Wood Under a Kitchen Sink


How to Prevent Rotten Wood Under a Kitchen Sink
If you don't have the time or skills to replace the rotten wood yourself, it's best to hire a professional. They have the necessary experience and tools to handle the task efficiently and effectively. It may cost more upfront, but it can save you time and hassle in the long run.Professional Services for Replacing Rotten Wood Under a Kitchen Sink
Professional Services for Replacing Rotten Wood Under a Kitchen Sink
Why Replacing Rotten Wood Under the Kitchen Sink is Essential for Your Home

The Importance of Maintaining a Solid Foundation
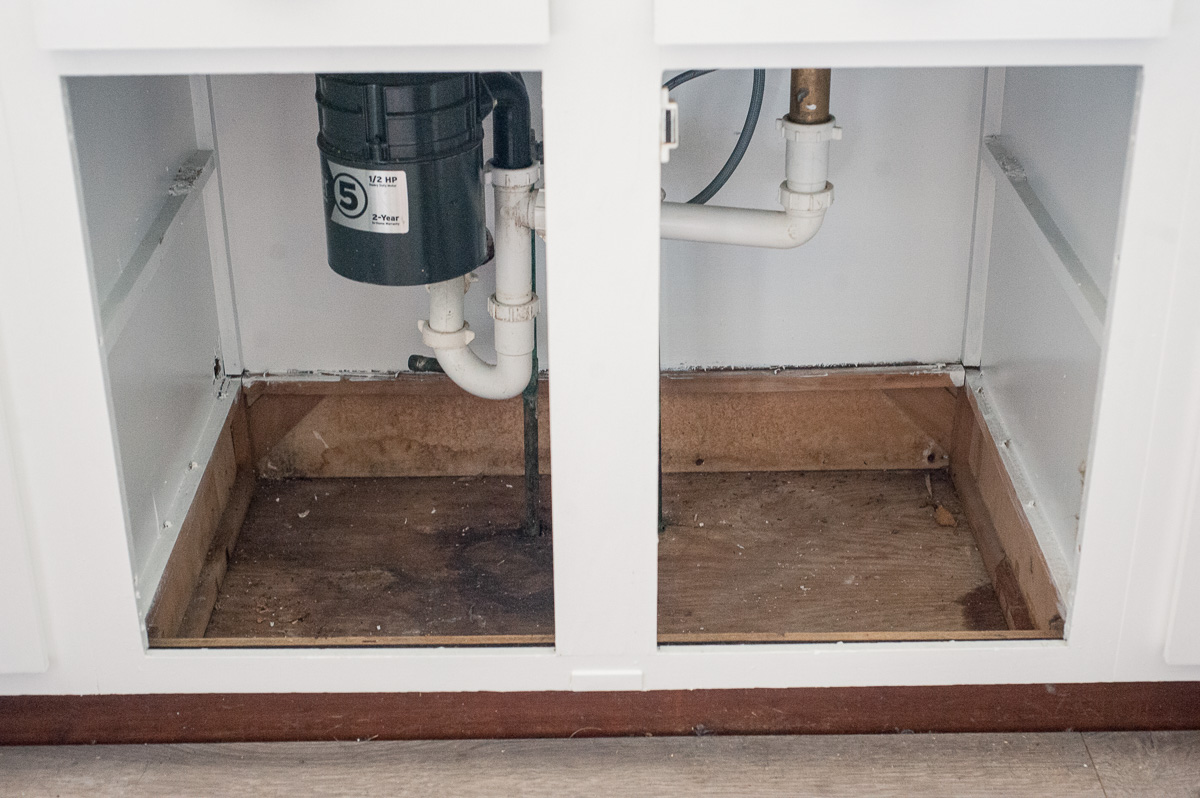
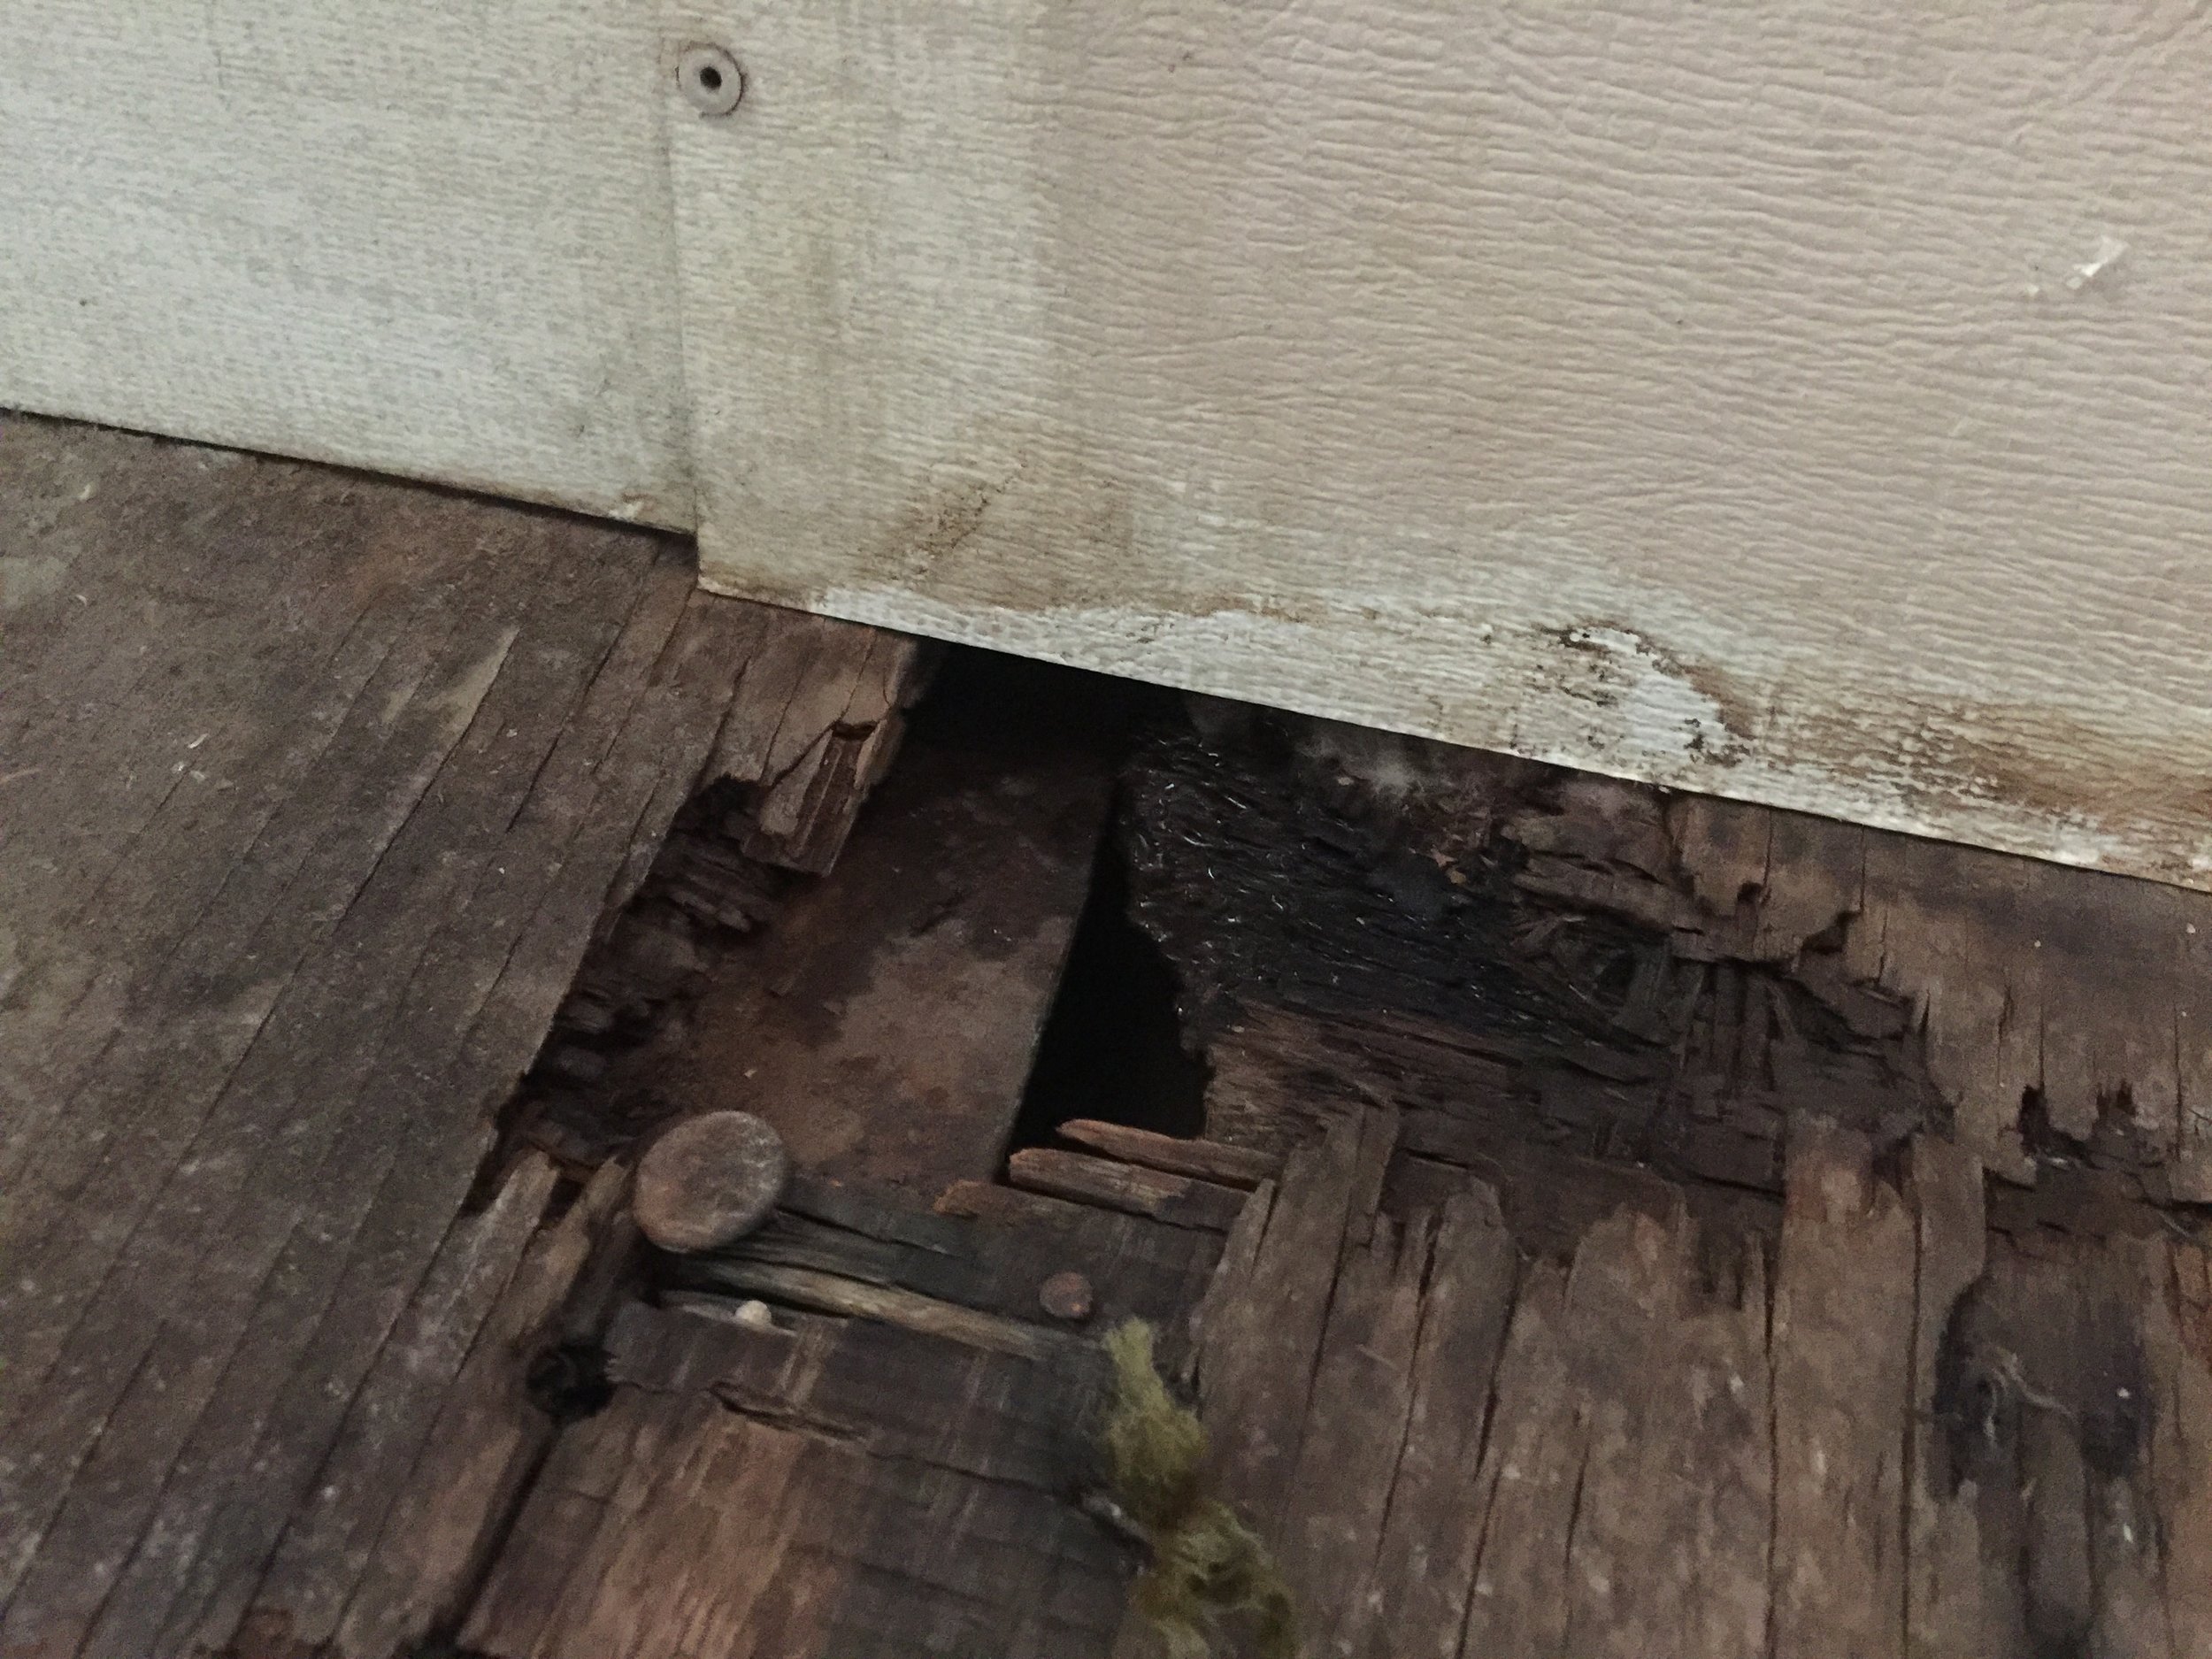
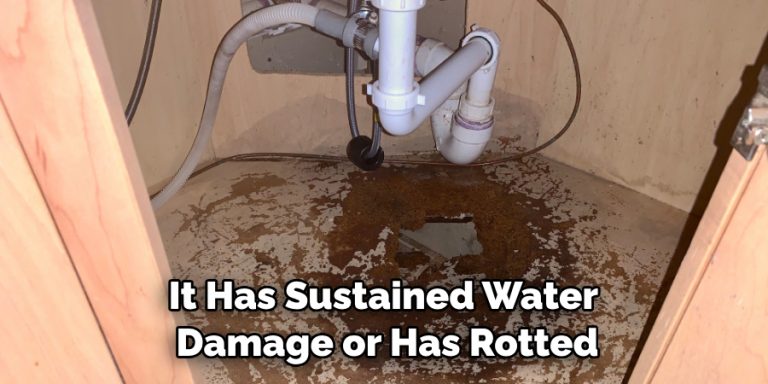
 When it comes to house design, it's important to not overlook the small details. This includes regularly checking and maintaining the structural integrity of your home, especially in areas that are prone to moisture and water damage. One such area is under the kitchen sink, where the constant exposure to water and moisture can lead to the development of rotten wood. This may seem like a minor issue, but if left unaddressed, it can lead to more serious problems such as mold growth and weakening of the foundation of your home. This is why replacing rotten wood under the kitchen sink is essential for maintaining a solid foundation for your home.
The Dangers of Rotten Wood
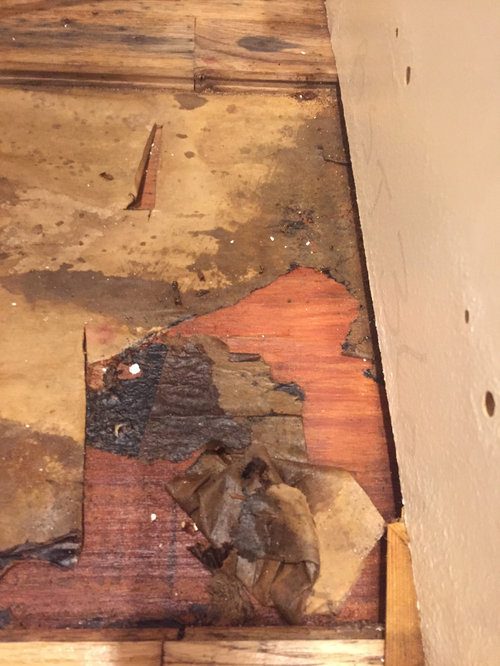
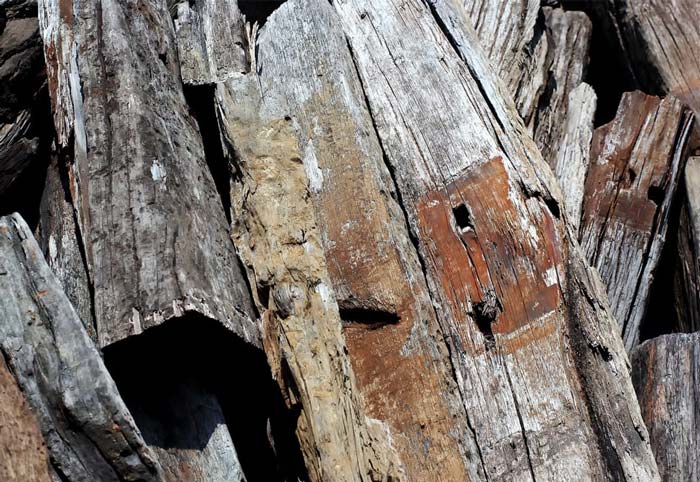
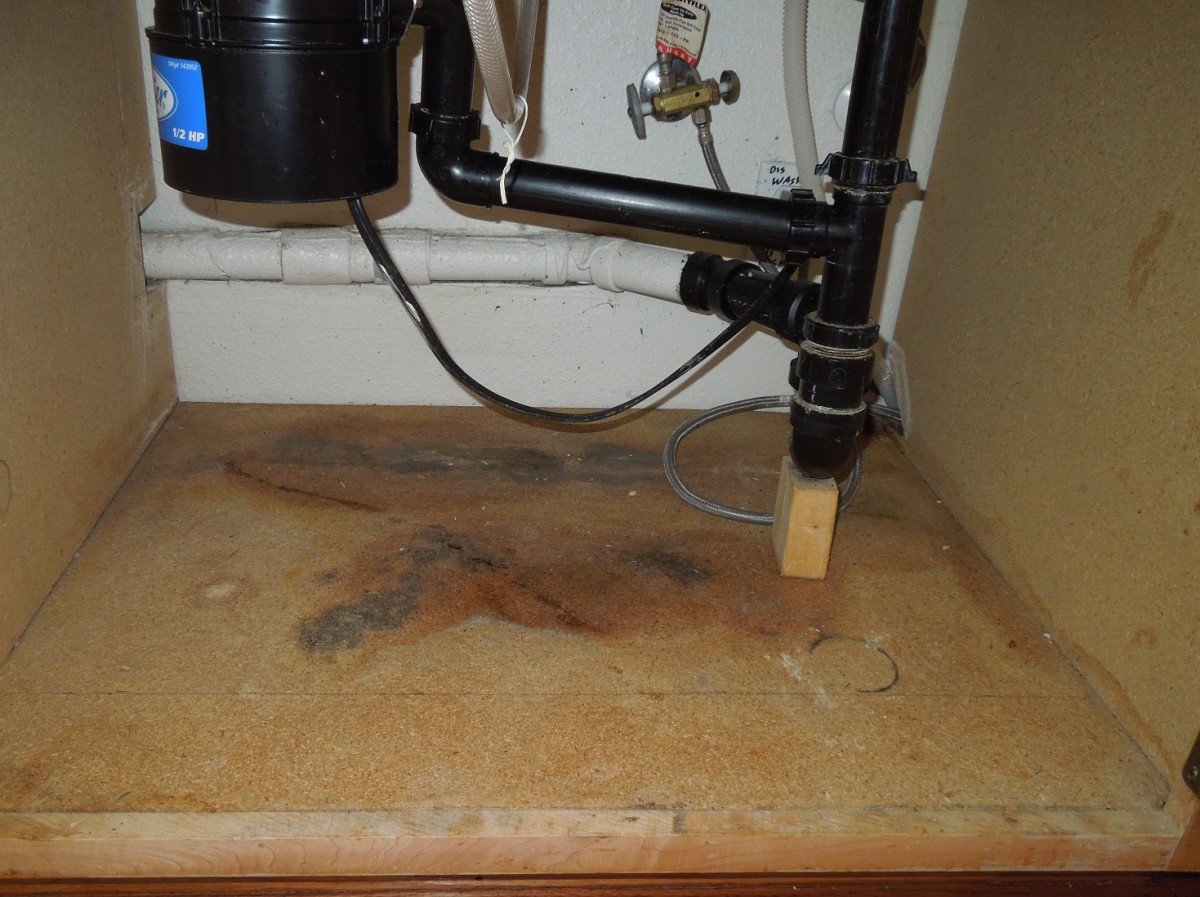
 Rotten wood under the kitchen sink may not seem like a big deal, but it can have serious consequences. The constant exposure to water and moisture can cause the wood to weaken and eventually rot. This not only affects the structural integrity of your home but also creates an ideal environment for mold growth. Mold not only looks unsightly but can also pose health risks to you and your family. Moreover, if left unchecked, rotten wood can spread to other areas of your home, leading to more extensive and costly repairs.
The Benefits of Replacing Rotten Wood
 Replacing rotten wood under the kitchen sink may seem like a hassle, but it is a necessary step in maintaining a safe and sturdy home. By replacing the rotten wood, you are not only preventing further damage but also ensuring the safety of your family. It also gives you the opportunity to check for any other potential issues, such as plumbing leaks, and address them before they become more serious. Additionally, replacing rotten wood can improve the overall aesthetic of your kitchen and add value to your home.
Don't wait until it's too late, take the necessary steps to replace any rotten wood under your kitchen sink and maintain a solid foundation for your home.
Replacing rotten wood under the kitchen sink may seem like a hassle, but it is a necessary step in maintaining a safe and sturdy home. By replacing the rotten wood, you are not only preventing further damage but also ensuring the safety of your family. It also gives you the opportunity to check for any other potential issues, such as plumbing leaks, and address them before they become more serious. Additionally, replacing rotten wood can improve the overall aesthetic of your kitchen and add value to your home.
Don't wait until it's too late, take the necessary steps to replace any rotten wood under your kitchen sink and maintain a solid foundation for your home.
In Conclusion
 In conclusion, replacing rotten wood under the kitchen sink is an essential task for any homeowner. It not only helps maintain the structural integrity of your home but also ensures the safety and well-being of your family. Regularly checking and replacing rotten wood can save you from more extensive and costly repairs in the future. Remember, a small investment in maintaining your home now can save you from bigger problems in the long run.