Are your kitchen cabinet lights flickering or not working at all? It may be time to replace them. While it may seem like a daunting task, replacing kitchen cabinet lights is actually a simple and straightforward process. In this guide, we will walk you through the steps of how to replace your kitchen cabinet lights and get your kitchen looking bright and beautiful once again.How to Replace Kitchen Cabinet Lights


How to Replace Kitchen Cabinet Lights


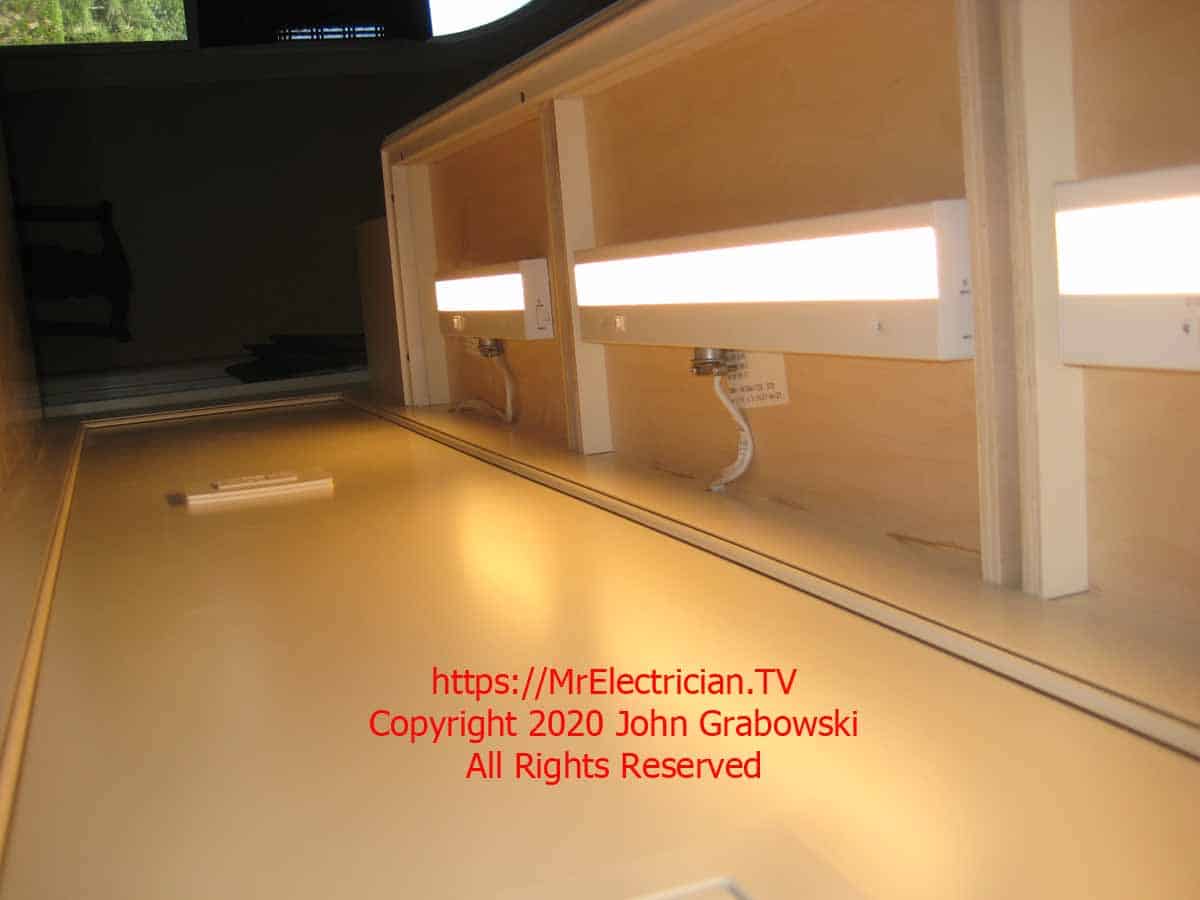
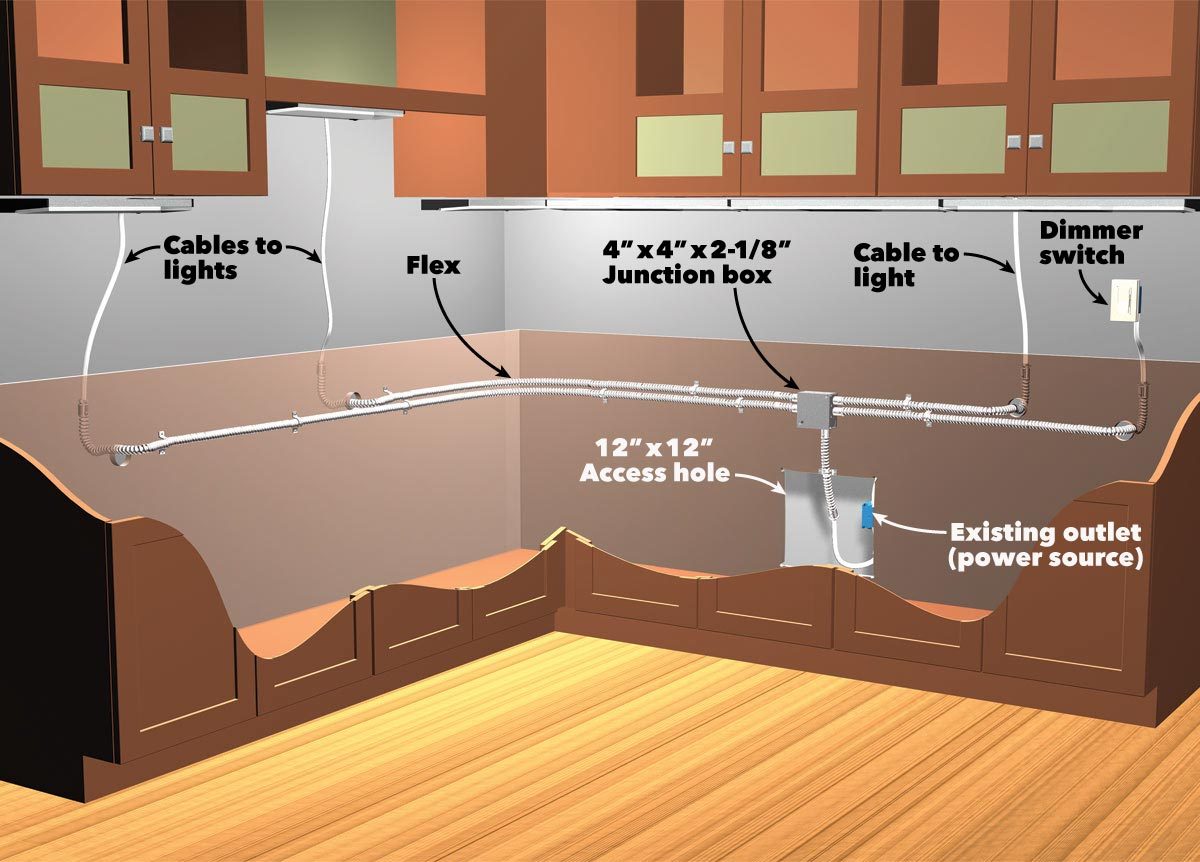


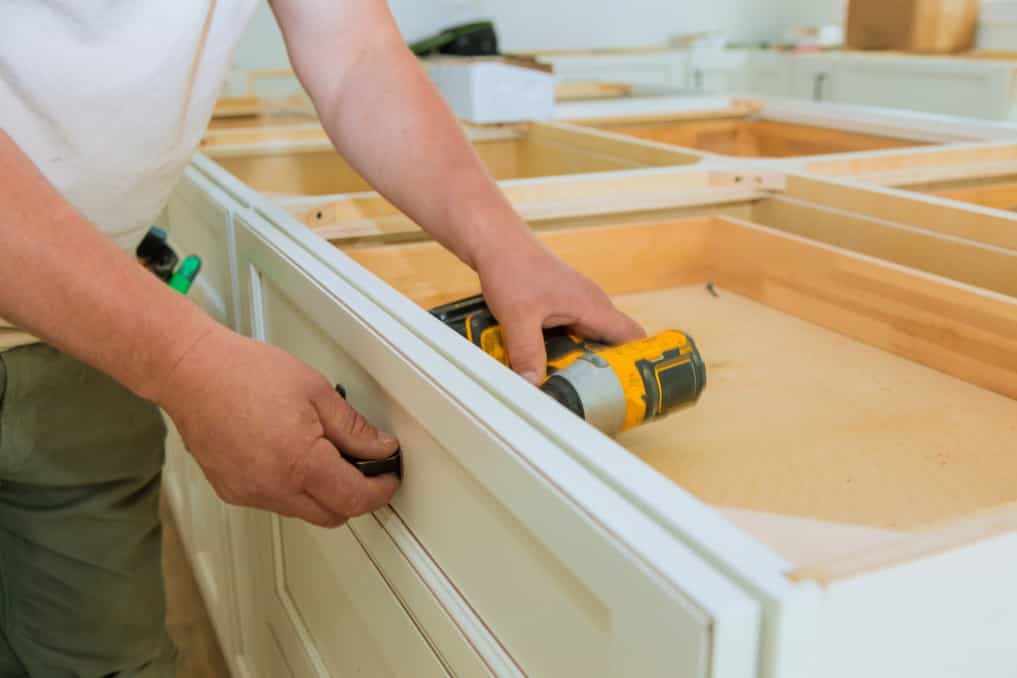
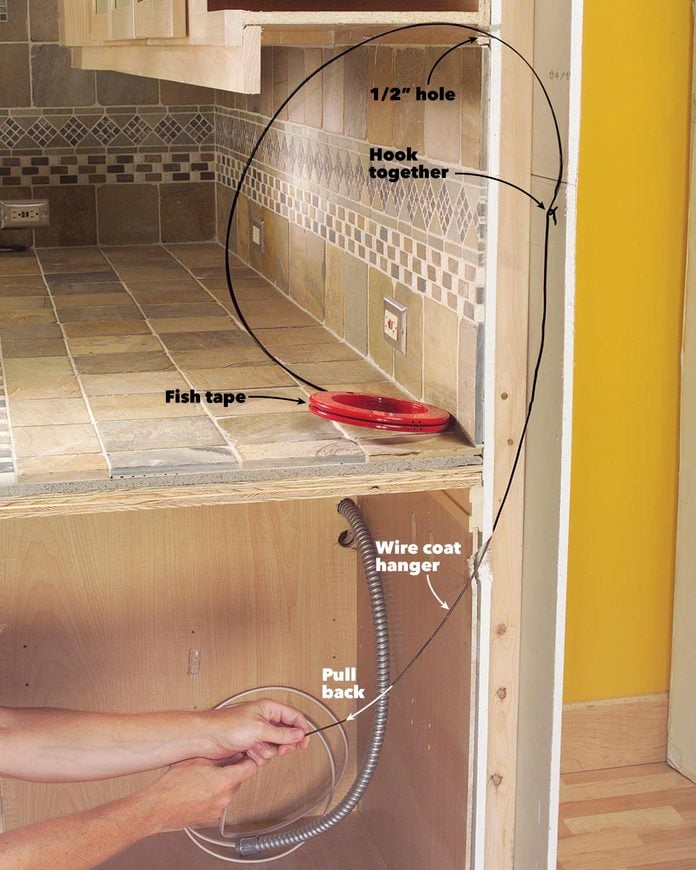
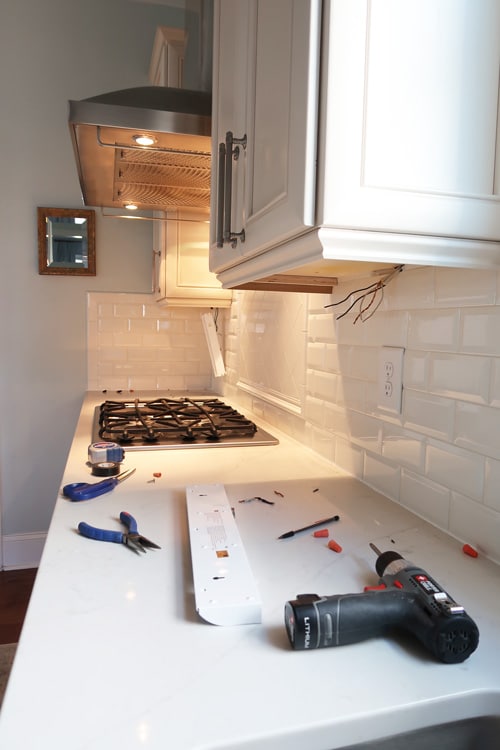
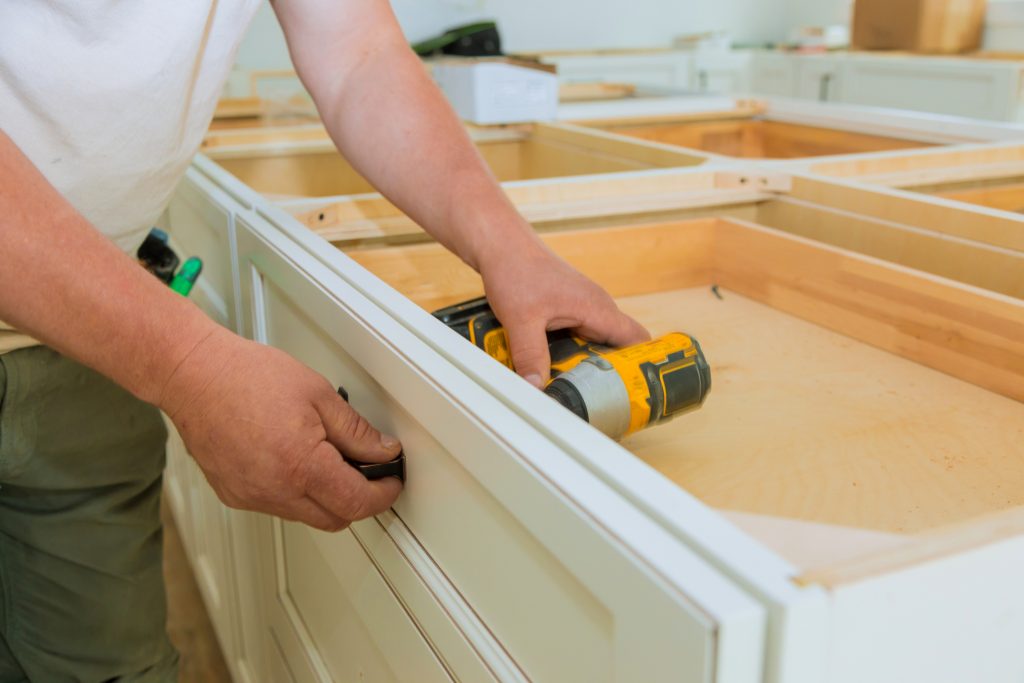
Before you begin, make sure to turn off the power to the kitchen cabinet lights at the circuit breaker. This is important to ensure your safety while working with electricity. Once the power is off, you can follow these steps to replace your kitchen cabinet lights: Step 1: Remove the old lights: Carefully unscrew and remove the old lights from the cabinet. Be sure to set them aside safely to avoid any damage. Step 2: Check the wiring: Before installing the new lights, check the wiring to make sure it is in good condition. If there are any loose or damaged wires, they will need to be replaced before proceeding. Step 3: Install the new lights: Using the mounting screws, install the new lights into the cabinet. Make sure to follow the manufacturer's instructions for proper installation. Step 4: Connect the wiring: Carefully connect the wiring from the new lights to the existing wiring in the cabinet. Make sure to securely tighten the wire nuts to ensure a safe and proper connection. Step 5: Test the lights: Once the wiring is connected, turn the power back on at the circuit breaker and test the lights to make sure they are working properly.Replacing Kitchen Cabinet Lights: A Step-by-Step Guide

Replacing Kitchen Cabinet Lights: A Step-by-Step Guide

Replacing kitchen cabinet lights can be a great DIY project for those with basic electrical skills. However, if you are not comfortable working with electricity, it is always best to hire a professional to ensure the job is done safely and correctly. If you do decide to tackle this project yourself, make sure to follow safety precautions and use the proper tools for the job. It is also important to carefully read the manufacturer's instructions for your specific lights to ensure proper installation.DIY Kitchen Cabinet Light Replacement

DIY Kitchen Cabinet Light Replacement


Here are a few tips and tricks to keep in mind when replacing your kitchen cabinet lights: Tip 1: Use LED lights for energy efficiency and long-lasting illumination. Tip 2: Choose lights with a color temperature that complements your kitchen's overall aesthetic. Tip 3: Consider installing lights with a dimming feature for added versatility. Tip 4: Don't forget to turn off the power before beginning any work.Replacing Kitchen Cabinet Lights: Tips and Tricks


Replacing Kitchen Cabinet Lights: Tips and Tricks


There is no one "best" way to replace kitchen cabinet lights, as it will depend on your specific lights and wiring setup. However, following the manufacturer's instructions and using proper safety precautions will ensure the job is done effectively and safely. If you are unsure about any step in the process, it is always best to consult a professional for guidance.The Best Way to Replace Kitchen Cabinet Lights


The Best Way to Replace Kitchen Cabinet Lights


While replacing kitchen cabinet lights may seem like a simple task, there are a few common mistakes that can easily be avoided: Mistake 1: Not turning off the power before beginning work. Mistake 2: Using incorrect tools for the job. Mistake 3: Not properly securing the wiring connections. Mistake 4: Not following the manufacturer's instructions for installation.Replacing Kitchen Cabinet Lights: Common Mistakes to Avoid


Replacing Kitchen Cabinet Lights: Common Mistakes to Avoid


To successfully replace your kitchen cabinet lights, you will need the following tools: 1. Screwdriver - for removing and installing the lights. 2. Wire cutters/strippers - for cutting and stripping the wiring. 3. Pliers - for securely tightening wire nuts. 4. Voltage tester - for ensuring the power is off before beginning work.Replacing Kitchen Cabinet Lights: Tools You'll Need

Replacing Kitchen Cabinet Lights: Tools You'll Need


When it comes to choosing the right bulbs for your kitchen cabinet lights, there are a few factors to consider: 1. Brightness - make sure the bulbs provide enough light for your needs. 2. Color temperature - choose a color that complements your kitchen's overall aesthetic. 3. Energy efficiency - opt for LED bulbs for long-lasting and energy-efficient lighting.Replacing Kitchen Cabinet Lights: Choosing the Right Bulbs


Replacing Kitchen Cabinet Lights: Choosing the Right Bulbs

If you encounter any issues while replacing your kitchen cabinet lights, here are a few troubleshooting tips: Issue 1: Lights not turning on: Check the wiring connections to make sure they are secure. Also, make sure the power is turned on at the circuit breaker. Issue 2: Lights flickering: This could be caused by loose wiring connections or a faulty bulb. Check and tighten the connections, and if the problem persists, try replacing the bulb. Issue 3: Lights not dimming properly: Make sure the dimming feature is compatible with your lights and that it is properly wired.Replacing Kitchen Cabinet Lights: How to Troubleshoot Common Issues

Replacing Kitchen Cabinet Lights: How to Troubleshoot Common Issues
Ultimately, the decision to hire a professional or tackle the project yourself will depend on your comfort level and the complexity of the job. If you are not confident in your electrical skills, it is best to hire a professional to ensure the job is done safely and correctly. However, if you are confident in your abilities and follow proper safety precautions, replacing kitchen cabinet lights can be a rewarding DIY project. Now that you know the steps and tips for replacing kitchen cabinet lights, you can confidently tackle this project and give your kitchen a fresh and bright new look. Just remember to always prioritize safety and consult a professional if you encounter any issues or have any doubts.Replacing Kitchen Cabinet Lights: Hiring a Professional vs. DIY


Replacing Kitchen Cabinet Lights: Hiring a Professional vs. DIY


Why Replace Your Kitchen Cabinet Light?
Enhance Aesthetics and Functionality
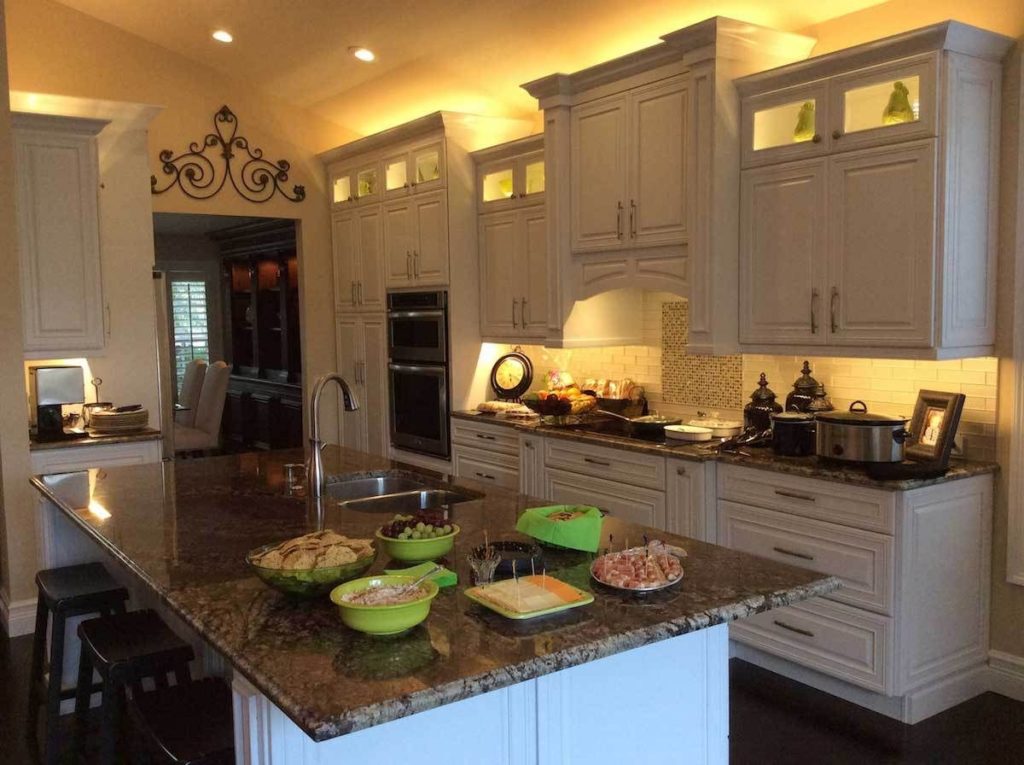
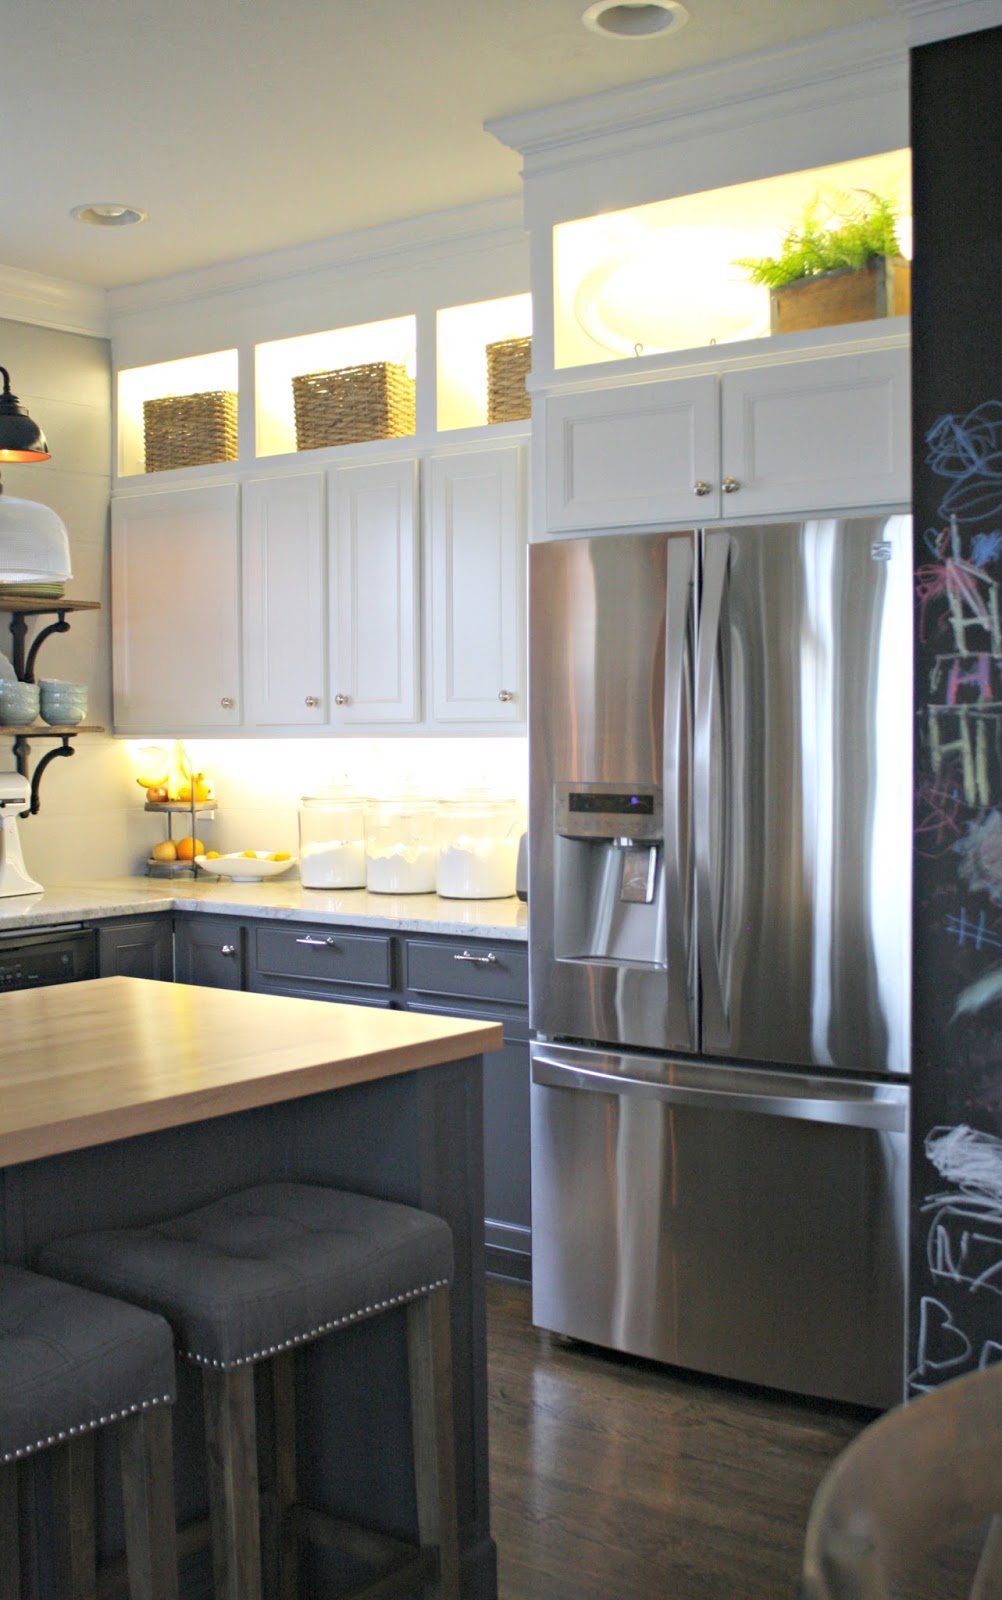
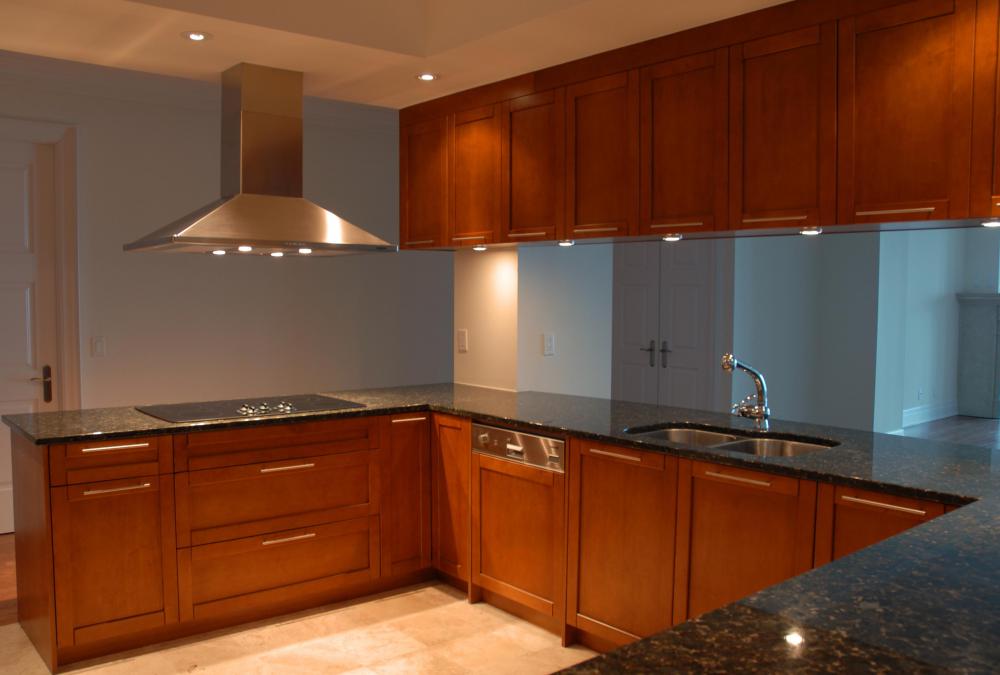
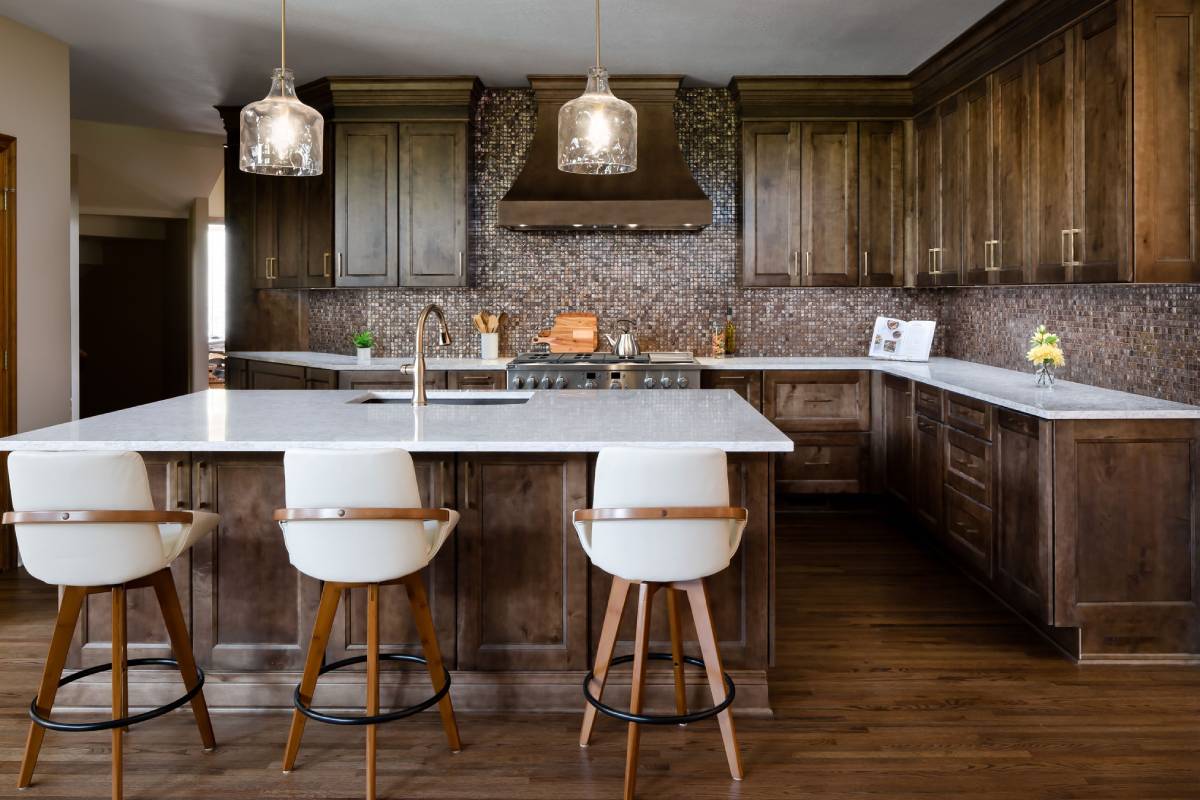
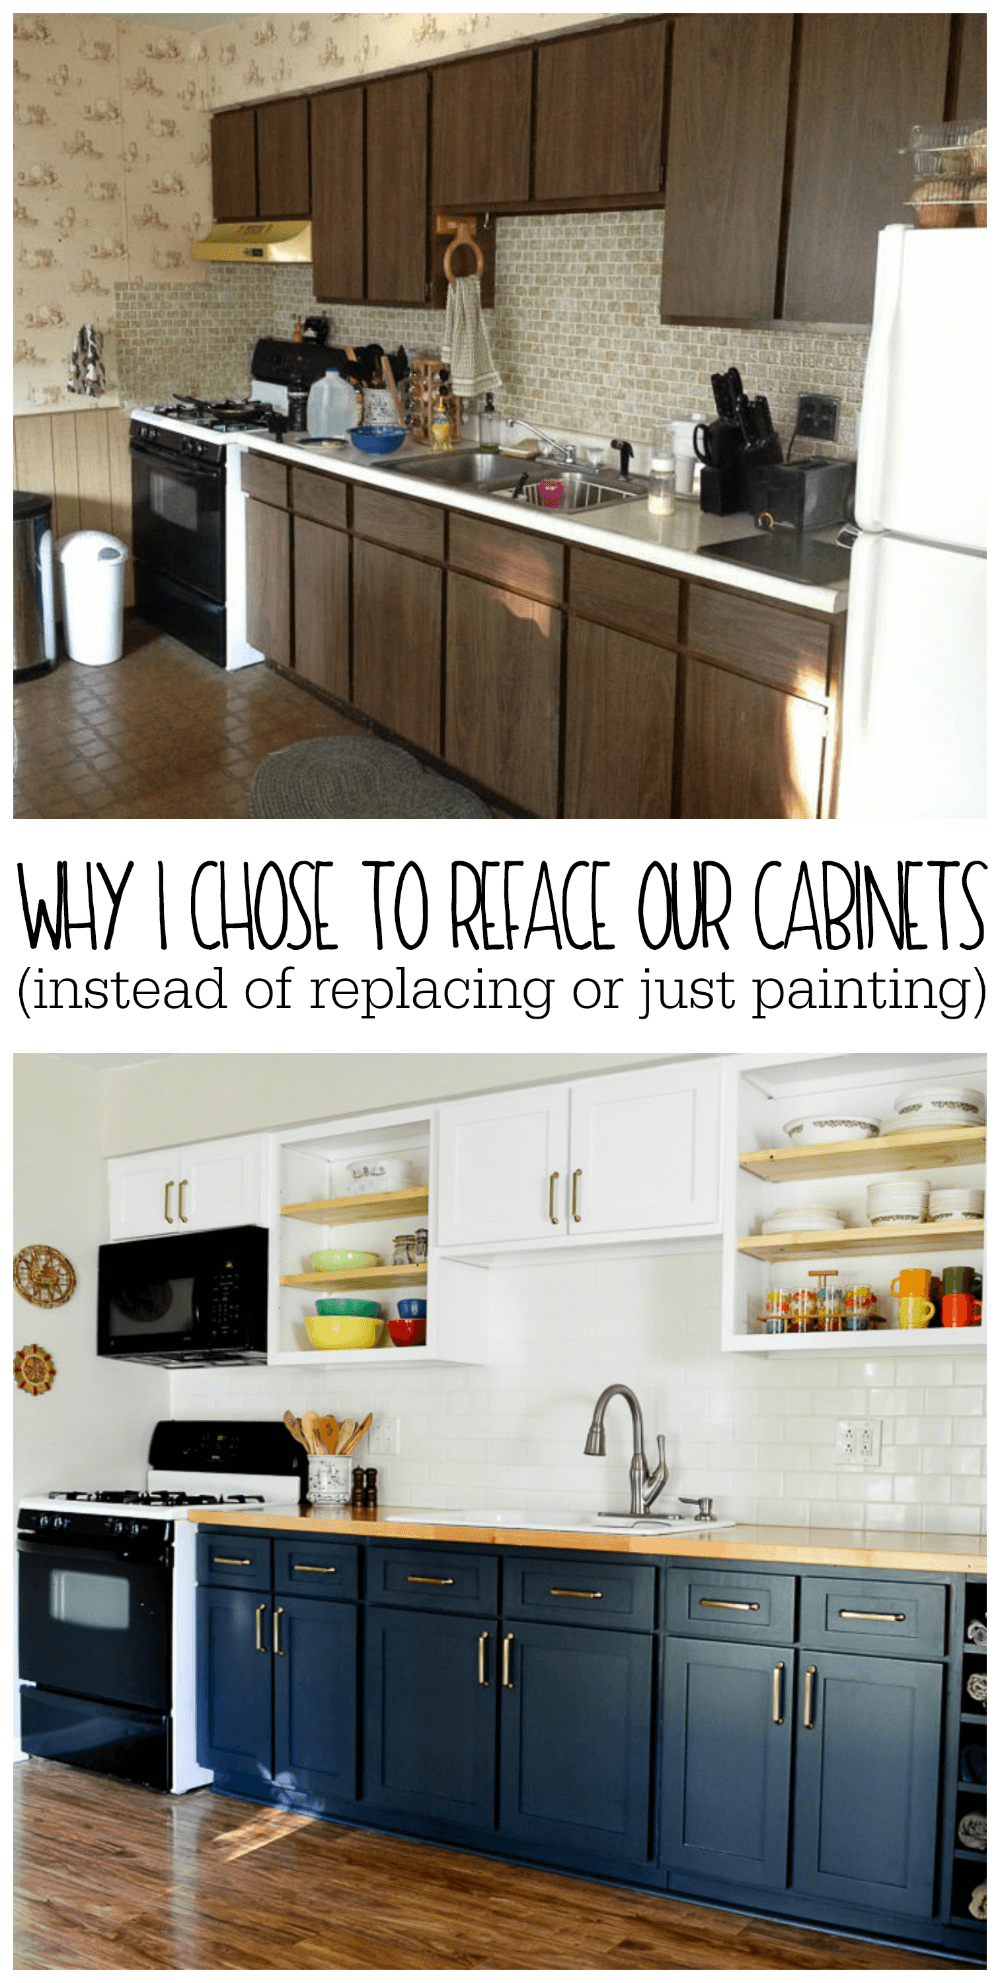
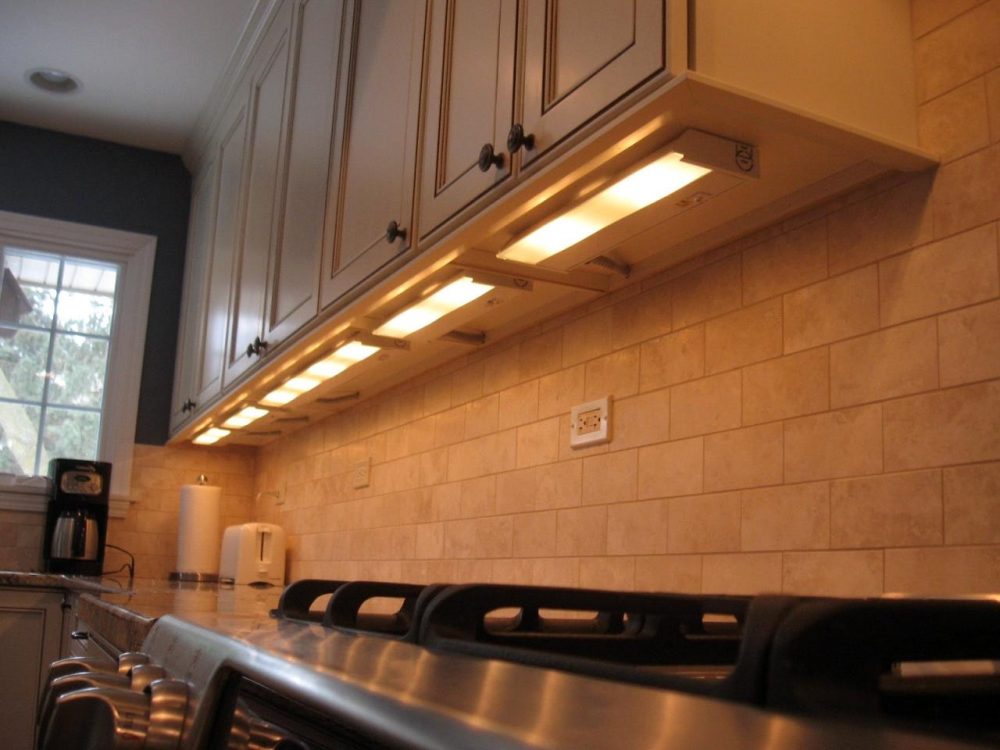
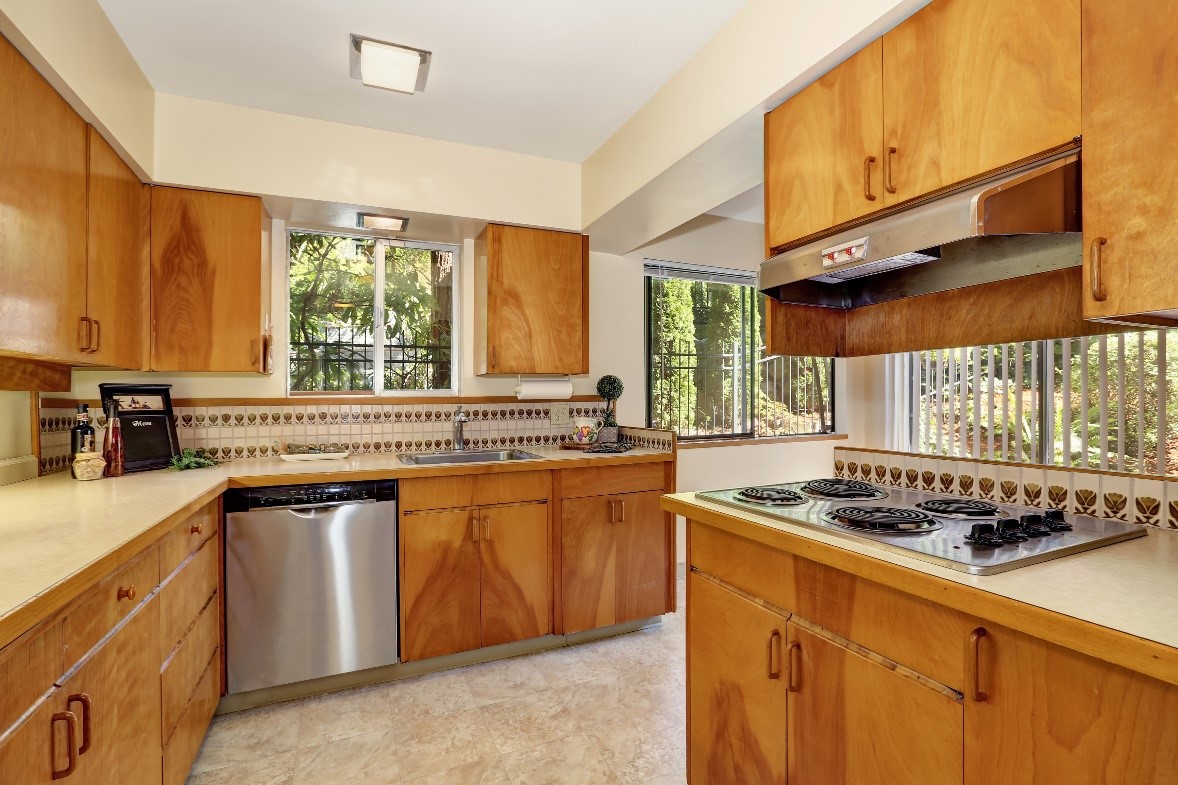
 One of the easiest and most effective ways to give your kitchen a fresh, updated look is by replacing the cabinet lighting. Not only does it add visual appeal, but it also improves the functionality of your kitchen. With the right lighting, you can create a warm and inviting atmosphere, making it the perfect place to gather with family and friends.
Kitchen cabinet lighting
plays a crucial role in highlighting the beauty of your cabinetry and the overall design of your kitchen. It can help create a sense of depth and dimension, making your space feel larger and more open. By replacing your old, outdated lights with modern and energy-efficient options, you can transform the look and feel of your kitchen without breaking the bank.
One of the easiest and most effective ways to give your kitchen a fresh, updated look is by replacing the cabinet lighting. Not only does it add visual appeal, but it also improves the functionality of your kitchen. With the right lighting, you can create a warm and inviting atmosphere, making it the perfect place to gather with family and friends.
Kitchen cabinet lighting
plays a crucial role in highlighting the beauty of your cabinetry and the overall design of your kitchen. It can help create a sense of depth and dimension, making your space feel larger and more open. By replacing your old, outdated lights with modern and energy-efficient options, you can transform the look and feel of your kitchen without breaking the bank.
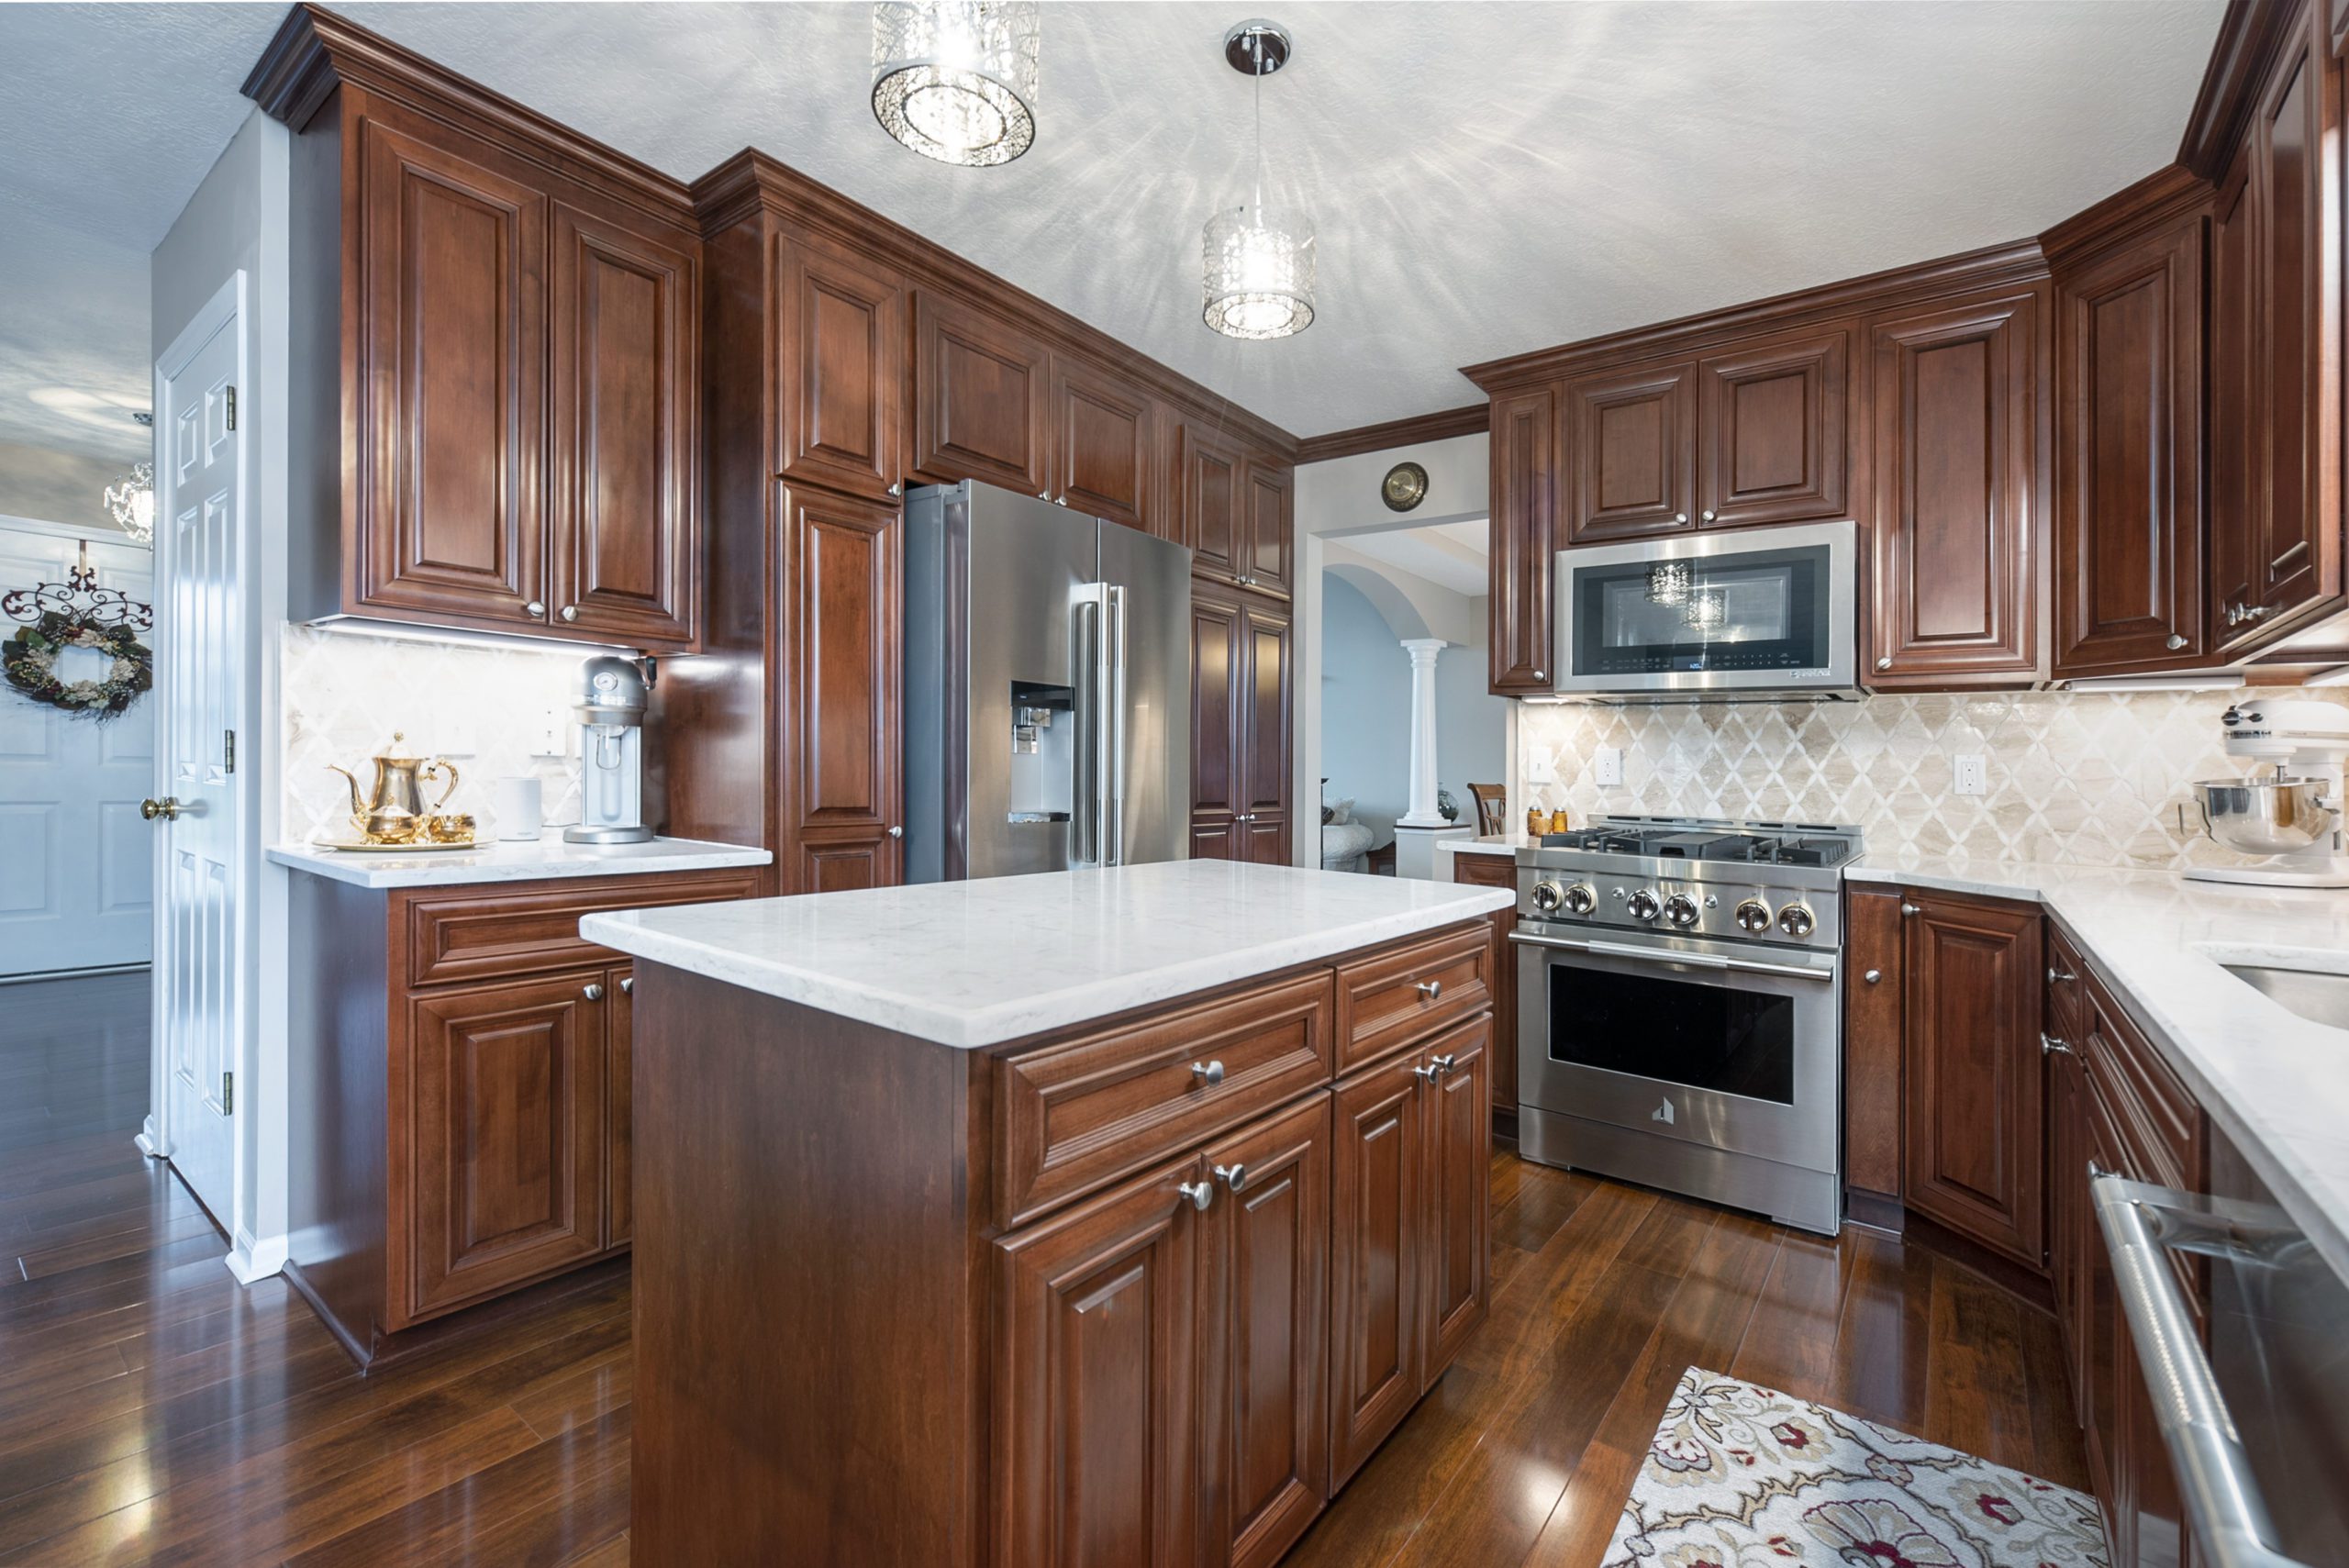
Improve Task Lighting
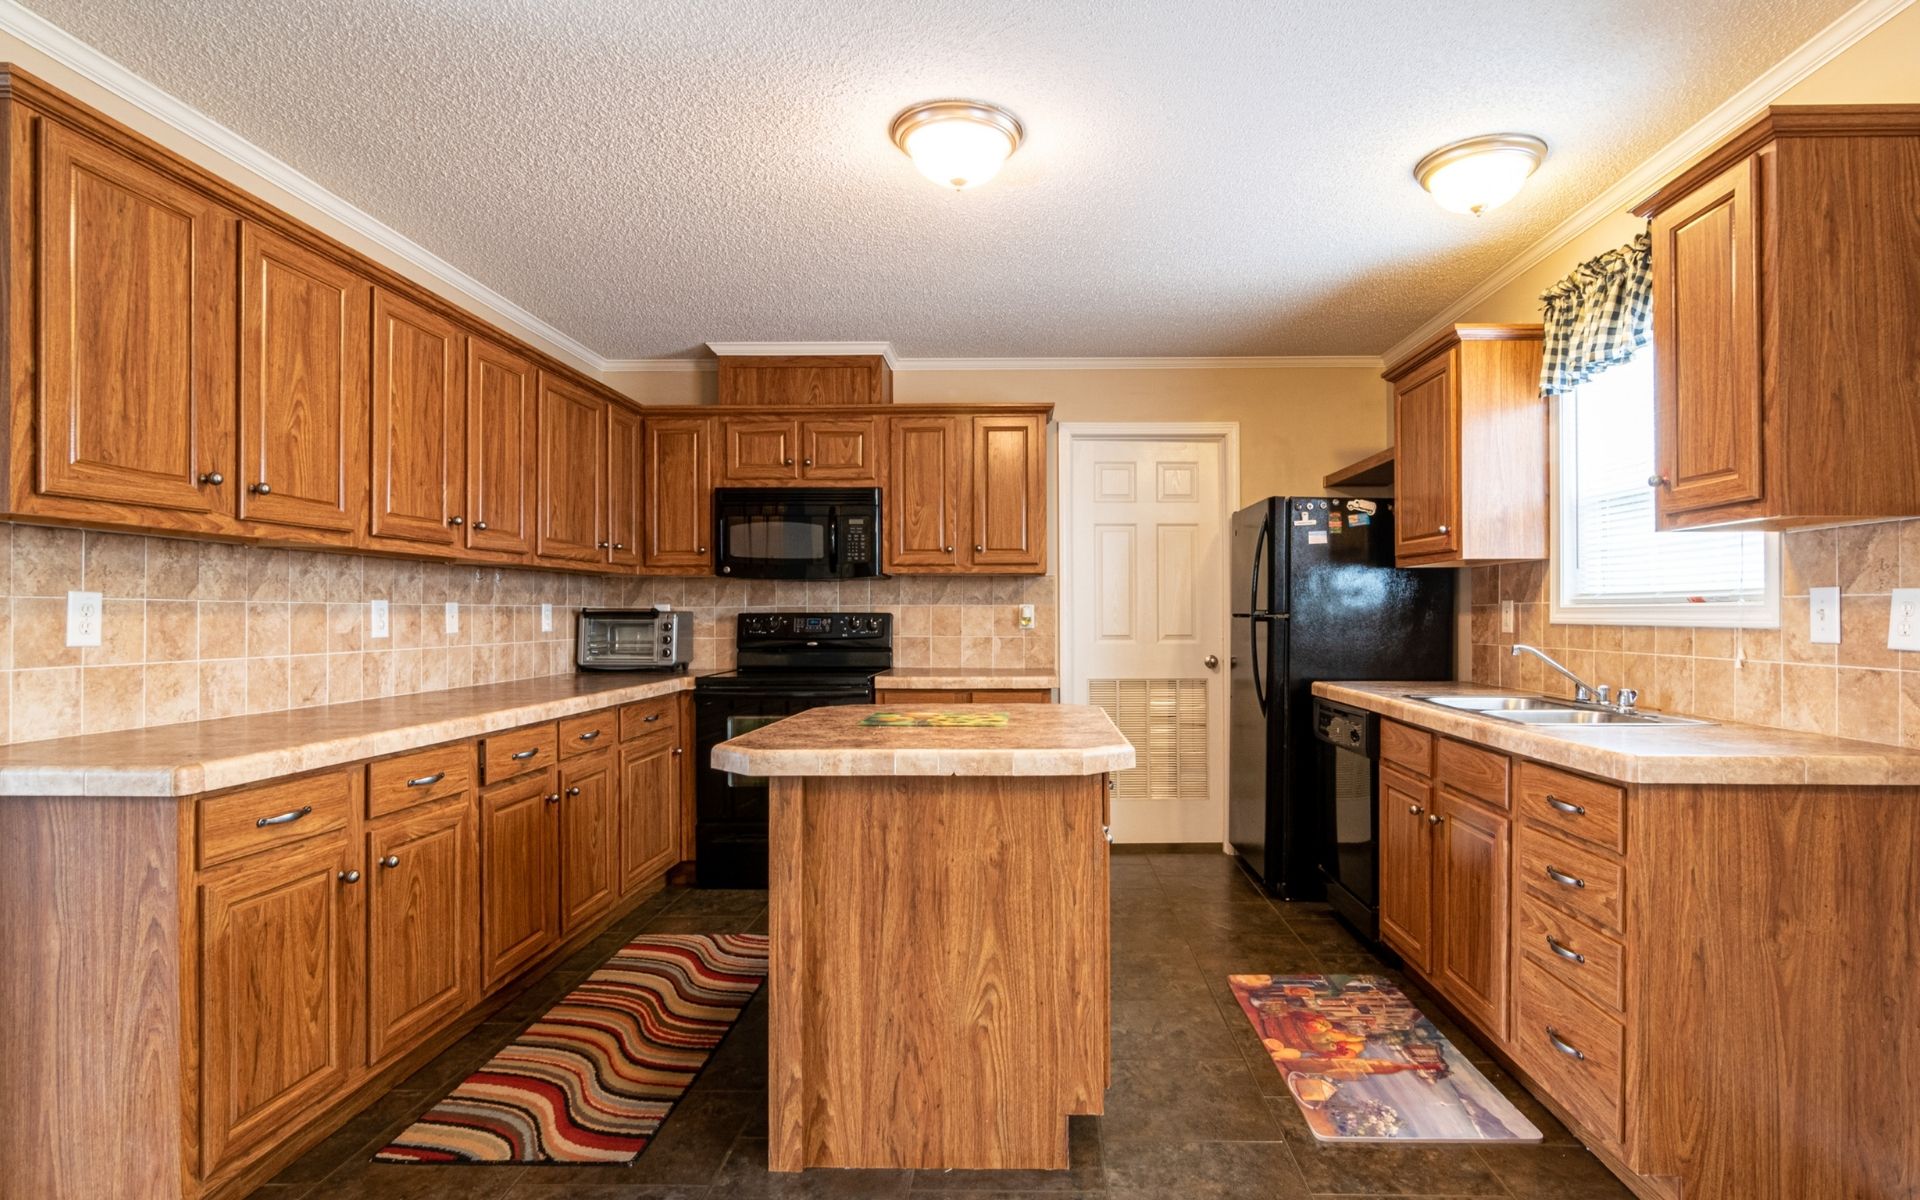
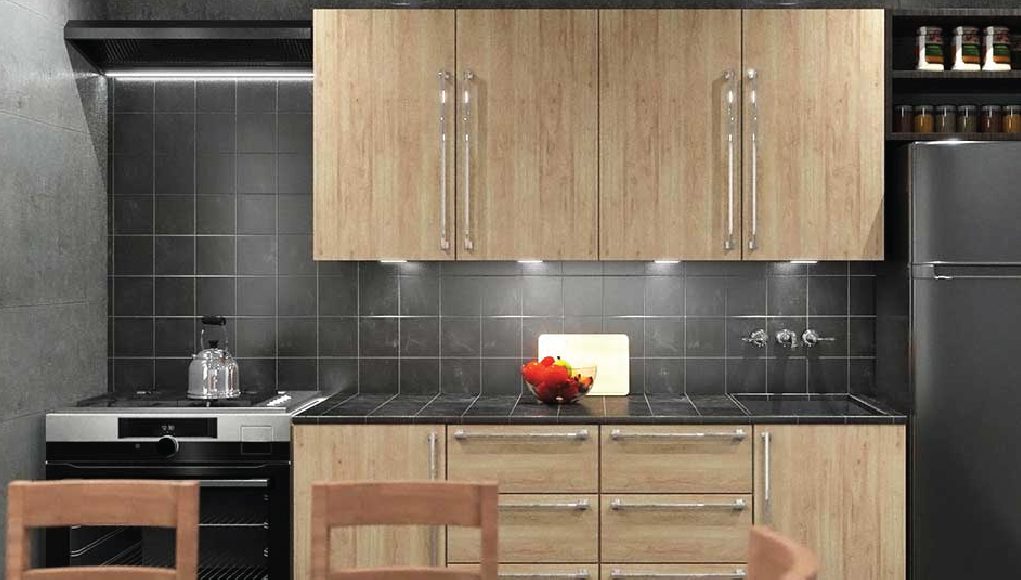
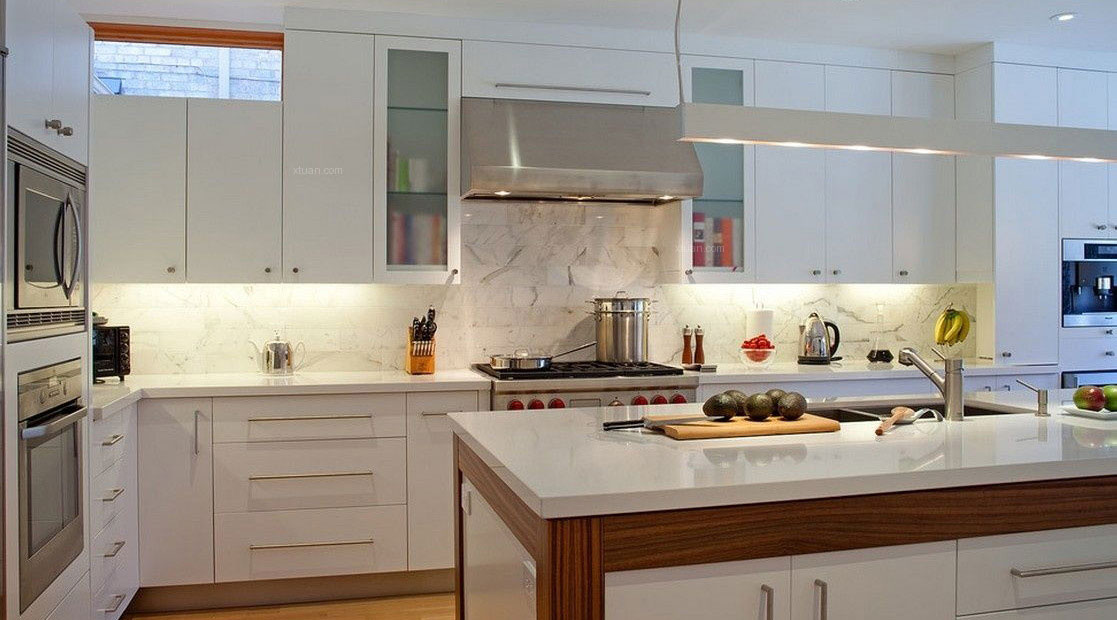
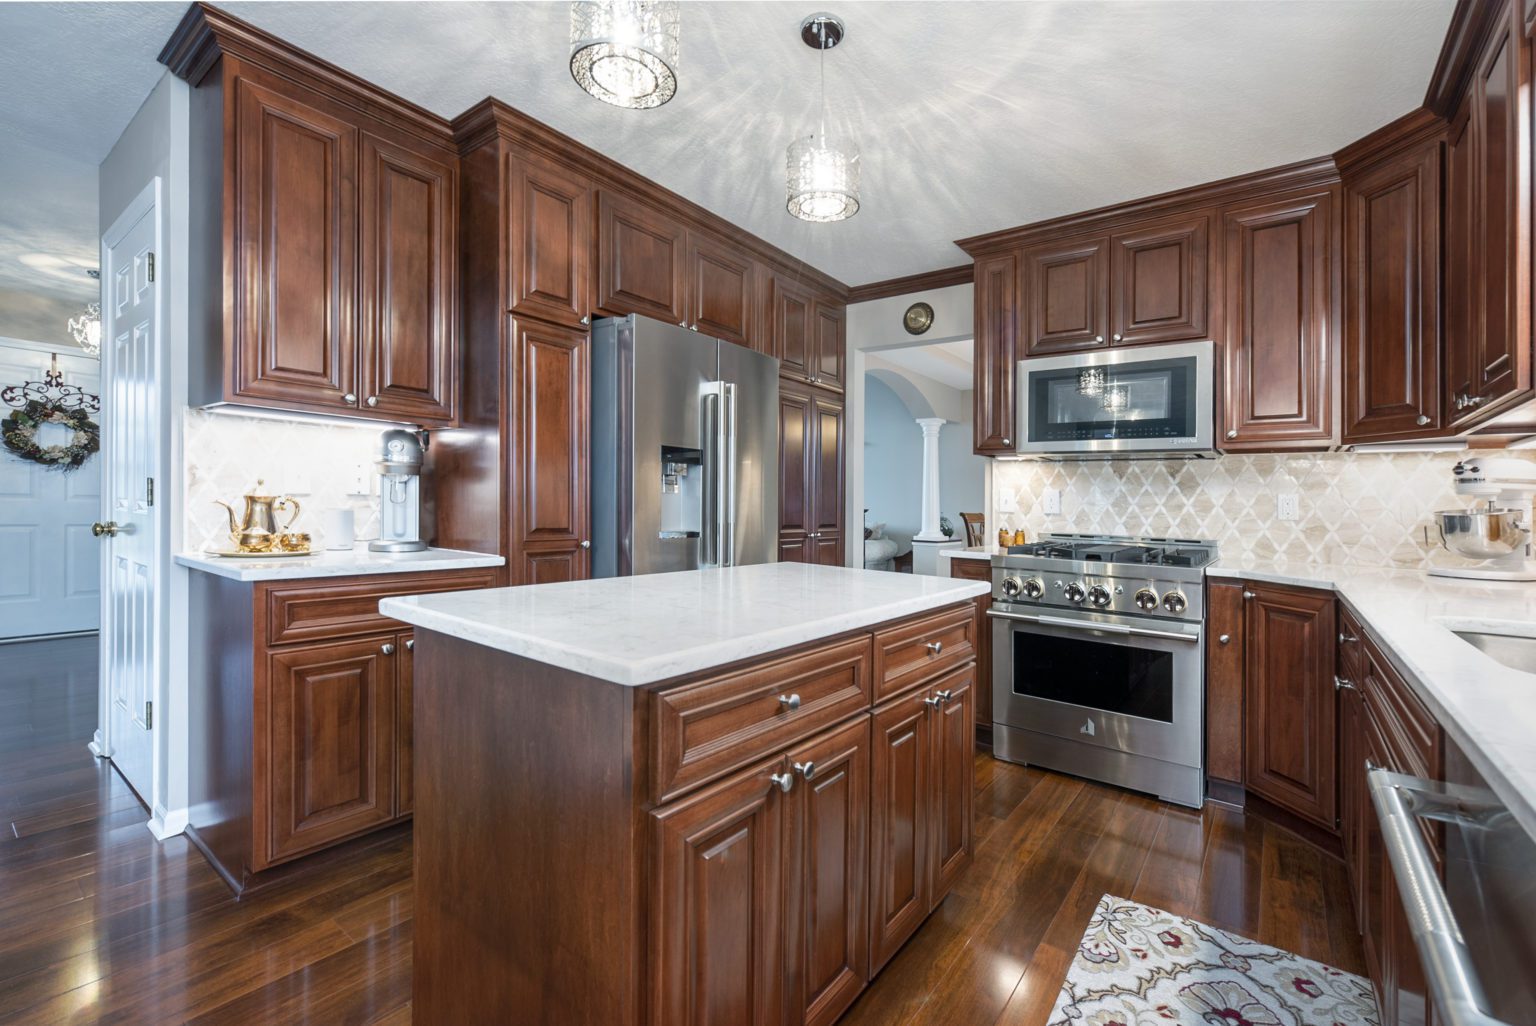
 Having proper lighting in your kitchen is essential, especially when it comes to performing tasks such as cooking and food preparation.
Kitchen cabinet lights
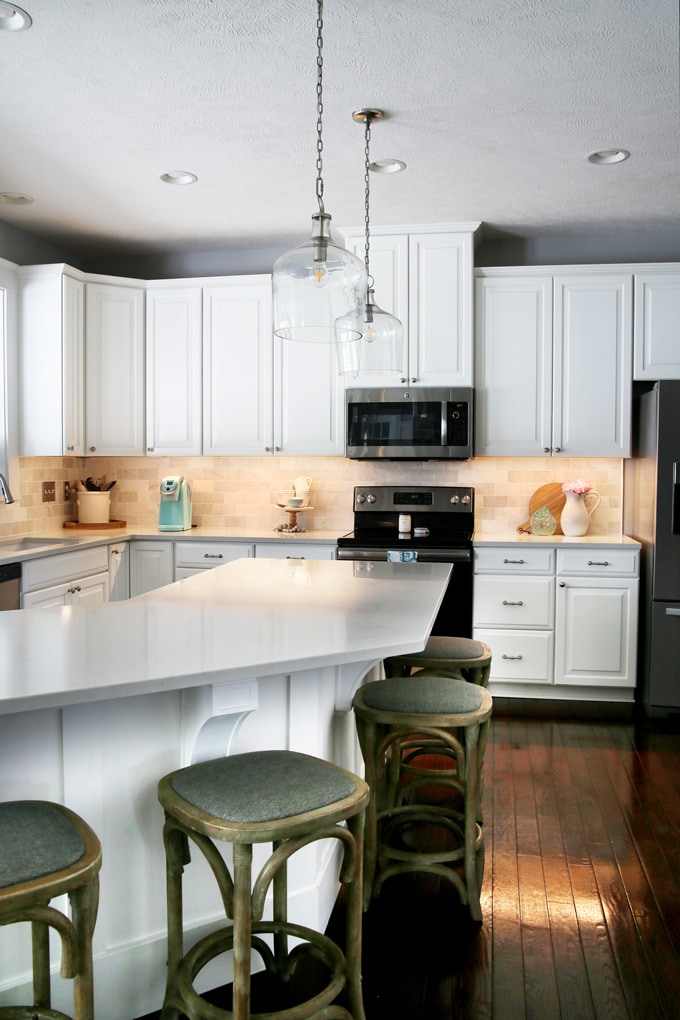
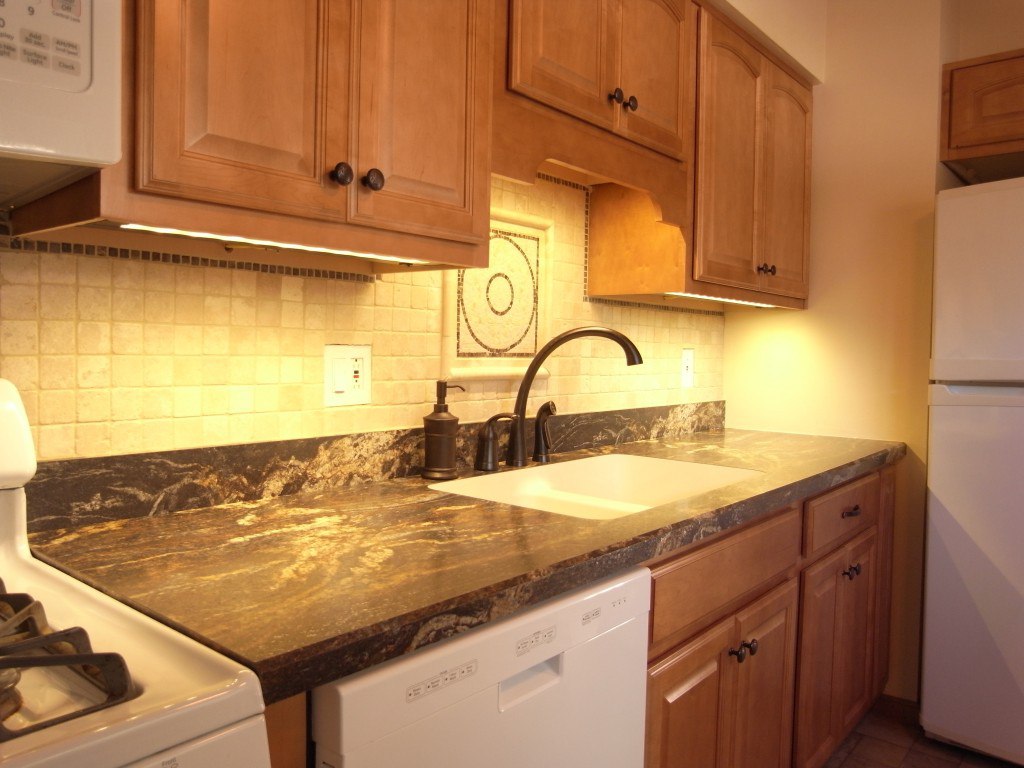
can provide much-needed illumination to your countertops, making it easier to see what you're doing. This is especially beneficial for those with darker or smaller kitchens, as it can make the space feel more open and bright.
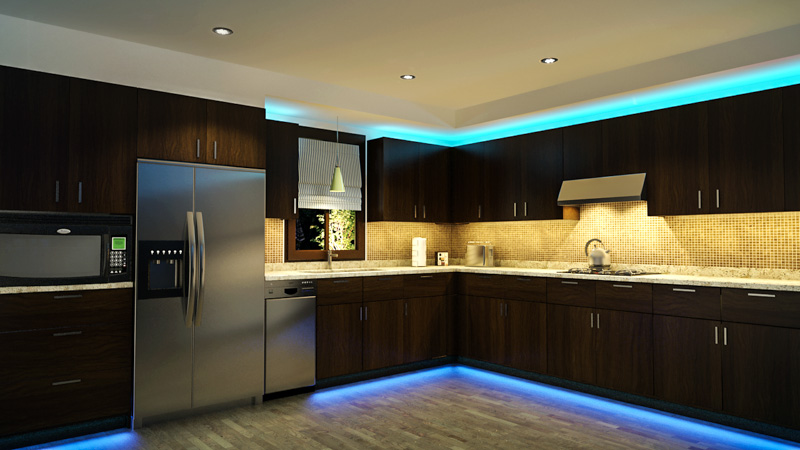
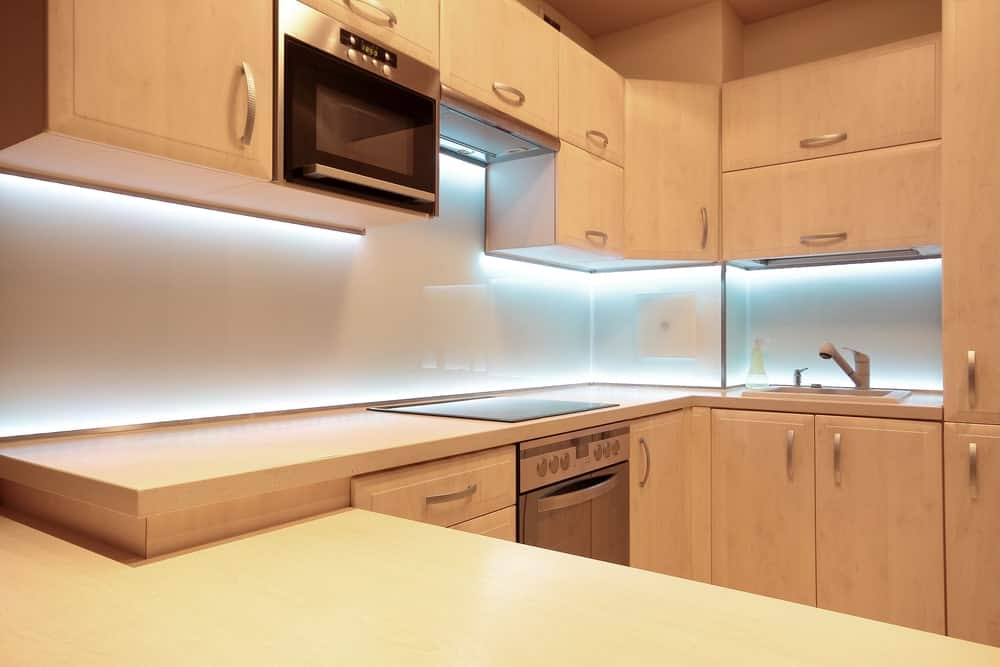
Furthermore, choosing the right type of lighting can also enhance the functionality of your kitchen. For example, under-cabinet lights can provide focused lighting for specific tasks, while over-cabinet lights can add ambient lighting to the overall space. By strategically placing different types of lights, you can create a well-lit and versatile kitchen that meets all your needs.
Having proper lighting in your kitchen is essential, especially when it comes to performing tasks such as cooking and food preparation.
Kitchen cabinet lights
can provide much-needed illumination to your countertops, making it easier to see what you're doing. This is especially beneficial for those with darker or smaller kitchens, as it can make the space feel more open and bright.
Furthermore, choosing the right type of lighting can also enhance the functionality of your kitchen. For example, under-cabinet lights can provide focused lighting for specific tasks, while over-cabinet lights can add ambient lighting to the overall space. By strategically placing different types of lights, you can create a well-lit and versatile kitchen that meets all your needs.
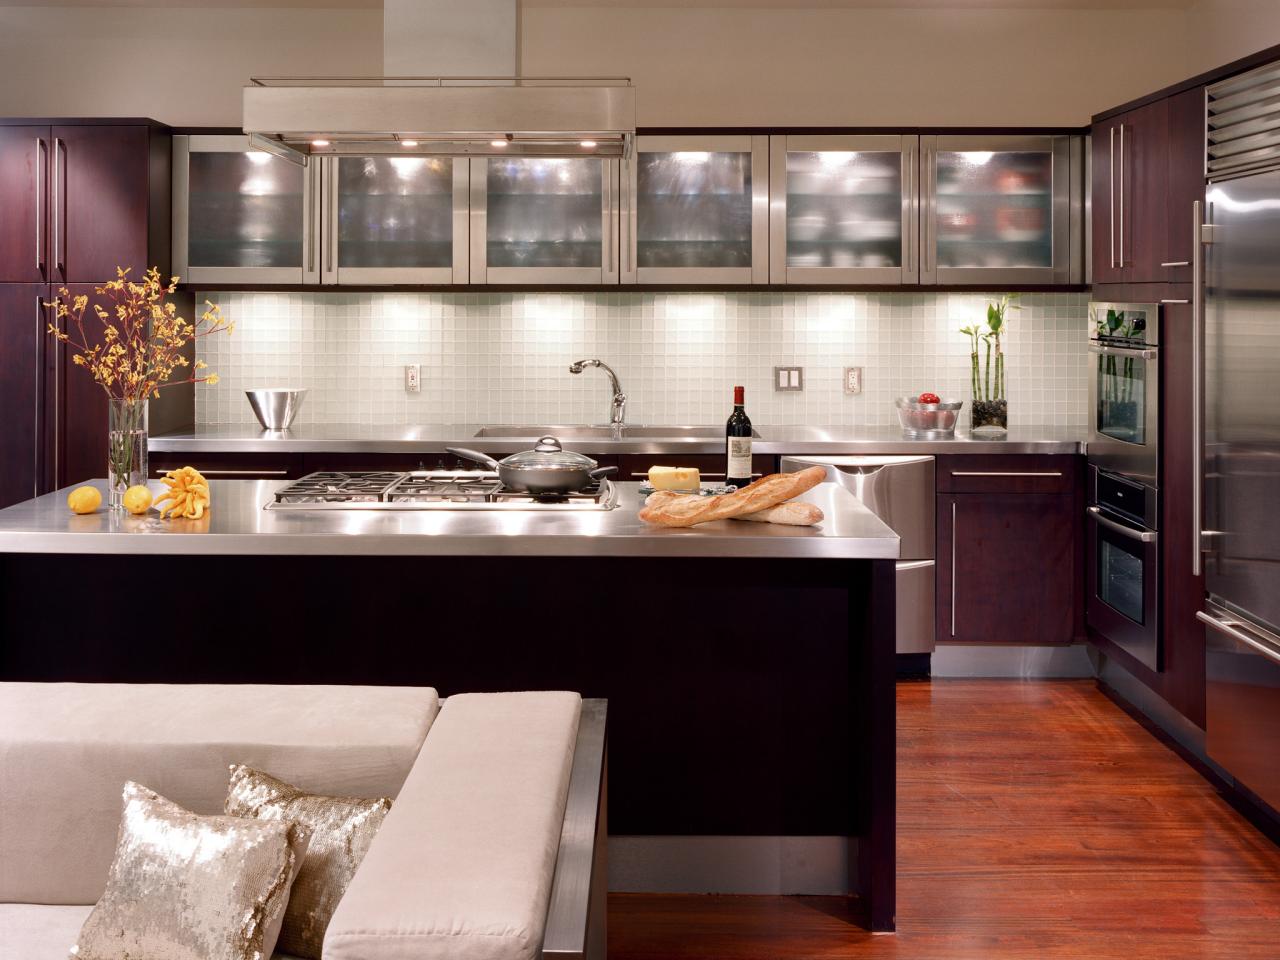
Save Energy and Money
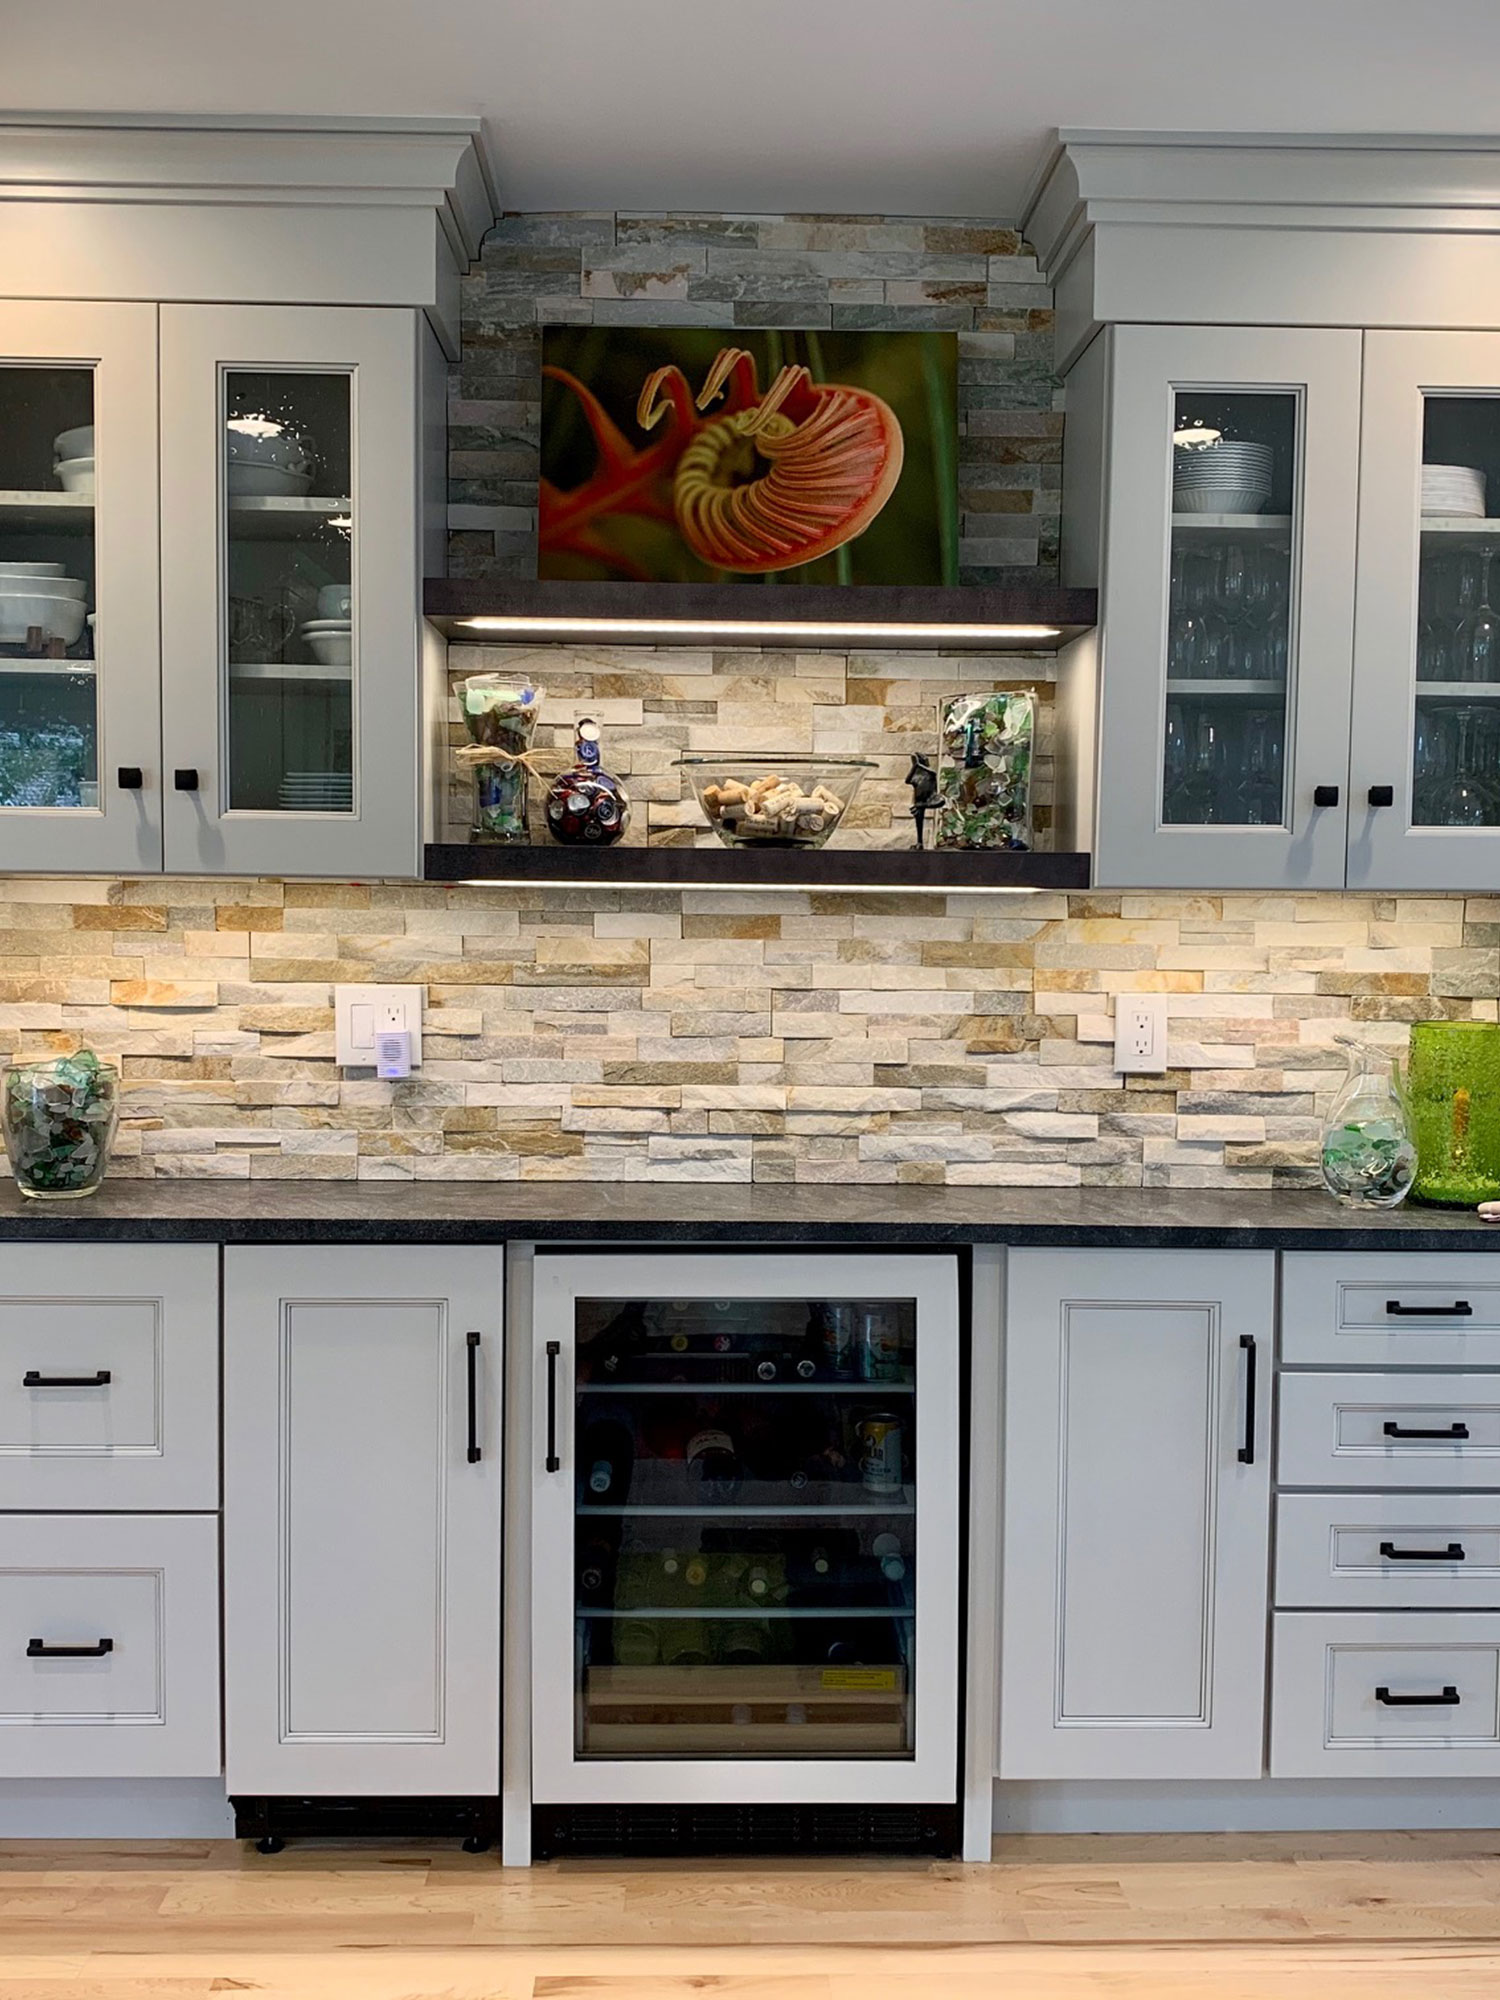
 Replacing your kitchen cabinet lights with energy-efficient options not only benefits the environment but also your wallet. LED lights, in particular, are a popular choice for
kitchen cabinet lighting
as they use less energy and last longer than traditional incandescent bulbs. This means you'll save on your energy bills and won't have to replace them as frequently, making them a cost-effective investment in the long run.
In conclusion, replacing your kitchen cabinet lights is a simple and effective way to improve the aesthetics and functionality of your kitchen. With the right lighting, you can create a warm and inviting atmosphere, enhance task lighting, and save energy and money. So why wait? Upgrade your kitchen cabinet lighting today and see the difference it can make in your home.
Replacing your kitchen cabinet lights with energy-efficient options not only benefits the environment but also your wallet. LED lights, in particular, are a popular choice for
kitchen cabinet lighting
as they use less energy and last longer than traditional incandescent bulbs. This means you'll save on your energy bills and won't have to replace them as frequently, making them a cost-effective investment in the long run.
In conclusion, replacing your kitchen cabinet lights is a simple and effective way to improve the aesthetics and functionality of your kitchen. With the right lighting, you can create a warm and inviting atmosphere, enhance task lighting, and save energy and money. So why wait? Upgrade your kitchen cabinet lighting today and see the difference it can make in your home.


:max_bytes(150000):strip_icc()/4154334-3-5c34cbeb46e0fb0001217b0f.jpg)
