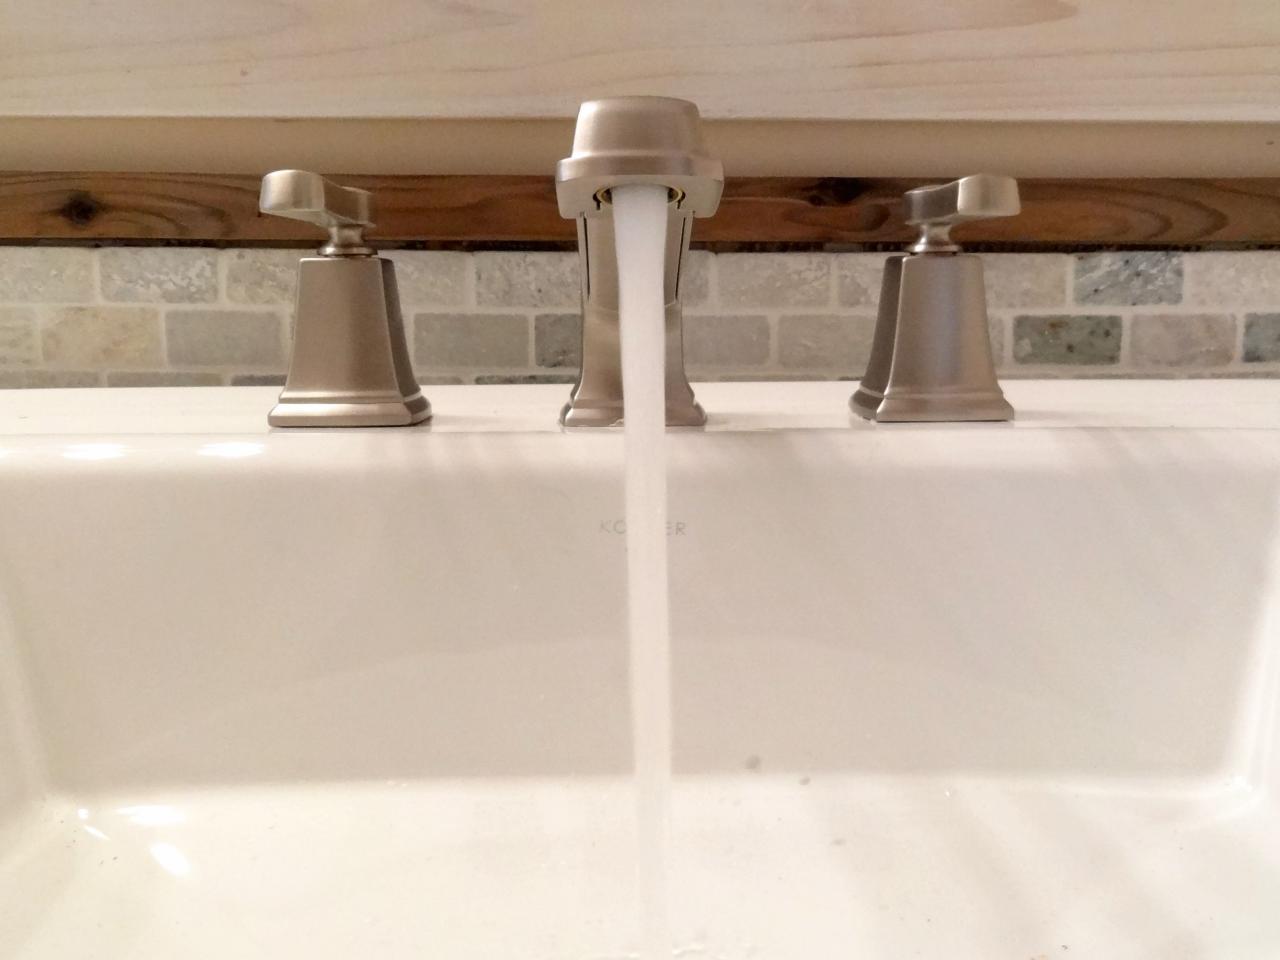
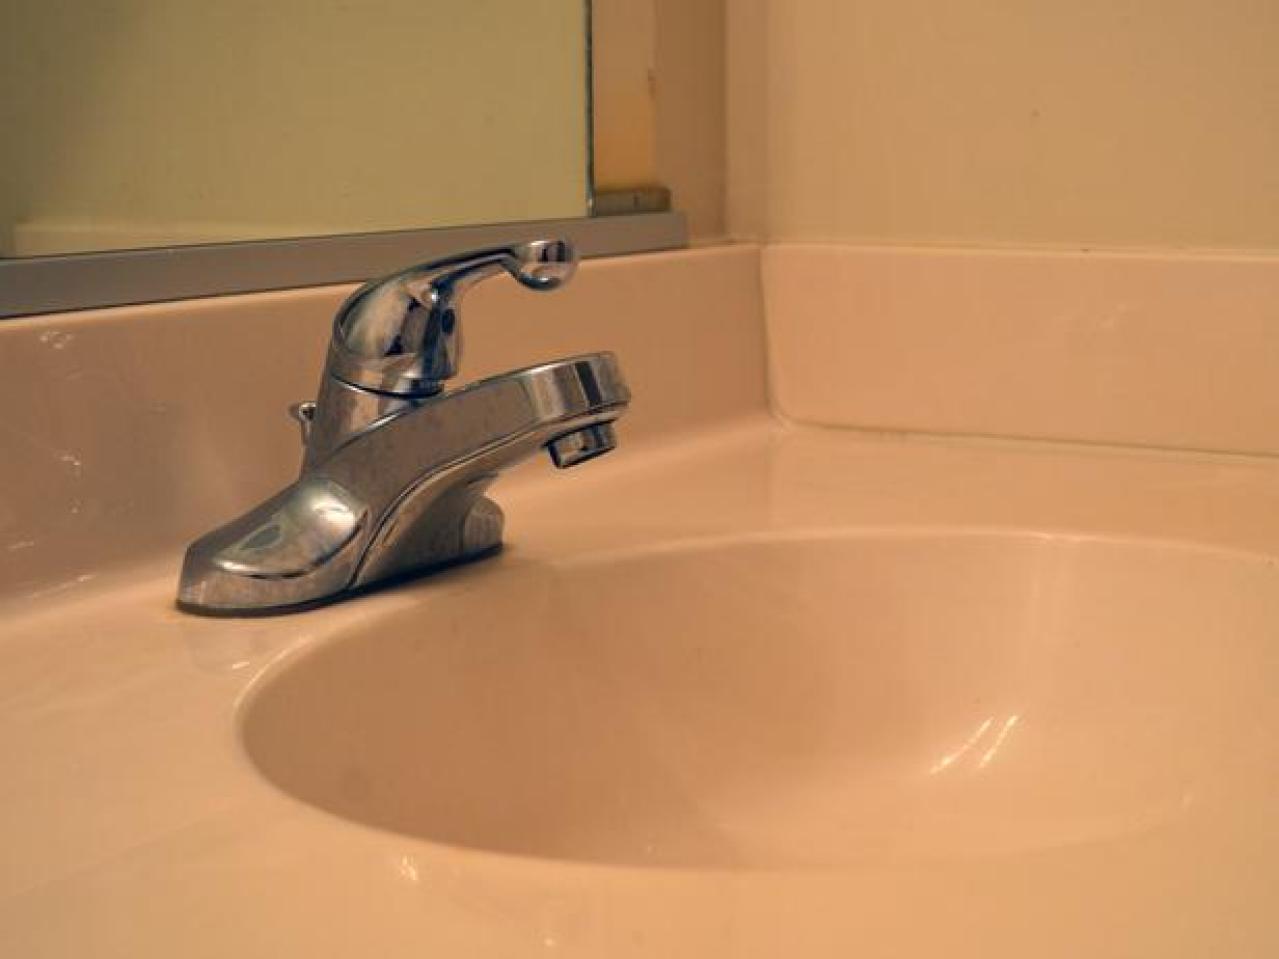
Are you tired of dealing with a slow draining bathroom sink? Or maybe your old faucet drain is damaged and needs to be replaced. Whatever the reason, replacing a bathroom faucet drain is a simple DIY project that can freshen up the look of your sink and improve its functionality. In this guide, we will walk you through the steps of replacing a bathroom faucet drain in your sink.How to Replace a Bathroom Faucet Drain


How to Replace a Bathroom Faucet Drain


The first step in replacing a bathroom sink drain is to gather all the necessary tools and materials. You will need a new faucet drain, adjustable pliers, a pipe wrench, plumber's putty, and a bucket or towel to catch any water that may spill out during the process.Replacing a Bathroom Sink Drain


Replacing a Bathroom Sink Drain


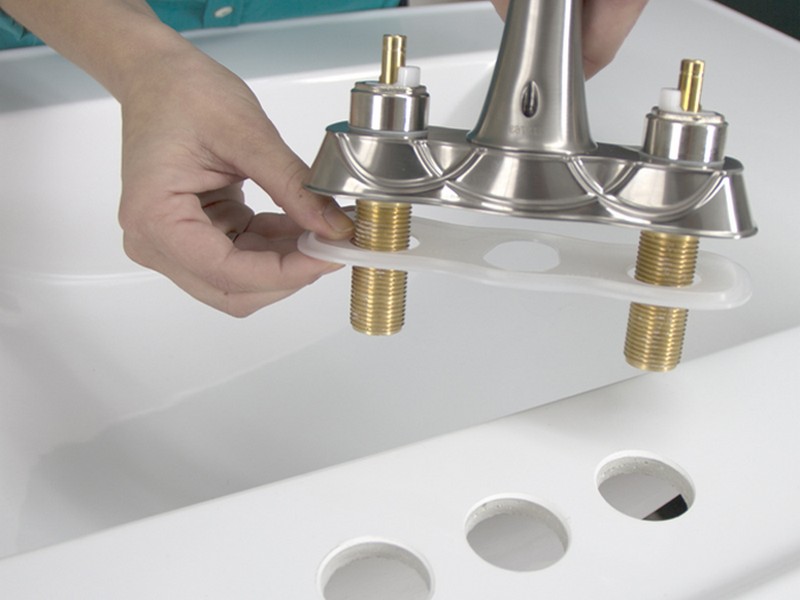


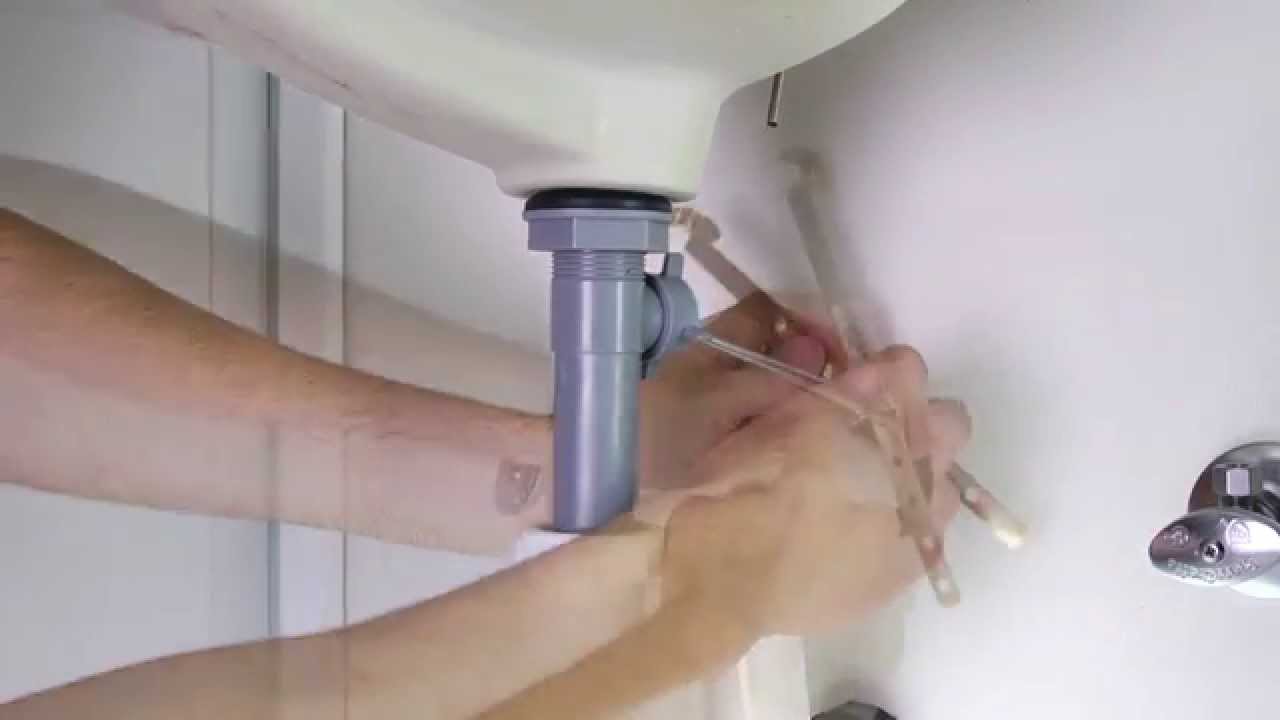
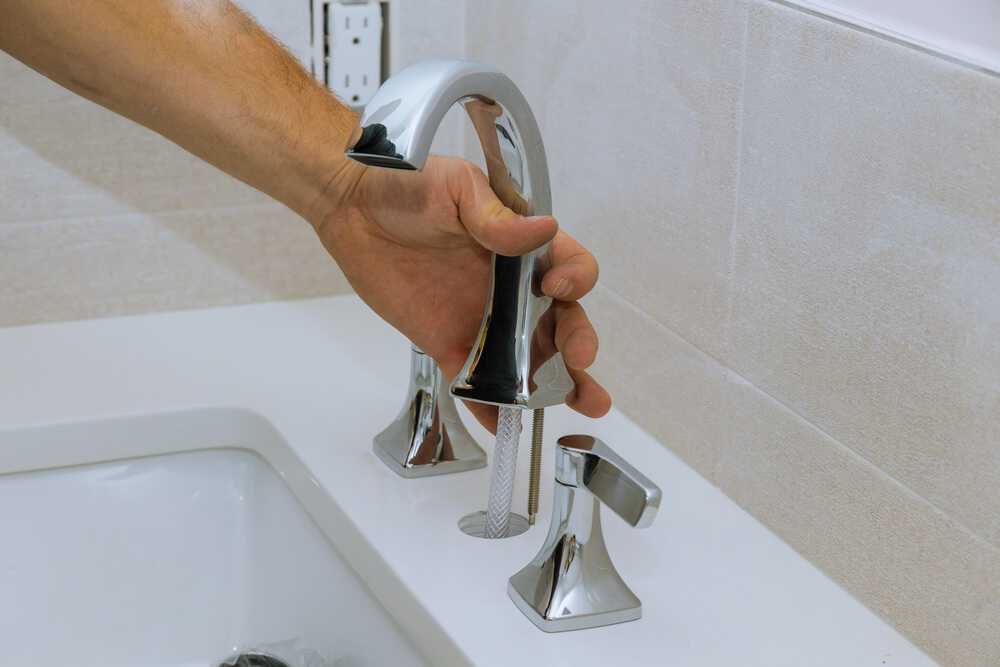
Step 1: Shut off the water supply - Before starting any plumbing project, it is essential to turn off the water supply to avoid any potential leaks or accidents. Step 2: Remove the old faucet drain - Use a pipe wrench or adjustable pliers to unscrew the old faucet drain and remove it from the sink. Step 3: Clean the area - Use a damp cloth to clean the area where the old faucet drain was removed. This will ensure a clean and smooth surface for the new drain to be installed. Step 4: Apply plumber's putty - Take a small amount of plumber's putty and roll it into a thin rope. Place it around the underside of the new faucet drain. Step 5: Install the new faucet drain - Carefully place the new faucet drain into the sink and tighten it with a pipe wrench or adjustable pliers. Step 6: Test for leaks - Turn the water supply back on and test the new faucet drain for any leaks. If there are no leaks, you have successfully replaced your bathroom sink drain!Step-by-Step Guide for Replacing a Faucet Drain in a Bathroom Sink


Step-by-Step Guide for Replacing a Faucet Drain in a Bathroom Sink


Replacing a bathroom sink drain is a simple and budget-friendly DIY project that can be done in a few easy steps. By doing it yourself, you can save money on hiring a plumber and also gain satisfaction from completing the project on your own.DIY Bathroom Sink Drain Replacement


DIY Bathroom Sink Drain Replacement


Here are a few tips and tricks to keep in mind while replacing a bathroom sink drain: - Make sure to turn off the water supply before starting the project to avoid any leaks or accidents. - Use a pipe wrench or adjustable pliers to loosen and tighten the faucet drain. - If the old faucet drain is stuck, use a lubricant such as WD-40 to help loosen it. - Clean the area thoroughly before installing the new faucet drain to ensure a secure fit.Replacing a Bathroom Sink Drain: Tips and Tricks


Replacing a Bathroom Sink Drain: Tips and Tricks


With the right tools and materials, replacing a bathroom sink drain can be a quick and easy process. By following the steps mentioned above, you can have a new and functional drain in your sink in no time.Quick and Easy Bathroom Sink Drain Replacement


Quick and Easy Bathroom Sink Drain Replacement


While replacing a bathroom sink drain is a simple project, there are a few common mistakes that you should avoid: - Forgetting to turn off the water supply before starting the project. - Not cleaning the area properly, leading to a faulty installation. - Using too much plumber's putty, which can cause it to squeeze out and create a mess.Replacing a Bathroom Sink Drain: Common Mistakes to Avoid


Replacing a Bathroom Sink Drain: Common Mistakes to Avoid


- New faucet drain - Adjustable pliers - Pipe wrench - Plumber's putty - Bucket or towelTools You'll Need for Replacing a Faucet Drain in a Bathroom Sink


Tools You'll Need for Replacing a Faucet Drain in a Bathroom Sink


Before starting the project, it is essential to know the type of faucet drain you need to purchase. Measure the diameter of your sink drain and make sure to get a faucet drain that fits properly. Additionally, familiarize yourself with the steps mentioned above to ensure a smooth and successful installation.Replacing a Bathroom Sink Drain: What to Know Before You Start


Replacing a Bathroom Sink Drain: What to Know Before You Start

To summarize, here is a step-by-step tutorial for replacing a faucet drain in a bathroom sink: 1. Shut off the water supply. 2. Remove the old faucet drain. 3. Clean the area. 4. Apply plumber's putty. 5. Install the new faucet drain. 6. Test for leaks. By following these steps, you can easily replace a bathroom sink drain and have a fresh and functional sink in your bathroom. So, don't put up with a slow or damaged faucet drain any longer and give your bathroom a quick and easy upgrade by replacing the drain yourself!Step-by-Step Tutorial for Replacing a Faucet Drain in a Bathroom Sink


Step-by-Step Tutorial for Replacing a Faucet Drain in a Bathroom Sink


Why Replacing Your Faucet Drain in Your Bathroom Sink is Essential for a Functional and Beautiful House Design

The Importance of a Faucet Drain in Your Bathroom Sink
 When it comes to home design, the bathroom plays a crucial role. It is a space where we start and end our day, and it should not only be functional but also visually appealing. However, one often overlooked aspect of bathroom design is the
faucet drain
. This small but essential component plays a significant role in the overall functionality and aesthetic of your bathroom sink.
When it comes to home design, the bathroom plays a crucial role. It is a space where we start and end our day, and it should not only be functional but also visually appealing. However, one often overlooked aspect of bathroom design is the
faucet drain
. This small but essential component plays a significant role in the overall functionality and aesthetic of your bathroom sink.
The Benefits of Replacing Your Faucet Drain
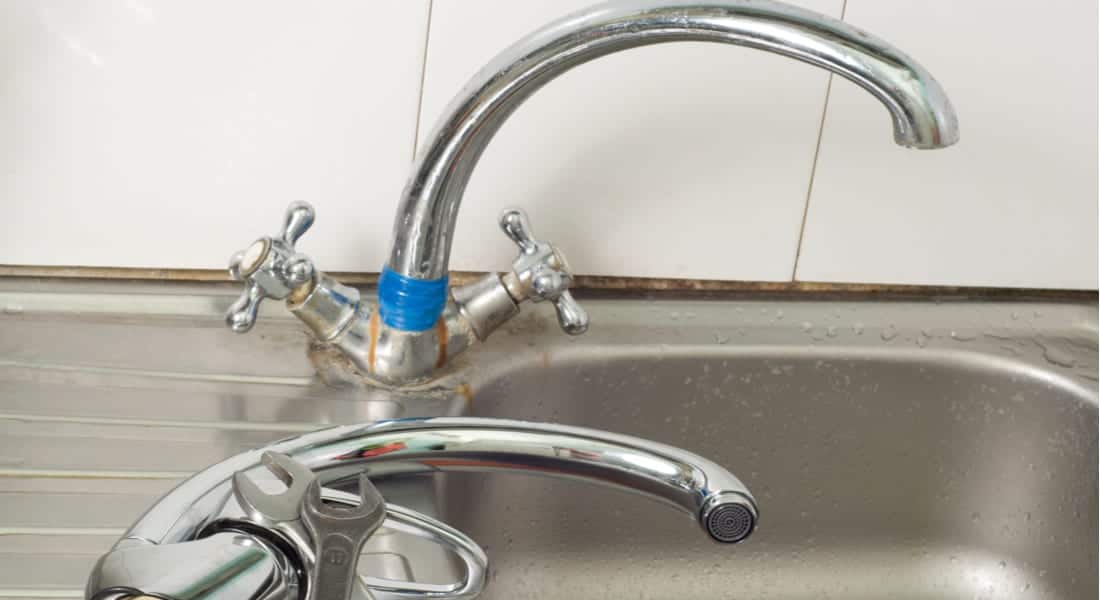
 Over time, faucet drains can become clogged with hair, soap scum, and other debris, leading to slow drainage and unpleasant odors. This not only affects the functionality of your sink but also detracts from its appearance. By
replacing
your faucet drain, you can improve drainage and prevent potential clogs, ensuring a clean and hygienic bathroom.
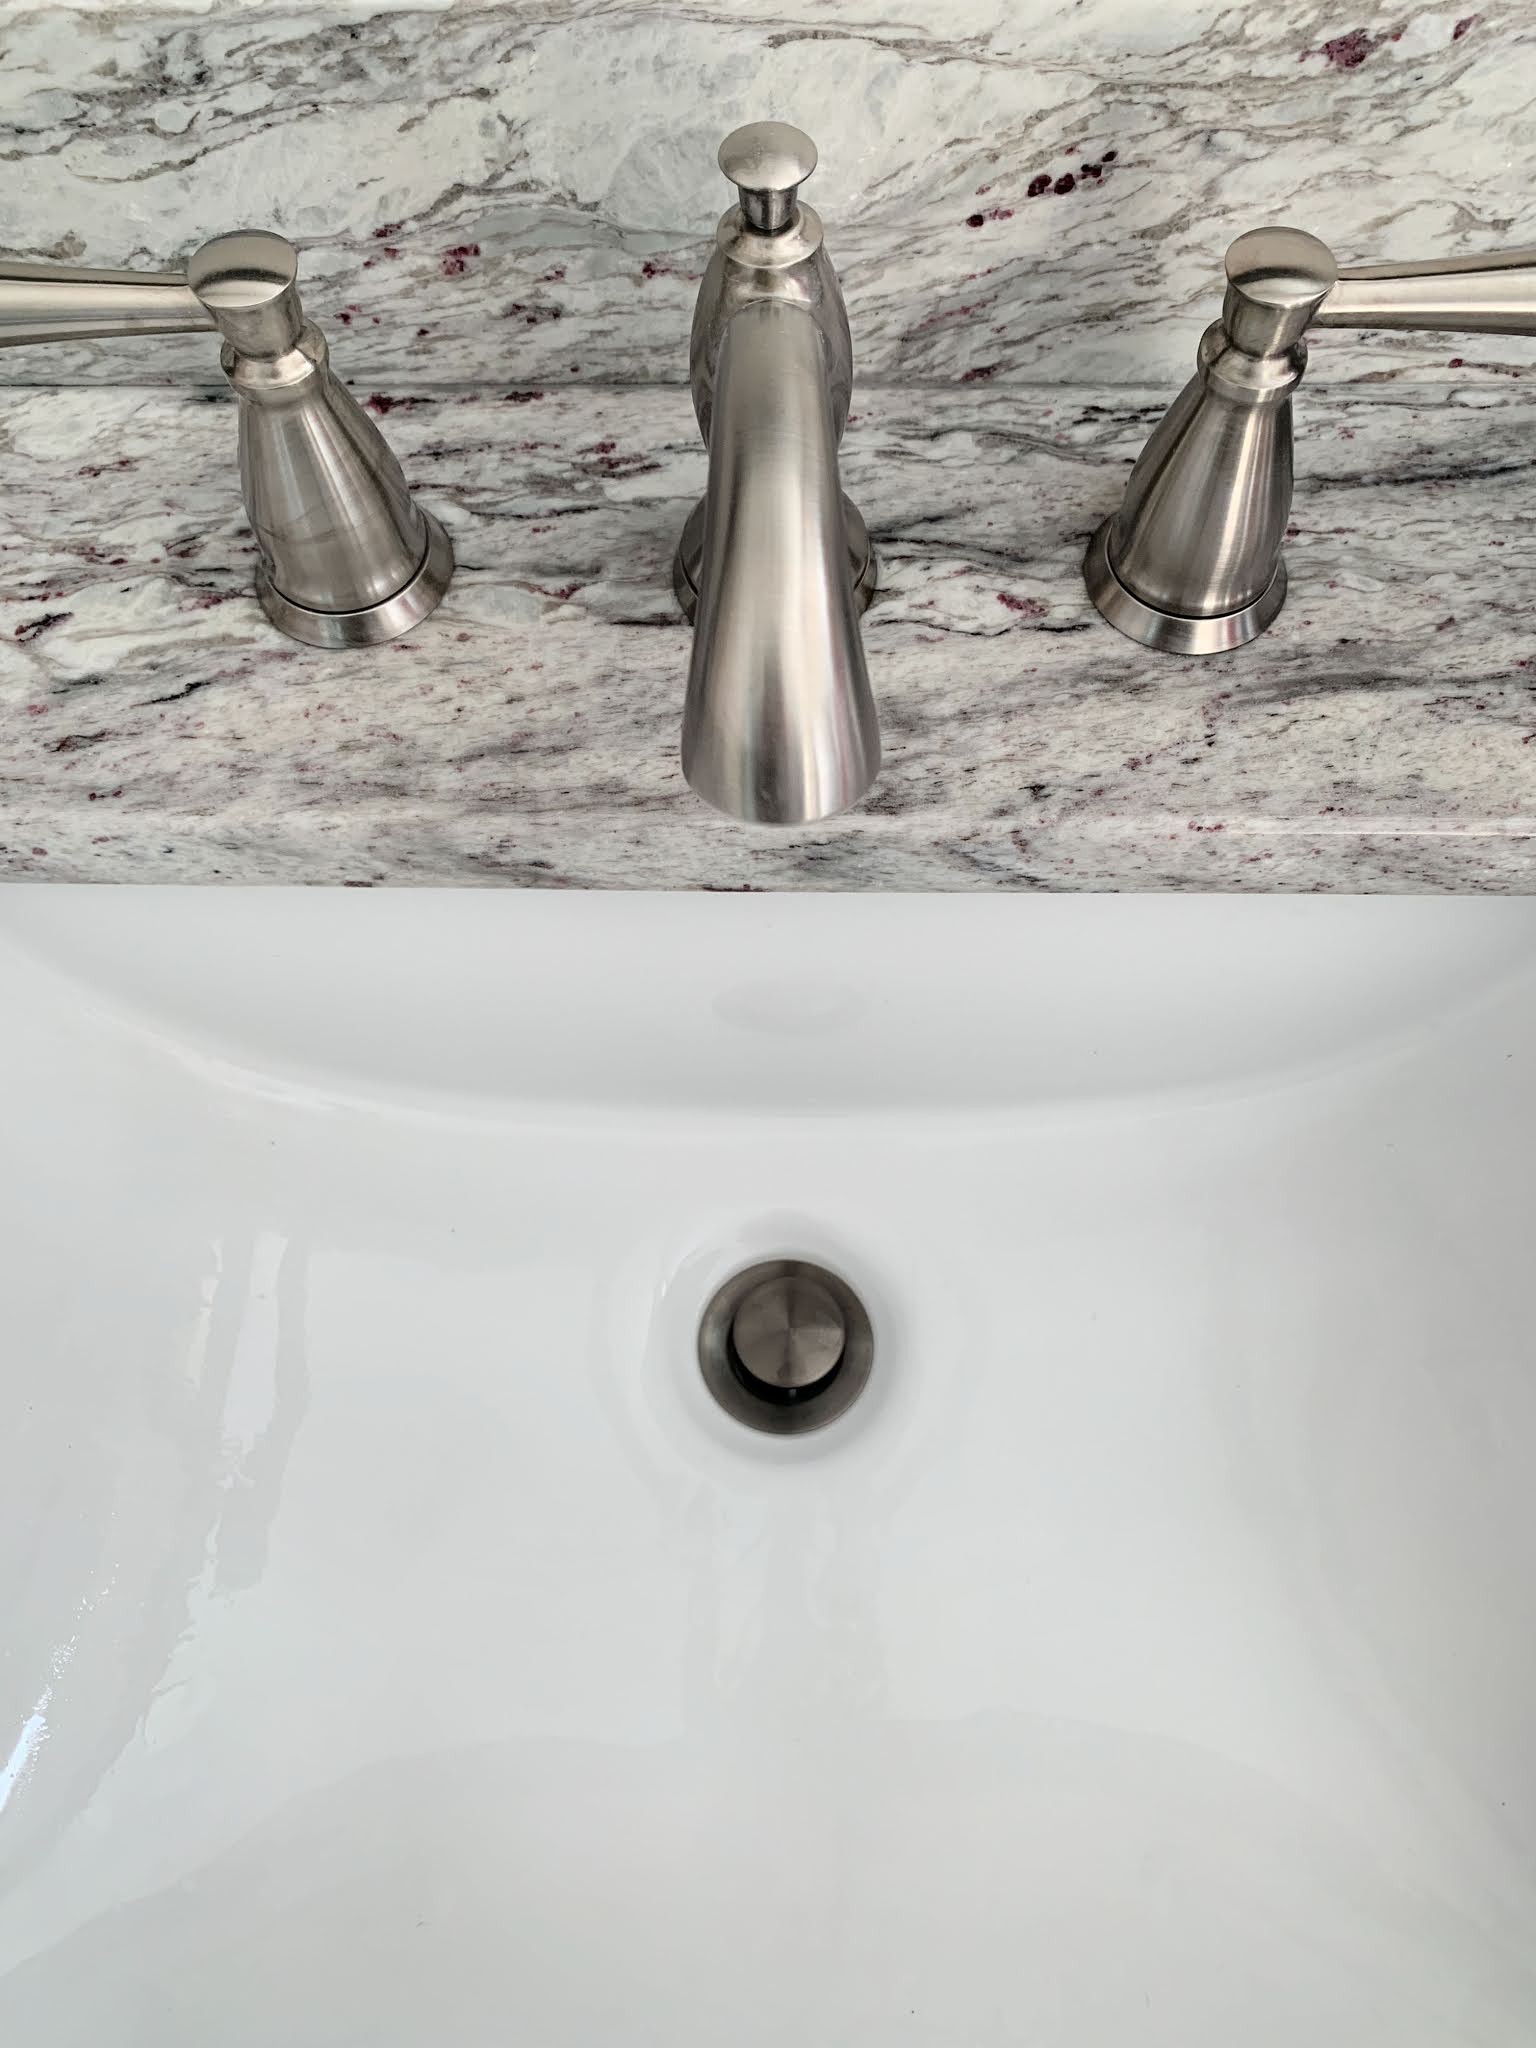
Moreover, updating your faucet drain can also enhance the overall design of your bathroom. With a wide range of
styles, finishes, and materials
available, you can choose a drain that complements your existing bathroom fixtures or adds a unique touch to your design. From sleek and modern to traditional and elegant, the right faucet drain can elevate the look of your sink and tie together the overall aesthetic of your bathroom.
Over time, faucet drains can become clogged with hair, soap scum, and other debris, leading to slow drainage and unpleasant odors. This not only affects the functionality of your sink but also detracts from its appearance. By
replacing
your faucet drain, you can improve drainage and prevent potential clogs, ensuring a clean and hygienic bathroom.
Moreover, updating your faucet drain can also enhance the overall design of your bathroom. With a wide range of
styles, finishes, and materials
available, you can choose a drain that complements your existing bathroom fixtures or adds a unique touch to your design. From sleek and modern to traditional and elegant, the right faucet drain can elevate the look of your sink and tie together the overall aesthetic of your bathroom.
The Process of Replacing Your Faucet Drain
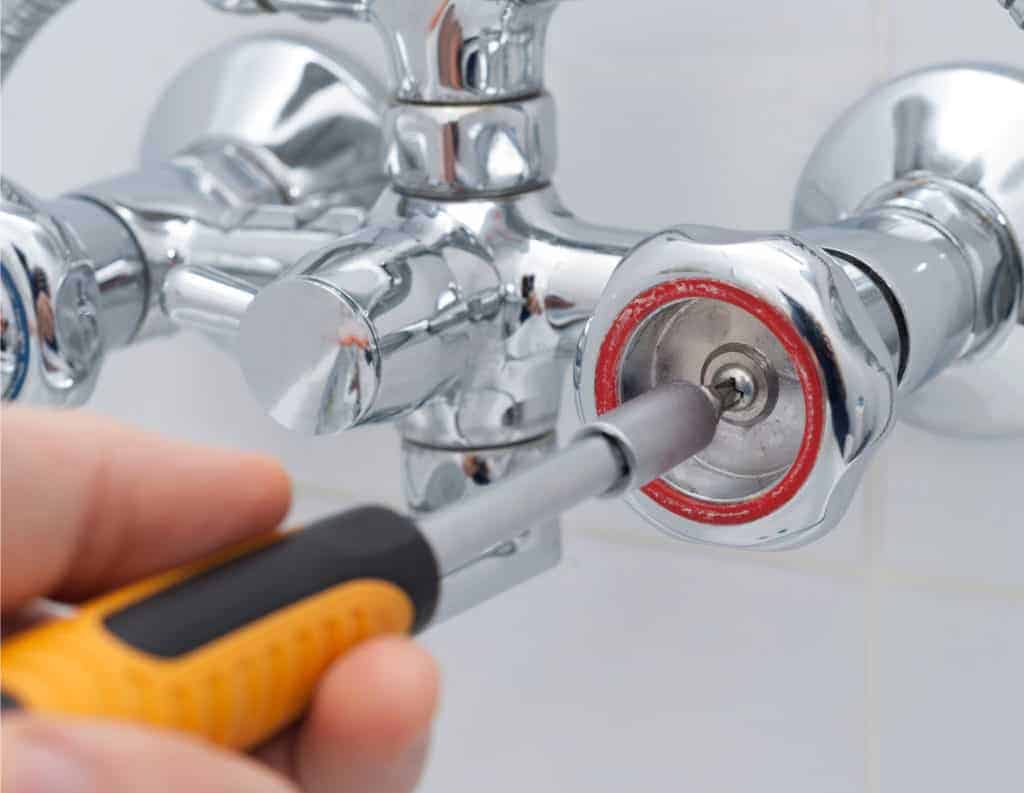
 While some may shy away from home improvement projects, replacing a faucet drain is a relatively simple and
cost-effective
task. Most hardware or home improvement stores carry a variety of faucet drains, making it easy to find one that fits your sink's size and style. With a few basic tools and some DIY skills, you can easily remove the old drain and install the new one in a matter of minutes.
While some may shy away from home improvement projects, replacing a faucet drain is a relatively simple and
cost-effective
task. Most hardware or home improvement stores carry a variety of faucet drains, making it easy to find one that fits your sink's size and style. With a few basic tools and some DIY skills, you can easily remove the old drain and install the new one in a matter of minutes.
Conclusion
 In conclusion, the faucet drain may seem like a small detail in your bathroom, but it plays a significant role in both functionality and design. By
replacing
your old drain with a new one, you can improve drainage, prevent clogs, and enhance the overall look of your sink and bathroom. So, if you want a functional and beautiful house design, don't forget to pay attention to your faucet drain.
In conclusion, the faucet drain may seem like a small detail in your bathroom, but it plays a significant role in both functionality and design. By
replacing
your old drain with a new one, you can improve drainage, prevent clogs, and enhance the overall look of your sink and bathroom. So, if you want a functional and beautiful house design, don't forget to pay attention to your faucet drain.