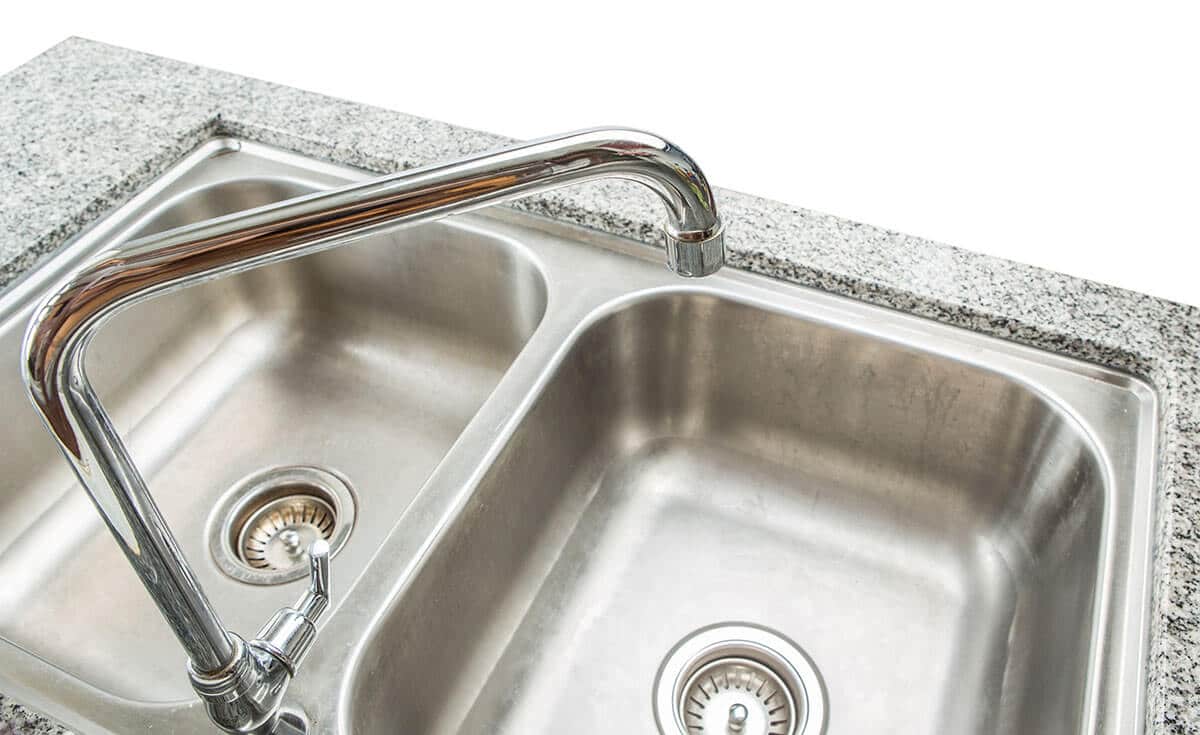
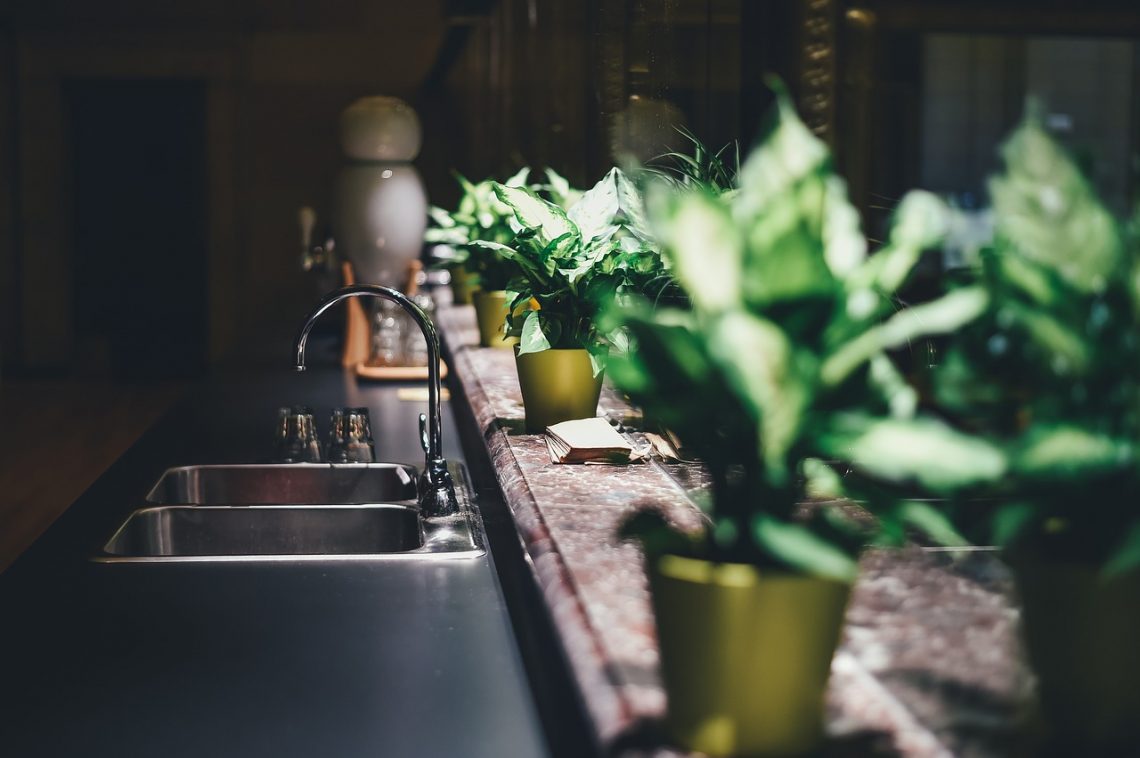
Replacing a Double Kitchen Sink with a Single
Are you tired of the constant struggle to fit large pots and pans into your double kitchen sink? Or perhaps you simply prefer the sleek look of a single basin sink. Whatever your reasons may be, replacing a double kitchen sink with a single can be a great way to update your kitchen and make your daily tasks easier. In this guide, we will walk you through the steps of replacing a double kitchen sink with a single, from preparation to installation. Let’s get started!


Replacing a Double Kitchen Sink with a Single

How to Replace a Double Kitchen Sink with a Single
The process of replacing a double kitchen sink with a single may seem daunting, but with the right tools and knowledge, it can be a relatively straightforward DIY project. Here are the basic steps you’ll need to follow:


How to Replace a Double Kitchen Sink with a Single

Step 1: Gather Your Supplies
Before you begin, make sure you have all the necessary supplies on hand. This may include:


Steps for Replacing a Double Kitchen Sink with a Single


Step 2: Prepare the Area
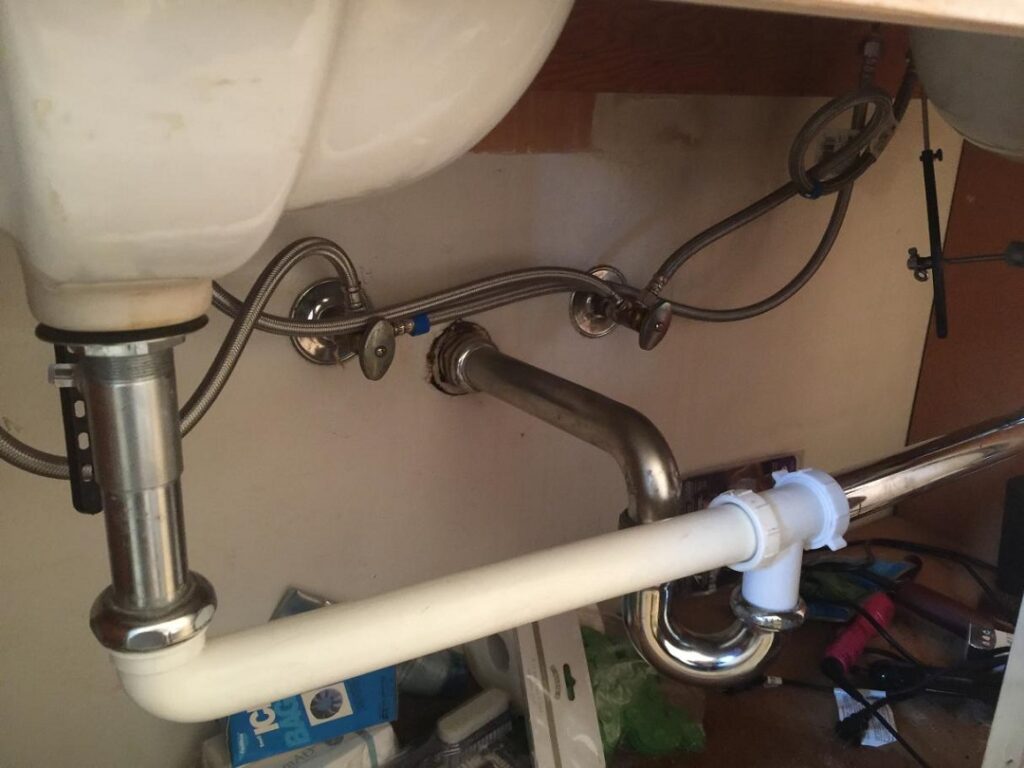
Clean out the cabinets under your sink and remove any items that may be in the way. You’ll also want to turn off the water supply to your sink and disconnect the plumbing. Place a bucket or pan under the pipes to catch any water that may still be in the system.

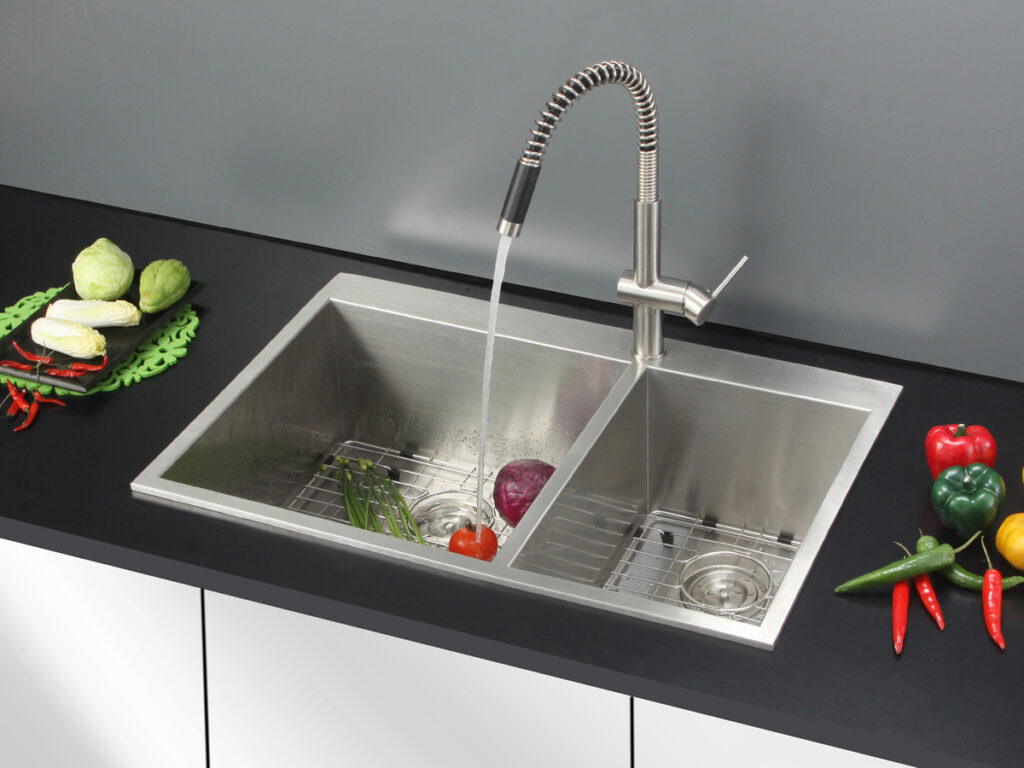
Replacing a Double Kitchen Sink with a Single: A DIY Guide

Step 3: Remove the Old Sink
Using a pipe wrench, loosen and remove the nuts and bolts that hold the sink in place. You may also need to use a putty knife to break the seal between the sink and the countertop. Carefully lift the sink out and set it aside.


Replacing a Double Kitchen Sink with a Single: What You Need to Know


Step 4: Measure and Cut the Countertop
If your new sink is a different size or shape than your old one, you may need to cut the countertop to fit. Measure the dimensions of your new sink and mark them on the countertop. Use a handsaw or jigsaw to carefully cut along the marked lines.
Replacing a Double Kitchen Sink with a Single: Tips and Tricks


/how-to-install-a-sink-drain-2718789-hero-24e898006ed94c9593a2a268b57989a3.jpg)
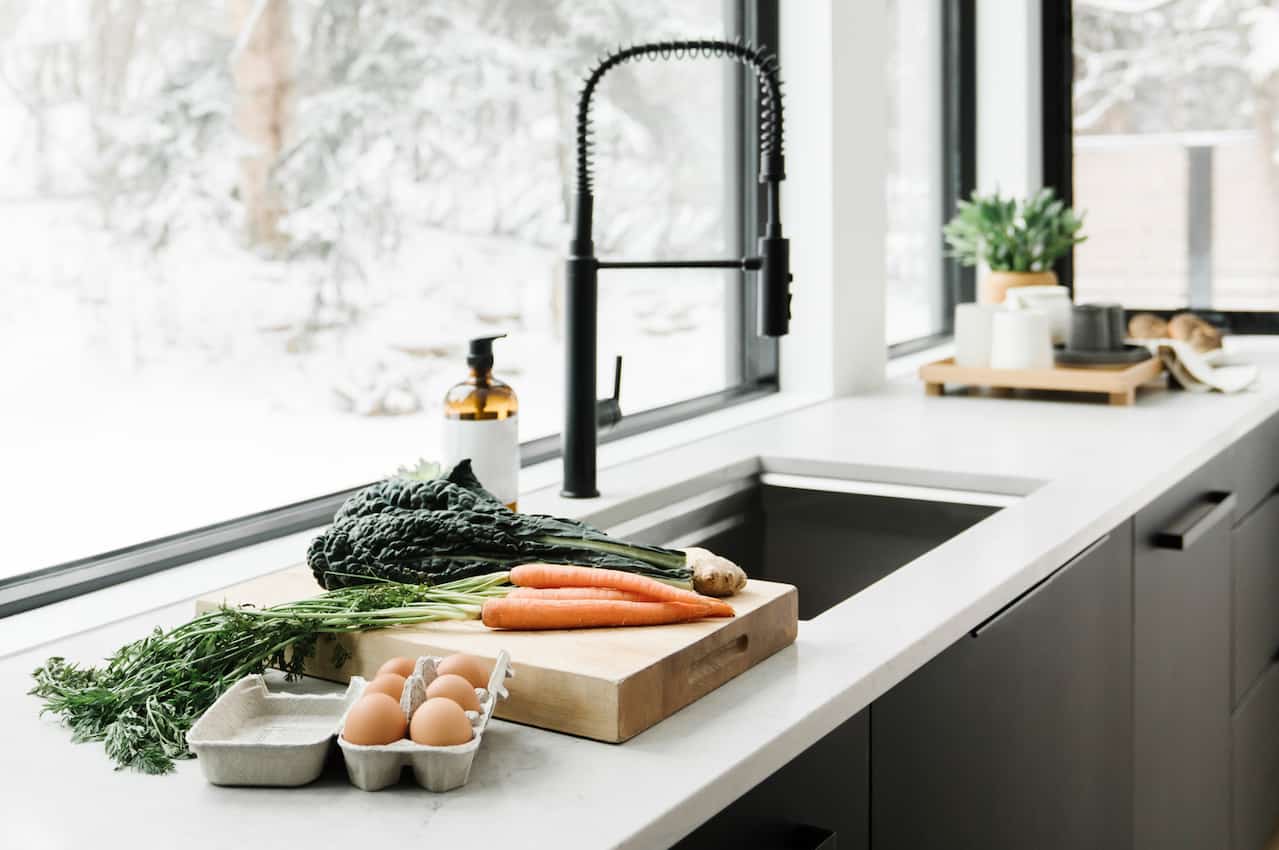
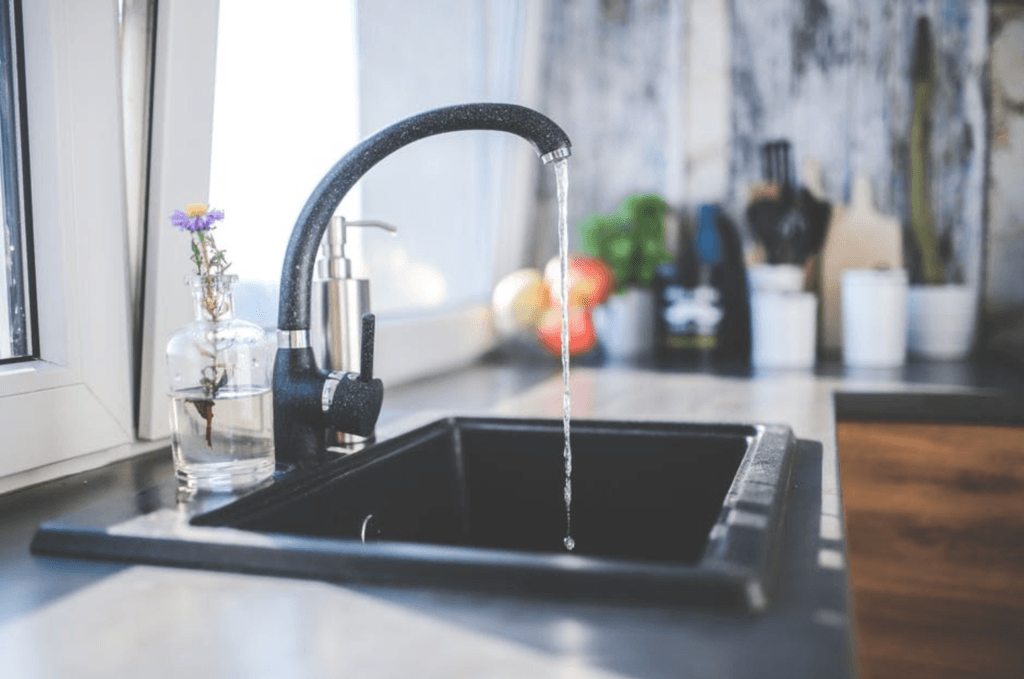
Step 5: Install the New Sink
Place your new sink into the hole in the countertop and secure it in place using the mounting clips provided. If your sink does not come with clips, you can use a bead of silicone caulk around the edges to hold it in place.


Replacing a Double Kitchen Sink with a Single: Common Mistakes to Avoid


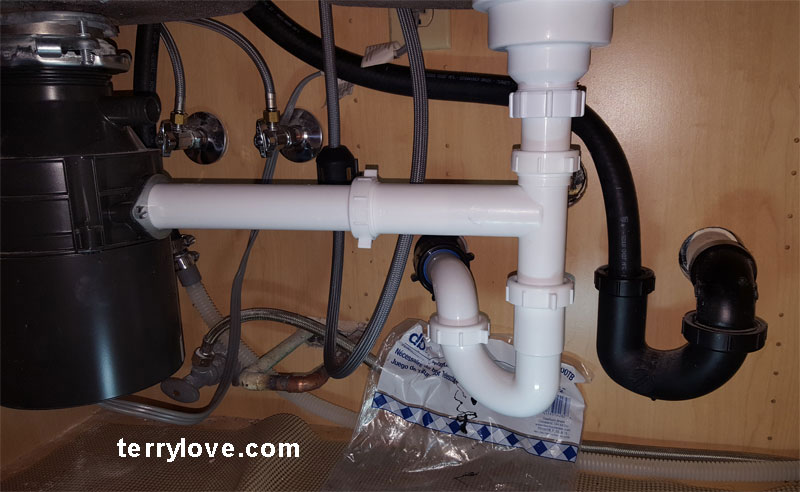
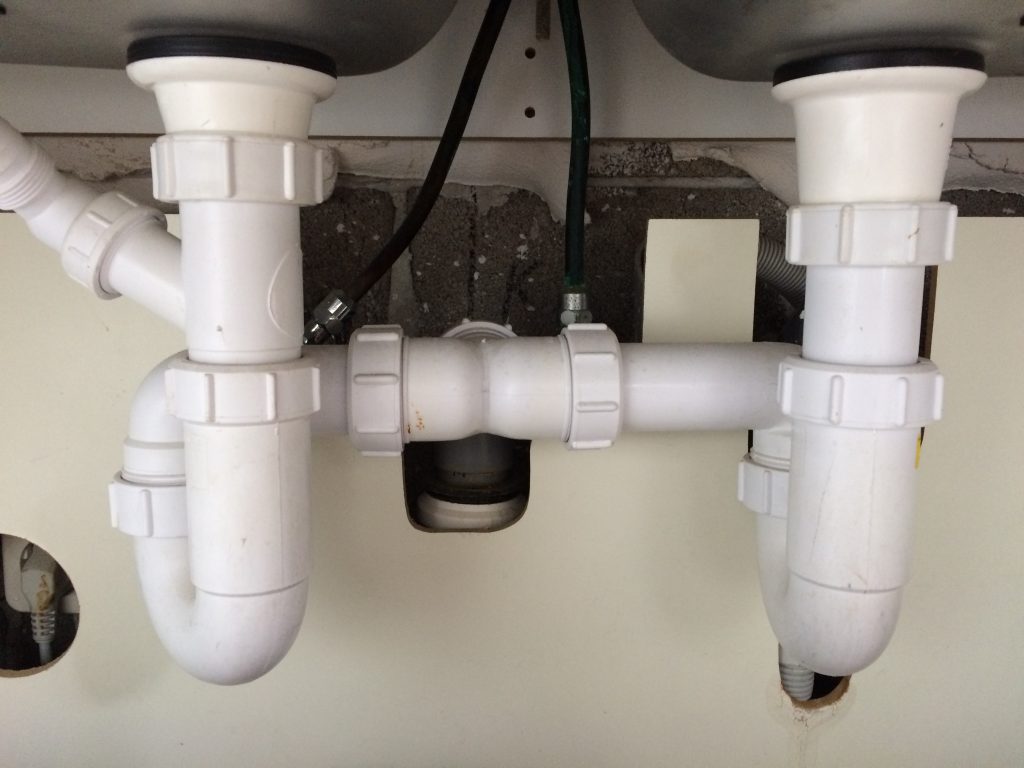
Step 6: Reconnect the Plumbing
Now it’s time to reconnect the plumbing. Make sure all connections are tight and secure, and turn the water supply back on. Let the water run for a few minutes to check for any leaks.


Replacing a Double Kitchen Sink with a Single: Cost and Time Estimates


Step 7: Seal the Sink
Using silicone caulk, seal around the edges of the sink where it meets the countertop. This will help prevent water from seeping into the space between the sink and the counter.
Replacing a Double Kitchen Sink with a Single: Pros and Cons

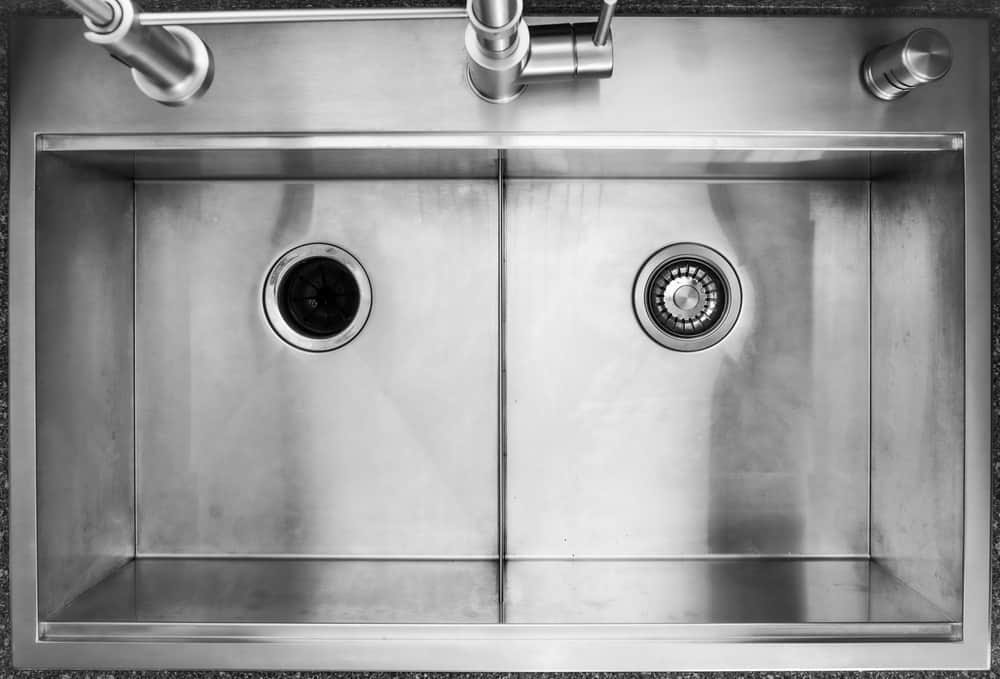
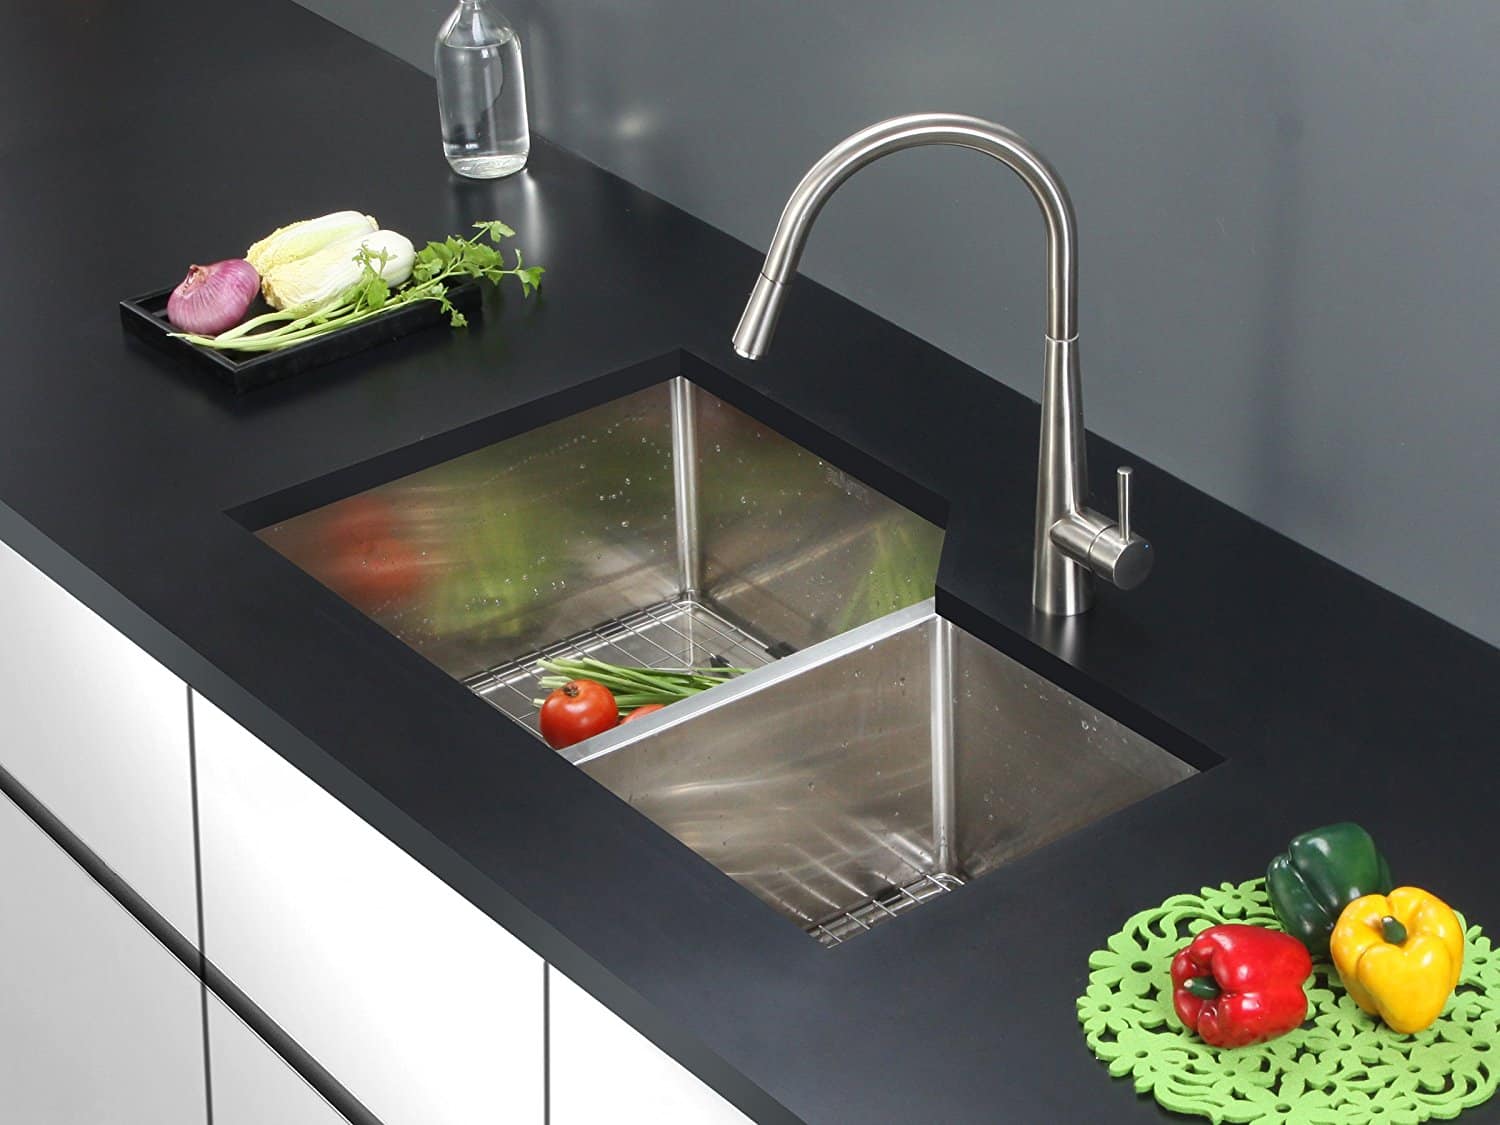
:max_bytes(150000):strip_icc()/kitchendoubleBasinsink-GettyImages-1098390260-420372a617b748d8a06491e6ad82d107.jpg)
Replacing a Double Kitchen Sink with a Single: A DIY Guide
As you can see, replacing a double kitchen sink with a single is a DIY-friendly project with the right tools and knowledge. However, if you are not comfortable working with plumbing or cutting countertops, it may be best to hire a professional for this job.

Replacing a Double Kitchen Sink with a Single: Professional vs. DIY
The Benefits of Replacing a Double Kitchen Sink with a Single

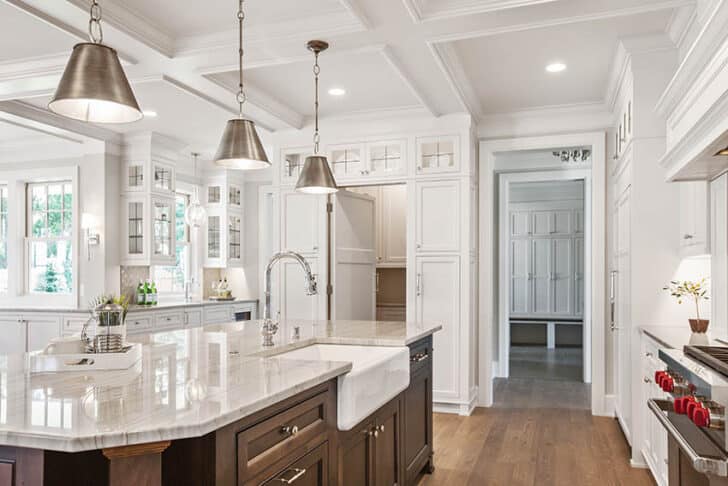
Upgrade Your Kitchen Design
 Replacing a double kitchen sink with a single can completely transform the look and functionality of your kitchen. With a single sink, you have more counter space to work with, giving you the opportunity to add more storage or appliances. This can also open up the kitchen, making it feel larger and more spacious. Plus, a single sink can give your kitchen a sleek and modern look that will impress any guests.
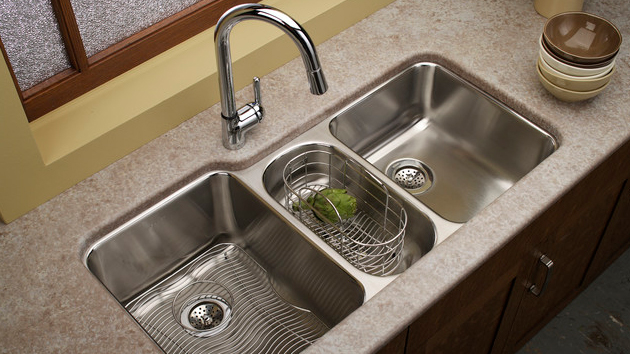
Efficiency and Convenience
 Having a single sink in your kitchen can also improve your efficiency and convenience. With a double sink, it can be difficult to wash larger items or pots and pans. But with a single sink, you have more room to maneuver and clean, making it easier to tackle those larger dishes. Plus, with only one sink to clean, it can save you time and effort in your daily kitchen chores.
Save Water and Money
 By replacing your double sink with a single, you can also save water and money. With only one sink, you will only use one faucet, reducing your water usage. This can lead to lower water bills and a more environmentally-friendly kitchen. Additionally, having a single sink can also save you money on installation and maintenance costs.
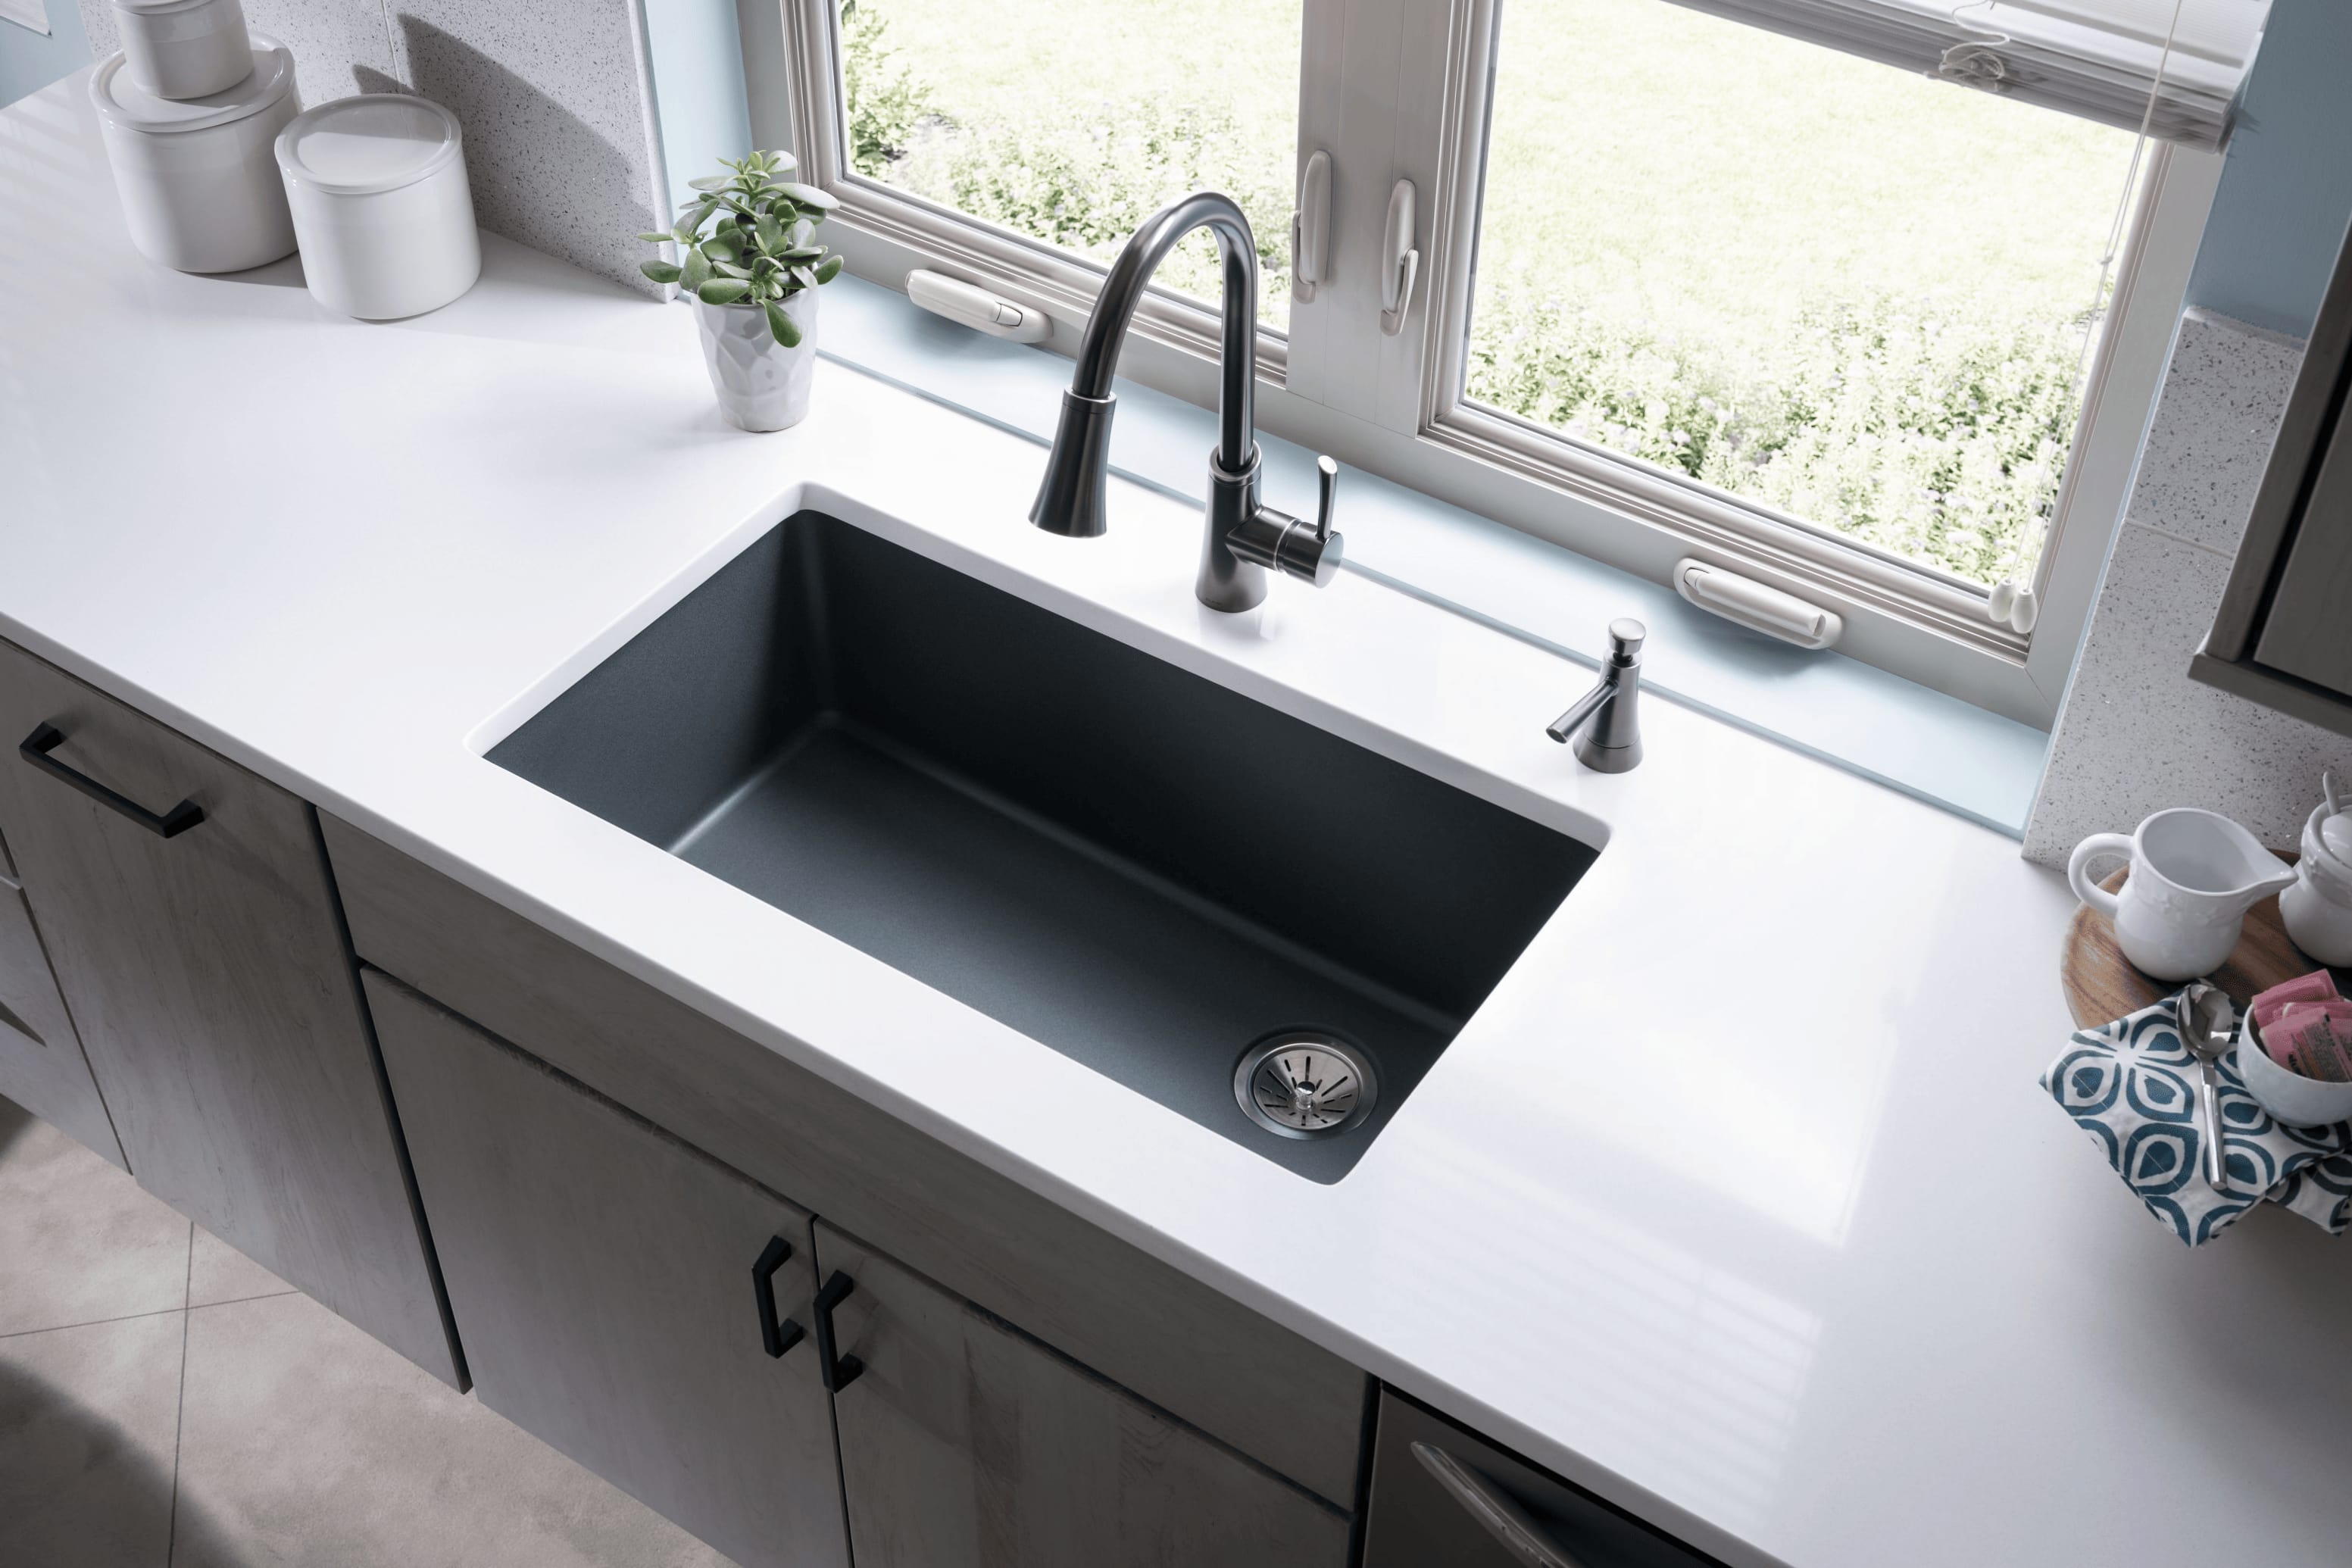
Customization Options
 When it comes to single sinks, there are endless customization options available. You can choose from different materials, sizes, and styles to fit your specific kitchen design and needs. Whether you prefer a farmhouse-style apron sink or a sleek stainless steel sink, there is a single sink option for every kitchen.
Increased Property Value
 Replacing your double kitchen sink with a single can also increase the value of your property. Potential buyers will be drawn to the modern and efficient design of a single sink, making your home stand out in the market. This simple upgrade can make a big difference in the overall value and appeal of your home.
In conclusion, replacing a double kitchen sink with a single offers numerous benefits for both the design and functionality of your kitchen. From increasing counter space and efficiency to saving water and money, this upgrade is a smart choice for any homeowner looking to improve their kitchen. So, if you're considering a kitchen renovation, don't overlook the impact that a single sink can have on your overall design.
Replacing your double kitchen sink with a single can also increase the value of your property. Potential buyers will be drawn to the modern and efficient design of a single sink, making your home stand out in the market. This simple upgrade can make a big difference in the overall value and appeal of your home.
In conclusion, replacing a double kitchen sink with a single offers numerous benefits for both the design and functionality of your kitchen. From increasing counter space and efficiency to saving water and money, this upgrade is a smart choice for any homeowner looking to improve their kitchen. So, if you're considering a kitchen renovation, don't overlook the impact that a single sink can have on your overall design.