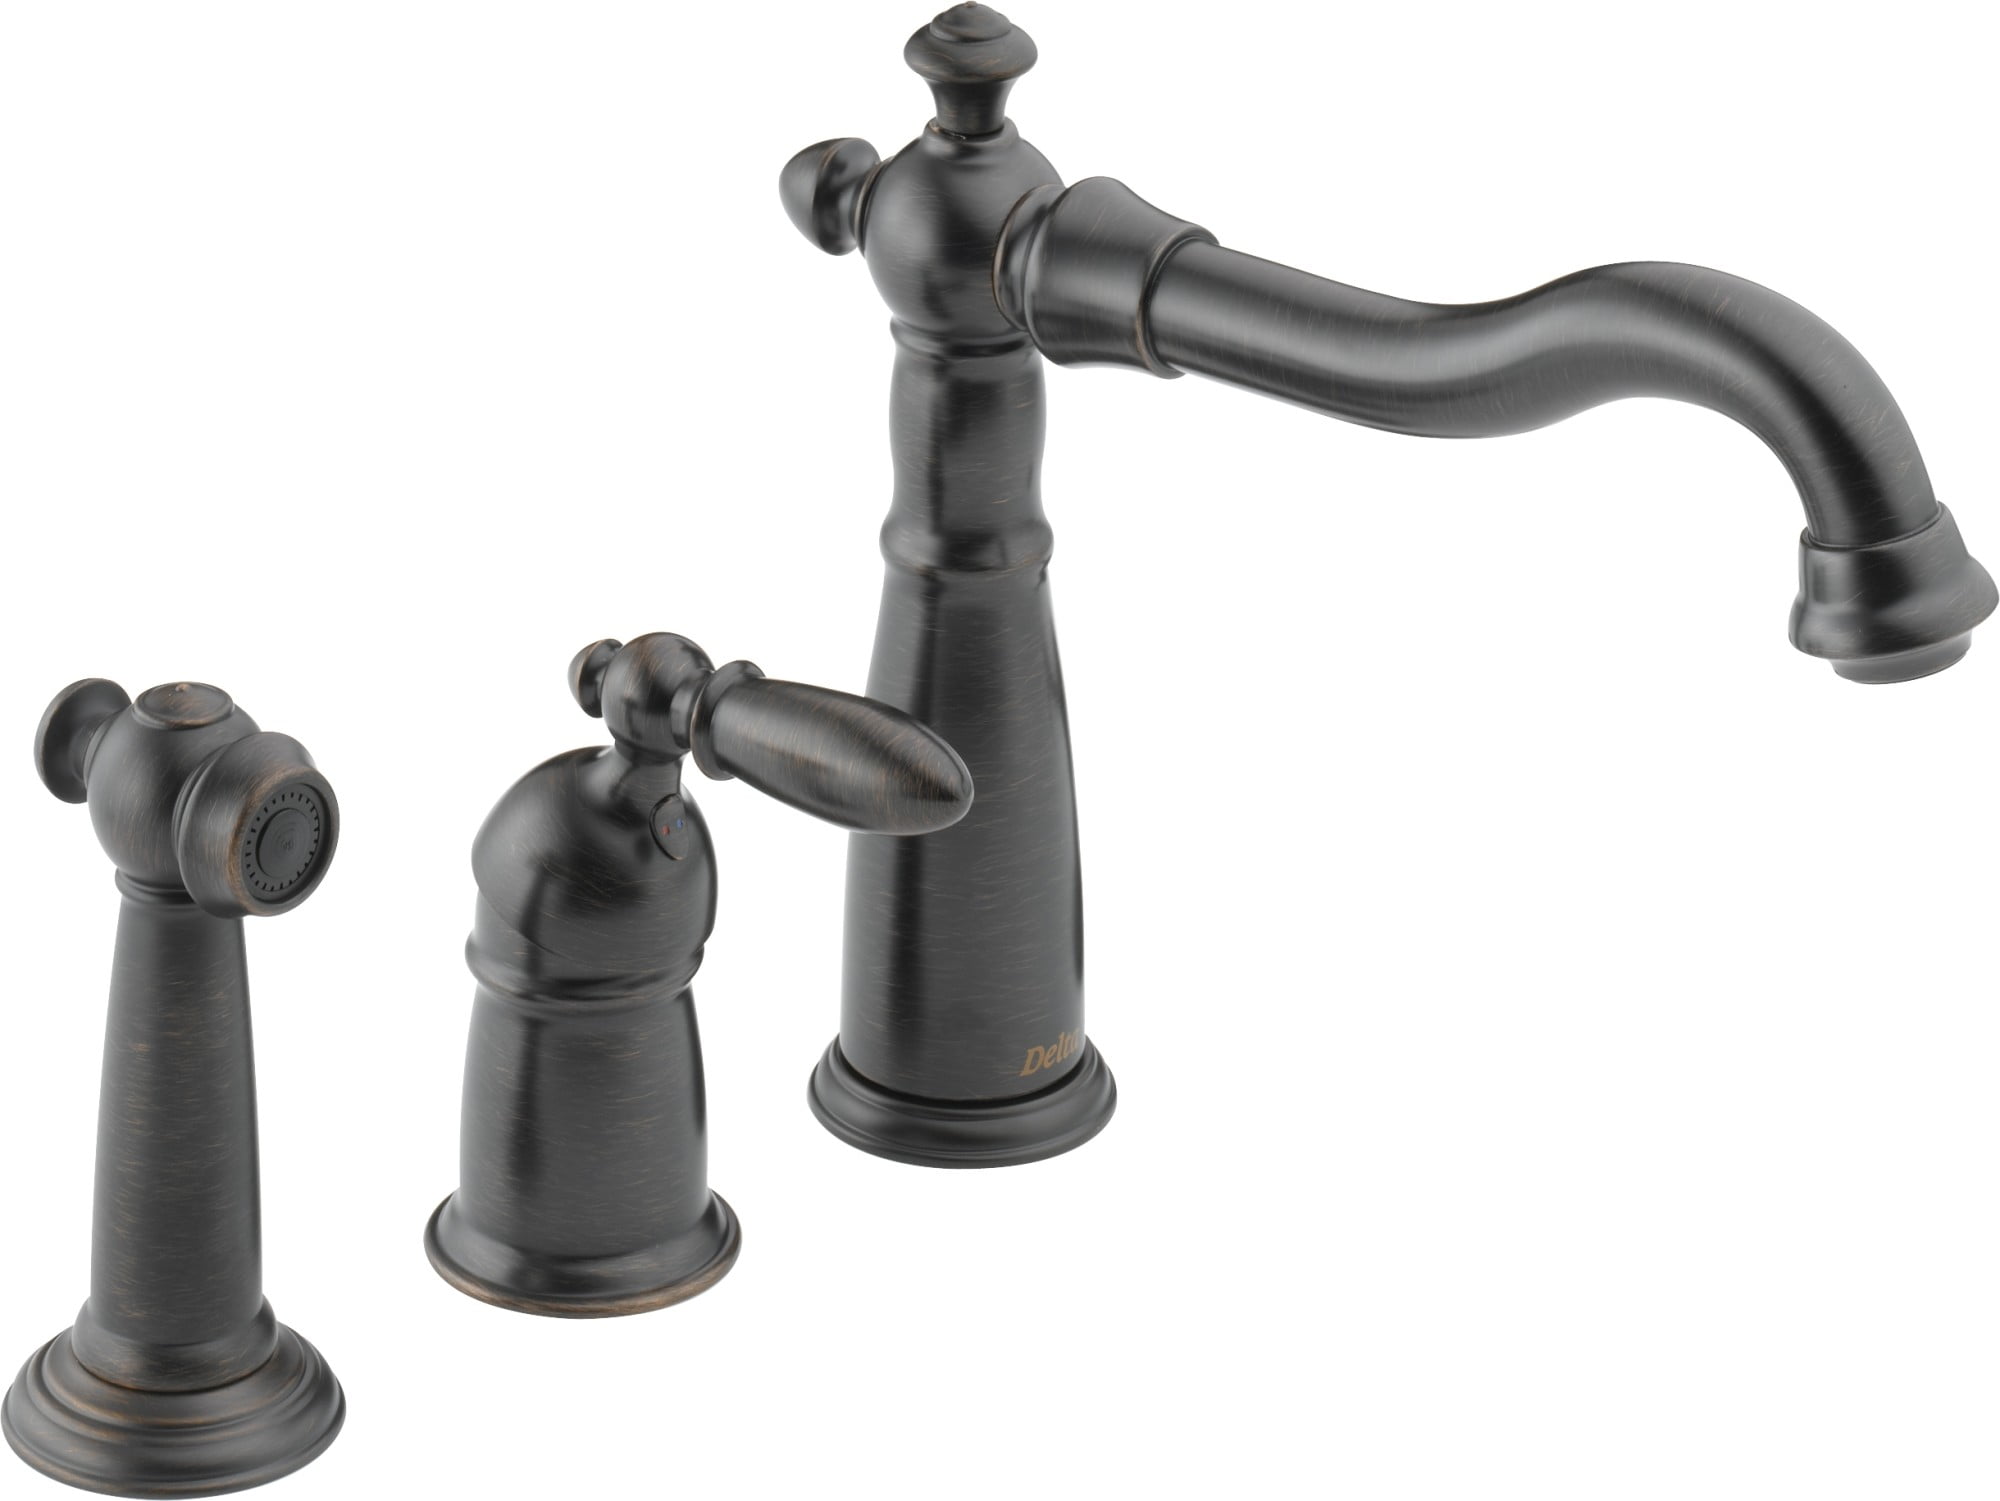
Is your Delta kitchen sink faucet stem starting to leak or malfunction? Don’t worry, you don’t have to call a plumber just yet. With a little DIY knowledge and the right tools, you can easily replace the stem and get your faucet working like new again. Here’s a step-by-step guide on how to replace a Delta kitchen sink faucet stem.How to Replace a Delta Kitchen Sink Faucet Stem


How to Replace a Delta Kitchen Sink Faucet Stem


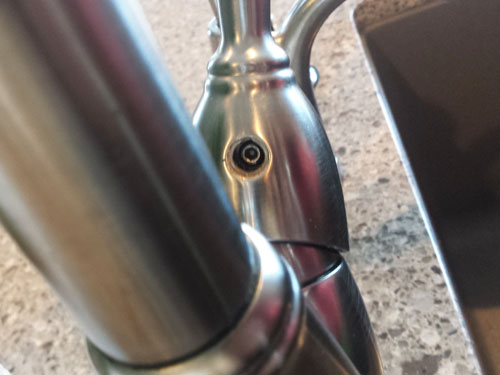
:max_bytes(150000):strip_icc()/delta-faucet-repair-2718845-01-103f404143d7416d9f0ef50f1f187d8c.jpg)


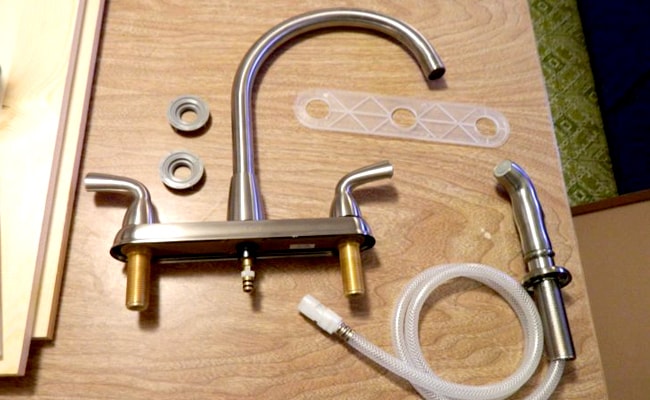
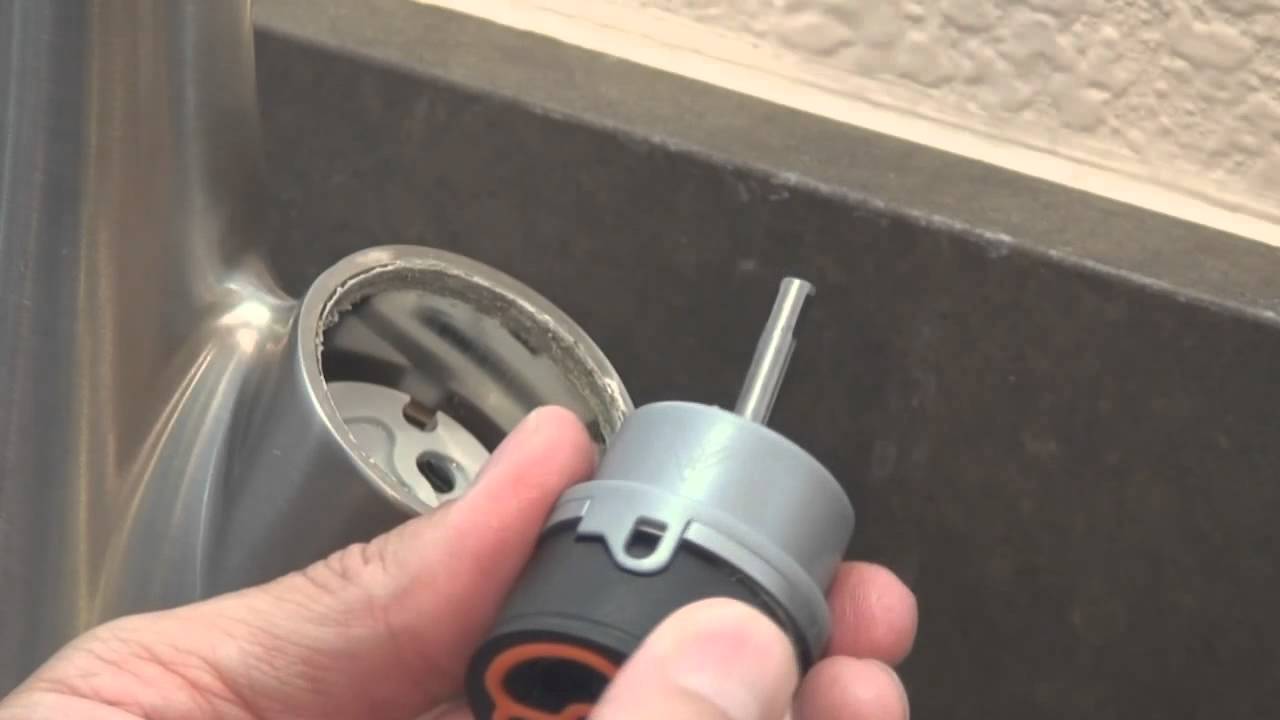
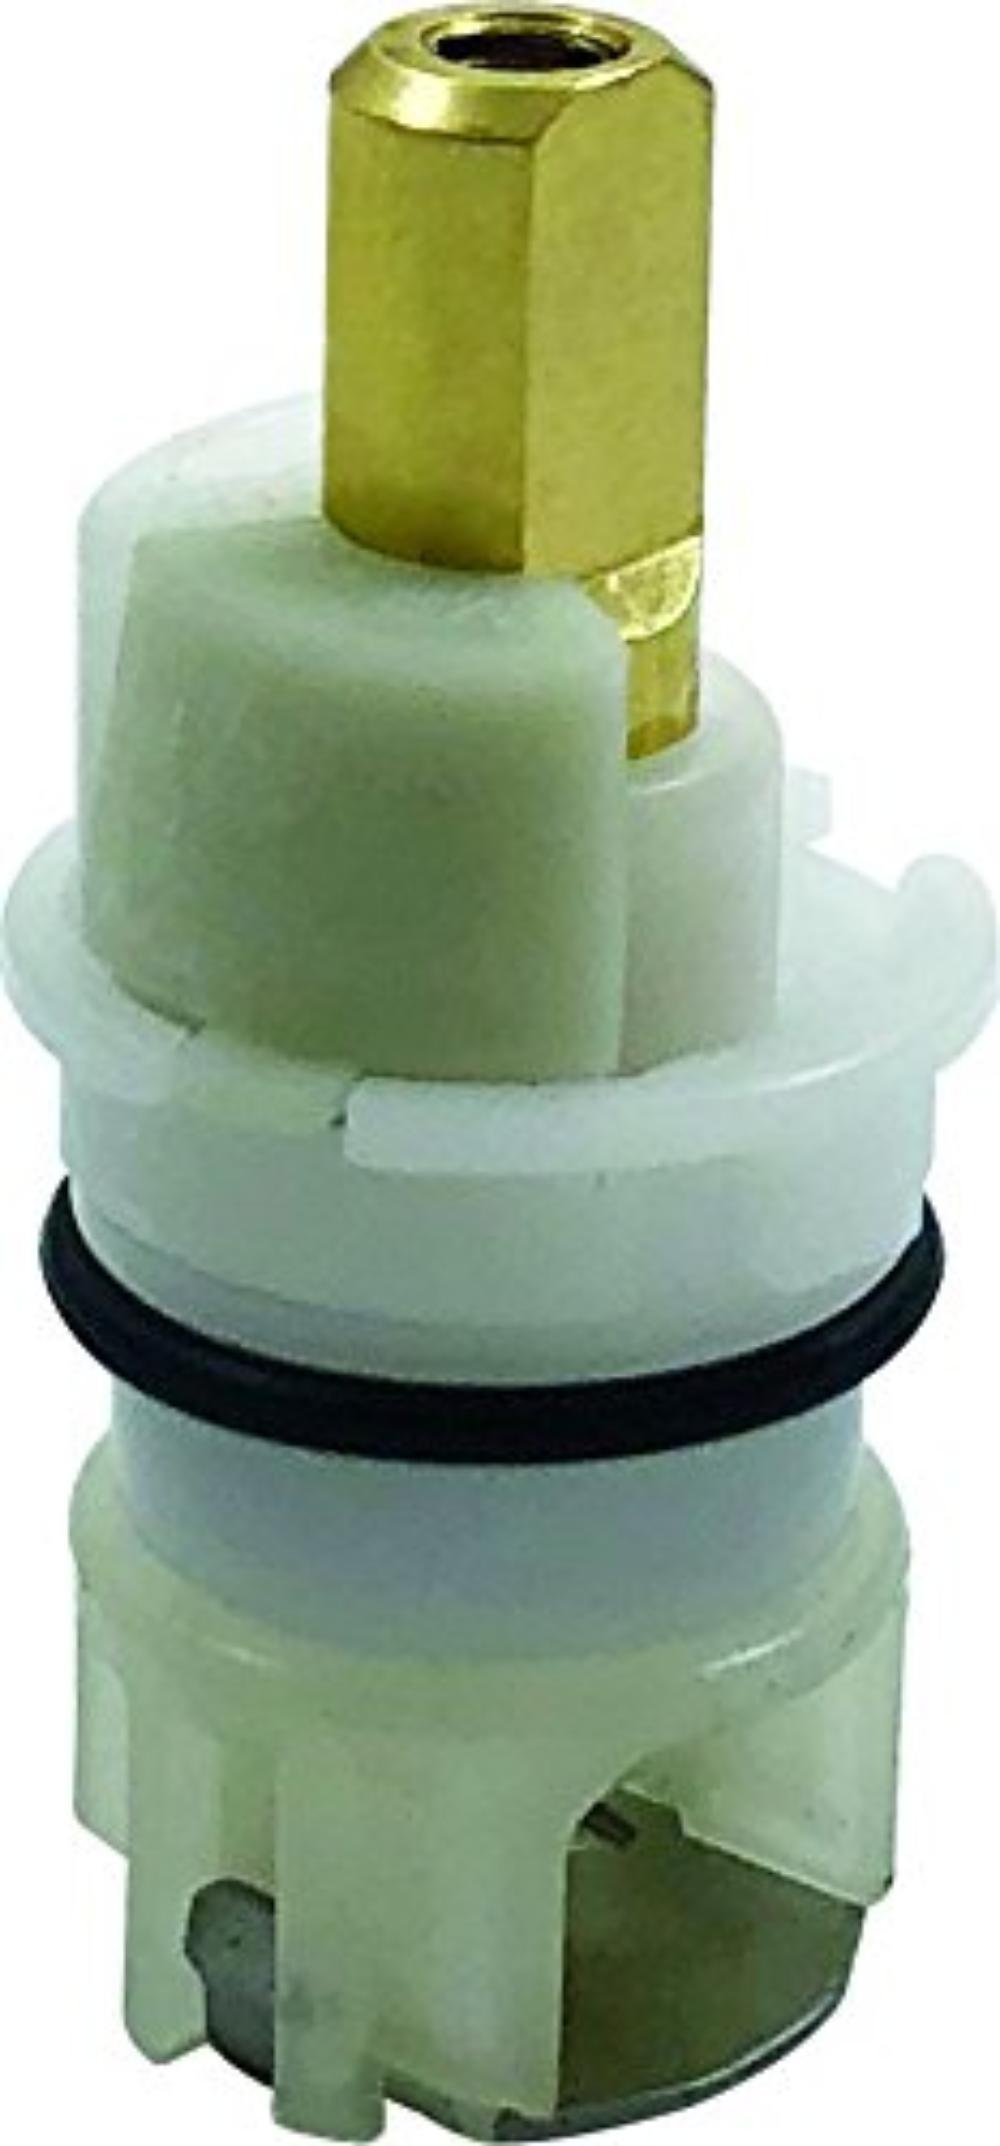
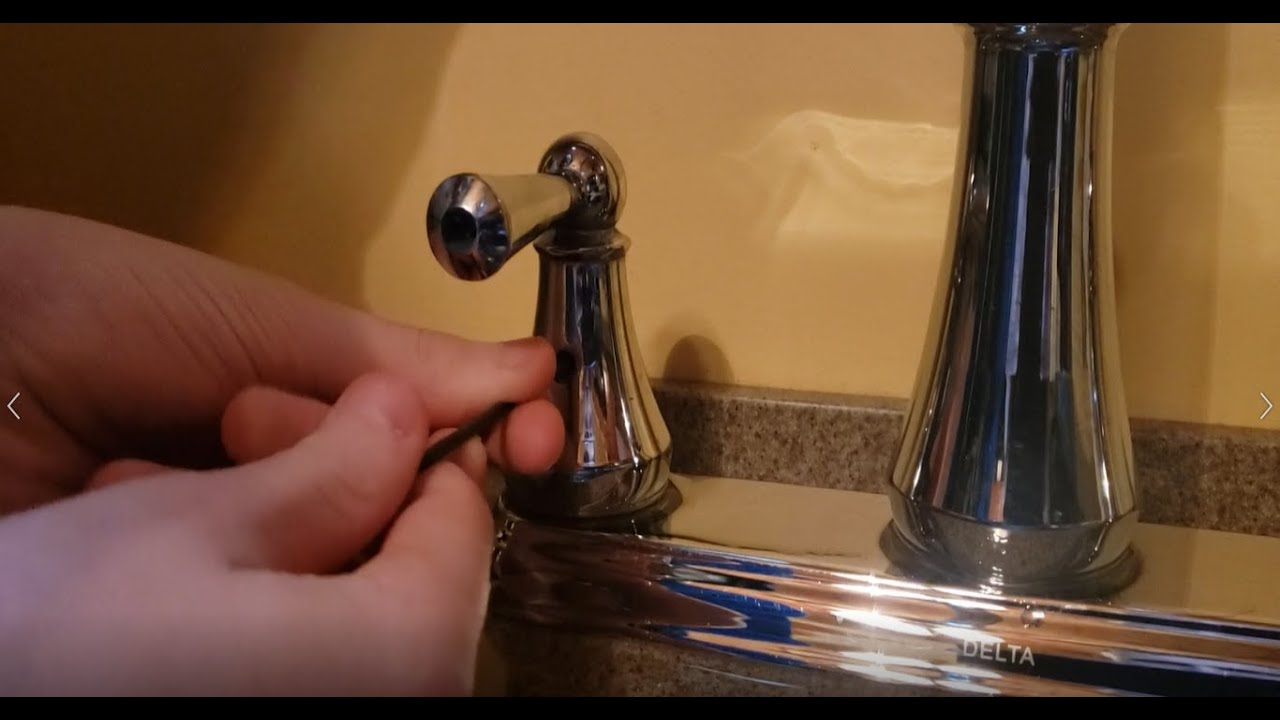
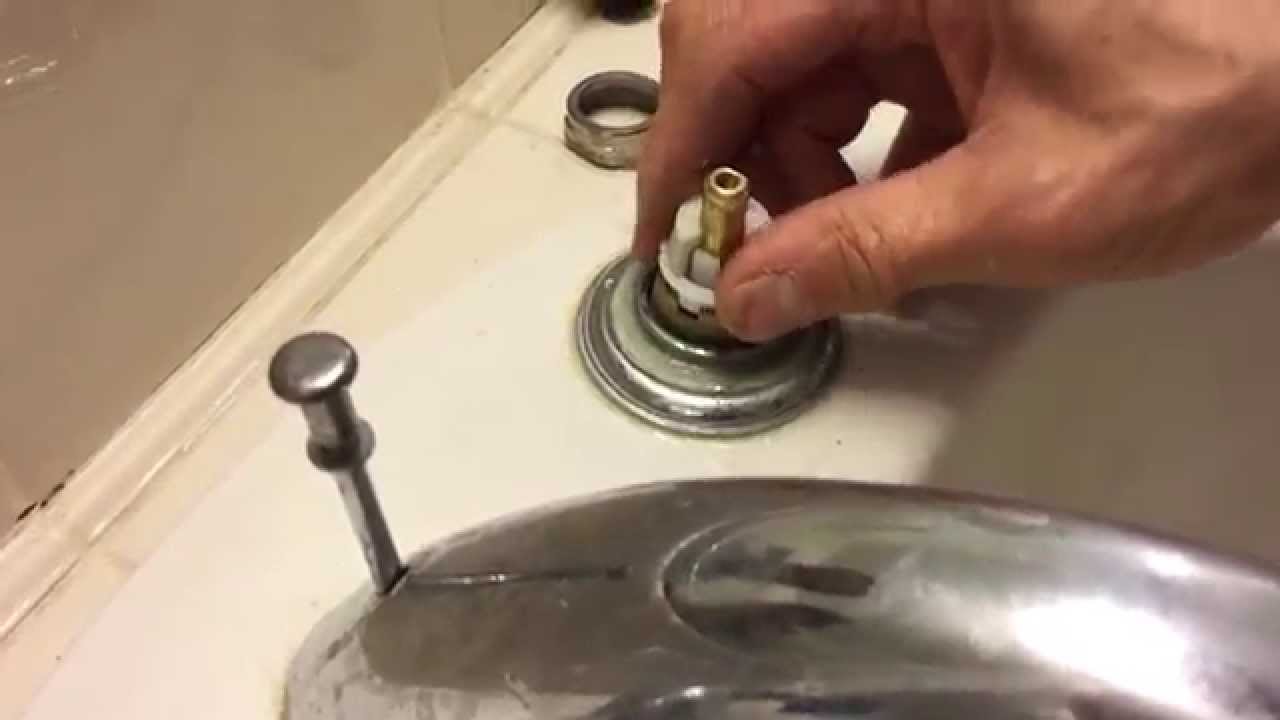
Before you start the replacement process, make sure to turn off the water supply to your kitchen faucet. This will prevent any unwanted leaks or accidents while you work. Once the water is turned off, follow these steps: Step 1: Remove the handle of your Delta kitchen sink faucet by unscrewing the set screw with an Allen wrench. Step 2: Use a wrench to loosen the bonnet nut and remove it from the faucet. Step 3: Pull out the old stem from the faucet body. Step 4: Take note of the orientation of the old stem and use it as a guide when installing the new one. Step 5: Install the new stem into the faucet body, making sure it’s in the same position as the old one. Step 6: Secure the bonnet nut back onto the faucet and tighten it with a wrench. Step 7: Screw the handle back onto the stem and tighten the set screw with an Allen wrench. Step 8: Turn the water supply back on and test your faucet to see if it’s working properly.Replacing a Delta Kitchen Sink Faucet Stem: A Step-by-Step Guide


Replacing a Delta Kitchen Sink Faucet Stem: A Step-by-Step Guide


Replacing a Delta kitchen sink faucet stem is a simple DIY task that can save you time and money. Instead of hiring a plumber, you can easily do it yourself with just a few basic tools. Not only will you feel a sense of accomplishment, but you’ll also have a functioning faucet without any leaks.DIY: Replacing a Delta Kitchen Sink Faucet Stem


DIY: Replacing a Delta Kitchen Sink Faucet Stem


Here are some tips and tricks to keep in mind when replacing your Delta kitchen sink faucet stem: Tip 1: Take a picture of the orientation of the old stem before removing it. This will serve as a visual guide when installing the new one. Tip 2: Clean the inside of the faucet body before installing the new stem. This will ensure a secure and leak-free fit. Tip 3: Use plumber’s tape on the threads of the bonnet nut to prevent any future leaks.Delta Kitchen Sink Faucet Stem Replacement: Tips and Tricks


Delta Kitchen Sink Faucet Stem Replacement: Tips and Tricks

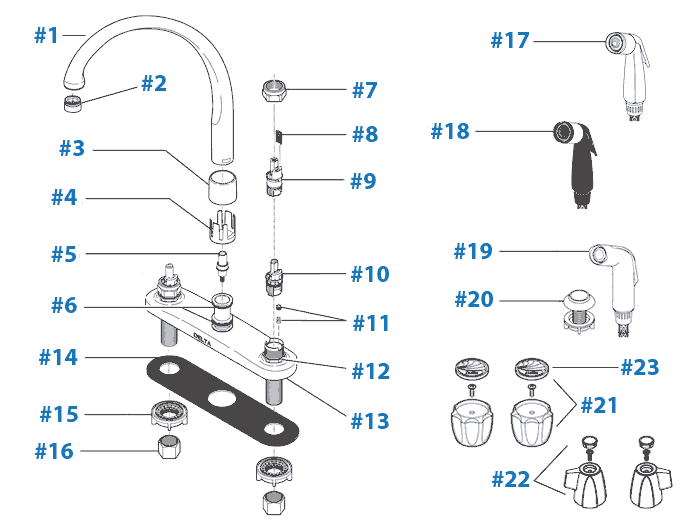


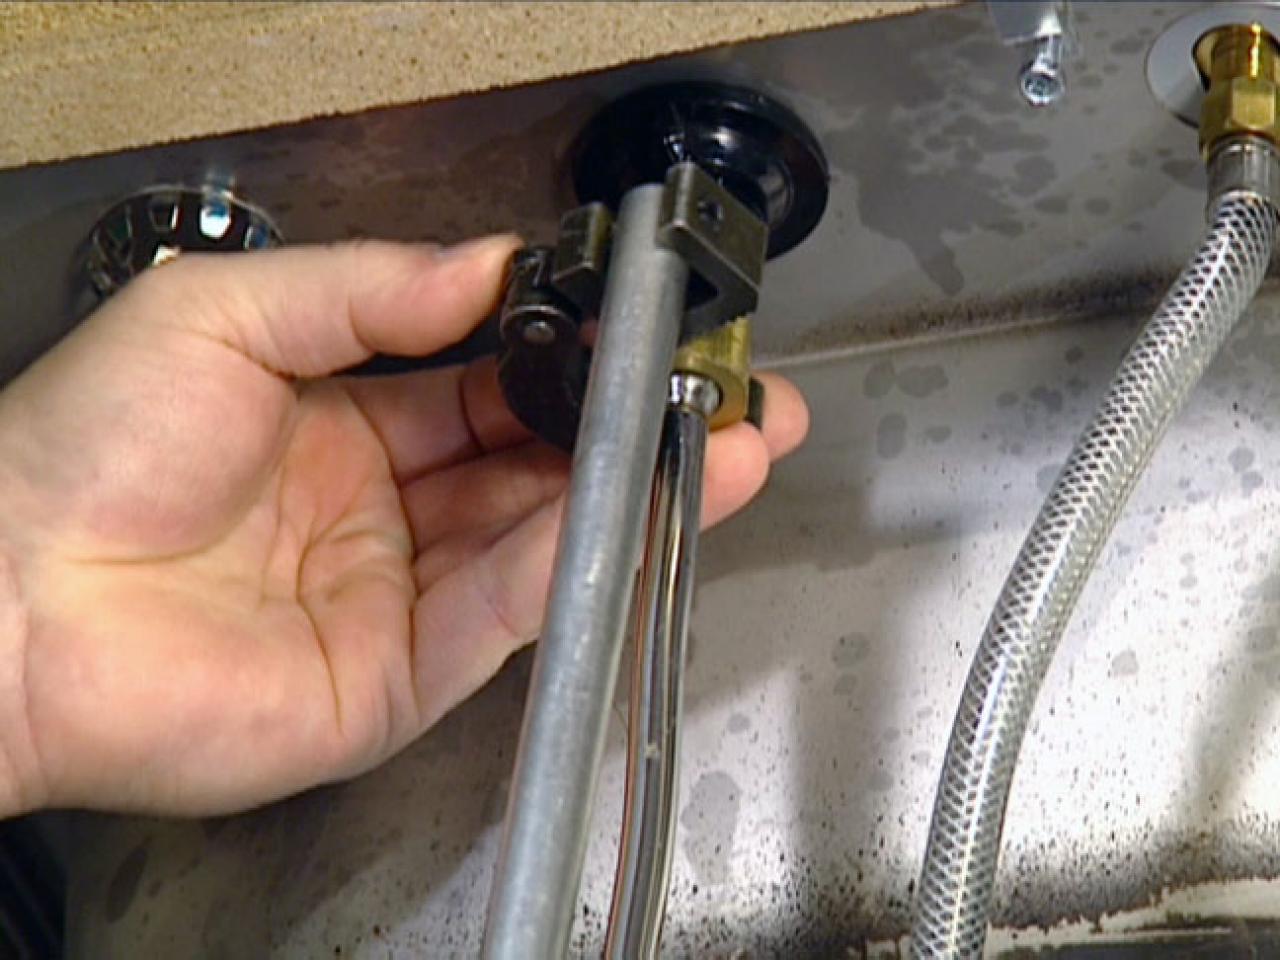

If you’re a visual learner, here’s a detailed step-by-step guide on how to replace a Delta kitchen sink faucet stem: Step 1: Turn off the water supply to your kitchen faucet. Step 2: Remove the handle of the faucet. Step 3: Loosen and remove the bonnet nut. Step 4: Pull out the old stem from the faucet body. Step 5: Install the new stem into the faucet body. Step 6: Tighten the bonnet nut back onto the faucet. Step 7: Screw the handle back onto the stem. Step 8: Turn the water supply back on and test the faucet.Step-by-Step Guide to Replacing a Delta Kitchen Sink Faucet Stem

Step-by-Step Guide to Replacing a Delta Kitchen Sink Faucet Stem

/faucet-with-water-dripping-creating-waste-516717656-d76c41a8d3284901880606e6c1c62e25.jpg)


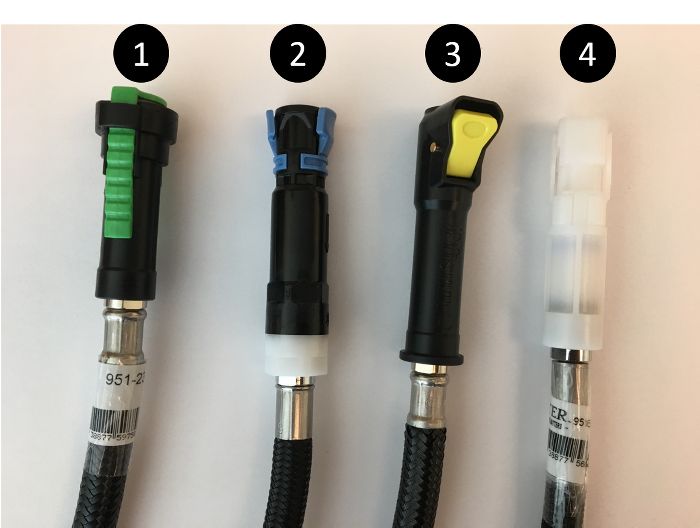
Before you start replacing your Delta kitchen sink faucet stem, here are a few things you need to know: 1. Type of stem: Make sure to purchase the correct replacement stem for your specific Delta kitchen sink faucet model. 2. Tools and materials: You will need an Allen wrench, a wrench, and plumber’s tape for this project. 3. Time and effort: Replacing a Delta kitchen sink faucet stem may take about 30 minutes to an hour, depending on your level of experience.Replacing a Delta Kitchen Sink Faucet Stem: What You Need to Know
Replacing a Delta Kitchen Sink Faucet Stem: What You Need to Know

Here are some common mistakes to avoid when replacing a Delta kitchen sink faucet stem: Mistake 1: Not turning off the water supply before starting the replacement process. Mistake 2: Forgetting to take a picture of the old stem before removing it. Mistake 3: Not properly securing the bonnet nut, which can lead to leaks.Delta Kitchen Sink Faucet Stem Replacement: Common Mistakes to Avoid

Delta Kitchen Sink Faucet Stem Replacement: Common Mistakes to Avoid
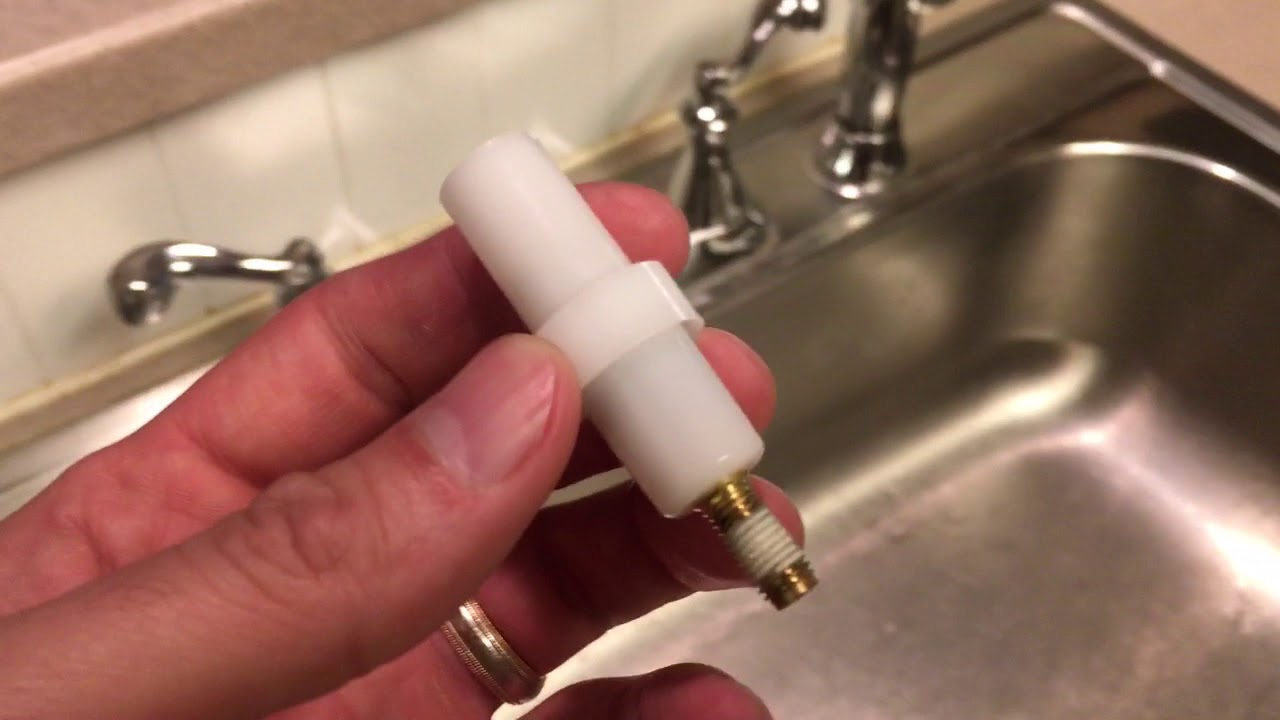

If you’re still unsure about how to replace a Delta kitchen sink faucet stem, here’s a comprehensive guide to help you through the process: Step 1: Turn off the water supply to your kitchen faucet. Step 2: Remove the handle of the faucet. Step 3: Loosen and remove the bonnet nut. Step 4: Pull out the old stem from the faucet body. Step 5: Clean the inside of the faucet body with a rag. Step 6: Install the new stem into the faucet body in the same orientation as the old one. Step 7: Secure the bonnet nut back onto the faucet and tighten it with a wrench. Step 8: Screw the handle back onto the stem and tighten the set screw with an Allen wrench. Step 9: Turn the water supply back on and test the faucet for any leaks.How to Replace a Delta Kitchen Sink Faucet Stem: A Comprehensive Guide

How to Replace a Delta Kitchen Sink Faucet Stem: A Comprehensive Guide
If your Delta kitchen sink faucet is still not functioning properly after replacing the stem, here are some troubleshooting tips: Tip 1: Check if the stem is installed correctly in the faucet body. Tip 2: Tighten the bonnet nut further to prevent any leaks. Tip 3: Make sure all connections are secure and tight.Delta Kitchen Sink Faucet Stem Replacement: Troubleshooting Tips

Delta Kitchen Sink Faucet Stem Replacement: Troubleshooting Tips

To successfully replace a Delta kitchen sink faucet stem, you will need the following tools and materials: 1. Allen wrench 2. Wrench 3. Plumber’s tape 4. Rag or cloth With these tools and our step-by-step guide, you can easily replace your Delta kitchen sink faucet stem and have a fully functioning faucet in no time.Replacing a Delta Kitchen Sink Faucet Stem: Tools and Materials You'll Need


Replacing a Delta Kitchen Sink Faucet Stem: Tools and Materials You'll Need

Why Replacing Your Delta Kitchen Sink Fausset Stem is Essential for a Functional and Stylish Kitchen

A Quick Guide to House Design
 When it comes to designing your dream house, every detail matters. From choosing the perfect color scheme to picking out the right furniture, every decision plays a role in creating a functional and stylish living space. One important aspect that is often overlooked in house design is the kitchen sink. While it may seem like a small detail, the kitchen sink is actually one of the most used fixtures in a home. And if you have a Delta kitchen sink, it's essential to regularly maintain and replace the fausset stem to ensure your kitchen stays in top shape.
Why Choose Delta Kitchen Sink Fausset Stem?
Delta is a trusted brand known for its high-quality kitchen and bathroom fixtures. Their kitchen sink fausset stems are designed to provide durability and functionality, making them a popular choice among homeowners. However, like any other fixture, the fausset stem may wear out over time and require replacement. Knowing when and how to replace it can save you from costly repairs and keep your kitchen functioning smoothly.
Signs that You Need to Replace Your Delta Kitchen Sink Fausset Stem
Over time, the fausset stem can become worn or damaged due to constant use. Here are some signs that indicate it's time to replace your Delta kitchen sink fausset stem:
When it comes to designing your dream house, every detail matters. From choosing the perfect color scheme to picking out the right furniture, every decision plays a role in creating a functional and stylish living space. One important aspect that is often overlooked in house design is the kitchen sink. While it may seem like a small detail, the kitchen sink is actually one of the most used fixtures in a home. And if you have a Delta kitchen sink, it's essential to regularly maintain and replace the fausset stem to ensure your kitchen stays in top shape.
Why Choose Delta Kitchen Sink Fausset Stem?
Delta is a trusted brand known for its high-quality kitchen and bathroom fixtures. Their kitchen sink fausset stems are designed to provide durability and functionality, making them a popular choice among homeowners. However, like any other fixture, the fausset stem may wear out over time and require replacement. Knowing when and how to replace it can save you from costly repairs and keep your kitchen functioning smoothly.
Signs that You Need to Replace Your Delta Kitchen Sink Fausset Stem
Over time, the fausset stem can become worn or damaged due to constant use. Here are some signs that indicate it's time to replace your Delta kitchen sink fausset stem:
- Dripping or leaking water
- Difficult to turn on or off
- Loose handle
- Visible corrosion or rust
- Loss of water pressure
- Improved water flow and pressure
- Prevention of water wastage and leaks
- Enhanced aesthetics and style
- Increased lifespan of your kitchen sink
- Turn off the water supply to your kitchen sink.
- Remove the handle and unscrew the bonnet, cap, and ball assembly.
- Replace the old fausset stem with the new one.
- Reassemble the bonnet, cap, and ball assembly.
- Turn on the water supply and test the functionality of the new fausset stem.