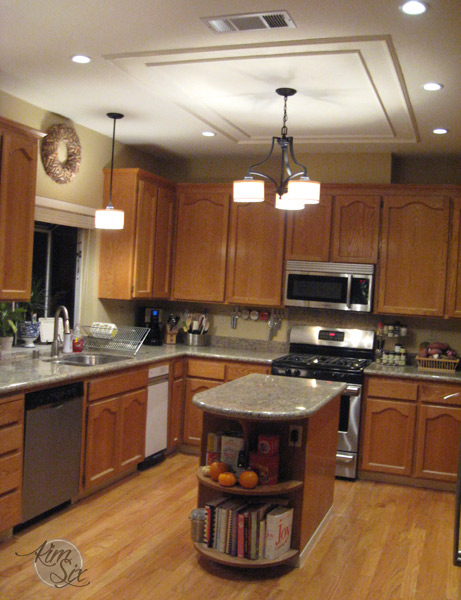
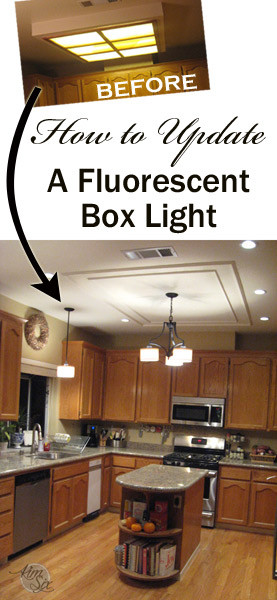
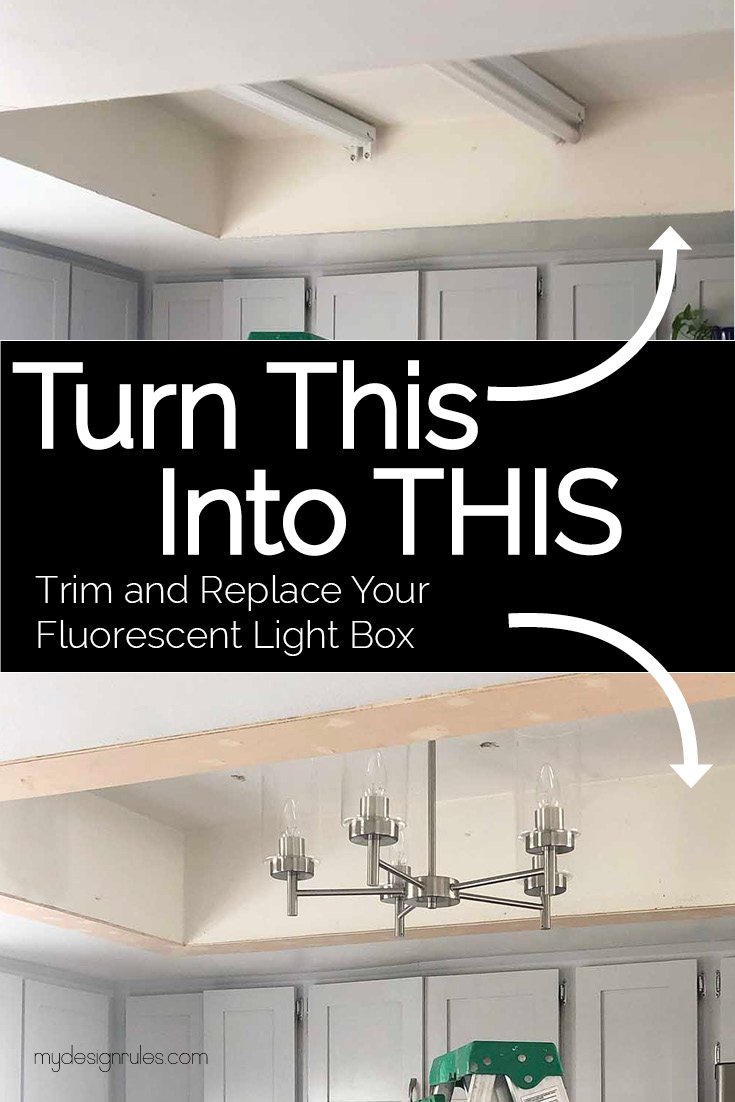
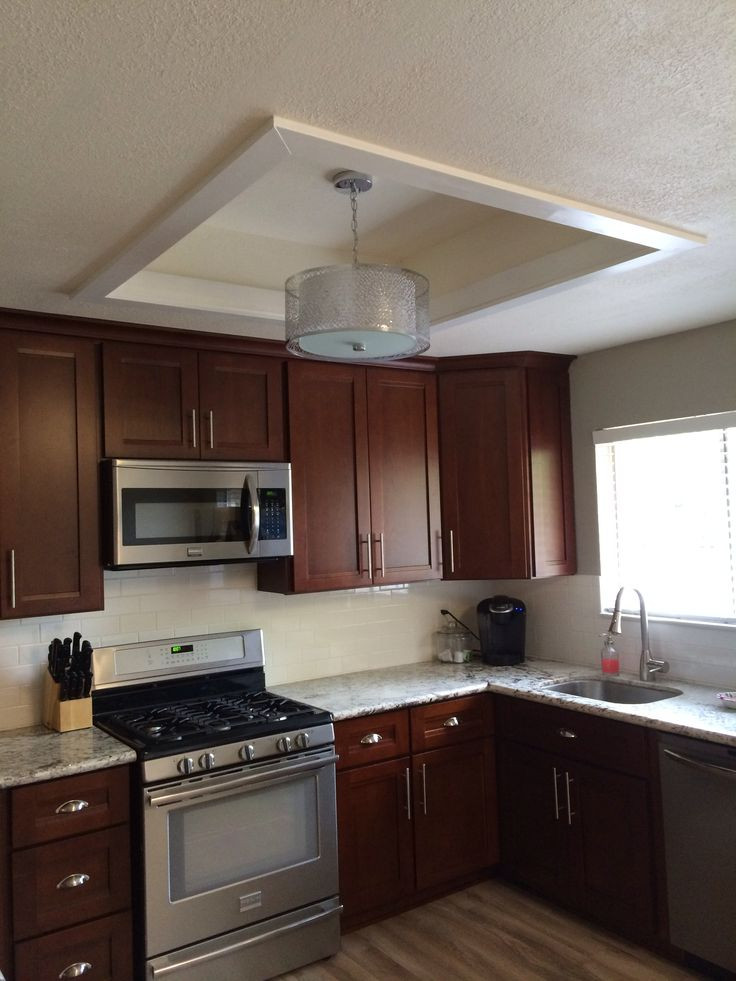
Replacing a kitchen box light may seem like a daunting task, but with the right tools and a little bit of know-how, it can be a simple and rewarding DIY project. Whether you're looking to update the look of your kitchen or your current light fixture is on its last leg, replacing a kitchen box light can make a big difference in the overall appearance and functionality of your space. Here's a step-by-step guide on how to replace a kitchen box light and create a brighter, more inviting space.How to Replace a Kitchen Box Light


How to Replace a Kitchen Box Light


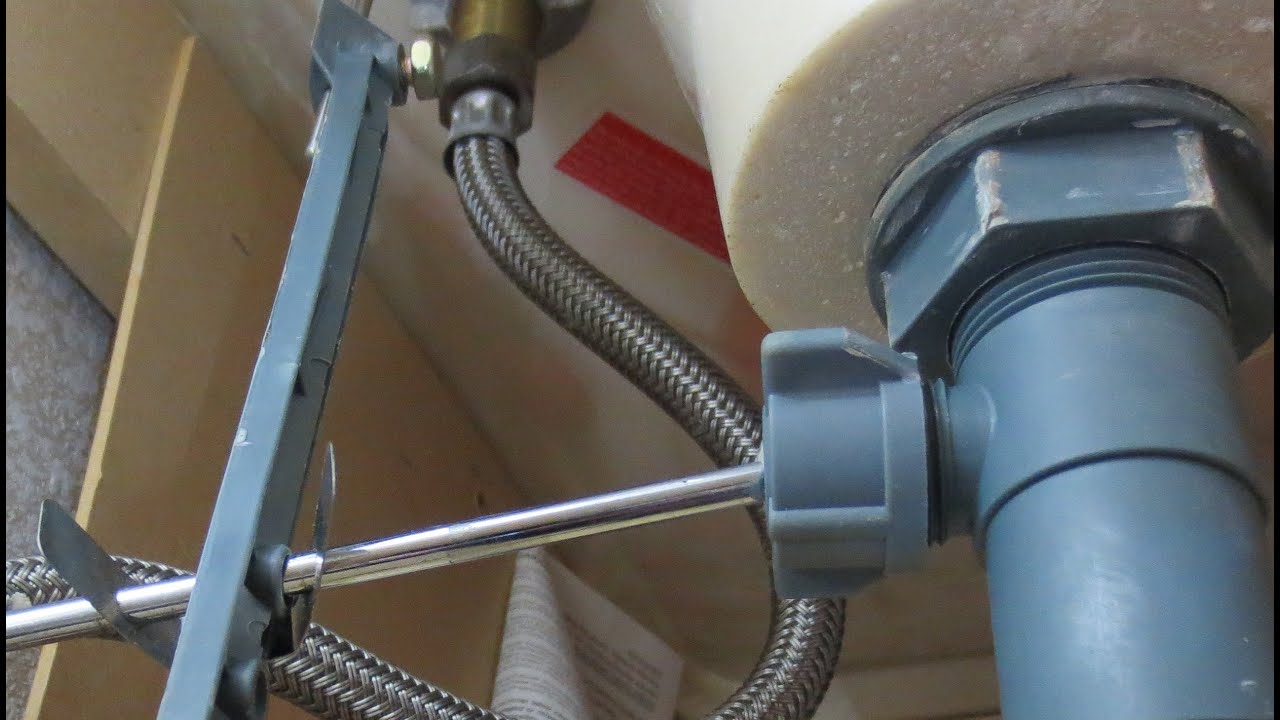
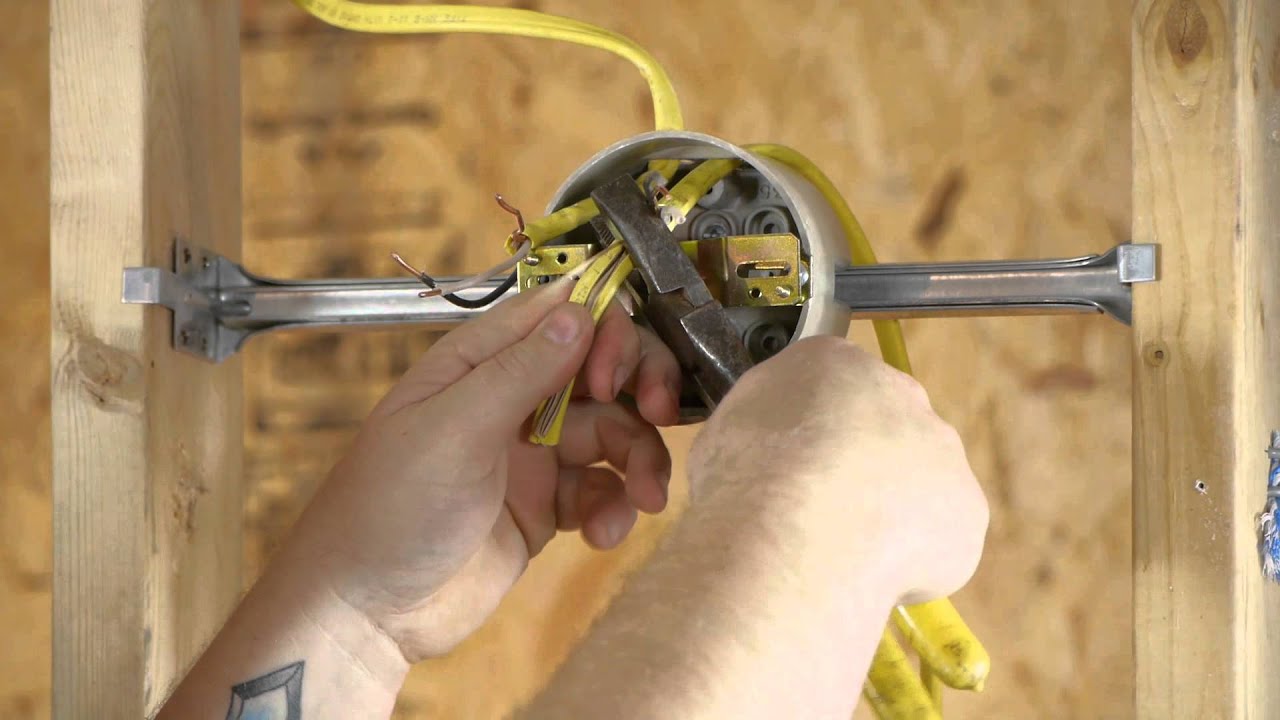
The first step in replacing a kitchen box light is to gather your tools and materials. You will need a screwdriver, wire cutters, wire strippers, a voltage tester, and a replacement light fixture. It's important to choose a replacement light that is the same size or smaller than the existing box to ensure a proper fit. Next, turn off the power to the existing light fixture at the circuit breaker. Use the voltage tester to double-check that there is no electricity running through the wires. Once you have confirmed that it is safe to work, remove the old light fixture by unscrewing the mounting screws and disconnecting the wires. Before installing the new light fixture, make sure the wires are properly stripped and twisted. Connect the hot wire (usually black) to the black wire of the new fixture and the neutral wire (usually white) to the white wire of the new fixture. Use wire nuts to secure the connections and wrap them with electrical tape for added safety. Once the wires are connected, carefully tuck them into the electrical box and secure the new fixture by attaching it to the mounting screws. Turn the power back on and test the light to ensure it is working properly. If everything looks good, you can now enjoy your newly installed kitchen box light!Replacing a Kitchen Box Light: A Step-by-Step Guide


Replacing a Kitchen Box Light: A Step-by-Step Guide


If you're feeling intimidated by the idea of replacing a kitchen box light, don't worry. Here are some helpful tips and tricks to ensure a smooth and successful DIY project: 1. Measure twice, cut once: Before you start any electrical work, make sure you have the right measurements and that your replacement light fixture will fit properly in the existing box. This will save you time and frustration down the line. 2. Turn off the power: Before you start working on the light fixture, always remember to turn off the power at the circuit breaker. Safety should always be your top priority. 3. Label wires: As you disconnect the wires from the old fixture, label them with tape or use different colored wire nuts to easily identify them when connecting the new fixture. 4. Use a voltage tester: Always use a voltage tester to double-check that there is no electricity running through the wires before you begin working. 5. Don't be afraid to ask for help: If you're unsure about any part of the process, don't hesitate to ask for help from a friend or family member who has experience with electrical work.DIY Kitchen Box Light Replacement: Tips and Tricks

DIY Kitchen Box Light Replacement: Tips and Tricks


As with any home improvement project, there are a few things you need to keep in mind when replacing a kitchen box light: 1. The importance of safety: We can't stress enough how important it is to follow proper safety precautions when working with electricity. If you're unsure of what you're doing, it's best to hire a professional to avoid any accidents. 2. The right tools for the job: Having the right tools and materials on hand will make the process much easier and ensure a successful outcome. Make sure you have all the necessary tools before you start working. 3. The different types of light fixtures: There are various types of light fixtures available, so make sure you choose one that fits your space and meets your lighting needs. 4. The importance of proper installation: A poorly installed light fixture can be a safety hazard and may not function correctly. If you're unsure about any part of the process, it's better to seek professional help.Replacing a Kitchen Box Light: What You Need to Know

Replacing a Kitchen Box Light: What You Need to Know
Still feeling unsure about how to replace a kitchen box light? Here's a simplified step-by-step guide to help you along the way: Step 1: Gather your tools and materials. Step 2: Turn off the power to the existing light fixture at the circuit breaker and use a voltage tester to confirm there is no electricity running through the wires. Step 3: Remove the old fixture by unscrewing the mounting screws and disconnecting the wires. Step 4: Strip and connect the wires of the new fixture to the existing wires using wire nuts and electrical tape. Step 5: Tuck the wires back into the electrical box and secure the new fixture by attaching it to the mounting screws. Step 6: Turn the power back on and test the light to ensure it is working properly.Step-by-Step Guide to Replacing a Kitchen Box Light Fixture


Step-by-Step Guide to Replacing a Kitchen Box Light Fixture

Replacing a kitchen box light may seem like a simple task, but there are some common mistakes that people make that can lead to problems down the line. Here are a few things to avoid when replacing your kitchen box light: 1. Not turning off the power: We can't stress this enough - always turn off the power at the circuit breaker before working on any electrical project. 2. Not measuring properly: Choosing a replacement light fixture that is too big for the existing box can lead to a difficult (or impossible) installation. 3. Not using wire nuts or electrical tape: Properly securing the wires is crucial for safety and proper functioning of the light fixture. 4. Not following the instructions: Make sure you read the instructions that come with your new light fixture and follow them carefully for the best results.Replacing a Kitchen Box Light: Common Mistakes to Avoid


Replacing a Kitchen Box Light: Common Mistakes to Avoid


Ready to tackle your kitchen box light replacement project? Here are the essential tools and materials you'll need: Tools: Screwdriver, wire cutters, wire strippers, voltage tester Materials: Replacement light fixture, wire nuts, electrical tape Having these tools and materials on hand will make the process much smoother and ensure a successful outcome.DIY Kitchen Box Light Replacement: Tools and Materials You'll Need

DIY Kitchen Box Light Replacement: Tools and Materials You'll Need


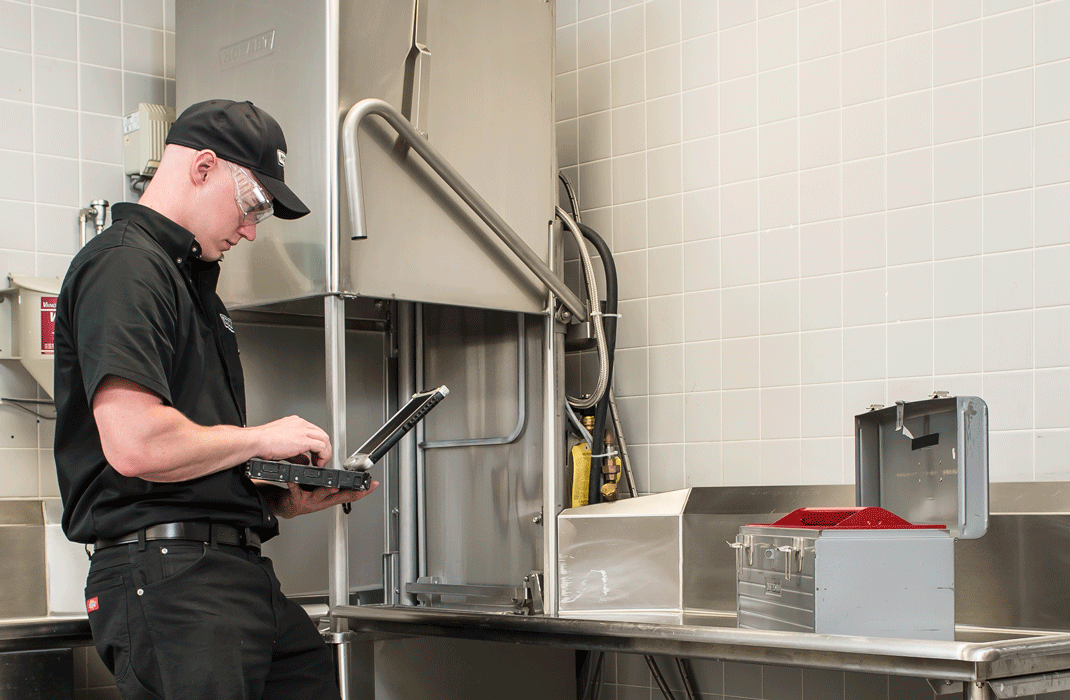
As mentioned earlier, safety should always be your top priority when working with electricity. Here are some safety precautions to keep in mind when replacing a kitchen box light: 1. Turn off the power: Always turn off the power at the circuit breaker before working on any electrical project. 2. Wear protective gear: It's recommended to wear gloves and safety glasses when working with electrical wires. 3. Use a voltage tester: Always use a voltage tester to double-check that there is no electricity running through the wires before you begin working. 4. Seek professional help if unsure: If you're unsure about any part of the process, it's best to hire a professional to avoid any accidents.Replacing a Kitchen Box Light: Safety Precautions to Keep in Mind

Replacing a Kitchen Box Light: Safety Precautions to Keep in Mind

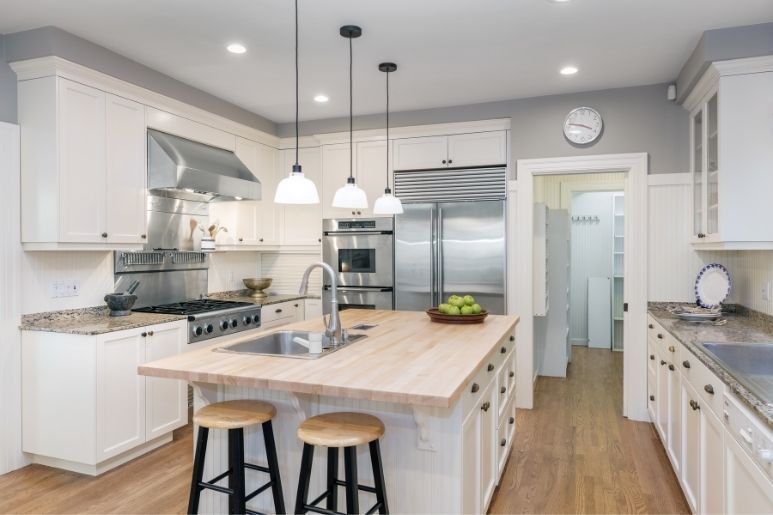

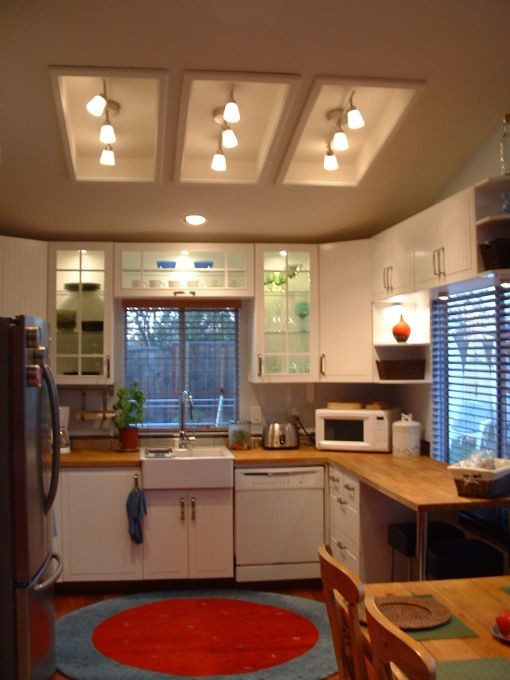
With so many options available, it can be overwhelming to choose the right replacement kitchen box light. Here are a few things to consider when making your selection: 1. Size and style: Make sure the replacement light fixture is the same size or smaller than the existing box and matches the style of your kitchen. 2. Brightness and type of light: Consider the amount of light you need in your kitchen and the type of light (warm, cool, or daylight) that will best suit your space. 3. Energy efficiency: Look for energy-efficient options to save on your electricity bill in the long run. 4. Quality and durability: Invest in a high-quality light fixture that will last for years to come.How to Choose the Right Replacement Kitchen Box Light


How to Choose the Right Replacement Kitchen Box Light


Despite your best efforts, you may encounter some issues when replacing a kitchen box light. Here are some common problems and how to troubleshoot them: Problem: The light fixture won't turn on. Solution: Double-check that the wires are properly connected and that the power is turned on. If the problem persists, there may be an issue with the fixture itself and it may need to be replaced. Problem: The light flickers or dims. Solution: This could be caused by loose wires. Check all connections and tighten them if necessary. If the issue persists, there may be a problem with the wiring in your home and you should seek professional help. Problem: The light is too bright or not bright enough. Solution: This could be a result of choosing the wrong type of bulb for your fixture. Make sure to match the recommended wattage and type of bulb for your light fixture.Replacing a Kitchen Box Light: Troubleshooting Common Issues

Replacing a Kitchen Box Light: Troubleshooting Common Issues
Why Should You Replace Your Kitchen Box Light?

The Importance of Lighting in House Design
 When it comes to designing your home, lighting is often a crucial aspect that is overlooked. Yet, it plays a significant role in creating the desired ambiance and functionality of a space. The kitchen, being one of the most used areas in a house, requires proper lighting for both practical and aesthetic purposes.
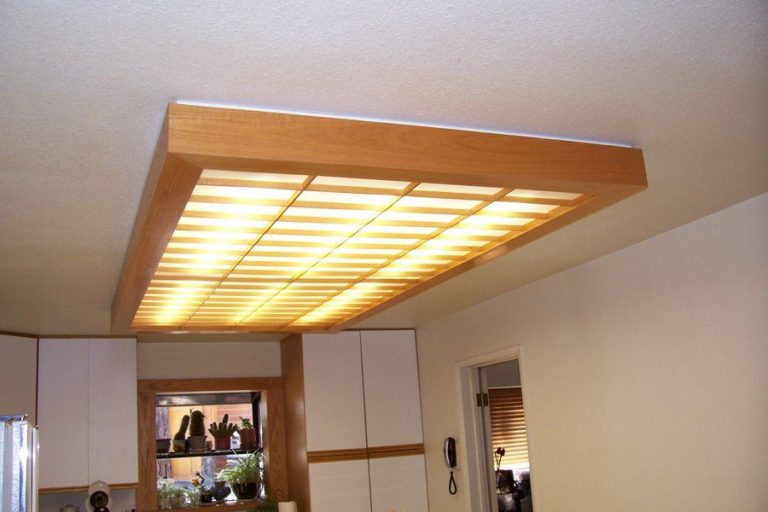
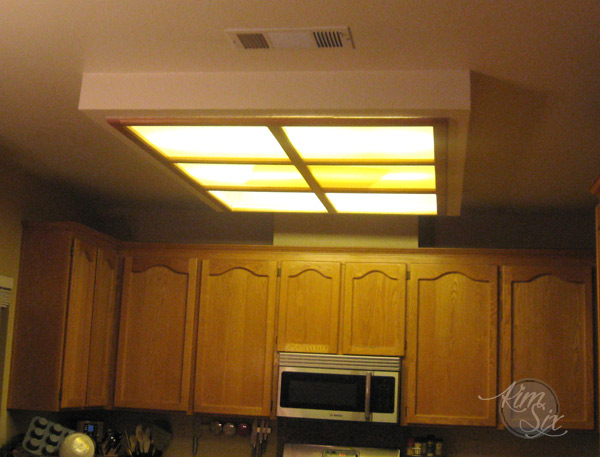
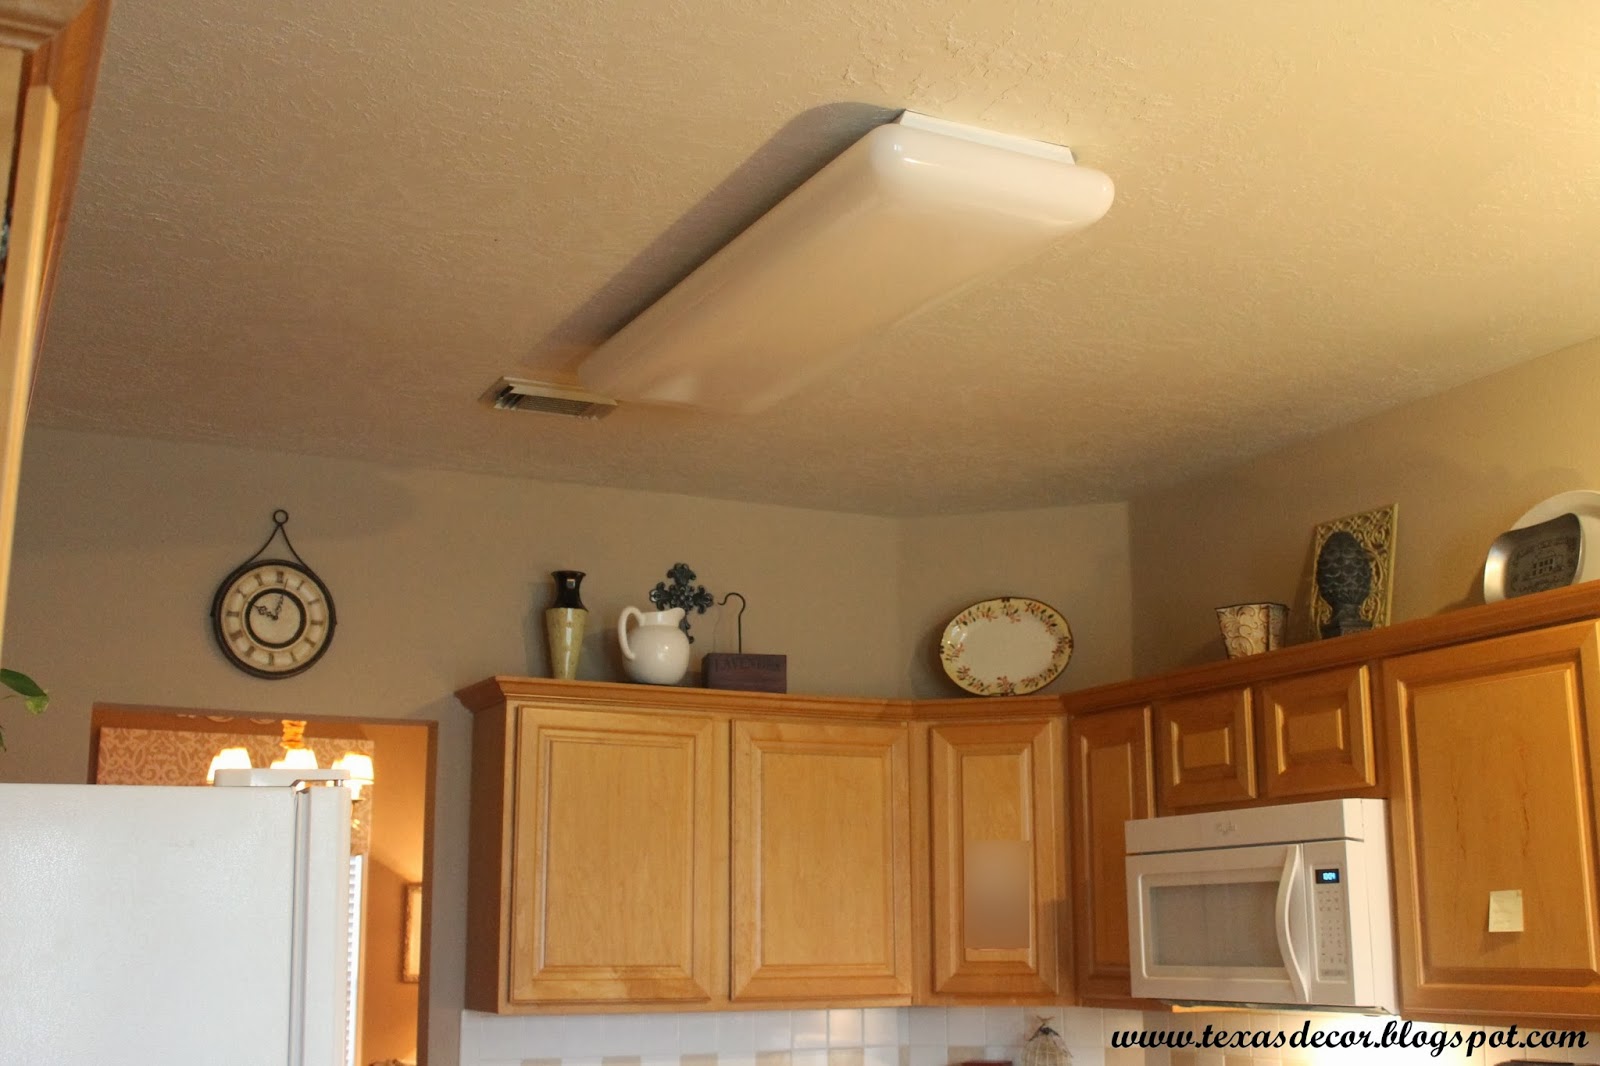
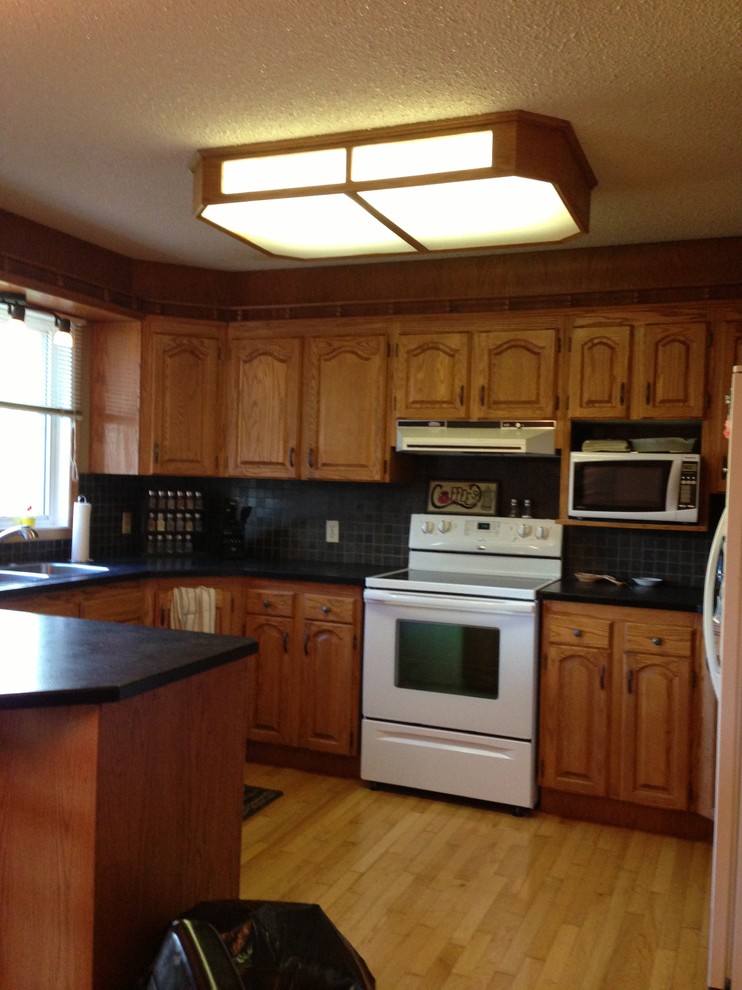
Kitchen box lights
are a popular choice for many homeowners as they provide ample lighting for food preparation and cooking. However, over time, these lights can become outdated and may need to be replaced. Here are some reasons why replacing your kitchen box light is essential for your house design.
When it comes to designing your home, lighting is often a crucial aspect that is overlooked. Yet, it plays a significant role in creating the desired ambiance and functionality of a space. The kitchen, being one of the most used areas in a house, requires proper lighting for both practical and aesthetic purposes.
Kitchen box lights
are a popular choice for many homeowners as they provide ample lighting for food preparation and cooking. However, over time, these lights can become outdated and may need to be replaced. Here are some reasons why replacing your kitchen box light is essential for your house design.
Enhanced Aesthetics and Functionality
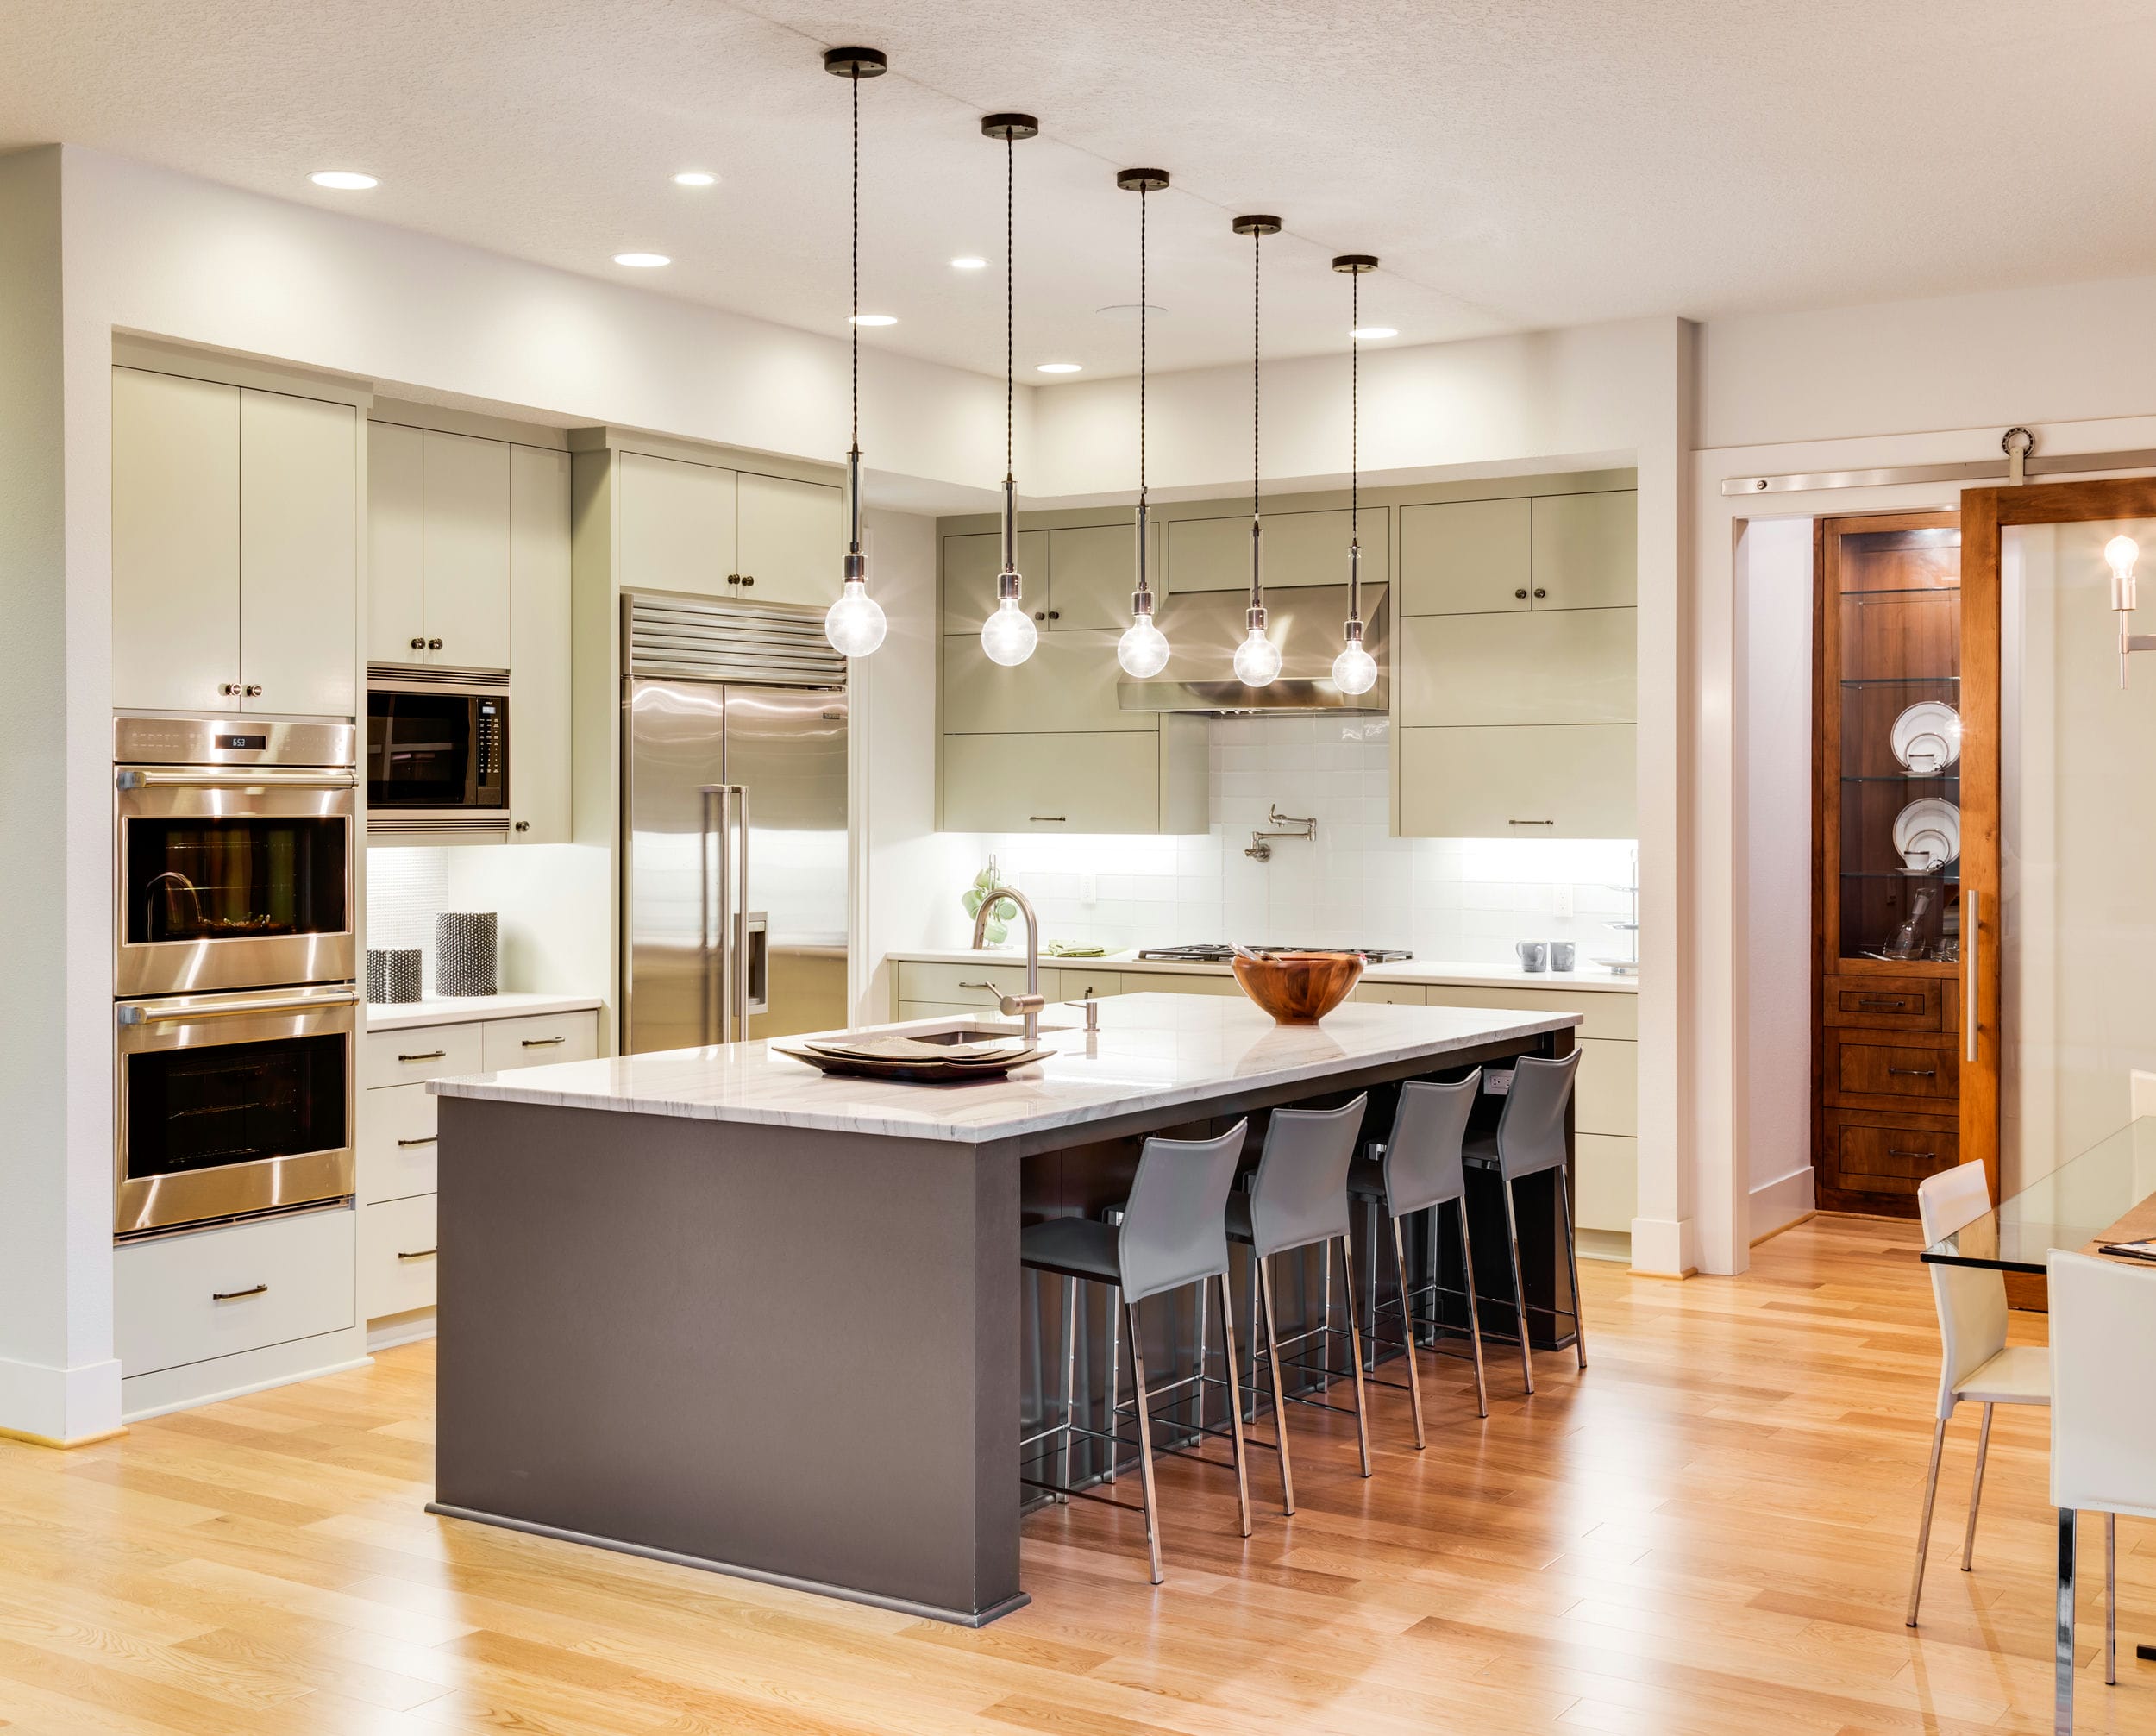
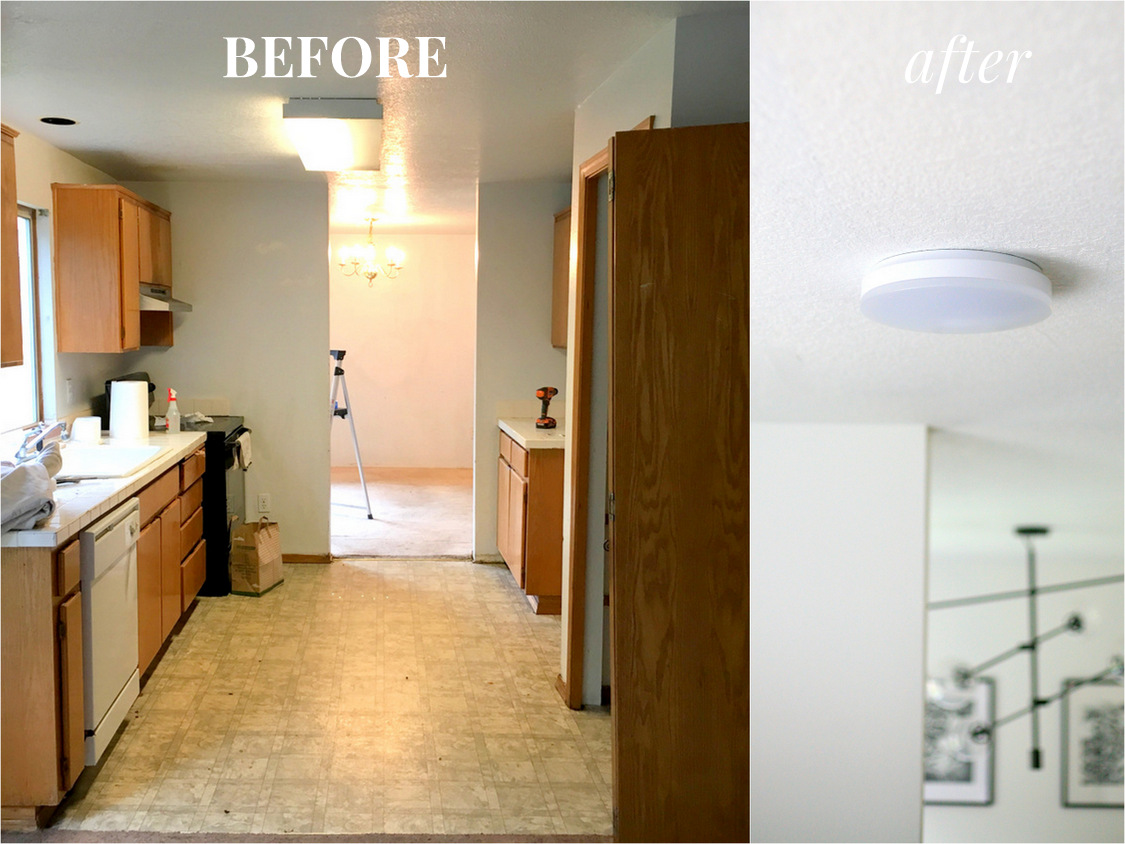
 Replacing your old kitchen box light with a newer, more modern one can instantly enhance the overall look and feel of your kitchen. With the wide variety of designs and styles available, you can choose a light that complements your kitchen's theme and adds to its aesthetic appeal.
Moreover, newer models of kitchen box lights come with advanced features such as dimming options, different levels of brightness, and energy-saving capabilities. This allows you to customize the lighting in your kitchen according to your needs and create the perfect ambiance for any occasion.
Replacing your old kitchen box light with a newer, more modern one can instantly enhance the overall look and feel of your kitchen. With the wide variety of designs and styles available, you can choose a light that complements your kitchen's theme and adds to its aesthetic appeal.
Moreover, newer models of kitchen box lights come with advanced features such as dimming options, different levels of brightness, and energy-saving capabilities. This allows you to customize the lighting in your kitchen according to your needs and create the perfect ambiance for any occasion.
Improved Energy Efficiency
 In today's world, where environmental concerns are becoming increasingly important, it is crucial to consider the energy efficiency of your household appliances. Upgrading your kitchen box light to an energy-efficient model can significantly reduce your electricity bills and help you contribute to a greener environment.
LED lights
are a popular choice for kitchen box lights as they use less energy, have a longer lifespan, and emit less heat compared to traditional incandescent or fluorescent lights. This not only saves you money but also ensures that your kitchen stays cool and comfortable while you cook.
In today's world, where environmental concerns are becoming increasingly important, it is crucial to consider the energy efficiency of your household appliances. Upgrading your kitchen box light to an energy-efficient model can significantly reduce your electricity bills and help you contribute to a greener environment.
LED lights
are a popular choice for kitchen box lights as they use less energy, have a longer lifespan, and emit less heat compared to traditional incandescent or fluorescent lights. This not only saves you money but also ensures that your kitchen stays cool and comfortable while you cook.
Increase Resale Value
 If you are planning to sell your house in the future, investing in a new kitchen box light can be a wise decision. A well-lit and updated kitchen is a major selling point for potential buyers, and it can significantly increase the value of your house.
By replacing your old kitchen box light with a newer, more efficient model, you are not only improving the aesthetics and functionality of your kitchen but also making your house more appealing to potential buyers.
In conclusion, replacing your kitchen box light is not only a practical decision but also a smart one for enhancing your house design. By choosing a new light that fits your needs and preferences, you can create a beautiful, well-lit space that adds value to your home. So, don't hesitate to upgrade your kitchen lighting and see the difference it makes in your house design.
If you are planning to sell your house in the future, investing in a new kitchen box light can be a wise decision. A well-lit and updated kitchen is a major selling point for potential buyers, and it can significantly increase the value of your house.
By replacing your old kitchen box light with a newer, more efficient model, you are not only improving the aesthetics and functionality of your kitchen but also making your house more appealing to potential buyers.
In conclusion, replacing your kitchen box light is not only a practical decision but also a smart one for enhancing your house design. By choosing a new light that fits your needs and preferences, you can create a beautiful, well-lit space that adds value to your home. So, don't hesitate to upgrade your kitchen lighting and see the difference it makes in your house design.