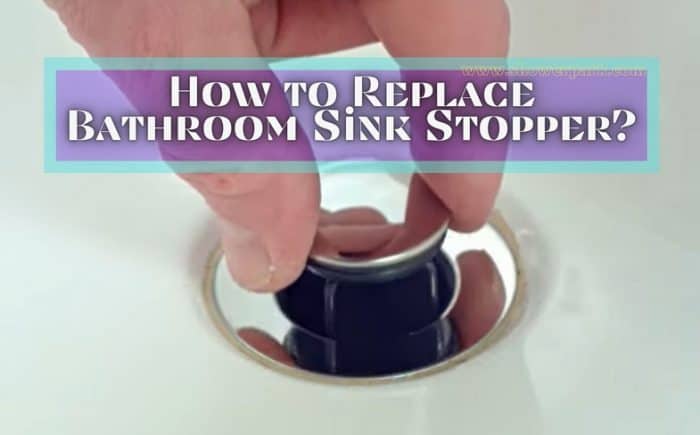
How to Replace a Bathroom Sink Plug Hole
Is your bathroom sink plug hole broken or worn out? Don't worry, replacing it is easier than you think. Follow our step-by-step guide to learn how to replace a bathroom sink plug hole and give your sink a fresh new look.


How to Replace a Bathroom Sink Plug Hole


Replacing a Bathroom Sink Plug Hole: A Step-by-Step Guide
Replacing a bathroom sink plug hole may seem like a daunting task, but with the right tools and materials, it can be done in no time. Follow these simple steps to replace your bathroom sink plug hole:
Step 1: Gather your materials. Before you get started, make sure you have all the necessary materials on hand. You'll need a new plug hole, a pair of pliers, a flathead screwdriver, and some plumber's putty.
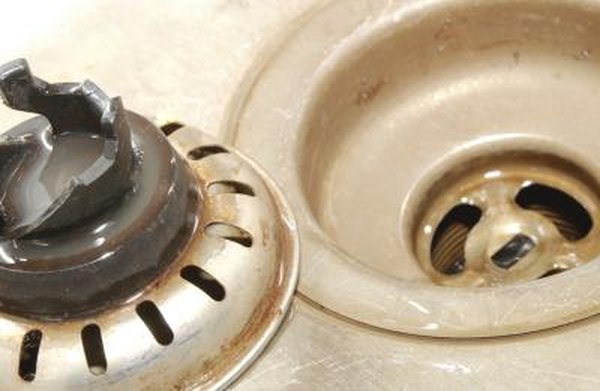
Step 2: Remove the old plug hole. Use your pliers to loosen the retaining nut on the underside of the sink. Once it's loose, you should be able to pull out the old plug hole from the top of the sink.
Step 3: Clean the area. Use a cloth to wipe the area clean where the old plug hole was removed. This will ensure a clean and smooth surface for the new plug hole to be installed.
Step 4: Apply plumber's putty. Roll a small amount of plumber's putty into a thin rope and wrap it around the bottom of the new plug hole. This will create a watertight seal when the plug hole is installed.
Step 5: Install the new plug hole. Place the new plug hole into the hole on top of the sink. From underneath, screw on the retaining nut and tighten it with your pliers to secure the plug hole in place.
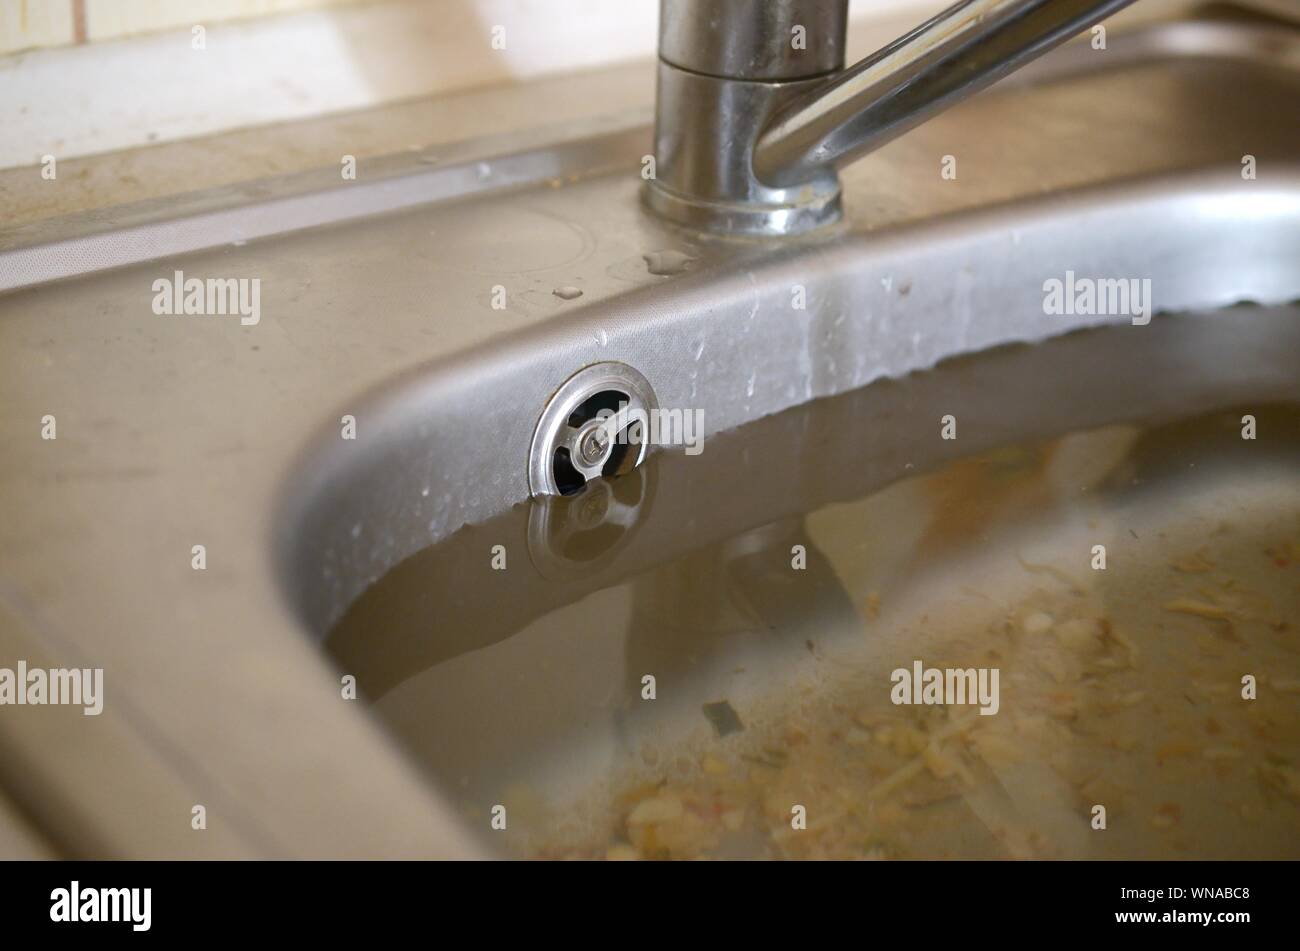
Step 6: Test for leaks. Turn on the water and let it run for a few minutes to ensure there are no leaks. If you notice any water dripping from the new plug hole, tighten the retaining nut a little more until the leak stops.


Replacing a Bathroom Sink Plug Hole: A Step-by-Step Guide


DIY: Replacing a Bathroom Sink Plug Hole
Replacing a bathroom sink plug hole is a simple DIY project that can save you time and money. Instead of hiring a plumber, follow our step-by-step guide and do it yourself.


DIY: Replacing a Bathroom Sink Plug Hole


Replacing a Bathroom Sink Plug Hole: Tips and Tricks
Here are some helpful tips and tricks to keep in mind when replacing a bathroom sink plug hole:
Tip 1: Choose a plug hole that matches the style and finish of your sink and faucet for a cohesive look.
Tip 2: Make sure to turn off the water supply before starting the replacement process.
Tip 3: Use a silicone-based plumber's putty for a more durable seal.


Replacing a Bathroom Sink Plug Hole: Tips and Tricks

Quick and Easy Guide to Replacing a Bathroom Sink Plug Hole
Follow these quick and easy steps to replace your bathroom sink plug hole and give your sink a fresh new look:
Step 1: Remove the old plug hole.
Step 2: Clean the area.
Step 3: Apply plumber's putty.
Step 4: Install the new plug hole.
Step 5: Test for leaks.


Quick and Easy Guide to Replacing a Bathroom Sink Plug Hole


Replacing a Bathroom Sink Plug Hole: Common Mistakes to Avoid
Replacing a bathroom sink plug hole may seem like a simple task, but there are some common mistakes that can happen. Here are a few to avoid:
Mistake 1: Forgetting to turn off the water supply.
Mistake 2: Using too much plumber's putty, which can cause it to ooze out and create a messy installation.
Mistake 3: Not tightening the retaining nut enough, which can lead to leaks.

Replacing a Bathroom Sink Plug Hole: Common Mistakes to Avoid
Step-by-Step Tutorial for Replacing a Bathroom Sink Plug Hole
Follow this step-by-step tutorial for a detailed guide on how to replace a bathroom sink plug hole:
Step 1: Gather your materials.
Step 2: Remove the old plug hole.
Step 3: Clean the area.
Step 4: Apply plumber's putty.
Step 5: Install the new plug hole.
Step 6: Test for leaks.


Step-by-Step Tutorial for Replacing a Bathroom Sink Plug Hole


Replacing a Bathroom Sink Plug Hole: Tools and Materials You'll Need
Make sure you have these essential tools and materials on hand before starting the replacement process:
Tools: Pliers, flathead screwdriver.
Materials: New plug hole, plumber's putty.

Replacing a Bathroom Sink Plug Hole: Tools and Materials You'll Need
Replacing a Bathroom Sink Plug Hole: Troubleshooting Common Issues
Here are some common issues that may arise when replacing a bathroom sink plug hole and how to troubleshoot them:
Issue: Leak from the new plug hole.
Solution: Tighten the retaining nut a little more until the leak stops.
Issue: Difficulty removing the old plug hole.
Solution: Use pliers to loosen the retaining nut and gently pull out the old plug hole.

Replacing a Bathroom Sink Plug Hole: Troubleshooting Common Issues
Expert Tips for Replacing a Bathroom Sink Plug Hole
Here are some expert tips to keep in mind when replacing a bathroom sink plug hole:
Tip 1: Use a hairdryer to soften old putty for easier removal.
Tip 2: Apply a small amount of lubricant to the retaining nut to make it easier to tighten.
Tip 3: Use a putty knife to remove excess plumber's putty for a cleaner installation.
Now that you know how to replace a bathroom sink plug hole, you can easily give your sink a fresh new look. Follow our guide and enjoy a leak-free and functional sink in no time!

Expert Tips for Replacing a Bathroom Sink Plug Hole

Introduction
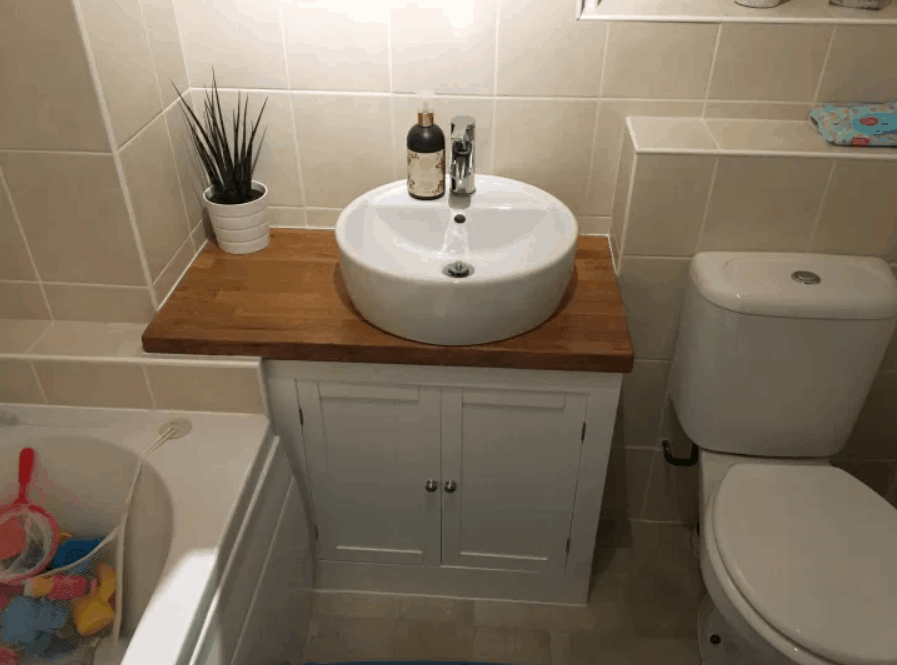
 When it comes to house design, the bathroom is often an overlooked space. However, a well-designed bathroom can greatly enhance the overall aesthetic of a home. One crucial aspect of bathroom design is the sink plug hole. Over time, it can become worn out and unsightly, taking away from the overall appeal of the bathroom. Replacing a bathroom sink plug hole is a simple and cost-effective way to upgrade your bathroom design. In this article, we will guide you through the process step by step, so you can achieve a sleek and modern look for your bathroom.
Assessing the Situation
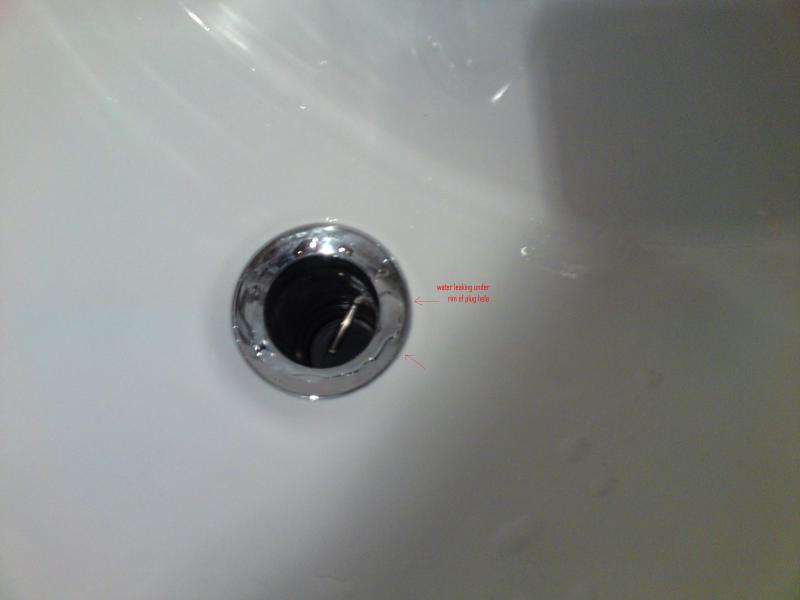
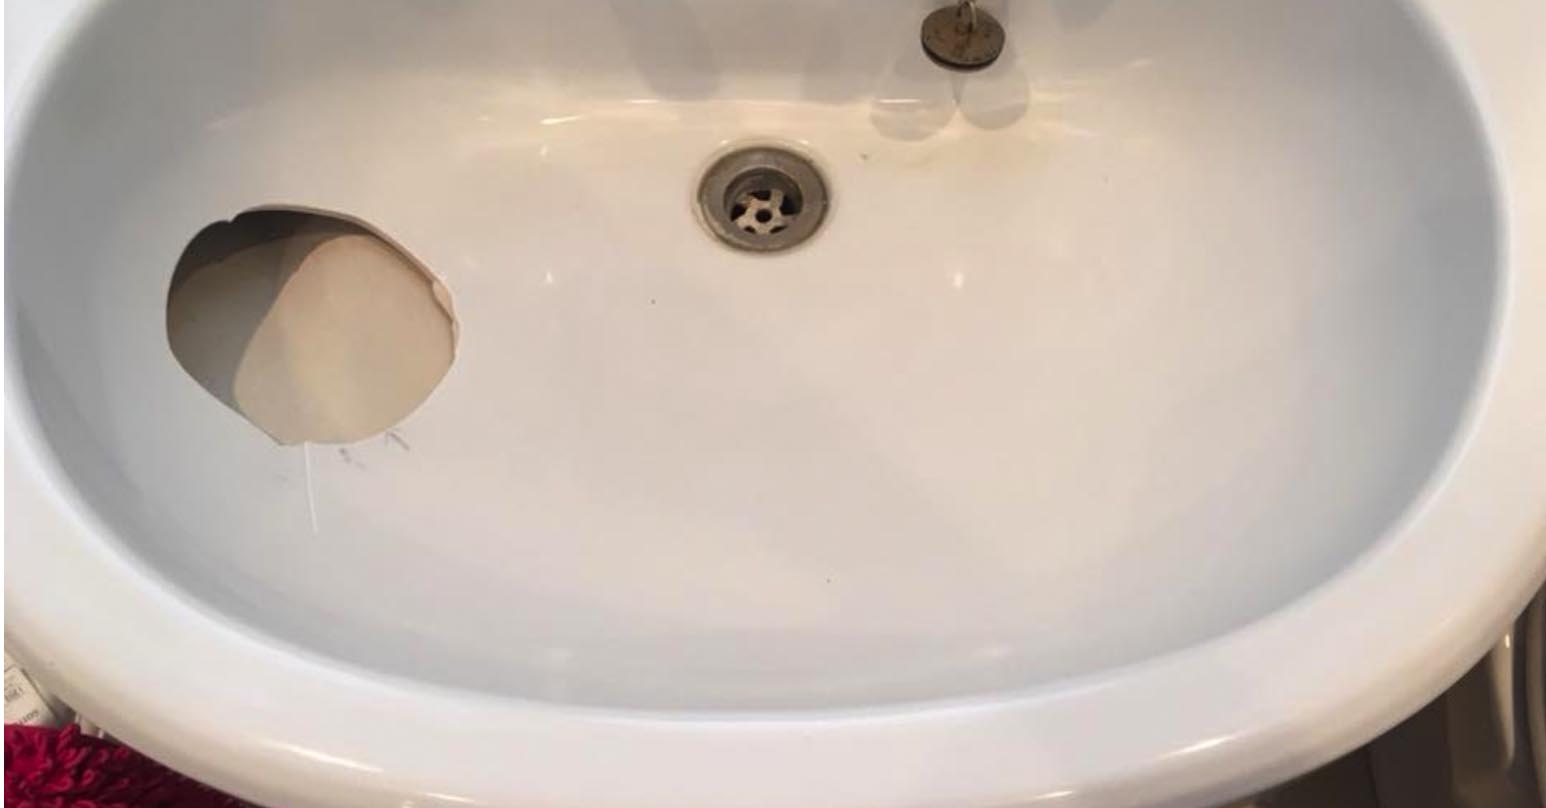
 Before replacing the plug hole, it is important to assess the situation and determine if it can be fixed with a simple repair or if a full replacement is necessary. If the plug hole is cracked, rusted, or damaged beyond repair, a replacement is the best option. Additionally, if you are looking to update the style of your bathroom, a new plug hole can make a significant difference.
Gathering Supplies
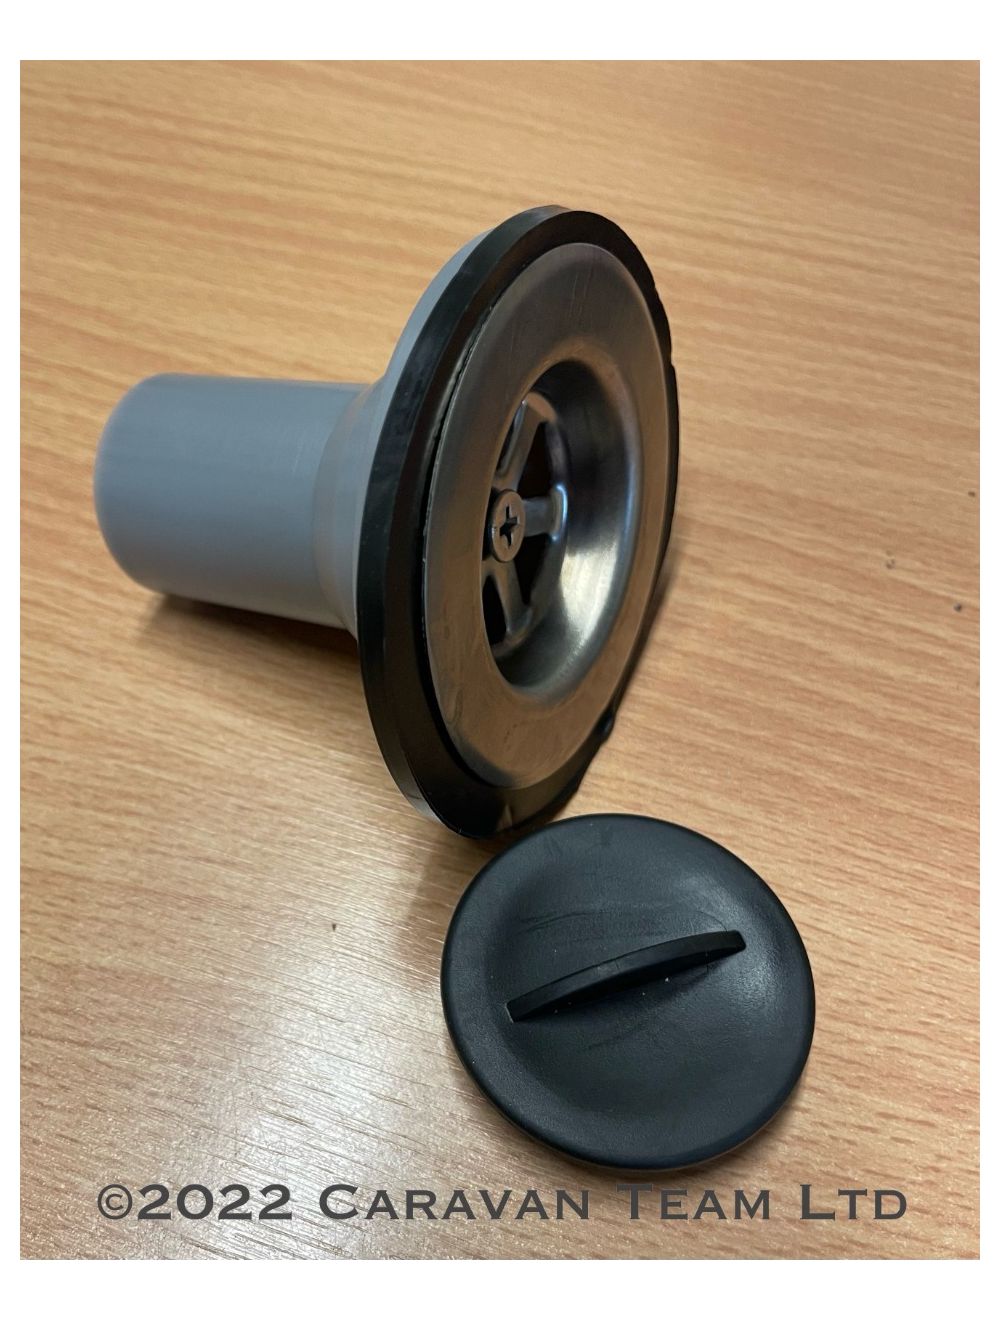
 To replace a bathroom sink plug hole, you will need to gather a few supplies. These include a new plug hole, a basin wrench, a screwdriver, plumber's putty, and a pair of pliers. It is important to ensure that the new plug hole fits the size and style of your sink. You may also want to consider updating the sink drain and stopper while you are at it for a complete bathroom design upgrade.
Step-by-Step Guide
 Now, let's walk through the steps to replace a bathroom sink plug hole.
Step 1:
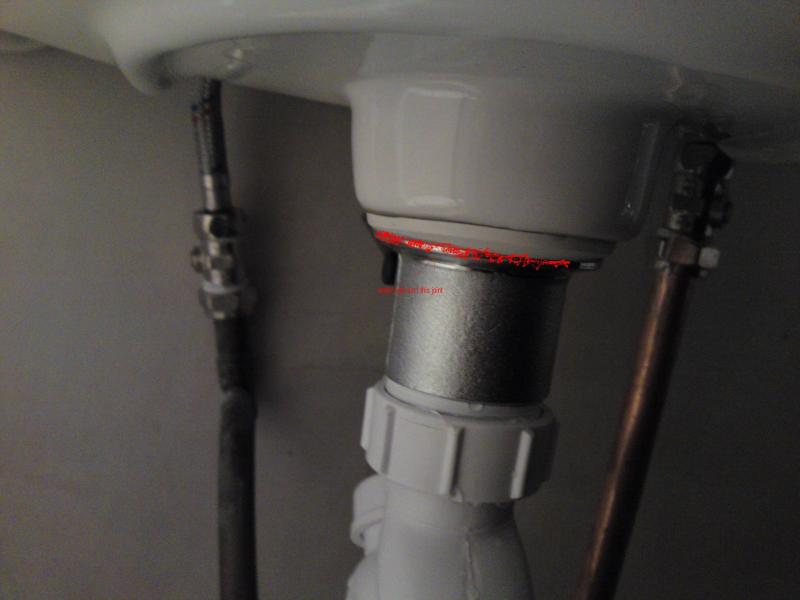
Begin by turning off the water supply to the sink. This can usually be done by turning the water valves under the sink in a clockwise direction.
Step 2:
Next, use a basin wrench to loosen and remove the old plug hole. If you encounter any difficulty, you can use a pair of pliers to help loosen it.
Step 3:
Once the old plug hole is removed, clean the area around the hole, removing any old plumber's putty or debris.
Step 4:
Take the new plug hole and apply a layer of plumber's putty around the edge. This will create a tight seal once the new plug hole is installed.
Step 5:
Carefully place the new plug hole into the sink hole, making sure it is secure and level.
Step 6:
Underneath the sink, attach the new plug hole using the screws provided. Use a screwdriver to tighten them into place.
Step 7:
Turn the water supply back on and test the new plug hole by running water in the sink. If there are any leaks, tighten the screws further.
Now, let's walk through the steps to replace a bathroom sink plug hole.
Step 1:
Begin by turning off the water supply to the sink. This can usually be done by turning the water valves under the sink in a clockwise direction.
Step 2:
Next, use a basin wrench to loosen and remove the old plug hole. If you encounter any difficulty, you can use a pair of pliers to help loosen it.
Step 3:
Once the old plug hole is removed, clean the area around the hole, removing any old plumber's putty or debris.
Step 4:
Take the new plug hole and apply a layer of plumber's putty around the edge. This will create a tight seal once the new plug hole is installed.
Step 5:
Carefully place the new plug hole into the sink hole, making sure it is secure and level.
Step 6:
Underneath the sink, attach the new plug hole using the screws provided. Use a screwdriver to tighten them into place.
Step 7:
Turn the water supply back on and test the new plug hole by running water in the sink. If there are any leaks, tighten the screws further.
Final Touches
 With the new plug hole installed, you can now add the finishing touches to your bathroom design. Consider installing a new drain and stopper to match the style of your new plug hole. You can also add a fresh coat of paint or new accessories to further enhance the overall aesthetic of your bathroom.
In Conclusion
 Replacing a bathroom sink plug hole may seem like a small task, but it can have a big impact on the overall design of your bathroom. By following these simple steps, you can easily upgrade your bathroom and create a sleek and modern look. Remember to assess the situation, gather supplies, and follow the step-by-step guide for a successful replacement. With a little effort and the right tools, you can achieve a beautiful and functional bathroom that will leave a lasting impression on all who enter.