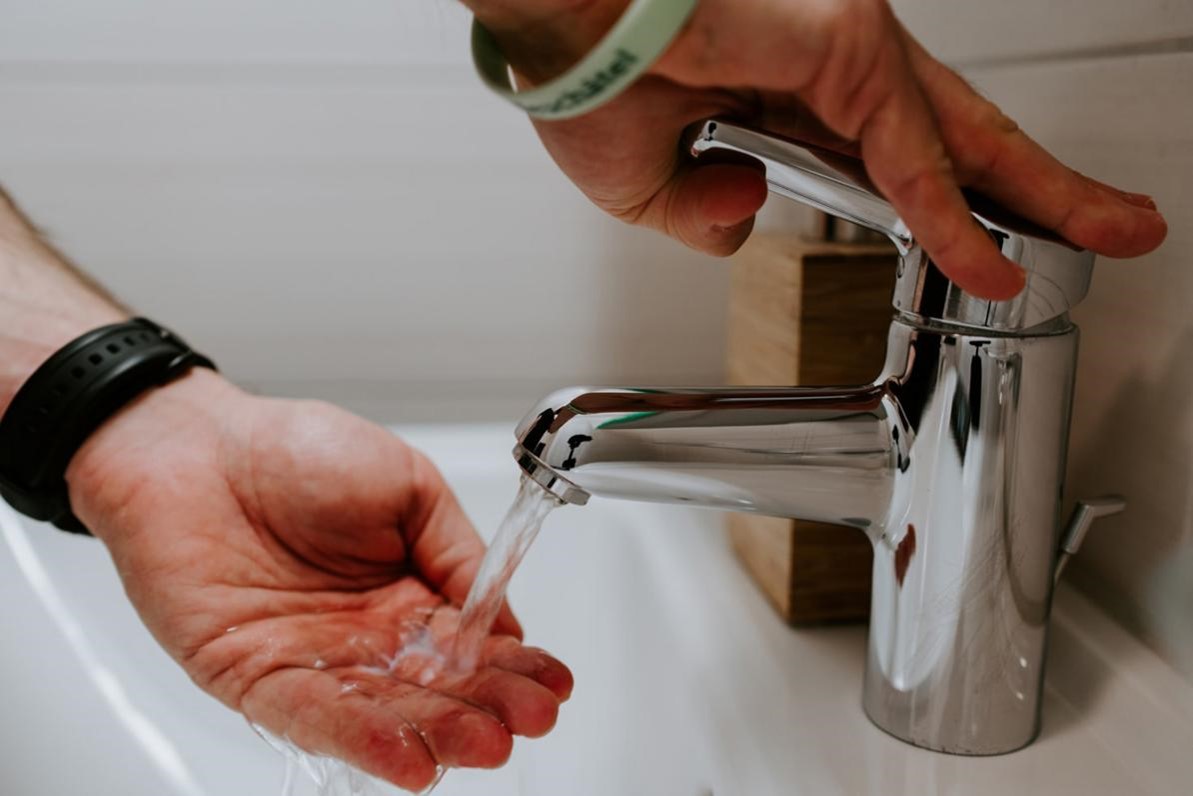
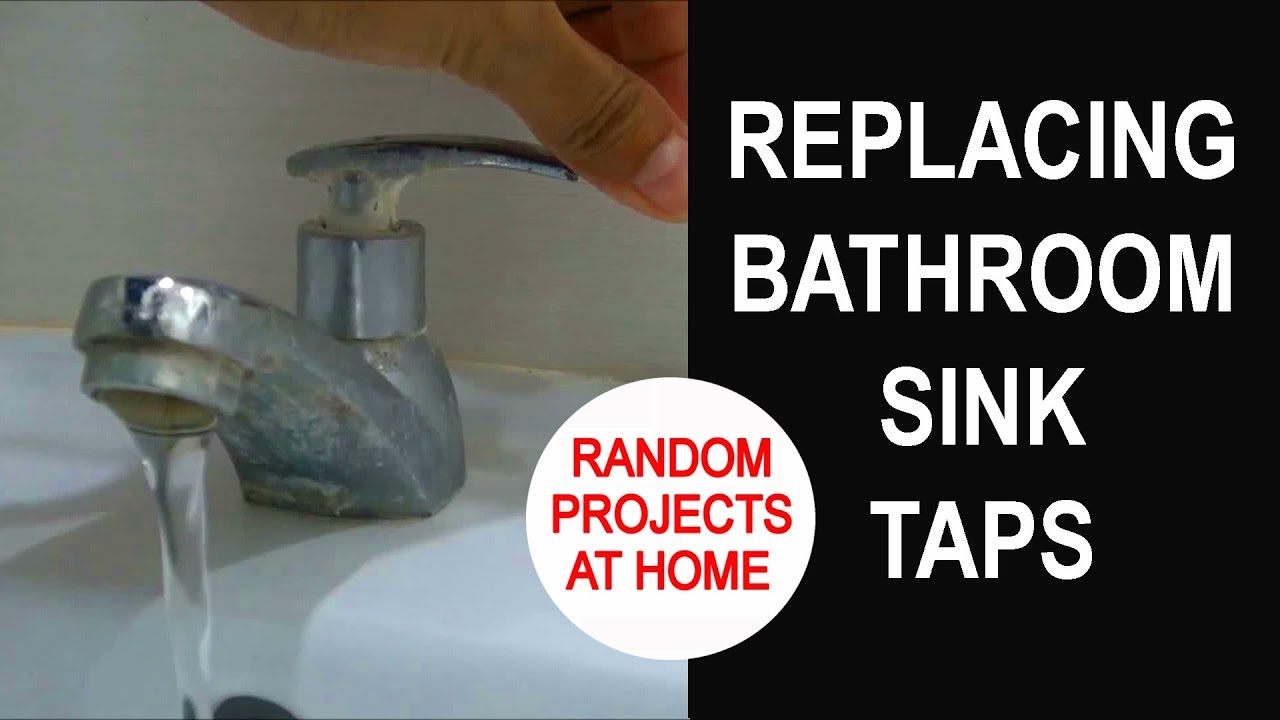
Is your bathroom sink tap constantly dripping? This is not only annoying, but it can also lead to higher water bills and potential damage to your sink and plumbing. The culprit behind a leaky tap is often a worn out washer. But don't worry, replacing a washer in a bathroom sink tap is a simple DIY task that you can easily do yourself. Follow these steps to fix your leaky tap and save yourself some money in the process.How to Replace a Washer in a Bathroom Sink Tap


How to Replace a Washer in a Bathroom Sink Tap


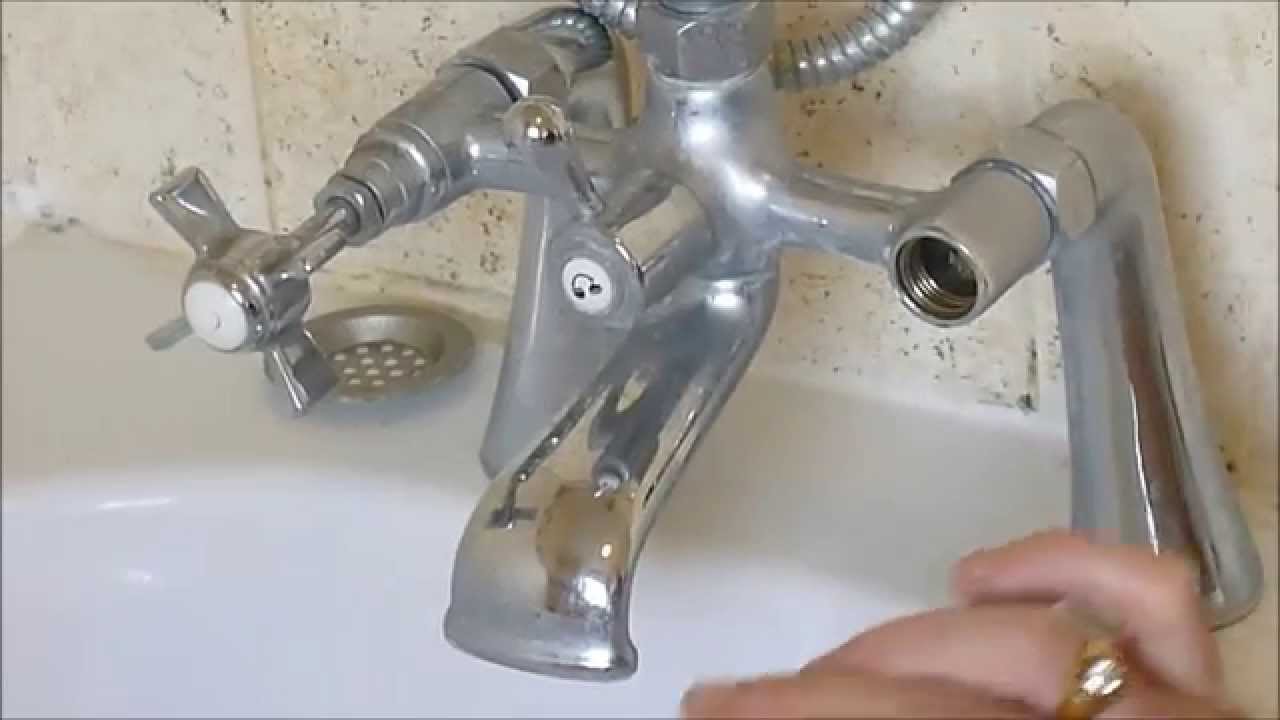

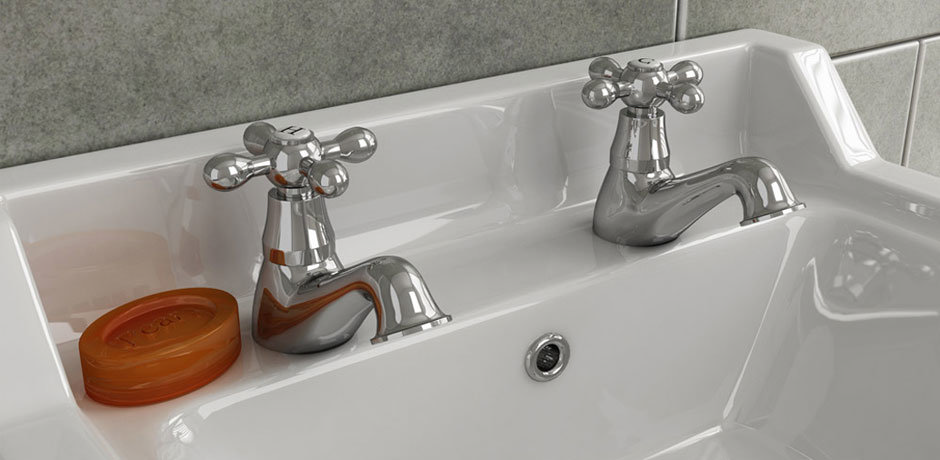
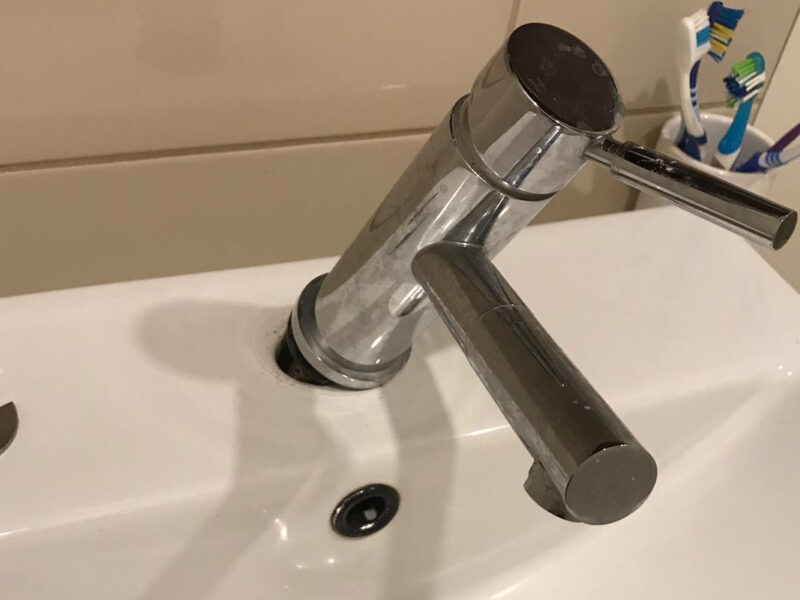
The first step in fixing a leaky bathroom sink tap is to determine which type of tap you have. There are two main types: compression taps and washerless taps. Compression taps have separate handles for hot and cold water and require a washer to create a seal. Washerless taps, also known as cartridge or ball taps, do not have washers and use a different mechanism to control the flow of water. If you have a compression tap and notice water dripping from the spout or handle, it's likely that the washer needs to be replaced. Here's how to do it:How to Fix a Leaky Bathroom Sink Tap


How to Fix a Leaky Bathroom Sink Tap


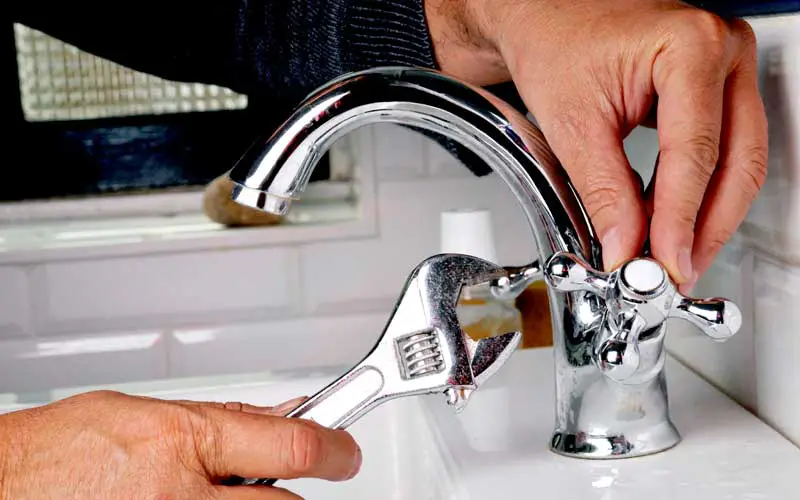


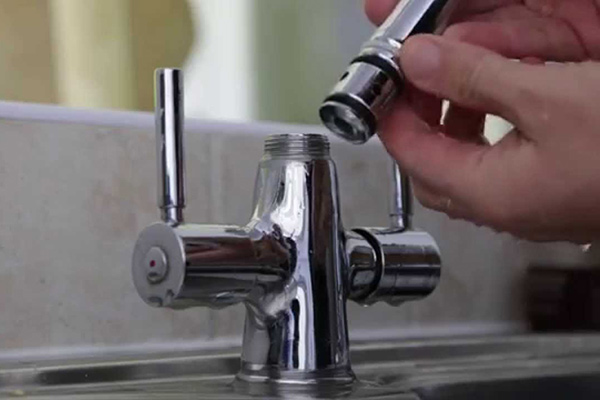
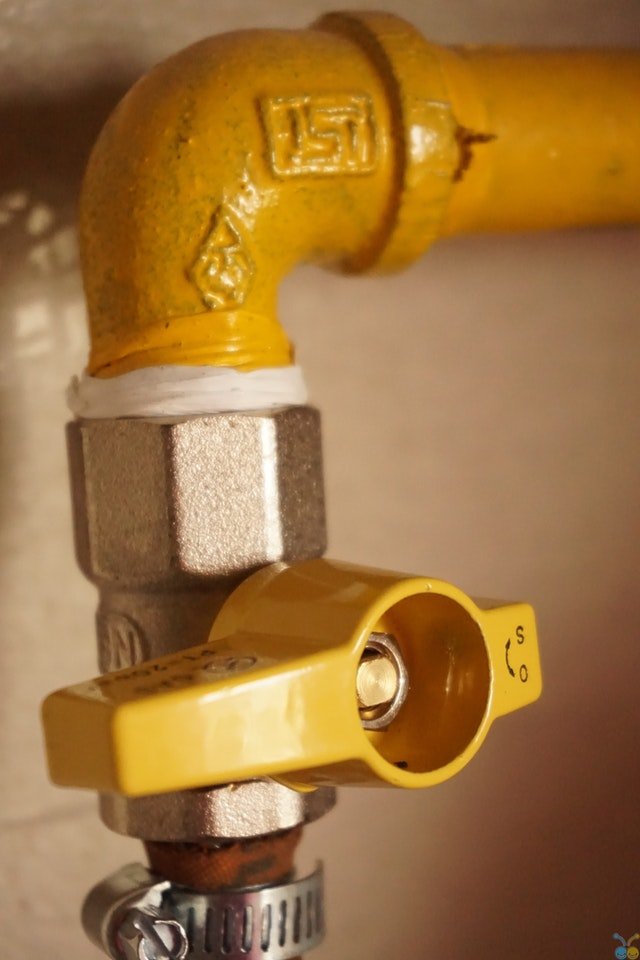
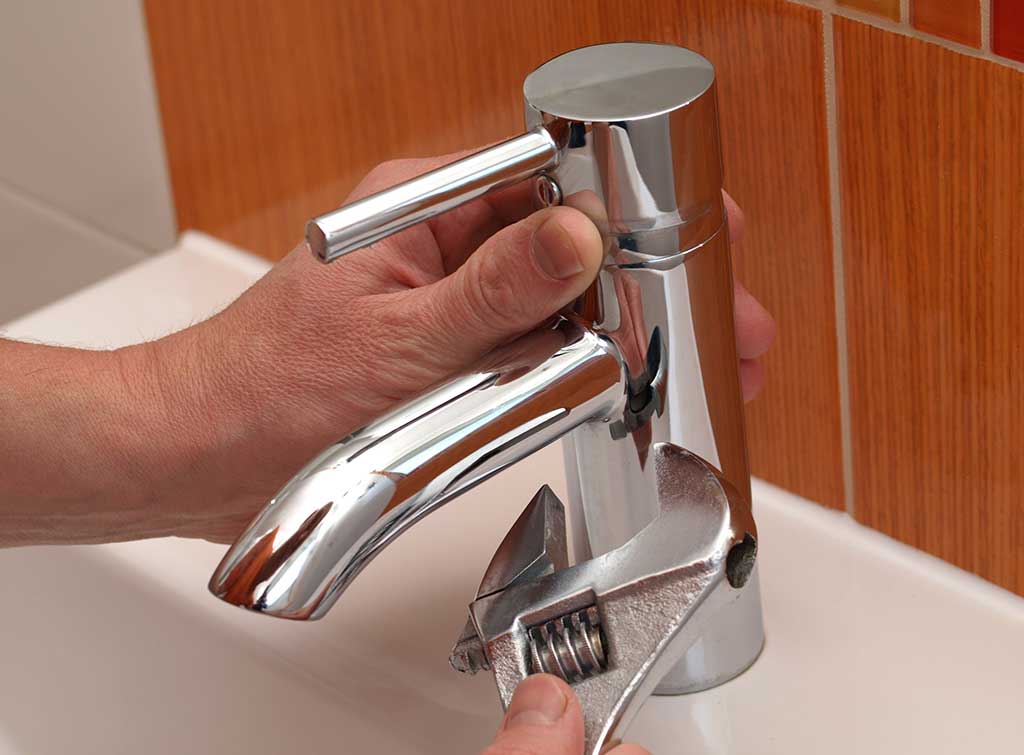
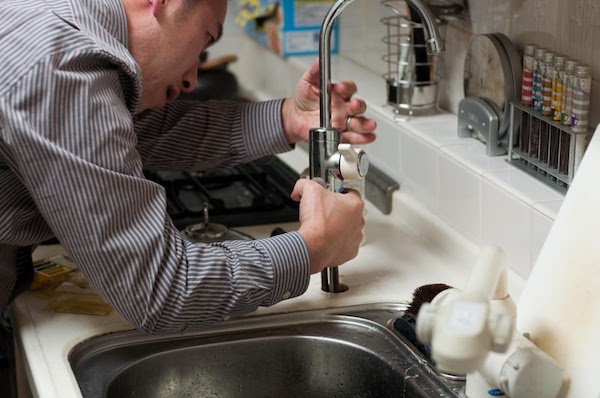
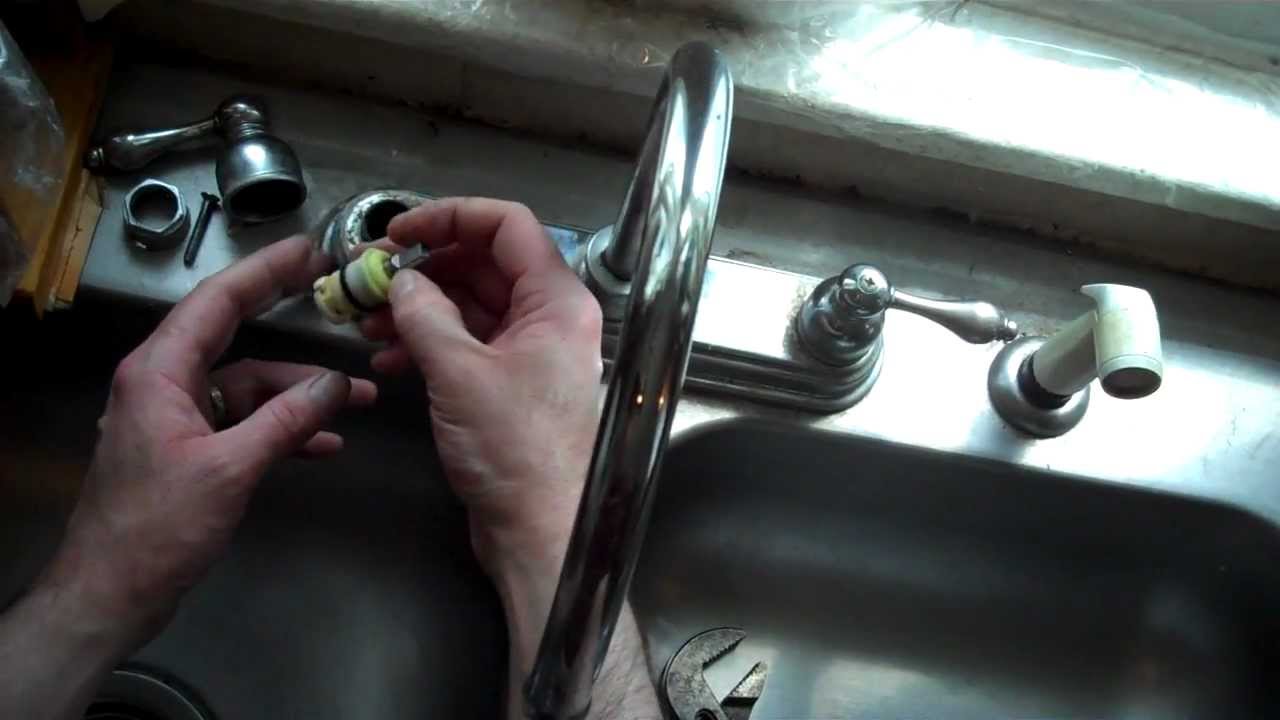
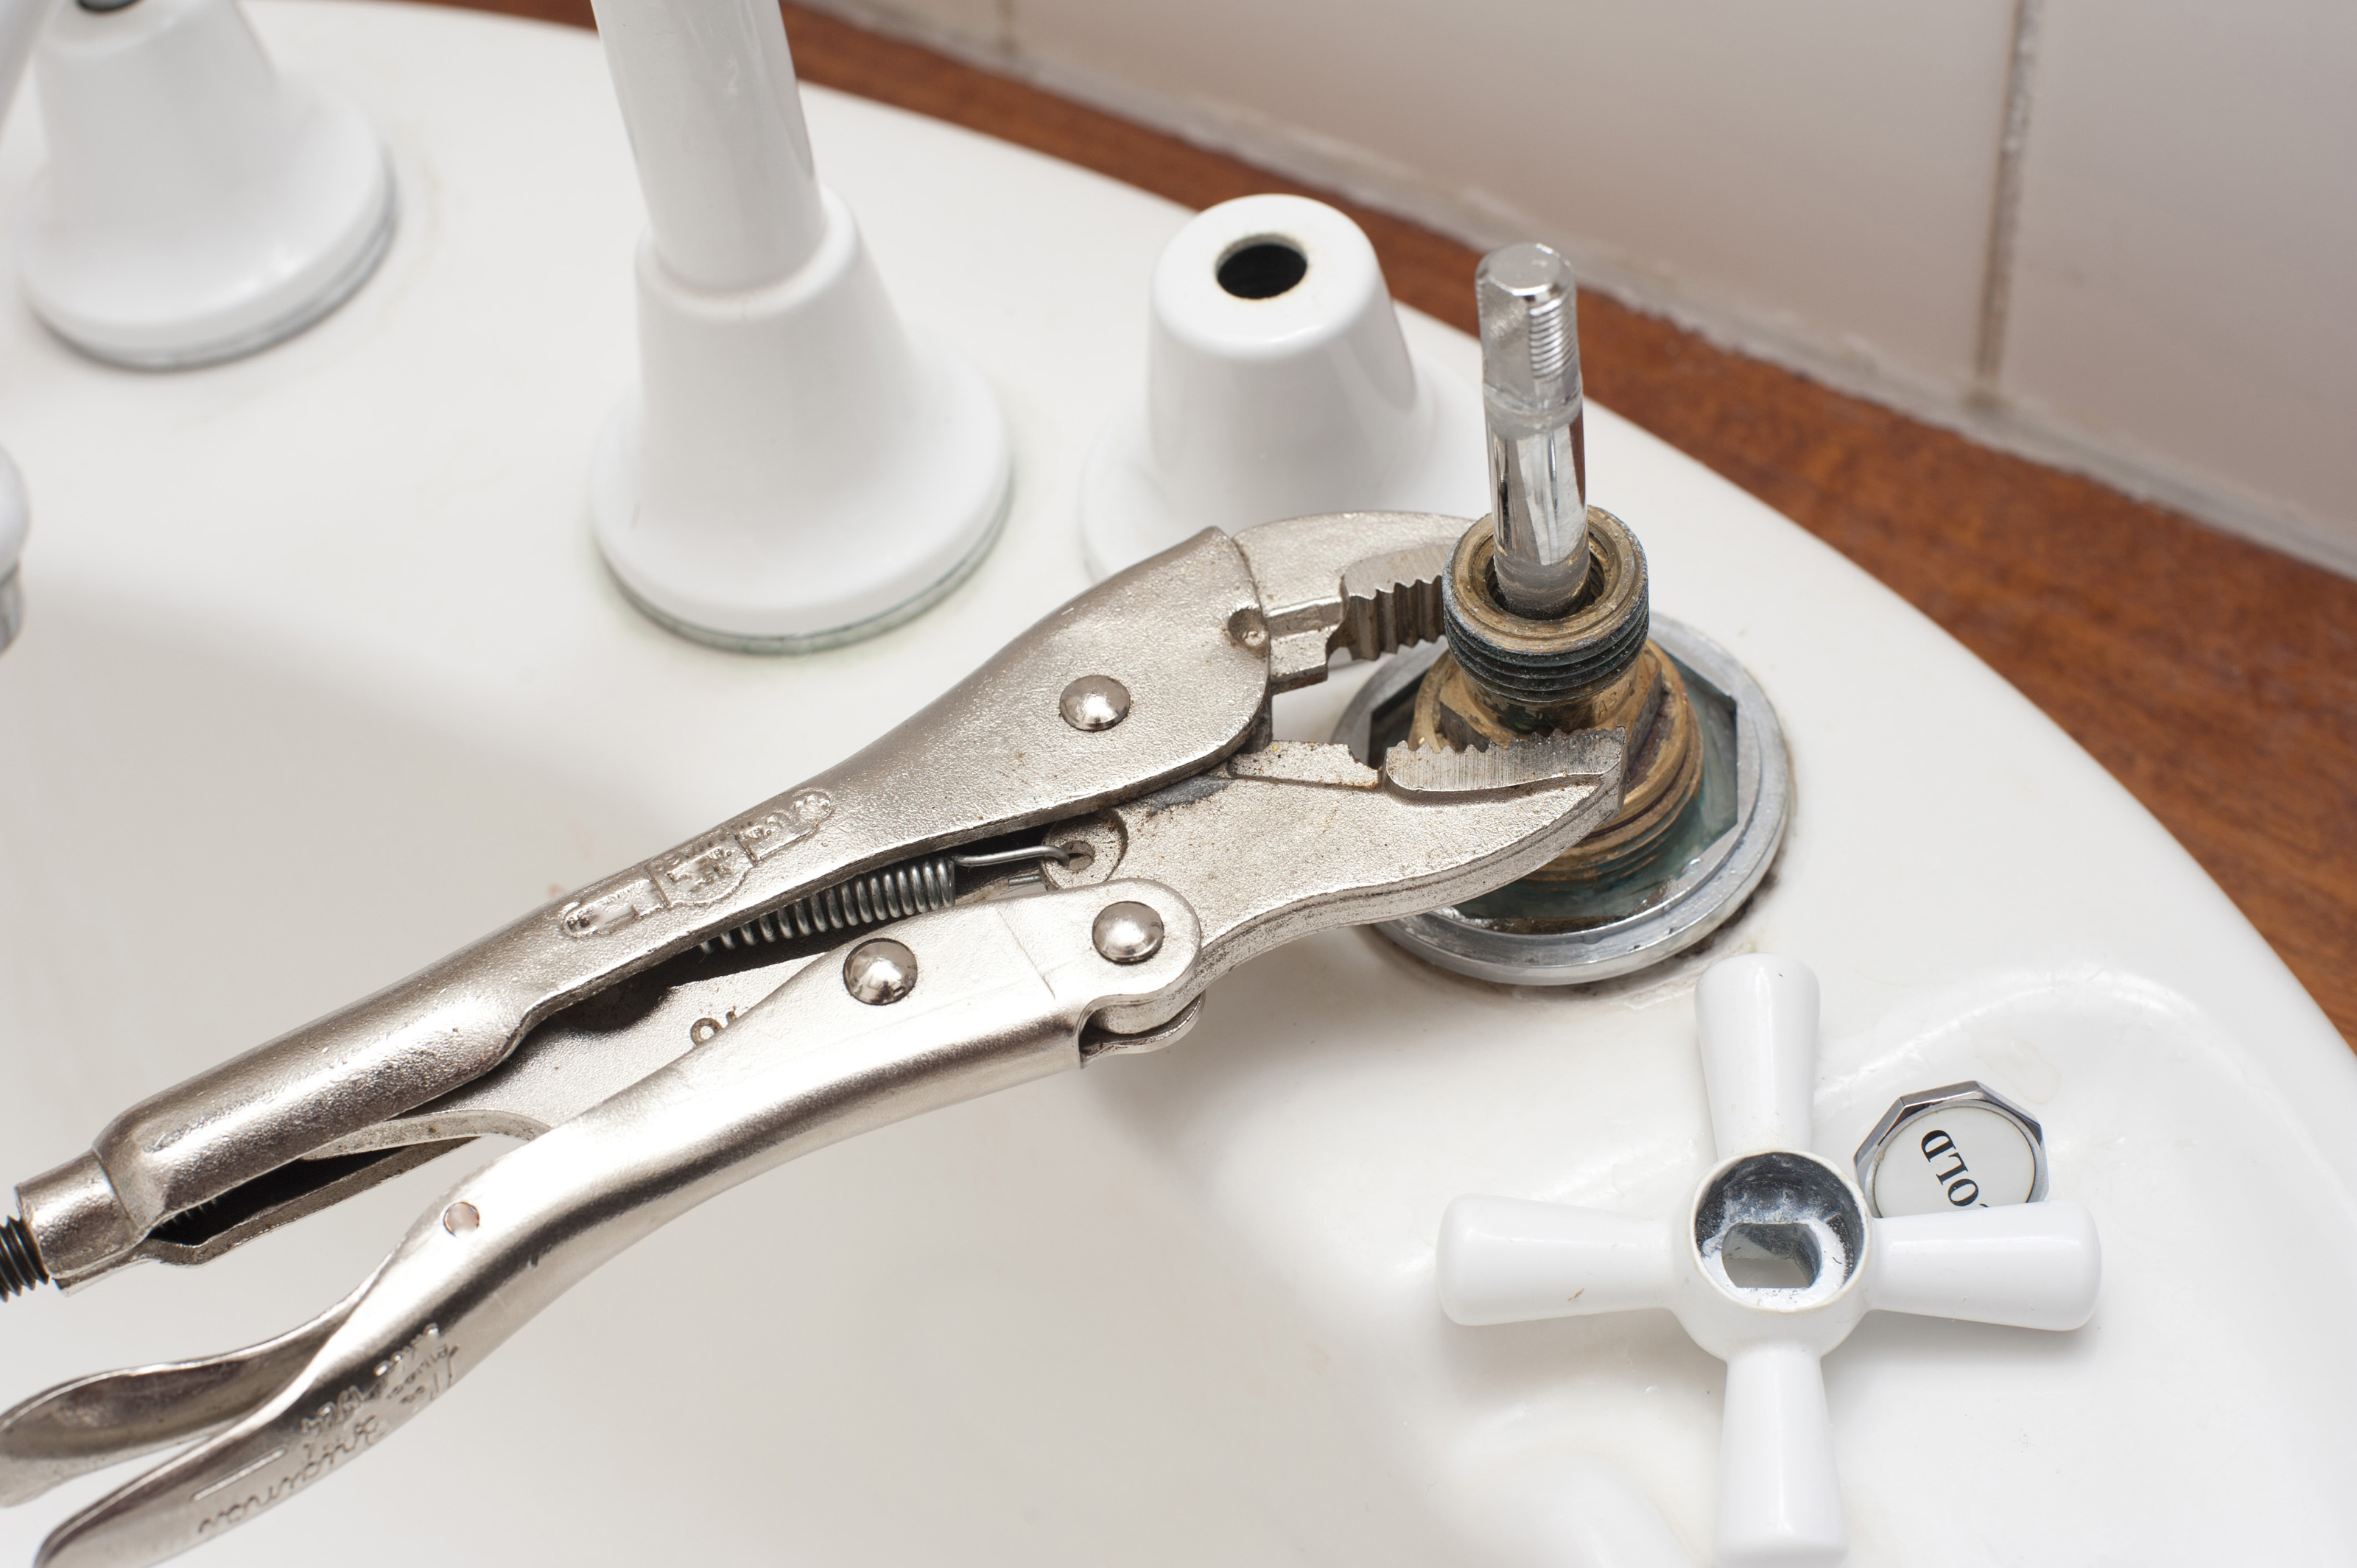
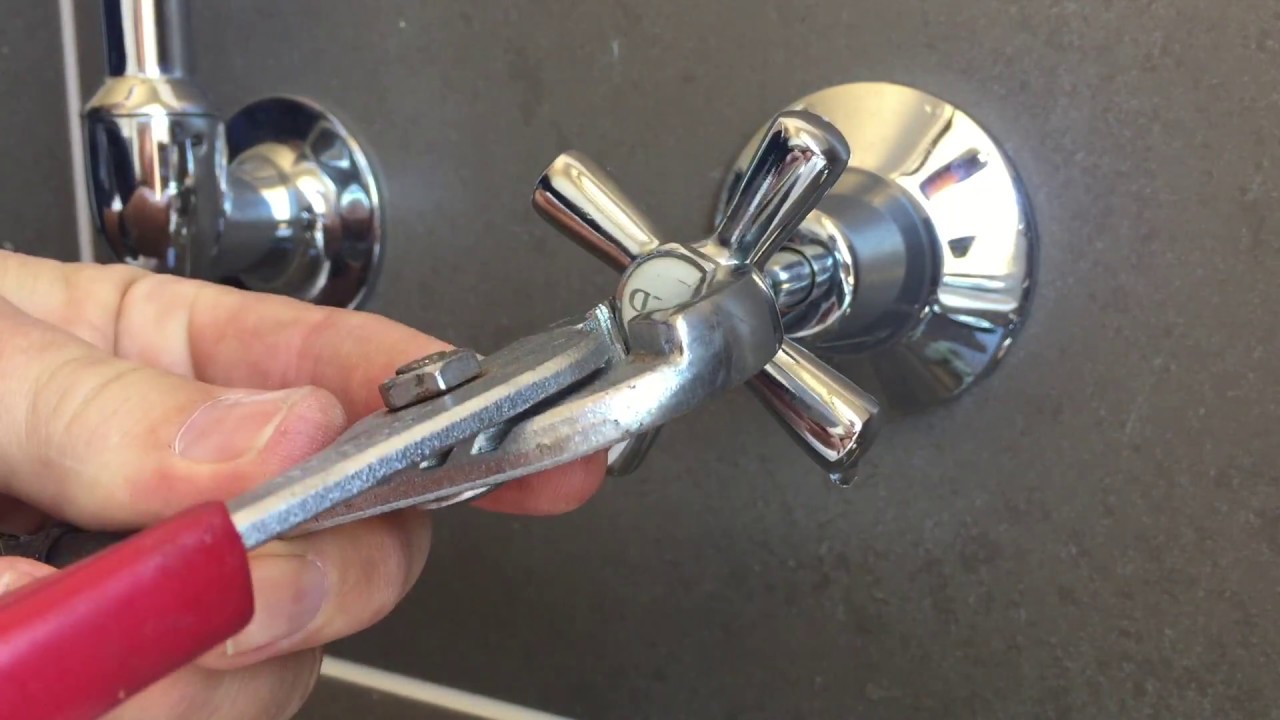
Step 1: Start by turning off the water supply to your tap. This can usually be done by turning the shut-off valves under the sink clockwise. If you don't have shut-off valves, you'll need to turn off the main water supply to your house. Step 2: Once the water is turned off, open the tap to release any remaining water pressure. Then, use a flat-head screwdriver to remove the tap handle. You may need to use a wrench to loosen any corroded or stuck parts. Step 3: Next, remove the valve stem by unscrewing it with a wrench. The washer is located at the bottom of the stem, held in place by a brass screw. Step 4: Use a screwdriver to remove the screw and take out the old washer. Make sure to bring the old washer with you to the hardware store to ensure you get the correct replacement. Step 5: Before installing the new washer, clean any debris or build-up from the valve seat using a cloth or brush. This will help create a tight seal. Step 6: Place the new washer in the valve seat and secure it with the brass screw. Step 7: Reattach the valve stem and handle, making sure to tighten any screws or nuts securely. Step 8: Turn the water supply back on and test your tap. If there are no more leaks, congratulations, you have successfully replaced the washer in your bathroom sink tap!Replacing a Washer in a Bathroom Sink Tap: Step-by-Step Guide


Replacing a Washer in a Bathroom Sink Tap: Step-by-Step Guide


Replacing a washer in a bathroom sink tap is a simple and cost-effective DIY project. All you need are a few tools and a new washer. Here's a list of materials you'll need: - Flat-head screwdriver - Wrench - New washer - Cloth or brush for cleaning These materials are readily available at most hardware stores and can save you the cost of hiring a plumber.DIY: Replacing a Washer in a Bathroom Sink Tap


DIY: Replacing a Washer in a Bathroom Sink Tap


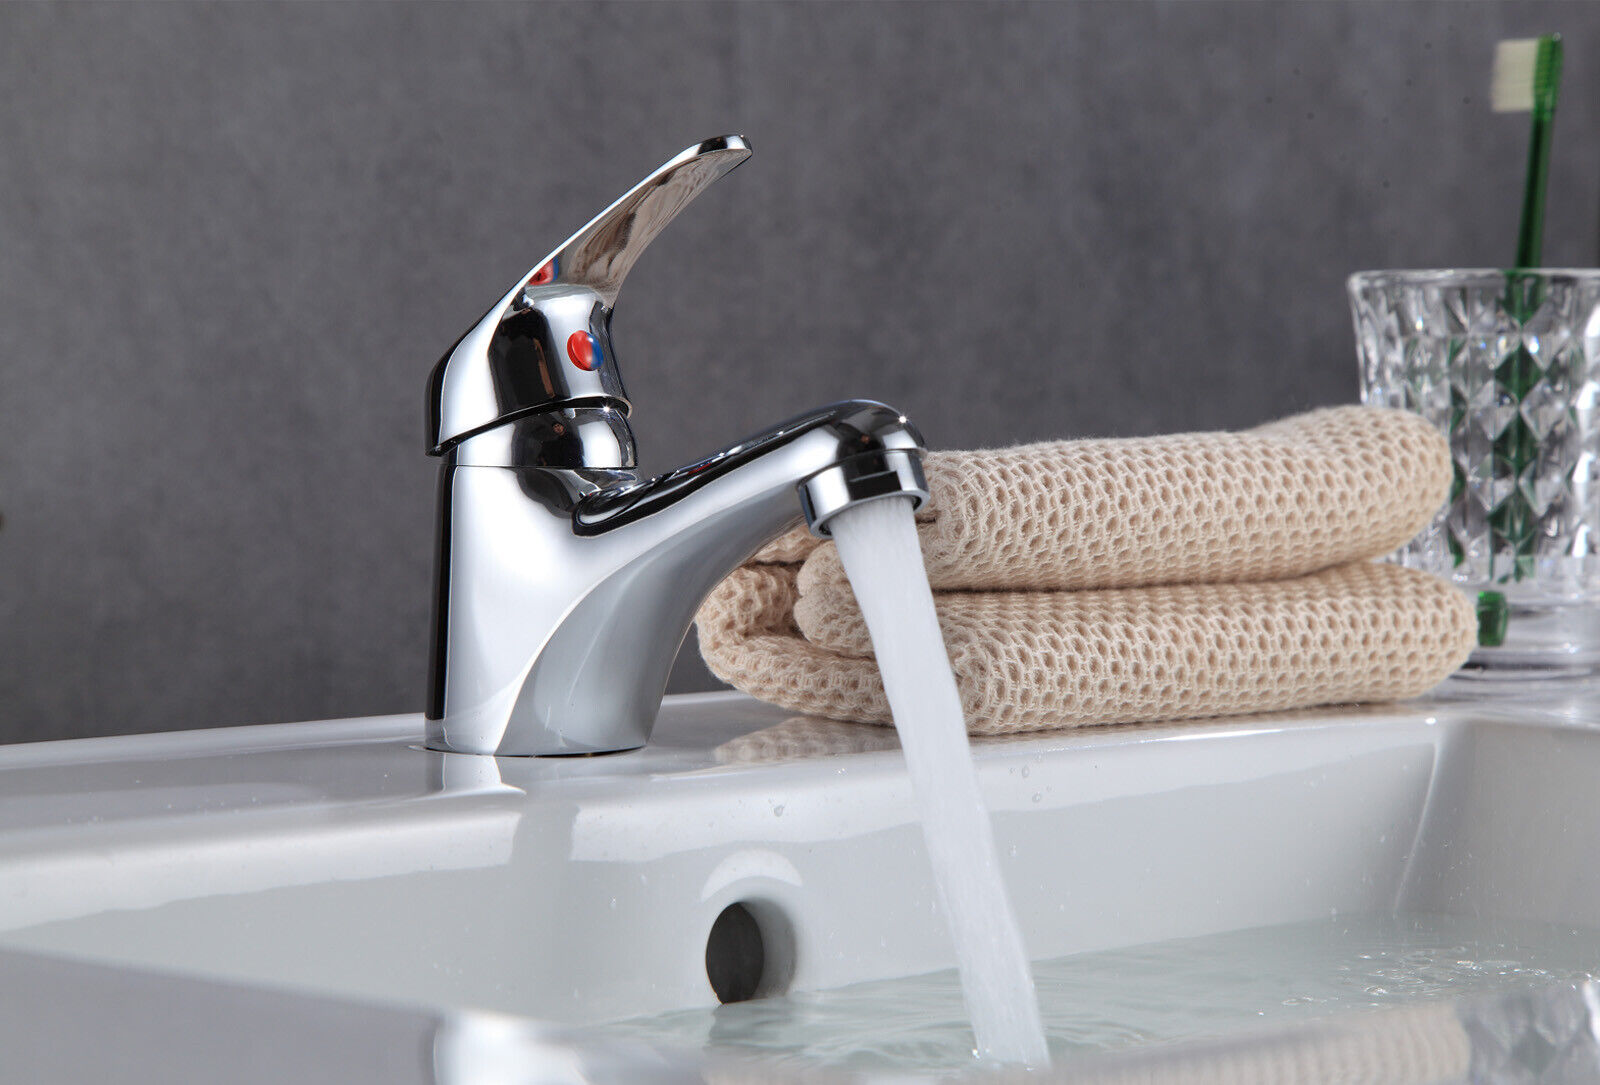
Don't let a dripping bathroom sink tap drive you crazy. Instead, follow these simple steps to replace the washer and fix the problem in no time. This quick and easy fix can save you money on your water bill and prevent any damage to your sink and plumbing.Quick and Easy Fix for a Dripping Bathroom Sink Tap

Quick and Easy Fix for a Dripping Bathroom Sink Tap


If you're planning on replacing a washer in your bathroom sink tap, it's important to have the right tools and materials on hand. This includes a flat-head screwdriver, wrench, and a new washer. It's also a good idea to have a cloth or brush for cleaning any build-up or debris. With these tools and materials, you'll be able to fix your leaky tap in no time.Replacing a Washer in a Bathroom Sink Tap: Tools and Materials Needed


Replacing a Washer in a Bathroom Sink Tap: Tools and Materials Needed


If you're still unsure about how to replace a washer in your bathroom sink tap, here's a step-by-step guide to help you through the process: Step 1: Turn off the water supply to your tap. Step 2: Remove the tap handle. Step 3: Take out the valve stem. Step 4: Remove the old washer and clean the valve seat. Step 5: Install the new washer. Step 6: Reattach the valve stem and handle. Step 7: Turn the water supply back on and test your tap. Following these steps will ensure that you replace the washer correctly and fix your leaky tap.Step-by-Step Guide to Replacing a Washer in a Bathroom Sink Tap


Step-by-Step Guide to Replacing a Washer in a Bathroom Sink Tap


Leaky taps are not the only problem you may encounter with your bathroom sink tap. Other common issues include low water pressure, dripping from the spout, and difficulty turning the tap on or off. These problems can often be fixed by replacing the washer, cleaning the aerator, or adjusting the valve screws. If you're unsure about how to fix these issues, it's best to consult a professional plumber.Common Problems with Bathroom Sink Taps and How to Fix Them


Common Problems with Bathroom Sink Taps and How to Fix Them


If you've followed all the steps to replace the washer in your bathroom sink tap and are still experiencing leaks, here are a few troubleshooting tips: - Make sure the new washer is the correct size and type for your tap. - Check for any cracks or damage to the valve seat. - Tighten any screws or nuts that may have come loose. By checking these key areas, you may be able to identify and fix the issue with your tap.Replacing a Washer in a Bathroom Sink Tap: Troubleshooting Tips


Replacing a Washer in a Bathroom Sink Tap: Troubleshooting Tips

If you're new to DIY projects, replacing a washer in a bathroom sink tap is a great place to start. With just a few tools and some simple steps, you can fix your leaky tap and save yourself the cost of hiring a plumber. Remember to turn off the water supply, clean the valve seat, and choose the correct size and type of washer for your tap. With these tips in mind, you'll be able to successfully replace a washer in your bathroom sink tap and keep your tap leak-free. How to Replace a Washer in a Bathroom Sink Tap: A Beginner's Guide


How to Replace a Washer in a Bathroom Sink Tap: A Beginner's Guide

Why Replacing a Washer Can Save Your Bathroom Sink Tap
Understanding the Importance of a Washer in Your Bathroom Sink Tap
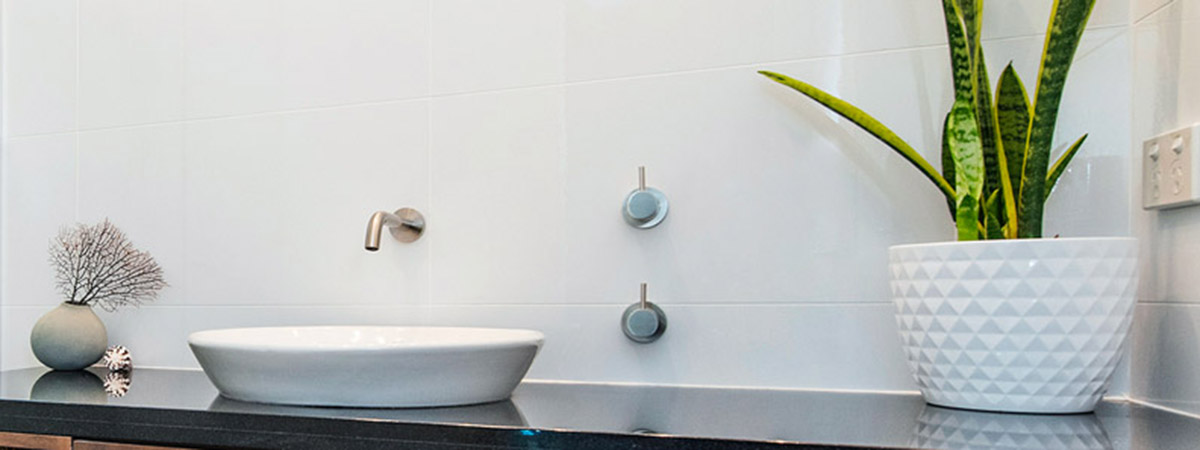
 When it comes to house design, every detail matters. From the color of the walls to the type of flooring, homeowners put a lot of thought and effort into creating a beautiful and functional space. However, one small component that often gets overlooked is the washer in your bathroom sink tap.
A washer is a small rubber ring that sits inside the tap and helps create a watertight seal when the tap is turned off.
This little piece may seem insignificant, but it plays a crucial role in keeping your tap functioning properly. Over time, washers can wear out or become damaged, causing leaks and other issues with your tap.
When it comes to house design, every detail matters. From the color of the walls to the type of flooring, homeowners put a lot of thought and effort into creating a beautiful and functional space. However, one small component that often gets overlooked is the washer in your bathroom sink tap.
A washer is a small rubber ring that sits inside the tap and helps create a watertight seal when the tap is turned off.
This little piece may seem insignificant, but it plays a crucial role in keeping your tap functioning properly. Over time, washers can wear out or become damaged, causing leaks and other issues with your tap.
The Consequences of Ignoring a Damaged Washer
 Ignoring a damaged washer in your bathroom sink tap can lead to a range of problems that can affect both the functionality and appearance of your tap. Some of the most common consequences include:
-
Leaks:
If a washer is worn out or damaged, it may not create a proper seal, resulting in water leaking from your tap even when it's turned off. This can lead to water damage in your bathroom and potentially increase your water bill.
-
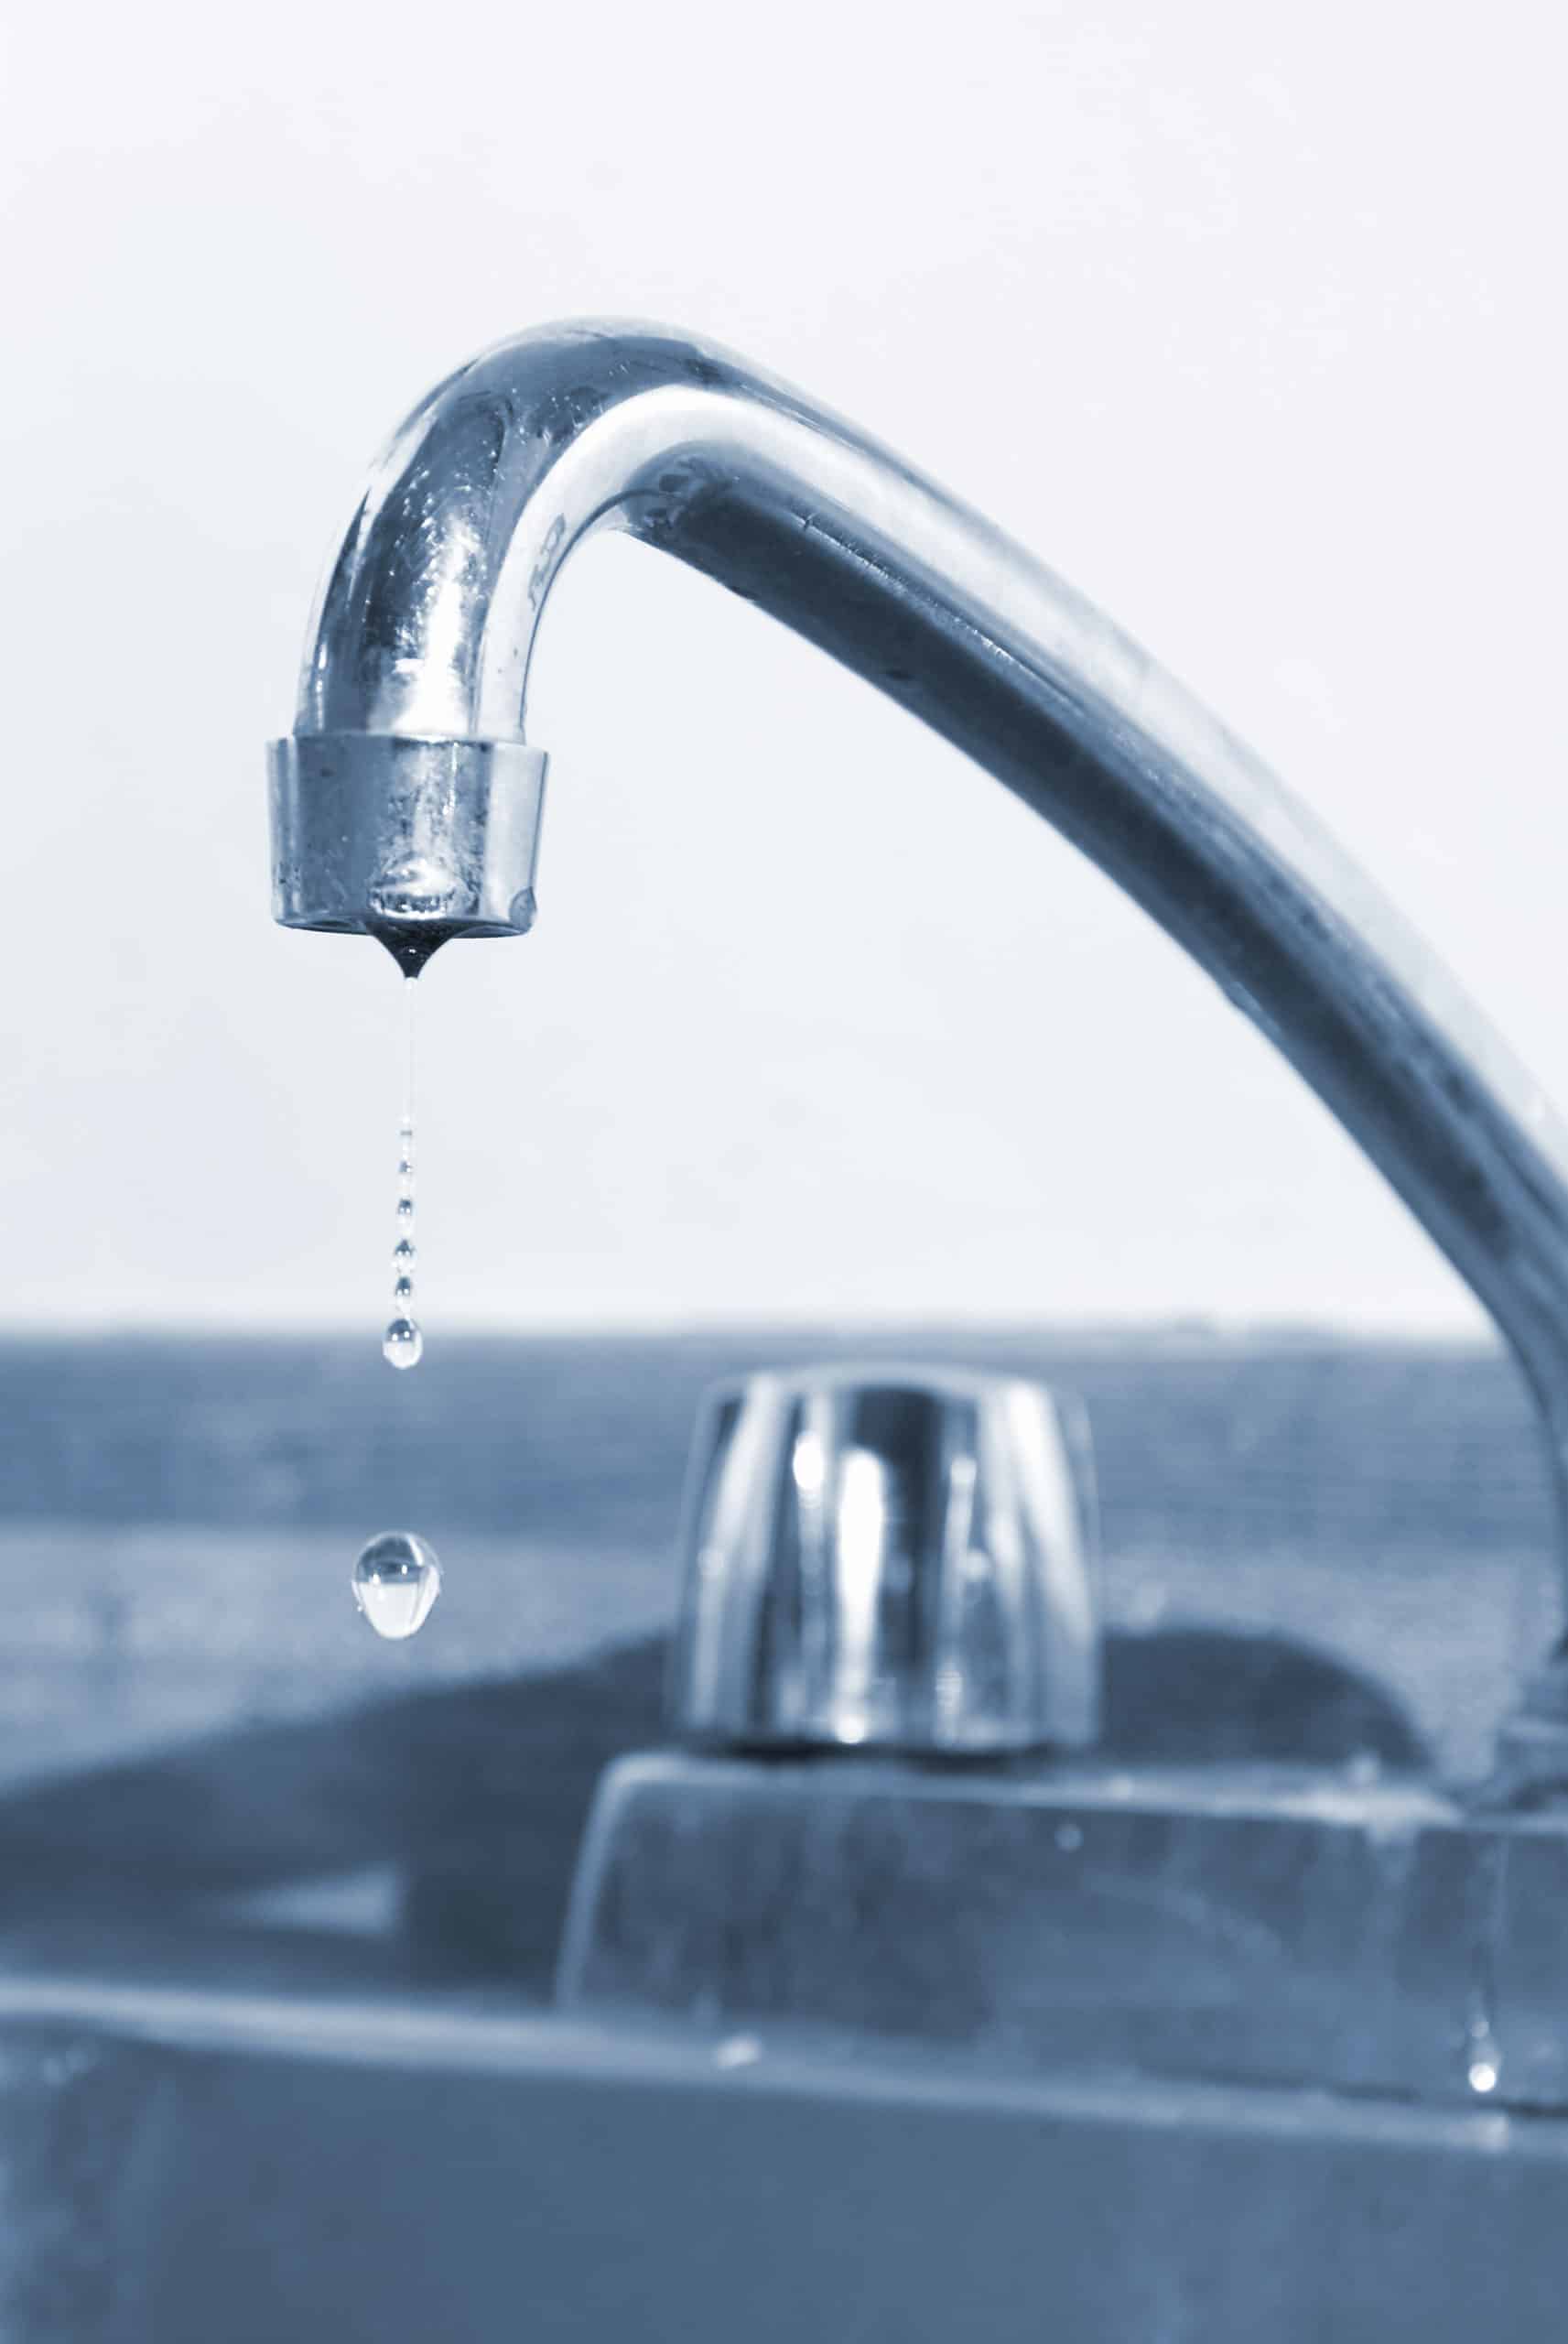
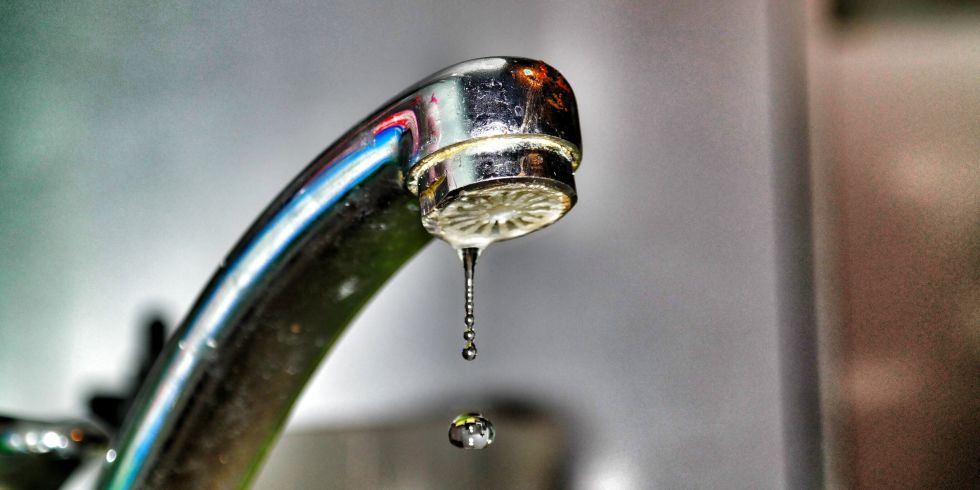
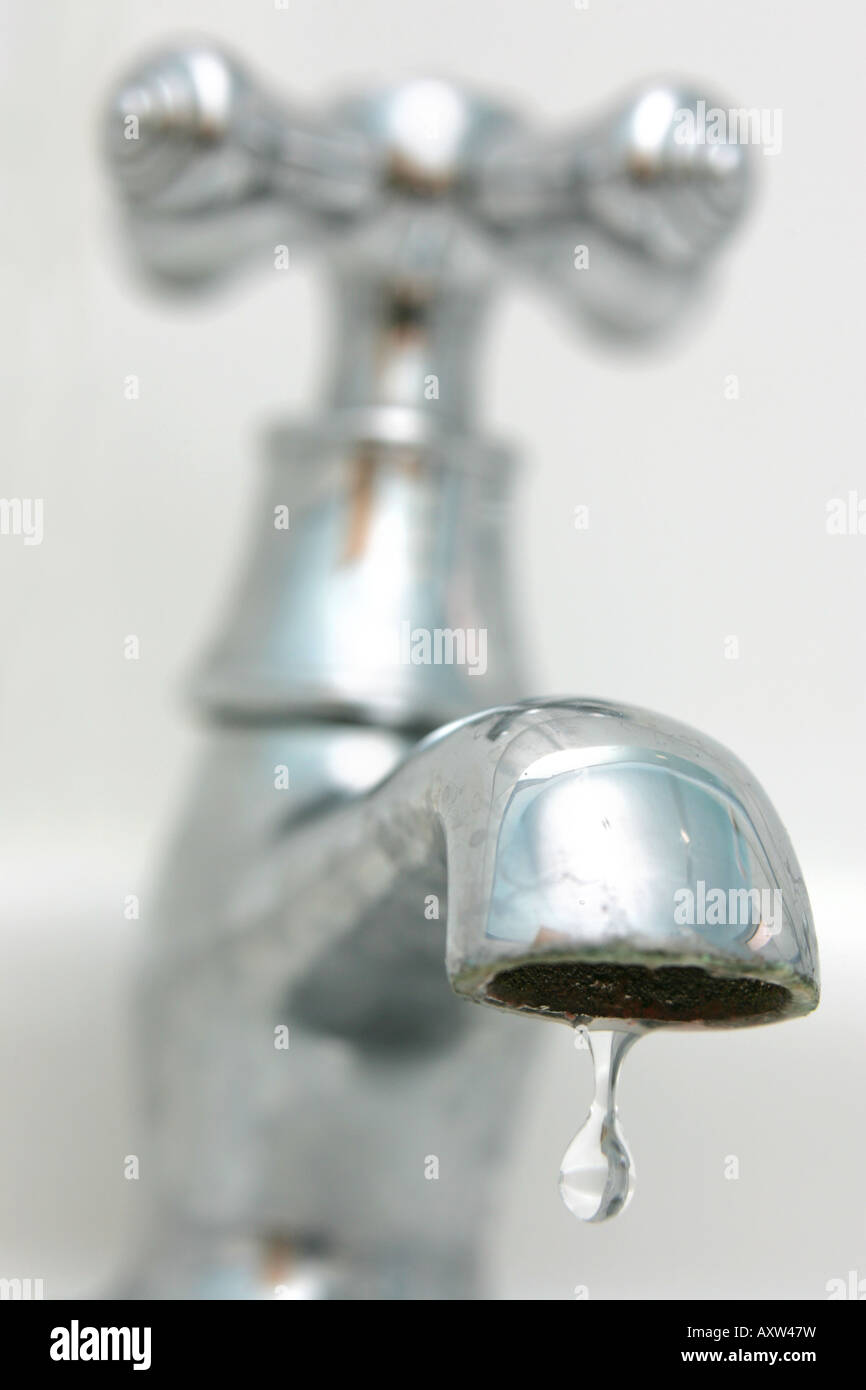
Dripping:
A damaged washer can also cause your tap to drip constantly, which is not only annoying but can also waste a significant amount of water.
-
Difficulty turning on or off:
A worn-out washer can make it difficult to turn your tap on or off, making it a hassle to use your sink.
-
Stains:
If your tap is constantly dripping, it can leave unsightly water stains on your sink or countertop.
Ignoring a damaged washer in your bathroom sink tap can lead to a range of problems that can affect both the functionality and appearance of your tap. Some of the most common consequences include:
-
Leaks:
If a washer is worn out or damaged, it may not create a proper seal, resulting in water leaking from your tap even when it's turned off. This can lead to water damage in your bathroom and potentially increase your water bill.
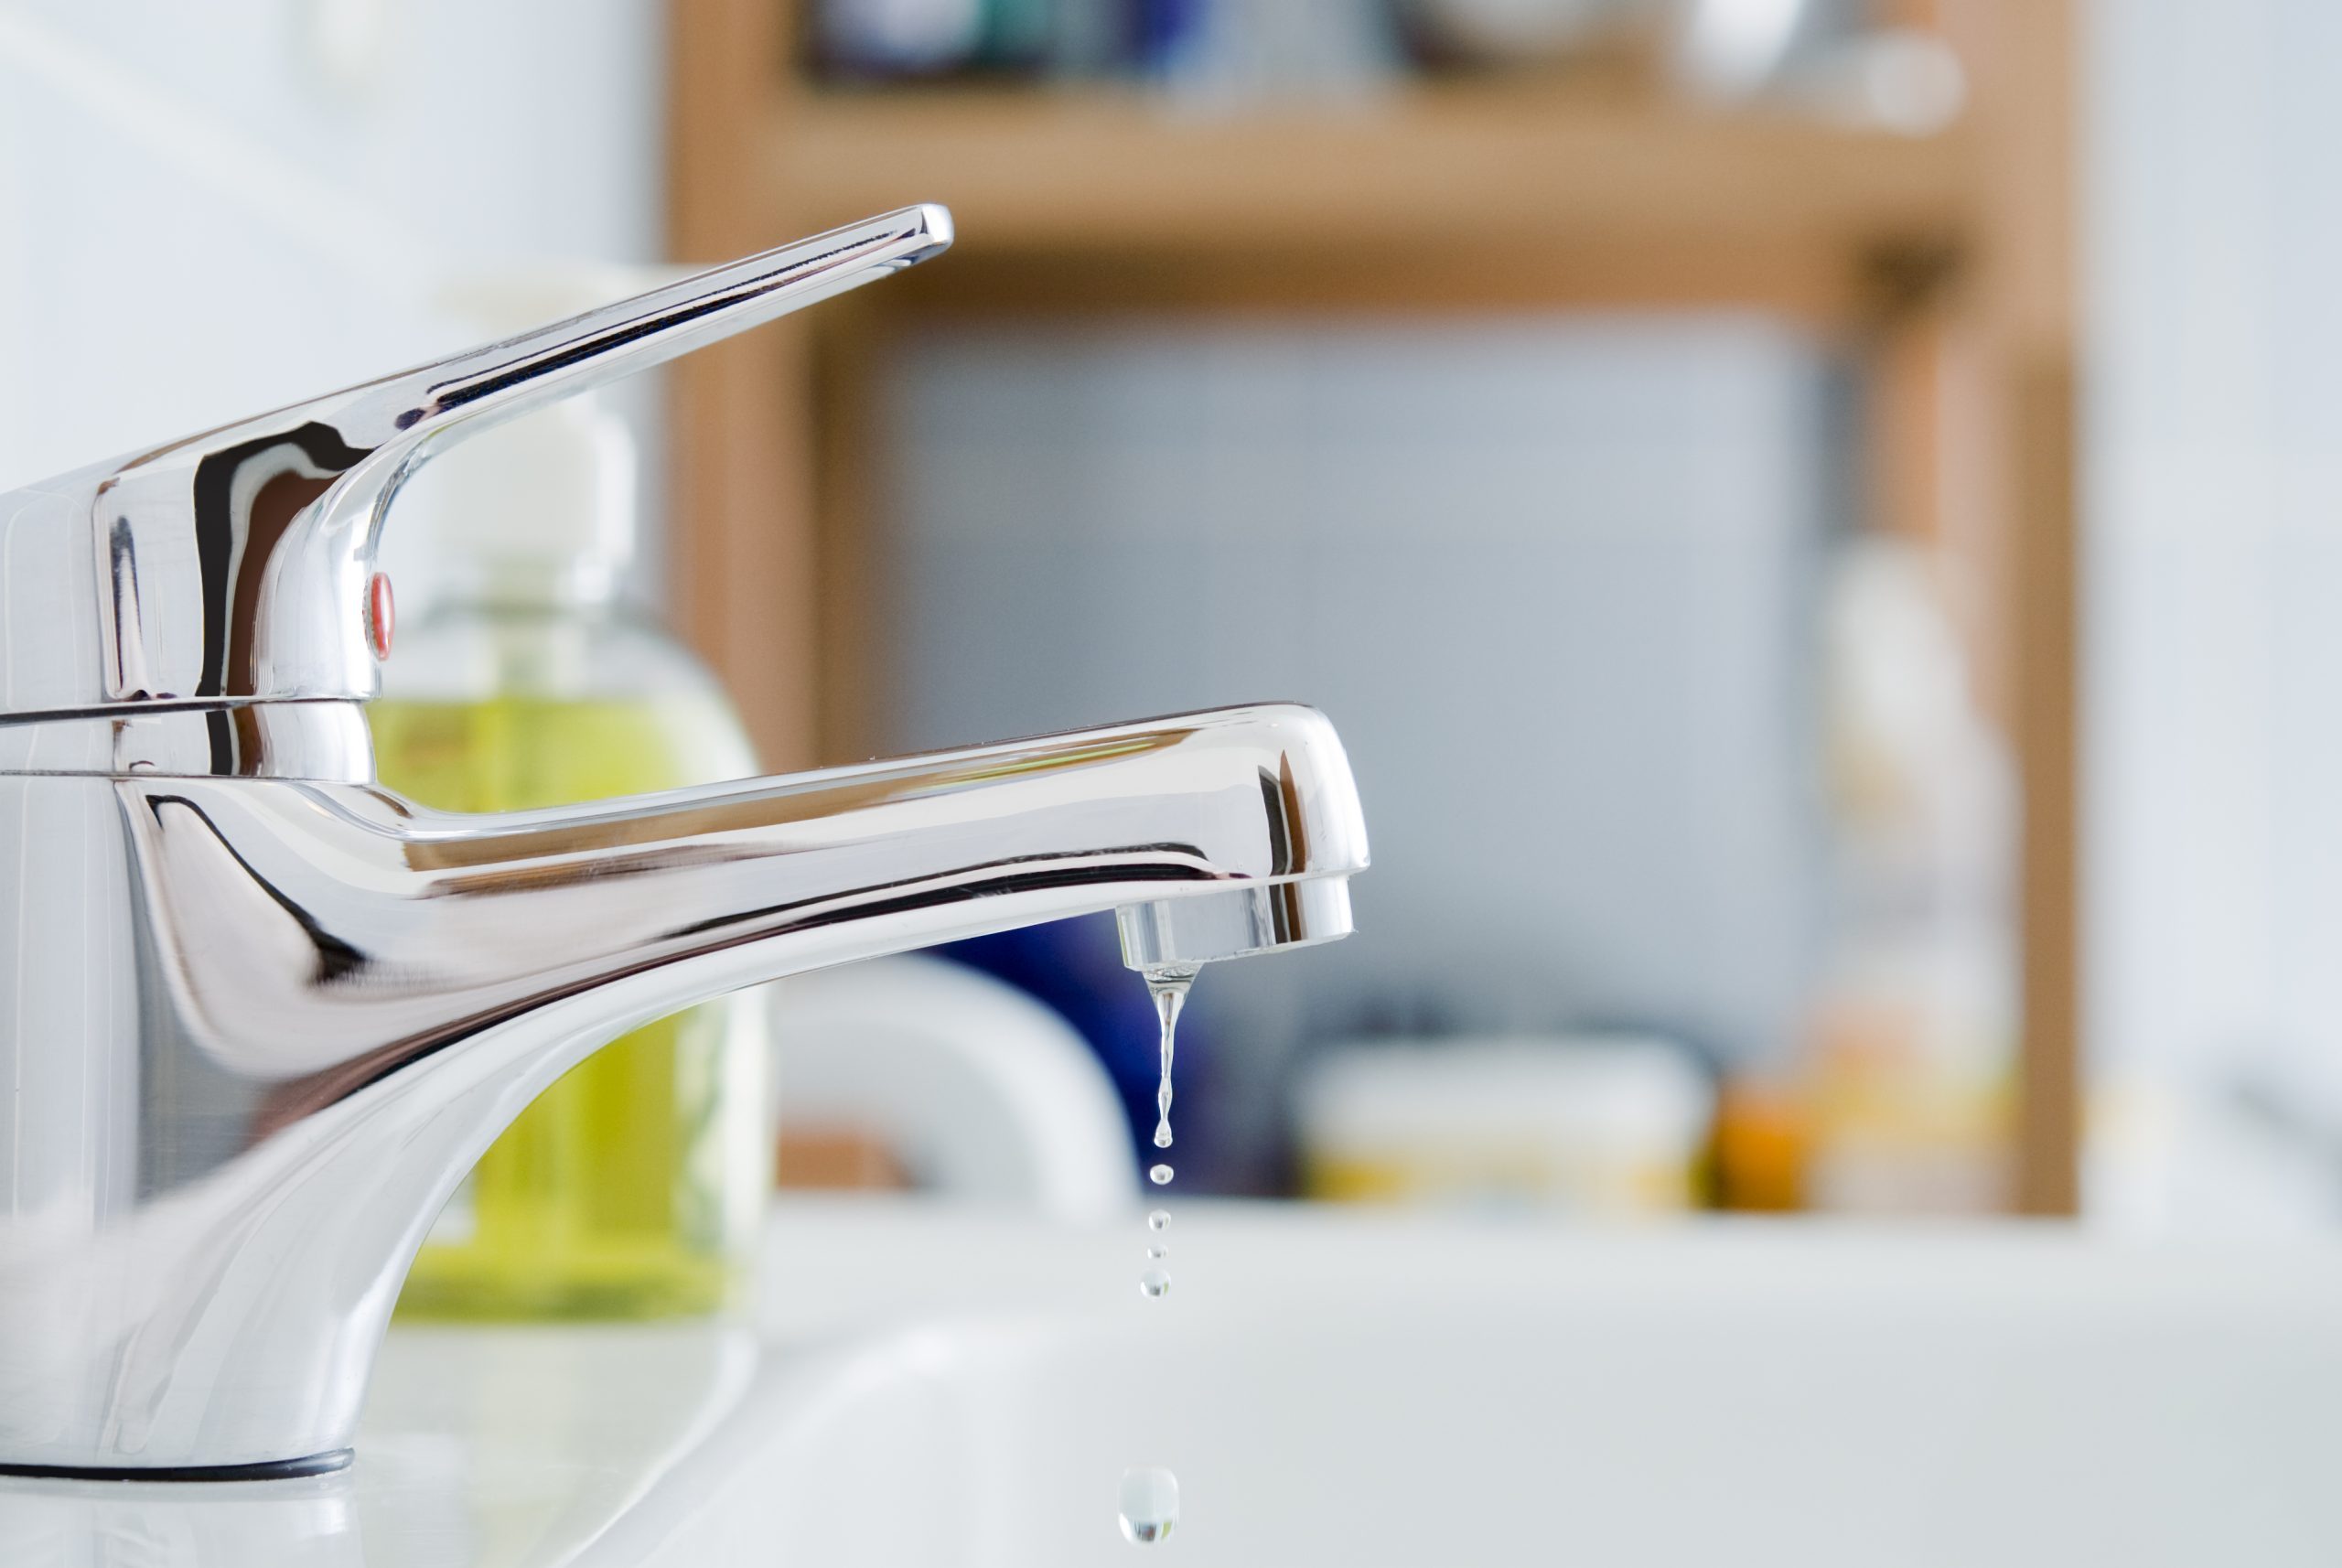
-
Dripping:
A damaged washer can also cause your tap to drip constantly, which is not only annoying but can also waste a significant amount of water.
-
Difficulty turning on or off:
A worn-out washer can make it difficult to turn your tap on or off, making it a hassle to use your sink.
-
Stains:
If your tap is constantly dripping, it can leave unsightly water stains on your sink or countertop.
Why Replacing a Washer is the Solution
 Luckily,
replacing a washer in your bathroom sink tap is a simple and cost-effective solution.
You can easily purchase a new washer from a hardware store and replace it yourself, or hire a professional plumber to do it for you. By replacing a damaged washer, you can prevent further issues with your tap and save yourself from potential headaches and expenses in the future.
Luckily,
replacing a washer in your bathroom sink tap is a simple and cost-effective solution.
You can easily purchase a new washer from a hardware store and replace it yourself, or hire a professional plumber to do it for you. By replacing a damaged washer, you can prevent further issues with your tap and save yourself from potential headaches and expenses in the future.
The Importance of Regular Maintenance
 Regularly checking and replacing washers in your bathroom sink tap is an essential part of maintenance for any homeowner.
By doing so, you can catch any potential issues early on and prevent them from becoming bigger and more expensive problems. It's recommended to check your washers at least once a year and replace them if needed.
In conclusion,
don't underestimate the importance of a washer in your bathroom sink tap.
By regularly checking and replacing this small component, you can ensure the proper functioning of your tap and maintain the overall design and functionality of your bathroom. So, the next time you notice a leak or a drip, don't hesitate to replace that washer and save your bathroom sink tap.
Regularly checking and replacing washers in your bathroom sink tap is an essential part of maintenance for any homeowner.
By doing so, you can catch any potential issues early on and prevent them from becoming bigger and more expensive problems. It's recommended to check your washers at least once a year and replace them if needed.
In conclusion,
don't underestimate the importance of a washer in your bathroom sink tap.
By regularly checking and replacing this small component, you can ensure the proper functioning of your tap and maintain the overall design and functionality of your bathroom. So, the next time you notice a leak or a drip, don't hesitate to replace that washer and save your bathroom sink tap.