If your bathroom sink drain is clogged or damaged, it may be time to replace it. The good news is, replacing a Moen bathroom sink drain is a relatively simple and straightforward process that can be done in just a few steps. In this guide, we'll walk you through the process of replacing your Moen bathroom sink drain, so you can get your sink back up and running in no time.How to Replace a Moen Bathroom Sink Drain
Before we get started, it's important to note that there are several different types of Moen bathroom sink drains, and the process for replacing them may vary slightly. However, the general steps are the same for all Moen drains, so even if your specific model is not mentioned, you can still follow along with this guide.Moen Bathroom Sink Drain Replacement Guide
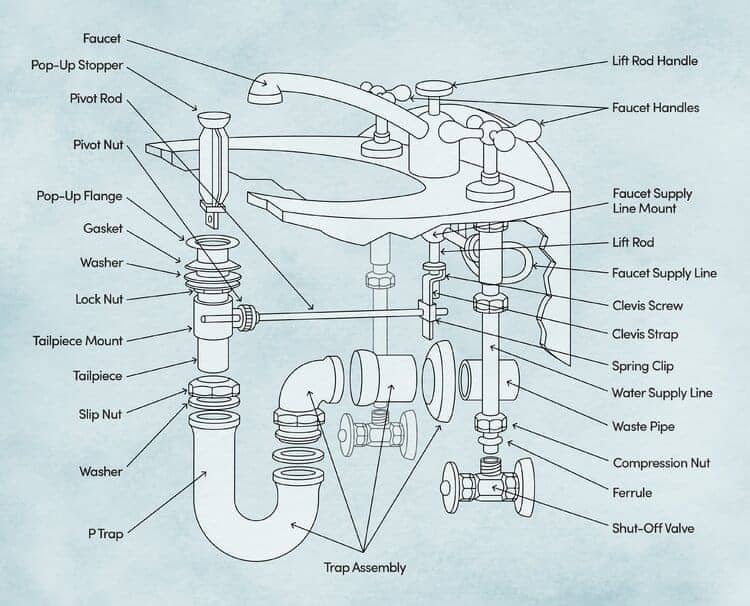
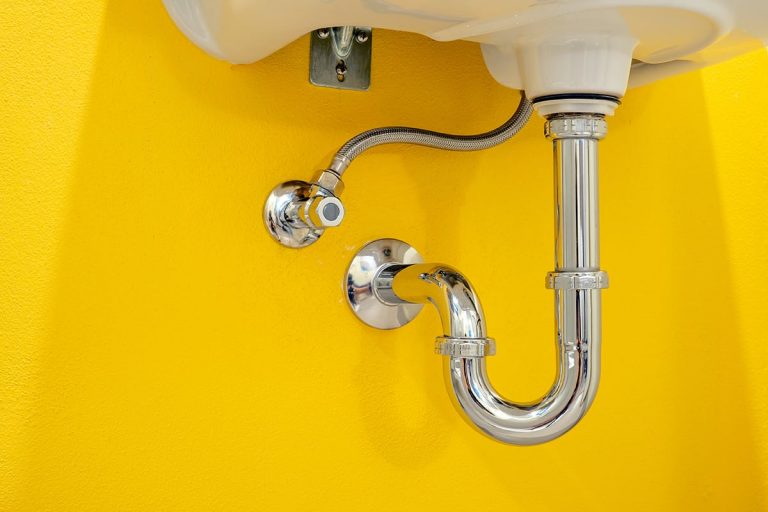
Step 1: Gather Your Tools and Materials - Before you begin, make sure you have all the necessary tools and materials. This may include a screwdriver, pliers, adjustable wrench, and replacement drain assembly. Step 2: Remove the Old Drain - Underneath your sink, you'll find the drain assembly and the P-trap. Use your pliers or adjustable wrench to loosen and remove the slip nuts connecting the P-trap to the drain pipe and the drain pipe to the sink. Once these are removed, you can pull out the old drain assembly. Step 3: Install the New Drain - Take your new Moen drain assembly and insert it into the drain hole in your sink. Make sure it is flush against the bottom of the sink. Step 4: Secure the Drain - Underneath the sink, place the rubber gasket and metal washer onto the drain assembly. Then, screw on the locknut and tighten it with your pliers or adjustable wrench. Step 5: Reconnect the P-Trap - Reattach the P-trap to the drain pipe and the drain pipe to the sink, using your pliers or adjustable wrench to tighten the slip nuts. Step 6: Test the Drain - Once everything is securely in place, turn on the water and let it run for a few seconds to make sure there are no leaks. If there are any leaks, you may need to tighten the connections a bit more.Step-by-Step: Replacing a Moen Bathroom Sink Drain
Replacing a Moen bathroom sink drain is a task that most homeowners can tackle on their own. By following the simple steps outlined in this guide, you can save yourself the time and money of hiring a professional plumber.DIY: Replacing a Moen Bathroom Sink Drain
With the right tools and a little bit of know-how, replacing a Moen bathroom sink drain can be a quick and painless process. By following the steps outlined in this guide, you can have your new drain installed and your sink back in working order in no time.Quick and Easy Moen Bathroom Sink Drain Replacement
Here are a few helpful tips and tricks to keep in mind as you replace your Moen bathroom sink drain: - Before starting, it's always a good idea to turn off the water supply to your sink. - If you're having trouble removing the old drain, try using a little bit of WD-40 to loosen it up. - It's important to make sure all connections are tightened properly to avoid any leaks.Replacing a Moen Bathroom Sink Drain: Tips and Tricks
If you're looking for a comprehensive guide to replacing your Moen bathroom sink drain, you've come to the right place. By following the steps outlined in this guide, you can have your new drain installed and your sink back in working order in no time.Moen Bathroom Sink Drain Replacement: A Comprehensive Guide
When replacing a Moen bathroom sink drain, it's important to know the specific model of your drain and the tools and materials you'll need. By having all of this information beforehand, you can ensure a smooth and successful replacement process.Replacing a Moen Bathroom Sink Drain: What You Need to Know
With the right tools and a little bit of know-how, replacing a Moen bathroom sink drain can be a simple and straightforward process. By following the steps outlined in this guide, you can have your new drain installed and your sink back in working order in no time.Moen Bathroom Sink Drain Replacement Made Simple
In summary, the steps to replacing a Moen bathroom sink drain are: - Gather your tools and materials - Remove the old drain - Install the new drain - Secure the drain - Reconnect the P-trap - Test the drain for leaksStep-by-Step Guide to Replacing a Moen Bathroom Sink Drain
Replacing Your Moen Bathroom Sink Drain: A Simple Guide

Is your bathroom sink drain starting to clog? Are you tired of dealing with a slow-draining sink every day? It might be time to replace your Moen bathroom sink drain. This simple and affordable solution can improve the functionality and aesthetics of your bathroom. In this article, we will guide you through the process of replacing your Moen bathroom sink drain, so you can have a smoothly running sink in no time.
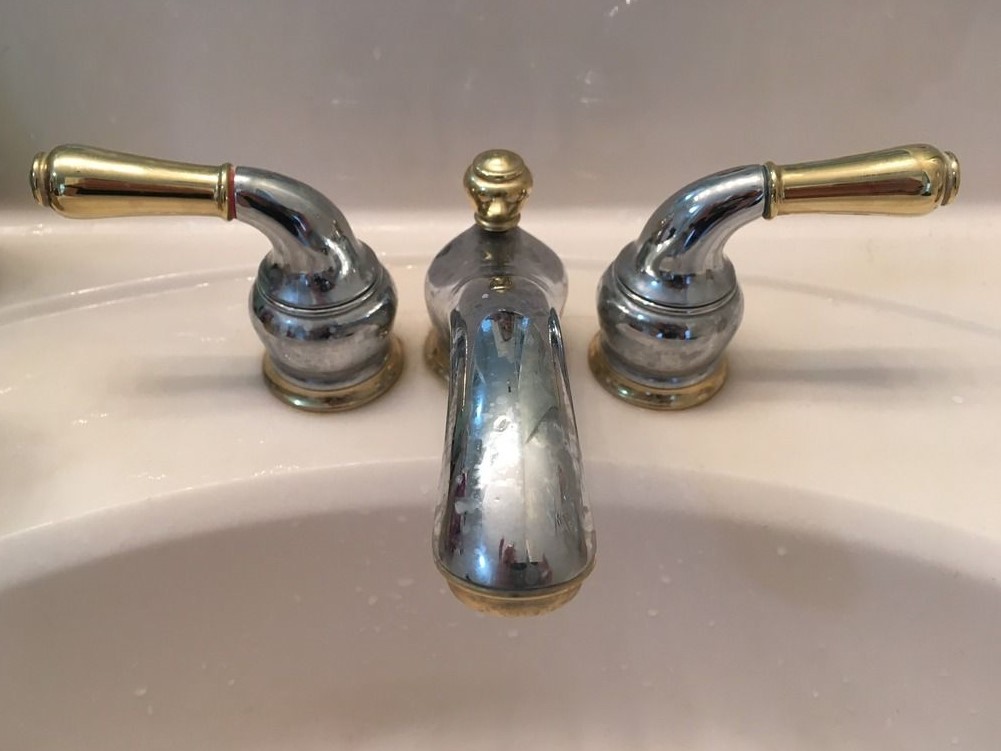 Replacing your Moen bathroom sink drain can be a quick and easy DIY project. Here are the steps you need to follow:
Step 1: Gather Your Materials
 Before you start, make sure you have all the necessary materials. This includes a new Moen bathroom sink drain, a set of pliers, a screwdriver, and plumber's putty.
Step 2: Remove the Old Drain
 First, you need to remove the old drain. Locate the set screw on the bottom of the drain and use a screwdriver to loosen it. Then, use pliers to unscrew the drain from the sink. Once it's loose, you can pull it out.
Step 3: Clean the Sink and Drain
 With the old drain removed, clean the sink and drain thoroughly. Use a mild cleaning solution to remove any buildup or residue. This will ensure that your new drain will fit and function properly.
Step 4: Apply Plumber's Putty
 Take a small amount of plumber's putty and roll it into a thin, rope-like shape. Place it around the underside of the new drain's flange. This will help create a watertight seal between the drain and the sink.
Step 5: Install the New Drain
 Carefully place the new drain into the sink's drain hole. Make sure it is centered and press it down firmly. Use pliers to tighten the drain from underneath the sink. Wipe away any excess putty that oozes out.
Step 6: Reassemble the Drain
 Reattach the drain's stopper by screwing it back onto the drain body. Then, tighten the set screw on the bottom of the drain to secure it in place.
Step 7: Test the Drain
 Turn on the water and test your new drain. Check for any leaks and make sure the water is draining properly. If everything looks good, you have successfully replaced your Moen bathroom sink drain!
Replacing your Moen bathroom sink drain
is a simple and affordable way to improve the functionality and appearance of your bathroom. By following these steps, you can easily do it yourself without hiring a professional. So why wait? Get your materials and start replacing your Moen bathroom sink drain today!
HTML Code:
Replacing Your Moen Bathroom Sink Drain: A Simple Guide

Is your bathroom sink drain starting to clog? Are you tired of dealing with a slow-draining sink every day? It might be time to replace your Moen bathroom sink drain . This simple and affordable solution can improve the functionality and aesthetics of your bathroom. In this article, we will guide you through the process of replacing your Moen bathroom sink drain , so you can have a smoothly running sink in no time.

Replacing your Moen bathroom sink drain can be a quick and easy DIY project. Here are the steps you need to follow:
Step 1: Gather Your Materials

Before you start, make sure you have all the necessary materials. This includes a new Moen bathroom sink drain , a set of pliers, a screwdriver, and plumber's putty.
Step 2: Remove the Old Drain

First, you need to remove the old drain. Locate the set screw on the bottom of the drain and use a screwdriver to loosen it. Then, use pliers to unscrew the drain from the sink. Once it's loose, you can pull it out.
Step 3: Clean the Sink and Drain

With the old drain removed, clean the sink and drain thoroughly. Use a mild cleaning solution to remove any buildup or residue. This will ensure that your new drain will fit and function properly.
Step 4: Apply Plumber's Putty

Take a small amount of plumber's putty and roll it into a thin, rope-like shape. Place it around the underside of


