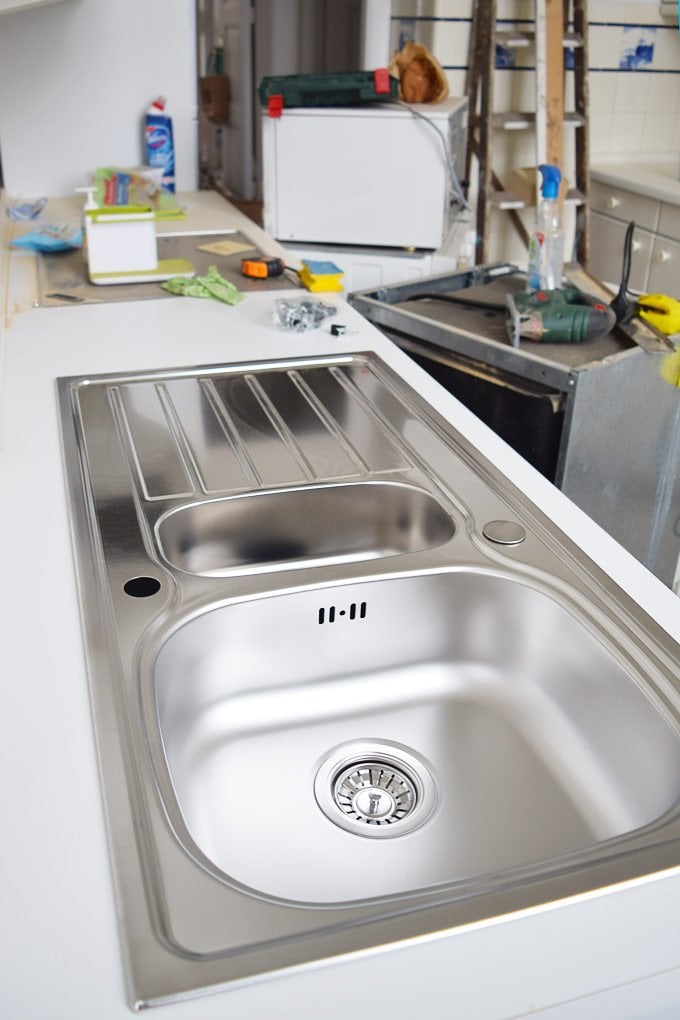
How to Replace a Kitchen Sink Strainer Unit
Replacing a kitchen sink strainer unit may seem like a daunting task, but with the right tools and knowledge, it can be a simple DIY project. Whether your current strainer unit is old and worn out, or you simply want to upgrade to a more modern and efficient model, this step-by-step guide will walk you through the process of replacing your kitchen sink strainer unit.
How to Install a Kitchen Sink Strainer Unit
If you're tired of dealing with a leaky kitchen sink strainer, it may be time to replace it. Installing a new strainer unit is a relatively easy process and can save you from the frustration of constantly tightening and resealing your old strainer. With just a few tools and some basic knowledge, you can have a new strainer unit installed in no time.
DIY Kitchen Sink Strainer Unit Replacement
Replacing a kitchen sink strainer unit is a project that can easily be done by the average DIY enthusiast. Not only will it save you money on hiring a professional plumber, but it also gives you the satisfaction of completing a project on your own. With some basic tools and a little patience, you can successfully replace your kitchen sink strainer unit without any outside help.
Step-by-Step Guide for Replacing a Kitchen Sink Strainer Unit
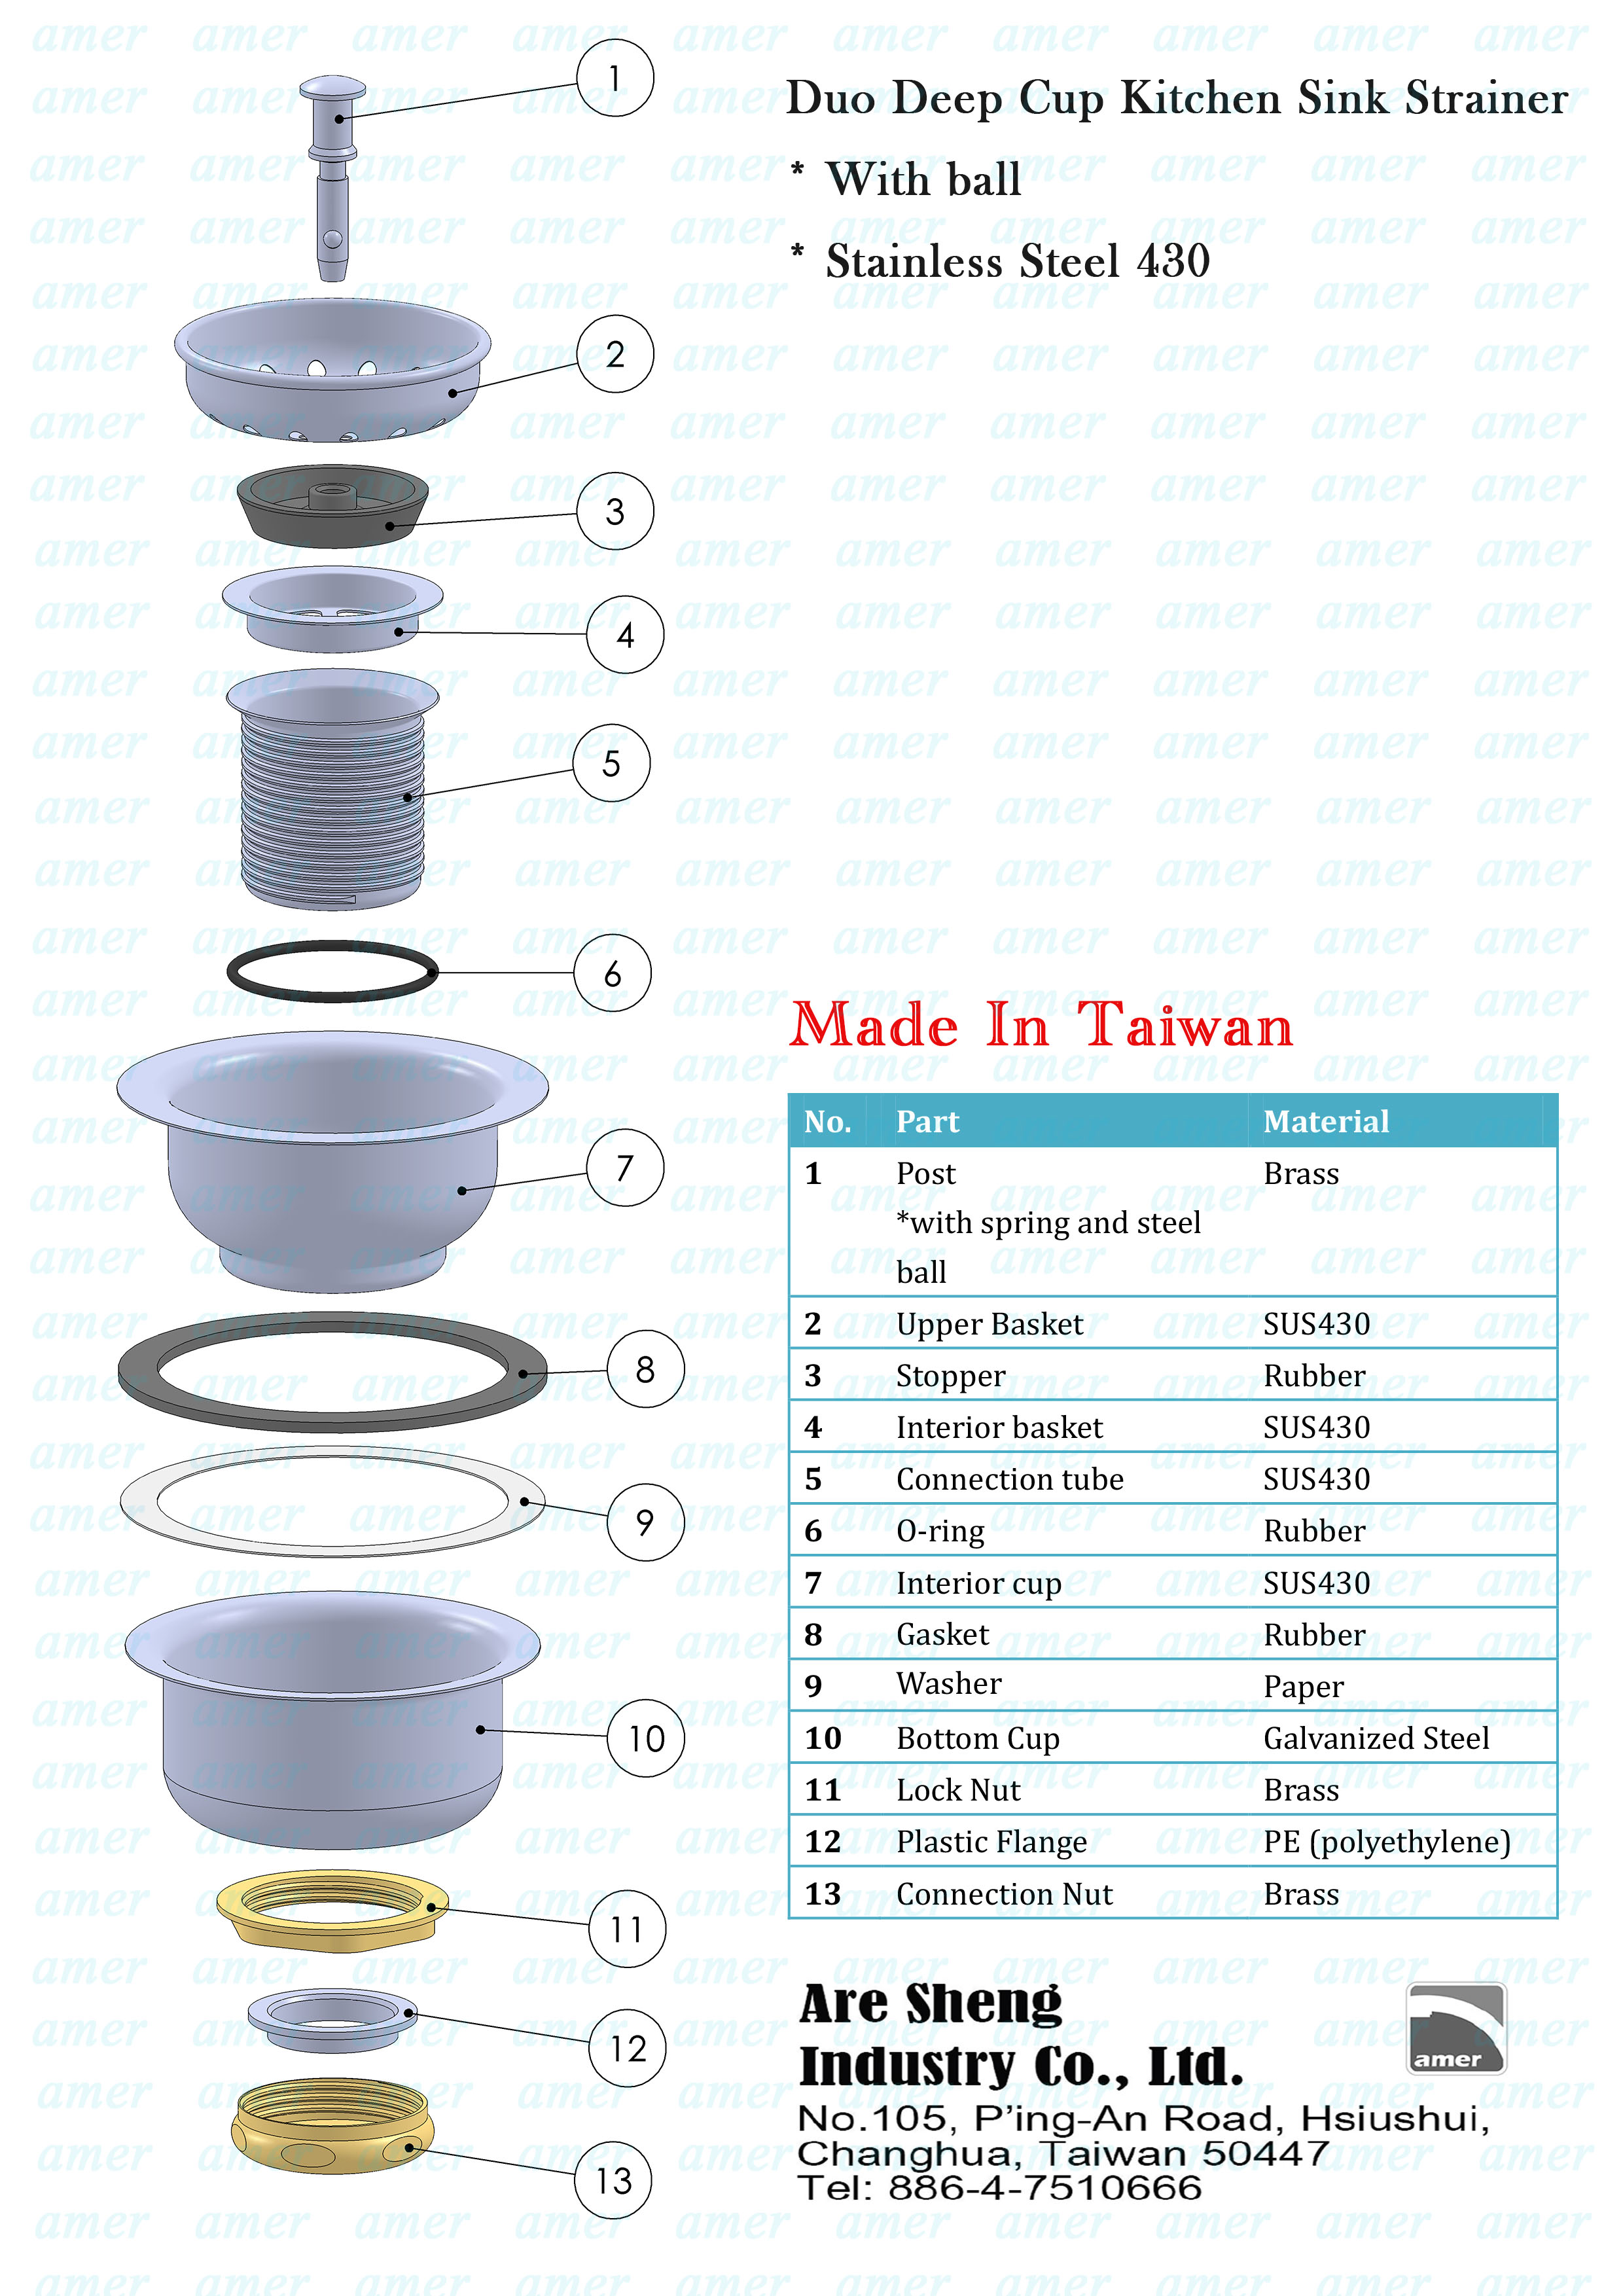
Before you begin the process of replacing your kitchen sink strainer unit, it's important to have all the necessary tools and materials on hand. This includes a new strainer unit, plumber's putty, a wrench, and a screwdriver. Once you have everything you need, follow these simple steps:
Step 1: Remove the old strainer unit by loosening the locknut underneath the sink with a wrench.
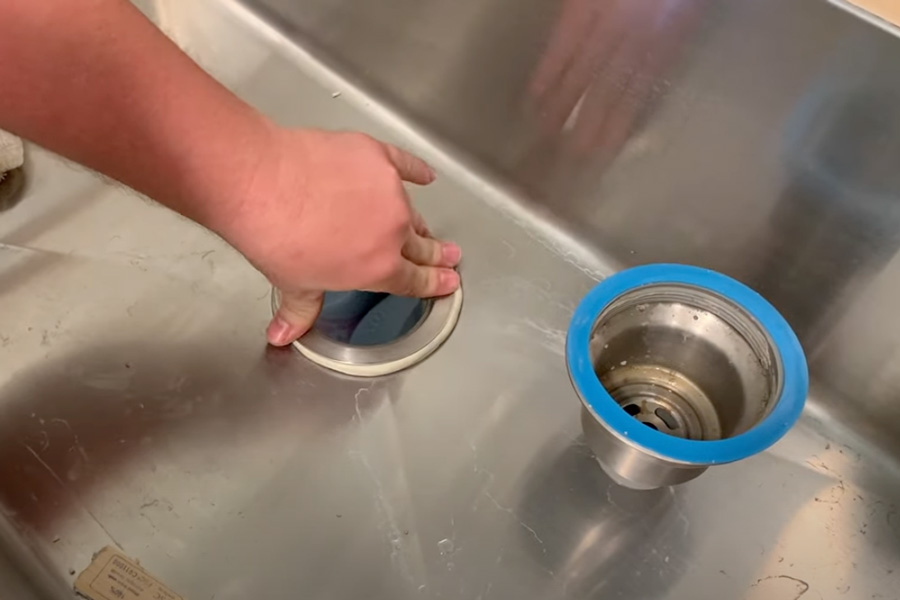
Step 2: Once the locknut is removed, the old strainer unit should easily come out of the sink. You may need to use a screwdriver to pry it loose.
Step 3: Clean any old putty or debris from the sink opening, as well as the bottom of the sink strainer.
Step 4: Apply a thin layer of plumber's putty around the bottom of the new sink strainer.
Step 5: Place the new strainer into the sink opening and push it down firmly to create a watertight seal.
Step 6: Underneath the sink, secure the strainer in place by tightening the locknut with a wrench.
Step 7: Wipe away any excess putty that may have squeezed out from under the strainer.
Step 8: Test the new strainer by running water through the sink. If there are no leaks, you're all set!
Replacing a Kitchen Sink Strainer Unit: Tips and Tricks
When replacing a kitchen sink strainer unit, there are a few tips and tricks that can make the process go smoother:
Tip 1: Use a silicone-based plumber's putty, as it is more durable and long-lasting than traditional putty.
Tip 2: Place a towel or cloth over the drain to prevent any tools or parts from falling down into the pipes.
Tip 3: If your sink has multiple basins, make sure to use a strainer that is designed for the specific basin you are working on.
Best Tools for Replacing a Kitchen Sink Strainer Unit
While the process of replacing a kitchen sink strainer unit is relatively simple, having the right tools can make a big difference. The following are the best tools to have on hand for this project:
Wrench: A wrench is essential for removing and tightening the locknut on the strainer unit.
Screwdriver: You may need a screwdriver to pry the old strainer unit out of the sink.
Plumber's Putty: This waterproof sealant is necessary for creating a watertight seal between the sink and the strainer unit.
Common Mistakes to Avoid When Replacing a Kitchen Sink Strainer Unit
While replacing a kitchen sink strainer unit may seem like a straightforward task, there are a few common mistakes that can easily be avoided:
Mistake 1: Not using enough plumber's putty can result in leaks.
Mistake 2: Using too much putty can cause it to squeeze out and create a messy appearance.
Mistake 3: Forgetting to test the new strainer for leaks before considering the project complete.
How to Choose the Right Kitchen Sink Strainer Unit for Your Needs
When it comes to choosing a new kitchen sink strainer unit, there are a few factors to consider:
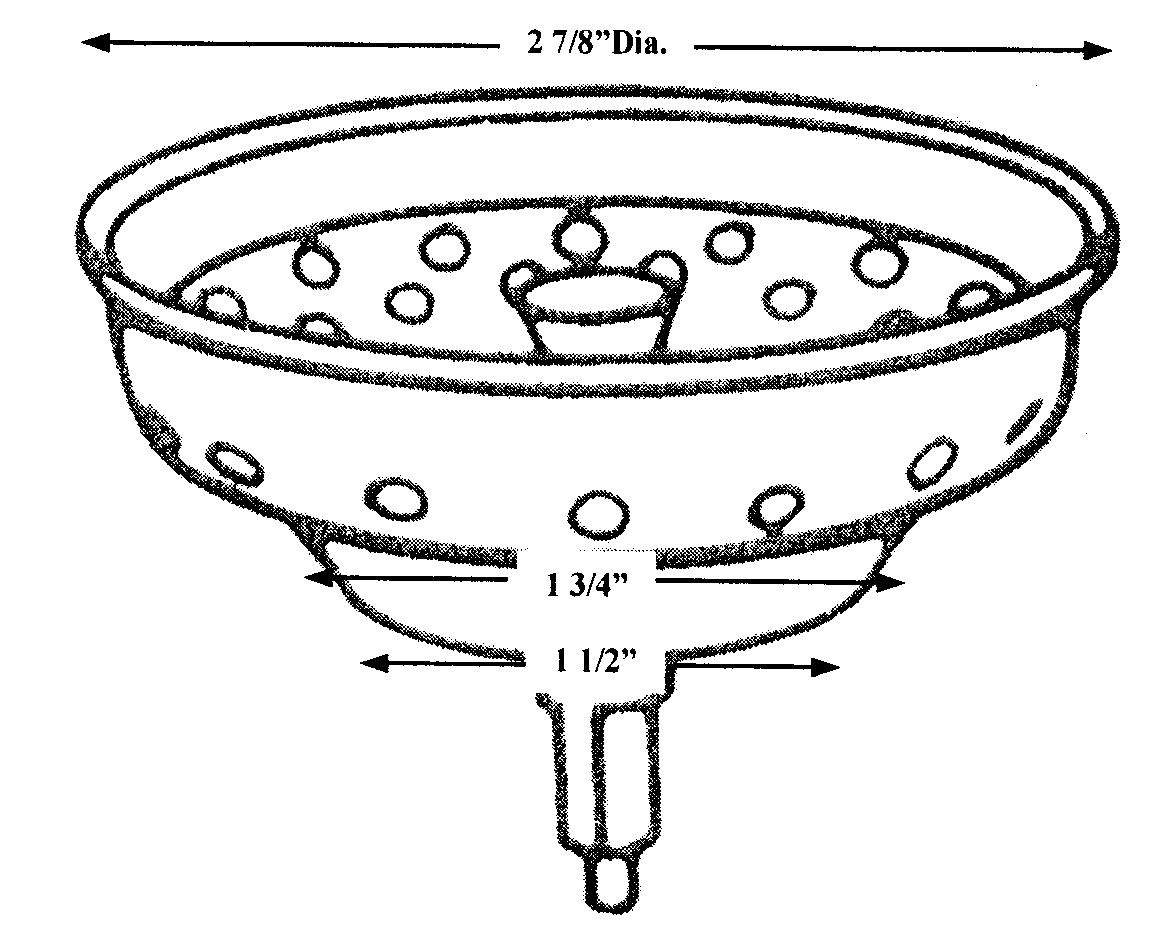
Size: Make sure to measure the opening of your sink to ensure you choose a strainer with the correct diameter.
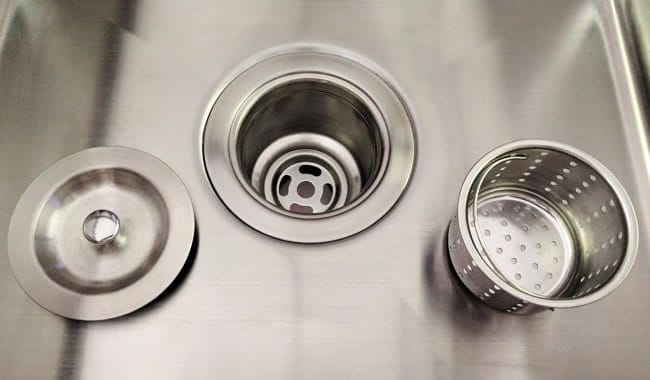
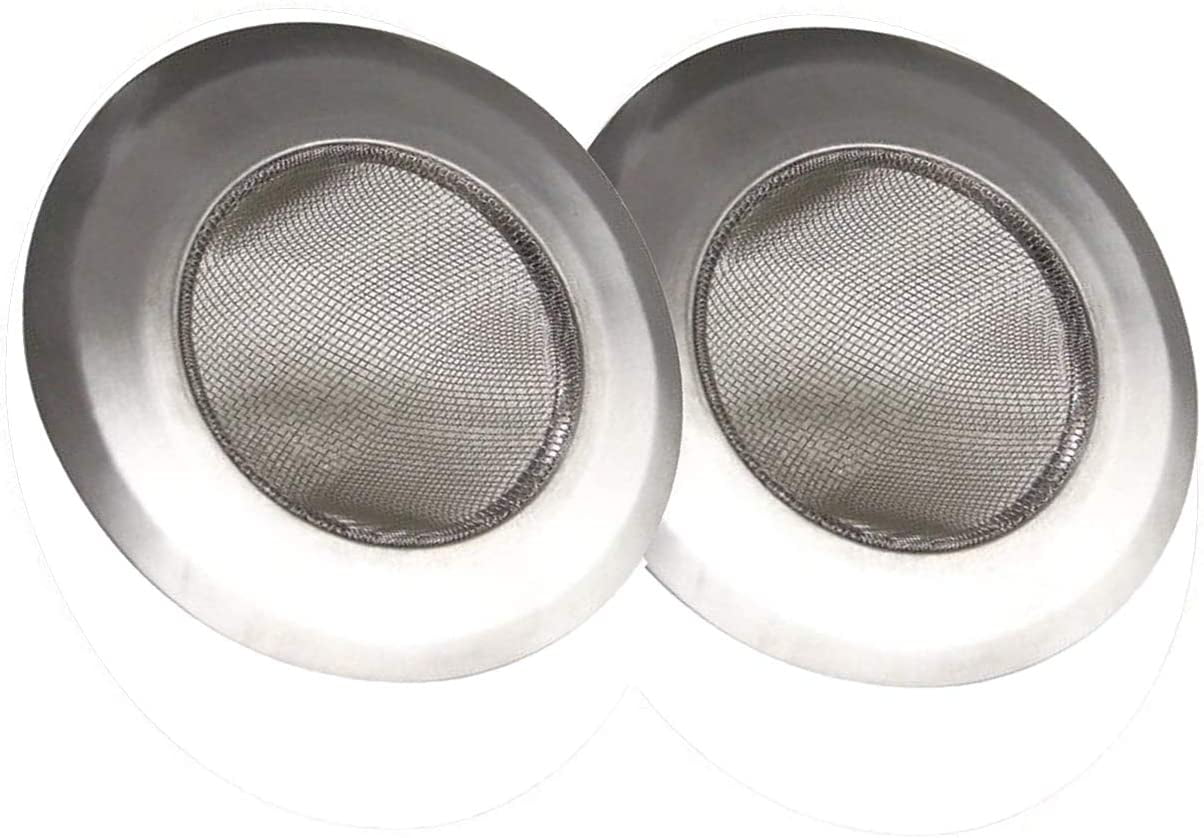
Material: Strainers are available in a variety of materials, including stainless steel, plastic, and brass. Consider which material will best suit your needs and budget.
Style: There are many different styles of strainer units, from traditional to modern. Choose one that matches the overall aesthetic of your kitchen.
Budget-Friendly Options for Replacing a Kitchen Sink Strainer Unit
If you're looking to replace your kitchen sink strainer unit on a budget, there are a few options to consider:
Plastic Strainers: These are the most affordable option, but they may not be as durable as other materials.
Stainless Steel Strainers: These are a mid-range option that offers durability and a modern look.
Brass Strainers: These are the most expensive option, but they are also the most durable and can add a touch of elegance to your kitchen.
Professional vs. DIY: Which is the Best Option for Replacing a Kitchen Sink Strainer Unit?
While it is possible to hire a professional plumber to replace your kitchen sink strainer unit, it is a relatively simple project that can easily be done on your own. Unless you have little to no experience with DIY projects, it is recommended to save money and do it yourself.
Why Replace Your Kitchen Sink Strainer Unit?
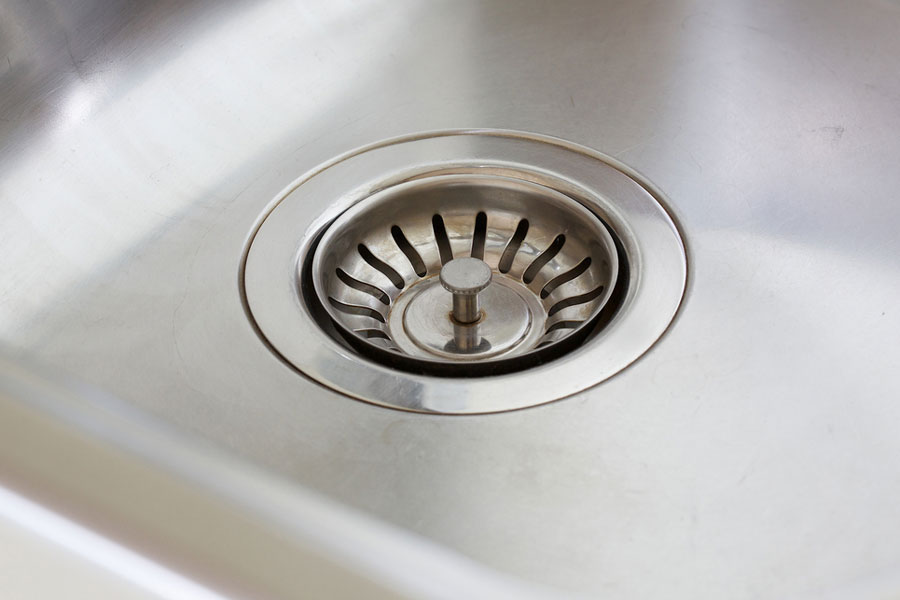
Enhance the Aesthetics of Your Kitchen
 A kitchen sink strainer unit may seem like a small and insignificant part of your kitchen, but it plays a crucial role in both functionality and aesthetics. Over time, the strainer can become discolored, rusty, or damaged, making your kitchen look old and worn out. Replacing it with a new unit can instantly refresh the look of your kitchen and give it a more modern and updated appearance.
Prevent Clogs and Water Damage
 The main function of a kitchen sink strainer unit is to catch food scraps and debris, preventing them from clogging your pipes. If your strainer is old or damaged, it may not be able to effectively do its job, leading to clogs and potential water damage. By replacing the strainer, you can ensure that your kitchen sink drains properly and avoid costly repairs in the future.
Improve Hygiene and Food Safety
 Old and worn-out strainers can harbor bacteria and germs, posing a risk to your health and food safety. When food particles get trapped in the strainer, they can quickly become a breeding ground for harmful bacteria. By replacing your strainer, you can maintain a clean and hygienic kitchen, reducing the risk of food contamination.
Upgrade to a More Efficient Strainer
 If you've been using the same strainer for years, chances are it's not as efficient as newer models on the market. Upgrading to a new strainer can improve the functionality of your sink, making it easier to wash and drain dishes. Some newer models even come with additional features, such as extendable handles or built-in drain plugs, making your kitchen chores more convenient.
If you notice any of these signs, it may be time to replace your kitchen sink strainer unit. By investing in a new strainer, you can enhance the overall look of your kitchen, prevent clogs and water damage, ensure hygiene, and upgrade to a more efficient model. Don't underestimate the impact that this small but essential part of your kitchen can have on your daily routine and the overall functionality of your space.
So, if you're ready to give your kitchen a fresh new look and improve its functionality, consider replacing your kitchen sink strainer unit today.


:max_bytes(150000):strip_icc()/how-to-install-a-sink-drain-2718789-04-5715d67f5b7d41429d42bf705bb70e2c.jpg)


