How to Replace a Kitchen Sink Faucet Sprayer
Replacing a kitchen sink faucet sprayer may seem like a daunting task, but with the right tools and a little know-how, it can be a quick and easy DIY project. Not only will it give your kitchen sink a fresh new look, but it can also improve the functionality of your sink. Follow these steps to learn how to replace a kitchen sink faucet sprayer in no time.


How to Replace a Kitchen Sink Faucet Sprayer

How to Install a Kitchen Sink Faucet Sprayer
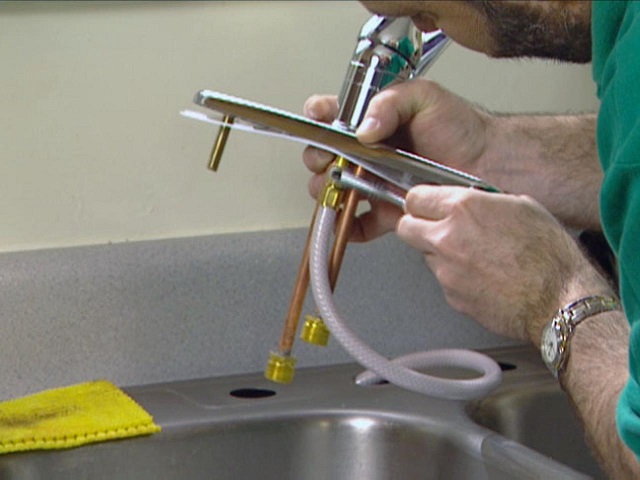
Installing a kitchen sink faucet sprayer may seem like a complicated process, but it can be done with just a few simple steps. Before you begin, make sure to turn off the water supply to your sink and gather all necessary tools and materials. Let's get started on installing your new kitchen sink faucet sprayer.


How to Install a Kitchen Sink Faucet Sprayer


Replacing a Kitchen Sink Faucet Sprayer: Step-by-Step Guide
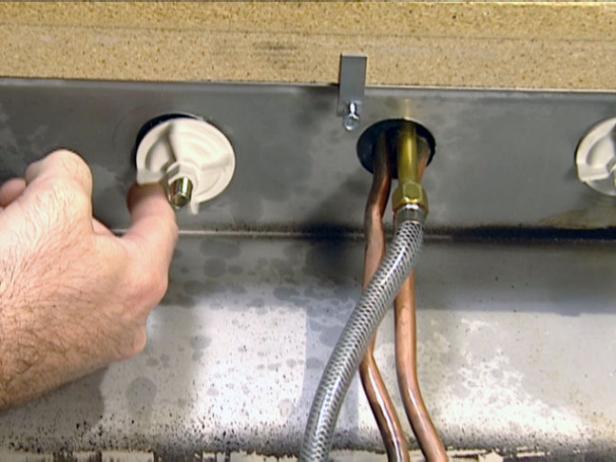
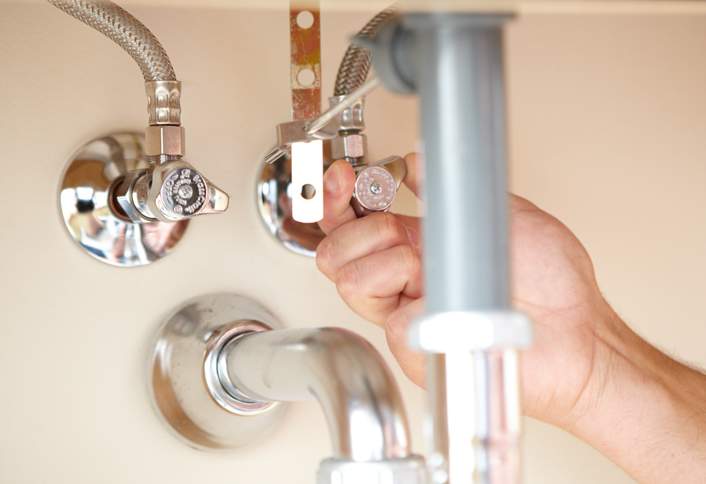
Step 1: Turn off the Water Supply – Before you start replacing your kitchen sink faucet sprayer, turn off the water supply to your sink. This can typically be done by turning off the shut-off valves located under the sink.
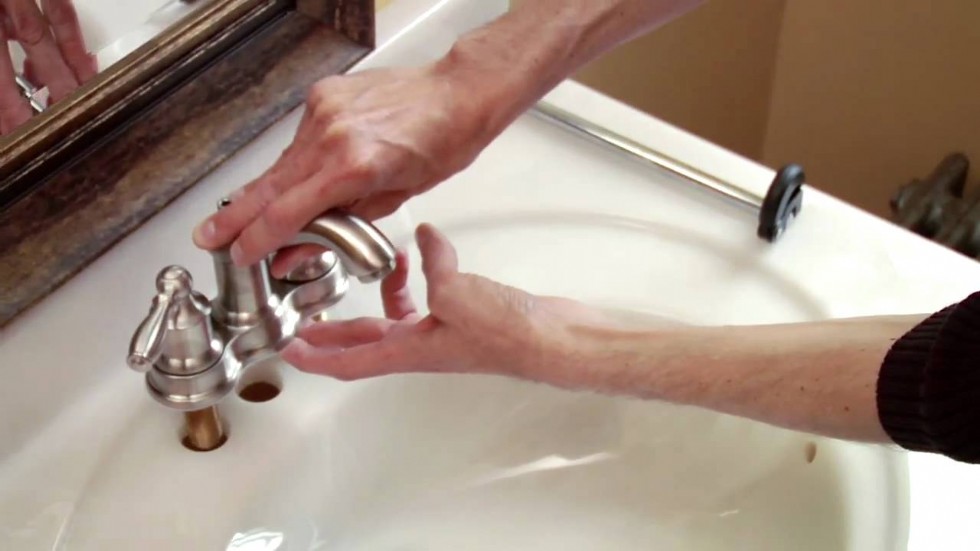
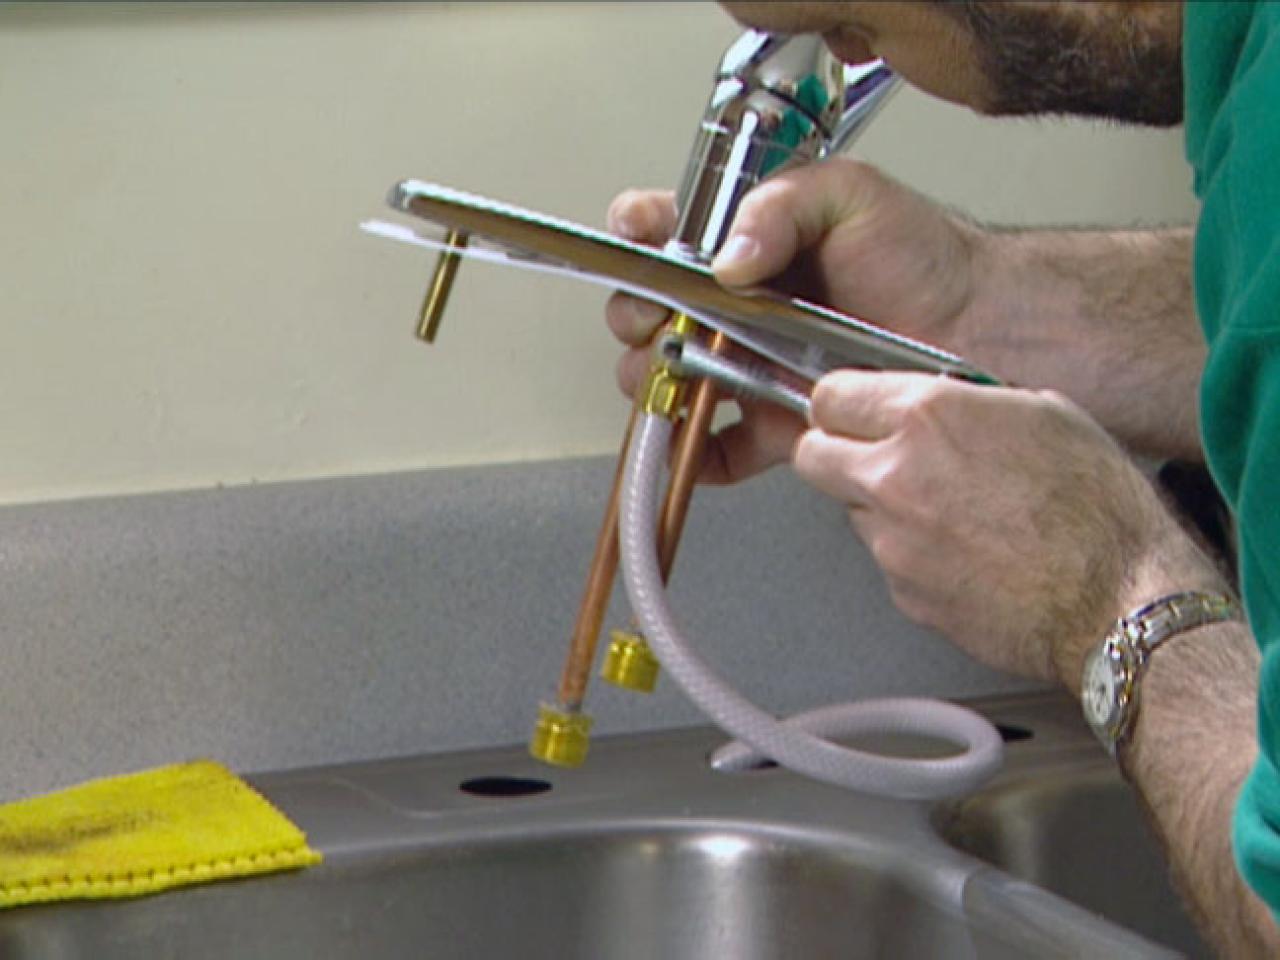
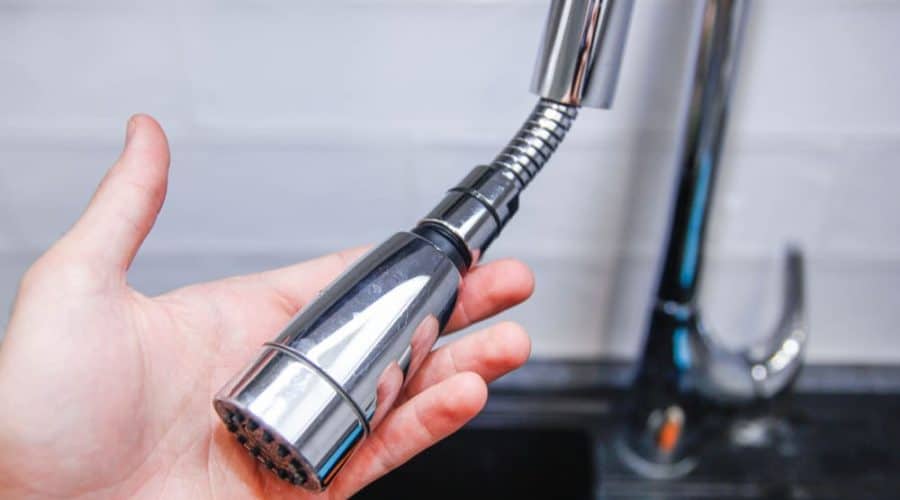
Step 2: Remove the Old Sprayer – Next, remove the old sprayer by unscrewing the mounting nut that holds it in place. You may need to use pliers to loosen the nut.
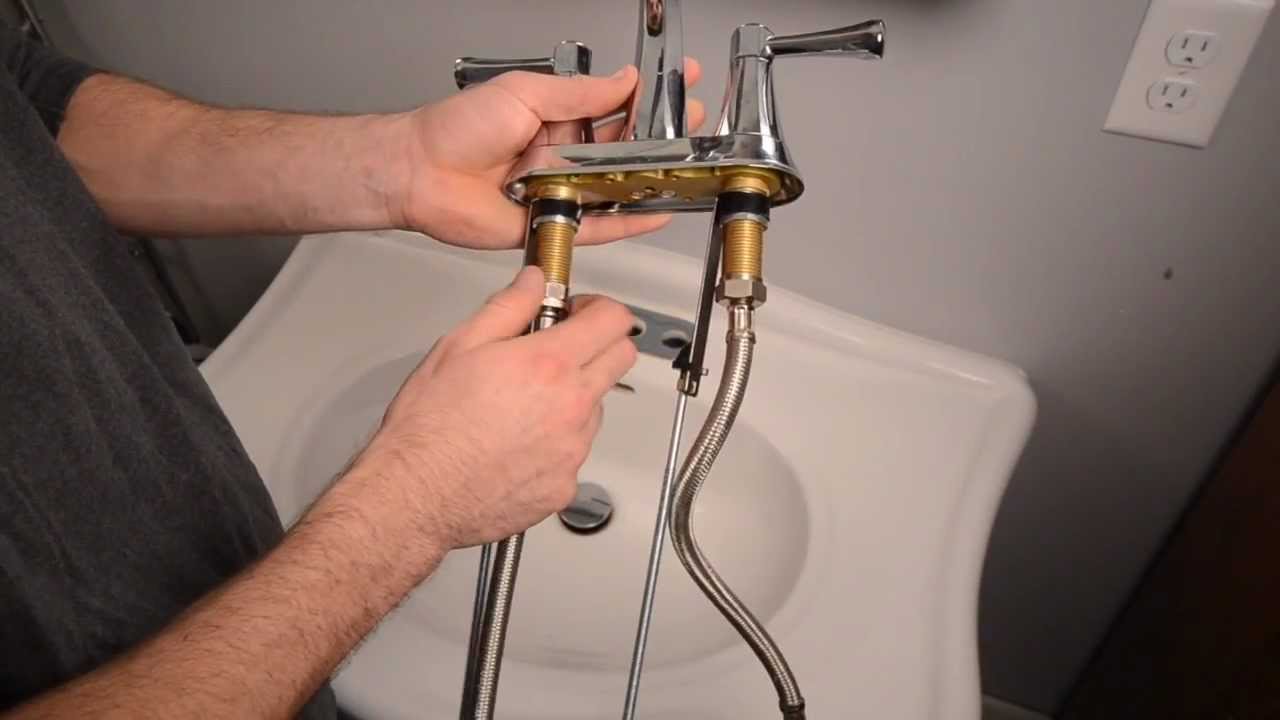
Step 3: Attach the New Sprayer – Once the old sprayer is removed, attach the new sprayer by screwing the mounting nut onto the bottom of the sprayer. Make sure it is tight and secure.
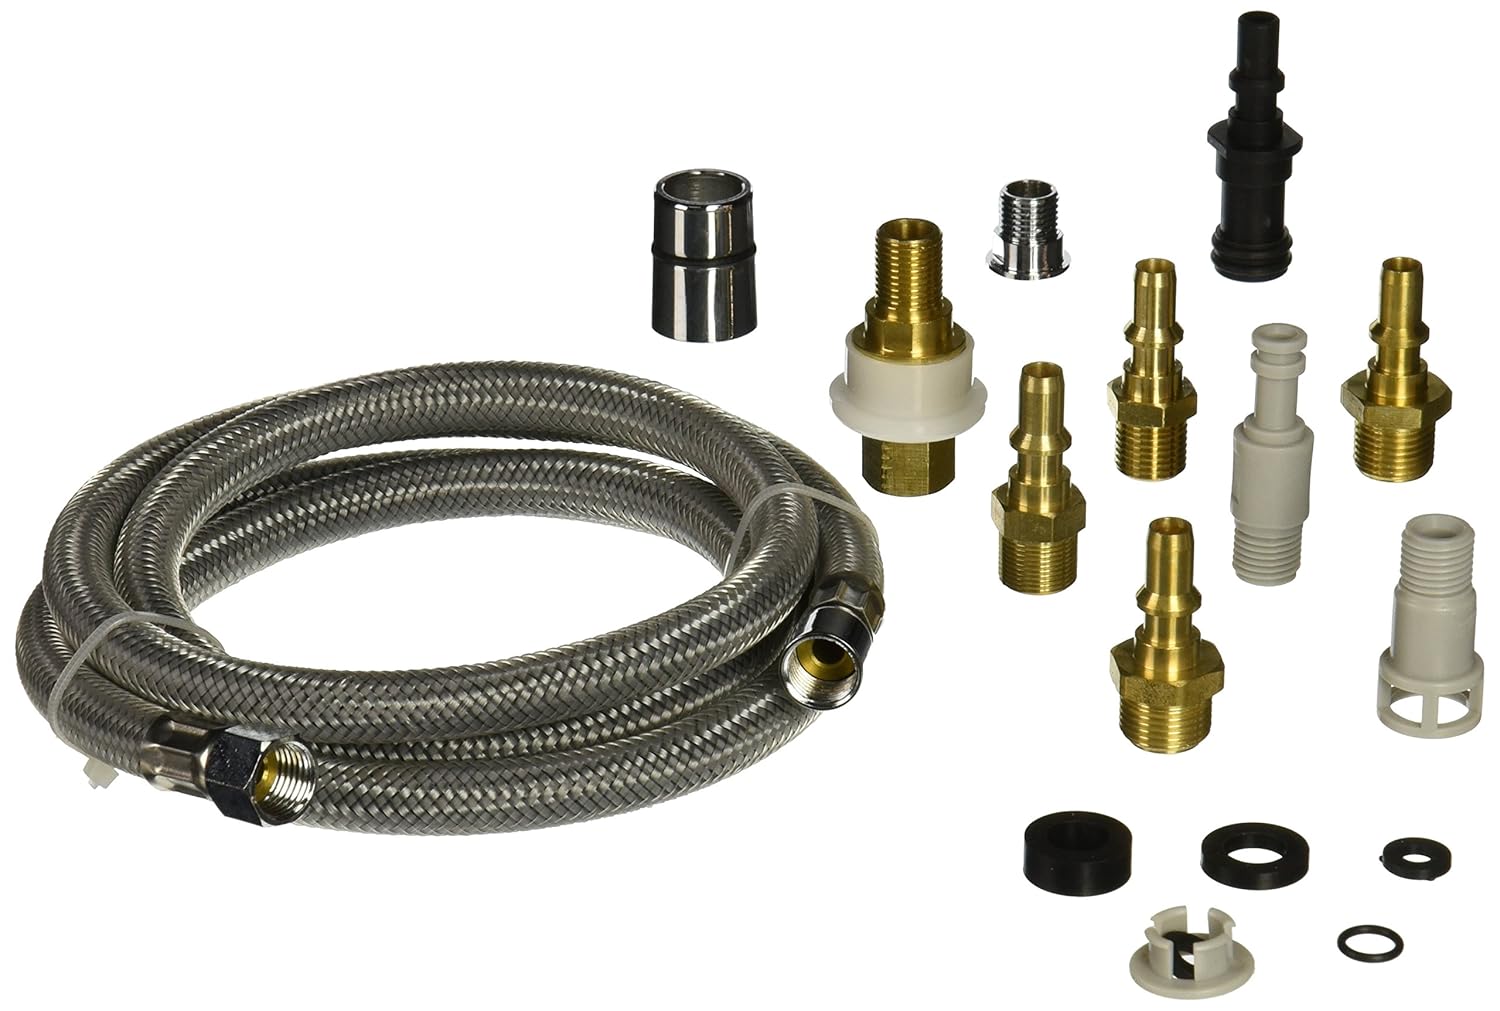
Step 4: Connect the Hose – Now, connect the hose from the new sprayer to the water supply under the sink. This may require the use of a wrench to tighten the connection.
Step 5: Test the Water Flow – Once everything is connected, turn the water supply back on and test the water flow from the new sprayer. Make sure there are no leaks and adjust the water pressure if needed.


Replacing a Kitchen Sink Faucet Sprayer: Step-by-Step Guide


DIY: Replacing a Kitchen Sink Faucet Sprayer
If you're a DIY enthusiast, replacing a kitchen sink faucet sprayer can be a fun and rewarding project. Not only will you save money by doing it yourself, but you'll also have the satisfaction of completing the project on your own. Follow the steps above and you'll have a new kitchen sink faucet sprayer in no time.


DIY: Replacing a Kitchen Sink Faucet Sprayer
/25089301983_c5145fe85d_o-58418ef15f9b5851e5f392b5.jpg)


:max_bytes(150000):strip_icc()/installing-a-kitchen-sink-sprayer-2718817-hero-2b7047468d594da6be2494ba0eebb480.jpg)


Replacing a Kitchen Sink Faucet Sprayer: Tips and Tricks
When replacing a kitchen sink faucet sprayer, there are a few tips and tricks that can make the process even easier. Here are a few things to keep in mind:
Tip #1: Before removing the old sprayer, take a picture of how it is attached. This will make it easier to reattach the new sprayer.
Tip #2: If the mounting nut is difficult to remove, try using a lubricant like WD-40 to loosen it.
Tip #3: When attaching the new sprayer, make sure the hose is not tangled or kinked. This can affect water flow and cause leaks.


Replacing a Kitchen Sink Faucet Sprayer: Tips and Tricks


Quick and Easy Kitchen Sink Faucet Sprayer Replacement
With the right tools and a little knowledge, replacing a kitchen sink faucet sprayer can be a quick and easy process. Follow the steps outlined above and you'll have a new sprayer installed in no time. Plus, it's a great way to upgrade the look and functionality of your kitchen sink.


Quick and Easy Kitchen Sink Faucet Sprayer Replacement


Replacing a Kitchen Sink Faucet Sprayer: Common Mistakes to Avoid
While replacing a kitchen sink faucet sprayer is a fairly simple process, there are a few common mistakes that can happen. Here are some things to avoid:
Mistake #1: Forgetting to turn off the water supply before starting the replacement process.
Mistake #2: Using the wrong size wrench or pliers, which can lead to stripped or damaged parts.
Mistake #3: Not checking for leaks after installing the new sprayer.

Replacing a Kitchen Sink Faucet Sprayer: Common Mistakes to Avoid


Upgrade Your Kitchen Sink with a New Faucet Sprayer
Replacing a kitchen sink faucet sprayer is a great way to upgrade your kitchen sink without having to do a complete renovation. With a new sprayer, you can improve the functionality of your sink and give it a fresh new look. Plus, it's a simple DIY project that can be done in just a few steps.


Upgrade Your Kitchen Sink with a New Faucet Sprayer


Replacing a Kitchen Sink Faucet Sprayer: Tools and Materials You'll Need
Before you start replacing your kitchen sink faucet sprayer, make sure you have all the necessary tools and materials. Here's a list of what you'll need:
Tools: Adjustable wrench, pliers, screwdriver
Materials: New kitchen sink faucet sprayer, plumber's tape, lubricant (optional)

Replacing a Kitchen Sink Faucet Sprayer: Tools and Materials You'll Need


Step-by-Step Guide to Replacing a Kitchen Sink Faucet Sprayer
To recap, here is a step-by-step guide to replacing a kitchen sink faucet sprayer:
Step 1: Turn off the water supply.
Step 2: Remove the old sprayer.
Step 3: Attach the new sprayer.
Step 4: Connect the hose.
Step 5: Test the water flow.


Step-by-Step Guide to Replacing a Kitchen Sink Faucet Sprayer


Upgrade Your Kitchen with a New Faucet Sprayer
Why the Faucet Sprayer is an Essential Part of Your Kitchen Design
 The kitchen is often considered the heart of the home, and the faucet is an important feature that sees a lot of use. A faucet sprayer is a crucial part of the overall design and functionality of your kitchen sink. It allows for easier and more efficient cleaning of dishes, fruits and vegetables, and even the sink itself. Over time, faucet sprayers can become worn out, clogged, or simply outdated. If you're looking to give your kitchen a fresh new look and improve its functionality, replacing your faucet sprayer is a great place to start.
Choosing the Right Faucet Sprayer for Your Kitchen
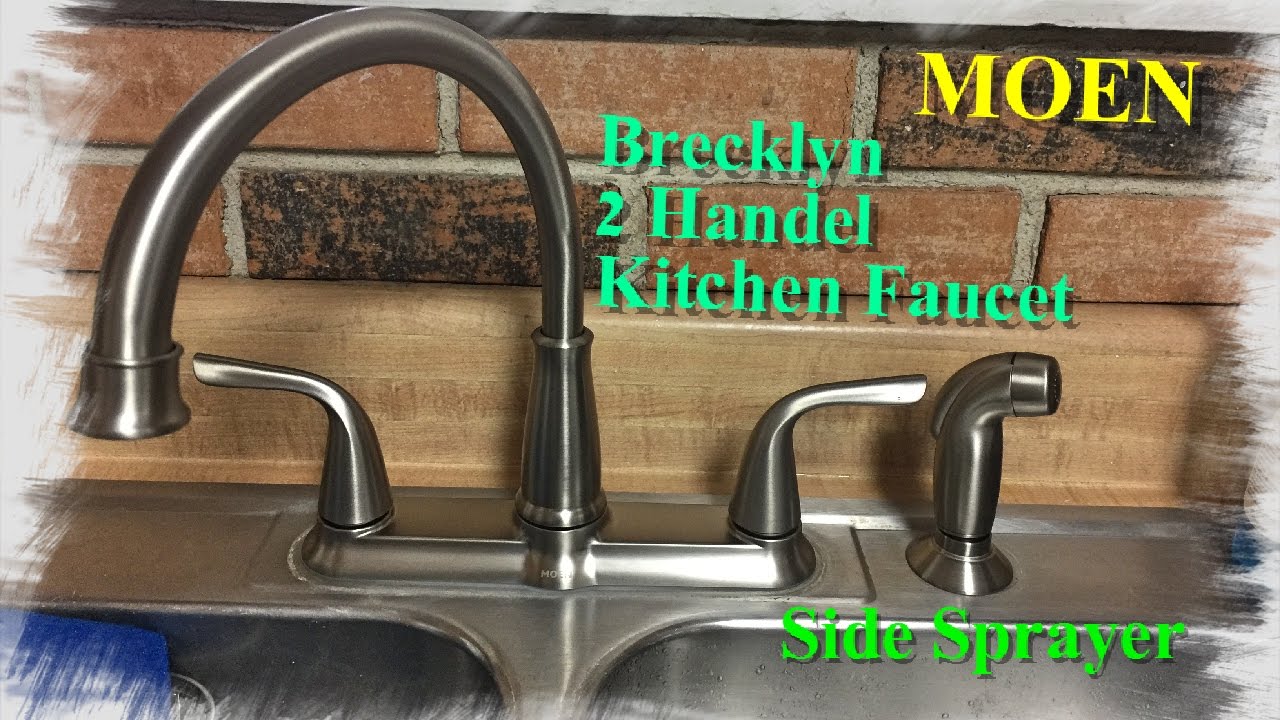
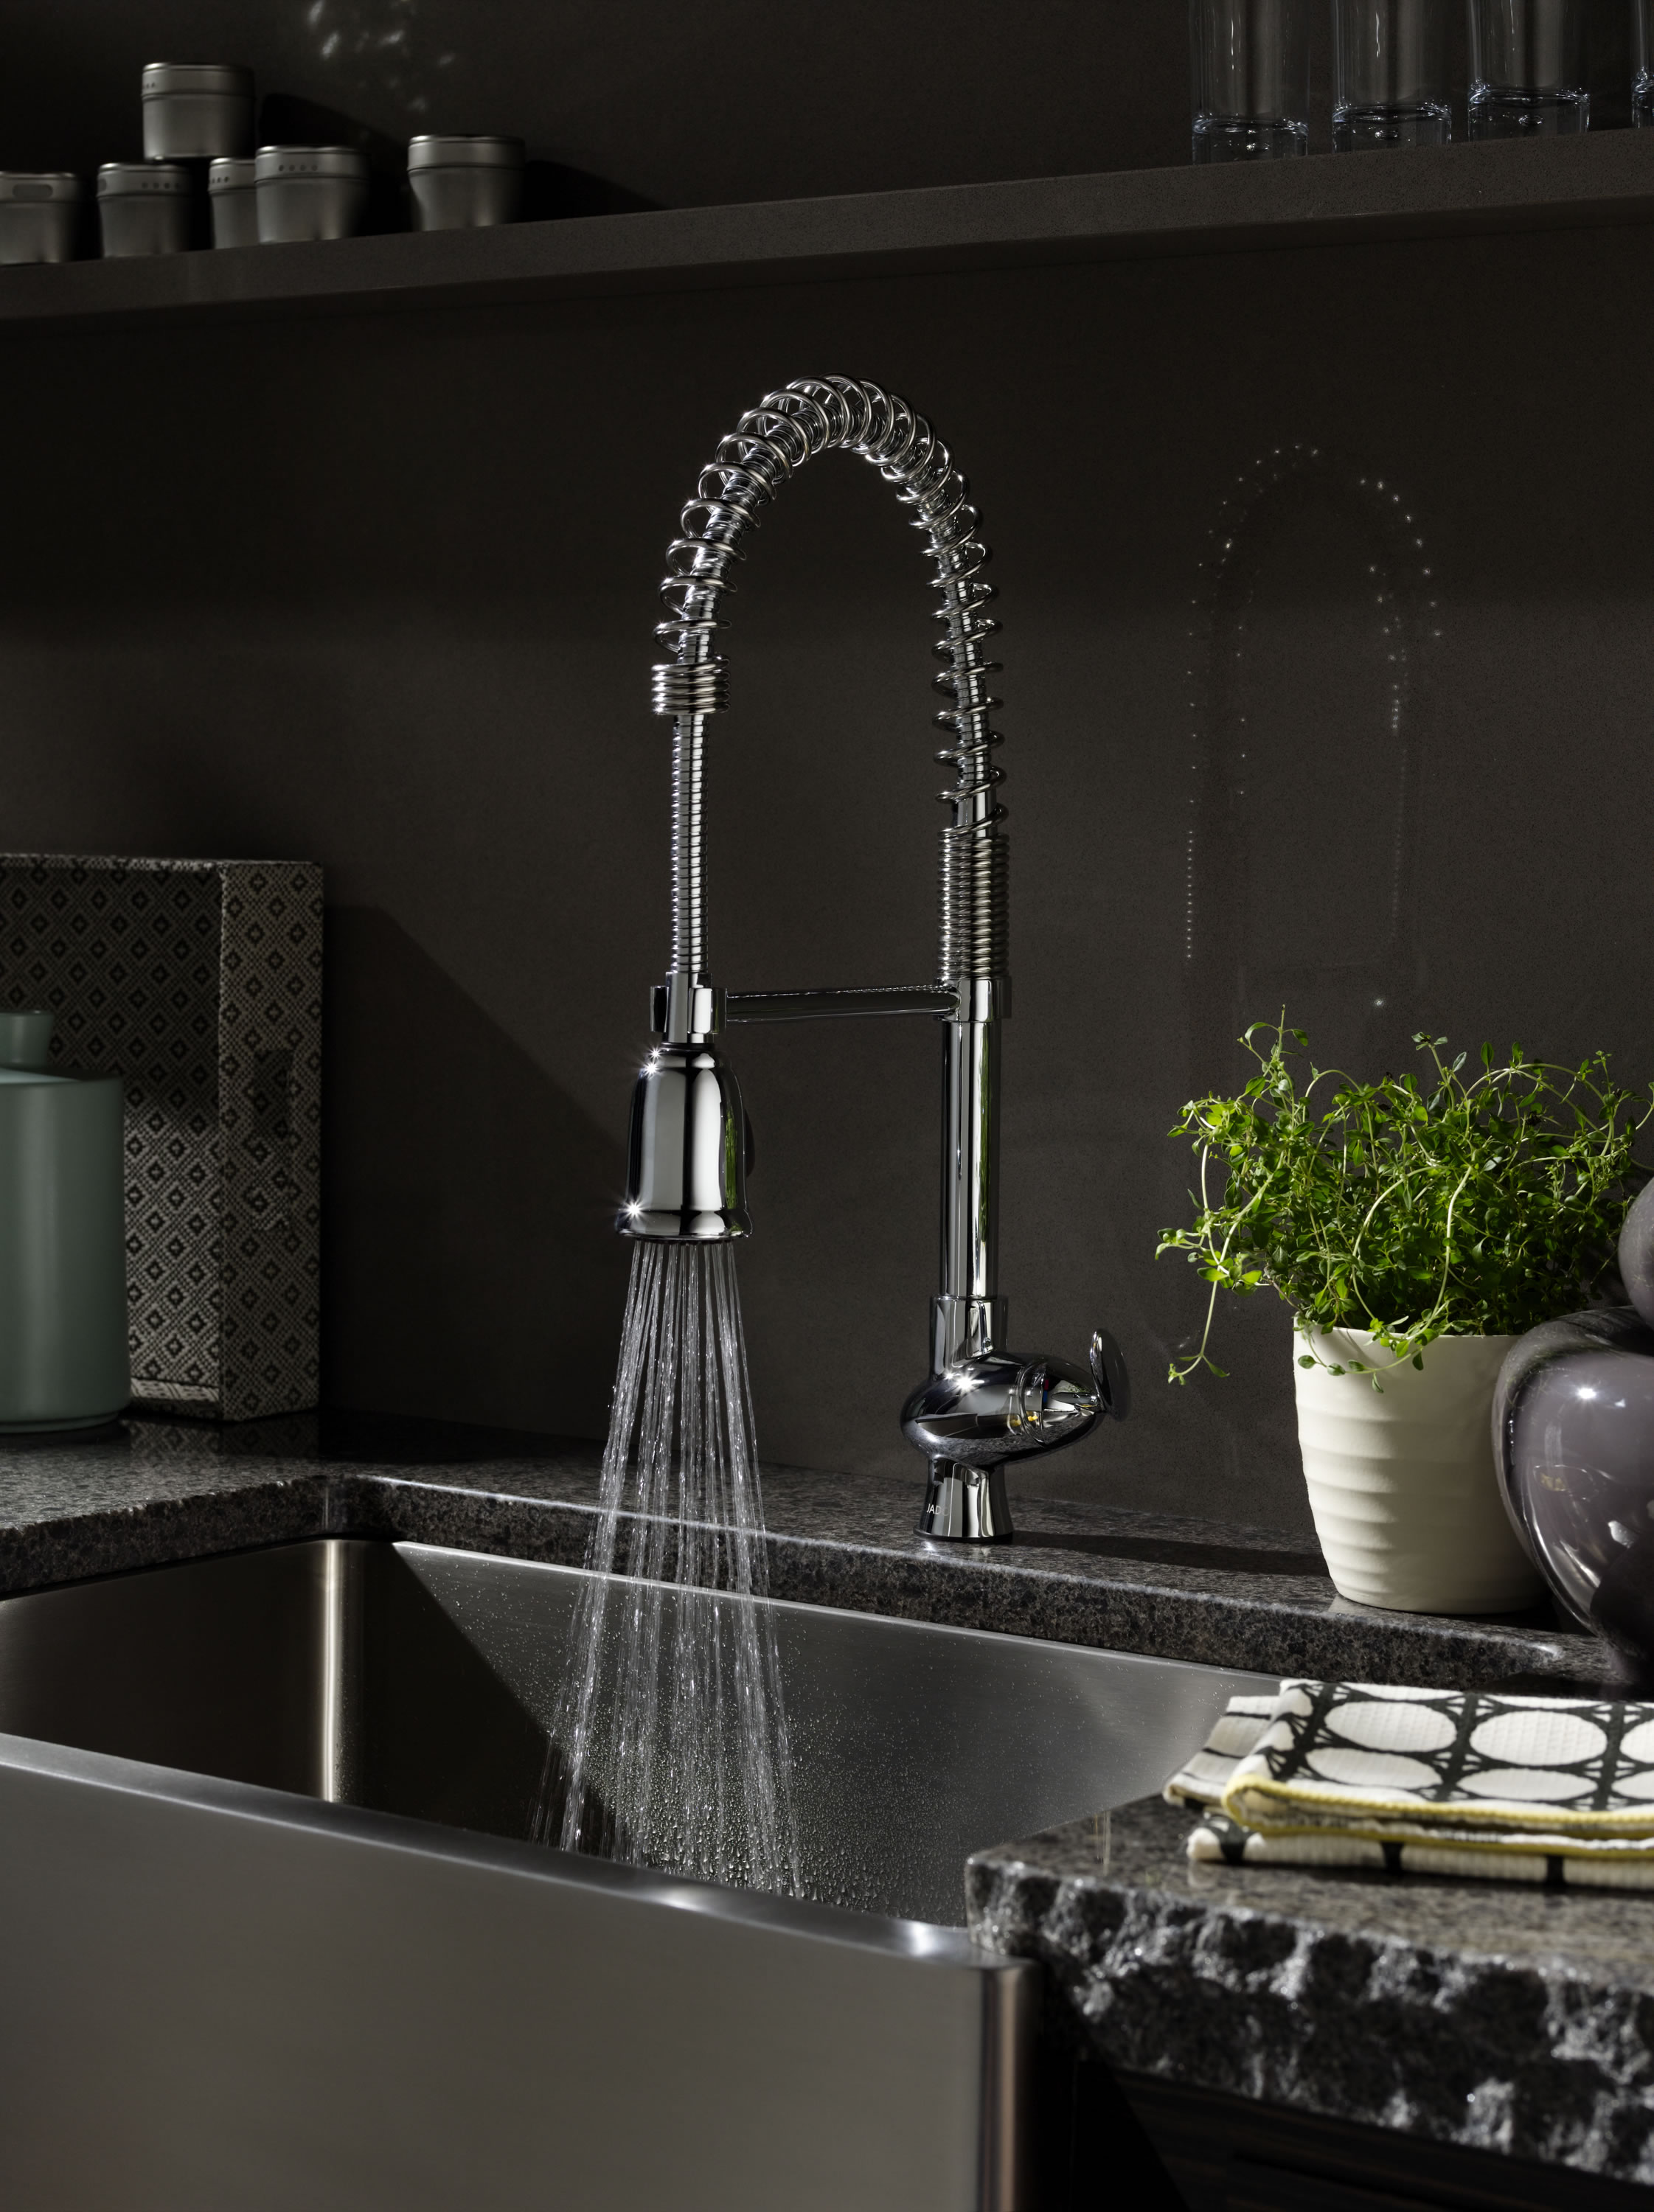
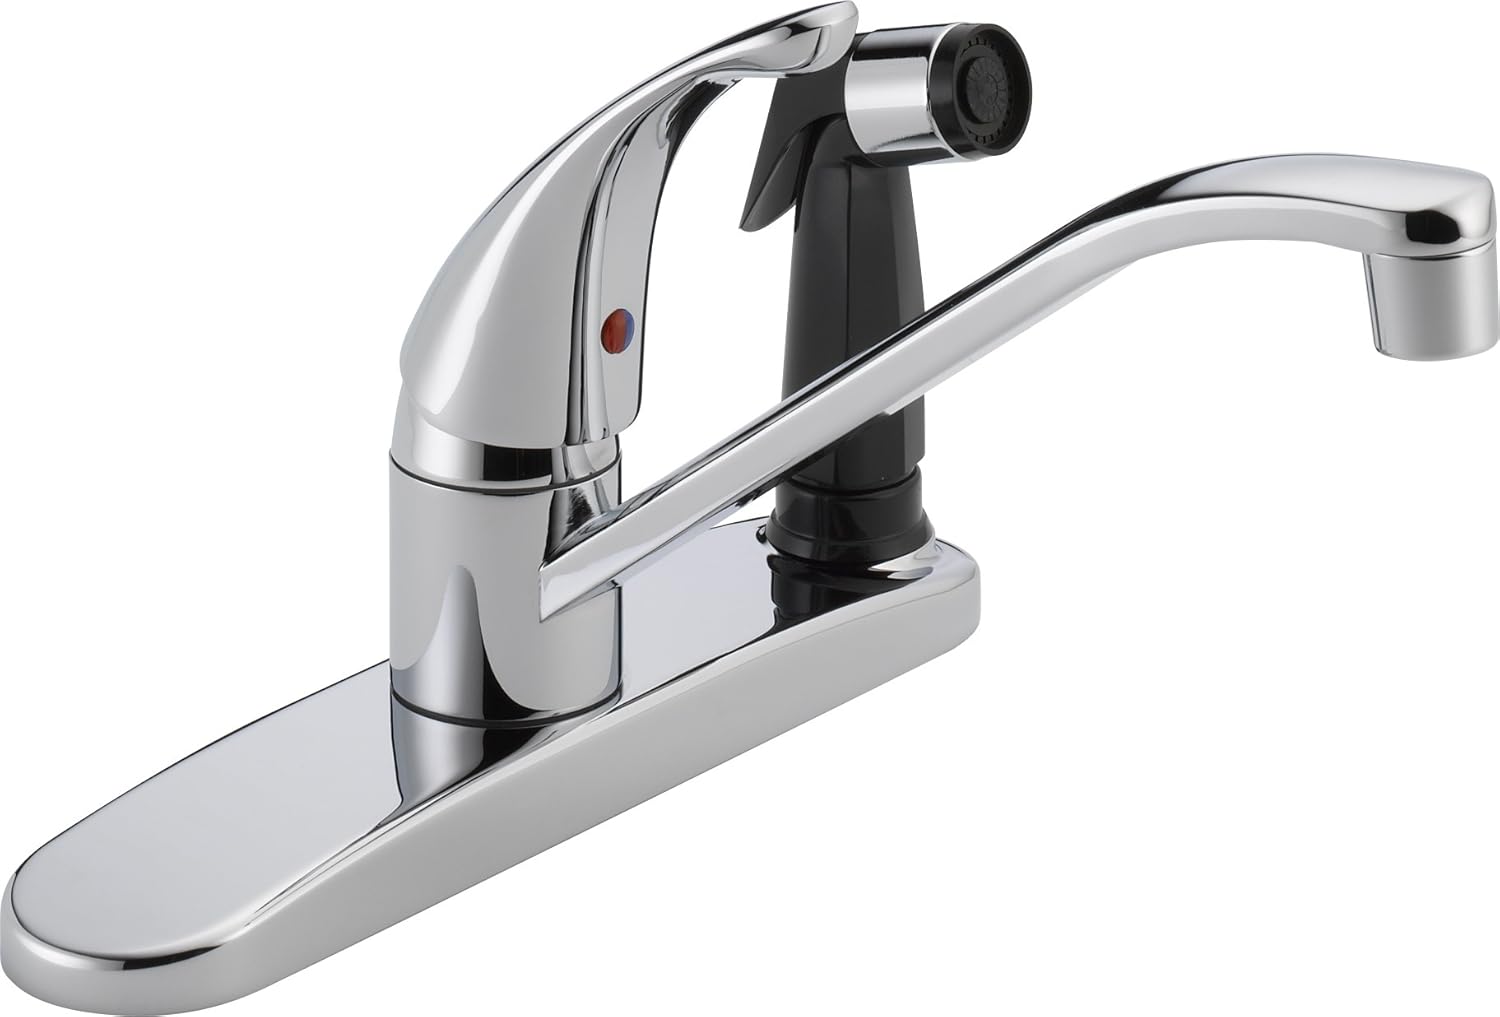
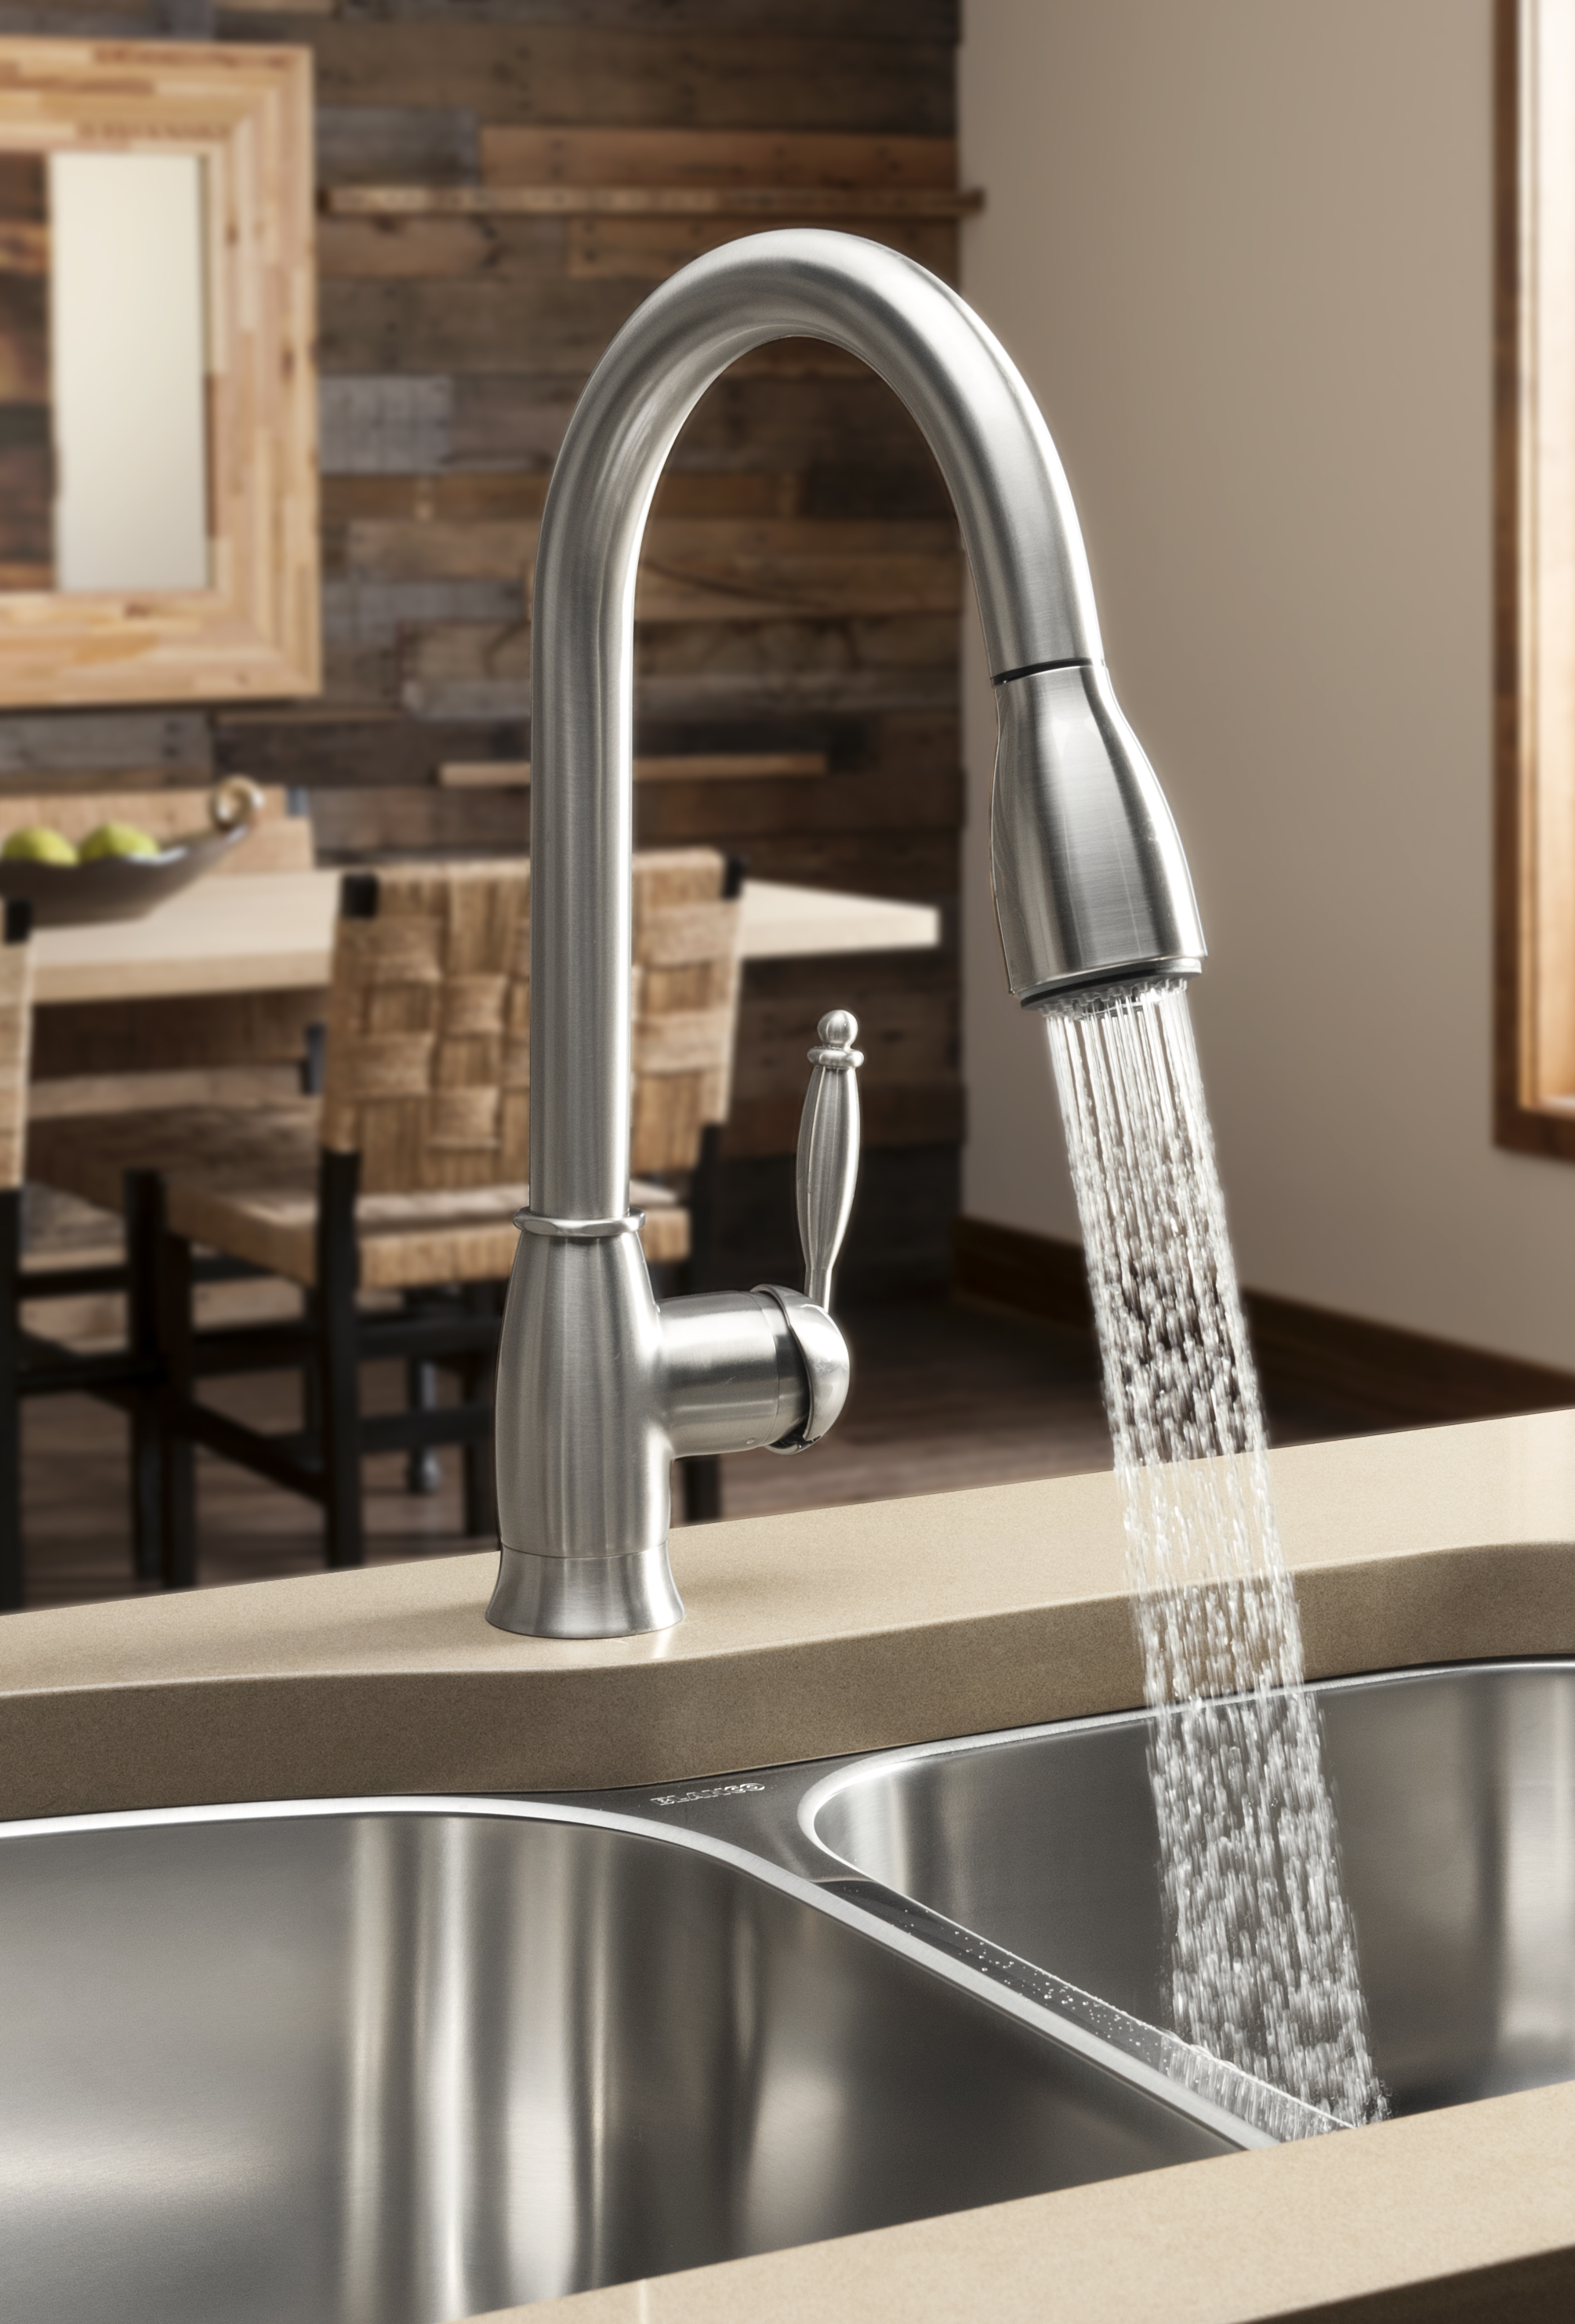
 When it comes to choosing a new faucet sprayer, there are a few important factors to consider. The first is the type of sprayer you want – there are pull-down, pull-out, and side sprayers. Pull-down sprayers have a taller, more flexible neck that allows for easier maneuvering, while pull-out sprayers have a shorter neck and are great for smaller sinks. Side sprayers are a separate attachment that can be installed on the side of the sink for added convenience. Consider your kitchen's layout and your personal preferences when deciding on the type of sprayer.
Another important consideration is the material and finish of the faucet sprayer. Chrome and stainless steel are popular choices for their durability and sleek appearance. However, there are also options in various colors and finishes to match your kitchen's decor. Additionally, look for features such as a high arc spout for added clearance, a single or dual handle for easy temperature and water flow control, and a spray or stream function for versatility.
When it comes to choosing a new faucet sprayer, there are a few important factors to consider. The first is the type of sprayer you want – there are pull-down, pull-out, and side sprayers. Pull-down sprayers have a taller, more flexible neck that allows for easier maneuvering, while pull-out sprayers have a shorter neck and are great for smaller sinks. Side sprayers are a separate attachment that can be installed on the side of the sink for added convenience. Consider your kitchen's layout and your personal preferences when deciding on the type of sprayer.
Another important consideration is the material and finish of the faucet sprayer. Chrome and stainless steel are popular choices for their durability and sleek appearance. However, there are also options in various colors and finishes to match your kitchen's decor. Additionally, look for features such as a high arc spout for added clearance, a single or dual handle for easy temperature and water flow control, and a spray or stream function for versatility.
The Benefits of Upgrading Your Kitchen Faucet Sprayer
 Replacing your kitchen faucet sprayer offers many benefits beyond just a fresh new look. A new sprayer can improve the functionality of your kitchen by making tasks such as washing dishes and cleaning the sink easier and more efficient. It can also improve the overall water flow and reduce any leaks or drips.
Moreover, upgrading your faucet sprayer can also increase the value of your home. A modern, high-quality faucet sprayer will make a great impression and add to the overall appeal of your kitchen. It can also be a selling point if you ever decide to put your house on the market.
In conclusion, a new faucet sprayer is an essential part of any kitchen design. It not only adds to the aesthetic appeal of your kitchen, but also improves its functionality and value. When choosing a new faucet sprayer, consider your kitchen's layout and your personal preferences, and don't be afraid to splurge on higher quality materials and features. With a new faucet sprayer, you can upgrade your kitchen and make daily tasks a breeze. So why wait? Start browsing for the perfect faucet sprayer for your kitchen today!
Replacing your kitchen faucet sprayer offers many benefits beyond just a fresh new look. A new sprayer can improve the functionality of your kitchen by making tasks such as washing dishes and cleaning the sink easier and more efficient. It can also improve the overall water flow and reduce any leaks or drips.
Moreover, upgrading your faucet sprayer can also increase the value of your home. A modern, high-quality faucet sprayer will make a great impression and add to the overall appeal of your kitchen. It can also be a selling point if you ever decide to put your house on the market.
In conclusion, a new faucet sprayer is an essential part of any kitchen design. It not only adds to the aesthetic appeal of your kitchen, but also improves its functionality and value. When choosing a new faucet sprayer, consider your kitchen's layout and your personal preferences, and don't be afraid to splurge on higher quality materials and features. With a new faucet sprayer, you can upgrade your kitchen and make daily tasks a breeze. So why wait? Start browsing for the perfect faucet sprayer for your kitchen today!