Replacing a kitchen sink faucet hose may seem like a daunting task, but with the right tools and knowledge, it can be a simple and rewarding DIY project. Not only will it save you money from hiring a plumber, but it will also give your kitchen a fresh and updated look. Follow these 10 steps to replace your kitchen sink faucet hose and have your sink looking like new in no time.How to Replace a Kitchen Sink Faucet Hose

How to Replace a Kitchen Sink Faucet Hose


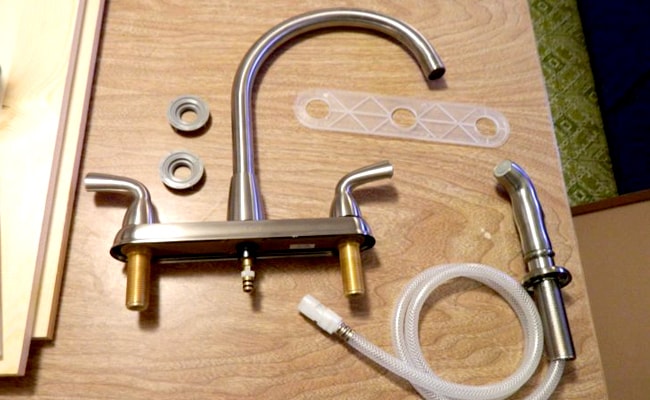
Before starting the replacement process, make sure you have all the necessary tools. You will need an adjustable wrench, plumber's tape, a screwdriver, and a new faucet hose. It's always a good idea to have a bucket or towels handy in case of any water leaks.Step 1: Gather Your Tools

How to Replace a Kitchen Sink Faucet Hose in 10 Steps


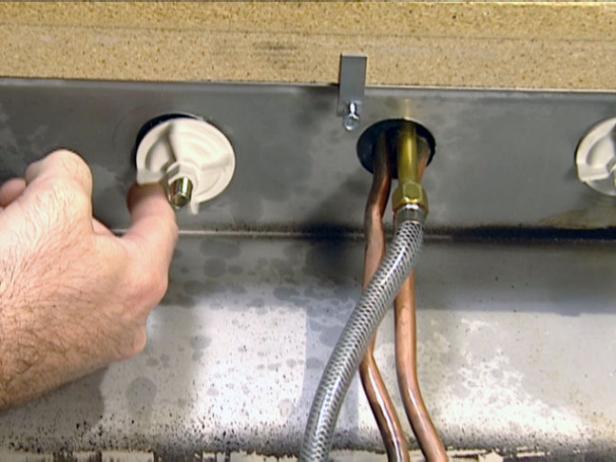
Before beginning any plumbing project, it's important to turn off the water supply. Locate the valves under your sink and turn them clockwise to shut off the water. Once the water is off, turn on the faucet to release any remaining water pressure.Step 2: Shut Off the Water Supply


Replacing a Kitchen Sink Faucet Hose: A Step-by-Step Guide


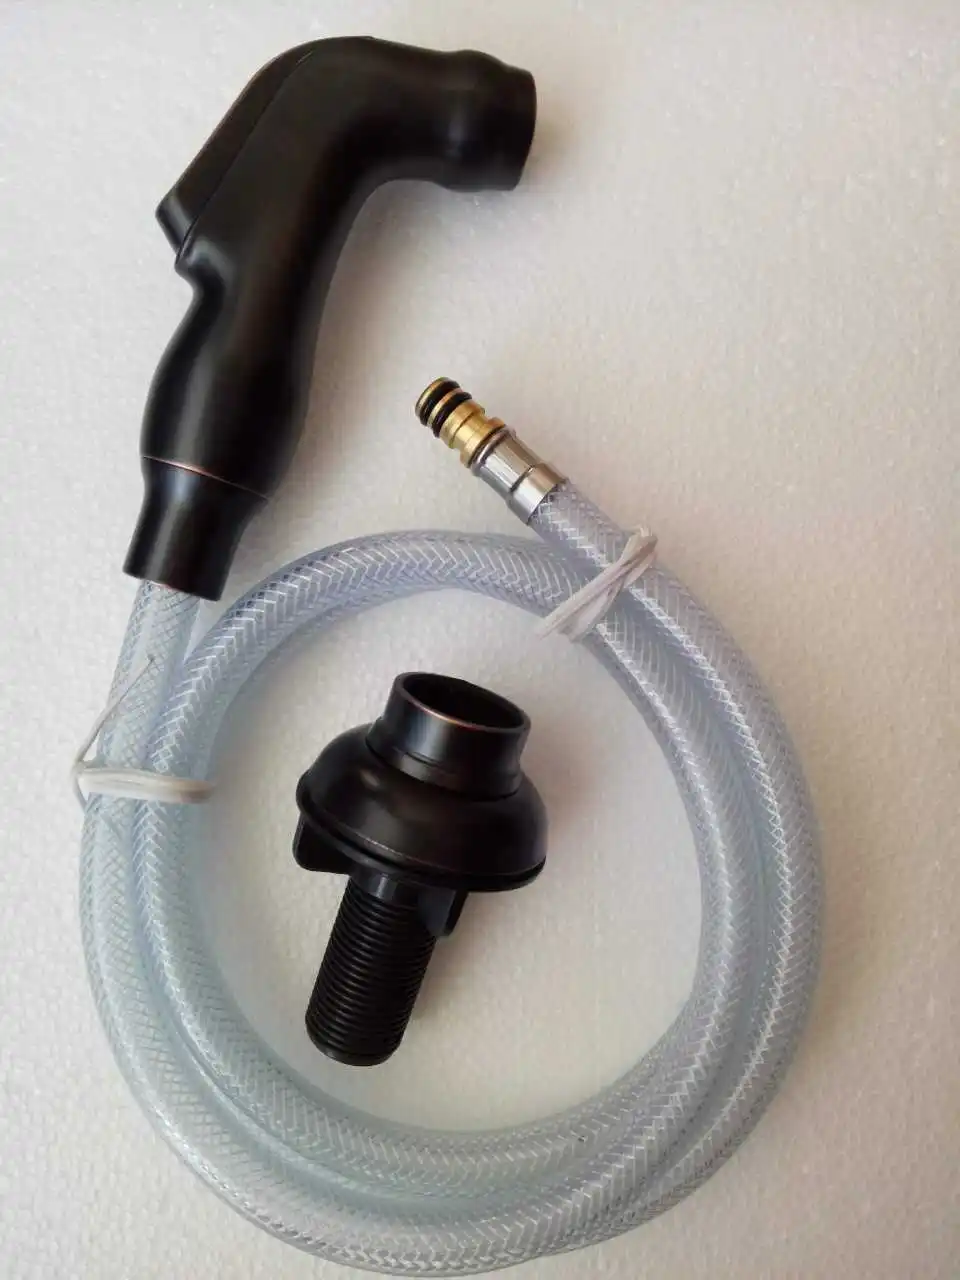
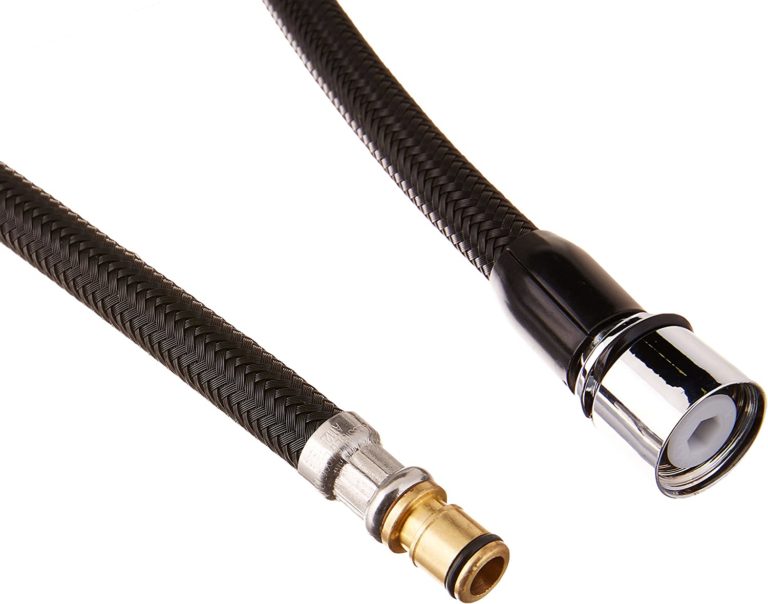
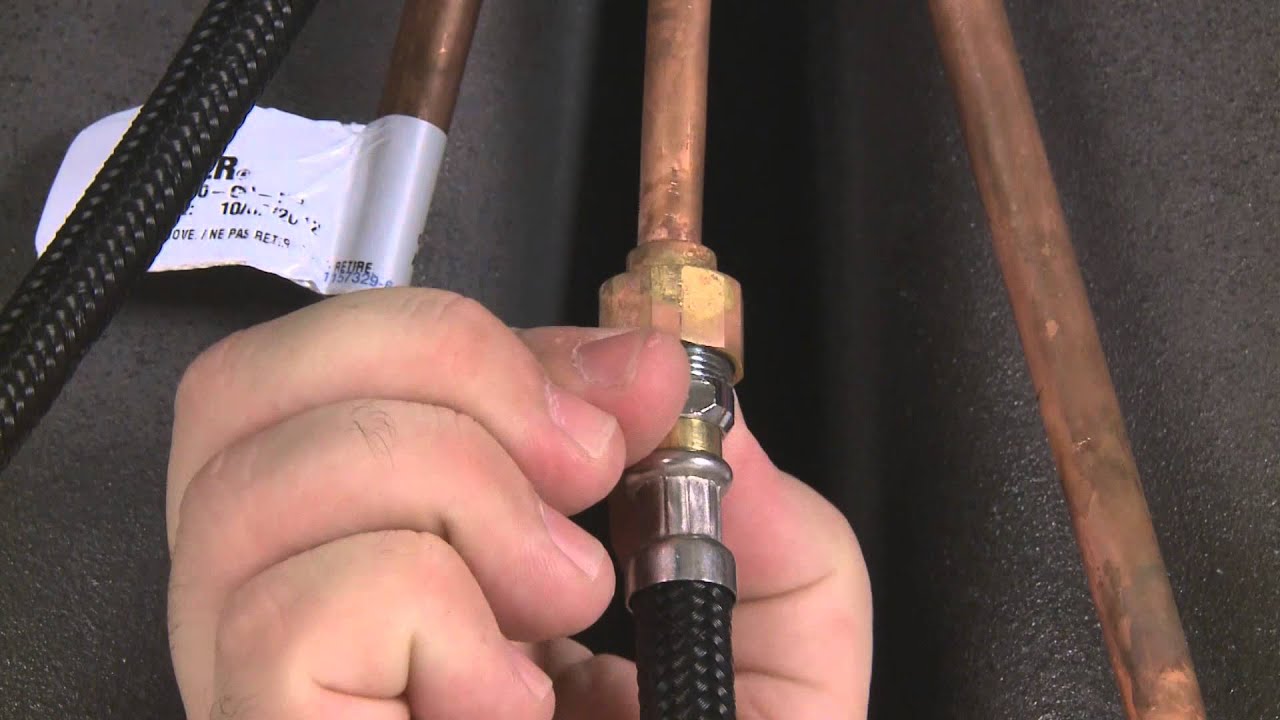
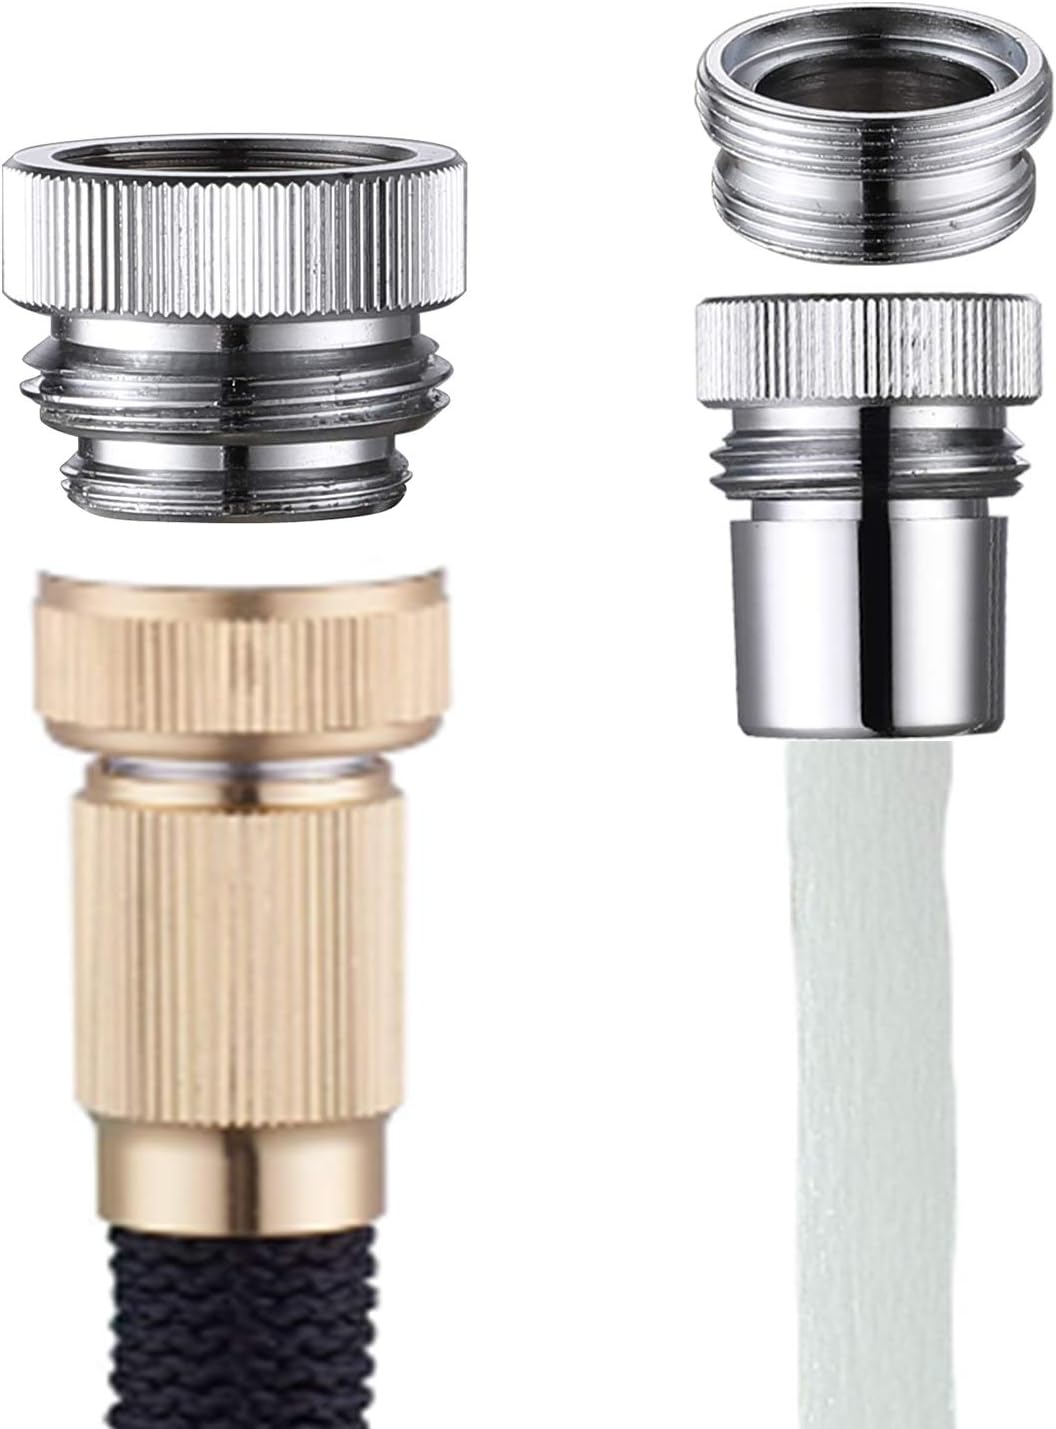
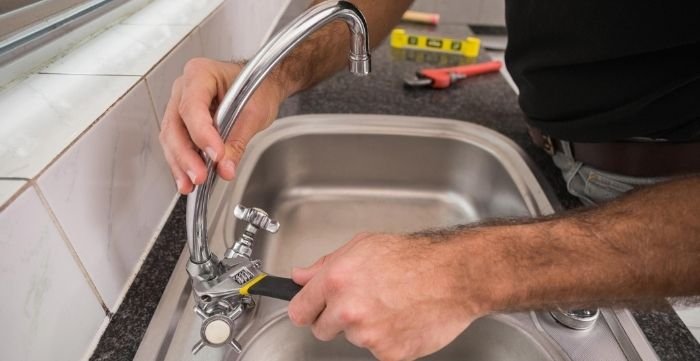
Using your adjustable wrench, loosen the connections between the faucet and the water supply lines. Carefully remove the old hose and any fittings attached to it. You may need to use a screwdriver to remove any screws holding the hose in place.Step 3: Remove the Old Hose

DIY: How to Replace a Kitchen Sink Faucet Hose


With the old hose removed, take this opportunity to clean your faucet and remove any buildup or debris. This will ensure a smooth and leak-free installation of the new hose.Step 4: Clean the Faucet


Replacing a Kitchen Sink Faucet Hose: Tips and Tricks


:max_bytes(150000):strip_icc()/utility-sink-faucet-2718831-hero-85feab9ab9fc4c8498483e418fd8c82c.jpg)
Before attaching the new hose, wrap plumber's tape around the threads of the faucet to create a watertight seal. Then, carefully attach the new hose to the faucet and tighten the connections with your adjustable wrench.Step 5: Attach the New Hose

The Easy Way to Replace a Kitchen Sink Faucet Hose
Using your adjustable wrench, connect the water supply lines to the new hose. Be sure to use plumber's tape on the threads for a secure connection. Double check that all connections are tight to prevent any future leaks.Step 6: Connect the Water Supply Lines


Replacing a Kitchen Sink Faucet Hose: What You Need to Know


Once all connections are secure, turn the water supply valves back on. Slowly turn on the faucet to allow any trapped air to escape. Check for any leaks and tighten any connections if necessary.Step 7: Turn the Water Supply Back On

Step-by-Step Guide to Replacing a Kitchen Sink Faucet Hose


With the water supply back on, test your faucet to make sure it is functioning properly. Run both hot and cold water to check for any leaks or irregularities. If everything looks good, you're ready to move on to the final steps.Step 8: Test the Faucet

Replacing a Kitchen Sink Faucet Hose: Common Mistakes to Avoid

If your old hose had any fittings attached, now is the time to reattach them to the new hose. Use your screwdriver to securely tighten any screws and ensure a proper fit.Step 9: Reattach Any Fittings

How to Replace a Kitchen Sink Faucet Hose: A Comprehensive Guide
How to Easily Replace Your Kitchen Sink Faucet Hose for a Fresh Look

A Quick Guide to Updating Your Kitchen Design
 Replacing your kitchen sink faucet hose can be a simple and effective way to give your kitchen a fresh new look. Over time, faucets can become worn out and outdated, making them not only an eyesore but also less functional. By following these easy steps, you can have a brand new faucet hose installed in no time and transform the look and feel of your kitchen.
Step 1: Gather Necessary Materials
Before starting the replacement process, it's important to make sure you have all the necessary materials on hand. This includes a new faucet hose, adjustable wrench, plumber's tape, and a bucket or towels to catch any water that may leak during the process.
Step 2: Turn Off Water Supply
Locate the water shut-off valves under your sink and turn them off. This will prevent any water from flowing while you are working on the faucet.
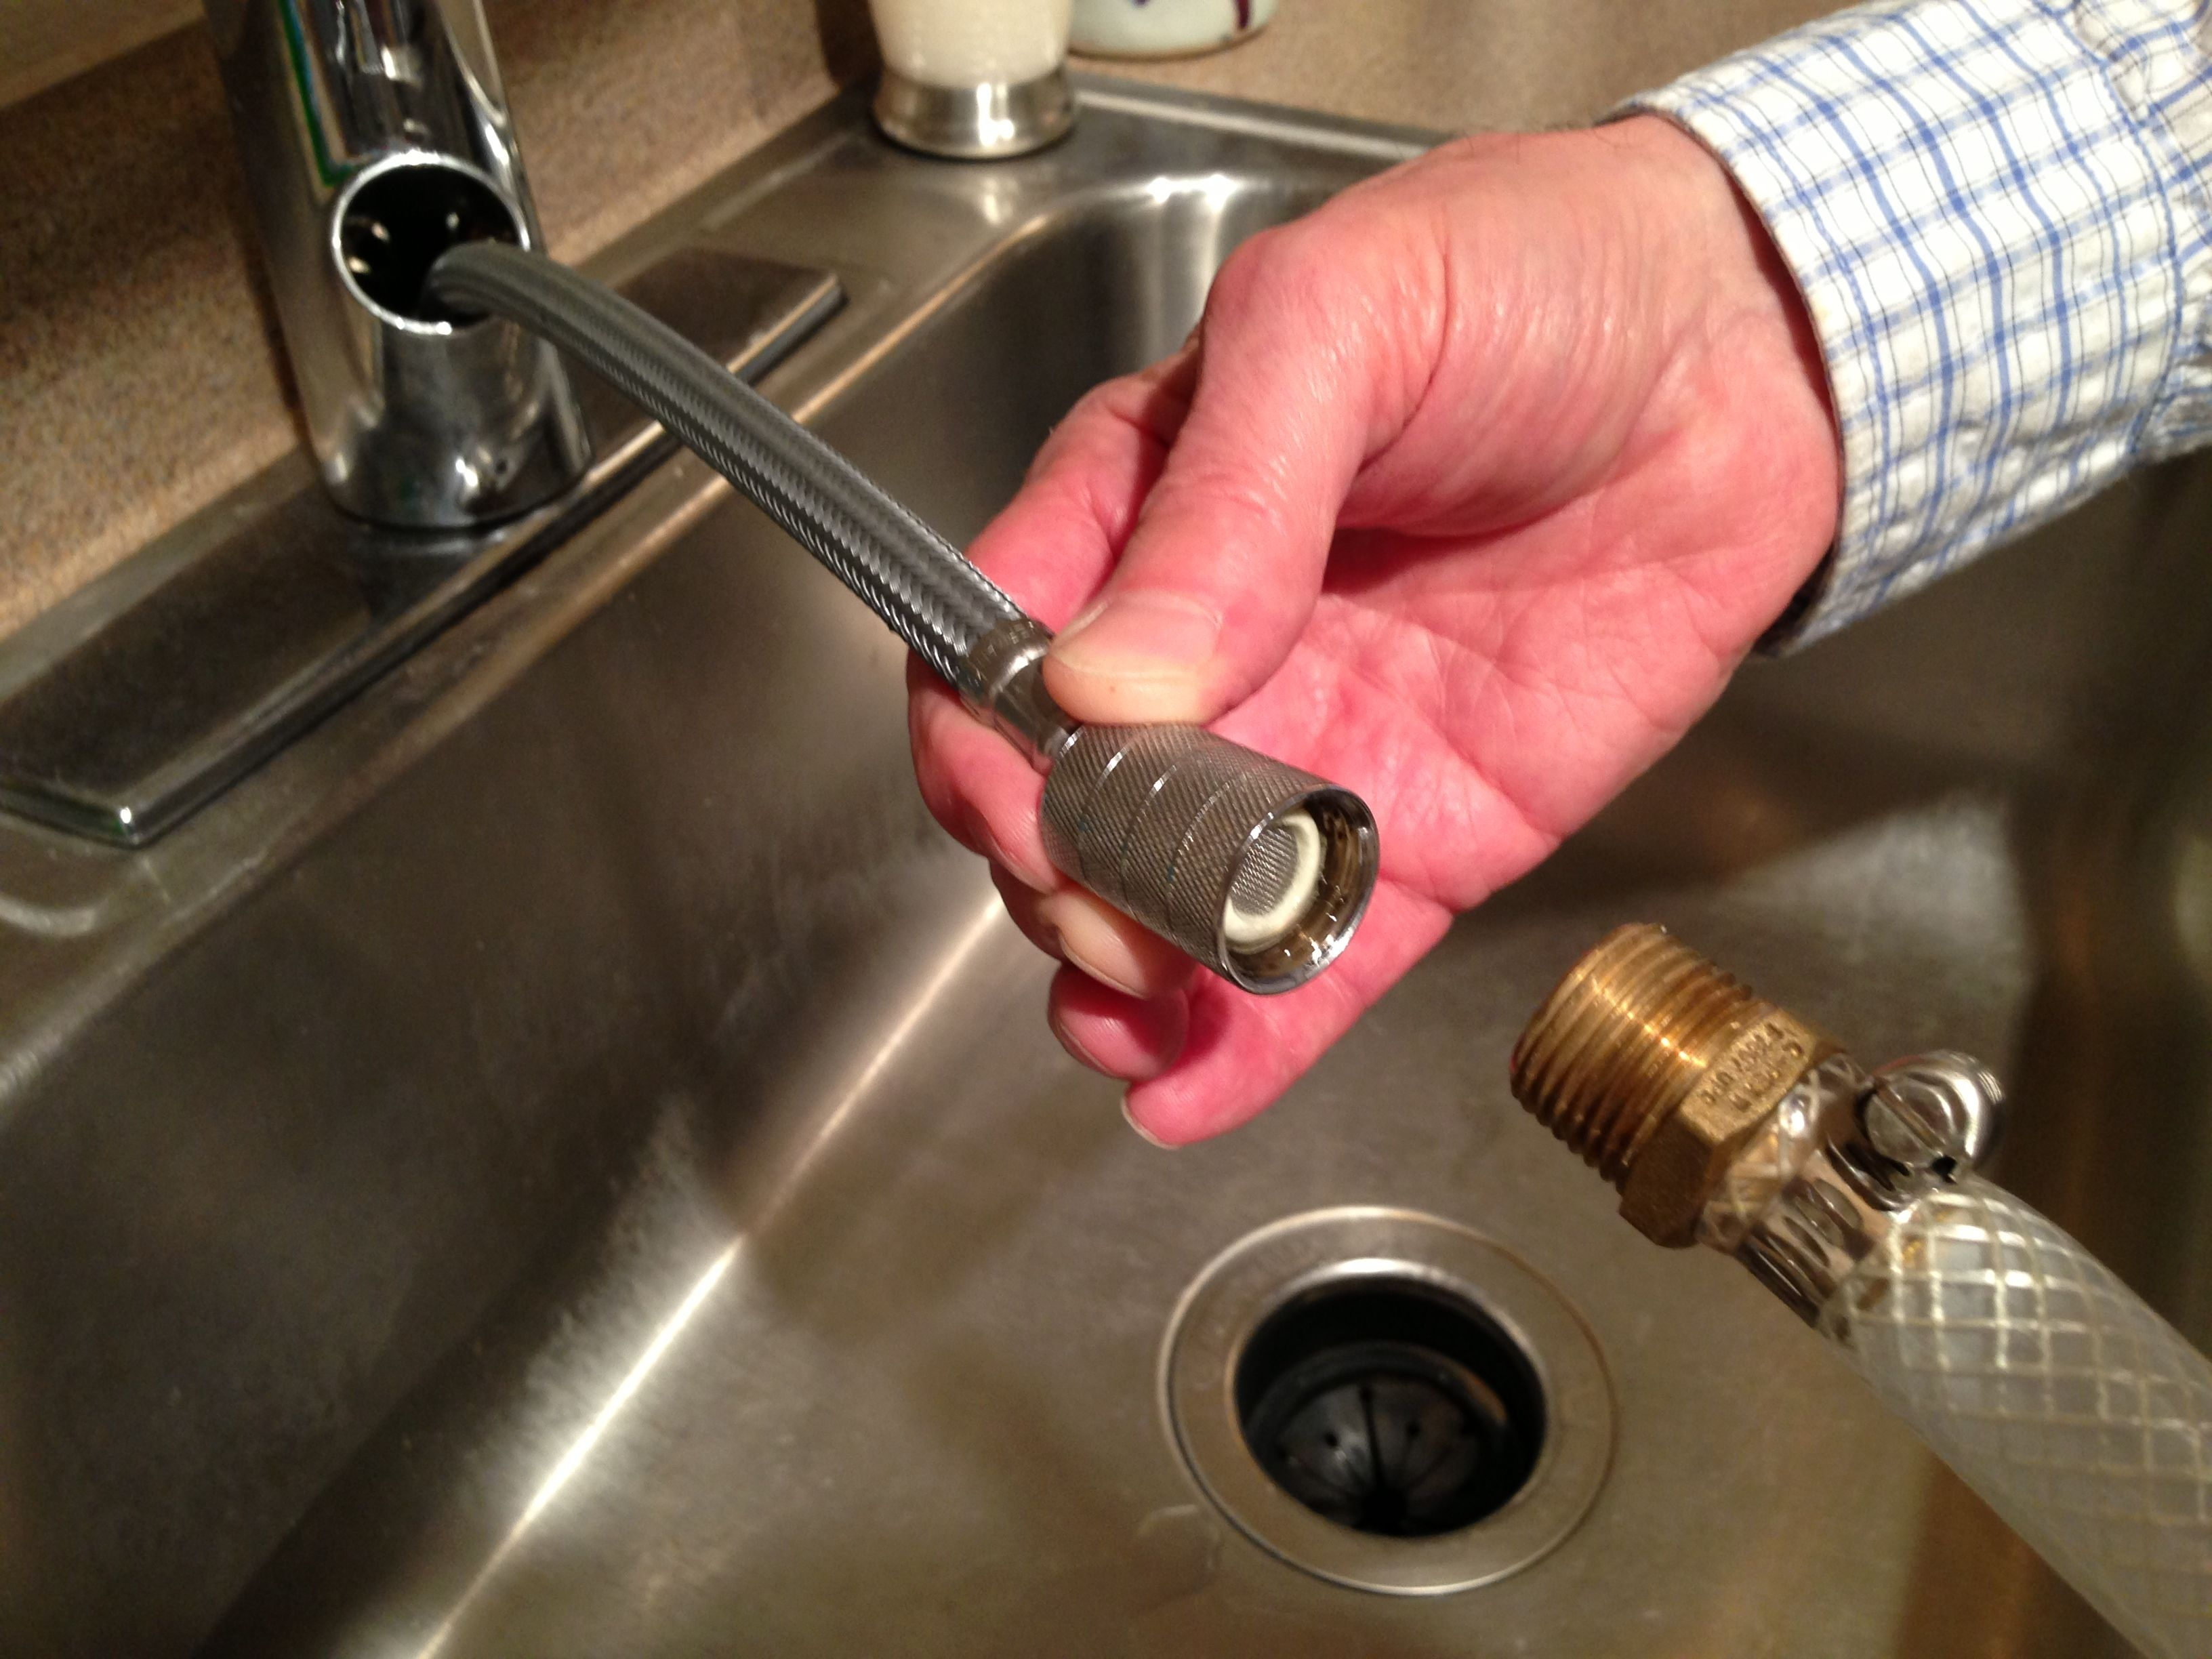
Step 3: Remove Old Faucet Hose
Using your adjustable wrench, loosen and remove the nuts and bolts connecting the old faucet hose to the water supply lines. Then, disconnect the hose from the faucet by unscrewing the nut that holds it in place. Be sure to have your bucket or towels ready to catch any water that may drip out.
Step 4: Install New Faucet Hose
Take your new faucet hose and attach it to the faucet using the same nut and bolt that you removed from the old hose. Make sure to wrap plumber's tape around the threads of the faucet to prevent any leaks. Then, connect the other end of the hose to the water supply lines and tighten the nuts and bolts with your wrench.
Step 5: Turn Water Supply Back On
Once the new faucet hose is securely in place, turn the water supply back on and test the faucet to ensure there are no leaks. If any leaks are found, tighten the connections until they are secure.
Step 6: Enjoy Your New Faucet
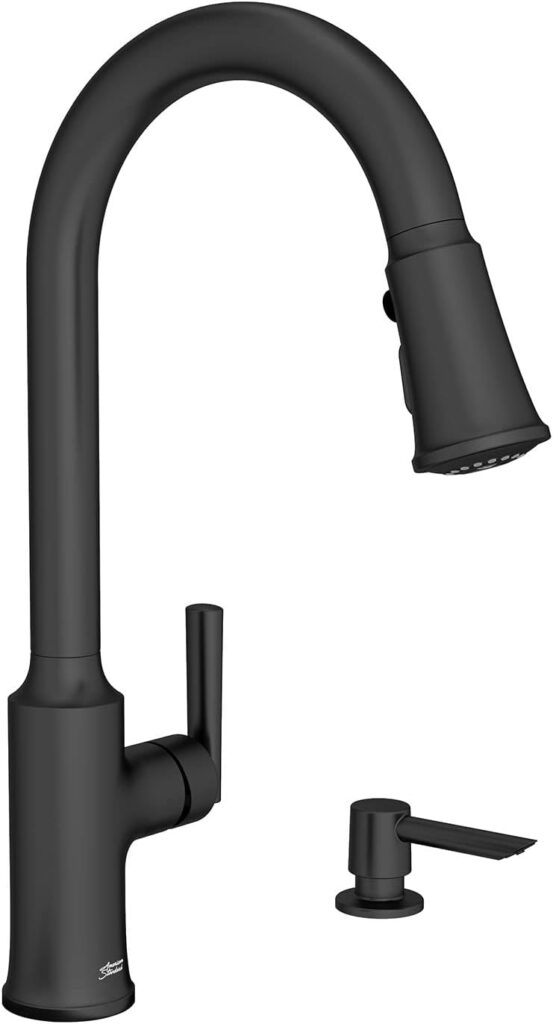
With your new faucet hose installed, take a step back and admire the updated look of your kitchen. A new faucet can instantly give your kitchen a modern and sleek look, and also improve its functionality.
Conclusion
Replacing your kitchen sink faucet hose may seem like a daunting task, but with the right materials and steps, it can be a quick and easy process. By following these simple instructions, you can have a brand new faucet hose installed and transform the look of your kitchen in no time. So, go ahead and give your kitchen the upgrade it deserves with a new faucet hose.
Replacing your kitchen sink faucet hose can be a simple and effective way to give your kitchen a fresh new look. Over time, faucets can become worn out and outdated, making them not only an eyesore but also less functional. By following these easy steps, you can have a brand new faucet hose installed in no time and transform the look and feel of your kitchen.
Step 1: Gather Necessary Materials
Before starting the replacement process, it's important to make sure you have all the necessary materials on hand. This includes a new faucet hose, adjustable wrench, plumber's tape, and a bucket or towels to catch any water that may leak during the process.
Step 2: Turn Off Water Supply
Locate the water shut-off valves under your sink and turn them off. This will prevent any water from flowing while you are working on the faucet.
Step 3: Remove Old Faucet Hose
Using your adjustable wrench, loosen and remove the nuts and bolts connecting the old faucet hose to the water supply lines. Then, disconnect the hose from the faucet by unscrewing the nut that holds it in place. Be sure to have your bucket or towels ready to catch any water that may drip out.
Step 4: Install New Faucet Hose
Take your new faucet hose and attach it to the faucet using the same nut and bolt that you removed from the old hose. Make sure to wrap plumber's tape around the threads of the faucet to prevent any leaks. Then, connect the other end of the hose to the water supply lines and tighten the nuts and bolts with your wrench.
Step 5: Turn Water Supply Back On
Once the new faucet hose is securely in place, turn the water supply back on and test the faucet to ensure there are no leaks. If any leaks are found, tighten the connections until they are secure.
Step 6: Enjoy Your New Faucet
With your new faucet hose installed, take a step back and admire the updated look of your kitchen. A new faucet can instantly give your kitchen a modern and sleek look, and also improve its functionality.
Conclusion
Replacing your kitchen sink faucet hose may seem like a daunting task, but with the right materials and steps, it can be a quick and easy process. By following these simple instructions, you can have a brand new faucet hose installed and transform the look of your kitchen in no time. So, go ahead and give your kitchen the upgrade it deserves with a new faucet hose.