Replacing a kitchen sink cabinet floor may seem like a daunting task, but with the right materials and a little know-how, it can easily be done as a DIY project. Not only will it save you money, but it can also give your kitchen a fresh new look. Here’s a step-by-step guide on how to replace your kitchen sink cabinet floor.How to Replace a Kitchen Sink Cabinet Floor


How to Replace a Kitchen Sink Cabinet Floor


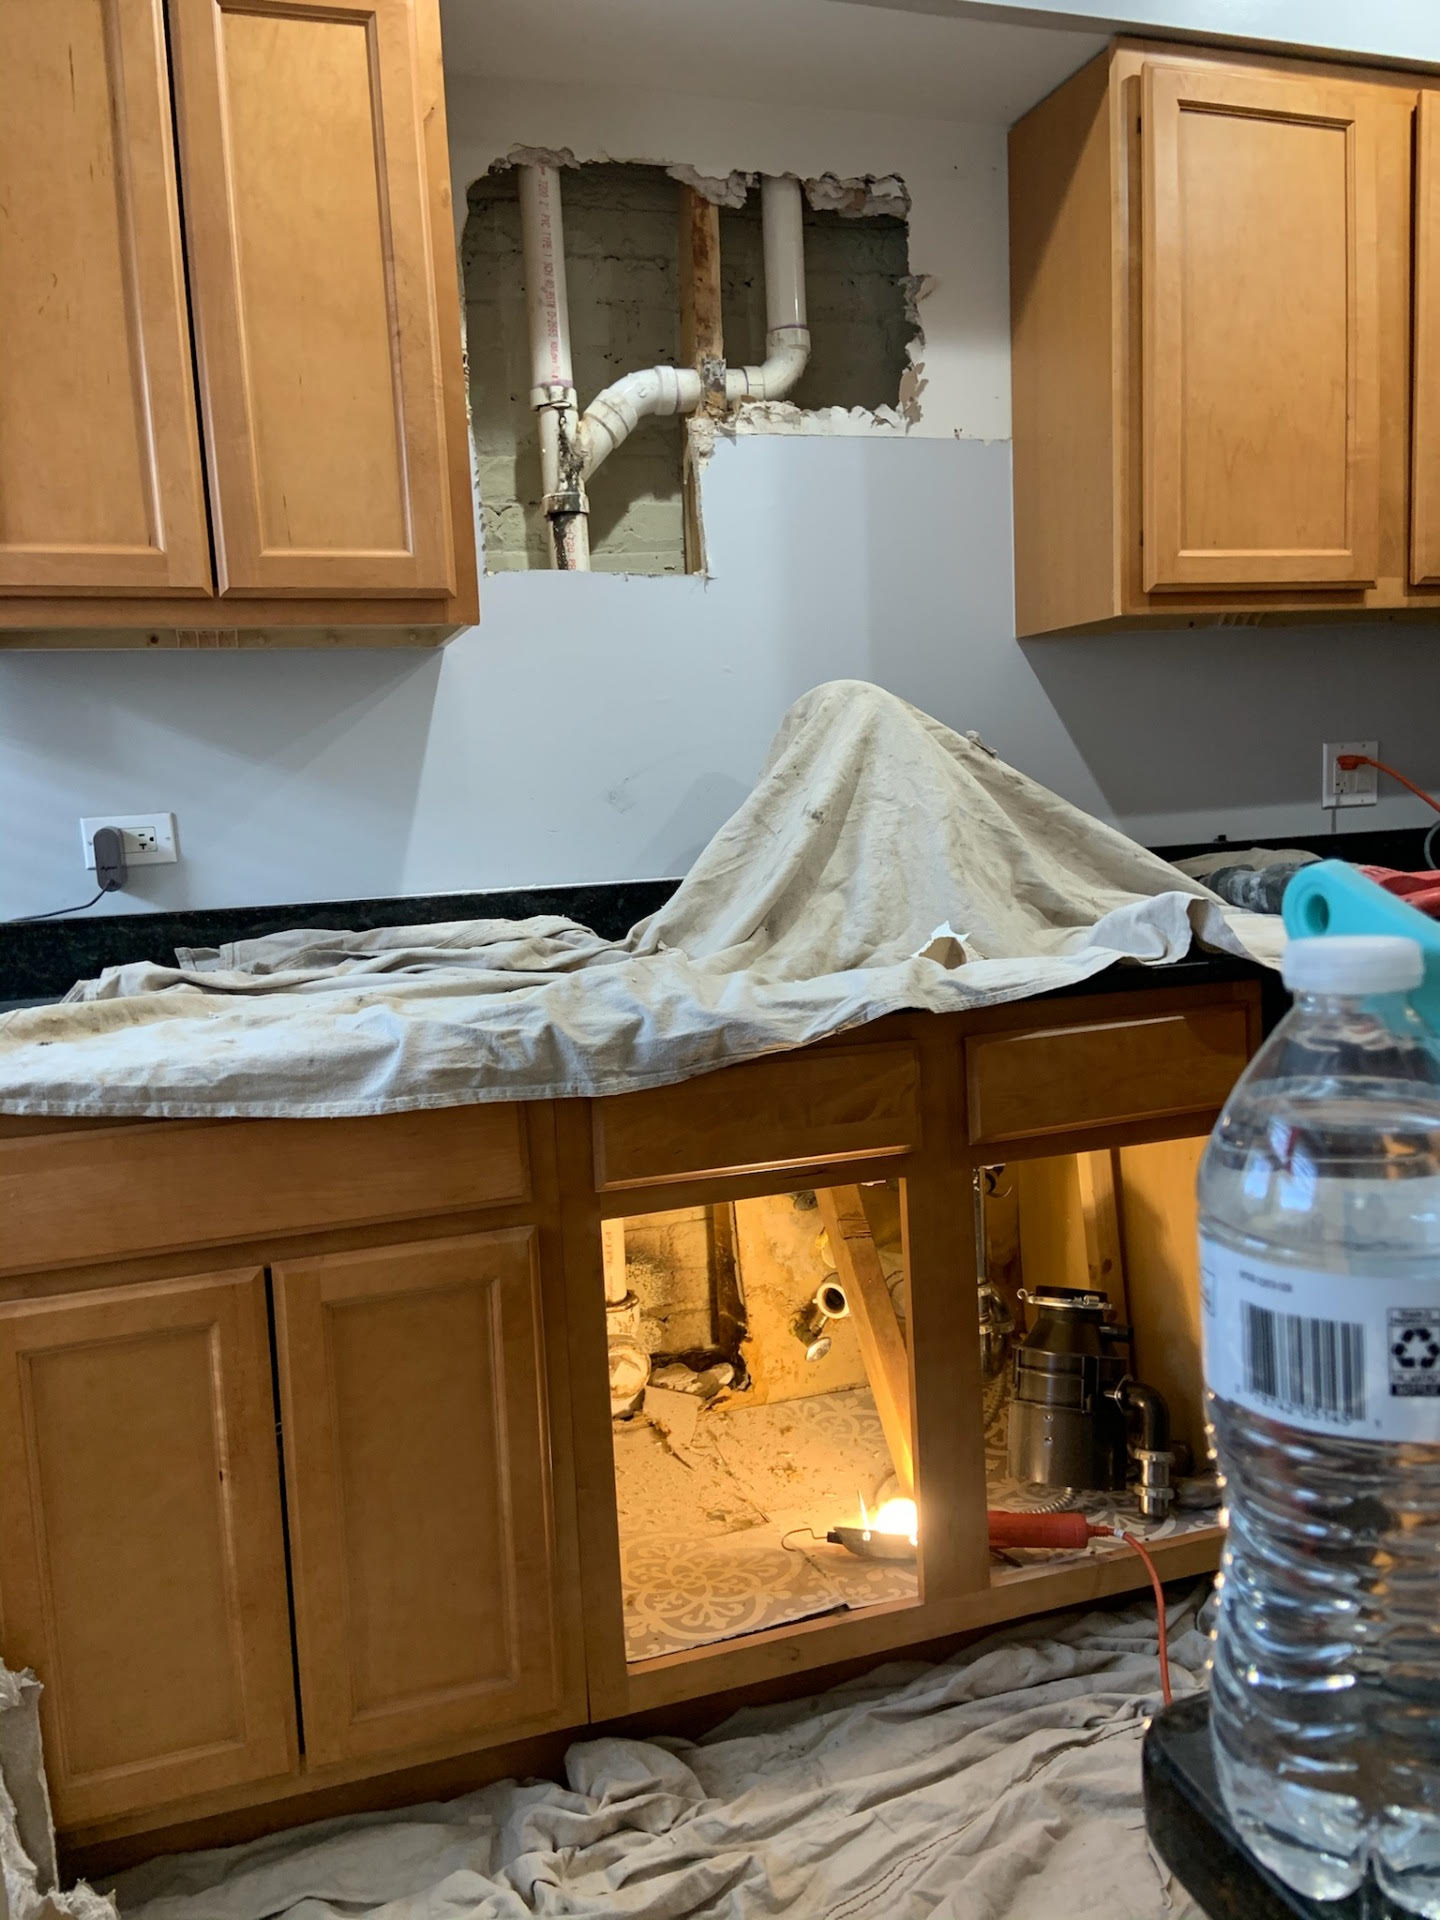
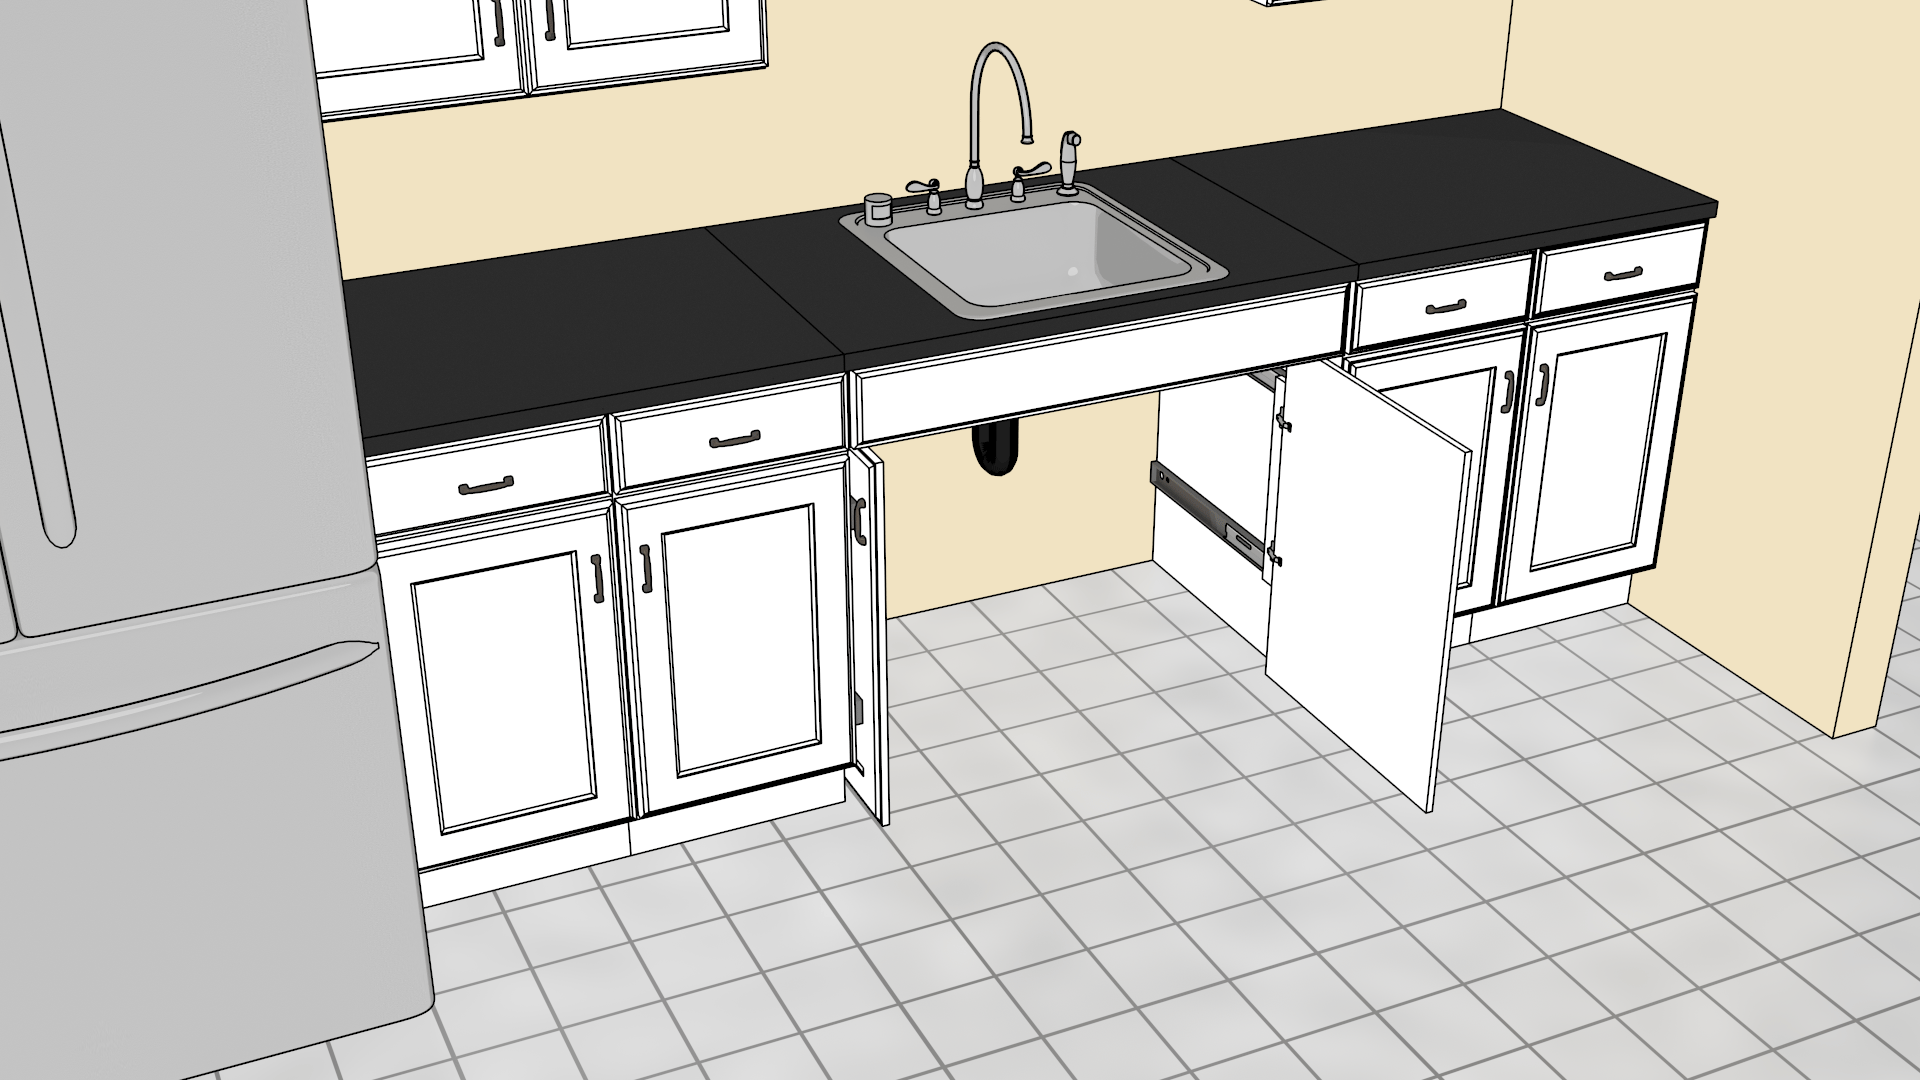
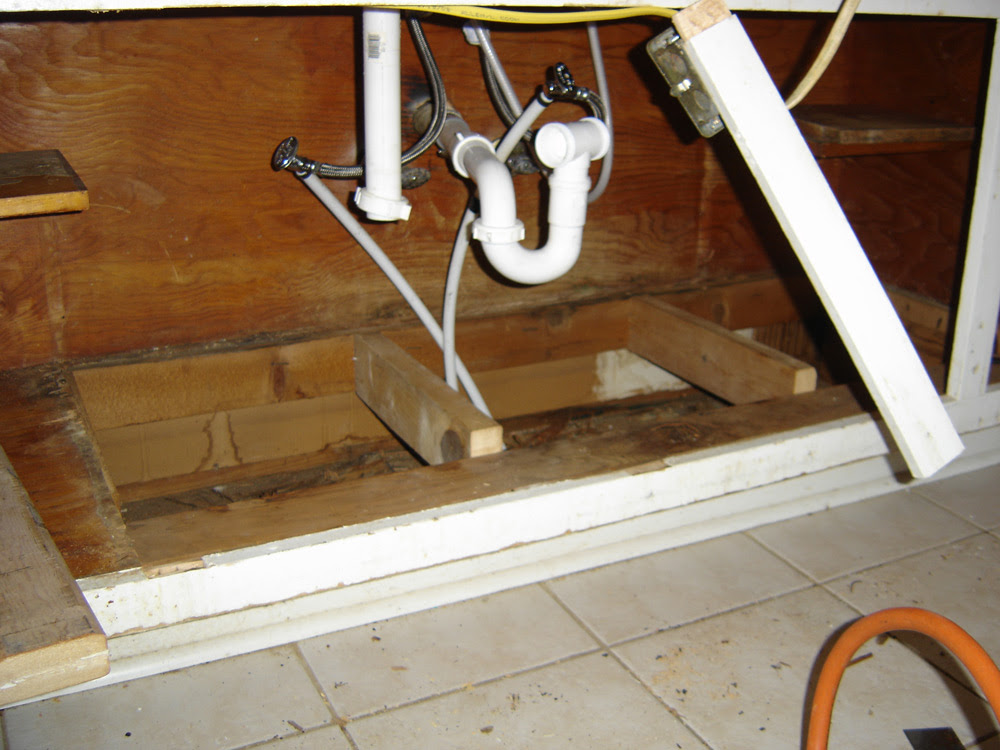
The first step in replacing a kitchen sink cabinet floor is to remove the old one. Start by emptying out the cabinet and removing any drawers or shelves. Then, unscrew the cabinet from the wall and carefully remove it. Next, use a saw to cut the old floor into smaller pieces for easier removal. Once the old floor is removed, you’ll need to measure the space to determine the size of the new floor. It’s important to be precise in your measurements to ensure a proper fit. Use a circular saw to cut your new floor to the correct size.Replacing a Kitchen Sink Cabinet Floor: A Step-by-Step Guide


Replacing a Kitchen Sink Cabinet Floor: A Step-by-Step Guide


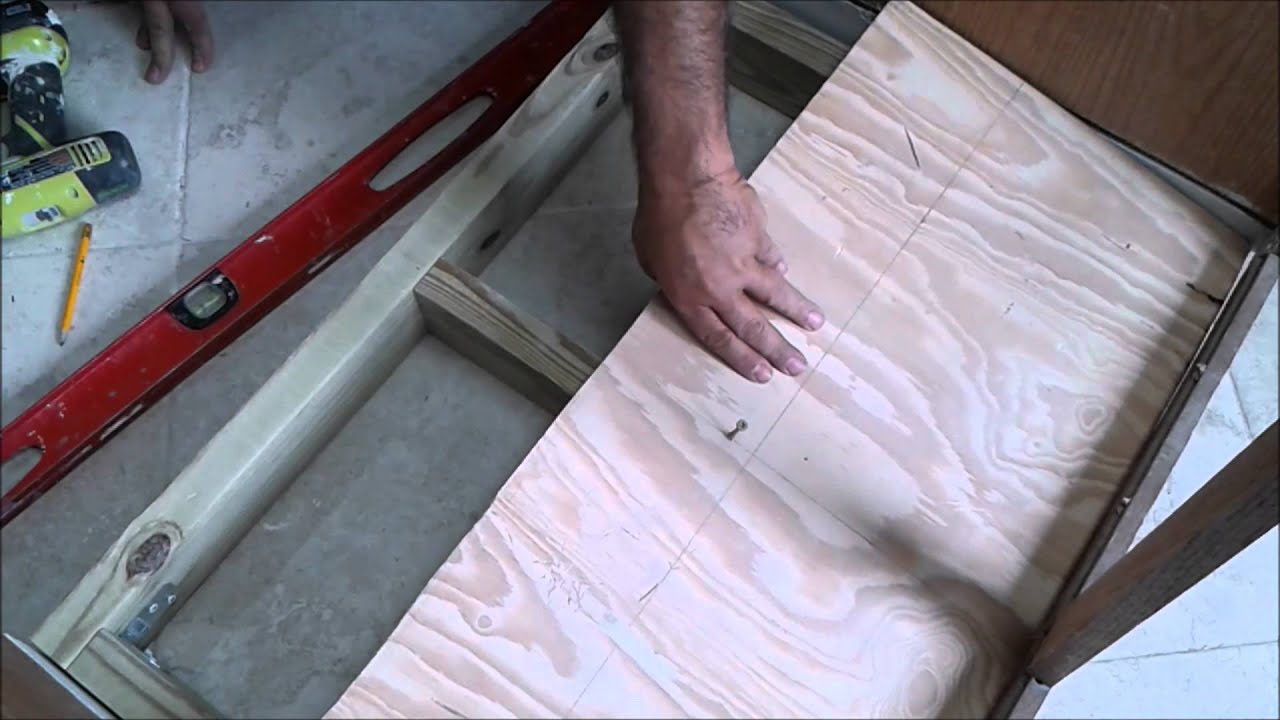
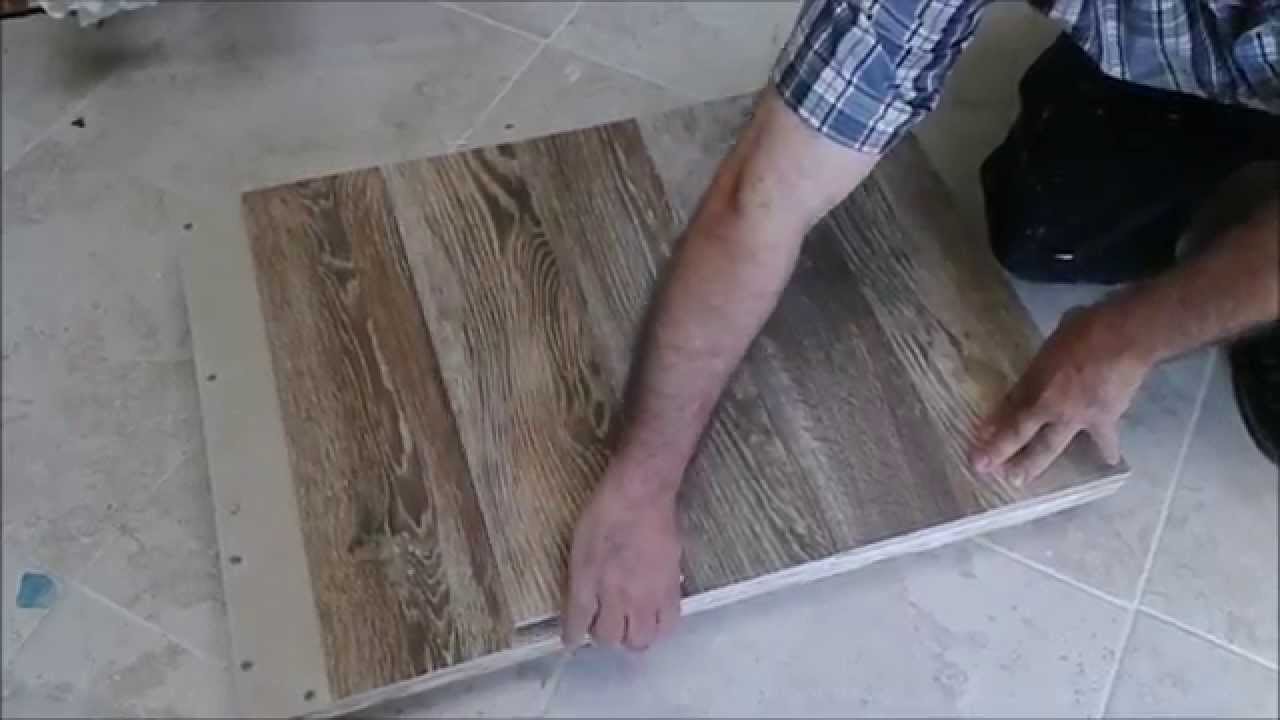
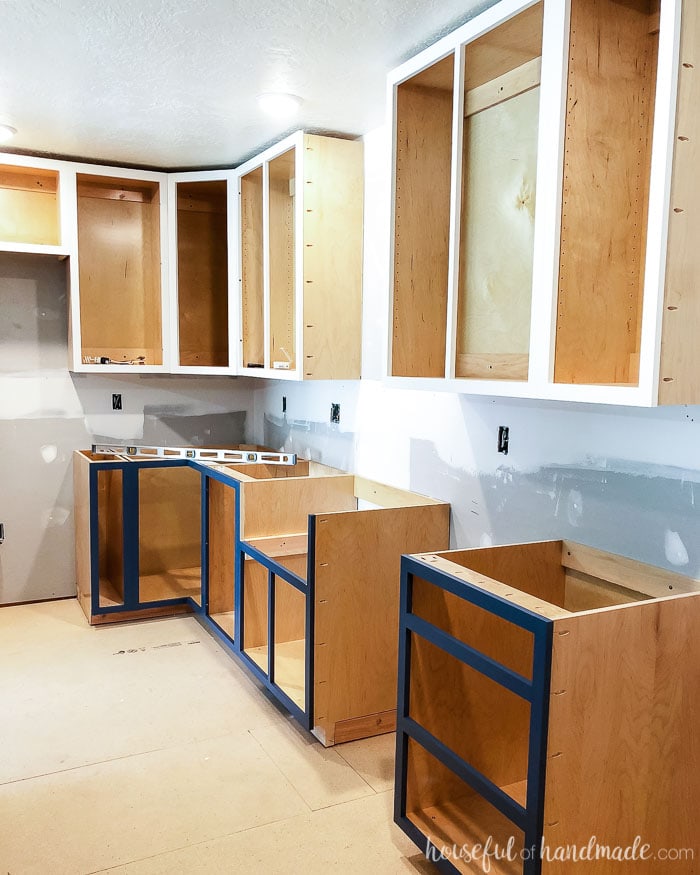
Now that you have your new floor cut to size, it’s time to install it. Start by laying it down and securing it with screws. Make sure to leave a small gap around the edges for expansion. Once the floor is in place, you can reinstall the cabinet and any shelves or drawers. The final step is to seal the edges of the new floor to prevent any water damage. You can use silicone caulk or a waterproof sealant for this. Apply it around the edges and smooth it out with your finger or a putty knife. Let it dry completely before using the sink.DIY Kitchen Sink Cabinet Floor Replacement


DIY Kitchen Sink Cabinet Floor Replacement


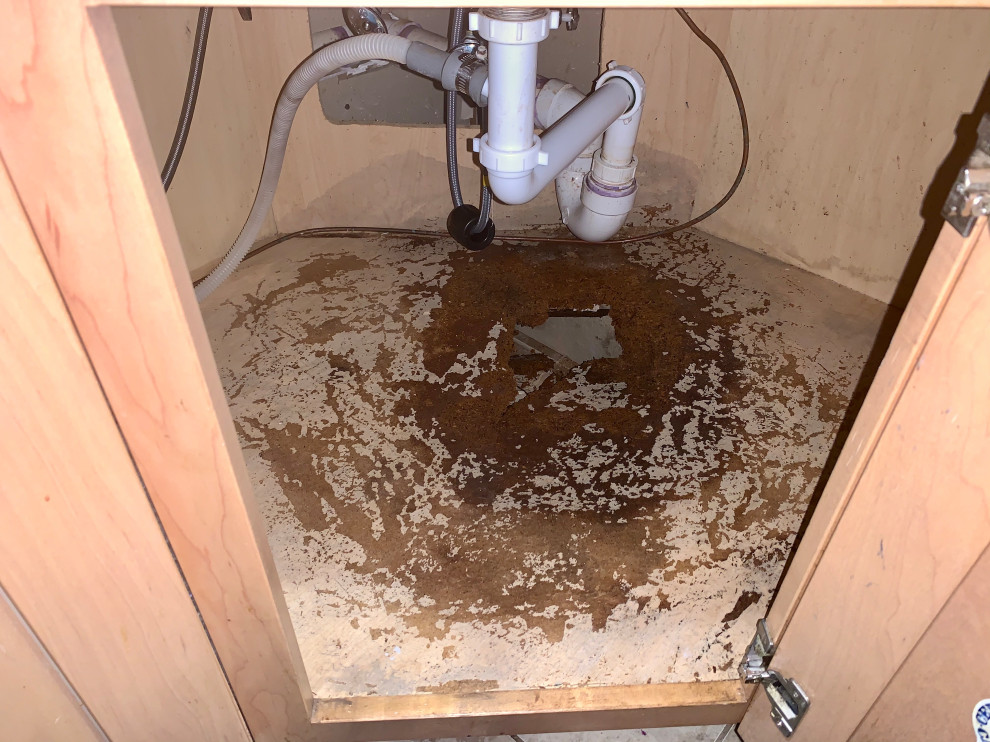
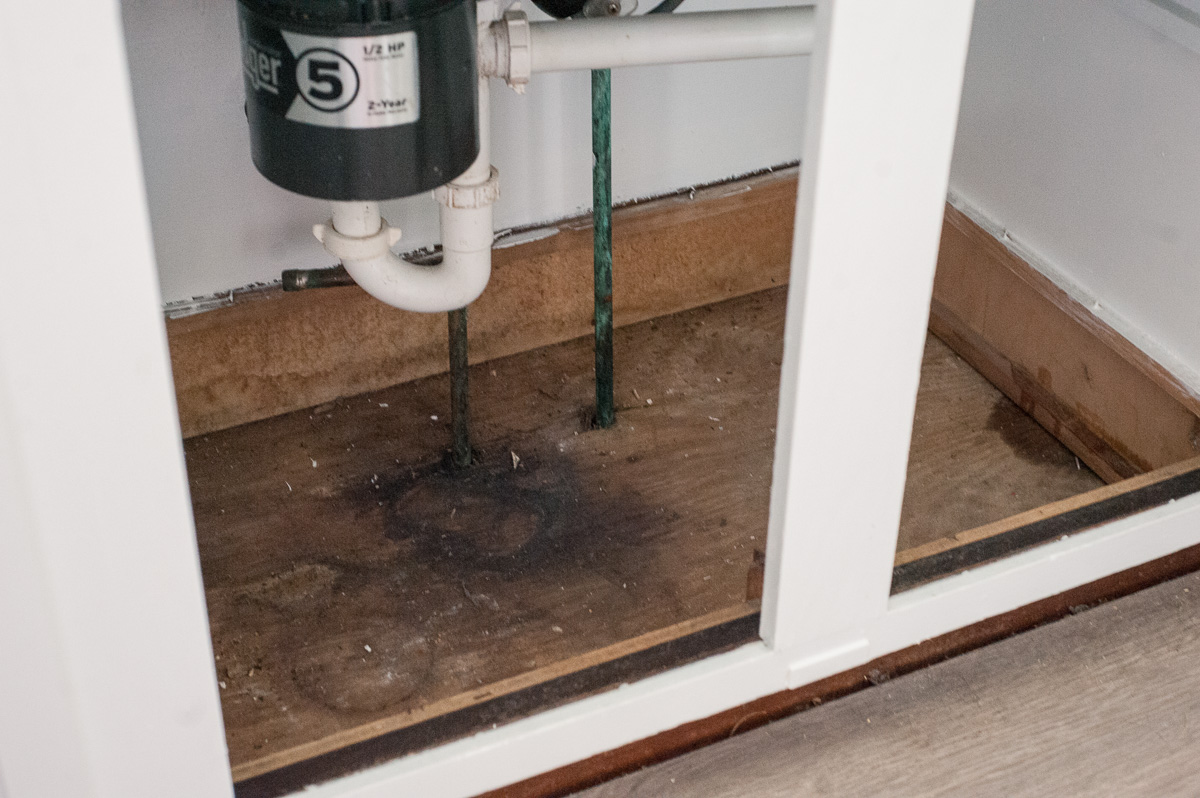
If your current kitchen sink cabinet floor is damaged, it’s important to replace it as soon as possible to prevent further damage. Signs of damage can include warping, water stains, or mold growth. Follow the same steps mentioned above to remove and replace the damaged floor. It’s also a good idea to address any underlying issues that may have caused the damage in the first place. This could include fixing any leaky pipes or sealing any gaps in the cabinet that may have allowed water to seep in.Replacing a Damaged Kitchen Sink Cabinet Floor

Replacing a Damaged Kitchen Sink Cabinet Floor


Replacing a kitchen sink cabinet floor may seem like a simple task, but there are a few tips to keep in mind to ensure a successful and long-lasting result. First, make sure to use waterproof materials for your new floor to prevent any future damage. You can also add a layer of insulation under the floor for added protection. Additionally, consider using a waterproof sealant on the edges and underside of the new floor for extra protection against water damage. And lastly, don’t rush the process – take your time to ensure a proper fit and secure installation.Tips for Replacing a Kitchen Sink Cabinet Floor


Tips for Replacing a Kitchen Sink Cabinet Floor


If you’re considering replacing your kitchen sink cabinet floor, there are a few things you should know before getting started. First, make sure to choose materials that are durable and waterproof. This will ensure that your new floor will last for years to come. It’s also important to properly seal the edges of the new floor to prevent any water damage. And if you’re not confident in your DIY skills, it may be best to hire a professional to ensure a proper and secure installation.Replacing a Kitchen Sink Cabinet Floor: What You Need to Know


Replacing a Kitchen Sink Cabinet Floor: What You Need to Know


Here’s a quick recap of the steps involved in replacing a kitchen sink cabinet floor: 1. Remove the old floor by unscrewing the cabinet and cutting the old floor into smaller pieces. 2. Measure and cut the new floor to the correct size. 3. Lay the new floor down and secure it with screws. 4. Reinstall the cabinet and any shelves or drawers. 5. Seal the edges of the new floor with a waterproof sealant.Step-by-Step Guide to Replacing a Kitchen Sink Cabinet Floor

Step-by-Step Guide to Replacing a Kitchen Sink Cabinet Floor


While replacing a kitchen sink cabinet floor may seem like a simple task, there are a few common mistakes to avoid to ensure a successful result. First, make sure to measure and cut the new floor accurately to ensure a proper fit. Additionally, be sure to properly seal the edges to prevent any water damage. It’s also important to use waterproof materials and to take your time during the installation process. Rushing or cutting corners can lead to a subpar result and potential future damage.Replacing a Kitchen Sink Cabinet Floor: Common Mistakes to Avoid

Replacing a Kitchen Sink Cabinet Floor: Common Mistakes to Avoid


Choosing the right materials for your kitchen sink cabinet floor replacement is key to ensuring a long-lasting and functional result. When selecting materials, make sure to choose ones that are durable and waterproof. This could include options such as vinyl, tile, or even concrete. It’s also important to consider the overall aesthetic of your kitchen and choose materials that will complement it. And, as mentioned before, don’t hesitate to seek professional help if you’re unsure about the process or materials.How to Choose the Right Materials for Replacing a Kitchen Sink Cabinet Floor

How to Choose the Right Materials for Replacing a Kitchen Sink Cabinet Floor


Deciding whether to hire a professional or do it yourself when it comes to replacing a kitchen sink cabinet floor ultimately depends on your skill level and confidence. If you’re experienced with DIY projects and have the necessary tools and materials, you may be able to successfully complete the project on your own. However, if you’re not confident in your abilities or the project seems too daunting, it’s best to hire a professional. They have the necessary skills, knowledge, and tools to ensure a proper and secure installation.Replacing a Kitchen Sink Cabinet Floor: Professional vs. DIY

Replacing a Kitchen Sink Cabinet Floor: Professional vs. DIY

Why Should You Consider Replacing Your Kitchen Sink Cabinet Floor?
The Importance of a Sturdy and Functional Kitchen Sink Cabinet Floor
 The kitchen is often referred to as the heart of the home, and for good reason. It is where delicious meals are prepared, memories are made, and families gather together. With such an important role, it is crucial to have a well-designed and functional kitchen. One often overlooked aspect of a well-designed kitchen is the
kitchen sink cabinet floor
. This may seem like a minor detail, but it plays a significant role in the overall functionality and aesthetic of your kitchen.
The kitchen is often referred to as the heart of the home, and for good reason. It is where delicious meals are prepared, memories are made, and families gather together. With such an important role, it is crucial to have a well-designed and functional kitchen. One often overlooked aspect of a well-designed kitchen is the
kitchen sink cabinet floor
. This may seem like a minor detail, but it plays a significant role in the overall functionality and aesthetic of your kitchen.
Signs That Your Kitchen Sink Cabinet Floor Needs Replacing
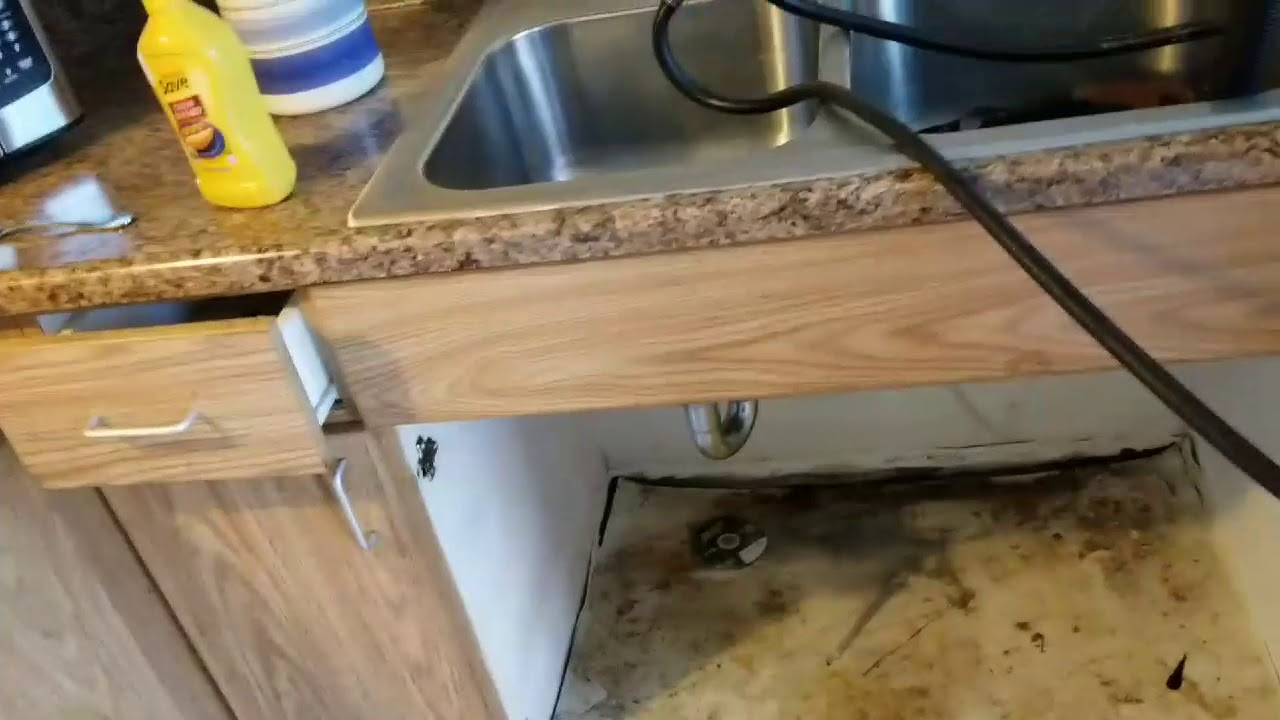 Over time, the kitchen sink cabinet floor can become worn out, damaged, or outdated. This can not only affect the appearance of your kitchen but also create safety hazards and decrease the efficiency of your daily tasks. Here are some signs that indicate it may be time to replace your kitchen sink cabinet floor:
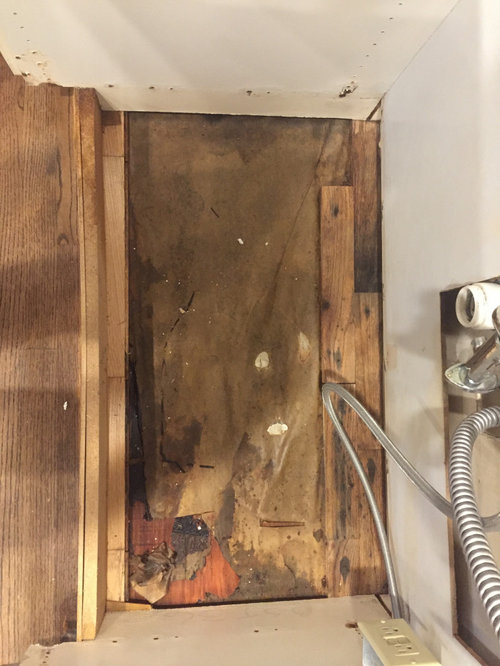
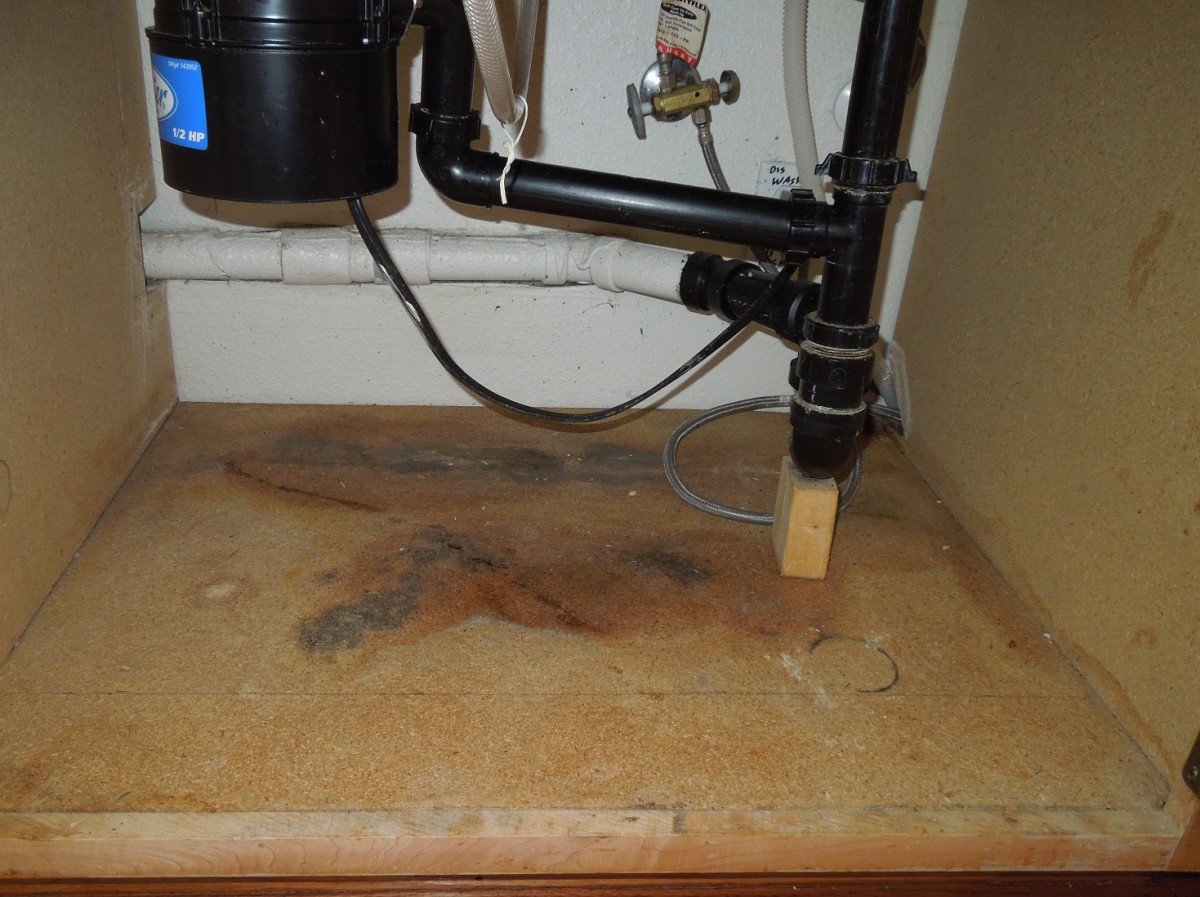
- Water damage:
If you notice any discoloration, warping, or soft spots on your kitchen sink cabinet floor, it is likely due to water damage. This can be caused by leaky pipes, spills, or standing water from constant use of the sink.
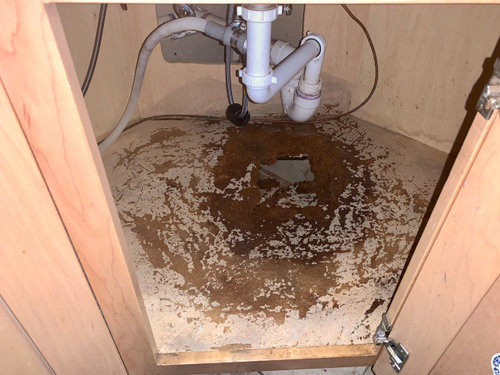
- Cracks or chips:
The constant wear and tear of daily use can cause cracks or chips in your kitchen sink cabinet floor. These not only affect the appearance but can also lead to further damage and make the floor unstable.
- Outdated design:
If your kitchen sink cabinet floor is outdated or doesn't match the rest of your kitchen design, it can bring down the overall look and feel of the space. Upgrading to a more modern and cohesive design can enhance the overall aesthetic of your kitchen.
Over time, the kitchen sink cabinet floor can become worn out, damaged, or outdated. This can not only affect the appearance of your kitchen but also create safety hazards and decrease the efficiency of your daily tasks. Here are some signs that indicate it may be time to replace your kitchen sink cabinet floor:
- Water damage:
If you notice any discoloration, warping, or soft spots on your kitchen sink cabinet floor, it is likely due to water damage. This can be caused by leaky pipes, spills, or standing water from constant use of the sink.
- Cracks or chips:
The constant wear and tear of daily use can cause cracks or chips in your kitchen sink cabinet floor. These not only affect the appearance but can also lead to further damage and make the floor unstable.
- Outdated design:
If your kitchen sink cabinet floor is outdated or doesn't match the rest of your kitchen design, it can bring down the overall look and feel of the space. Upgrading to a more modern and cohesive design can enhance the overall aesthetic of your kitchen.
The Benefits of Replacing Your Kitchen Sink Cabinet Floor
 By replacing your kitchen sink cabinet floor, you can reap numerous benefits for your kitchen and home. These include:
- Increased functionality:
A new and sturdy kitchen sink cabinet floor can make daily tasks, such as washing dishes, easier and more efficient. You can also opt for features such as pull-out drawers, built-in organizers, and extra storage space to maximize functionality.
- Improved safety:
Replacing a damaged or unstable kitchen sink cabinet floor can eliminate potential safety hazards for you and your family.
- Enhanced aesthetics:
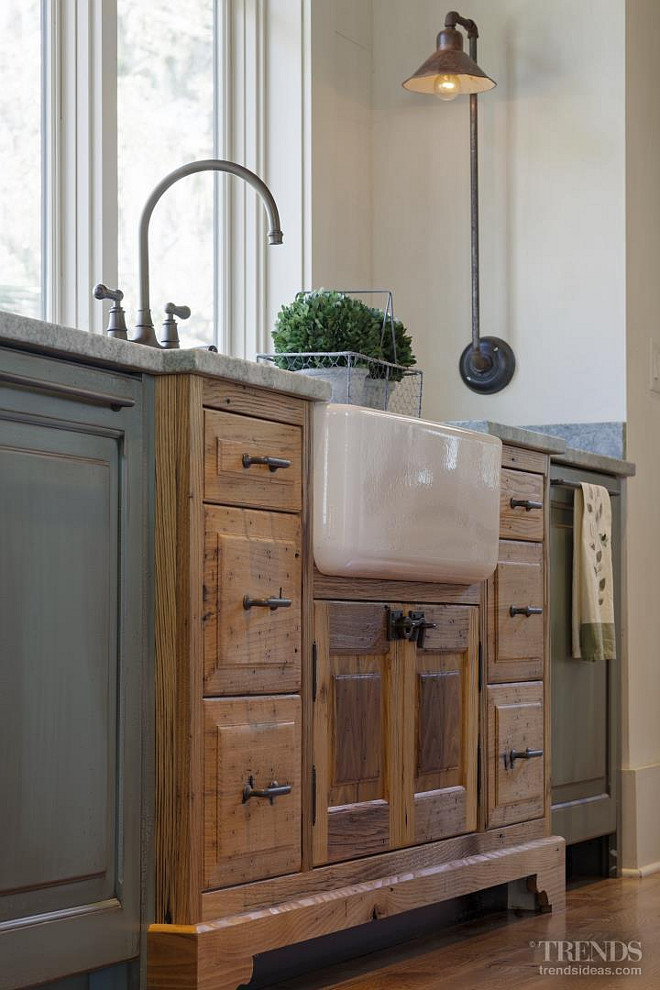
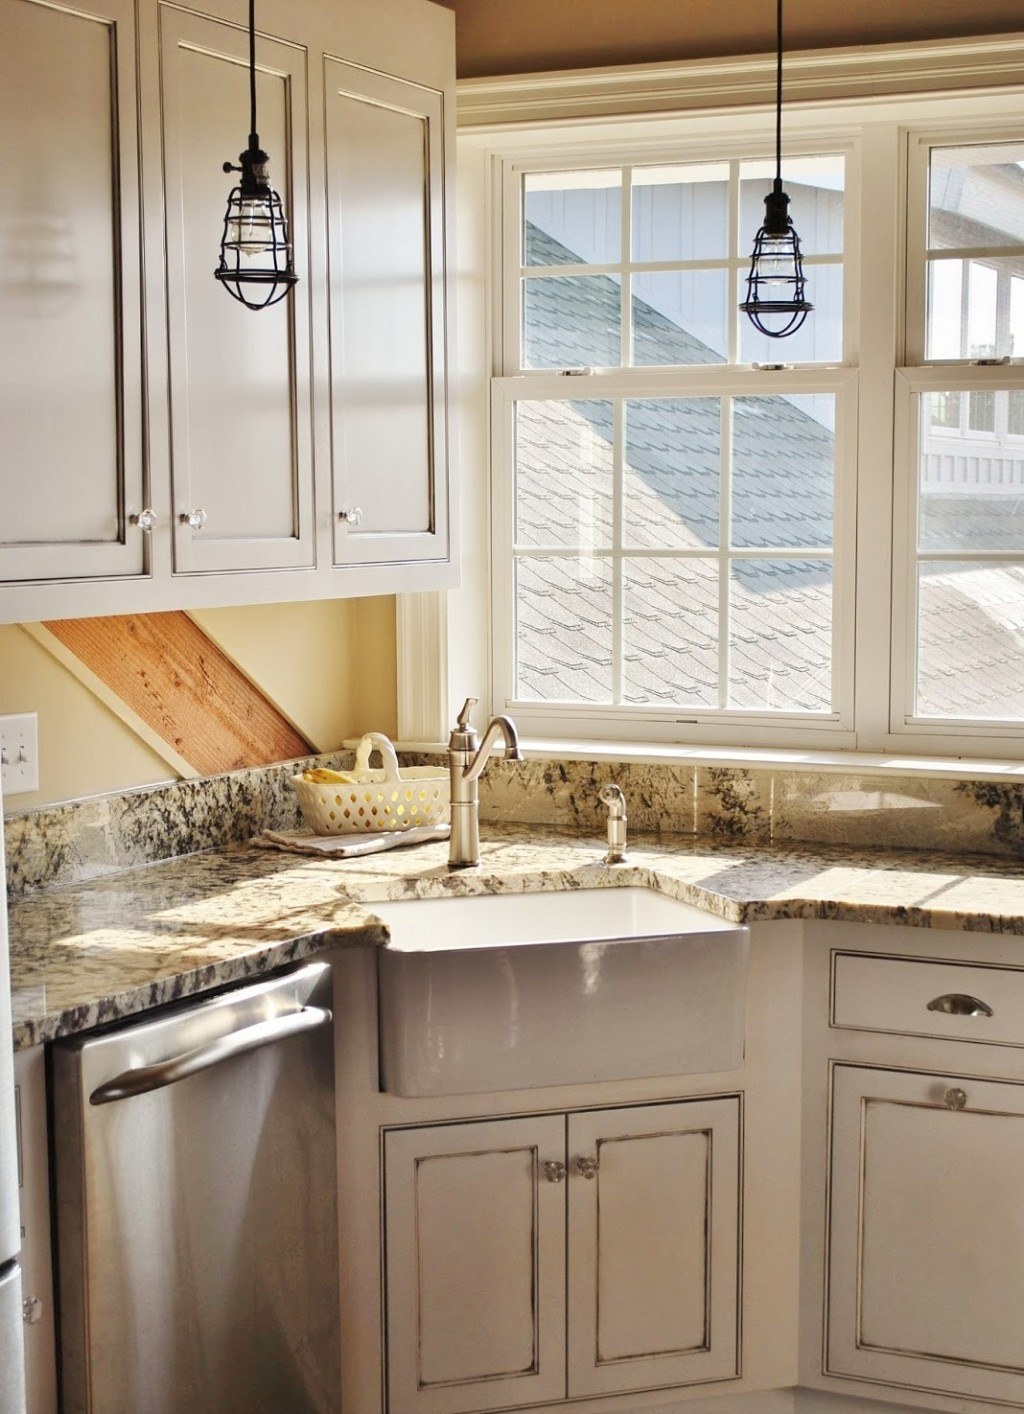
With a wide range of materials, designs, and finishes available, you can choose a kitchen sink cabinet floor that complements your overall kitchen design and adds to the aesthetic appeal of the space.
By replacing your kitchen sink cabinet floor, you can reap numerous benefits for your kitchen and home. These include:
- Increased functionality:
A new and sturdy kitchen sink cabinet floor can make daily tasks, such as washing dishes, easier and more efficient. You can also opt for features such as pull-out drawers, built-in organizers, and extra storage space to maximize functionality.
- Improved safety:
Replacing a damaged or unstable kitchen sink cabinet floor can eliminate potential safety hazards for you and your family.
- Enhanced aesthetics:
With a wide range of materials, designs, and finishes available, you can choose a kitchen sink cabinet floor that complements your overall kitchen design and adds to the aesthetic appeal of the space.
In Conclusion
 The kitchen sink cabinet floor may not be the first thing that comes to mind when designing or renovating your kitchen, but it is certainly an important aspect to consider. By replacing your kitchen sink cabinet floor, you can improve the functionality, safety, and aesthetics of your kitchen, making it a more enjoyable and efficient space for you and your family. Don't overlook this crucial detail in your kitchen design and consider upgrading your kitchen sink cabinet floor today.