How to Replace the Fluid in a Kitchen Lighter
Kitchen lighters are an essential tool for any home cook, providing a quick and convenient way to light gas stoves, grills, and candles. However, like any other tool, the fluid in a kitchen lighter will eventually run out, and it will need to be replaced. Here, we'll guide you through the steps for replacing the fluid in a kitchen lighter, ensuring that you can continue to use it for all your cooking needs.


How to Replace the Fluid in a Kitchen Lighter


How to Refill a Kitchen Lighter
If you've never refilled a kitchen lighter before, you may be wondering where to start. The good news is that it's a relatively simple process that can be done with just a few household items. Before we get into the steps, let's go over what you'll need:


How to Refill a Kitchen Lighter


Steps for Replacing the Fluid in a Kitchen Lighter
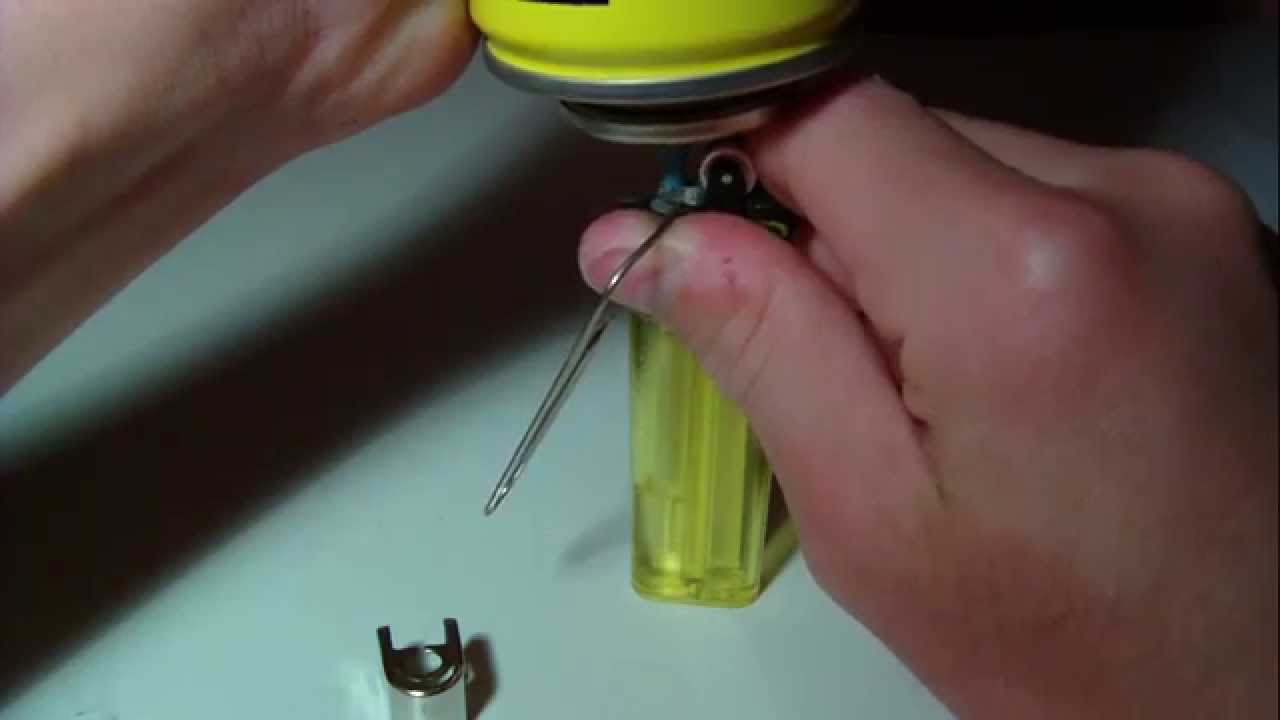
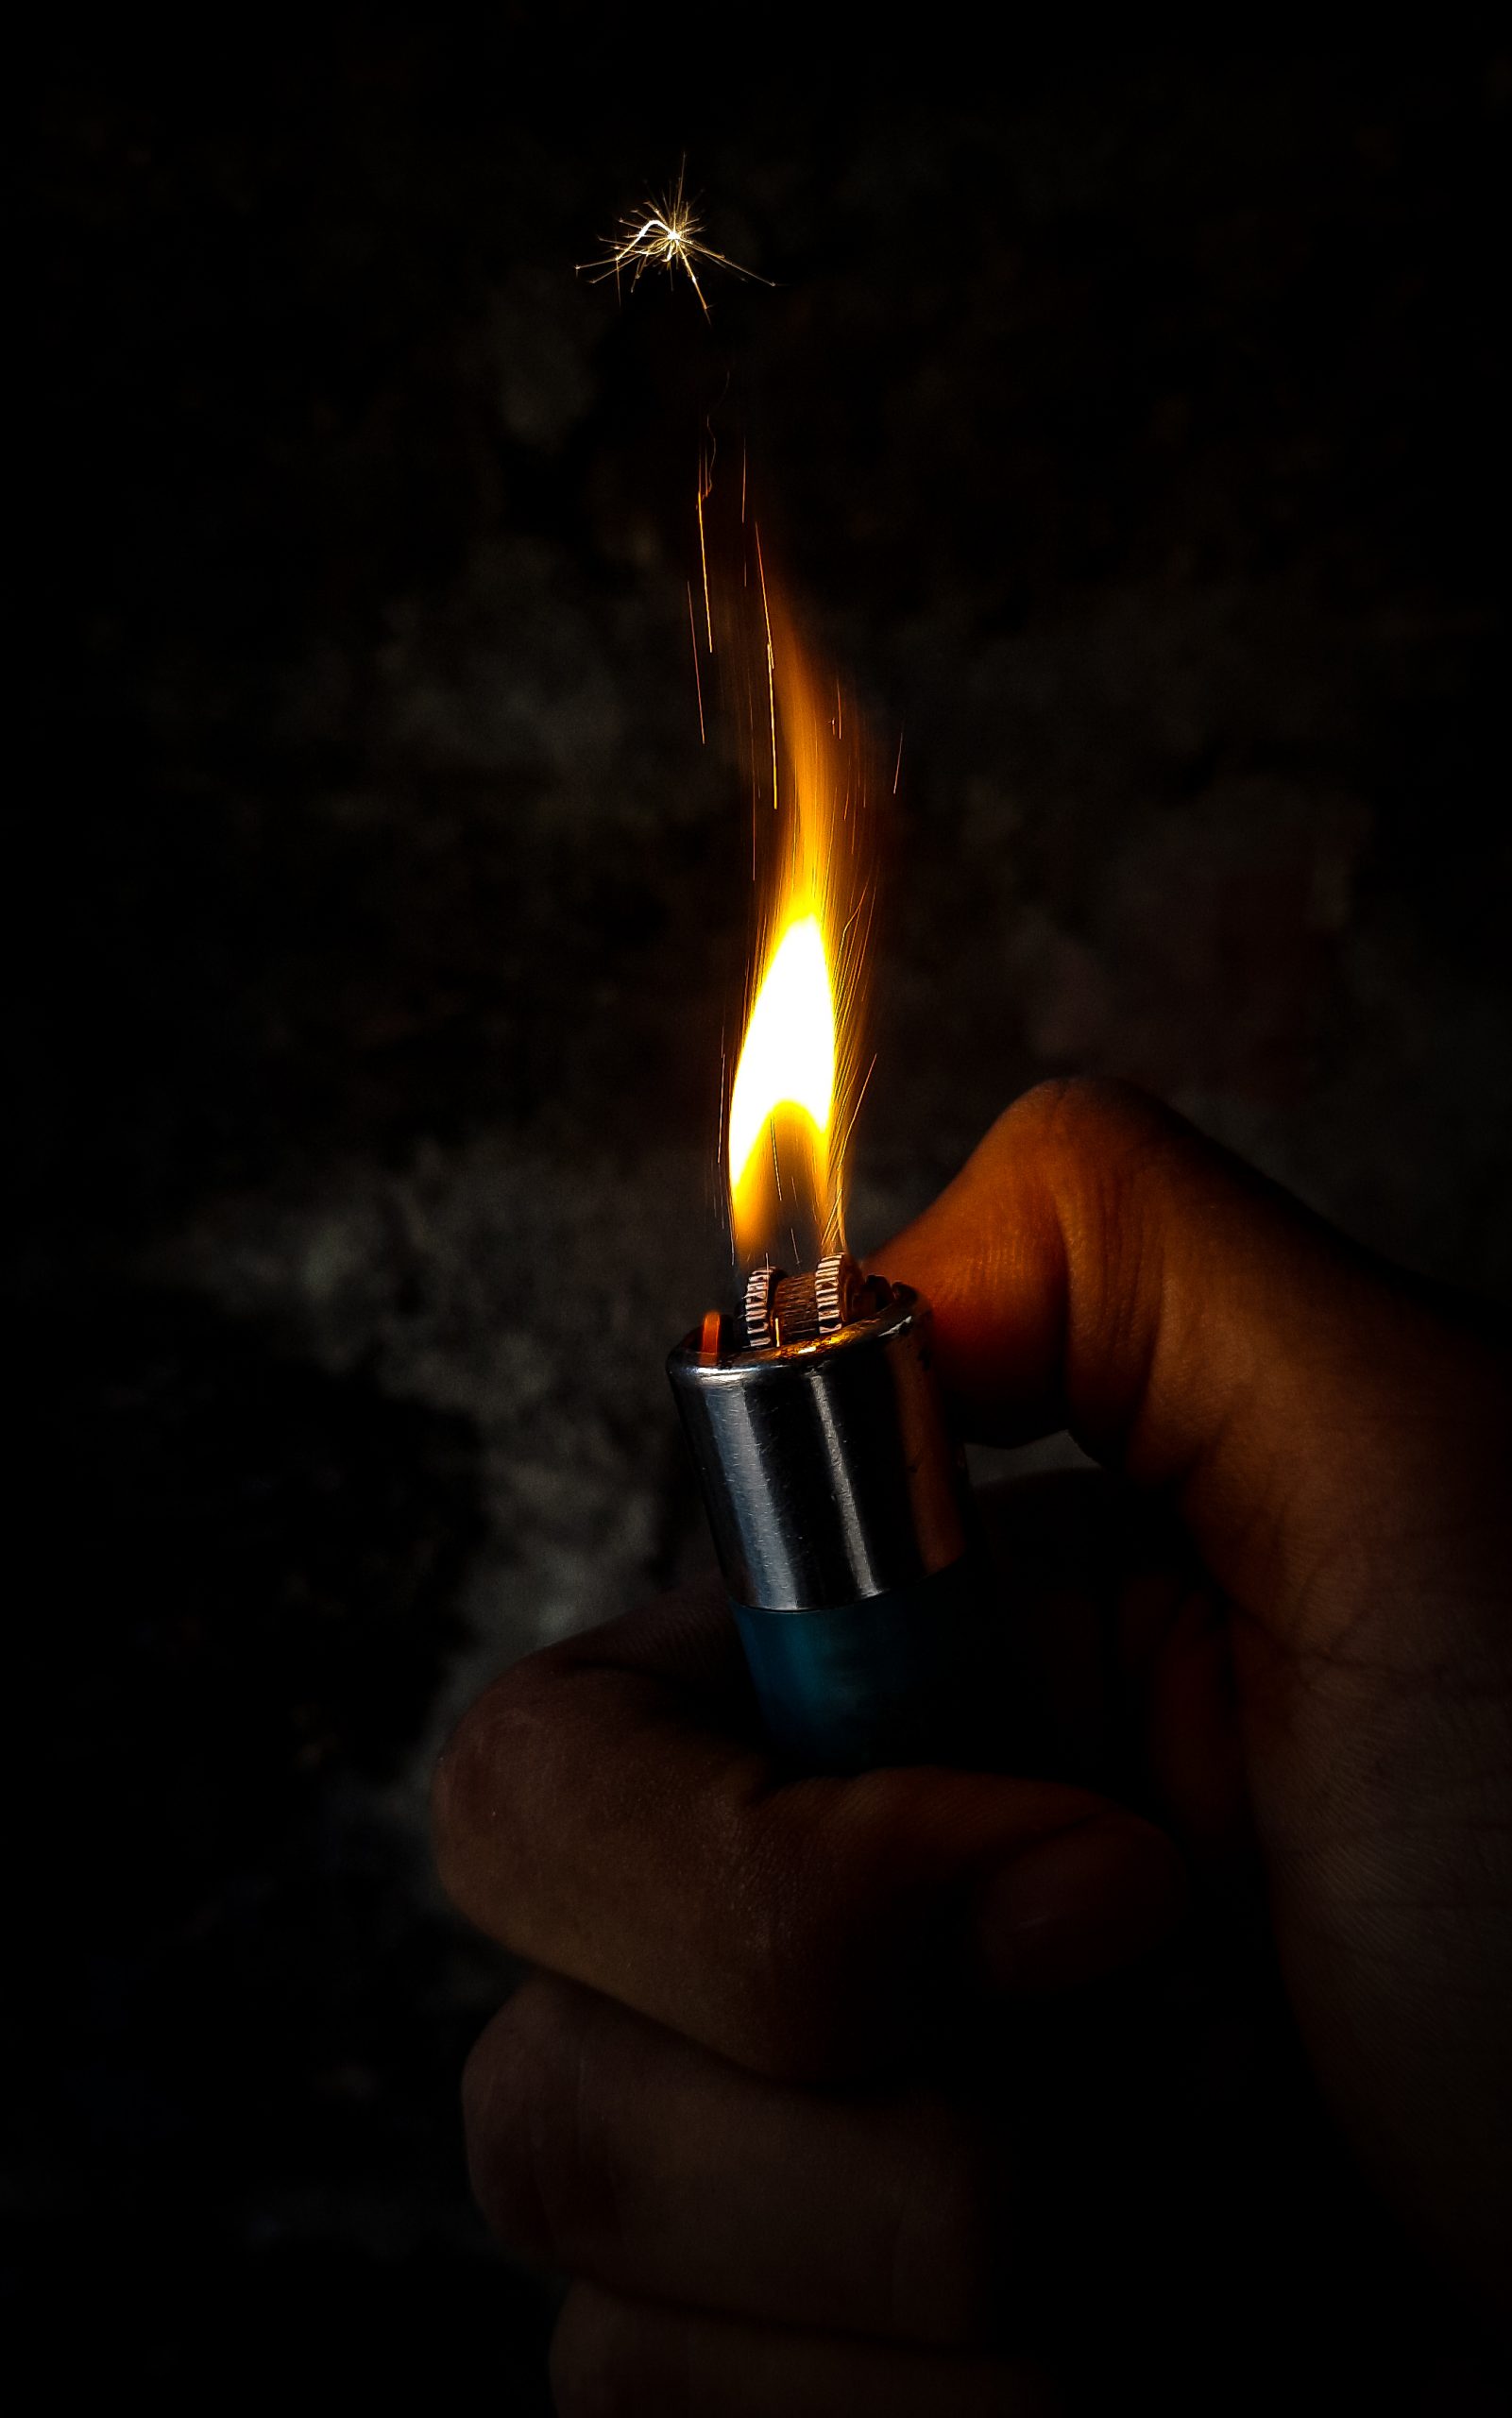
Step 1: First, you'll need to locate the refill valve on your kitchen lighter. This is typically located on the bottom of the lighter and may be covered by a small metal cap. Using your screwdriver or pliers, gently remove the cap.
Step 2: Once the cap is removed, you'll see a small valve with a tiny hole in the center. This is where the gas will be injected into the lighter. Before proceeding, make sure that your safety gloves are on to protect your hands from any potential leaks.
Step 3: Take your can of butane or propane gas and align it with the valve on the kitchen lighter. Press the nozzle of the can into the valve and hold it firmly in place.
Step 4: Slowly inject the gas into the lighter for about 10-15 seconds. You should start to see the fluid inside the lighter filling up. If you notice any gas escaping from the sides, stop the process and check if the nozzle is securely in place.
Step 5: Once you've injected enough gas, release the pressure and remove the can from the valve. Wipe away any excess gas from the lighter.
Step 6: Finally, replace the metal cap back onto the valve and make sure it is screwed on tightly. Your kitchen lighter is now ready to use once again!


Steps for Replacing the Fluid in a Kitchen Lighter


Kitchen Lighter Maintenance: Replacing the Fluid
Replacing the fluid in your kitchen lighter is an essential part of its maintenance. Not only does it ensure that you can continue to use it, but it also prevents any potential safety hazards. Over time, the fluid in a lighter can become contaminated, making it less effective and increasing the risk of leaks. By regularly replacing the fluid, you can keep your kitchen lighter in top condition and extend its lifespan.

Kitchen Lighter Maintenance: Replacing the Fluid


DIY: Replacing the Fluid in a Kitchen Lighter
While you can easily purchase a new kitchen lighter, it's also possible to save money and resources by refilling and maintaining the one you already have. By following the steps above, you can easily replace the fluid in your kitchen lighter yourself, without the need for any professional help.


DIY: Replacing the Fluid in a Kitchen Lighter


Kitchen Lighter Troubleshooting: Replacing the Fluid
If you're having trouble getting your kitchen lighter to work even after replacing the fluid, there may be a few potential issues to consider:


Kitchen Lighter Troubleshooting: Replacing the Fluid


Replacing the Fluid in a Kitchen Lighter: A Step-by-Step Guide
To summarize, here are the steps for replacing the fluid in a kitchen lighter:


Replacing the Fluid in a Kitchen Lighter: A Step-by-Step Guide


Kitchen Lighter Repair: Replacing the Fluid
If your kitchen lighter is not working properly, it's possible that there may be other underlying issues. In this case, it may be best to take it to a professional for repair or maintenance. They can help identify any potential problems and ensure that your kitchen lighter is in good working condition.


Kitchen Lighter Repair: Replacing the Fluid

How to Change the Fluid in a Kitchen Lighter
Changing the fluid in a kitchen lighter is a simple and straightforward process, but it's important to follow the steps carefully to ensure your safety. By regularly replacing the fluid, you can keep your kitchen lighter functioning properly and avoid any potential hazards.


How to Change the Fluid in a Kitchen Lighter

Replacing the Fluid in a Kitchen Lighter: Tips and Tricks
Here are a few additional tips and tricks to keep in mind when replacing the fluid in your kitchen lighter:


Replacing the Fluid in a Kitchen Lighter: Tips and Tricks


Why It's Important to Replace Fluid in Your Kitchen Lighter
Ensuring Safety and Efficiency in Your Kitchen
 Keeping your kitchen lighter in good working condition is essential for the safety and efficiency of your kitchen. Whether you use it for lighting candles, starting your gas stove, or igniting your barbecue grill, a well-functioning kitchen lighter is a must-have in any household.
However, over time, the fluid in your kitchen lighter can run out or become contaminated, making it difficult to use and potentially dangerous.
This is why it is important to regularly check and replace the fluid in your kitchen lighter, to ensure it is always ready for use.
Keeping your kitchen lighter in good working condition is essential for the safety and efficiency of your kitchen. Whether you use it for lighting candles, starting your gas stove, or igniting your barbecue grill, a well-functioning kitchen lighter is a must-have in any household.
However, over time, the fluid in your kitchen lighter can run out or become contaminated, making it difficult to use and potentially dangerous.
This is why it is important to regularly check and replace the fluid in your kitchen lighter, to ensure it is always ready for use.
Preventing Accidents and Malfunctions
 Using a kitchen lighter with old or contaminated fluid can lead to accidents or malfunctions.
Old fluid can evaporate and leave behind a gummy residue, clogging the lighter's mechanism and preventing it from working properly.
This can result in the lighter not producing a flame, or producing a weak and unpredictable flame, which can be hazardous when trying to ignite something.
Contaminated fluid can also be a safety hazard, as it can cause the lighter to produce a larger than normal flame, making it difficult to control and potentially causing burns or other accidents.
Replacing the fluid in your kitchen lighter regularly can prevent these issues and keep your kitchen safe.
Using a kitchen lighter with old or contaminated fluid can lead to accidents or malfunctions.
Old fluid can evaporate and leave behind a gummy residue, clogging the lighter's mechanism and preventing it from working properly.
This can result in the lighter not producing a flame, or producing a weak and unpredictable flame, which can be hazardous when trying to ignite something.
Contaminated fluid can also be a safety hazard, as it can cause the lighter to produce a larger than normal flame, making it difficult to control and potentially causing burns or other accidents.
Replacing the fluid in your kitchen lighter regularly can prevent these issues and keep your kitchen safe.
Ensuring Longevity of Your Kitchen Lighter
 Regularly replacing the fluid in your kitchen lighter can also help prolong its lifespan.
Using old or contaminated fluid can cause damage to the lighter's mechanisms, resulting in the need for costly repairs or even replacement.
By regularly replacing the fluid, you can ensure that your kitchen lighter remains in good working condition for a longer period of time.
In addition, replacing the fluid can also help maintain the quality of the flame produced by the lighter.
Old or contaminated fluid can produce a weaker and less consistent flame, which can be frustrating when trying to light something in your kitchen.
By replacing the fluid, you can ensure that your kitchen lighter always produces a strong and reliable flame.
Regularly replacing the fluid in your kitchen lighter can also help prolong its lifespan.
Using old or contaminated fluid can cause damage to the lighter's mechanisms, resulting in the need for costly repairs or even replacement.
By regularly replacing the fluid, you can ensure that your kitchen lighter remains in good working condition for a longer period of time.
In addition, replacing the fluid can also help maintain the quality of the flame produced by the lighter.
Old or contaminated fluid can produce a weaker and less consistent flame, which can be frustrating when trying to light something in your kitchen.
By replacing the fluid, you can ensure that your kitchen lighter always produces a strong and reliable flame.
Conclusion
 In conclusion, regularly replacing the fluid in your kitchen lighter is crucial for the safety, efficiency, and longevity of your kitchen.
It is a simple and inexpensive task that can prevent accidents, malfunctions, and damage to your kitchen lighter. Make sure to check and replace the fluid in your kitchen lighter on a regular basis to ensure it is always ready for use.
In conclusion, regularly replacing the fluid in your kitchen lighter is crucial for the safety, efficiency, and longevity of your kitchen.
It is a simple and inexpensive task that can prevent accidents, malfunctions, and damage to your kitchen lighter. Make sure to check and replace the fluid in your kitchen lighter on a regular basis to ensure it is always ready for use.