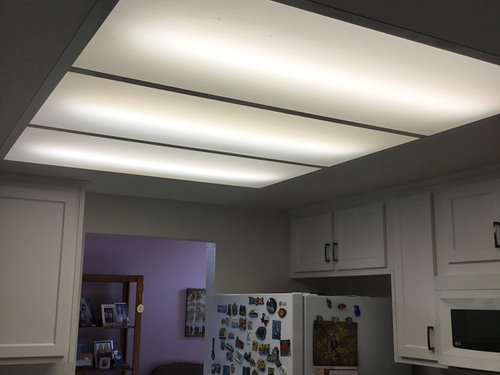
How to Replace a 4 Foot Kitchen Light
Replacing a 4 foot kitchen light may seem like a daunting task, but with the right tools and knowledge, it can be a simple and rewarding DIY project. Whether you're looking to upgrade your kitchen lighting or your current fixture is malfunctioning, this step-by-step guide will show you how to replace your 4 foot kitchen light with ease.


How to Replace a 4 Foot Kitchen Light


Replacing a 4 Foot Kitchen Light: Step-by-Step Guide
Before you begin, make sure to turn off the power to the kitchen light by switching off the circuit breaker. Once the power is off, gather your tools and materials including a ladder, screwdriver, wire stripper, wire connectors, and the new light fixture. It's also a good idea to have a helper to hold the ladder steady while you work.


Replacing a 4 Foot Kitchen Light: Step-by-Step Guide


DIY: Replacing a 4 Foot Kitchen Light Fixture
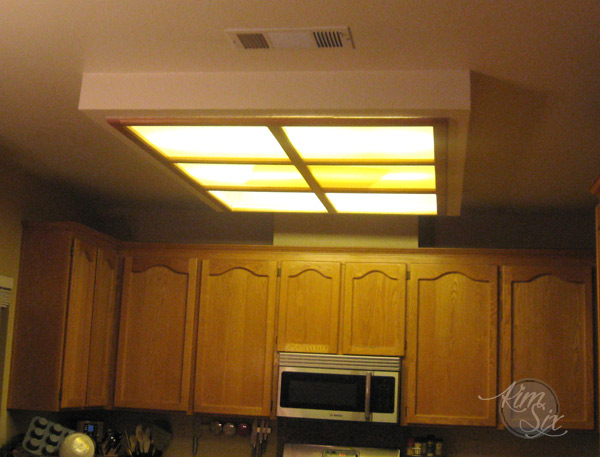
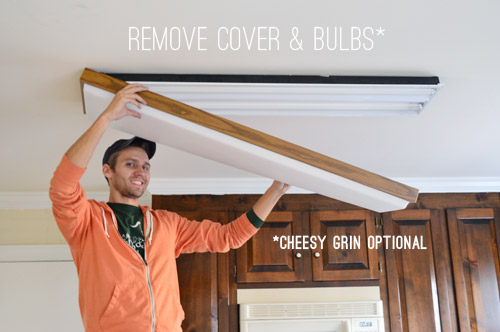
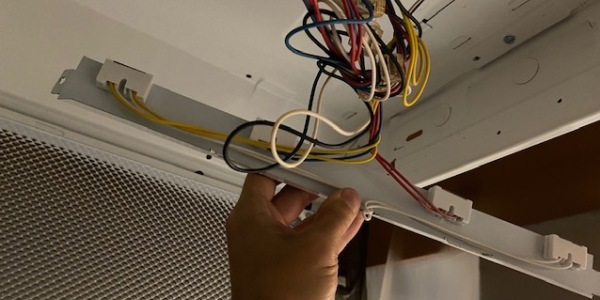
Now it's time to remove the old light fixture. Start by removing the light bulb and then the cover or diffuser. Depending on the type of fixture, you may need to unscrew or unclip the cover. Next, unscrew the fixture from the ceiling or wall and carefully disconnect the wires. Make sure to take note of which wires are connected to which as you will need to reconnect them to the new fixture.


DIY: Replacing a 4 Foot Kitchen Light Fixture


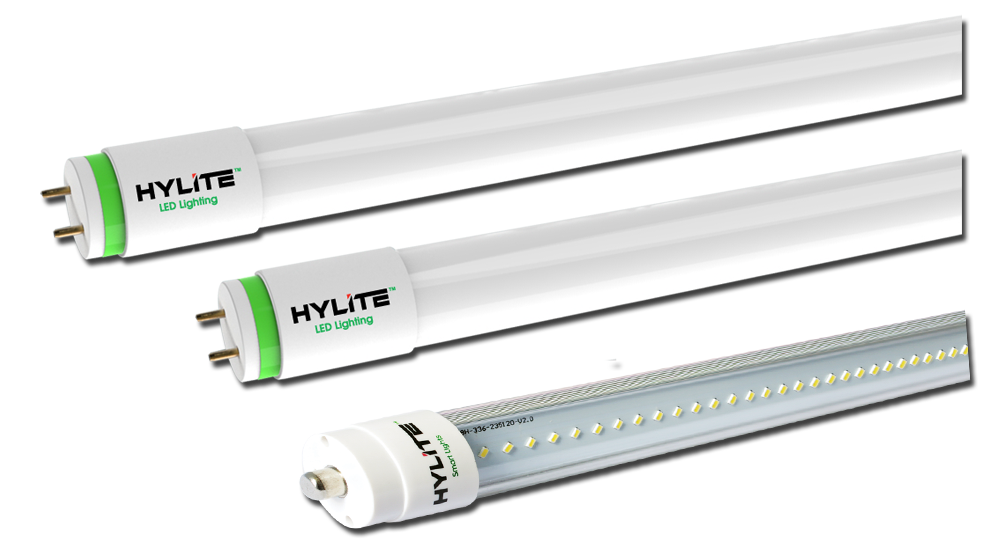
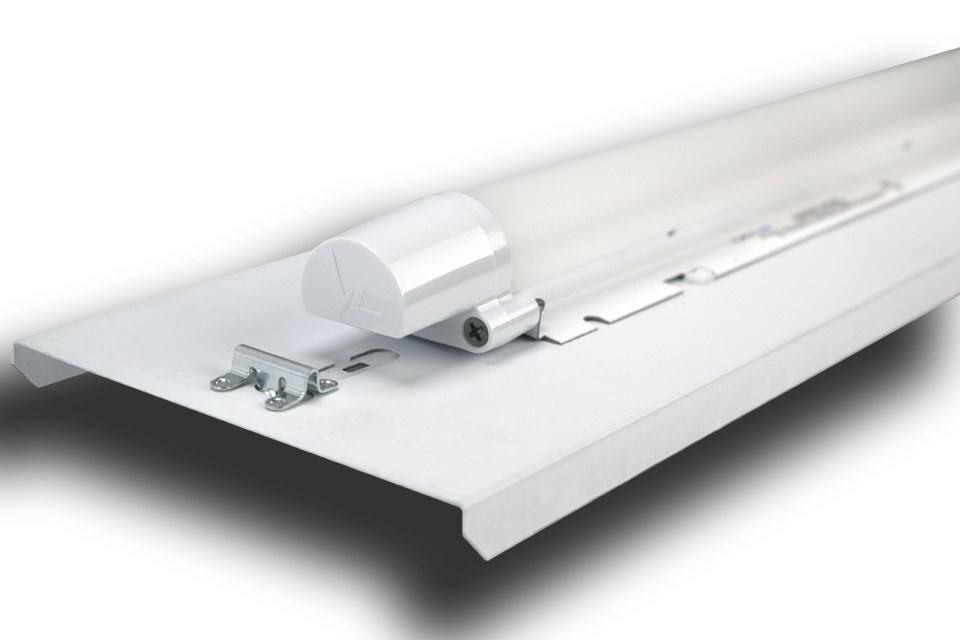
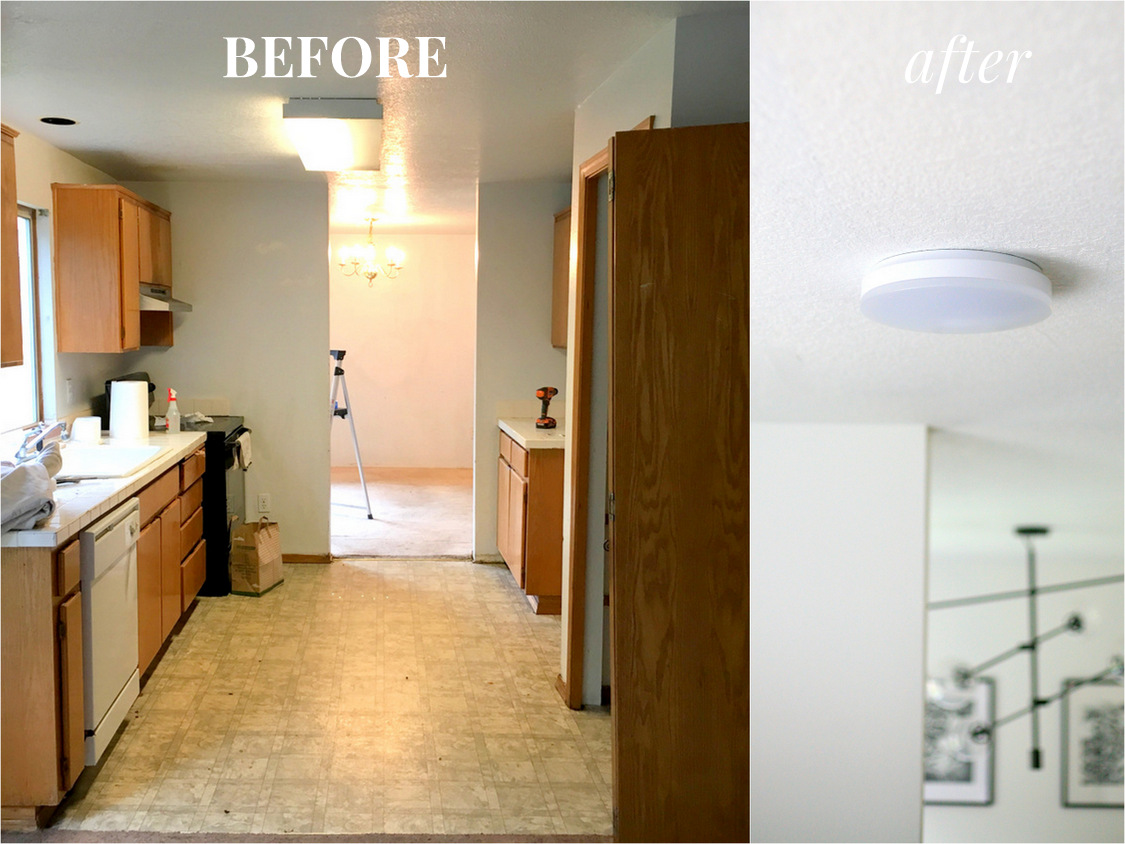
Replacing a 4 Foot Fluorescent Kitchen Light with LED
If you're looking to upgrade to energy-efficient lighting, now is the perfect time to replace your old fluorescent kitchen light with a new LED fixture. LED lights not only use less energy, but they also have a longer lifespan and produce less heat. When selecting a new LED fixture, make sure to choose one that is compatible with your existing wiring.


Replacing a 4 Foot Fluorescent Kitchen Light with LED


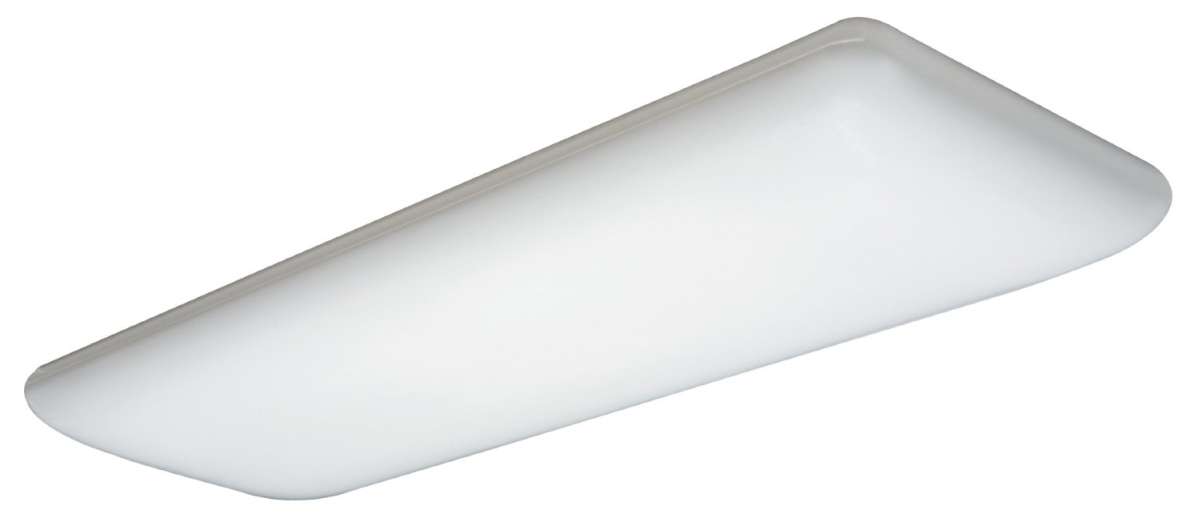
Upgrade Your Kitchen Lighting: Replacing a 4 Foot Fixture
Upgrading your kitchen lighting can instantly transform the look and feel of your space. When choosing a new fixture, consider the style and functionality you want for your kitchen. Do you want a modern and sleek design or a more traditional look? Do you need bright lighting for cooking or a softer ambiance for dining? Take these factors into account when selecting your new fixture.


Upgrade Your Kitchen Lighting: Replacing a 4 Foot Fixture

Replacing a 4 Foot Kitchen Light: Tools and Materials Needed
Here is a list of tools and materials you will need for replacing your 4 foot kitchen light:


Replacing a 4 Foot Kitchen Light: Tools and Materials Needed


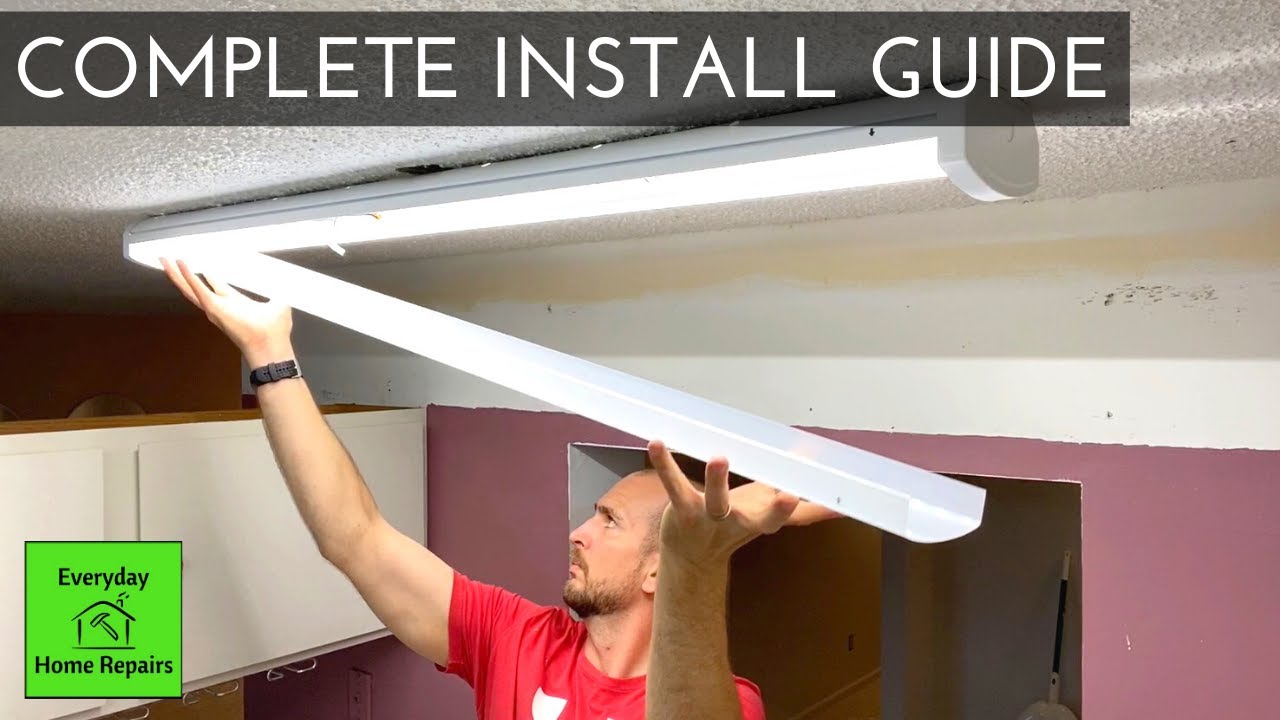
Step-by-Step Guide to Replacing a 4 Foot Kitchen Light
Now that you have all the necessary tools and materials, follow these steps to replace your 4 foot kitchen light:


Step-by-Step Guide to Replacing a 4 Foot Kitchen Light


.jpg)
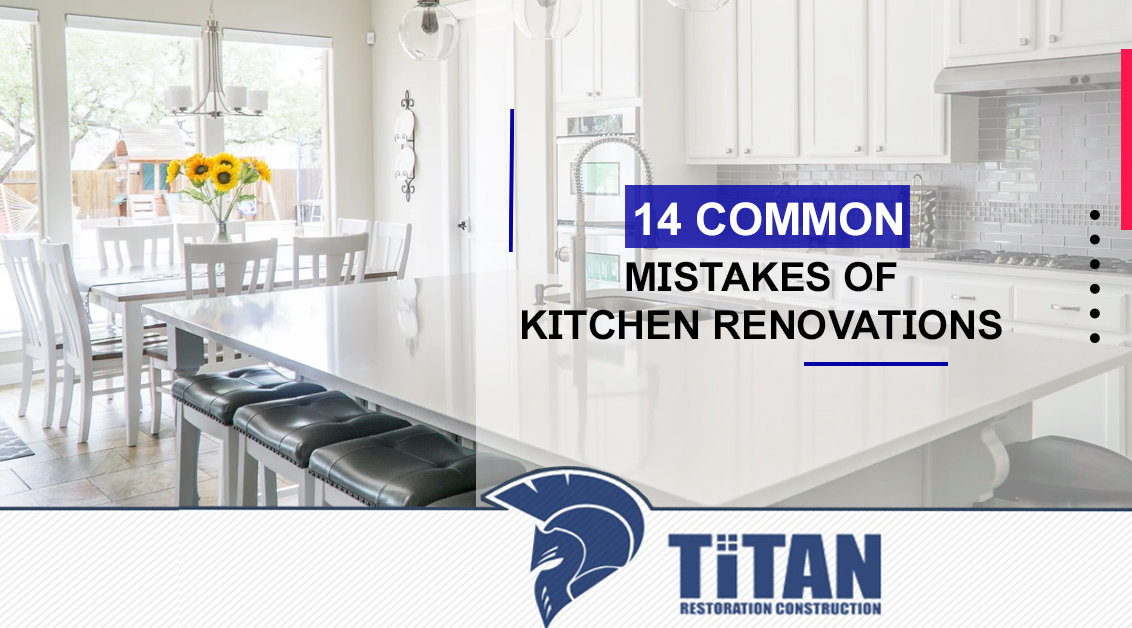
Replacing a 4 Foot Kitchen Light: Common Mistakes to Avoid
While replacing a 4 foot kitchen light is a fairly straightforward process, there are some common mistakes to avoid:


Replacing a 4 Foot Kitchen Light: Common Mistakes to Avoid


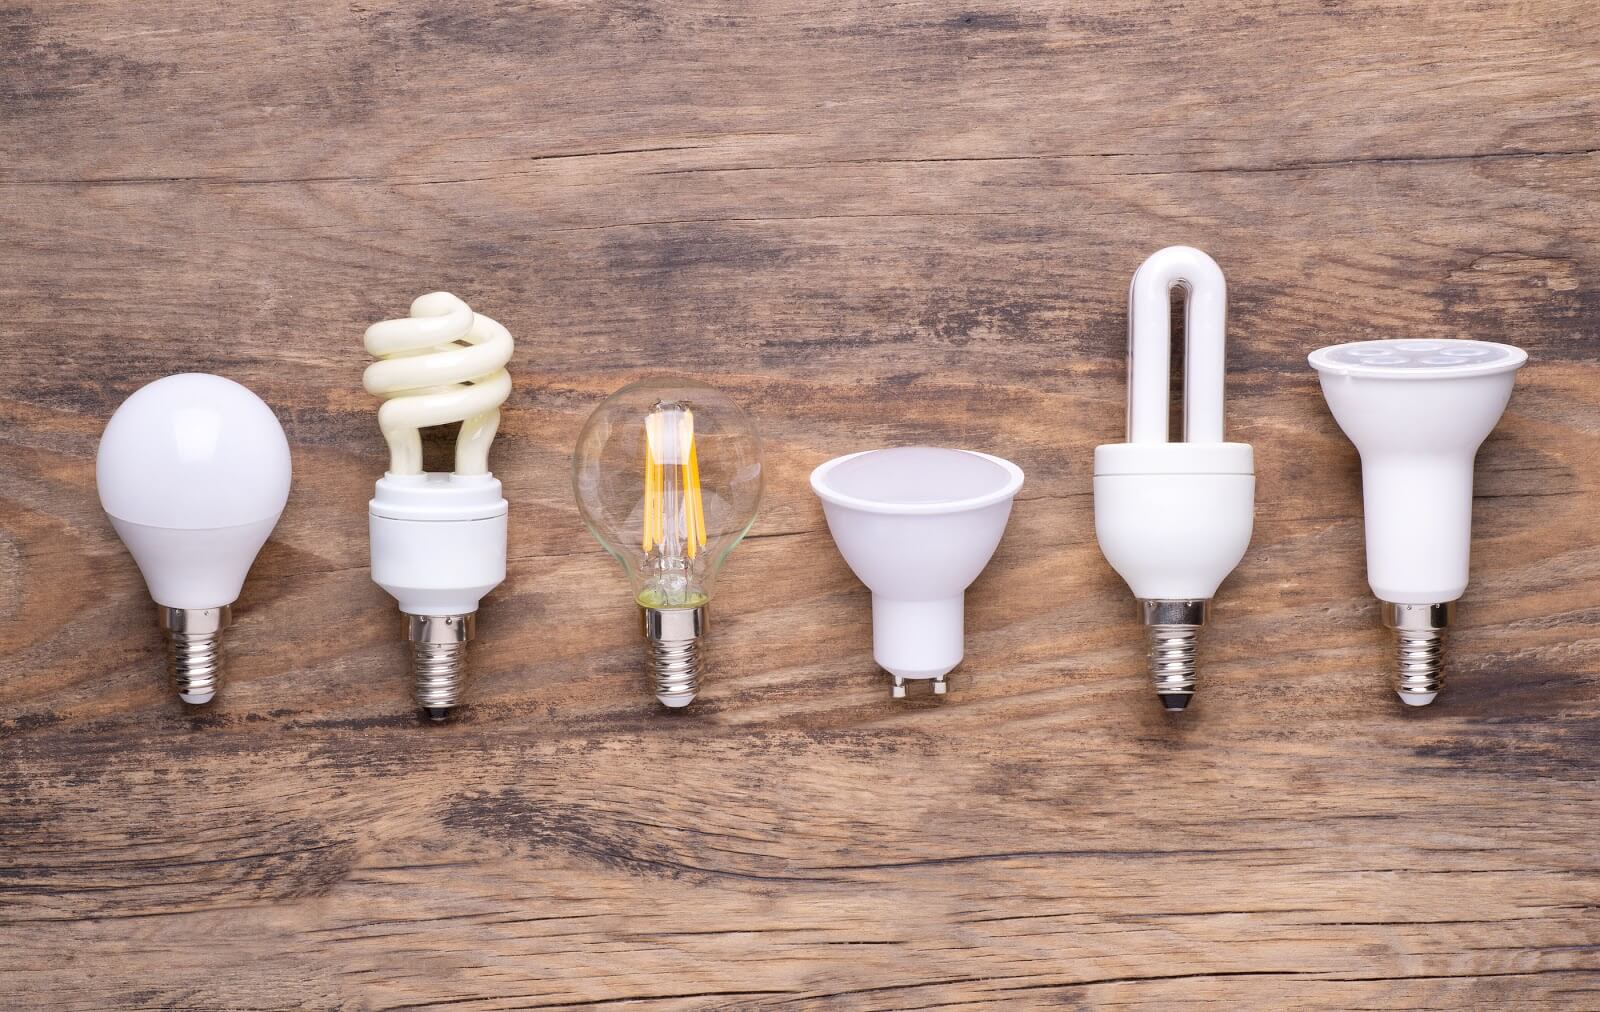
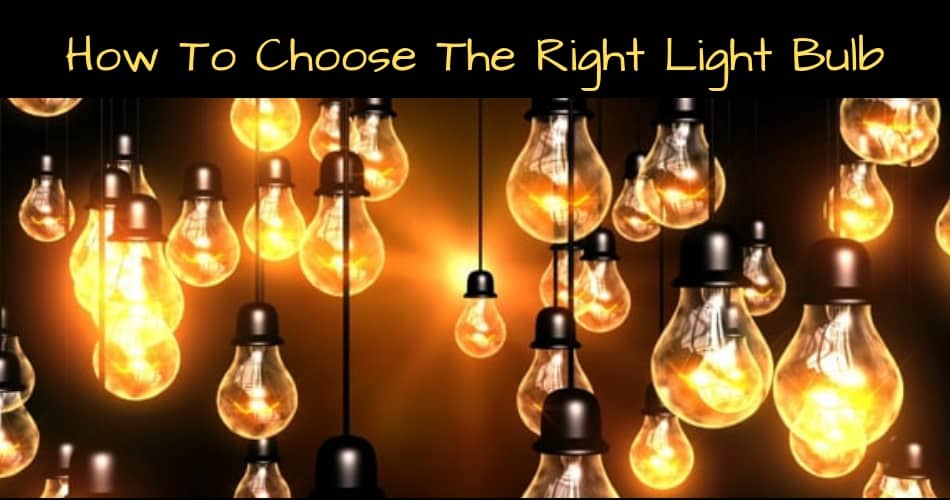
How to Choose the Right Replacement Bulbs for Your 4 Foot Kitchen Light
When selecting replacement bulbs for your 4 foot kitchen light, make sure to check the wattage and size of the bulbs your fixture requires. It's also a good idea to choose energy-efficient LED bulbs for longer lifespan and lower energy usage. Consider the color temperature of the bulbs as well, as this can affect the ambiance and functionality of your kitchen lighting.


How to Choose the Right Replacement Bulbs for Your 4 Foot Kitchen Light


Replacing a 4 Foot Kitchen Light: Tips and Tricks for a Smooth Installation
Here are some additional tips and tricks to ensure a smooth and successful installation:

Replacing a 4 Foot Kitchen Light: Tips and Tricks for a Smooth Installation

Why You Should Consider Replacing Your 4 ft Kitchen Light
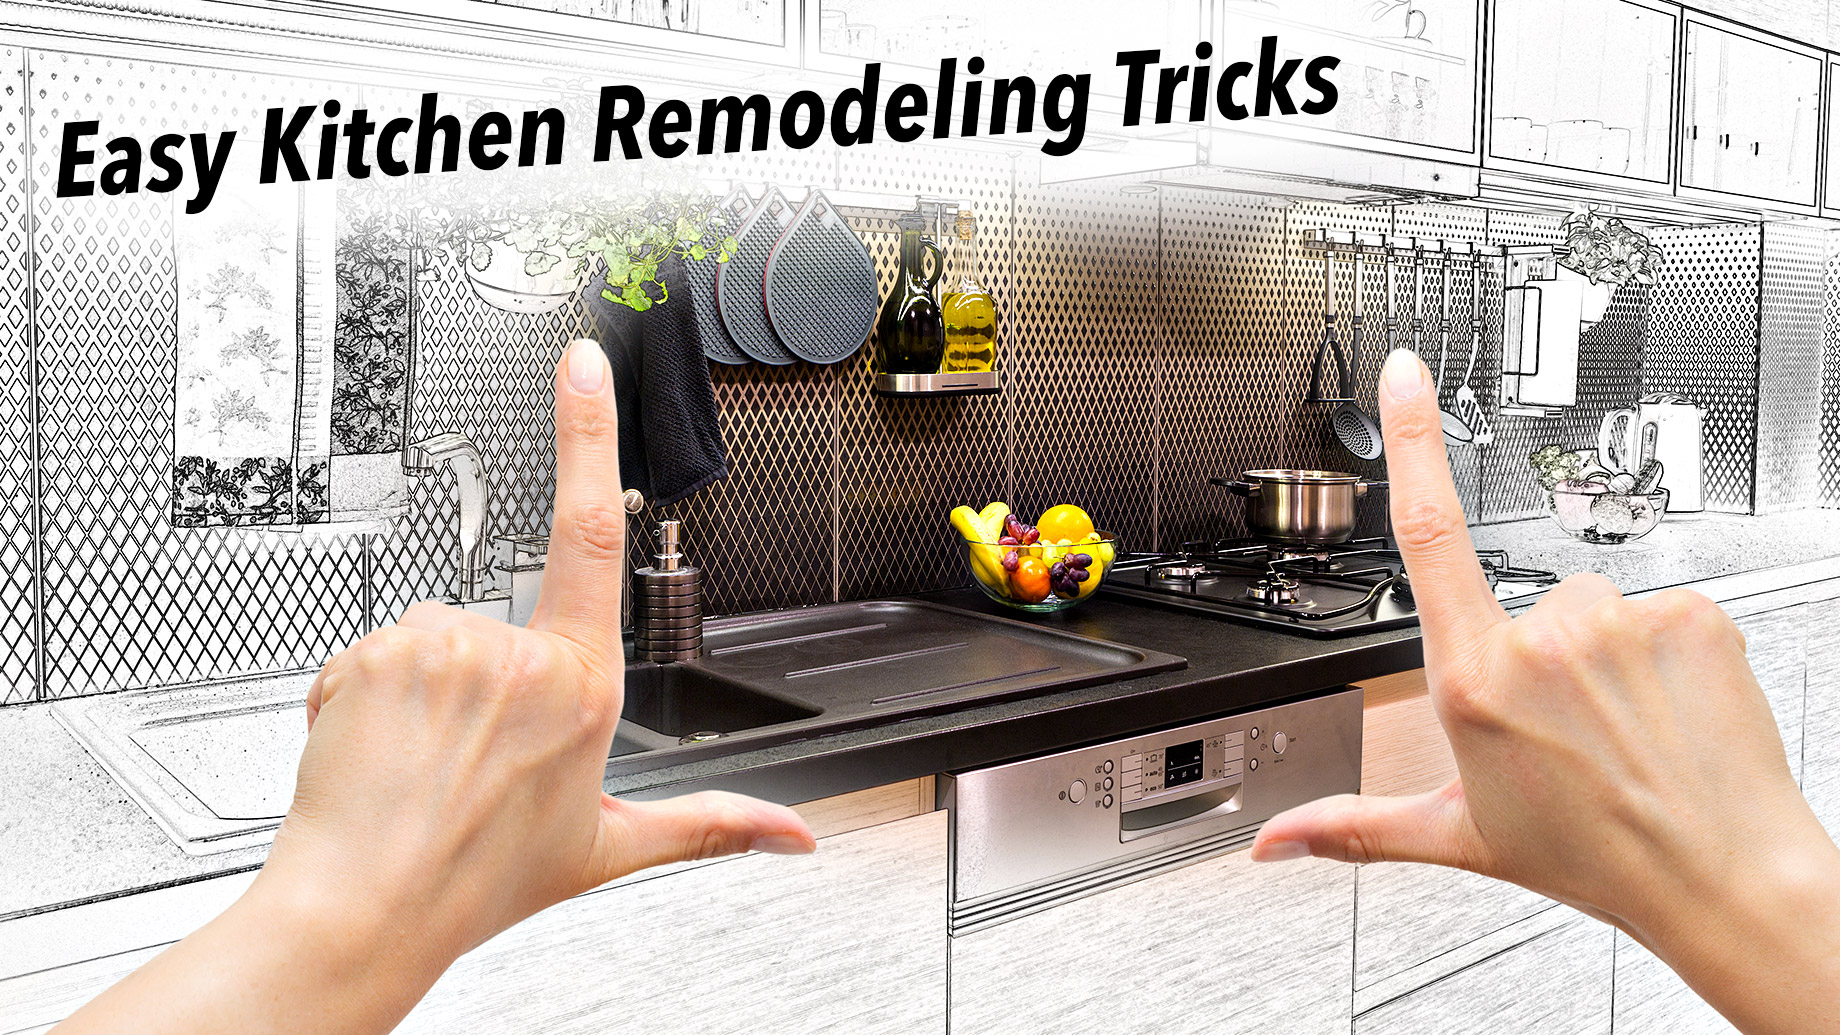
Enhance Your Kitchen's Aesthetics and Functionality
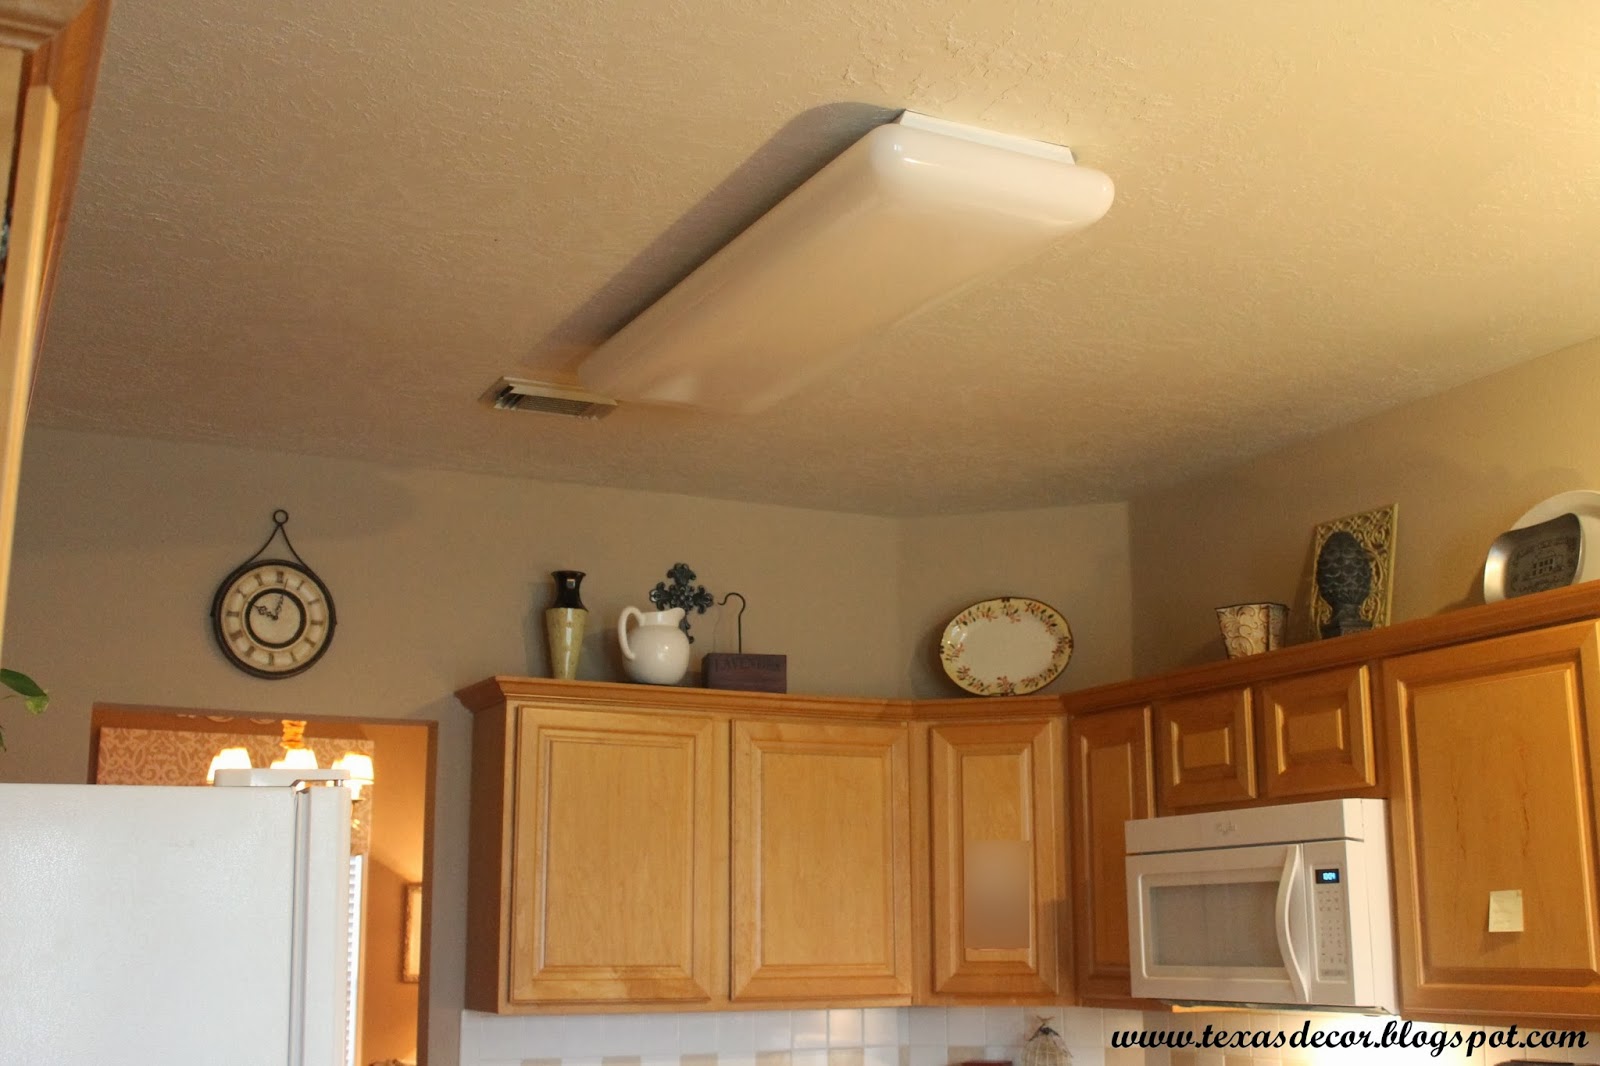
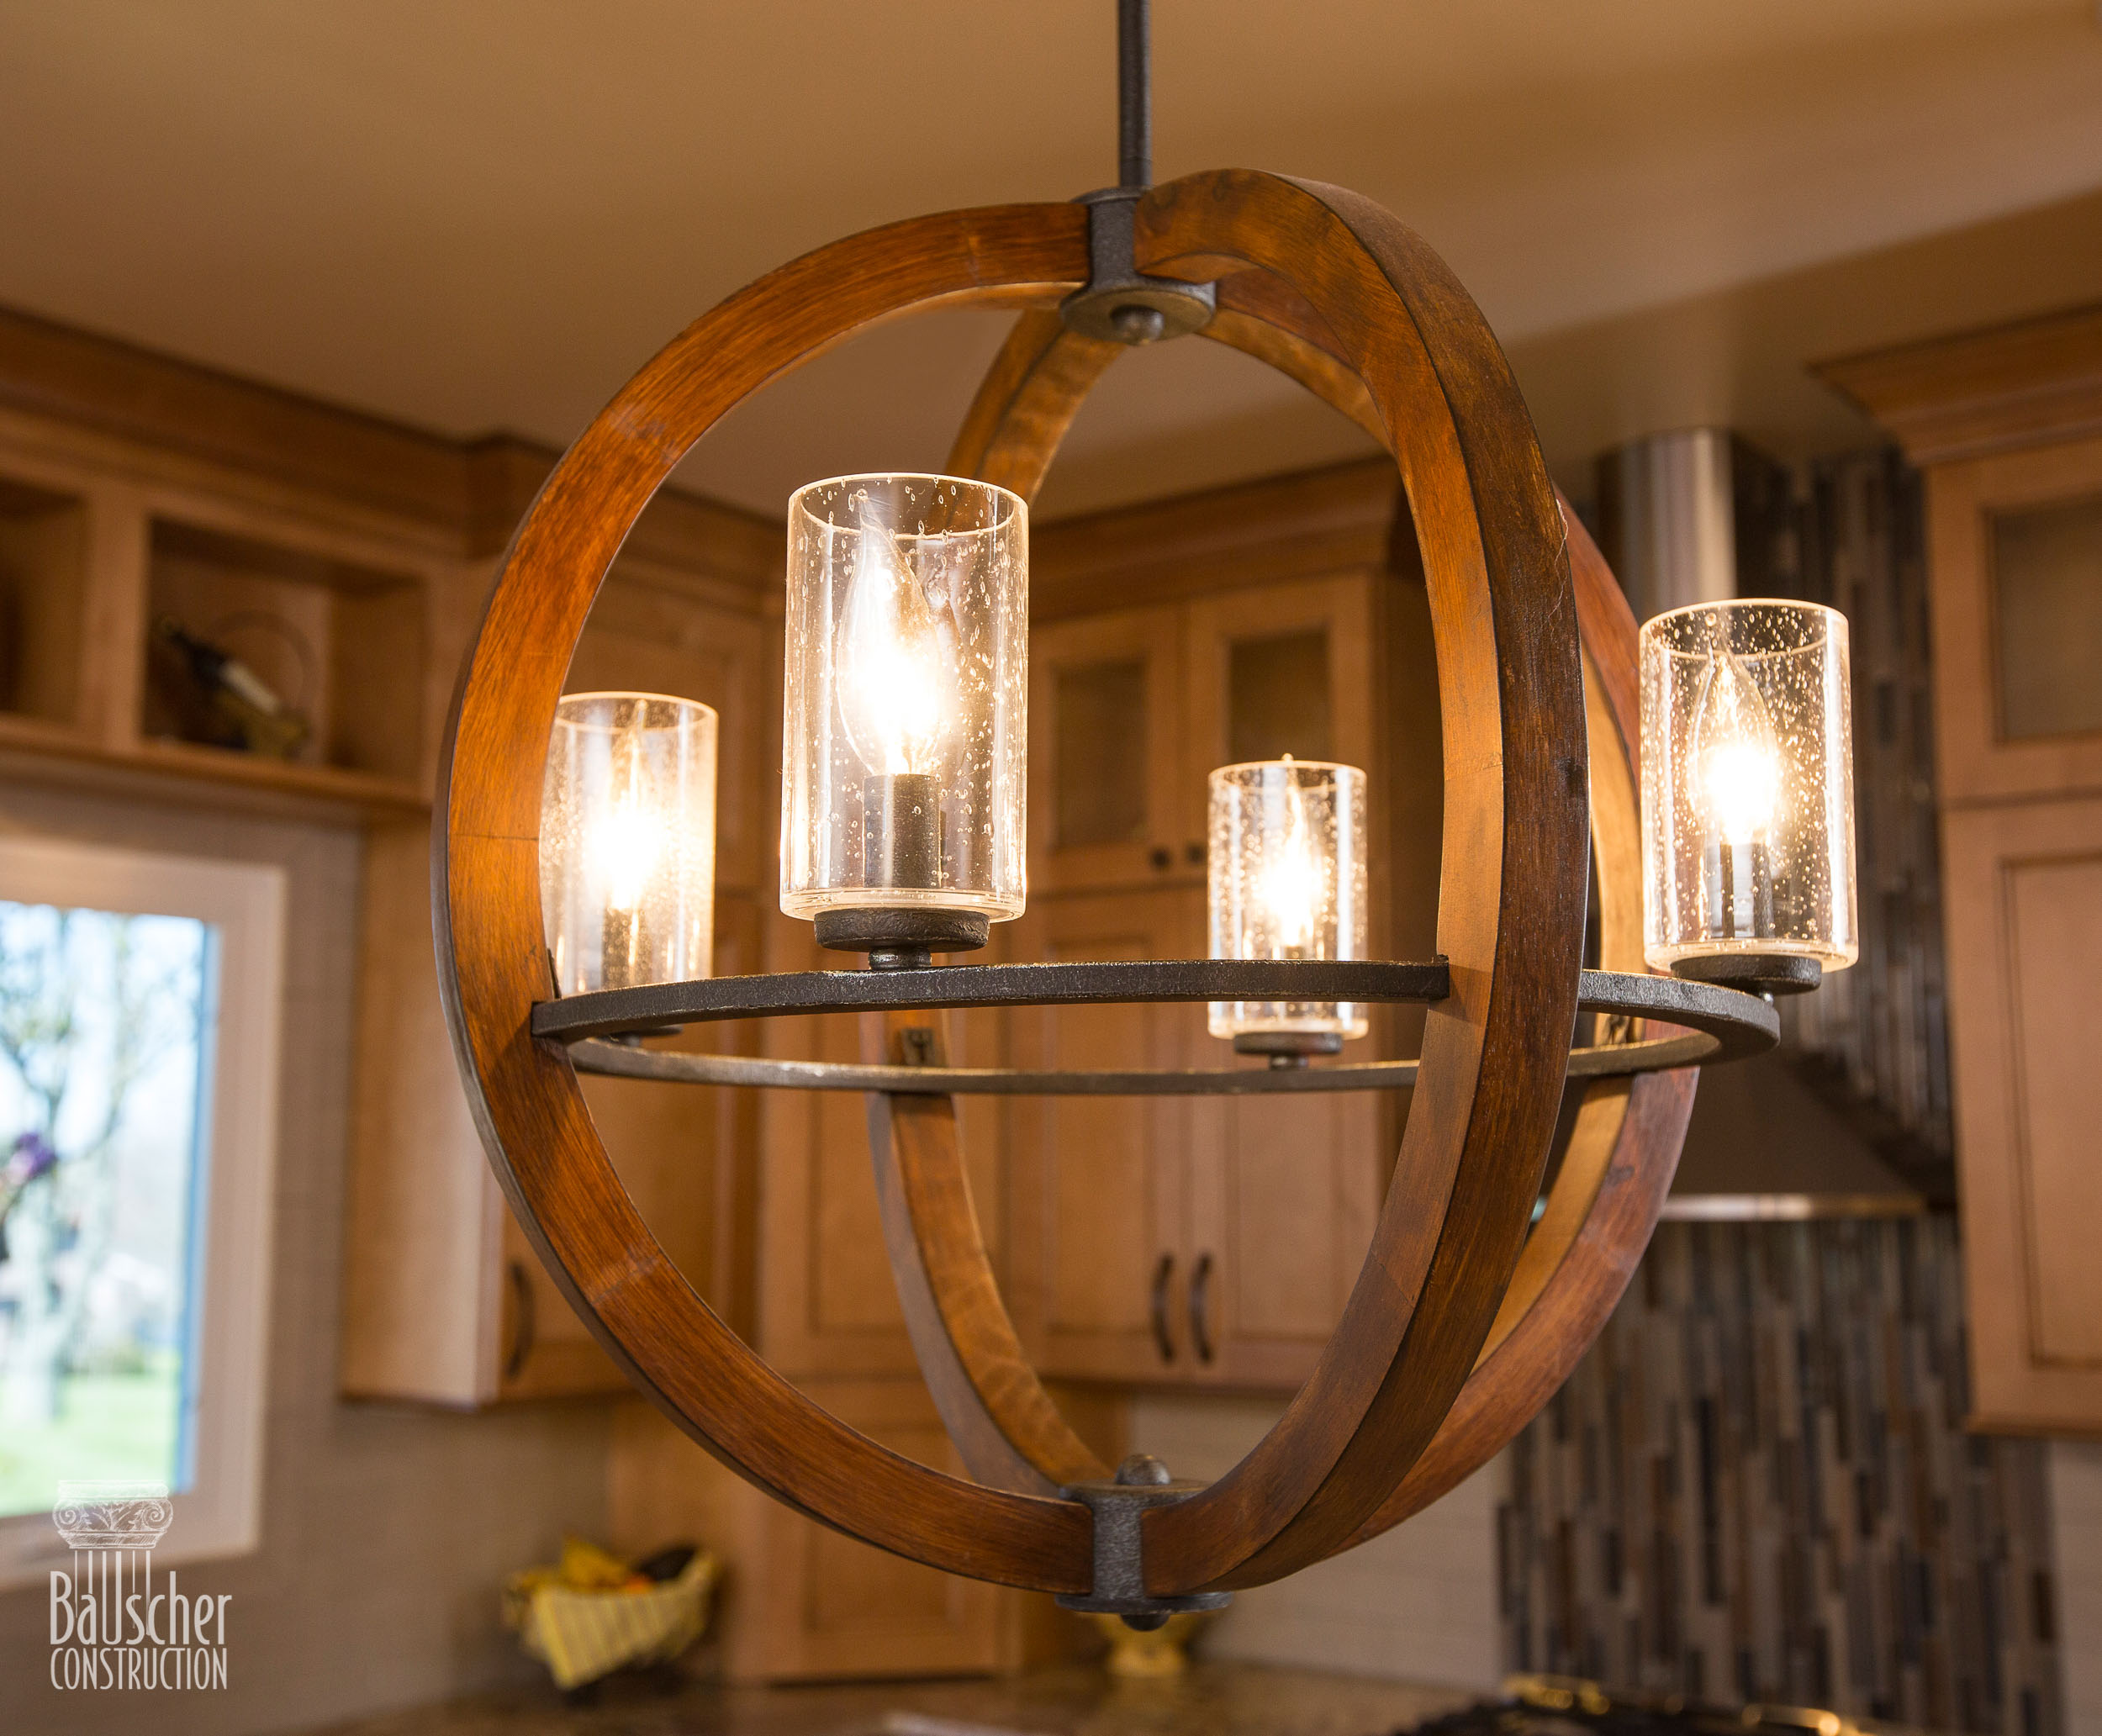
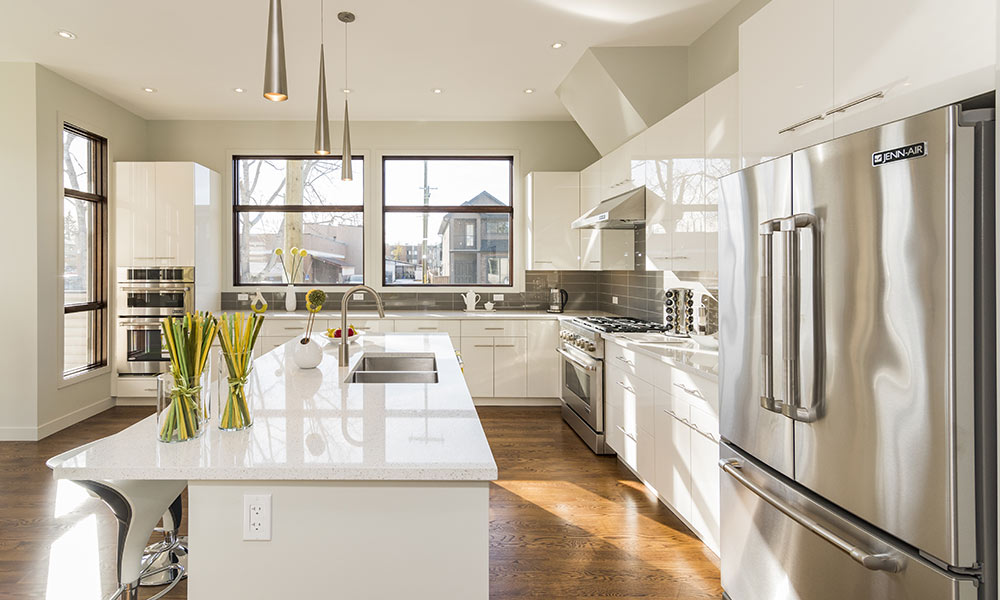
 If you're looking to revamp your kitchen's design and functionality, replacing your 4 ft kitchen light should be at the top of your list. The lighting in your kitchen plays a crucial role in both its overall appearance and functionality. A dimly lit kitchen can make the space feel small and cramped, while a bright and well-lit kitchen can create a welcoming and spacious atmosphere. By replacing your outdated 4 ft kitchen light with a newer and more efficient one, you can instantly enhance the aesthetics of your kitchen and make it a more enjoyable space to cook and spend time in.
Save on Energy Costs
 Older 4 ft kitchen lights are often energy guzzlers, consuming a significant amount of electricity and resulting in high energy bills. This not only puts a dent in your wallet but also has a negative impact on the environment. By replacing your old light with a more energy-efficient one, you can save on your energy costs and reduce your carbon footprint. LED lights, in particular, are a popular choice for kitchen lighting as they use significantly less energy and last longer than traditional incandescent bulbs. Not only will you notice a difference in your energy bills, but you'll also be doing your part in creating a more sustainable home.
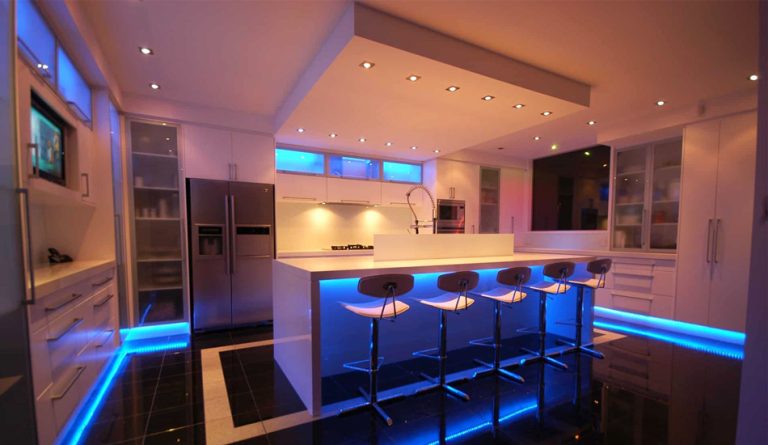
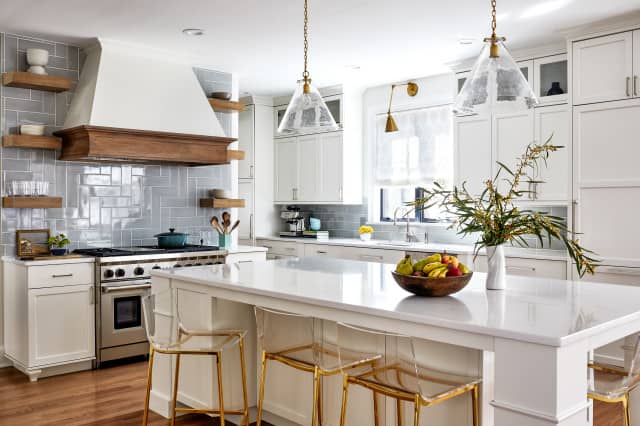
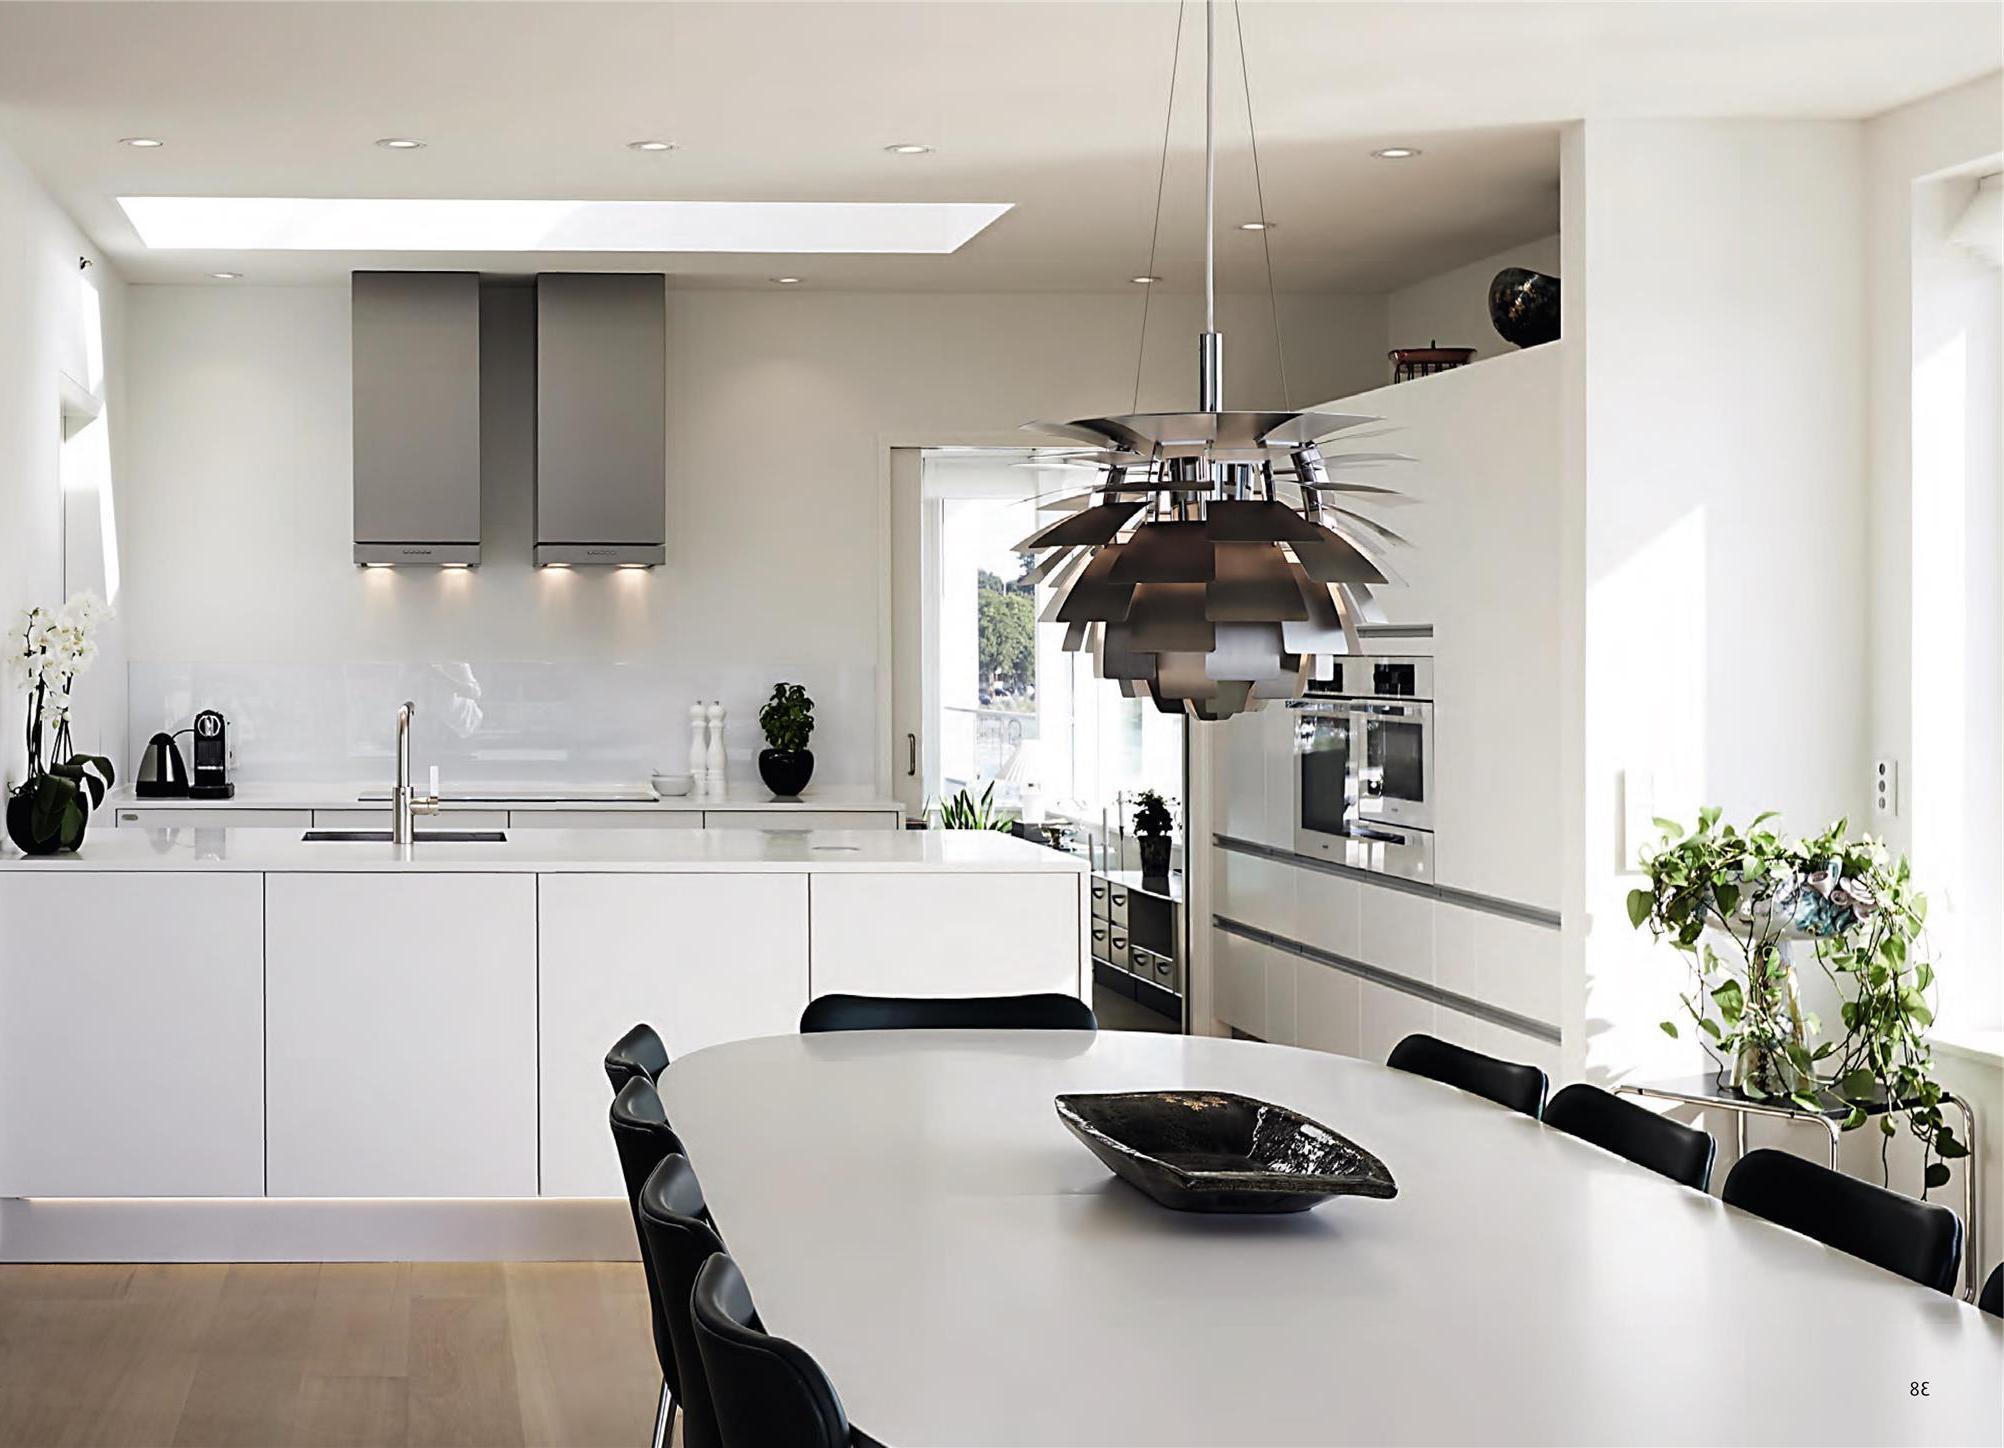
modern kitchen
Older 4 ft kitchen lights are often energy guzzlers, consuming a significant amount of electricity and resulting in high energy bills. This not only puts a dent in your wallet but also has a negative impact on the environment. By replacing your old light with a more energy-efficient one, you can save on your energy costs and reduce your carbon footprint. LED lights, in particular, are a popular choice for kitchen lighting as they use significantly less energy and last longer than traditional incandescent bulbs. Not only will you notice a difference in your energy bills, but you'll also be doing your part in creating a more sustainable home.
modern kitchen
Increase the Value of Your Home
 If you're looking to sell your home in the future, upgrading your 4 ft kitchen light can significantly increase its value. A modern and well-lit kitchen is a desirable feature for potential buyers and can set your home apart from others on the market. By investing in a new kitchen light, you can potentially see a higher return on your investment when it comes time to sell your home.
Improve Task Lighting
 Your kitchen is a workspace, and good lighting is essential for completing tasks such as cooking, cleaning, and meal prep. Older 4 ft kitchen lights can often cast shadows and create glare, making it challenging to see what you're doing. By replacing your light with a newer and more efficient one, you can improve the task lighting in your kitchen and make it easier and more enjoyable to work in.
In conclusion, replacing your 4 ft kitchen light is a simple and cost-effective way to enhance the aesthetics and functionality of your kitchen, save on energy costs, increase the value of your home, and improve task lighting. With a wide variety of options available on the market, it's easy to find a new light that fits your budget, style, and needs. Don't overlook the impact that a new kitchen light can have on your overall house design and start considering an upgrade today.
Your kitchen is a workspace, and good lighting is essential for completing tasks such as cooking, cleaning, and meal prep. Older 4 ft kitchen lights can often cast shadows and create glare, making it challenging to see what you're doing. By replacing your light with a newer and more efficient one, you can improve the task lighting in your kitchen and make it easier and more enjoyable to work in.
In conclusion, replacing your 4 ft kitchen light is a simple and cost-effective way to enhance the aesthetics and functionality of your kitchen, save on energy costs, increase the value of your home, and improve task lighting. With a wide variety of options available on the market, it's easy to find a new light that fits your budget, style, and needs. Don't overlook the impact that a new kitchen light can have on your overall house design and start considering an upgrade today.