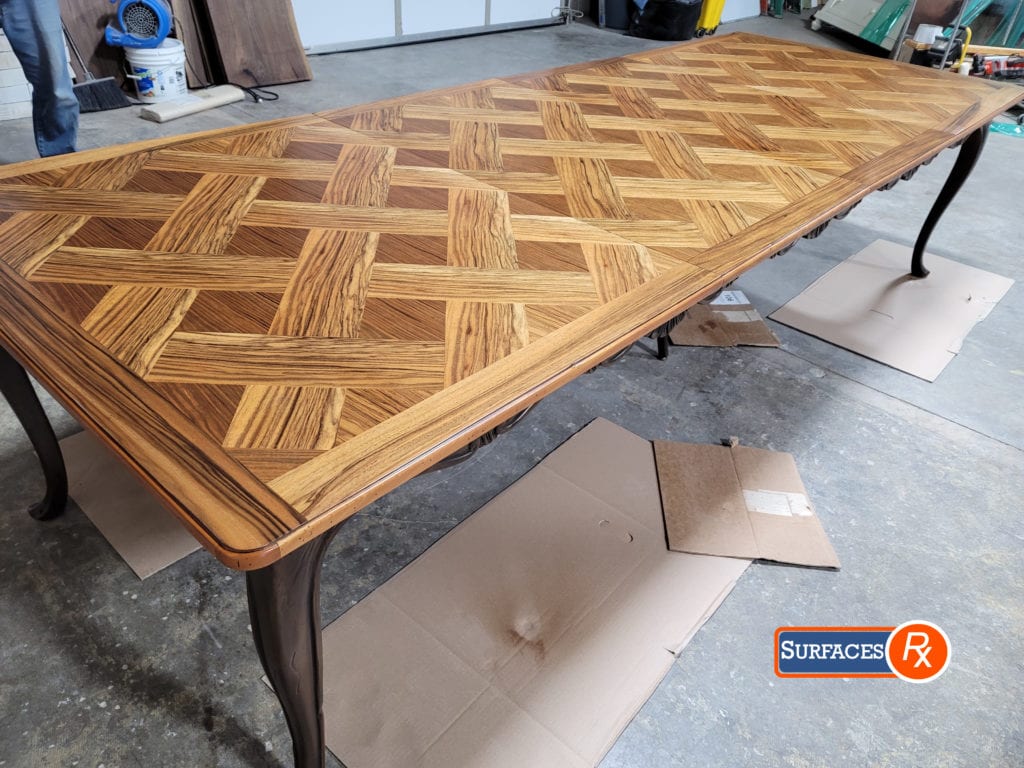
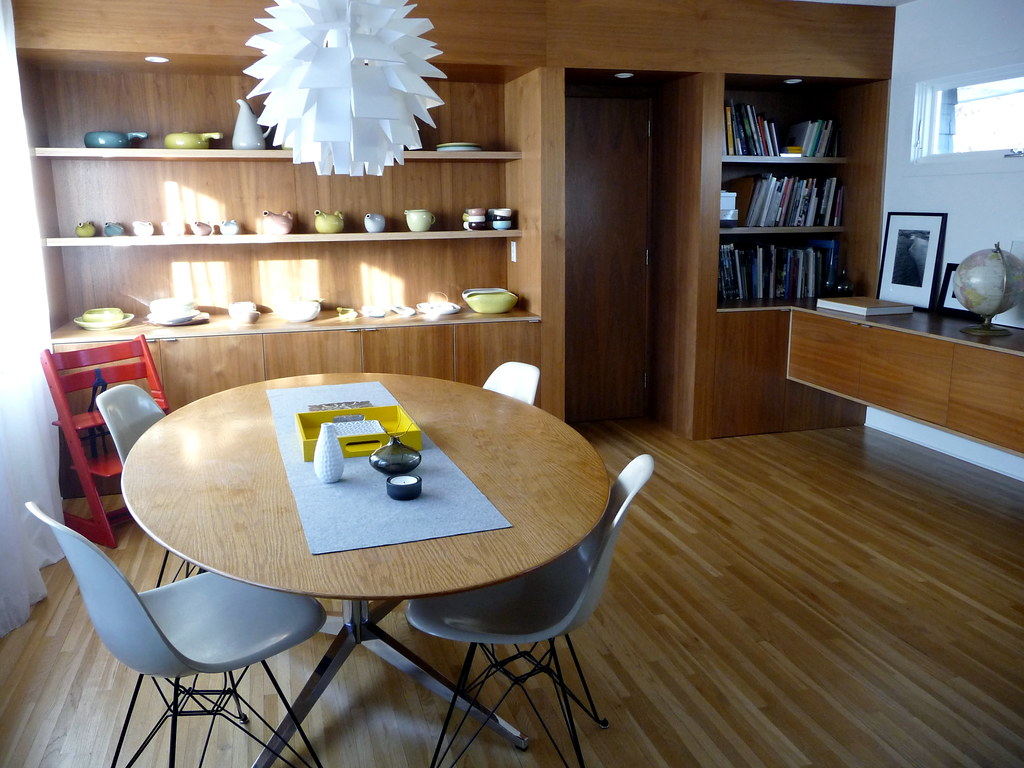
A dining room table is often the centerpiece of a home, where friends and family gather to share meals and create memories. Over time, the veneer on your dining room table may become damaged or worn, detracting from its beauty and functionality. Fortunately, repairing dining room table veneer is a relatively simple process that can be done at home with the right tools and techniques. In this guide, we will walk you through the steps of repairing dining room table veneer and restoring your table to its former glory. How to Repair a Dining Room Table Veneer


How to Repair a Dining Room Table Veneer


While you can hire a professional to repair your dining room table veneer, it is entirely possible to do it yourself. Not only will this save you money, but it can also be a fun and rewarding project. With a little bit of time and effort, you can restore your dining room table to its original beauty. DIY Dining Room Table Veneer Repair


DIY Dining Room Table Veneer Repair


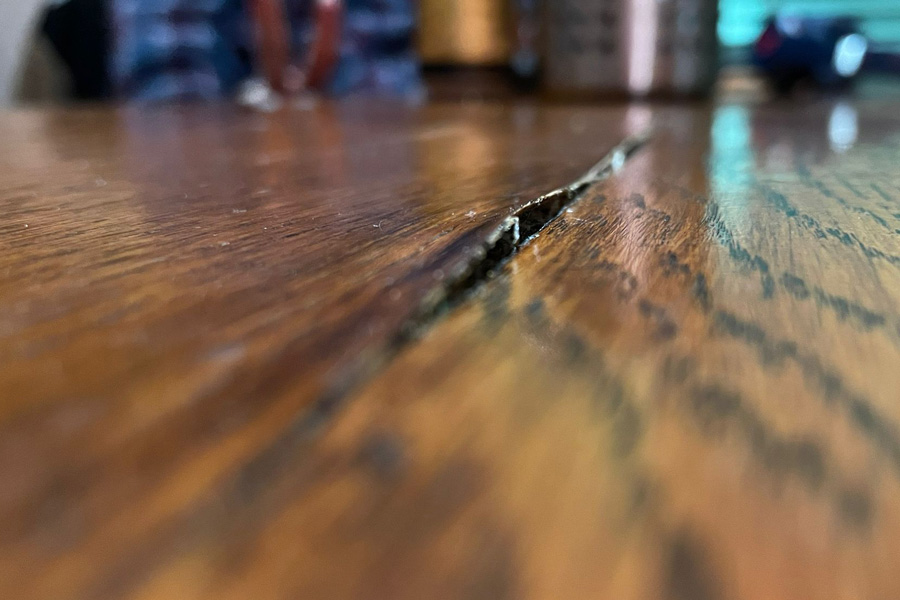
The first step in repairing dining room table veneer is to assess the damage. Common problems with veneer include scratches, chips, and bubbles. Depending on the severity of the damage, you may need to replace the entire piece of veneer or just repair the damaged area. If the damage is minor, you can often fix it without removing the veneer. However, for more significant damage, it may be necessary to remove the damaged veneer and replace it. Fixing Damaged Veneer on a Dining Room Table

Fixing Damaged Veneer on a Dining Room Table


Here is a step-by-step guide to repairing dining room table veneer: Step 1: Clean the table - Before starting any repairs, clean the table thoroughly with a mild cleanser and a soft cloth. This will remove any dirt or debris that may interfere with the repair process. Step 2: Assess the damage - Carefully examine the veneer to determine the extent of the damage and the best course of action. If the damage is minor, you may be able to repair it without removing the veneer. If the damage is more severe, you may need to remove the veneer and replace it. Step 3: Repair minor damage - If the damage is minor, you can often fix it by gently sanding the area with fine-grit sandpaper and then applying wood filler. Once the filler has dried, sand it down until it is smooth and then touch up the color with a wood stain or marker. Step 4: Remove the damaged veneer - If the damage is more significant, you will need to remove the damaged veneer. Use a sharp utility knife to carefully cut away the damaged area, making sure not to damage the underlying wood. Step 5: Replace the veneer - Cut a new piece of veneer to fit the damaged area and apply wood glue to the back of the veneer. Carefully place it onto the table and use a roller or block of wood to press it firmly into place. Wipe away any excess glue and allow it to dry completely. Step 6: Sand and finish - Once the glue has dried, sand the repaired area until it is smooth and then finish it with a stain or varnish to match the rest of the table. Step-by-Step Guide for Repairing Dining Room Table Veneer


Step-by-Step Guide for Repairing Dining Room Table Veneer


Here are a few helpful tips for restoring veneer on a dining room table: Tip 1: Use the right tools - When repairing veneer, it is essential to use the right tools and techniques to avoid causing further damage. A sharp utility knife, fine-grit sandpaper, and wood glue are must-haves for this project. Tip 2: Take your time - Repairing veneer can be a delicate process, so it is important to take your time and work carefully to avoid damaging the veneer or the underlying wood. Tip 3: Match the color - When replacing veneer, it is crucial to match the color and grain pattern as closely as possible to the existing veneer to achieve a seamless repair. Tips for Restoring Veneer on a Dining Room Table


Tips for Restoring Veneer on a Dining Room Table


Some common problems with dining room table veneer include scratches, chips, and bubbles. These can be fixed by sanding, filling, and replacing the veneer, as outlined in our step-by-step guide above. It is also essential to properly care for your dining room table to prevent these issues from occurring in the future. Common Problems with Dining Room Table Veneer and How to Fix Them


Common Problems with Dining Room Table Veneer and How to Fix Them


Here are the materials you will need to repair dining room table veneer: - Utility knife - Fine-grit sandpaper - Wood glue - Wood filler - Wood stain or marker - Veneer patch or replacement veneer Materials Needed for Repairing Dining Room Table Veneer


Materials Needed for Repairing Dining Room Table Veneer

The best techniques for repairing dining room table veneer include carefully assessing the damage, using the right tools and materials, and taking your time. It is also essential to match the color and grain pattern of the existing veneer when replacing it to achieve a seamless repair. Best Techniques for Repairing Dining Room Table Veneer


Best Techniques for Repairing Dining Room Table Veneer


To prevent veneer damage on your dining room table, it is essential to properly care for it. Avoid placing hot or wet items directly on the table, use coasters and trivets for protection, and regularly clean and dust the table to prevent scratches. It is also helpful to periodically check the veneer for any signs of damage and address them promptly. How to Prevent Veneer Damage on Your Dining Room Table

How to Prevent Veneer Damage on Your Dining Room Table


While it is entirely possible to repair dining room table veneer yourself, some situations may require the expertise of a professional. If the damage is extensive or you are unsure of how to repair it properly, it may be best to hire a professional to ensure a successful outcome. However, for minor damage, DIY repair can save you time and money. Don't let damaged veneer detract from the beauty of your dining room table. With the right tools and techniques, you can easily repair and restore your table, allowing you to continue creating memories around it for years to come. Professional vs. DIY Dining Room Table Veneer Repair


Professional vs. DIY Dining Room Table Veneer Repair


How to Repair Damaged Veneer on Your Dining Room Table

Understanding Veneer
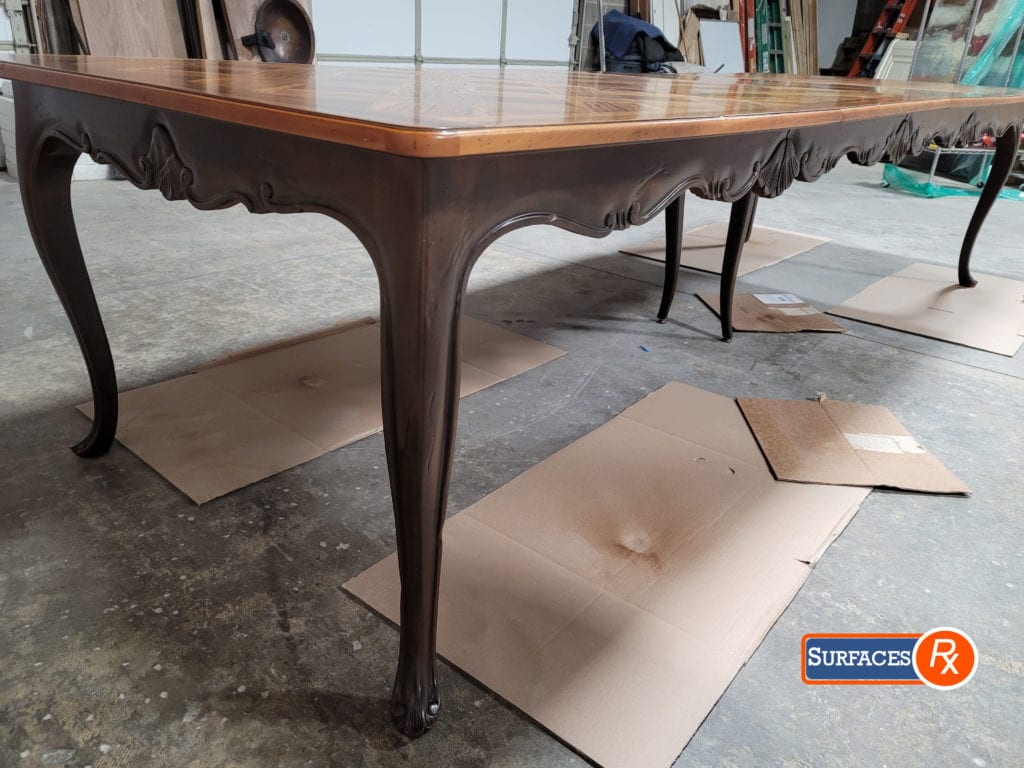
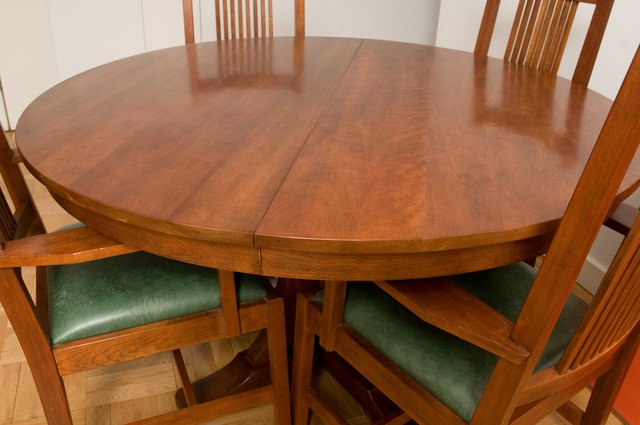
 Veneer is a thin layer of wood that is typically glued onto a base material, such as plywood, to create a more expensive or decorative finish. It is commonly used on furniture, including dining room tables, to give them a polished and elegant look. However, veneer is prone to damage, especially in high-traffic areas like the dining room. Over time, the veneer on your dining room table may become chipped, scratched, or warped, which can diminish its overall appearance. But don't worry, with the right tools and techniques, you can easily repair damaged veneer and restore the beauty of your dining room table.
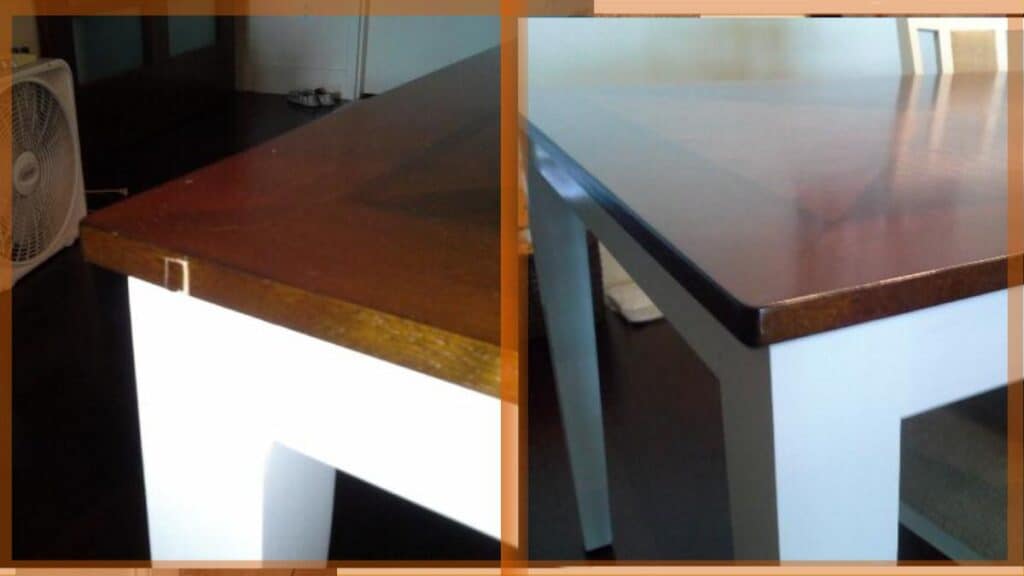
Assessing the Damage
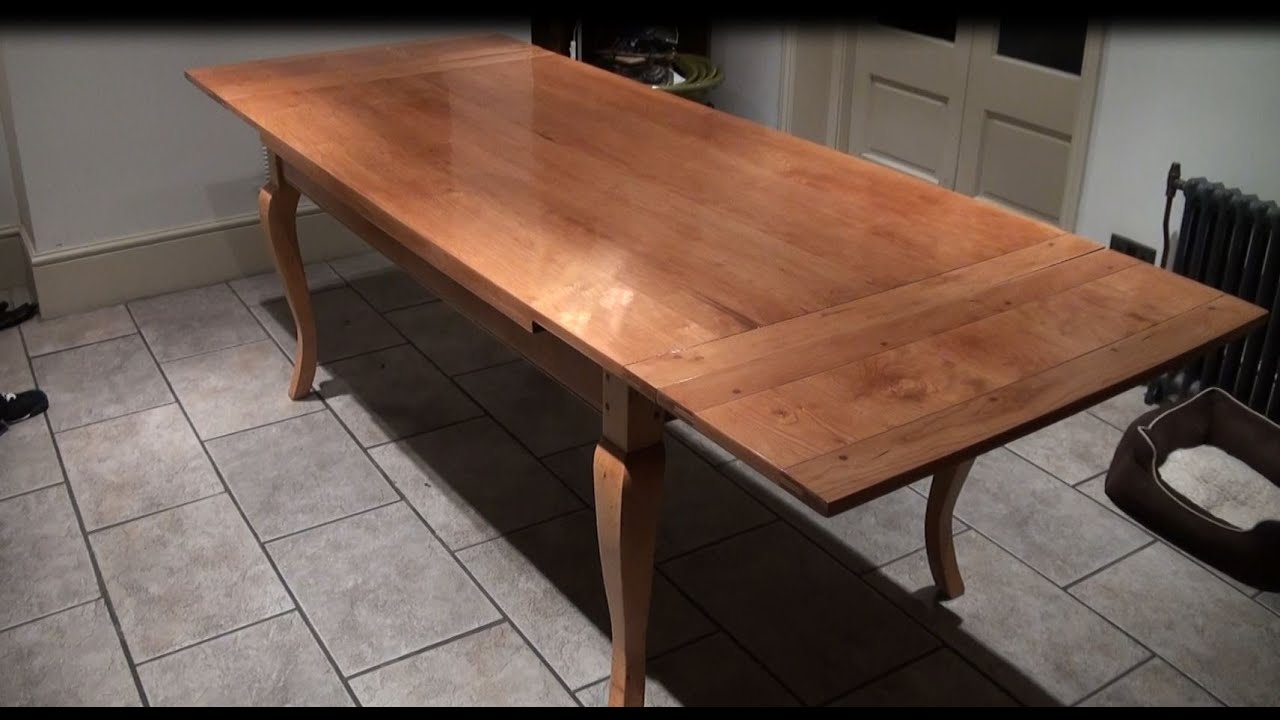
 Before you begin the repair process, it's important to assess the extent of the damage to your dining room table veneer. If the damage is minor, such as small chips or scratches, you may be able to fix it yourself. However, if the damage is more severe, such as large chunks of veneer missing or deep scratches, you may need to seek professional help. It's always best to address the damage as soon as possible to prevent it from getting worse and potentially requiring more extensive repairs.
Tools and Materials You'll Need
 To repair your dining room table veneer, you'll need a few essential tools and materials, including:
- Wood glue
- Veneer patch or wood filler
- Sandpaper
- Veneer saw or utility knife
- Clamps
- Wax paper
- Wood stain or paint (optional)
To repair your dining room table veneer, you'll need a few essential tools and materials, including:
- Wood glue
- Veneer patch or wood filler
- Sandpaper
- Veneer saw or utility knife
- Clamps
- Wax paper
- Wood stain or paint (optional)
Step-by-Step Repair Process
 Now that you have everything you need, it's time to start repairing your dining room table veneer. Here's a step-by-step guide:
Step 1: Clean the Surface
Start by cleaning the damaged area with a gentle cleaner and a soft cloth. Make sure to remove any dirt, dust, or debris that may interfere with the repair process.
Step 2: Cut the Veneer Patch
If your veneer is chipped or cracked, you'll need to cut a piece of veneer to fit the damaged area. Use a veneer saw or utility knife to carefully cut out a patch that is slightly larger than the damaged area.
Step 3: Apply Wood Glue
Apply a thin layer of wood glue to the damaged area and the back of the veneer patch. Use a small brush to spread the glue evenly.
Step 4: Press the Veneer Patch
Carefully place the veneer patch over the damaged area, making sure that it aligns perfectly. Use clamps to hold the patch in place while the glue dries. Place wax paper between the clamps and the veneer to prevent them from sticking.
Step 5: Sand and Stain
Once the glue is completely dry, remove the clamps and gently sand the repaired area with fine-grit sandpaper. If necessary, you can also apply wood stain or paint to match the color of your dining room table.
Now that you have everything you need, it's time to start repairing your dining room table veneer. Here's a step-by-step guide:
Step 1: Clean the Surface
Start by cleaning the damaged area with a gentle cleaner and a soft cloth. Make sure to remove any dirt, dust, or debris that may interfere with the repair process.
Step 2: Cut the Veneer Patch
If your veneer is chipped or cracked, you'll need to cut a piece of veneer to fit the damaged area. Use a veneer saw or utility knife to carefully cut out a patch that is slightly larger than the damaged area.
Step 3: Apply Wood Glue
Apply a thin layer of wood glue to the damaged area and the back of the veneer patch. Use a small brush to spread the glue evenly.
Step 4: Press the Veneer Patch
Carefully place the veneer patch over the damaged area, making sure that it aligns perfectly. Use clamps to hold the patch in place while the glue dries. Place wax paper between the clamps and the veneer to prevent them from sticking.
Step 5: Sand and Stain
Once the glue is completely dry, remove the clamps and gently sand the repaired area with fine-grit sandpaper. If necessary, you can also apply wood stain or paint to match the color of your dining room table.
Preventing Future Damage
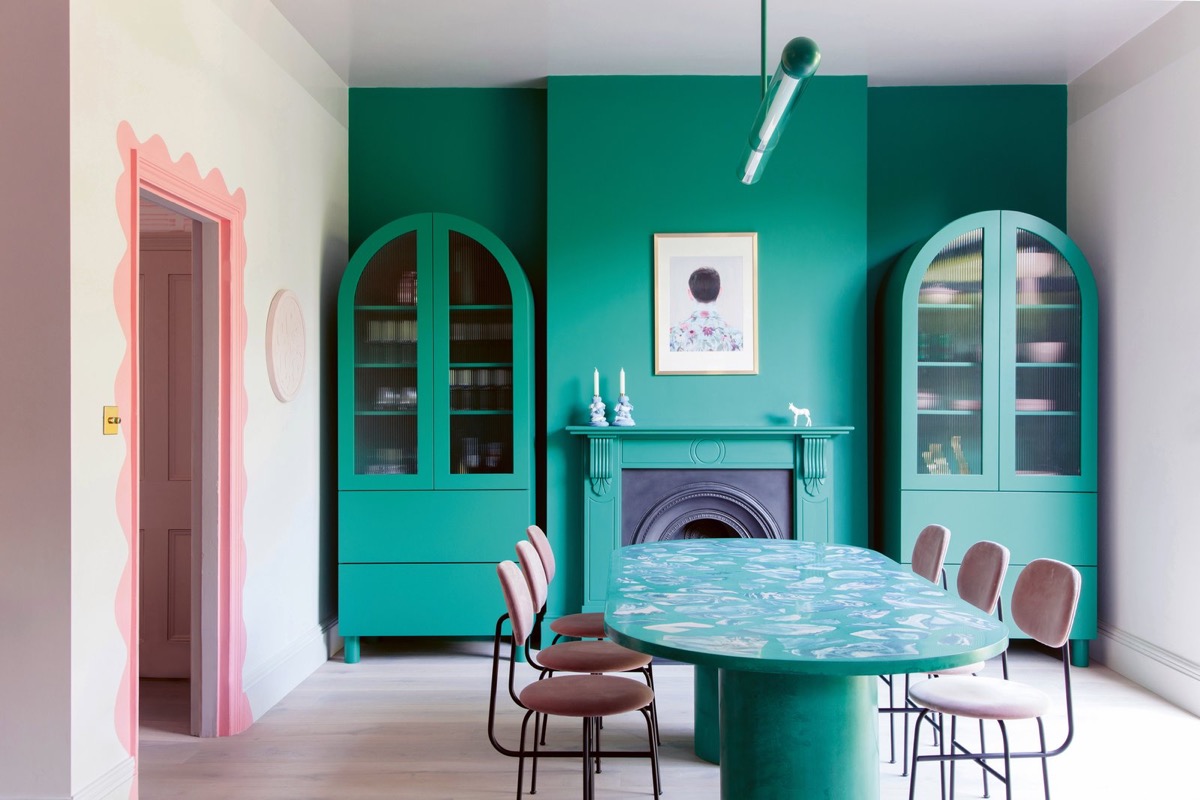
 To prolong the life of your dining room table veneer, make sure to use coasters, placemats, and tablecloths to protect it from spills, scratches, and heat. Also, avoid placing hot dishes directly on the table and use felt pads under any objects that may scratch the surface.
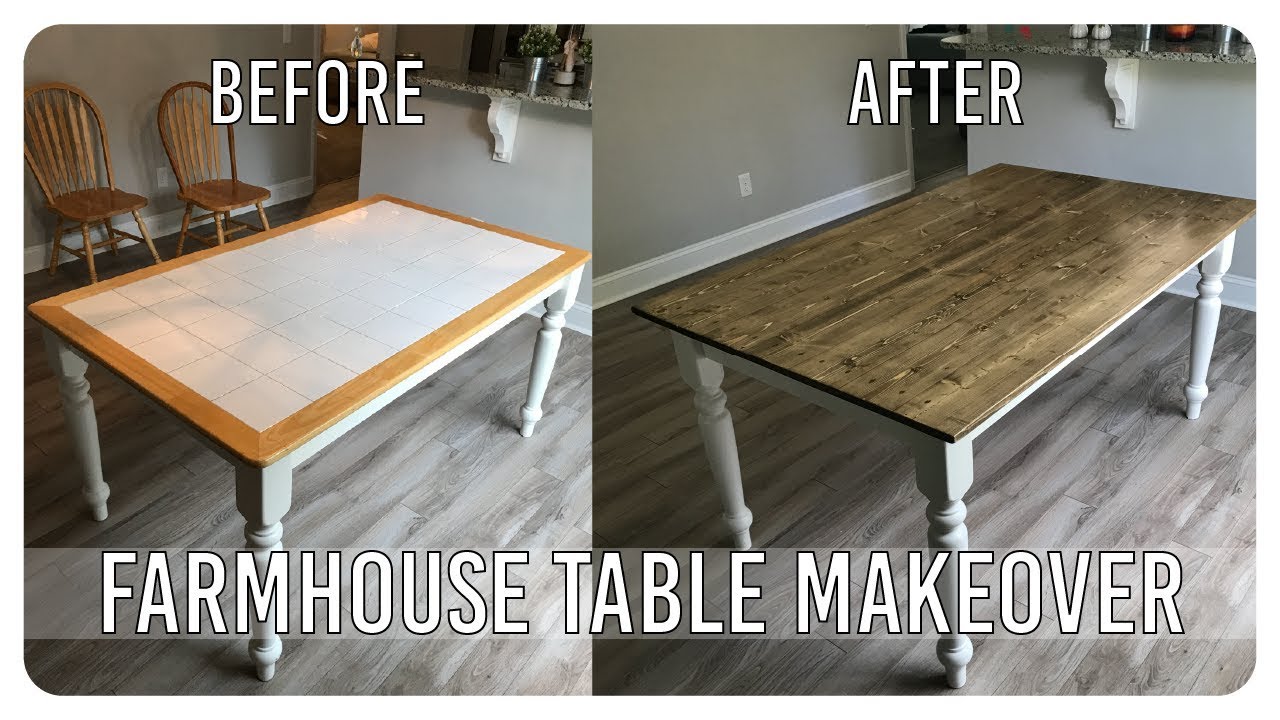
Conclusion
 Repairing damaged veneer on your dining room table may seem like a daunting task, but with the right tools and techniques, it can be easily done at home. By following these steps, you can restore the beauty of your dining room table and prevent future damage. Remember to always take proper care of your veneer furniture to keep it looking its best for years to come.