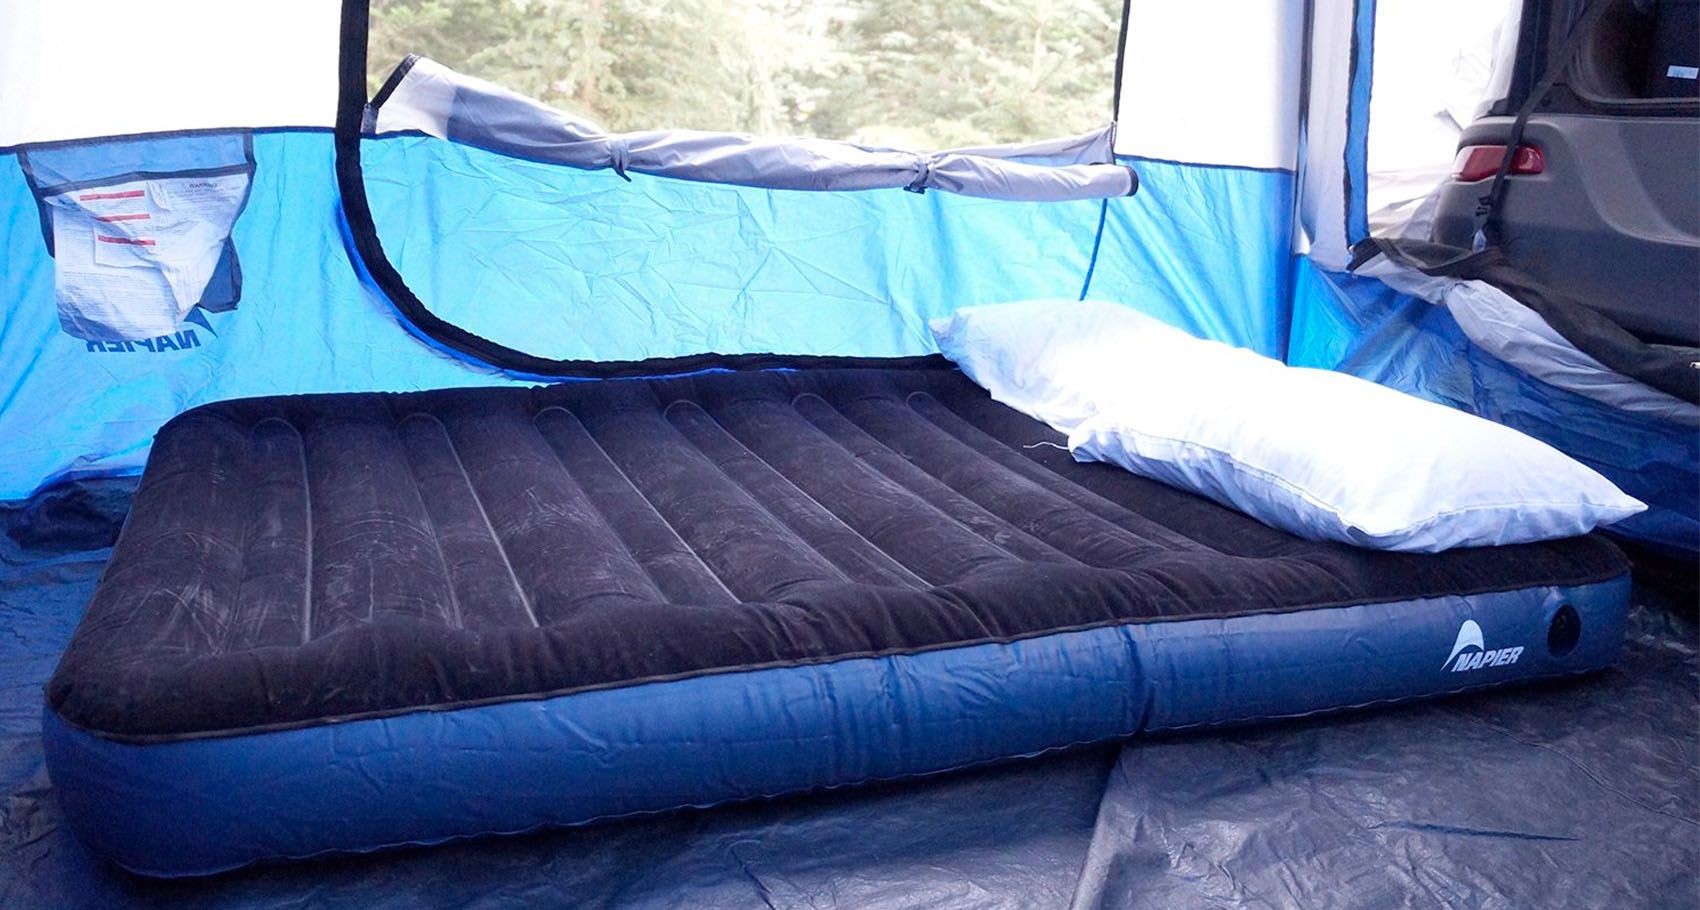
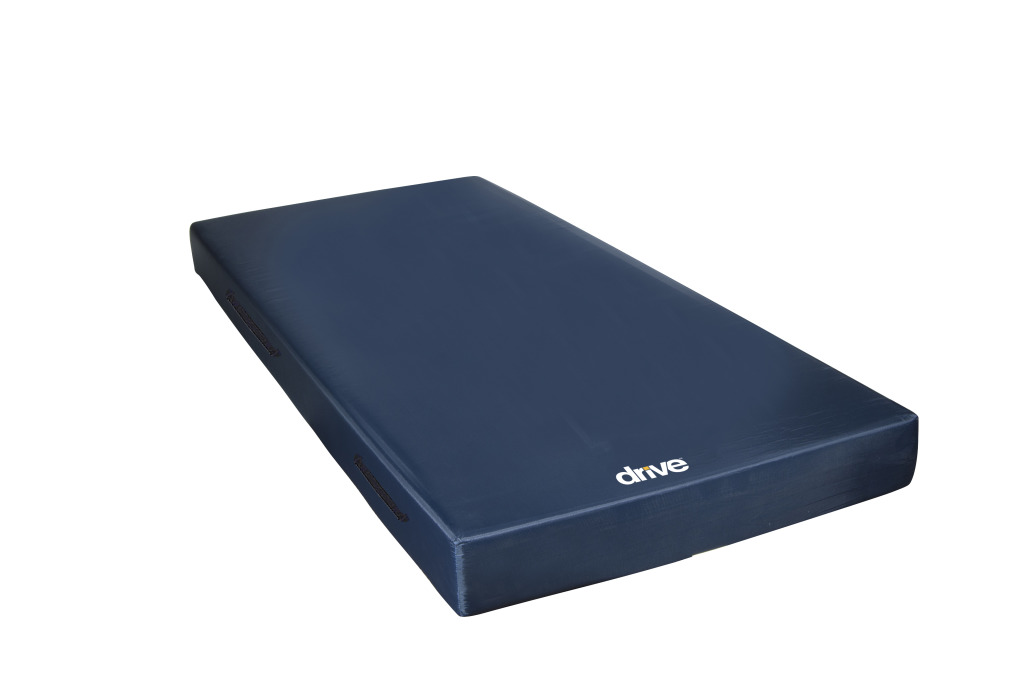
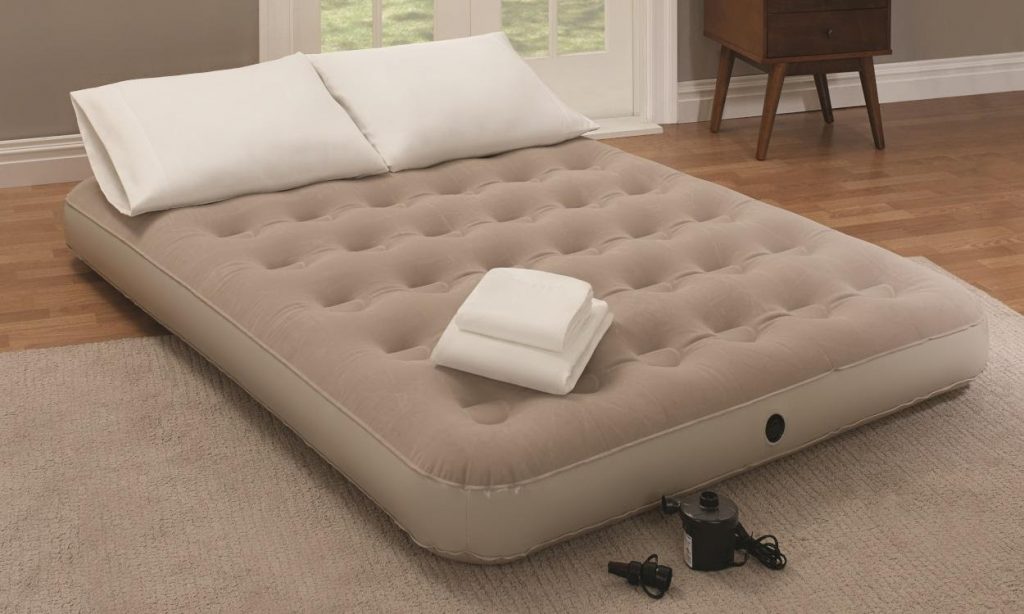
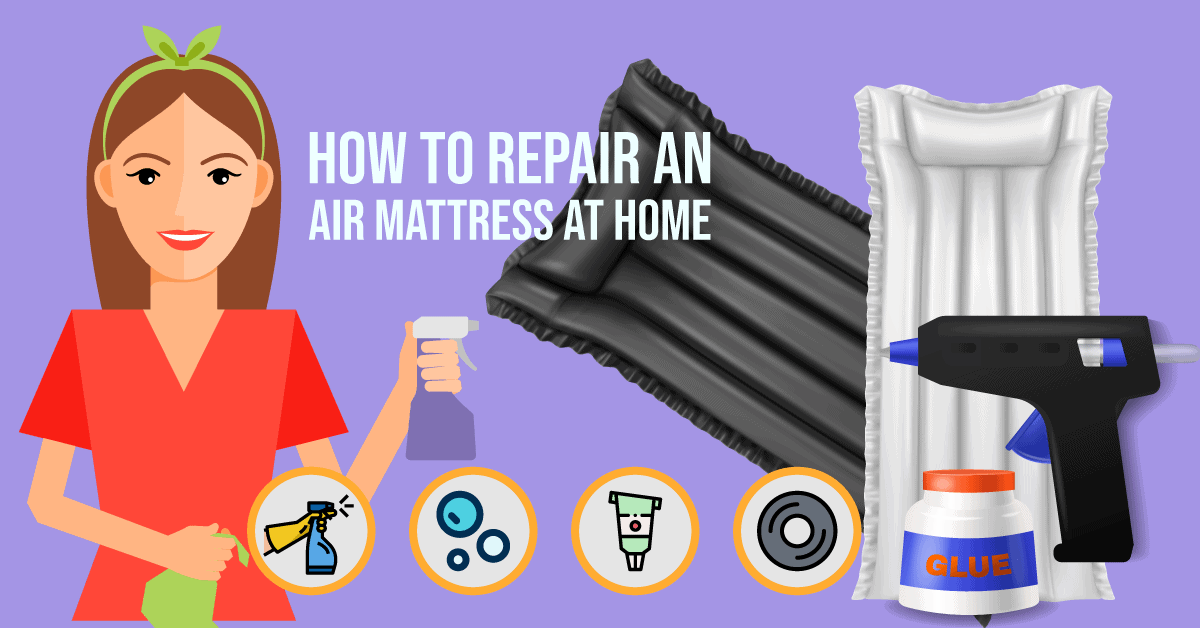
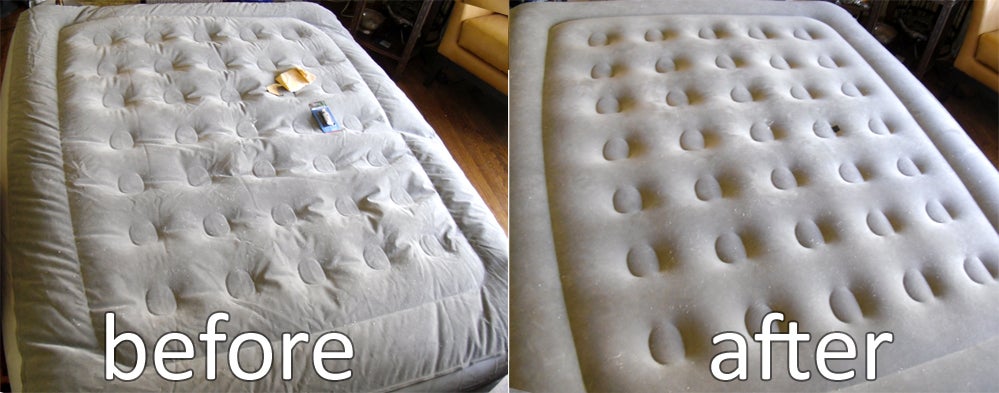
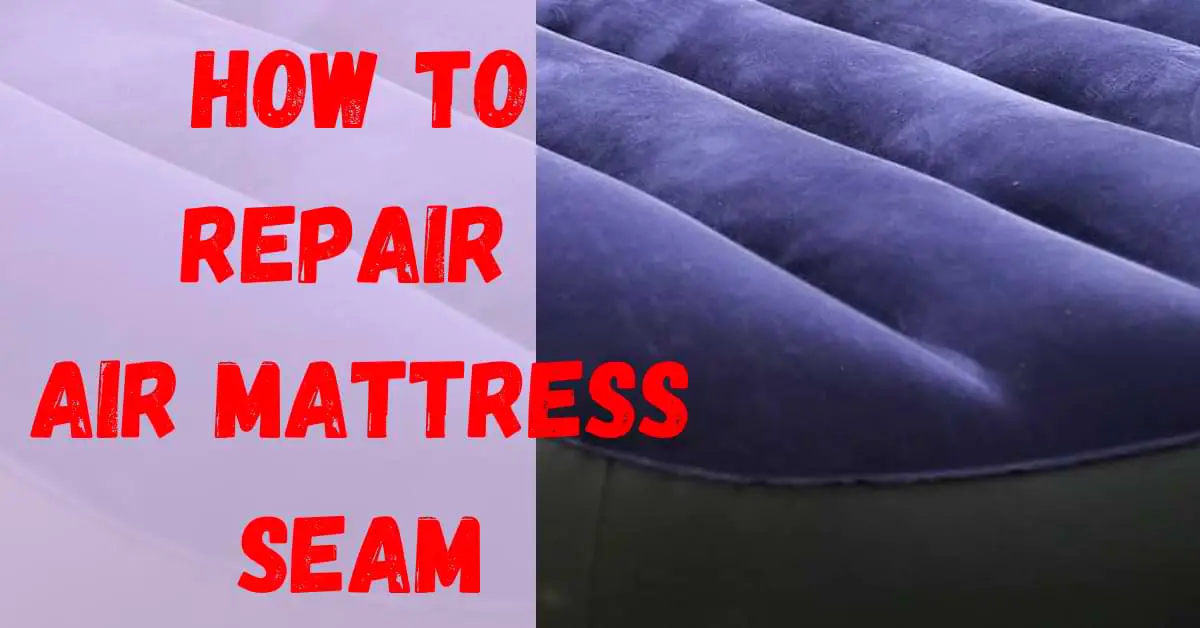
If you're an avid camper or frequently have guests staying over, a good air mattress is essential. However, even the best air mattresses are prone to leaks, particularly along the seams. Don't worry though, with a few simple steps you can easily repair your air mattress and get back to a good night's sleep. Here's how:How to Repair an Air Mattress Seam


How to Repair an Air Mattress Seam


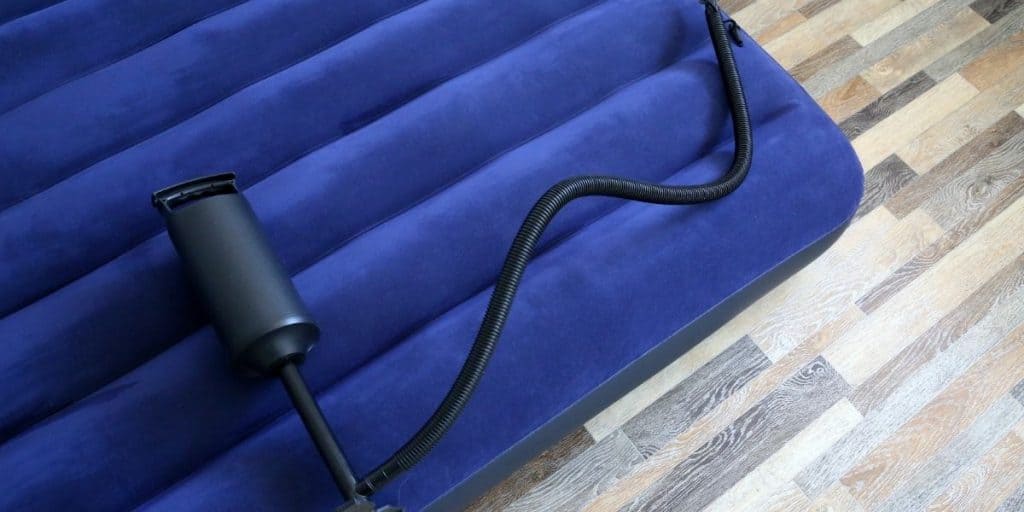

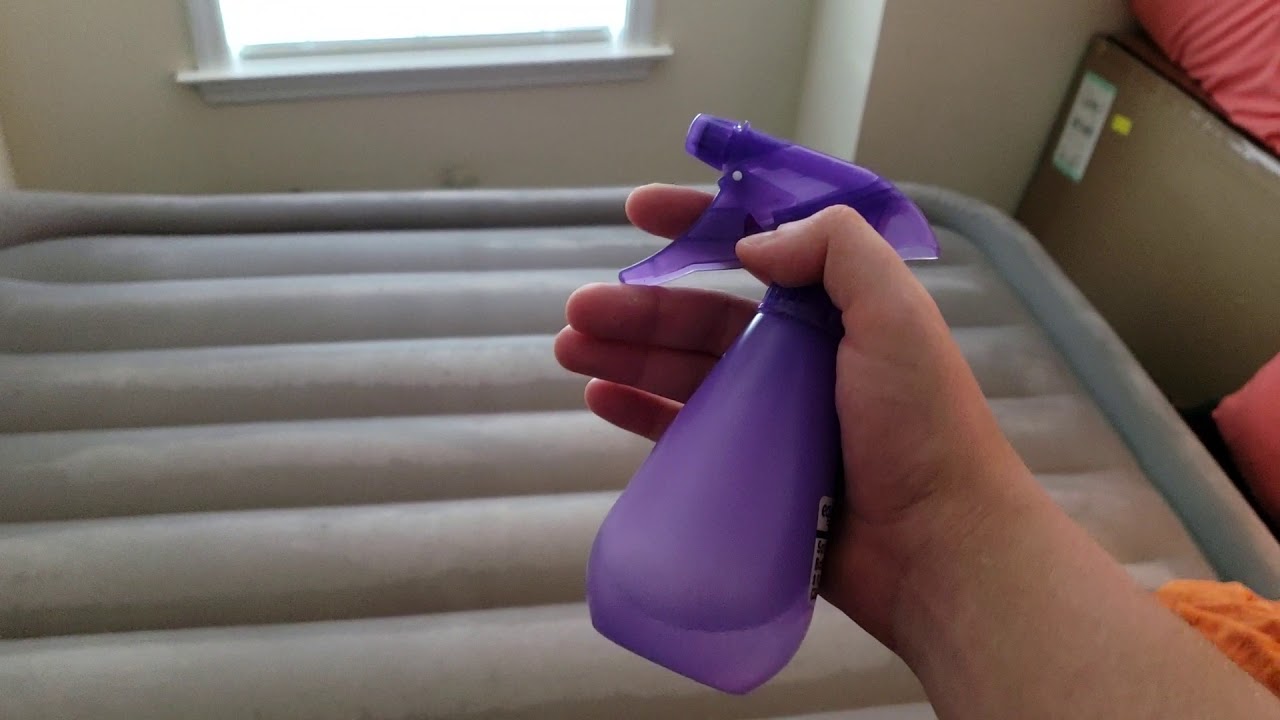
The first step to repairing a leaky seam on your air mattress is to locate the source of the leak. Inflate your mattress and listen for any hissing sounds or feel for any escaping air. Once you have identified the area, mark it with a piece of tape or a marker.Fixing a Leaky Seam on an Air Mattress


Fixing a Leaky Seam on an Air Mattress


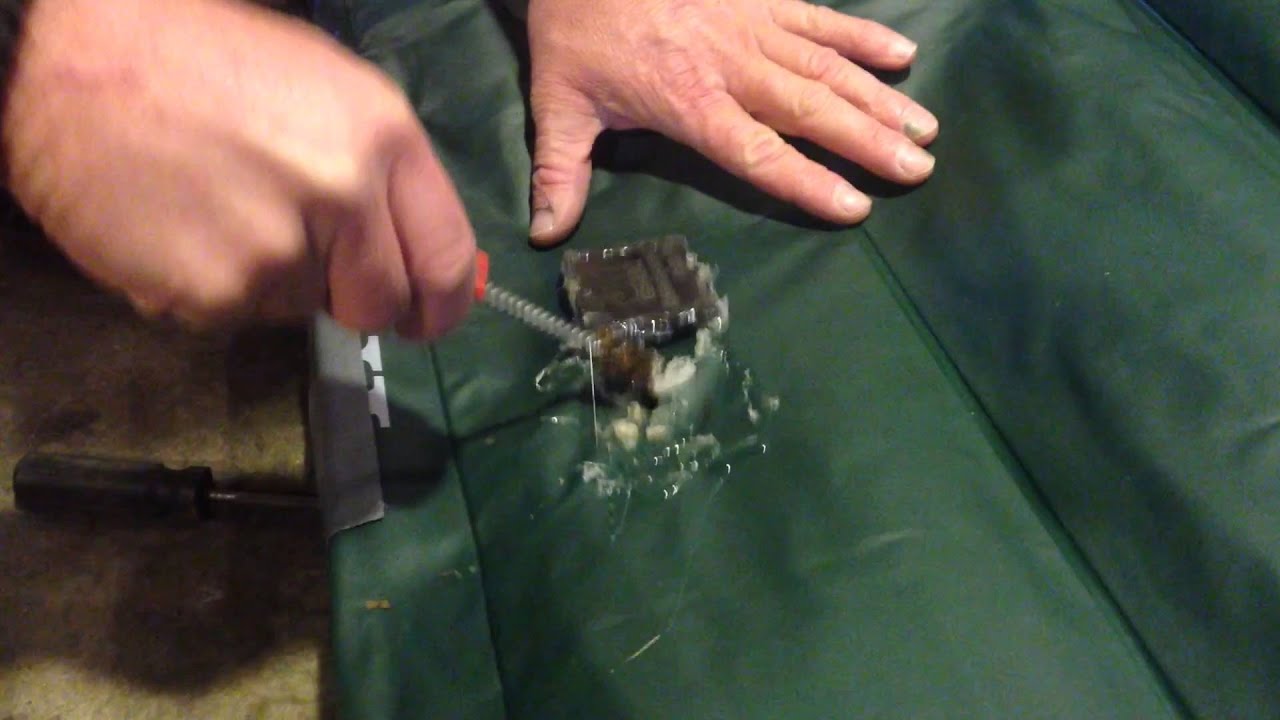
Now that you have located the leak, it's time to start the repair process. For a quick and easy fix, you can use a patch kit specifically designed for air mattresses. These kits usually come with adhesive patches that you can simply apply over the leak.DIY Air Mattress Seam Repair


DIY Air Mattress Seam Repair


If you don't have a patch kit on hand, you can also use duct tape as a temporary solution. Cut a piece of duct tape that is slightly larger than the leak and firmly press it onto the area. This will hold up for a few uses, but it's not a long-term solution.Quick and Easy Air Mattress Seam Fix

Quick and Easy Air Mattress Seam Fix


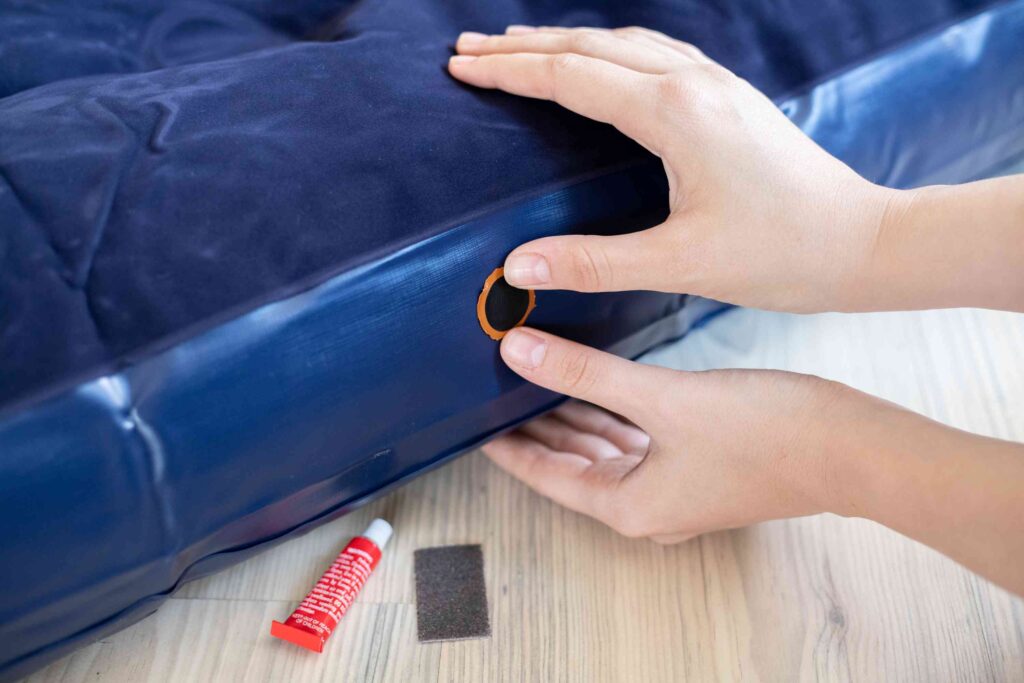
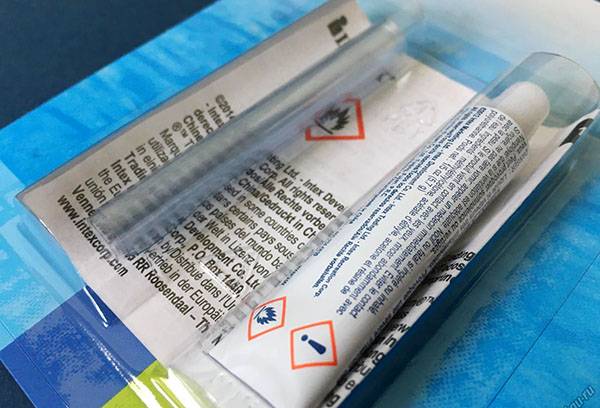
If you want a more permanent solution, you can repair the seam of your air mattress using a vinyl repair adhesive. This type of adhesive is specifically designed for repairing vinyl materials and can easily seal the leak in your air mattress.Seam Repair for Your Air Mattress


Seam Repair for Your Air Mattress


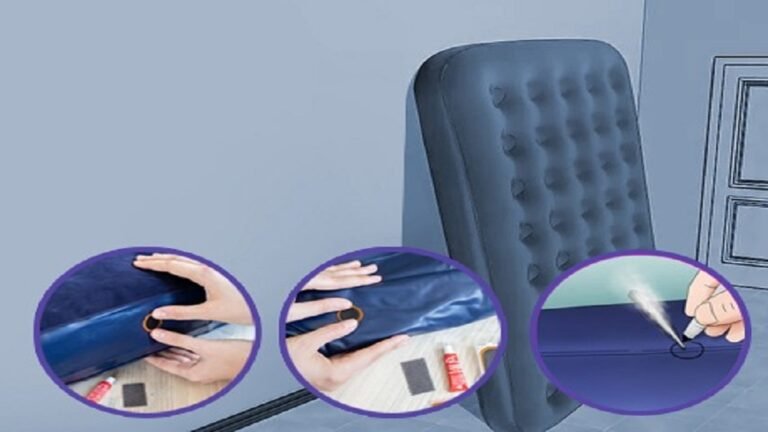
To repair the seam of your air mattress using a vinyl repair adhesive, follow these steps:Step-by-Step Guide to Fixing an Air Mattress Seam


Step-by-Step Guide to Fixing an Air Mattress Seam


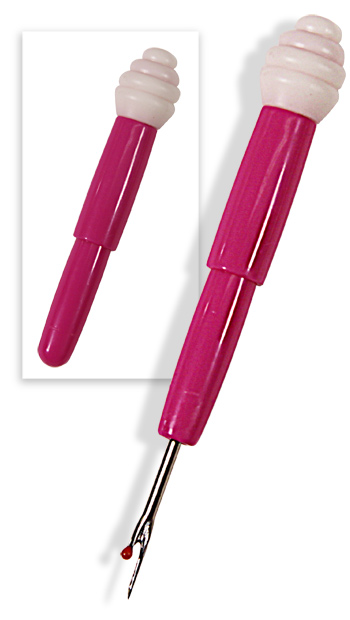
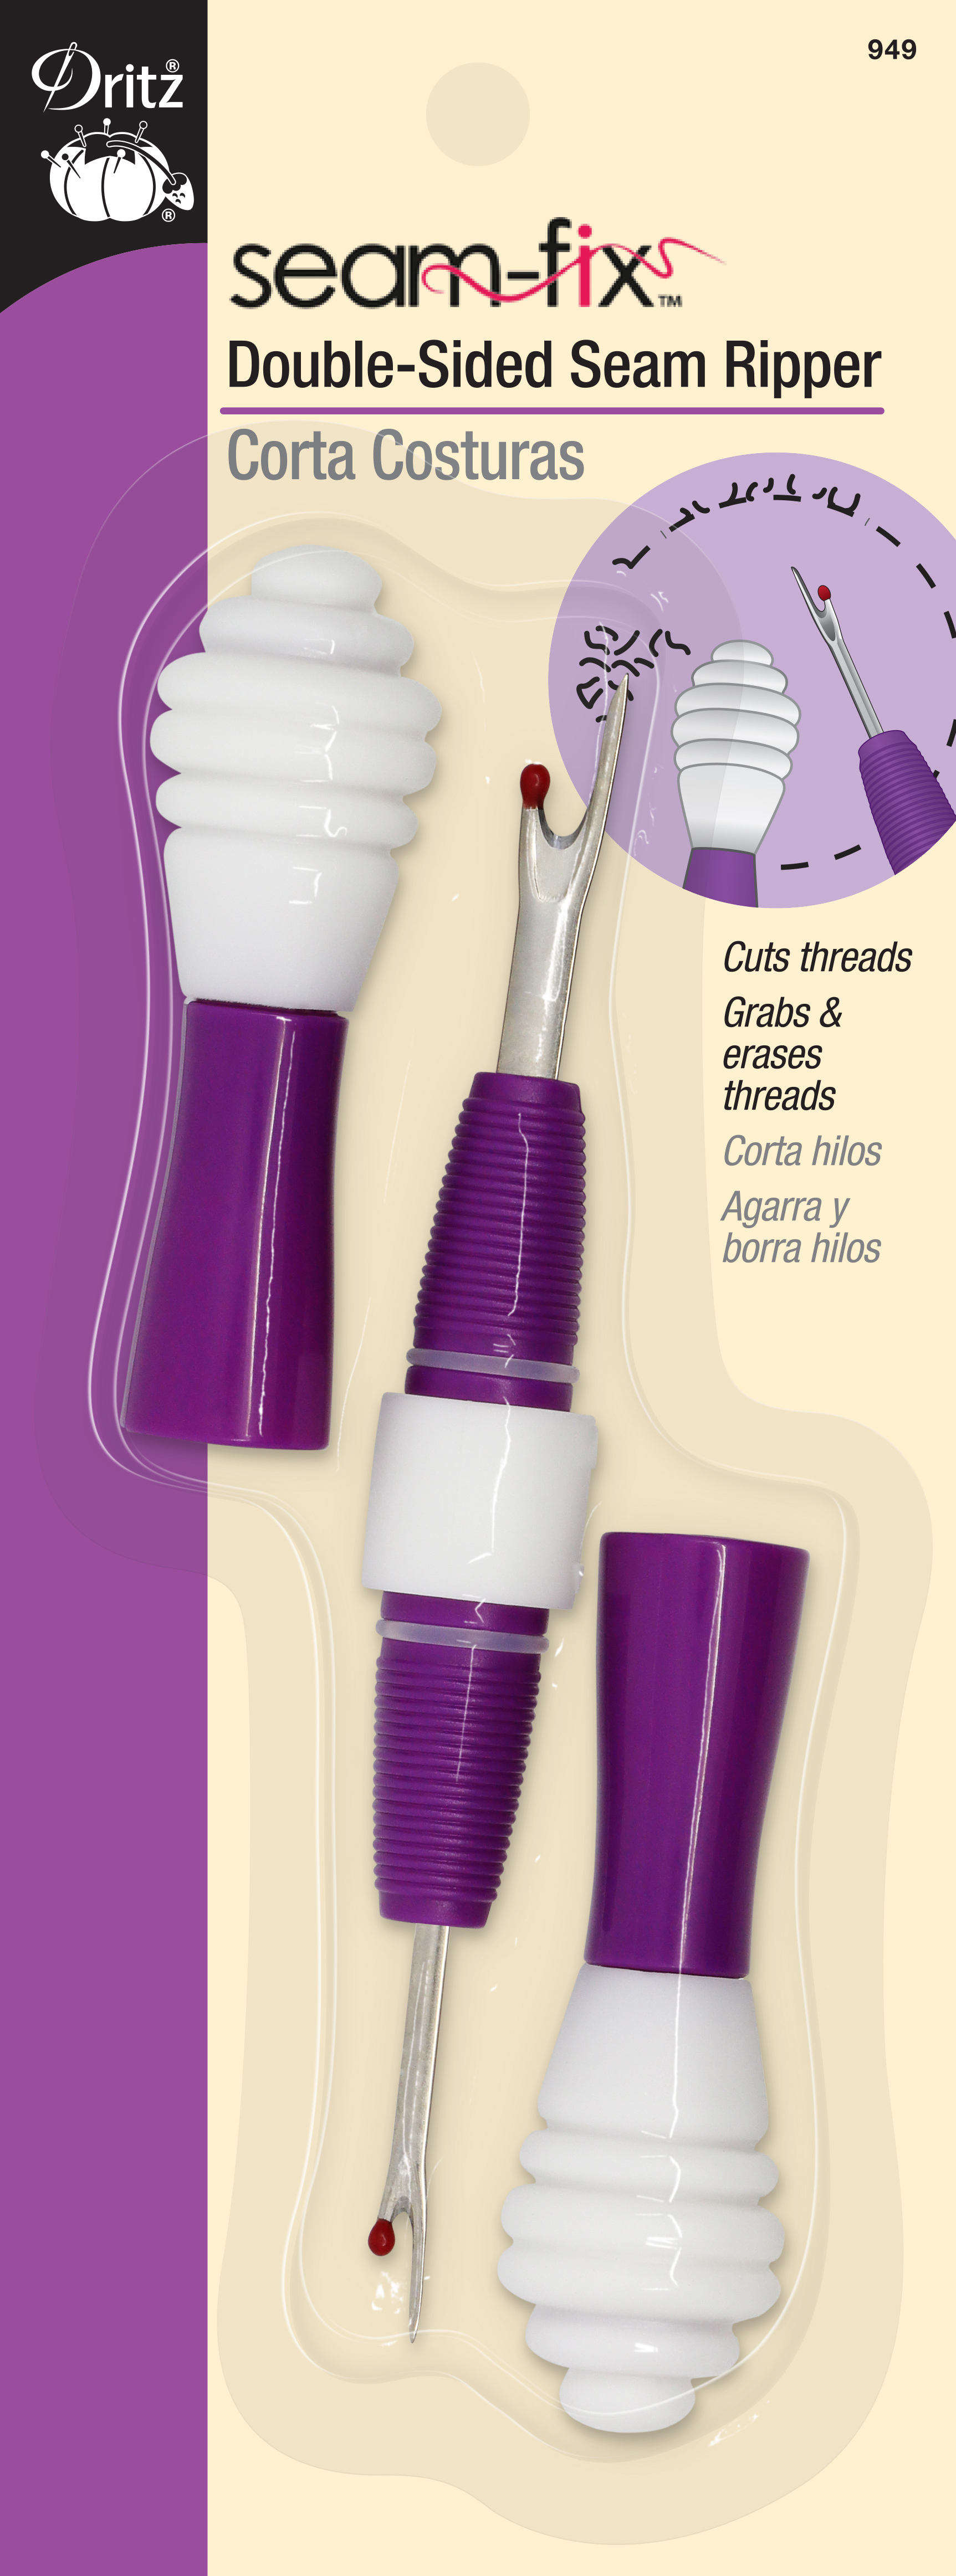
To complete the repair process, you will need the following tools and materials:Tools and Materials Needed for Repairing an Air Mattress Seam


Tools and Materials Needed for Repairing an Air Mattress Seam
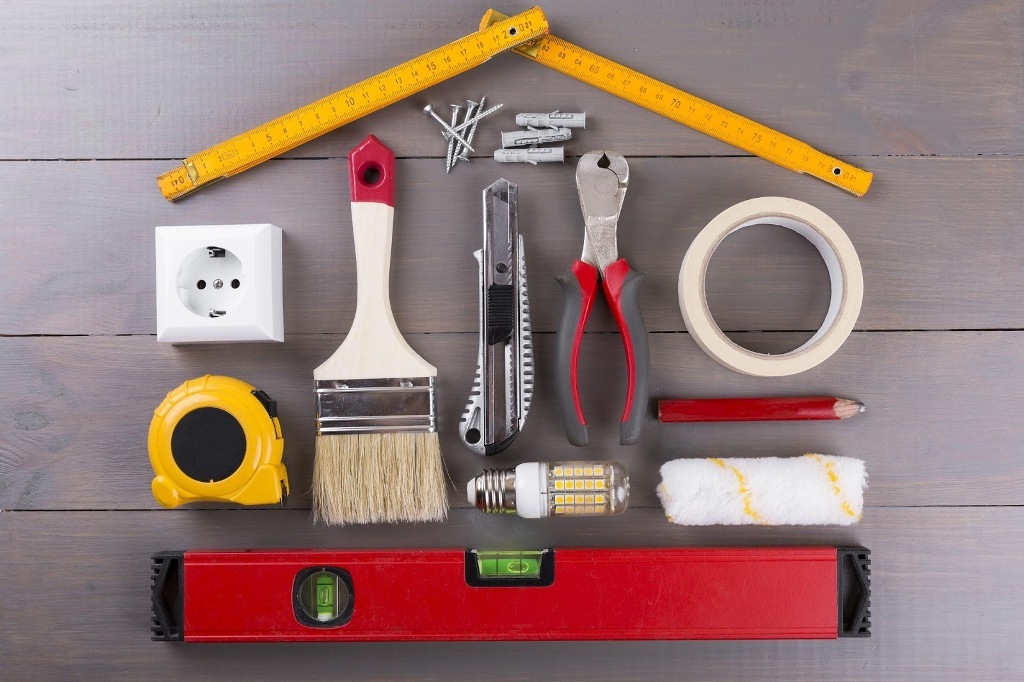

:max_bytes(150000):strip_icc()/tools-and-electrical-material-on-a-white-table-top-general-1129160928-1ffe503d7ba646c99e086a466ce882cb.jpg)

While repairing a leaky seam on your air mattress is relatively easy, it's always better to prevent damage in the first place. Here are a few tips to help prevent seam damage on your air mattress:Tips for Preventing Seam Damage on Your Air Mattress


Tips for Preventing Seam Damage on Your Air Mattress


There are a few common causes of air mattress seam leaks, and knowing how to fix them can save you time and money in the long run. Some common causes include:Common Causes of Air Mattress Seam Leaks and How to Fix Them


Common Causes of Air Mattress Seam Leaks and How to Fix Them


If you have tried all the DIY methods and your air mattress still has a leak, it may be time to seek professional help. Some mattress stores offer repair services for air mattresses, or you can take it to a seamstress or tailor to have the seam repaired. Don't let a leaky seam ruin your sleep or outdoor adventures. With these tips and methods, you can easily repair your air mattress and get back to enjoying a comfortable and restful night's sleep.Professional Repair Options for Air Mattress Seams


Professional Repair Options for Air Mattress Seams


Why Properly Repairing an Air Mattress Seam is Essential for a Comfortable Night's Sleep

Invest in a Good Night's Sleep
 Having a good night's sleep is essential for our overall health and well-being. And what better way to ensure a comfortable and restful sleep than by having a sturdy and well-maintained air mattress? However, even the best air mattresses can develop leaks or tears along the seam, causing discomfort and disrupting your sleep. That's why it's important to know how to properly repair these seams to ensure a good night's sleep every time.
Identify the Problem
 The first step in repairing an air mattress on the seam is identifying the problem. Before jumping into any repairs, it's important to thoroughly inspect the mattress and locate the source of the leak. This could be a small puncture or a larger tear along the seam. Once you have identified the problem, you can move on to repairing it.
Gather the Necessary Materials
 To properly repair an air mattress seam, you will need a few essential materials. These include a patch kit specifically designed for air mattresses, rubbing alcohol, sandpaper, and a pair of scissors. It's important to use a patch kit made for air mattresses to ensure a proper and long-lasting repair.
Prepare the Area for Repair
 Before making any repairs, it's important to properly prepare the area around the seam. This includes cleaning the area with rubbing alcohol and lightly sanding it to ensure the patch will adhere properly. This will also help to remove any dirt or debris that may prevent the patch from sticking.
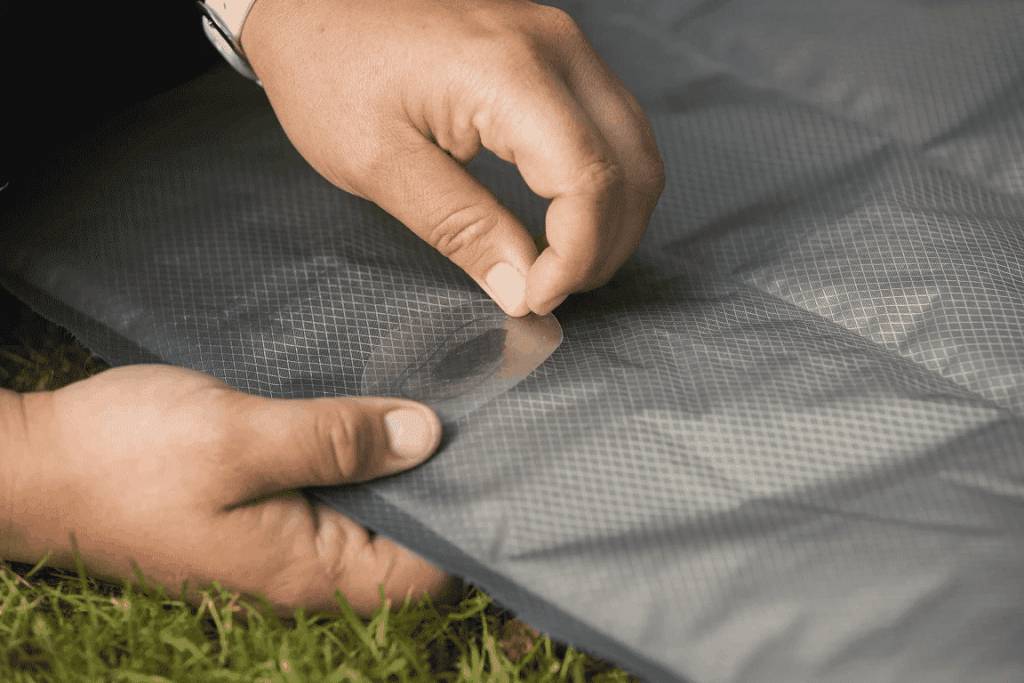
Apply the Patch
 Once the area is properly prepared, it's time to apply the patch. Carefully cut a patch from the repair kit that is slightly larger than the damaged area. Apply a thin layer of glue around the damaged area and place the patch over it, pressing down firmly to ensure it sticks. Allow the patch to dry completely before inflating the mattress again.
Test the Repair
 After the patch has dried, it's important to test the repair before using the mattress. Inflate the mattress and check for any leaks or signs of air escaping. If the patch seems to be holding, you can now enjoy a comfortable and uninterrupted night's sleep on your repaired air mattress.
In Conclusion
 Properly repairing an air mattress on the seam is essential for a comfortable and restful night's sleep. By following these steps and taking the time to properly identify and fix the problem, you can ensure that your air mattress remains in good condition for years to come. So the next time you notice a leak on your air mattress, don't panic. Simply follow these steps and enjoy a peaceful sleep once again.