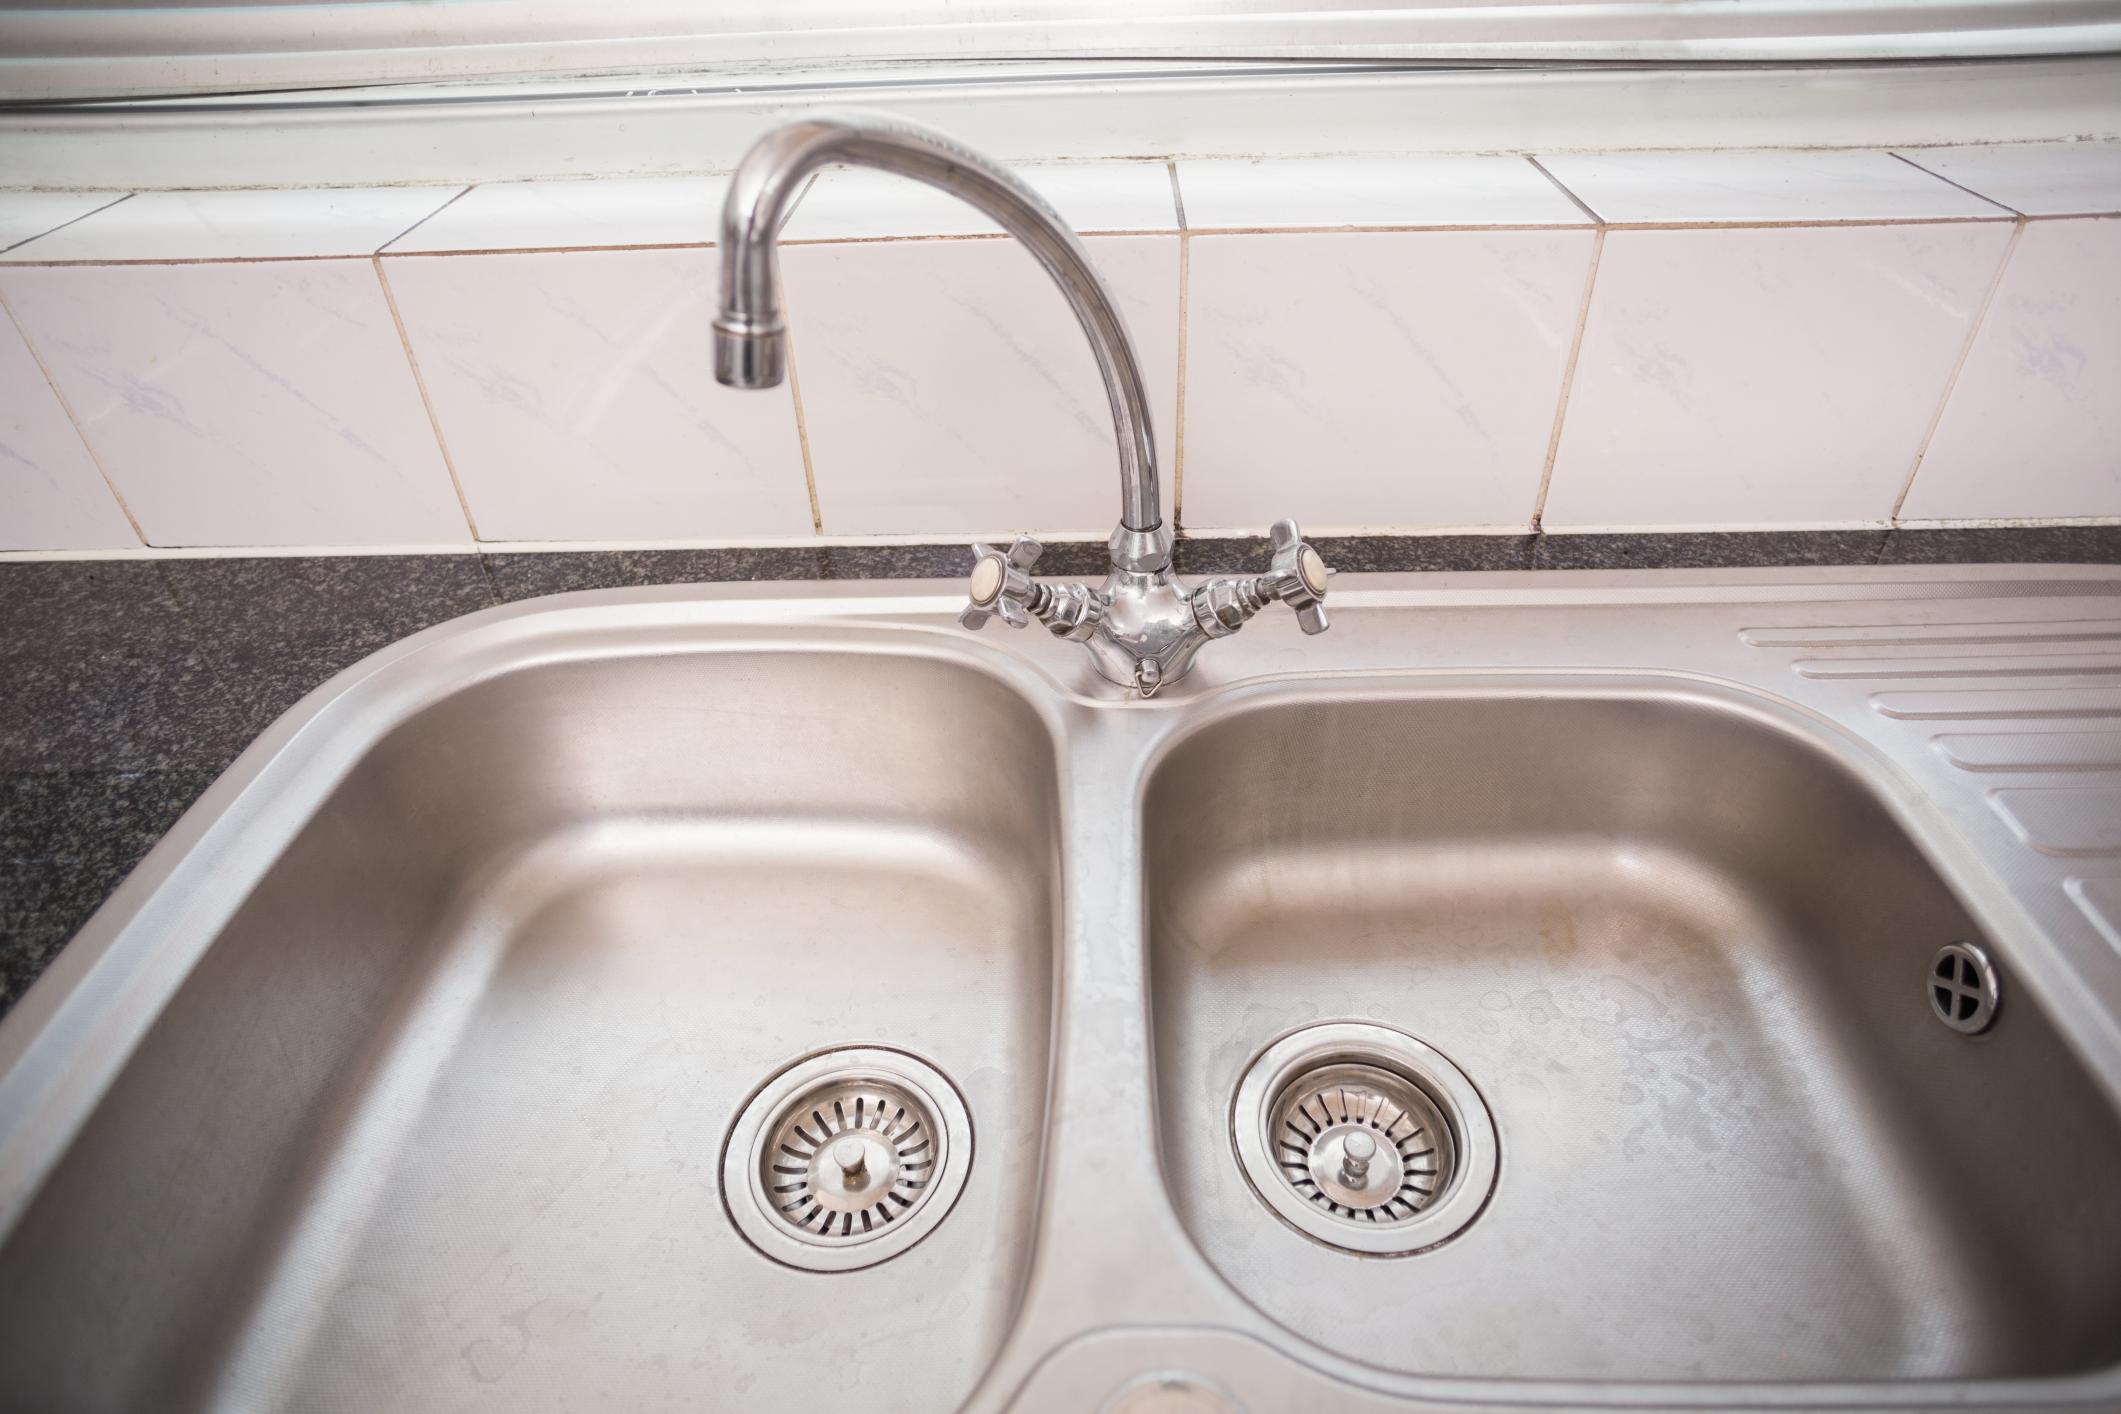
How to Repair a Stained Kitchen Sink
A stained kitchen sink can be an eyesore and can make your entire kitchen look dirty. But don't worry, there are easy ways to repair and remove stains from your sink. Here are 10 tips to help you get rid of those pesky stains and make your kitchen sink look like new again.


How to Repair a Stained Kitchen Sink


How to Remove Stains from a Kitchen Sink
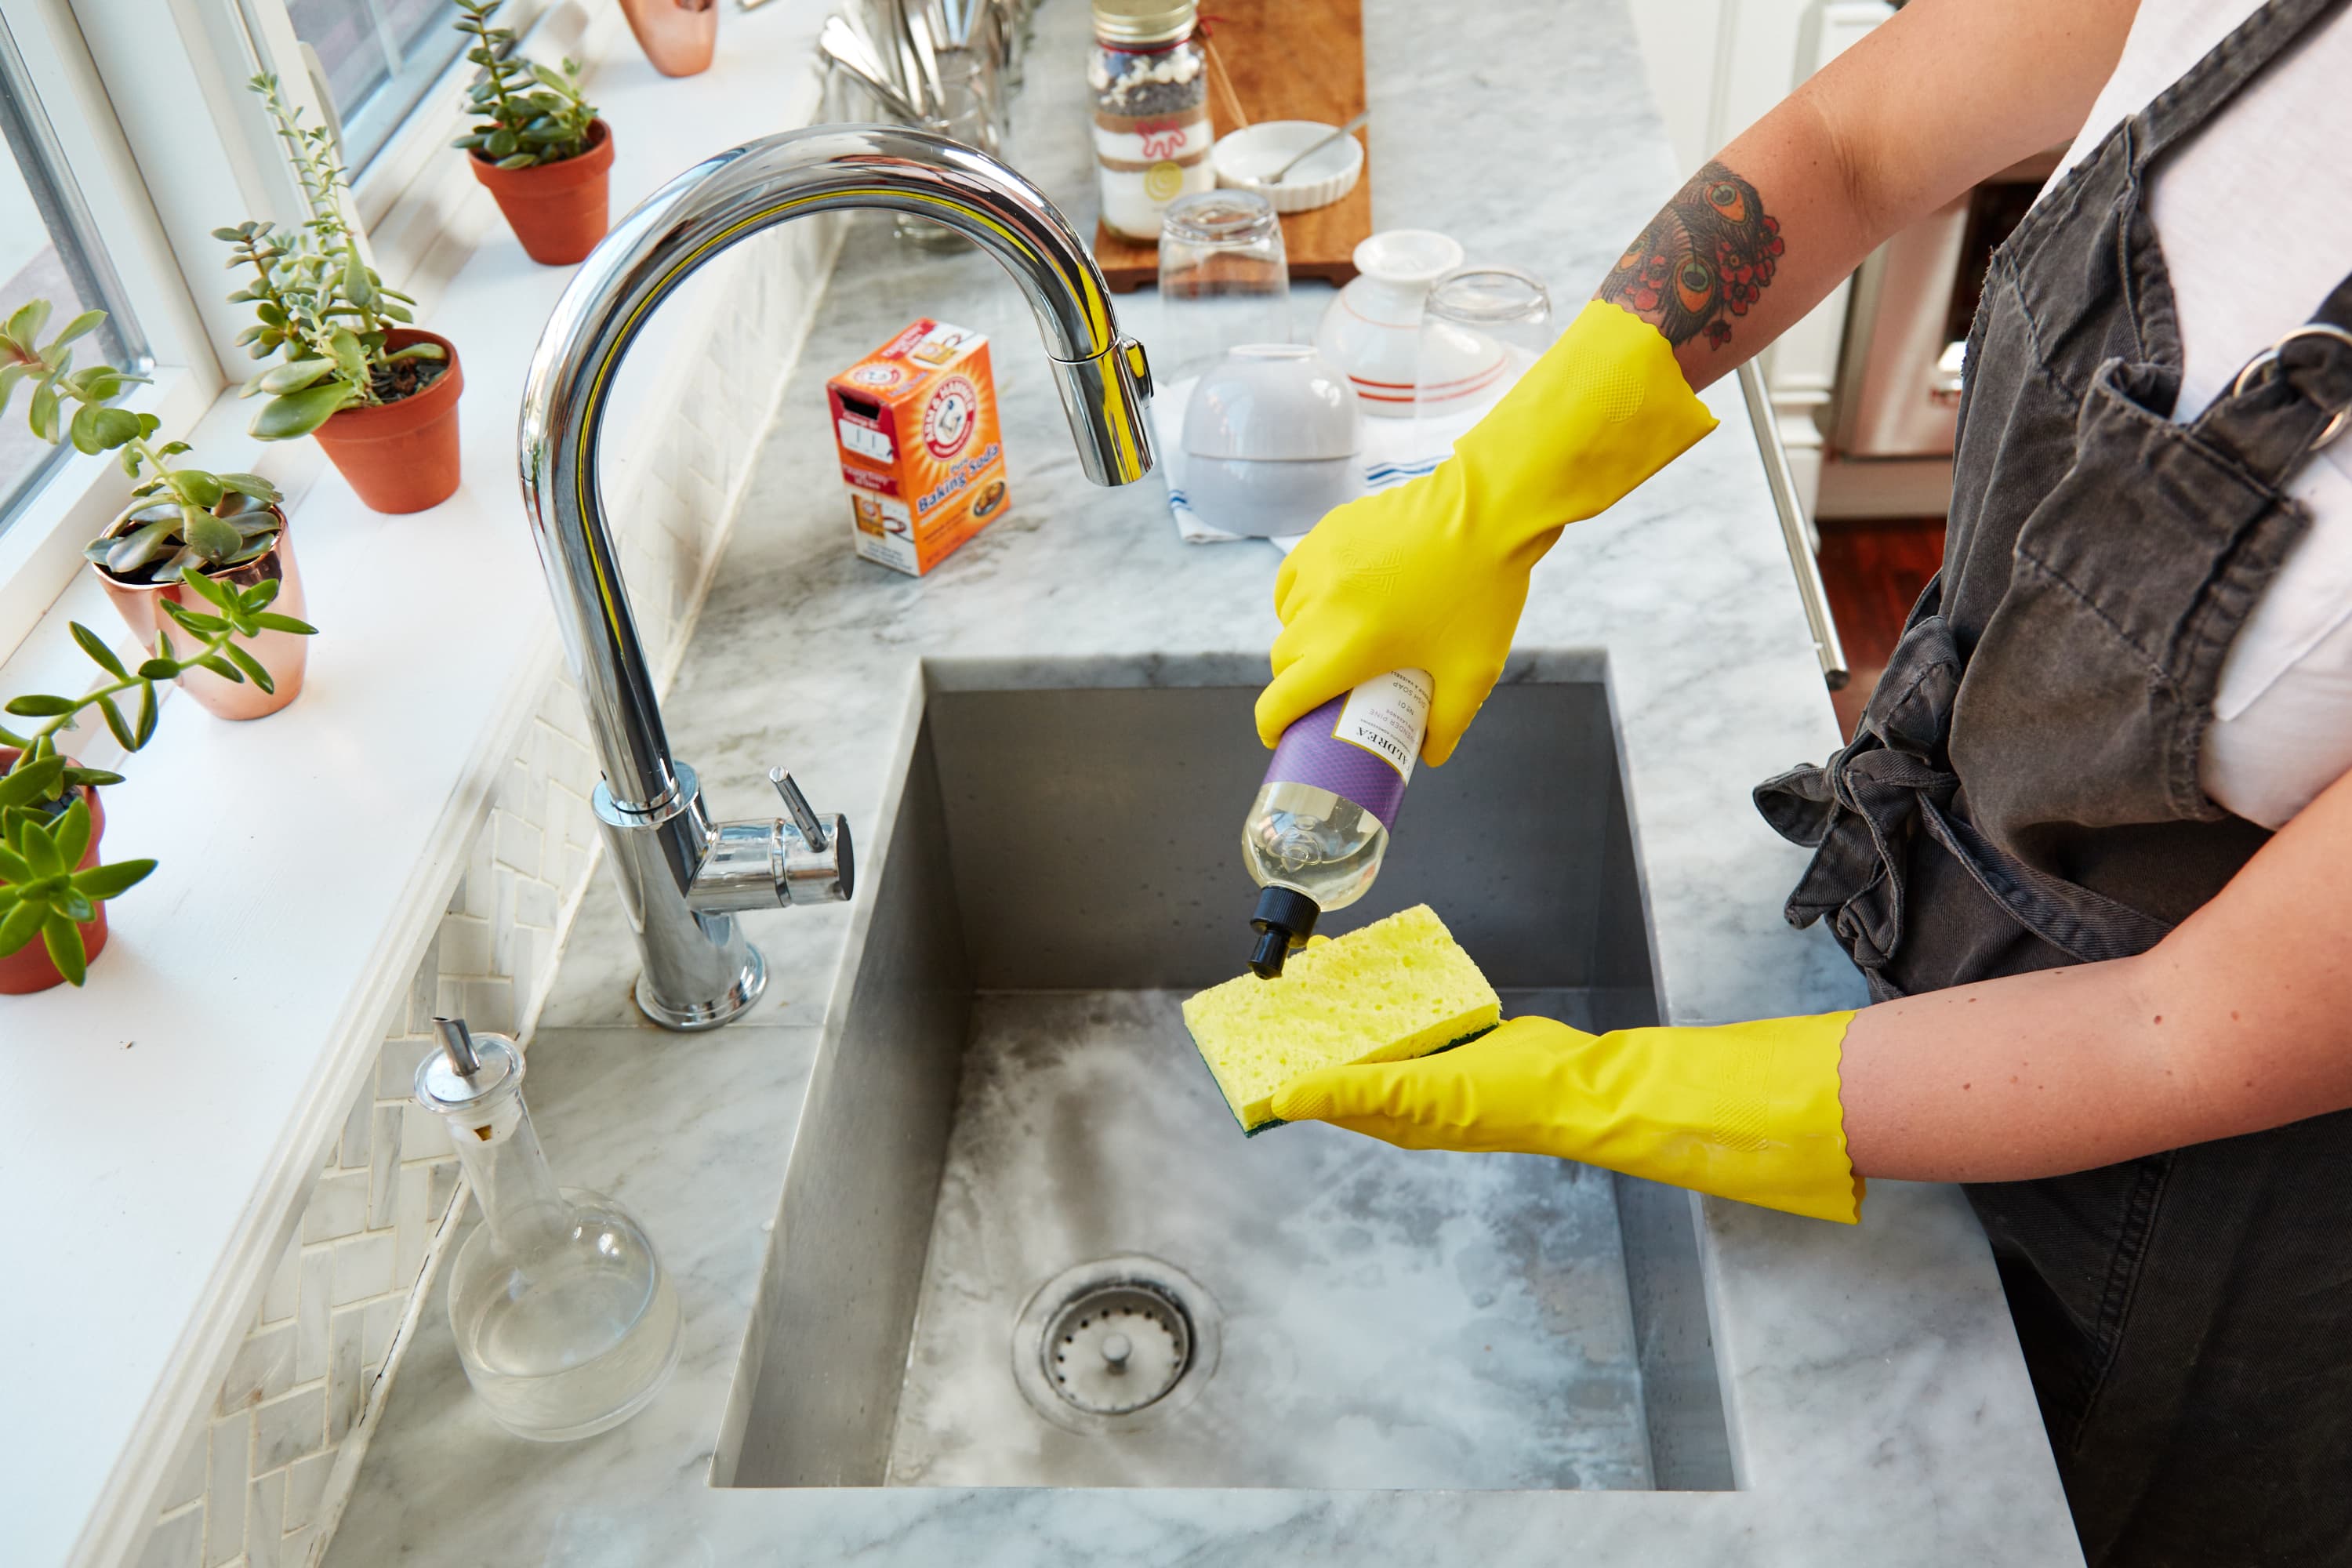
The first step in repairing a stained kitchen sink is to remove the stains. One effective method is to use a mixture of baking soda and vinegar. Sprinkle baking soda over the stained area, then pour vinegar on top. Let it sit for a few minutes before scrubbing with a soft sponge. Rinse with water and dry with a clean cloth.


How to Remove Stains from a Kitchen Sink


DIY Kitchen Sink Stain Removal
If you don't have baking soda and vinegar on hand, there are other DIY methods you can try. Lemon juice is a natural bleaching agent and can help remove stains from your sink. Simply cut a lemon in half and rub it over the stained area. Let it sit for a few minutes before rinsing and drying.


DIY Kitchen Sink Stain Removal


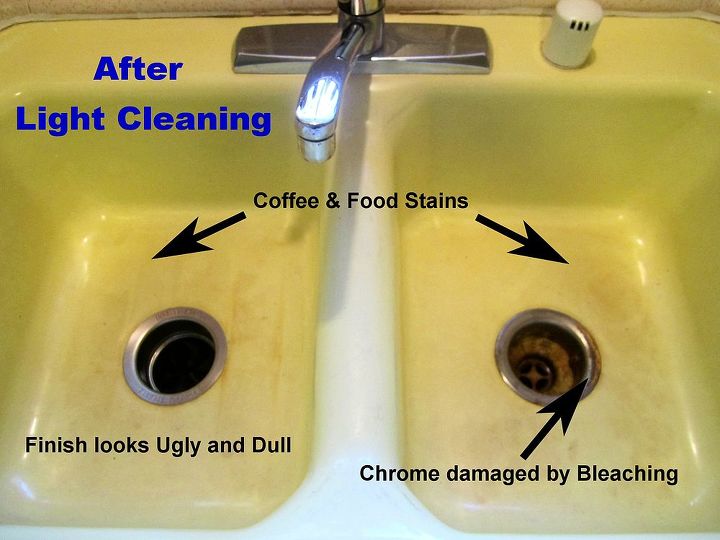
Fixing a Stained Kitchen Sink
If your sink is made of porcelain or enamel, you can try using a mild abrasive cleaner to remove stains. Be sure to test it on a small inconspicuous area first to make sure it won't damage the surface. Apply the cleaner with a soft cloth and scrub gently in a circular motion. Rinse thoroughly and dry.


Fixing a Stained Kitchen Sink


Easy Kitchen Sink Stain Removal Tips
For tough stains, you may need to use a more powerful cleaner. Look for a product specifically designed for removing stains from sinks. Follow the instructions carefully and be sure to wear gloves to protect your hands. If the stain is still there, you may need to repeat the process or try a different product.


Easy Kitchen Sink Stain Removal Tips


Removing Tough Stains from a Kitchen Sink
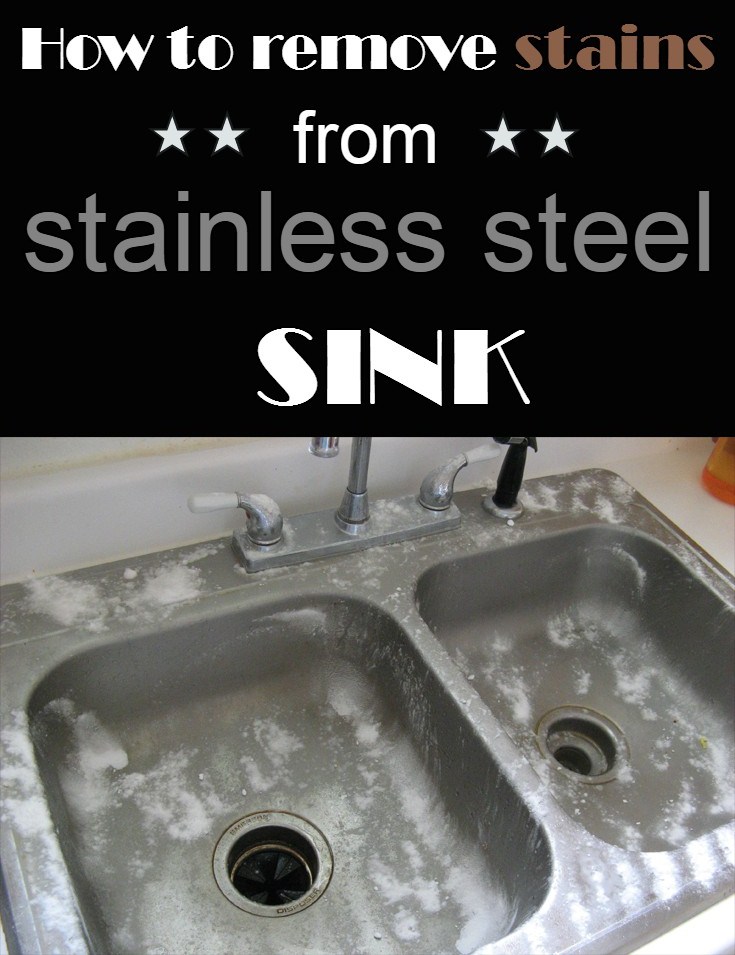
If your sink is stainless steel, you can use a mixture of equal parts water and ammonia to remove stains. Apply the mixture with a soft cloth and scrub gently. Rinse thoroughly and dry with a clean cloth. Be sure to work in a well-ventilated area and wear gloves to protect your skin.


Removing Tough Stains from a Kitchen Sink


Steps to Repair a Stained Kitchen Sink
If none of the above methods work, you may need to resort to using a commercial rust remover. Be sure to follow the instructions carefully and use caution as these products can be harsh and may damage your sink if used incorrectly. Always wear gloves and work in a well-ventilated area.


Steps to Repair a Stained Kitchen Sink


Kitchen Sink Stain Repair Guide
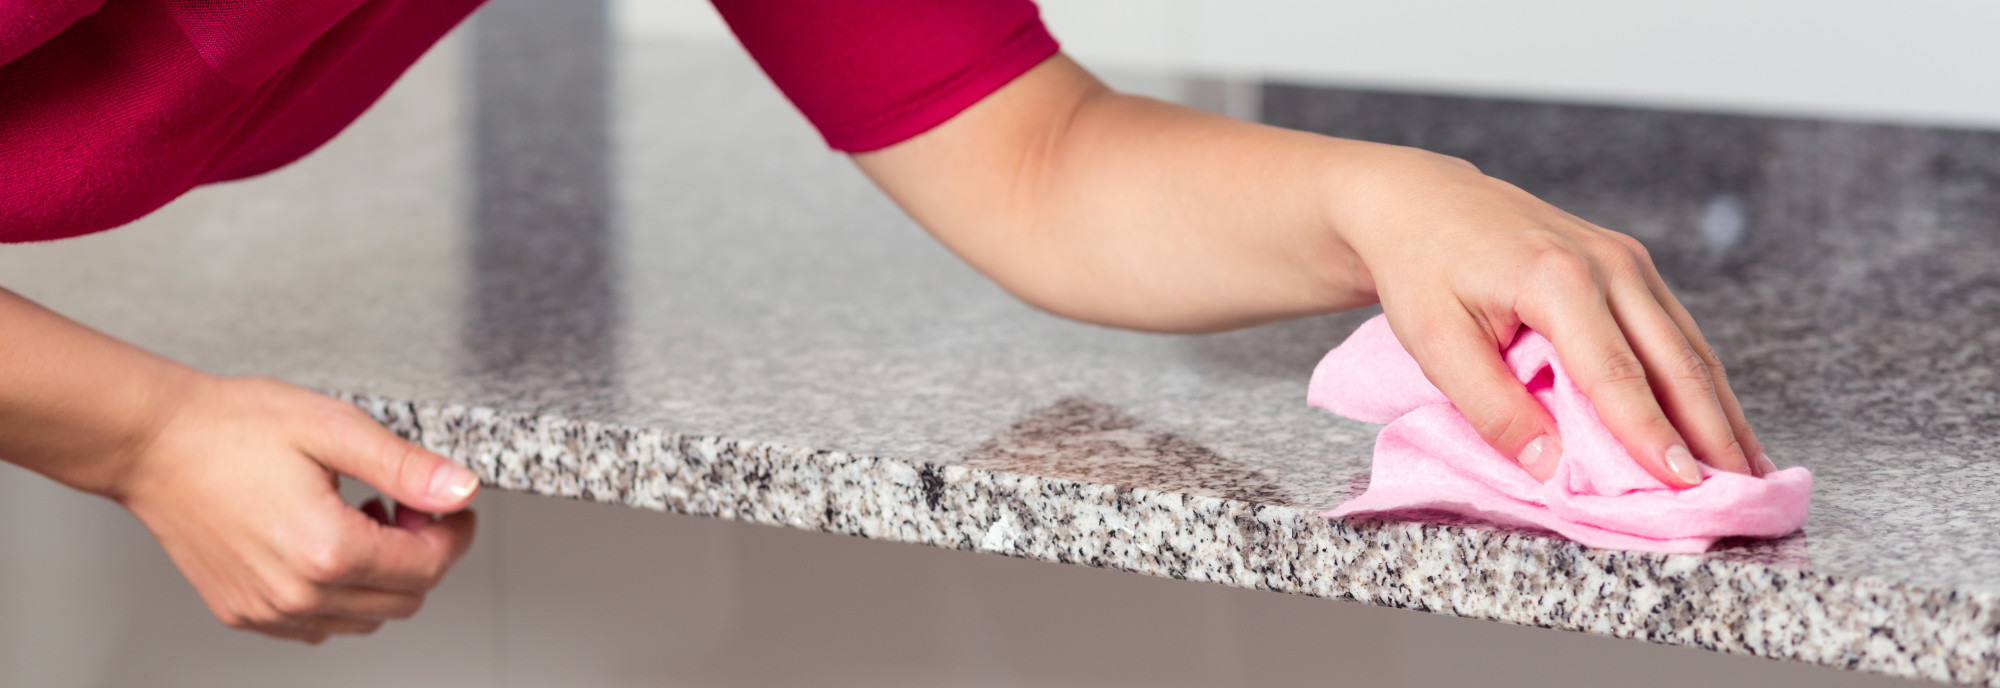
Prevention is key when it comes to keeping your kitchen sink stain-free. To avoid future stains, be sure to rinse your sink after each use and wipe it down with a clean cloth. If you have hard water, you may also want to invest in a water softener or use a mixture of equal parts water and vinegar to prevent mineral buildup.


Kitchen Sink Stain Repair Guide


Effective Methods for Removing Kitchen Sink Stains
If your sink is still stained after trying these methods, you may need to consider getting it professionally refinished. A professional can sand down the surface and apply a new finish, making your sink look like new again. This option may be more expensive, but it is a long-term solution for stubborn stains.


Effective Methods for Removing Kitchen Sink Stains


:max_bytes(150000):strip_icc()/how-to-clean-a-kitchen-sink-and-drain-02-5660035-7a630bc36f2c401bbe412bbe85937ff3.jpg)


How to Fix a Stained Kitchen Sink with Household Items
If you prefer to use household items to fix your stained sink, there are a few other options you can try. Club soda can be effective in removing stains from stainless steel sinks. Simply pour it over the stained area and let it sit for a few minutes before rinsing and drying.
Another household item that can help remove stains is cream of tartar. Mix it with a little water to form a paste and apply it to the stained area. Let it sit for a few minutes before scrubbing with a soft cloth. Rinse and dry.
In conclusion, a stained kitchen sink is a common problem that can easily be fixed with the right methods. Whether you choose to use DIY solutions or seek professional help, these tips will help you get rid of those unsightly stains and keep your sink looking clean and shiny.

How to Fix a Stained Kitchen Sink with Household Items


Efficient Ways to Repair Your Kitchen Sink Stained

Why Do Kitchen Sinks Get Stained?
 Kitchen sinks are an essential part of our daily routine, and they are constantly exposed to various substances such as food, soap, and cleaning products. Over time, the accumulation of these substances can cause your kitchen sink to become stained. These stains can make your sink look dirty and unsanitary, and they can be challenging to remove. However, with the right tools and techniques, you can easily repair your kitchen sink stained and restore its original shine.
How to Repair Kitchen Sink Stained?
 Step 1: Identify the Type of Stain
The first step in repairing your kitchen sink stained is to identify the type of stain. Is it a rust stain, food stain, or mineral stain? Different types of stains require different cleaning methods, so it is crucial to determine the cause of the stain before proceeding with the repair.
Step 2: Gather the Necessary Tools
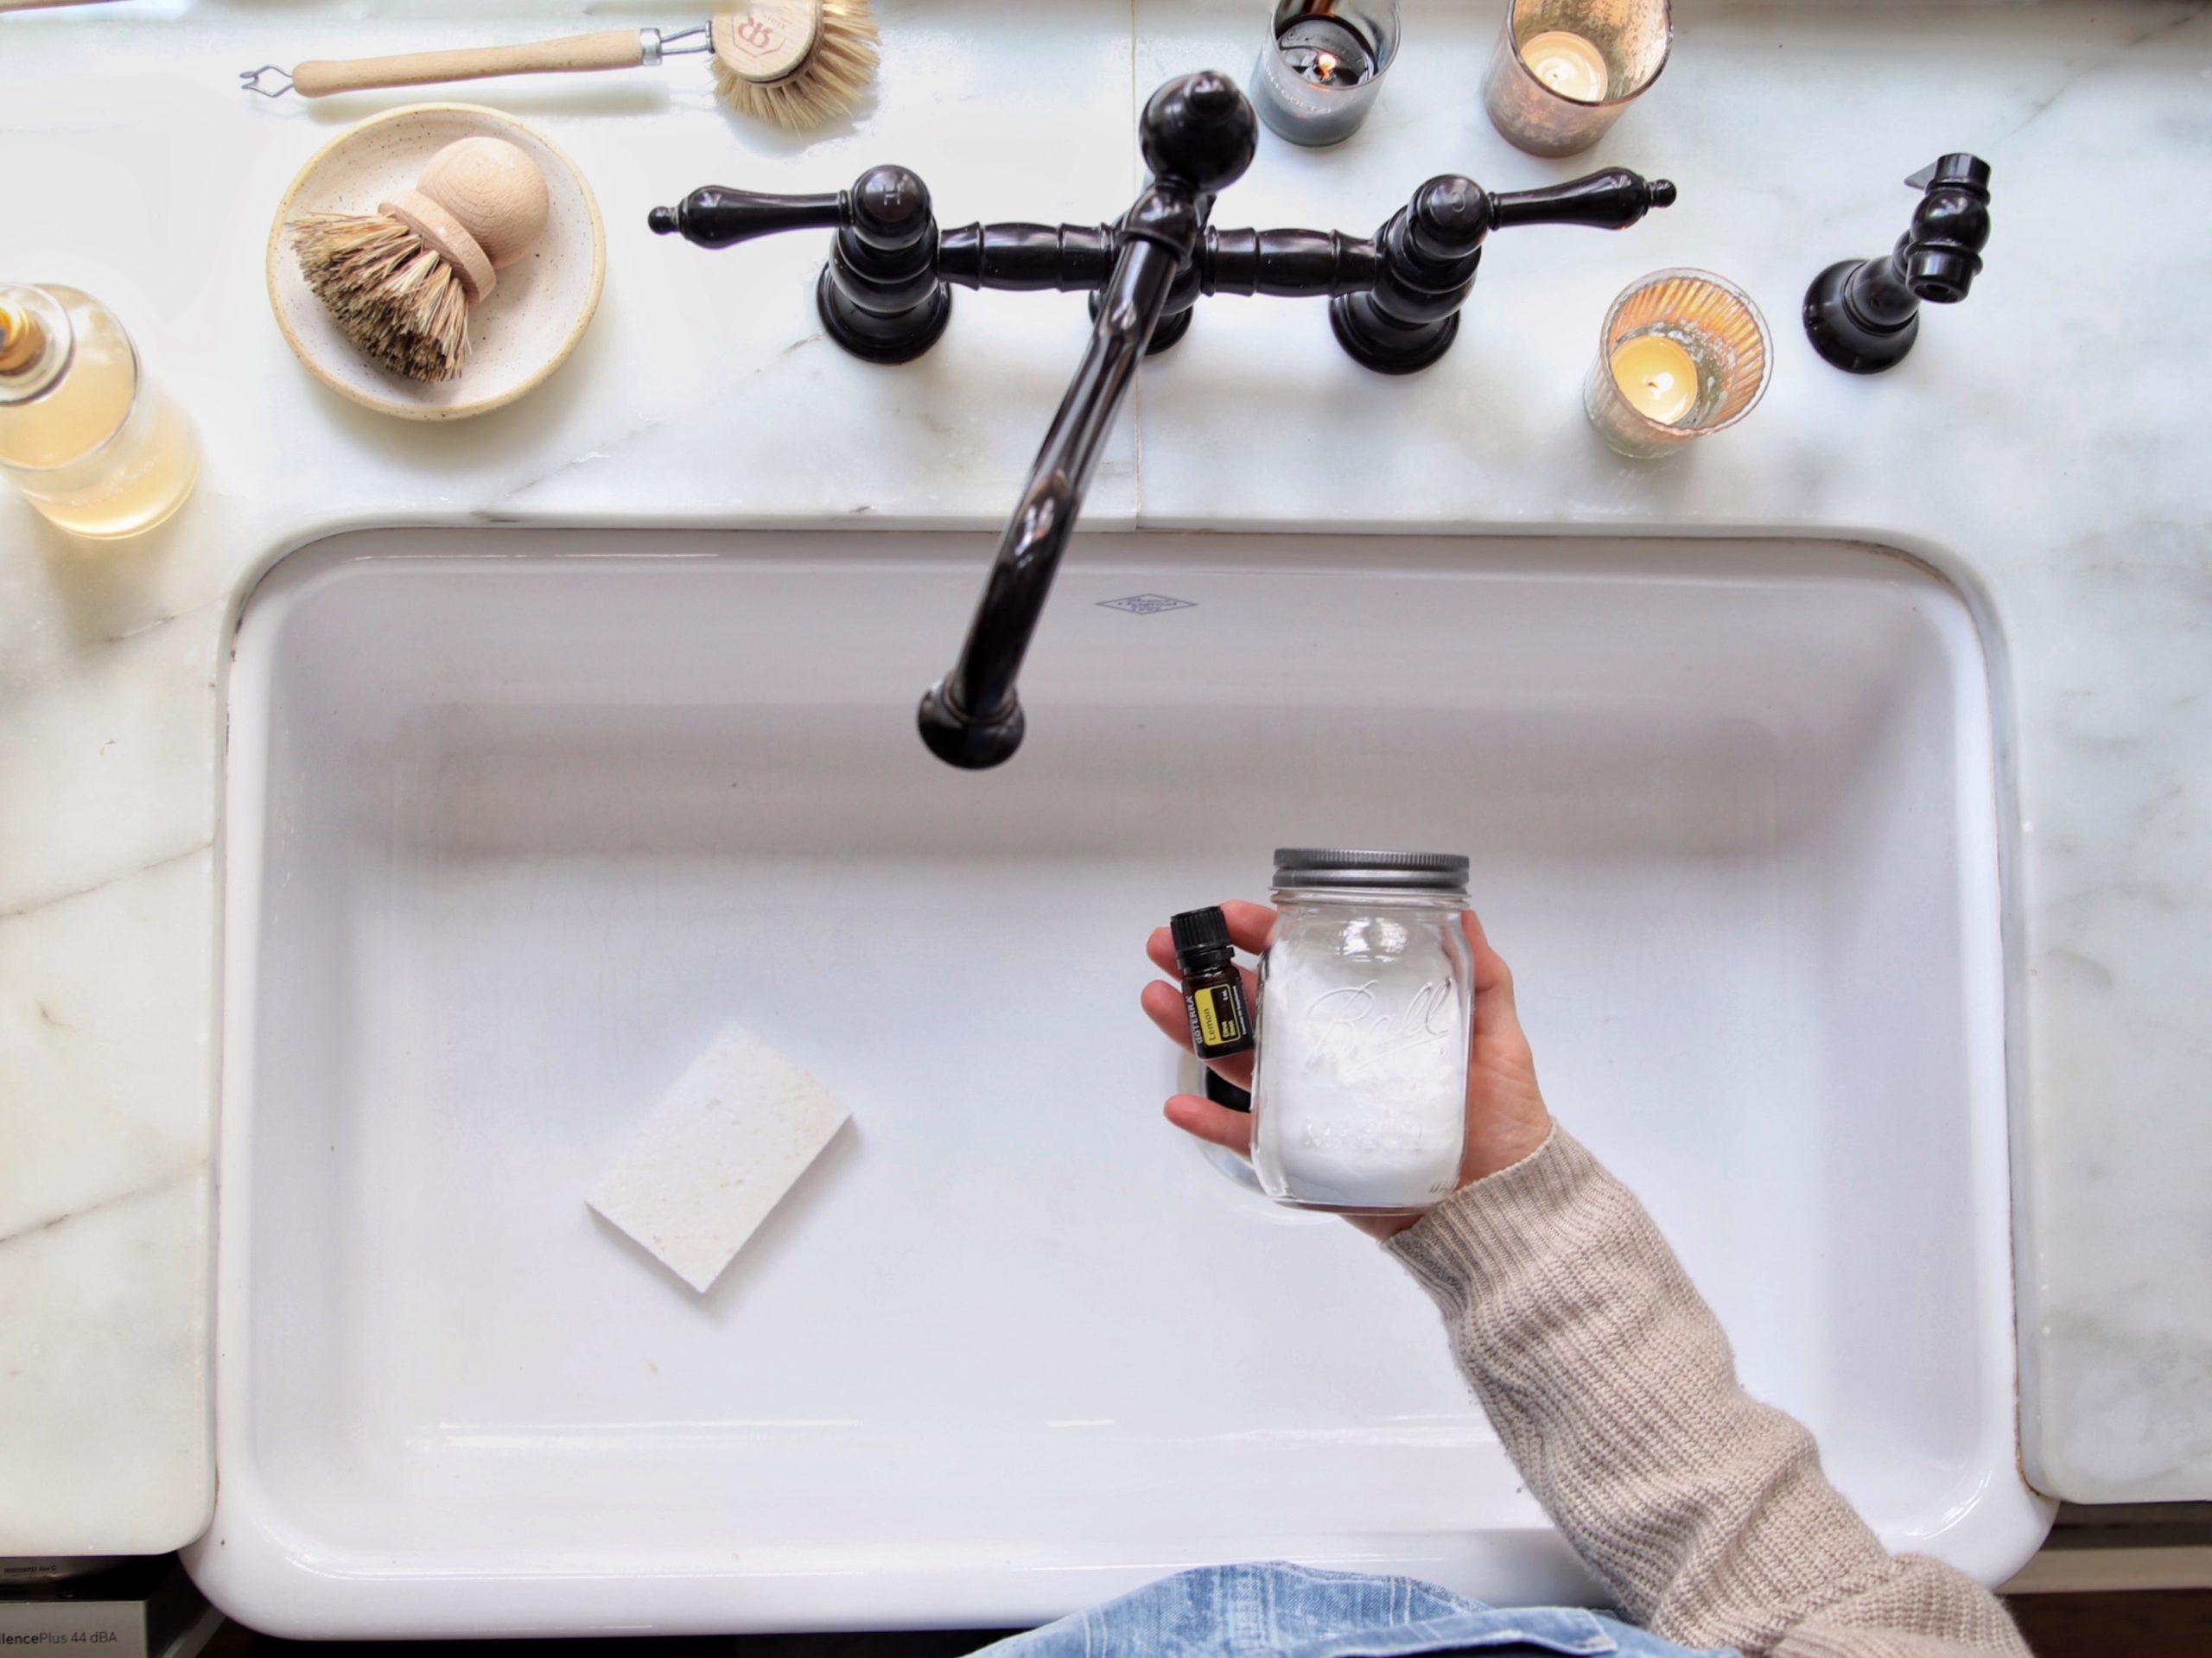
To effectively remove stains from your kitchen sink, you will need some essential tools such as a sponge, baking soda, white vinegar, and a soft cloth. These items are readily available at your local grocery store and are safe for use on most sink materials.
Step 3: Use Natural Cleaning Solutions
When it comes to removing stains from your kitchen sink, natural cleaning solutions are the best option.
Baking soda
and
white vinegar
are two powerful ingredients that can effectively remove stains without causing damage to your sink. Simply mix equal parts of baking soda and white vinegar to create a paste and apply it to the stained area. Let it sit for a few minutes, then scrub with a sponge or cloth. Rinse with water, and you will notice a significant difference in the appearance of your sink.
Step 4: Try a Commercial Stain Remover
If the natural cleaning solutions do not work, you can opt for a commercial stain remover specifically designed for kitchen sinks. Be sure to read the instructions carefully and test the product on a small, inconspicuous area of your sink before using it on the entire surface.
Step 1: Identify the Type of Stain
The first step in repairing your kitchen sink stained is to identify the type of stain. Is it a rust stain, food stain, or mineral stain? Different types of stains require different cleaning methods, so it is crucial to determine the cause of the stain before proceeding with the repair.
Step 2: Gather the Necessary Tools
To effectively remove stains from your kitchen sink, you will need some essential tools such as a sponge, baking soda, white vinegar, and a soft cloth. These items are readily available at your local grocery store and are safe for use on most sink materials.
Step 3: Use Natural Cleaning Solutions
When it comes to removing stains from your kitchen sink, natural cleaning solutions are the best option.
Baking soda
and
white vinegar
are two powerful ingredients that can effectively remove stains without causing damage to your sink. Simply mix equal parts of baking soda and white vinegar to create a paste and apply it to the stained area. Let it sit for a few minutes, then scrub with a sponge or cloth. Rinse with water, and you will notice a significant difference in the appearance of your sink.
Step 4: Try a Commercial Stain Remover
If the natural cleaning solutions do not work, you can opt for a commercial stain remover specifically designed for kitchen sinks. Be sure to read the instructions carefully and test the product on a small, inconspicuous area of your sink before using it on the entire surface.
Prevent Future Stains
 To avoid dealing with stained kitchen sinks in the future, it is essential to take preventative measures. Always wipe down your sink after each use and avoid leaving dirty dishes or standing water in the sink for an extended period. Additionally, consider installing a sink mat to protect the surface from scratches and stains.
Repairing your kitchen sink stained can be a simple and straightforward process with the right tools and techniques. By following the steps outlined above, you can restore the beauty and cleanliness of your sink without breaking a sweat. Remember to take preventative measures to keep your sink looking spotless for years to come.
To avoid dealing with stained kitchen sinks in the future, it is essential to take preventative measures. Always wipe down your sink after each use and avoid leaving dirty dishes or standing water in the sink for an extended period. Additionally, consider installing a sink mat to protect the surface from scratches and stains.
Repairing your kitchen sink stained can be a simple and straightforward process with the right tools and techniques. By following the steps outlined above, you can restore the beauty and cleanliness of your sink without breaking a sweat. Remember to take preventative measures to keep your sink looking spotless for years to come.