A leaky kitchen sink strainer can be a nuisance, causing water to constantly drip into your sink and creating a mess. But fear not, repairing it is actually a simple task that can be easily done with a few tools and some basic knowledge. Follow these steps to learn how to fix a leaky kitchen sink strainer and say goodbye to that pesky drip.1. How to Repair a Leaky Kitchen Sink Strainer


1. How to Repair a Leaky Kitchen Sink Strainer


While you can always call a plumber to fix your leaky kitchen sink strainer, it's also a repair that can be done on your own. Not only is it a more cost-effective option, but it also gives you the satisfaction of fixing a problem yourself. Plus, you'll save time waiting for a professional to come and do the job. So roll up your sleeves and let's get to work!2. DIY Kitchen Sink Strainer Repair


2. DIY Kitchen Sink Strainer Repair


Before we dive into the repair process, let's first understand what causes a kitchen sink strainer to leak. It could be due to loose connections, worn out rubber gaskets, or even a cracked strainer basket. Identifying the root cause will help you determine the appropriate solution. Once you've identified the issue, you can follow these steps to fix the leak.3. Fixing a Leaky Kitchen Sink Strainer


3. Fixing a Leaky Kitchen Sink Strainer


Step 1: Begin by turning off the water supply to your sink. This will prevent any water from flowing while you work on the strainer. Step 2: Place a bucket or a towel underneath the sink to catch any water that may drip during the repair process. Step 3: Use a wrench to loosen the locknut that connects the strainer to the sink. This will allow you to remove the strainer from the sink. Step 4: Once the strainer is removed, check the rubber gasket for any signs of wear and tear. If necessary, replace it with a new one. Step 5: Inspect the strainer basket for any cracks. If you notice any, it's best to replace the entire strainer to ensure a proper fix. Step 6: Clean the area where the strainer connects to the sink to remove any debris or old putty. Step 7: Apply a new layer of plumber's putty around the base of the strainer. This will create a seal between the strainer and the sink. Step 8: Place the strainer back into the sink and tighten the locknut using a wrench. Step 9: Turn the water supply back on and check for any leaks. If there are no leaks, you've successfully repaired your kitchen sink strainer!4. Step-by-Step Guide for Repairing a Leaky Kitchen Sink Strainer
4. Step-by-Step Guide for Repairing a Leaky Kitchen Sink Strainer


Understanding the common causes of a leaky kitchen sink strainer can help you prevent this issue from occurring in the future. Some of the most common causes include loose connections, worn out rubber gaskets, and cracks in the strainer basket. Regularly checking these components and addressing any issues as soon as they arise can help prevent leaks.5. Common Causes of a Leaky Kitchen Sink Strainer


5. Common Causes of a Leaky Kitchen Sink Strainer


Here are the tools and materials you will need to repair a leaky kitchen sink strainer: - Wrench - Plumber's putty - Rubber gasket - Bucket or towel6. Tools and Materials Needed for Repairing a Leaky Kitchen Sink Strainer

6. Tools and Materials Needed for Repairing a Leaky Kitchen Sink Strainer


To prevent a leaky kitchen sink strainer, make sure to regularly check the connections and components for any signs of wear and tear. Tighten any loose connections and replace any worn out parts as needed. Additionally, be mindful of what you put down your sink to avoid any damage to the strainer basket.7. Tips for Preventing a Leaky Kitchen Sink Strainer

7. Tips for Preventing a Leaky Kitchen Sink Strainer

If you've followed the repair process and are still experiencing leaks, there may be an underlying issue that requires professional help. It's best to call a plumber to troubleshoot the problem and ensure a proper fix.8. Troubleshooting a Leaky Kitchen Sink Strainer

8. Troubleshooting a Leaky Kitchen Sink Strainer


While a professional can certainly fix a leaky kitchen sink strainer, it's a repair that can also be done on your own. However, if you're not confident in your DIY skills or are unsure of the cause of the leak, it may be best to call a professional to ensure the issue is properly resolved.9. Professional vs. DIY Kitchen Sink Strainer Repair
9. Professional vs. DIY Kitchen Sink Strainer Repair


If your kitchen sink strainer is constantly leaking despite multiple attempts at repair, it may be time to replace it. Additionally, if you notice any cracks in the strainer basket or significant wear and tear on the rubber gasket, it's best to replace the entire strainer to avoid future leaks. Now that you know how to repair a leaky kitchen sink strainer, you can confidently tackle this common household issue on your own. Just remember to regularly check and maintain your sink strainer to prevent any leaks from occurring in the future.10. How to Know When it's Time to Replace Your Kitchen Sink Strainer


10. How to Know When it's Time to Replace Your Kitchen Sink Strainer


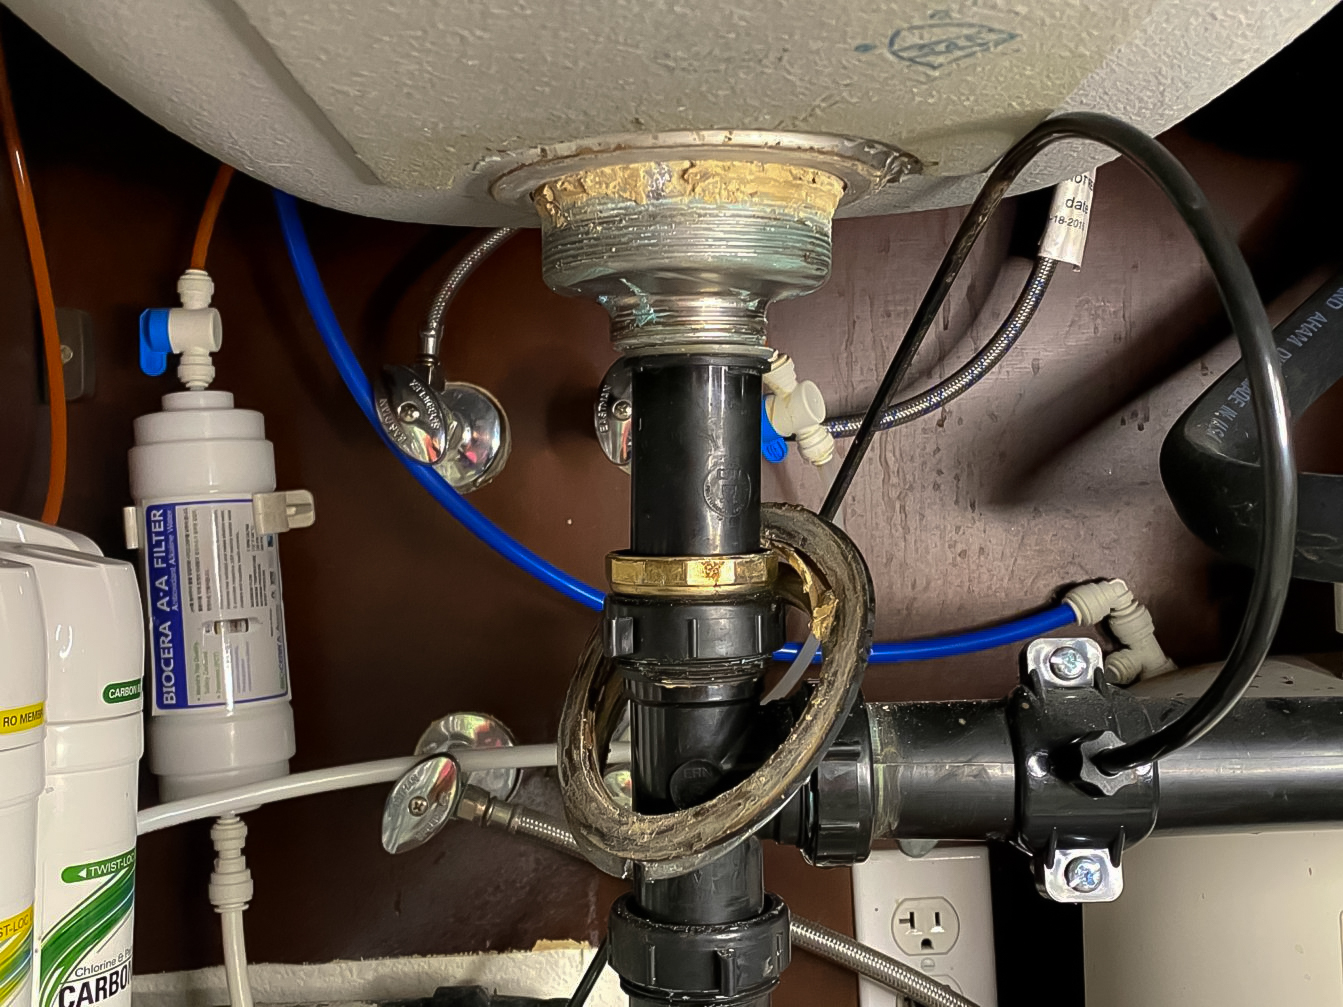
/water-pipe-under-kitchen-sink-980755656-3ec7719515ab4e269908381b760f7366.jpg)


How to Repair a Leaky Kitchen Sink Strainer: A Step-by-Step Guide
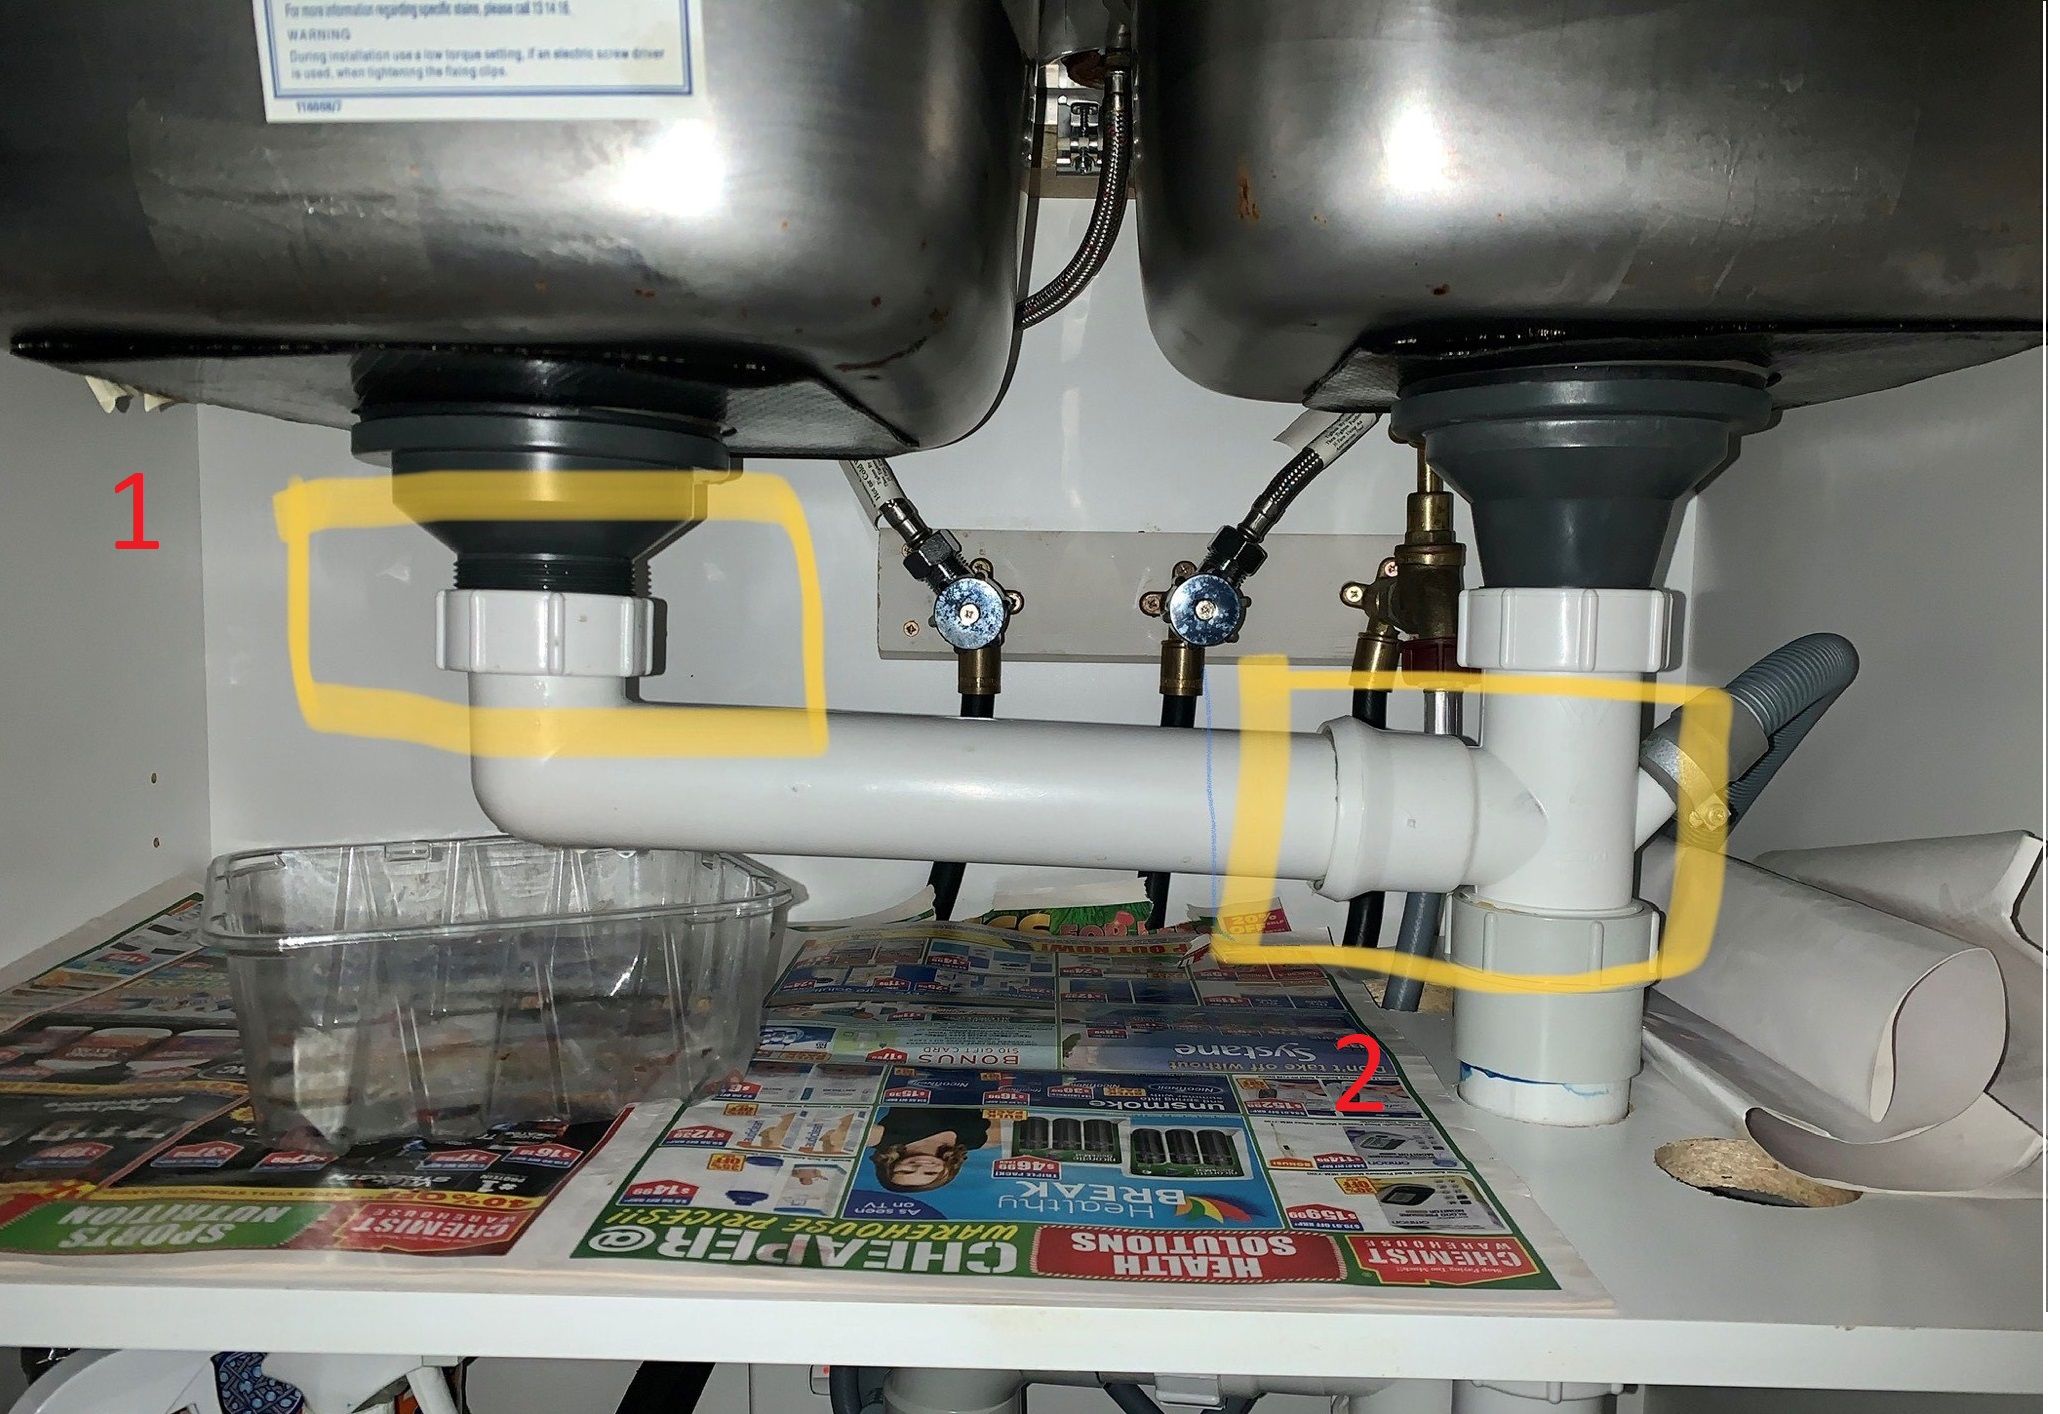
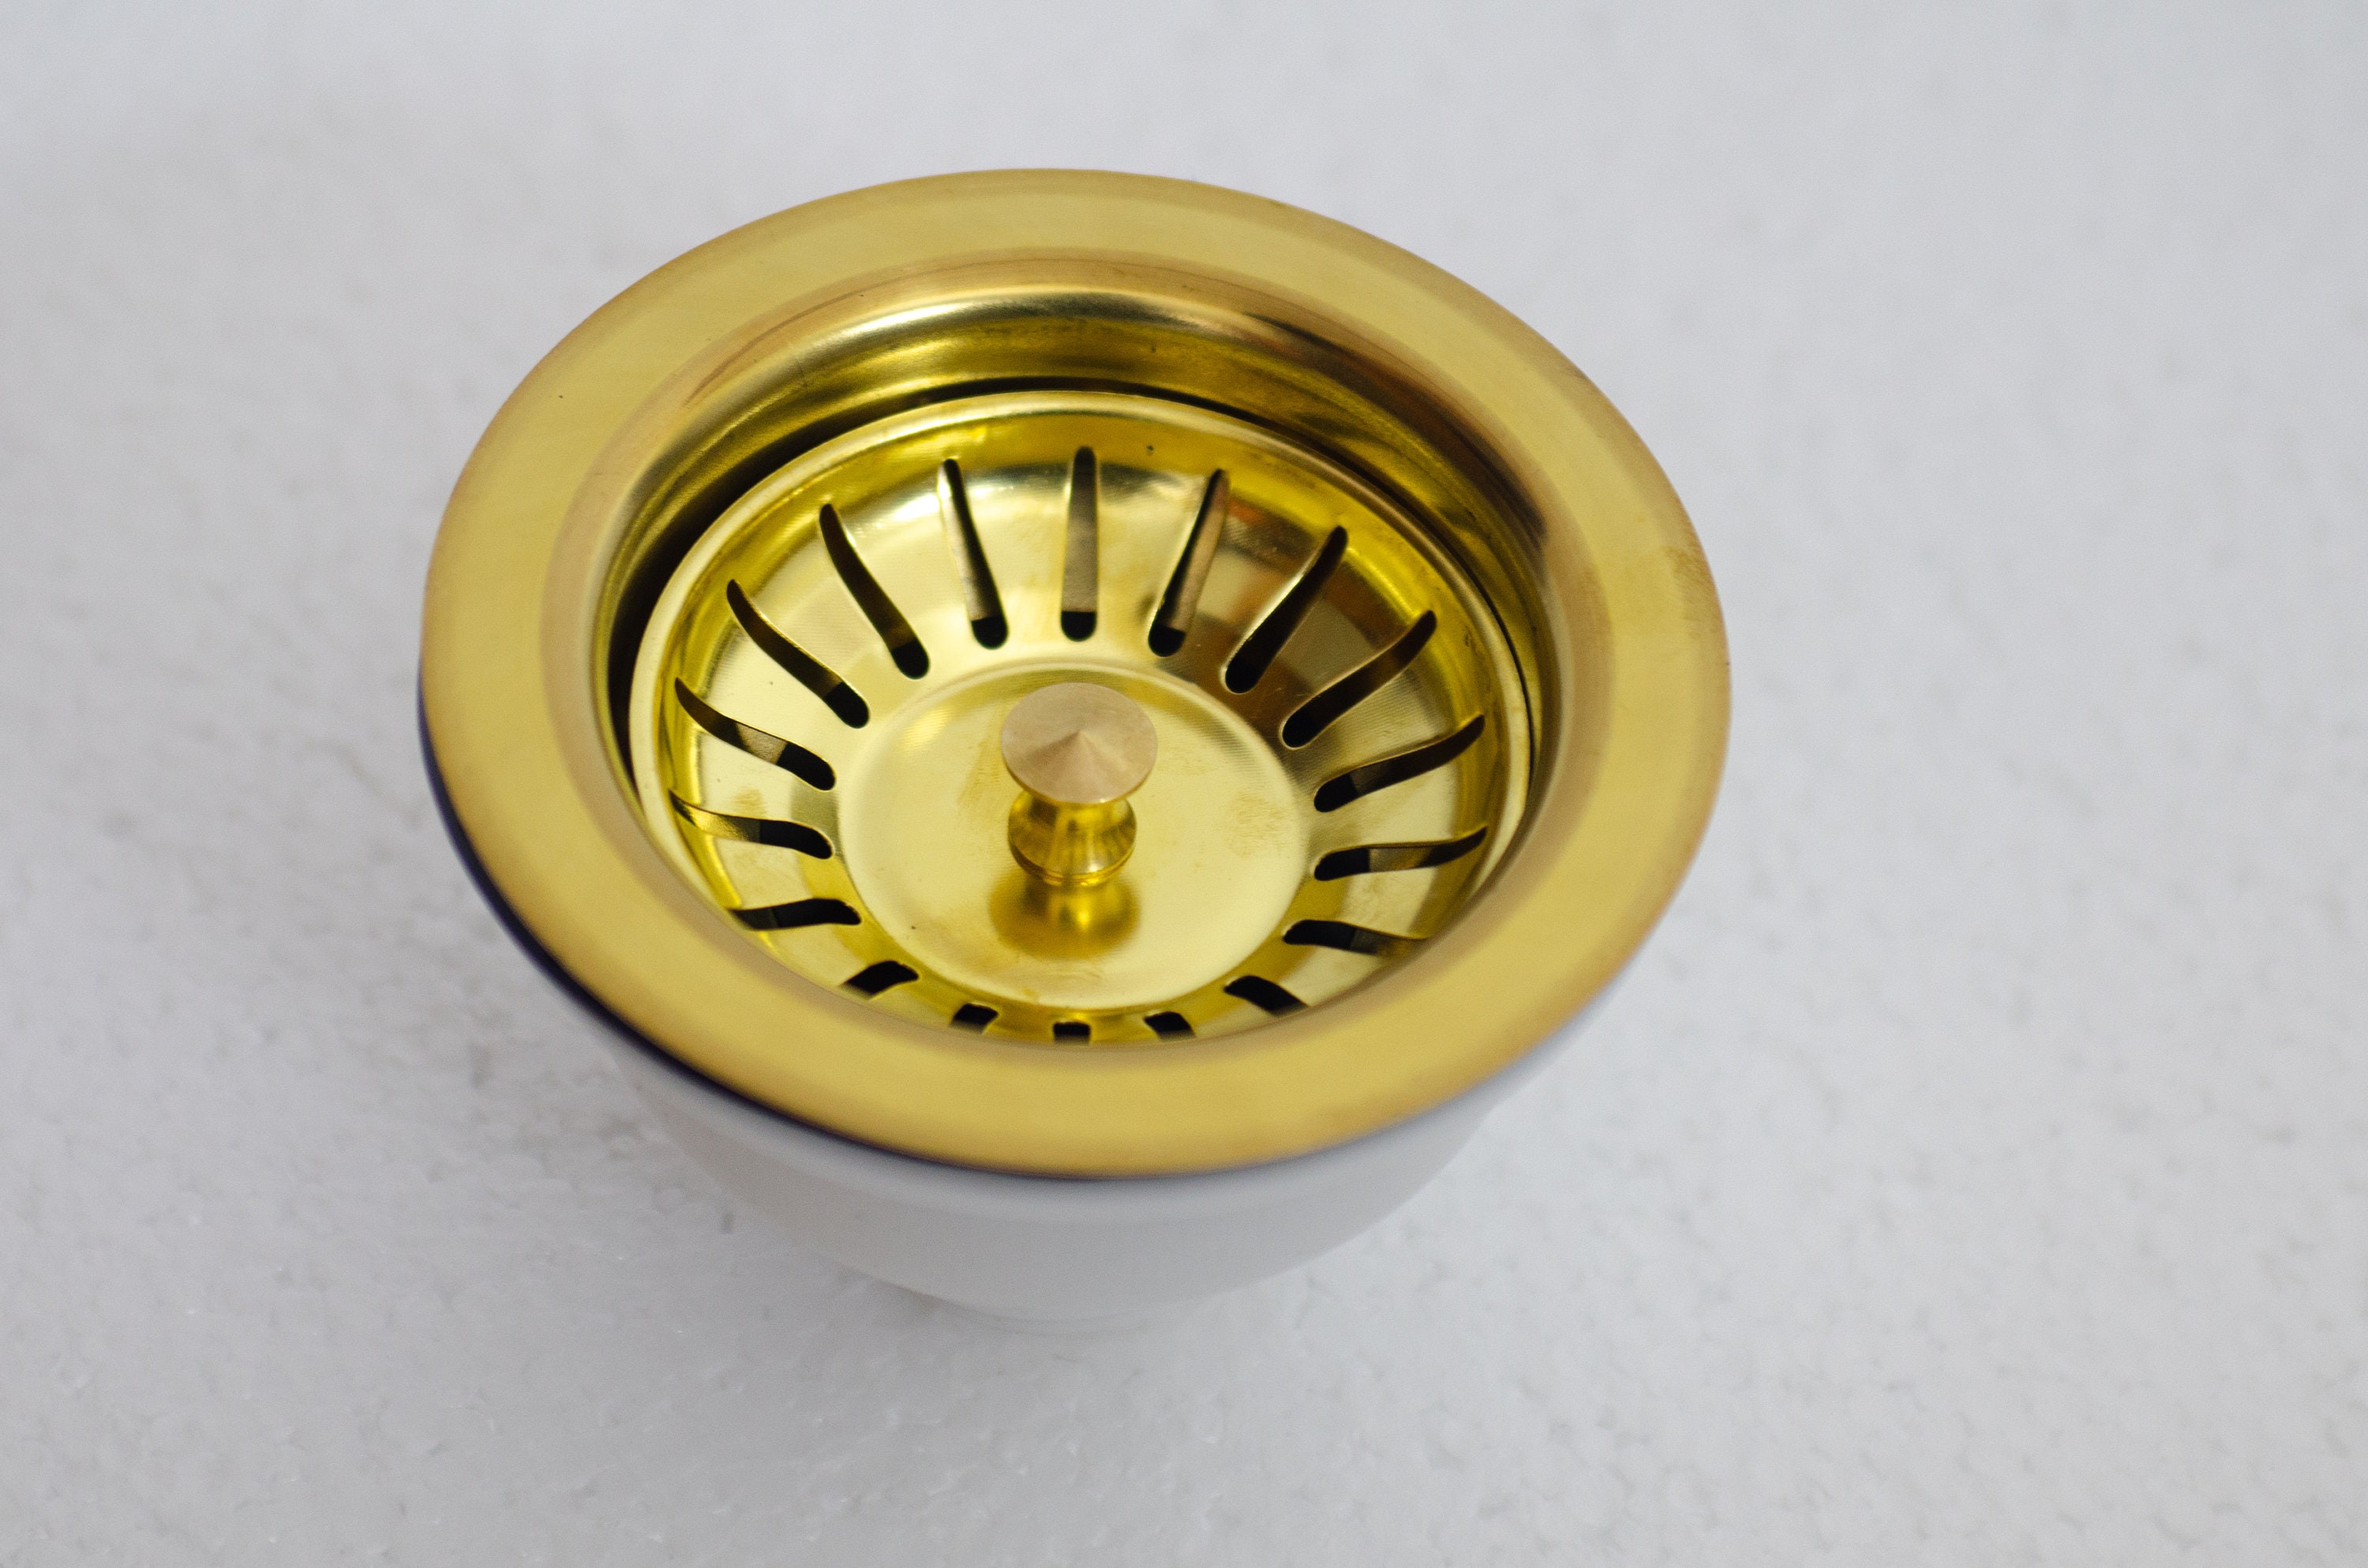
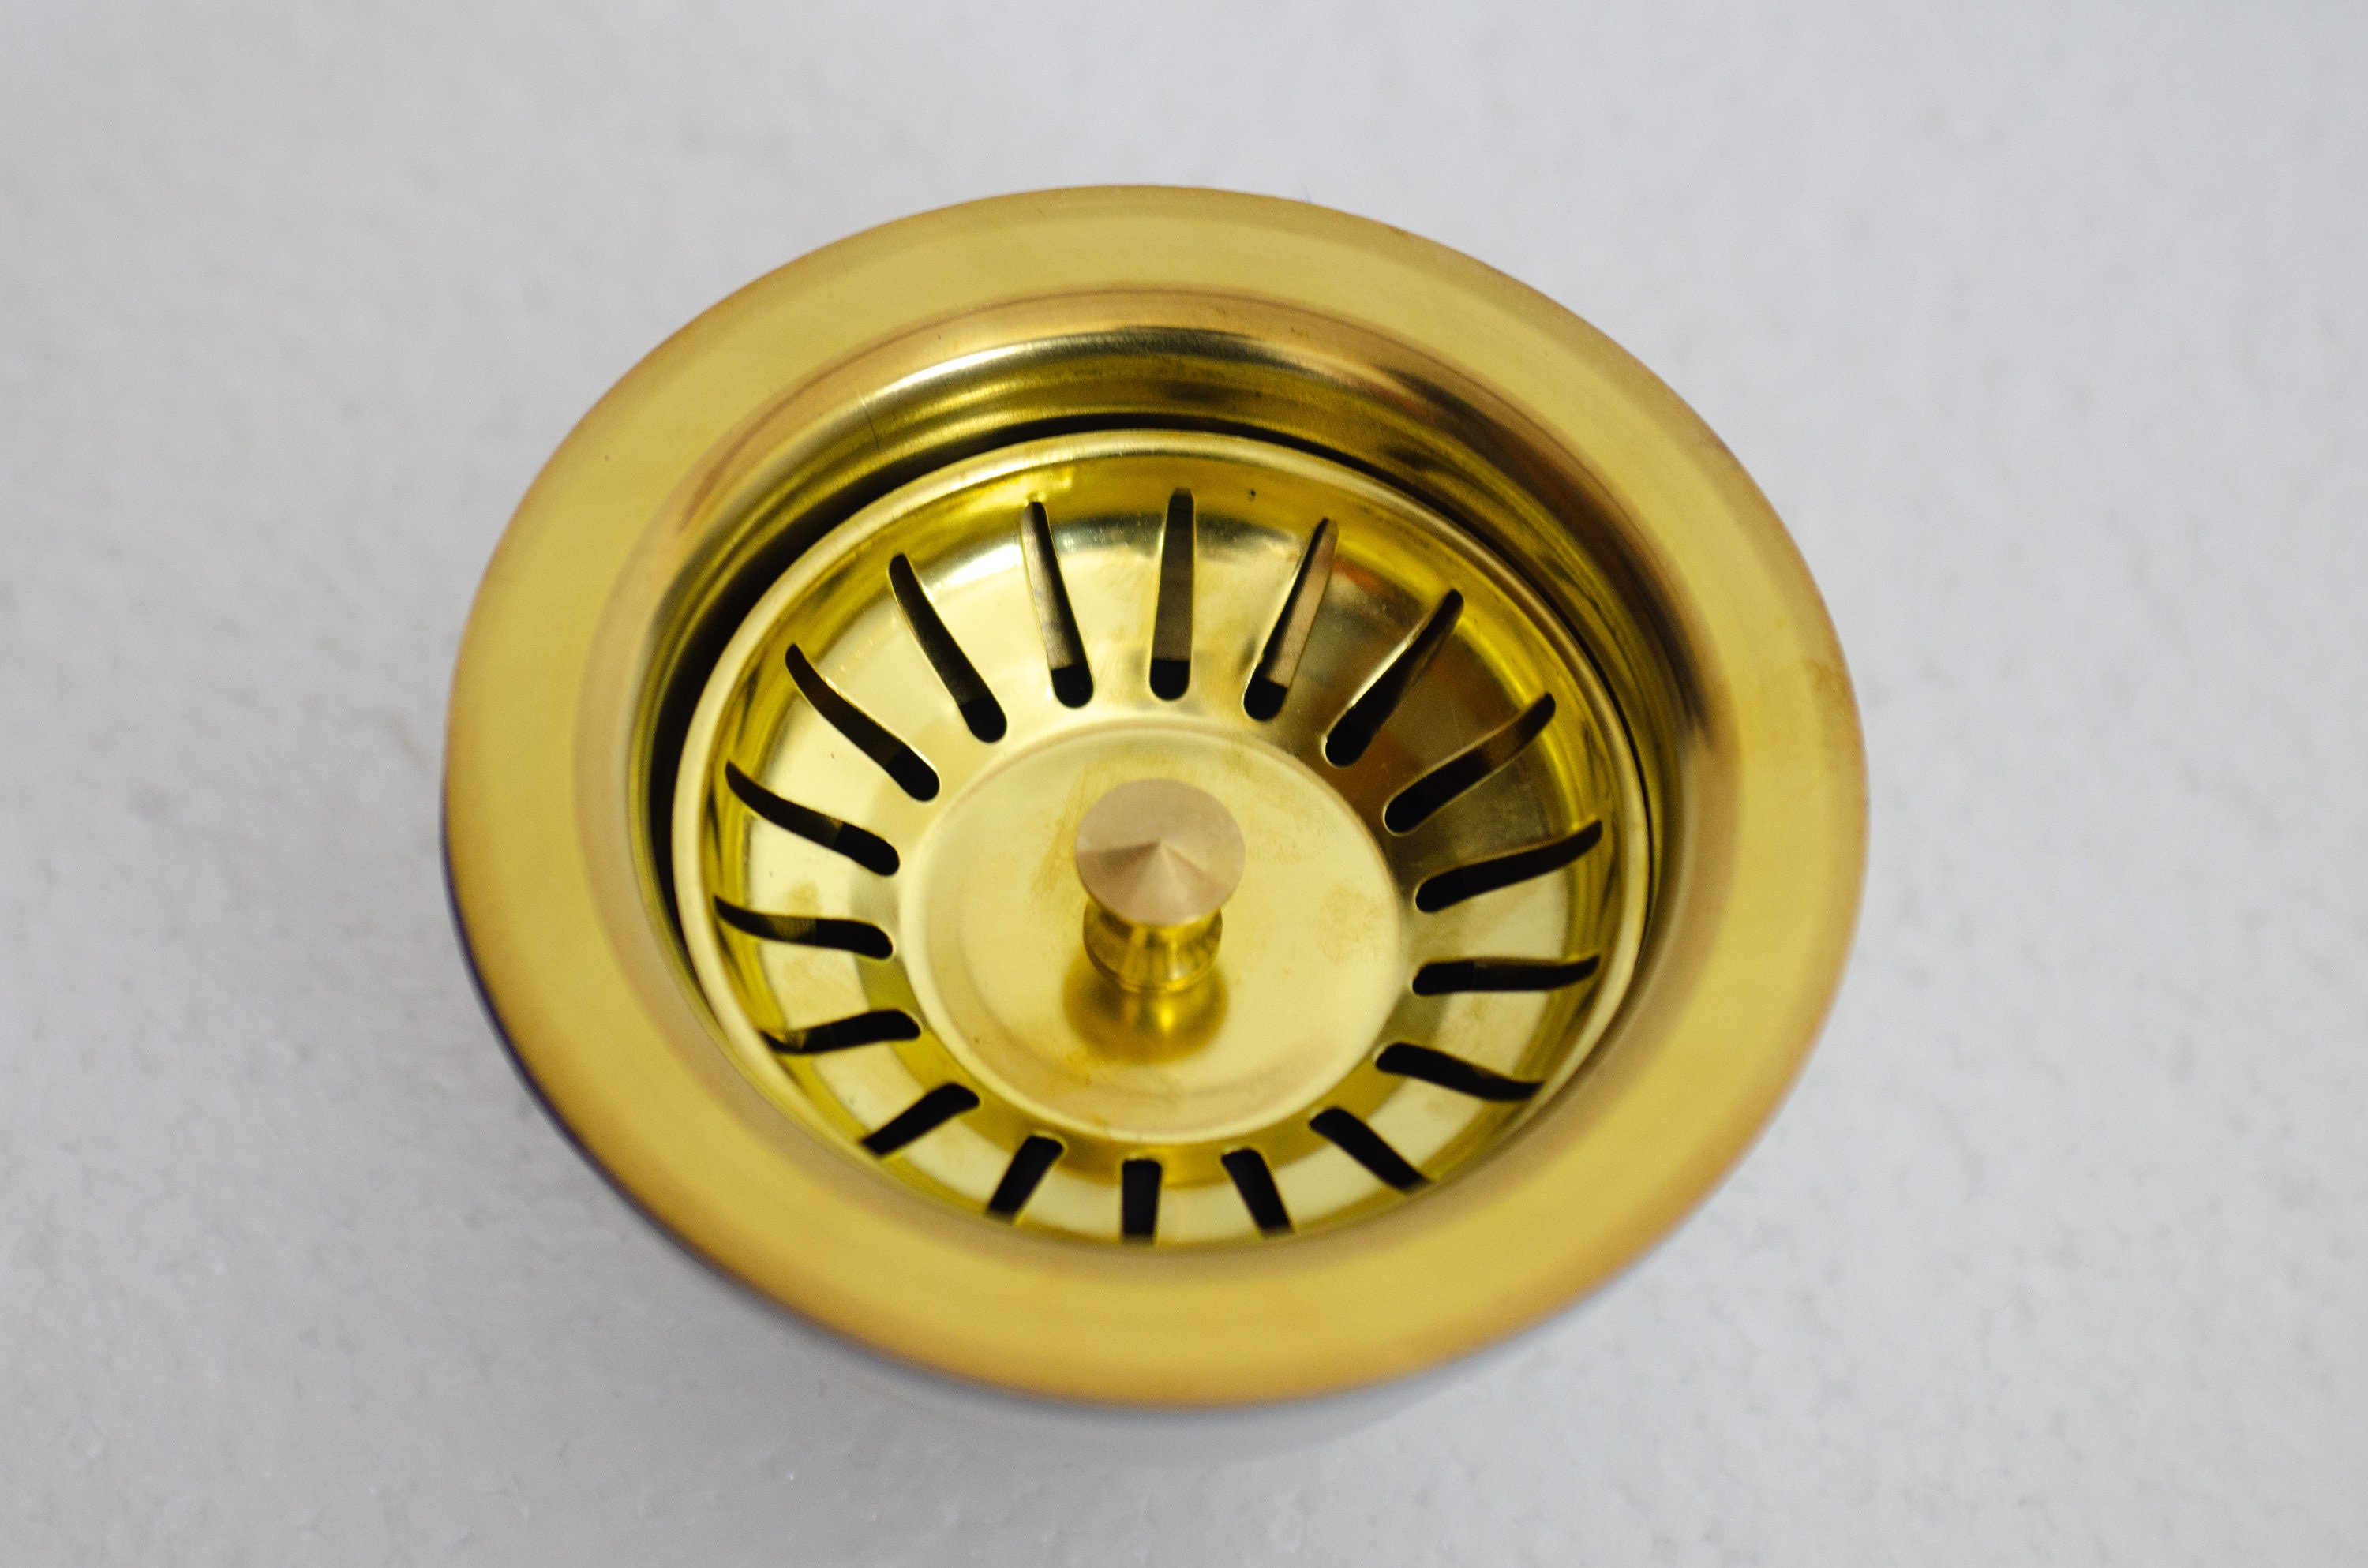
What is a Kitchen Sink Strainer?
 A kitchen sink strainer is a small device that fits into the drain opening of your sink. It is designed to prevent food particles and other debris from clogging your drain. However, over time, the strainer can become worn or damaged, causing it to leak water. This can be a major inconvenience and can even lead to more serious plumbing issues if left unattended.
Step 1: Gather Your Materials
 Before you begin the repair process, make sure you have all the necessary materials. These include a replacement kitchen sink strainer, a pair of pliers, a plumber's putty, and a wrench.
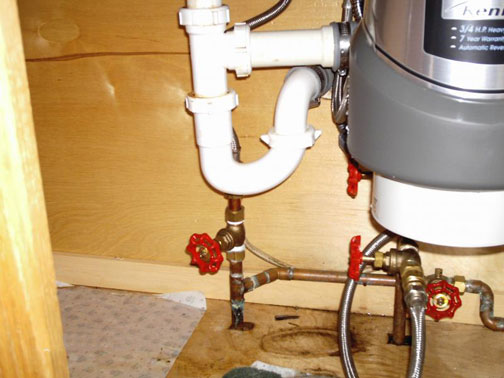
Step 2: Turn Off the Water
 Before you start working on the sink strainer, turn off the water supply to your sink. This will prevent any water from flowing while you are making the repair.
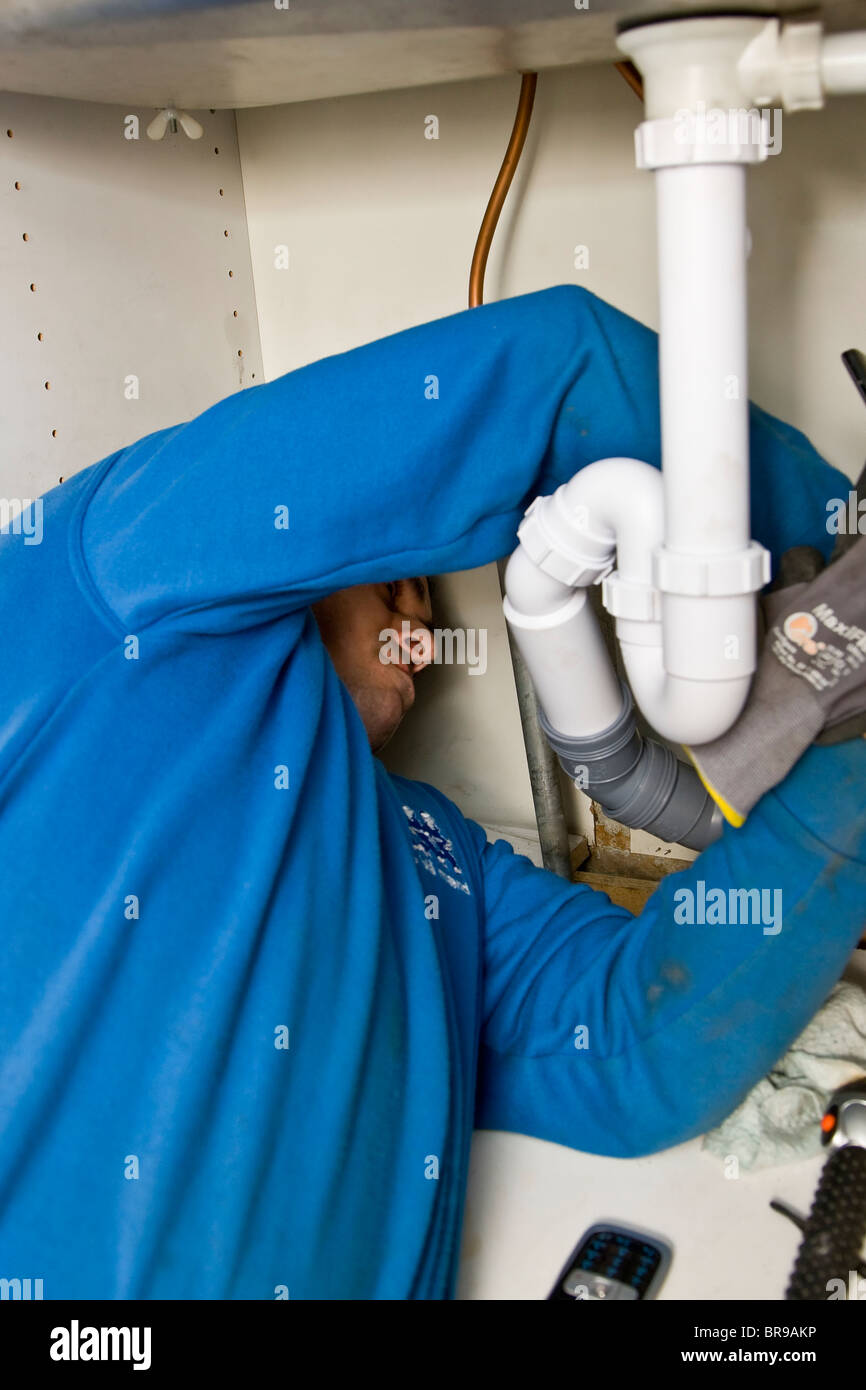
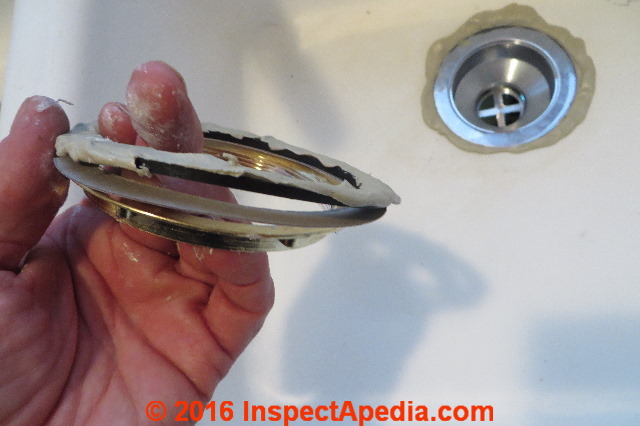
Step 3: Remove the Old Strainer
 Using the pliers, carefully unscrew the old strainer from the drain. You may need to use some force as the strainer may be tightly secured. Once removed, clean any debris or residue from the drain and surrounding area.
Step 4: Apply Plumber's Putty
 Take a small amount of plumber's putty and roll it into a thin rope. Apply it around the edge of the new strainer, making sure to cover the entire circumference. This will create a watertight seal when the strainer is installed.
Step 5: Install the New Strainer
 Carefully place the new strainer into the drain opening. Make sure it is aligned properly and press down firmly to secure it in place.
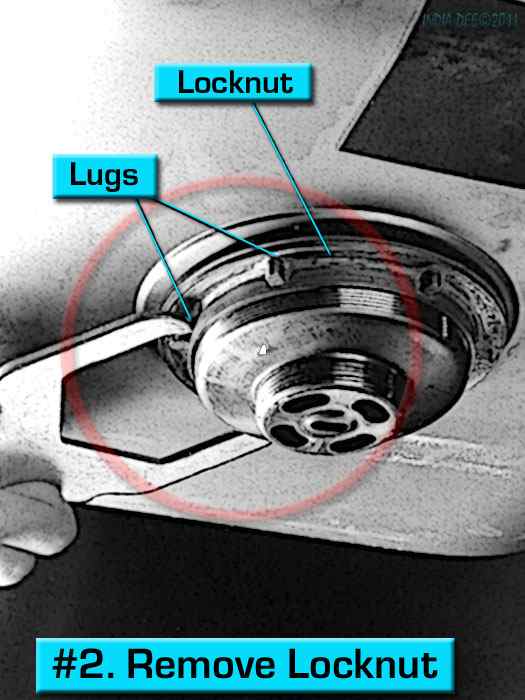
Step 6: Tighten the Locknut
 Underneath the sink, there is a locknut that holds the strainer in place. Use your wrench to tighten it, making sure the strainer is firmly secured.
Step 7: Turn the Water Back On
 Once you have completed all the above steps, turn the water supply back on. Run the water and check for any leaks. If there are no leaks, then congratulations, you have successfully repaired your leaky kitchen sink strainer!
Tip:
It is recommended to periodically check the condition of your kitchen sink strainer and replace it if it shows any signs of wear and tear. This will help prevent future leaks and prolong the life of your sink.
In conclusion, a leaky kitchen sink strainer may seem like a small issue, but if left unattended, it can lead to bigger problems and costly repairs. By following these simple steps, you can easily repair your strainer and keep your sink functioning properly. Remember to always use quality materials and take the necessary precautions when working with plumbing.
Once you have completed all the above steps, turn the water supply back on. Run the water and check for any leaks. If there are no leaks, then congratulations, you have successfully repaired your leaky kitchen sink strainer!
Tip:
It is recommended to periodically check the condition of your kitchen sink strainer and replace it if it shows any signs of wear and tear. This will help prevent future leaks and prolong the life of your sink.
In conclusion, a leaky kitchen sink strainer may seem like a small issue, but if left unattended, it can lead to bigger problems and costly repairs. By following these simple steps, you can easily repair your strainer and keep your sink functioning properly. Remember to always use quality materials and take the necessary precautions when working with plumbing.


:max_bytes(150000):strip_icc()/Chuck-Schmidt-Getty-Images-56a5ae785f9b58b7d0ddfaf8.jpg)
