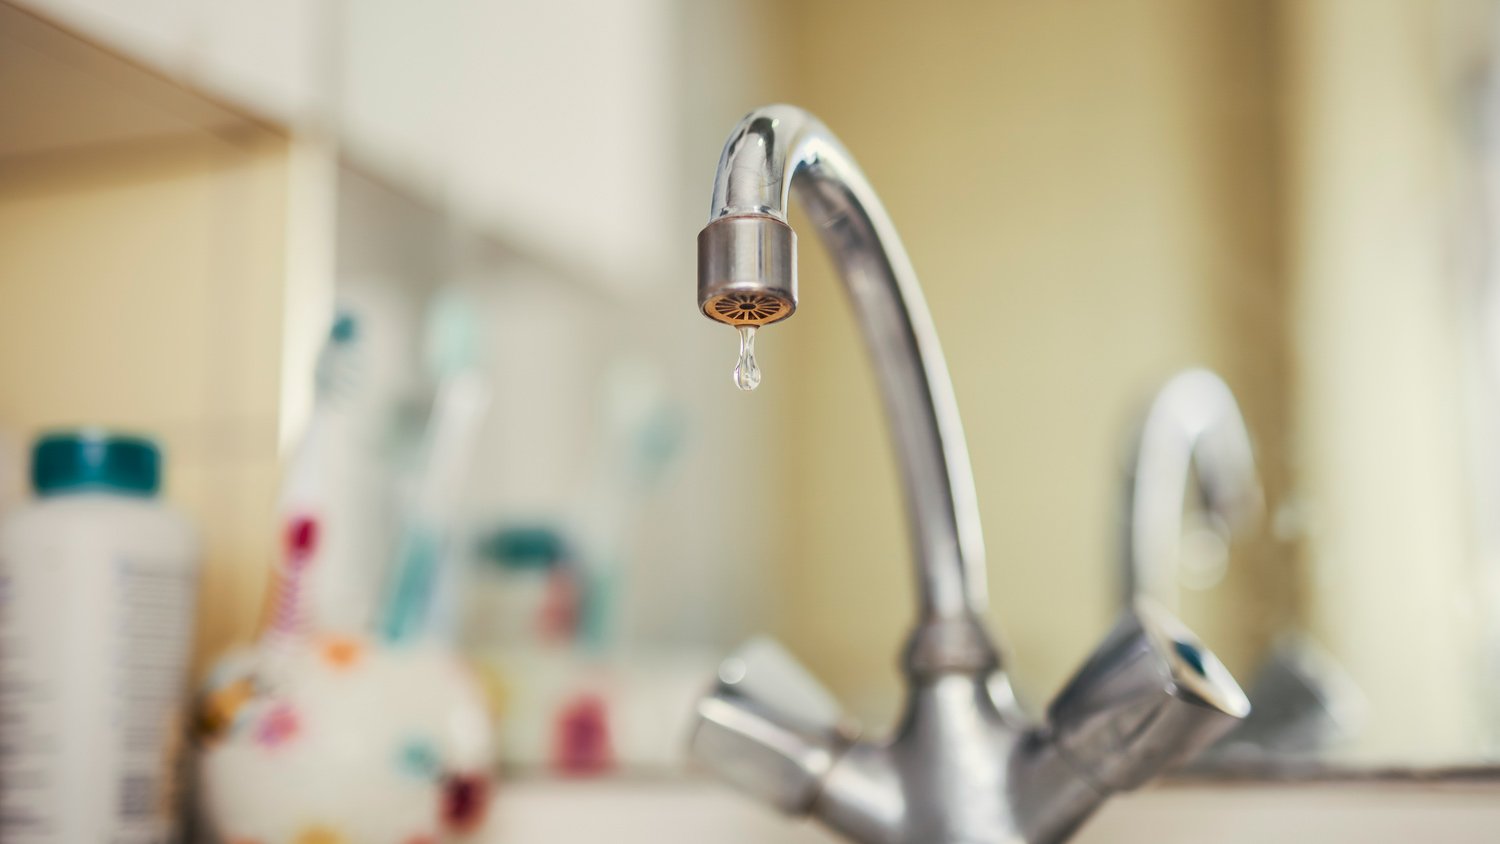
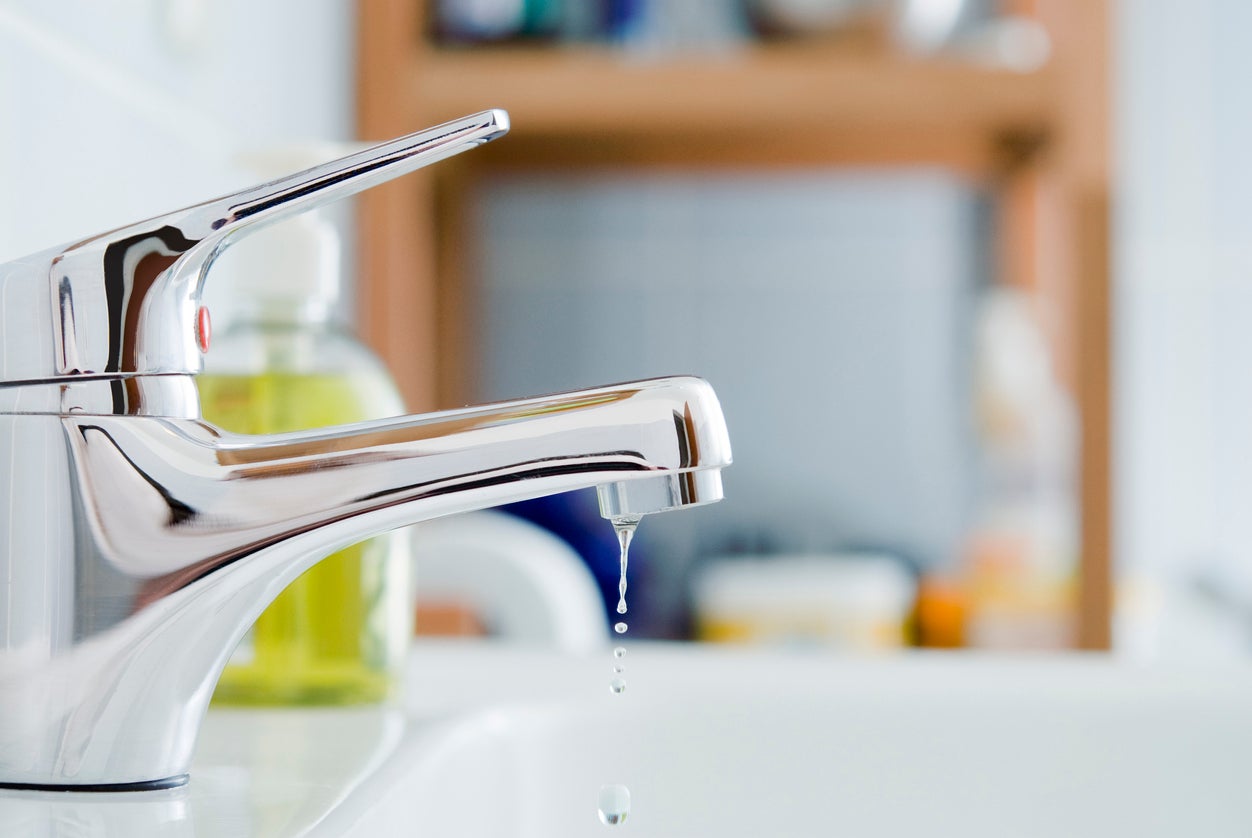
Is your kitchen sink faucet constantly dripping, driving you crazy and wasting water? Luckily, fixing a dripping kitchen sink faucet is a simple and easy DIY project that you can tackle in just a few steps. Not only will it save you time and money from calling a plumber, but it will also prevent further damage to your faucet. Follow these steps to repair a dripping kitchen sink faucet and say goodbye to that annoying drip.1. How to Repair a Dripping Kitchen Sink Faucet
If you're a handy person who enjoys tackling home improvement projects, then repairing a dripping kitchen sink faucet is the perfect task for you. With just a few tools and materials, you can fix the problem in no time. Not only will you feel accomplished, but you'll also save money by not having to hire a professional. So put on your DIY hat and let's get started!2. DIY: Fixing a Dripping Kitchen Sink Faucet
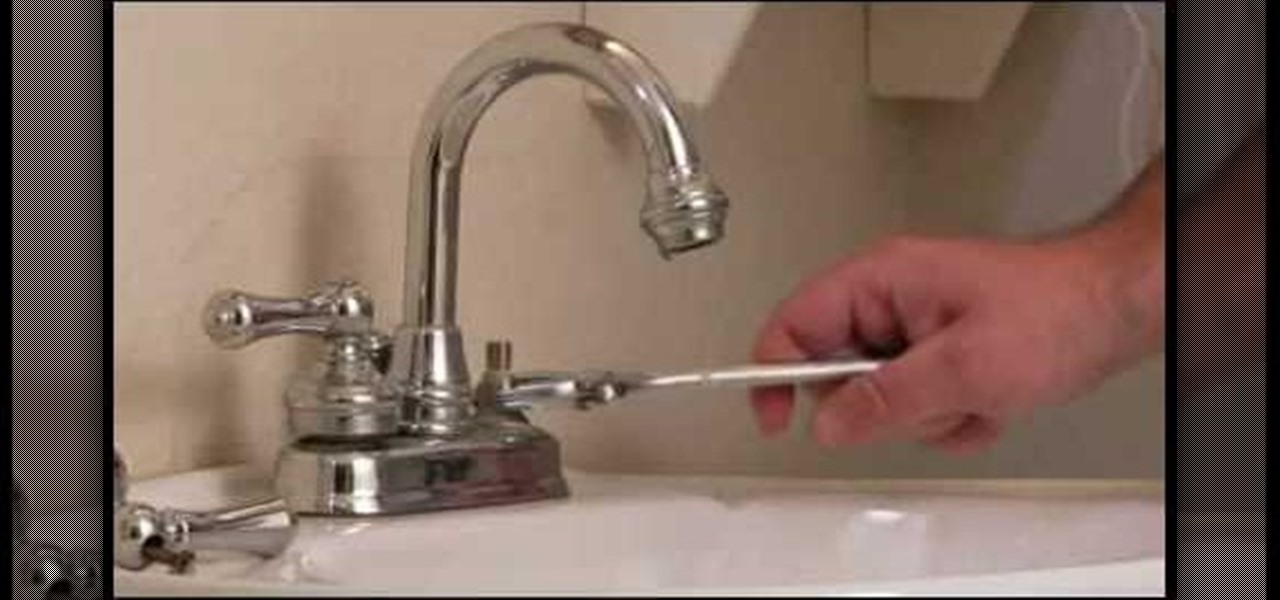
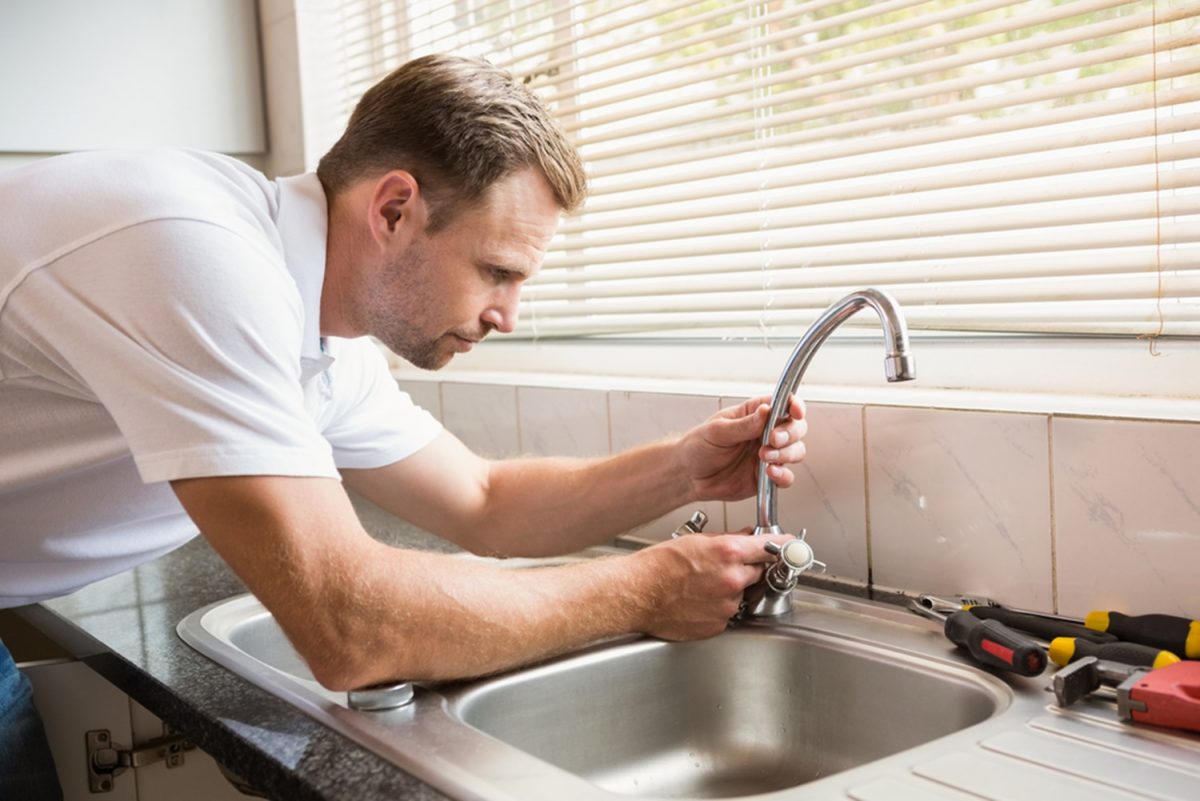
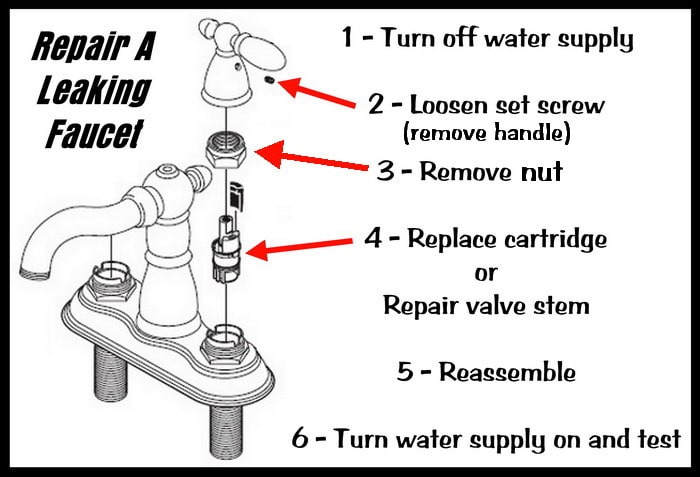
Before you begin, make sure to turn off the water supply to your kitchen sink. You can usually do this by turning the shut-off valves located under the sink clockwise. Once the water is turned off, follow these steps to repair your dripping kitchen sink faucet: Step 1: Remove the faucet handle by using a screwdriver or an Allen wrench to loosen the set screw. The set screw is usually located under a cap on top of the handle, which can be removed by prying it off with a flathead screwdriver. Step 2: Once the handle is removed, use a wrench to unscrew the packing nut located under the handle. This will reveal the faucet stem. Step 3: Remove the faucet stem and inspect it for any damage or wear. If the stem is damaged, you may need to replace it. If it is still in good condition, clean it with a wire brush to remove any debris or mineral deposits. Step 4: Check the O-ring and washer located at the bottom of the faucet stem. If they are damaged or worn, replace them with new ones. Step 5: Reassemble the faucet by following the previous steps in reverse order. Make sure everything is tightened securely. Step 6: Turn the water supply back on and test your faucet. It should now be drip-free!3. Step-by-Step Guide to Repairing a Dripping Kitchen Sink Faucet
If your kitchen sink faucet is still dripping after following the above steps, there may be other underlying issues causing the problem. Here are some common causes of a dripping kitchen sink faucet: Worn out parts: Over time, the various components of your faucet can wear out and cause leaks. This includes the O-ring, washer, and valve seat. Check these parts and replace them if necessary. Mineral buildup: Mineral deposits can build up inside your faucet and cause it to leak. Use a descaling solution or vinegar to clean out any buildup. Loose connections: If your faucet is still dripping, check all the connections and make sure they are tight. Loose connections can cause leaks.4. Troubleshooting a Dripping Kitchen Sink Faucet
Now that you know how to fix a dripping kitchen sink faucet, it's important to understand what causes it in the first place. Here are some common reasons why your faucet may be dripping: Worn out parts: As mentioned before, worn out parts such as the O-ring, washer, or valve seat can cause leaks. Improper installation: If your faucet was not installed correctly, it can lead to leaks and other problems. Water pressure: High water pressure can cause damage to your faucet over time, leading to leaks. Old age: Like anything else, faucets can wear out over time, especially if they are old and have been used frequently.5. Common Causes of a Dripping Kitchen Sink Faucet
Before you get started on repairing your dripping kitchen sink faucet, make sure you have the following tools and materials: Tools: Screwdriver, Allen wrench, wrench, wire brush, pliers Materials: Replacement O-ring, washer, and valve seat (if necessary), descaling solution or vinegar6. Tools and Materials Needed to Repair a Dripping Kitchen Sink Faucet
If your faucet is beyond repair and you need to replace it, here's how you can do it yourself: Step 1: Turn off the water supply to your kitchen sink. Step 2: Unscrew the nuts holding the faucet in place and remove the old faucet. Step 3: Install the new faucet by following the manufacturer's instructions. Step 4: Turn the water supply back on and test your new faucet.7. How to Replace a Dripping Kitchen Sink Faucet
To avoid having to deal with a dripping kitchen sink faucet in the future, here are some tips for prevention: Maintain your faucet: Regularly clean and maintain your faucet to prevent buildup and wear and tear. Fix leaks promptly: If you notice any leaks, fix them promptly to prevent further damage. Don't overtighten: When reassembling your faucet, make sure not to overtighten any parts as this can cause damage.8. Tips for Preventing a Dripping Kitchen Sink Faucet
While fixing a dripping kitchen sink faucet is a simple DIY project, some people may prefer to hire a professional. Here are some factors to consider when deciding whether to DIY or hire a professional: Cost: Hiring a professional can be more expensive than doing it yourself, but it may be worth it if you are not confident in your DIY skills. Time: DIY may take longer, but it can save you time and hassle in the long run. Skills: If you have basic plumbing skills and the necessary tools, DIY may be a good option for you. Otherwise, it may be best to hire a professional.9. Professional vs. DIY: Repairing a Dripping Kitchen Sink Faucet
If you're still having trouble with your dripping kitchen sink faucet, here are some common problems and solutions: Problem: Low water pressure Solution: Clean out any mineral buildup in the aerator or replace it if necessary. Problem: Leaking from the base of the faucet Solution: Check and tighten all connections and replace any worn out parts. Problem: Dripping even when turned off Solution: Check and replace the valve seat if it is damaged. Now that you know how to repair a dripping kitchen sink faucet, you can confidently tackle this DIY project and save yourself the hassle and expense of hiring a professional. Remember to regularly maintain your faucet to prevent future leaks and damage. Happy fixing!10. Troubleshooting a Dripping Kitchen Sink Faucet: Common Problems and Solutions
How to Repair a Dripping Kitchen Sink Faucet

Introduction
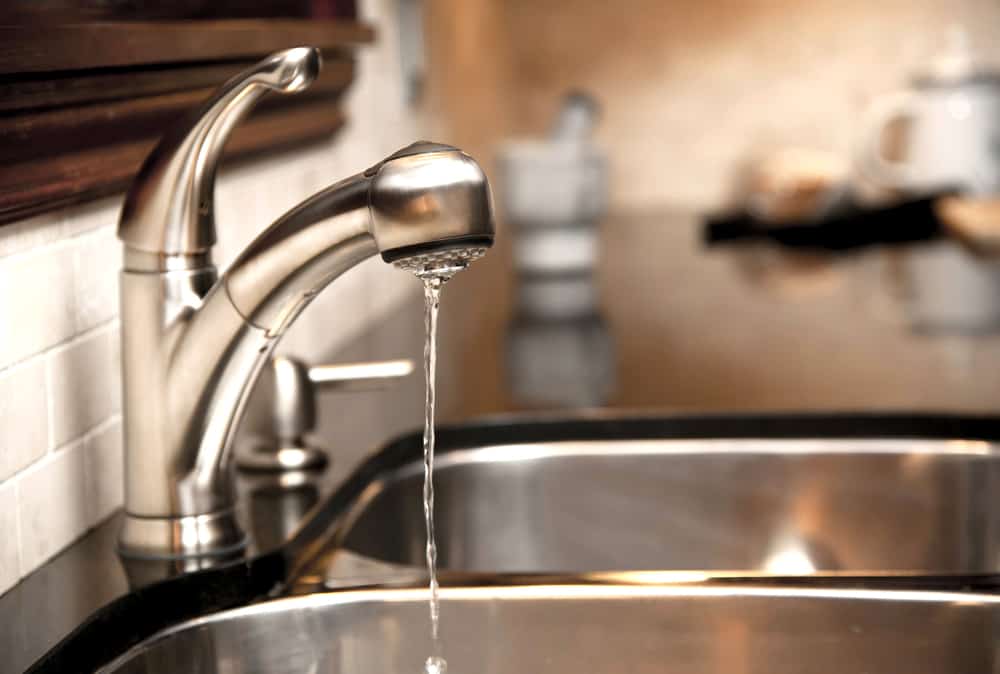
 Having a dripping kitchen sink faucet can be a major inconvenience. Not only does it waste water, but it can also lead to higher water bills and annoying dripping sounds. However, repairing a dripping faucet is a relatively simple and inexpensive task that can be done in just a few steps.
Kitchen sink faucet repair
is a basic
house design
skill that every homeowner should know. In this article, we will guide you through the process of fixing a dripping kitchen sink faucet, so you can save money and have a properly functioning faucet in no time.
Gather the Necessary Tools
 Before you begin the repair, it is important to gather all the necessary tools. You will need an adjustable wrench,
plumbers tape
, a screwdriver, and a replacement
faucet cartridge
. These can be easily found at your local hardware store. Make sure to turn off the water supply to the faucet before you start the repair.
Disassemble the Faucet
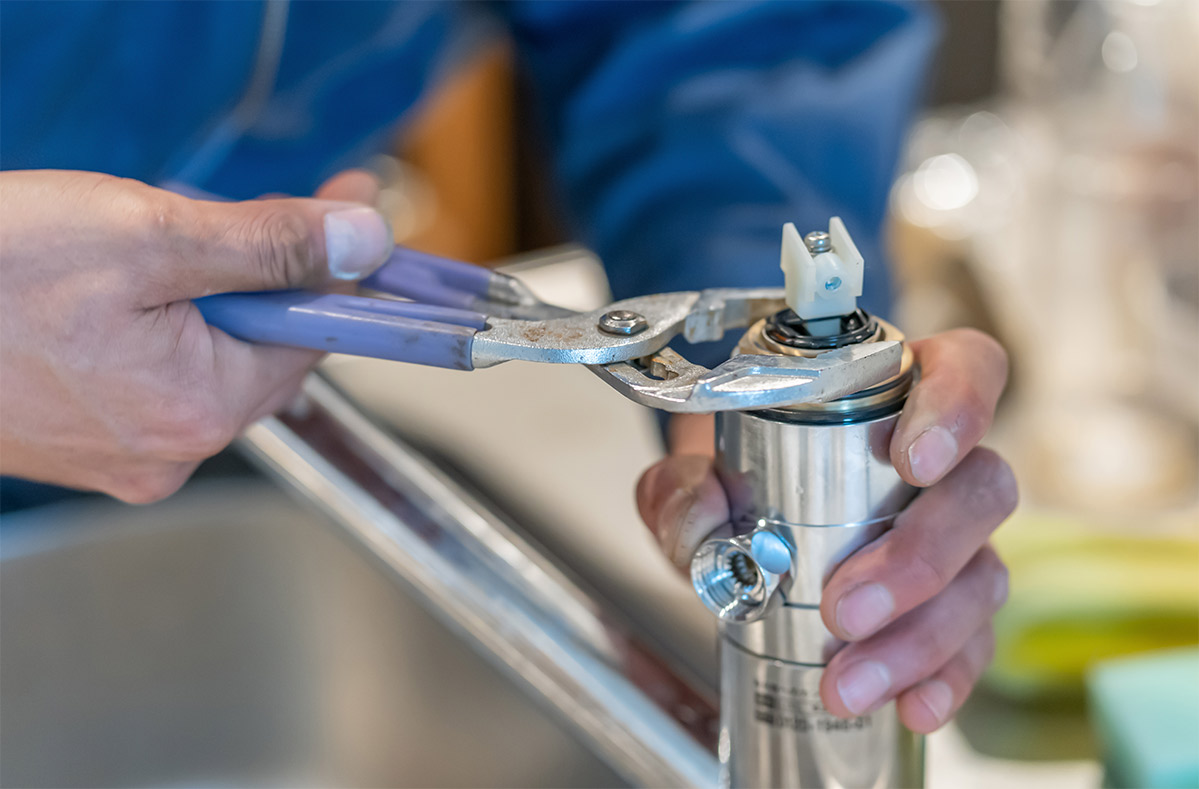
 The first step in repairing a dripping kitchen sink faucet is to disassemble the faucet. Start by removing the handle by unscrewing the screw that holds it in place. Then, remove the
escutcheon
, which is the decorative plate that covers the base of the faucet. Next, use your adjustable wrench to remove the
bonnet nut
, which holds the faucet cartridge in place. Once the bonnet nut is removed, you can easily pull out the old faucet cartridge.
Replace the Faucet Cartridge
 The most common cause of a dripping faucet is a worn out faucet cartridge. This is a small piece that controls the flow of water from the faucet. To replace it, simply insert the new faucet cartridge into the same position where the old one was. Make sure it is properly aligned and then secure it with the bonnet nut.
Reassemble the Faucet
 After the new faucet cartridge is in place, reassemble the faucet in the reverse order that you took it apart. Use the
plumbers tape
to wrap around the threads of the faucet before placing the
escutcheon
back on. This will ensure a tight seal and prevent any leaks. Finally, reattach the handle and tighten the screw to secure it in place.
Turn on the Water Supply
 Once you have reassembled the faucet, it is time to turn the water supply back on. Slowly open the faucet and check for any leaks. If everything looks good, you have successfully repaired your dripping kitchen sink faucet.
In conclusion, repairing a dripping kitchen sink faucet is a simple and budget-friendly task that can be done by anyone. With the right tools and a little bit of patience, you can save money and avoid the annoyance of a dripping faucet. Remember to always turn off the water supply before starting the repair and use
plumbers tape
to ensure a tight seal. With these tips, you can easily tackle any
house design
issues in your home.










:max_bytes(150000):strip_icc()/dripping-faucet-80112603-5b33e39dc9e77c003851e956.jpg)


