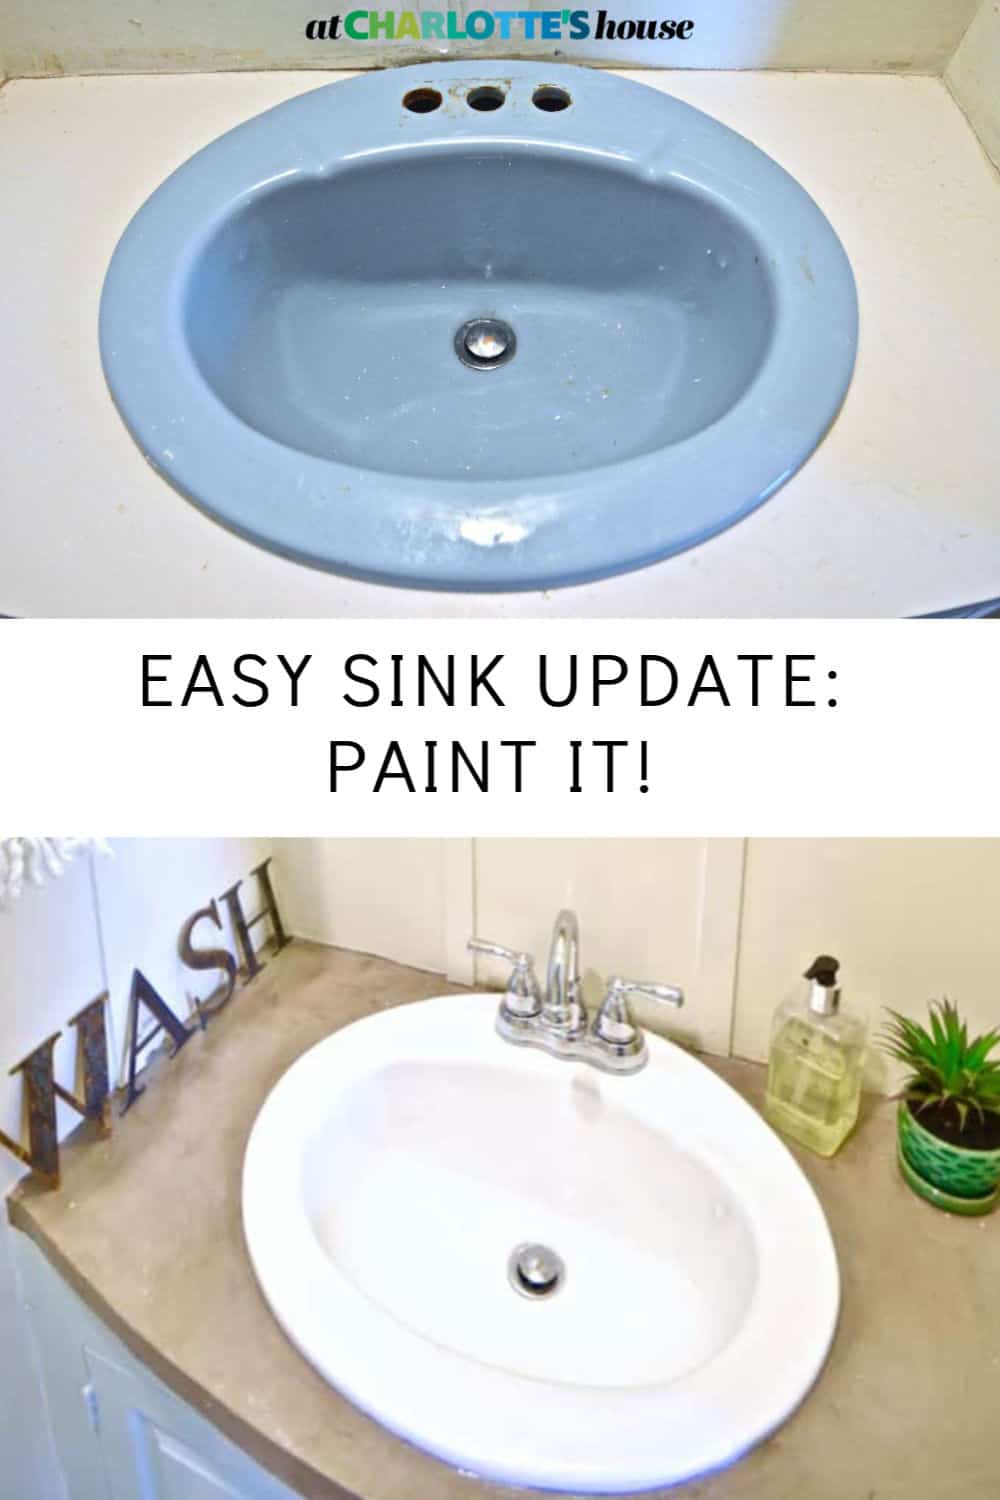
Repainting a kitchen sink is a cost-effective way to give your kitchen a fresh new look without breaking the bank. With the right materials and techniques, you can easily transform your old and worn out sink into a beautiful and updated centerpiece in your kitchen. Here's a step-by-step guide on how to repaint a kitchen sink.How to Repaint a Kitchen Sink
Before diving into the repainting process, it's important to understand that this is a DIY project that requires time, effort, and patience. However, with the right tools and proper technique, you can achieve professional-looking results without spending a fortune. So, roll up your sleeves and let's get started.DIY Kitchen Sink Repainting Tutorial
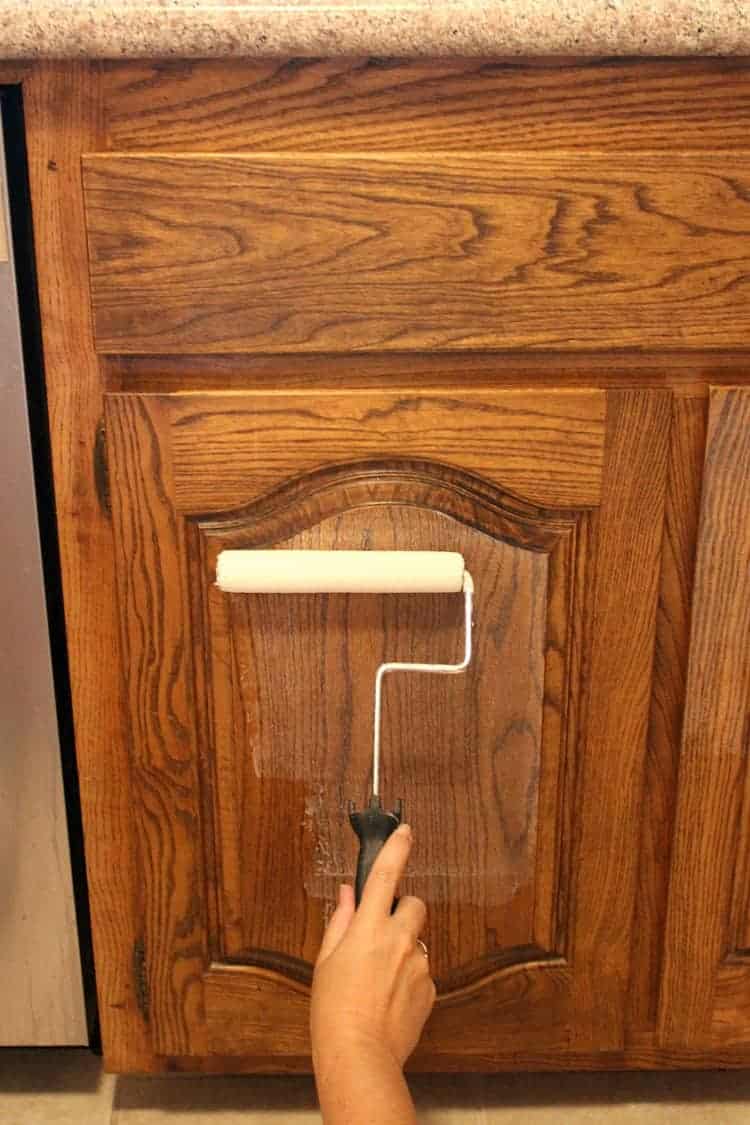
The first step in repainting a kitchen sink is to prepare the surface. This involves cleaning, sanding, and priming the sink to ensure that the paint adheres properly. Use a mild detergent and warm water to clean the sink thoroughly. Then, use a fine-grit sandpaper to roughen the surface and remove any traces of rust or old paint. Once the sink is clean and dry, apply a coat of rust-inhibiting primer using a paintbrush or roller.Steps for Painting a Kitchen Sink
Choosing the right paint is crucial for a successful kitchen sink repainting project. You'll want to use a high-quality, oil-based enamel paint that is specifically designed for use on metal surfaces. This type of paint provides a durable and smooth finish that can withstand constant exposure to water and cleaning products. Some popular brands to consider are Rust-Oleum, Krylon, and Sherwin-Williams.Best Paint for Repainting a Kitchen Sink
Here are some tips to keep in mind when repainting your kitchen sink:Tips for a Successful Kitchen Sink Repainting Project
One of the main advantages of repainting a kitchen sink is the cost savings compared to replacing it. A new kitchen sink can cost hundreds of dollars, while repainting can cost less than $50. Additionally, repainting allows you to customize the color of your sink to match your kitchen's decor. However, if your sink is damaged beyond repair or you simply want to upgrade to a different style, then replacing it may be the better option.Repainting vs. Replacing a Kitchen Sink
Here's a list of materials you'll need for repainting your kitchen sink:Materials Needed for Repainting a Kitchen Sink
Proper preparation is key to achieving a professional finish when repainting a kitchen sink. After cleaning, sanding, and priming the sink, it's important to mask off any areas that you don't want to get painted. Use painter's tape to cover the faucet, drain, and any other fixtures attached to the sink. This will ensure a clean and neat paint job.Prepping Your Kitchen Sink for Repainting
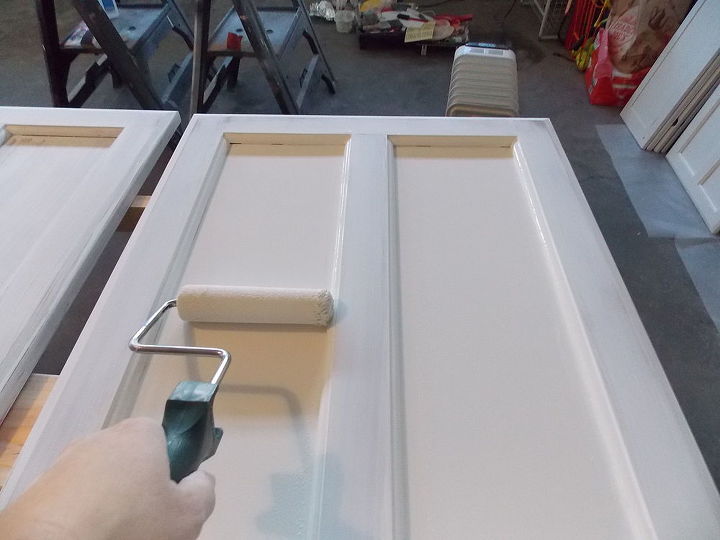
When it comes to painting the sink, start with a small paintbrush to get into tight corners and edges. Then, use a roller to cover the larger areas. Apply the paint in thin, even coats, making sure to cover the entire surface. Once the first coat is dry, lightly sand the sink again and apply a second coat. Repeat this process until you achieve the desired color and coverage. Finally, remove the painter's tape and let the sink dry completely before using it.How to Achieve a Professional Finish When Repainting a Kitchen Sink
Here are some common mistakes to avoid when repainting your kitchen sink:Common Mistakes to Avoid When Repainting a Kitchen Sink
Repainting Your Kitchen Sink: A Cost-Effective Way to Upgrade Your Kitchen

Why Repaint Your Kitchen Sink?
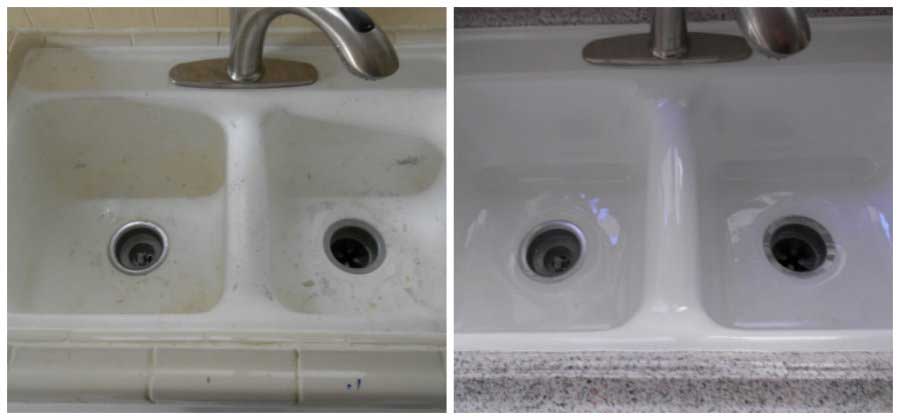 Are you tired of looking at your old, dull kitchen sink every day? Do you dream of having a sleek, modern kitchen but can't afford a complete renovation? Repainting your kitchen sink may be the solution you've been looking for. Not only is it a cost-effective way to upgrade your kitchen, but it also allows you to add a personal touch and inject some personality into the heart of your home.
The Benefits of Repainting Your Kitchen Sink
 Repainting your kitchen sink has numerous benefits, both aesthetically and practically. First and foremost, it can transform the look of your entire kitchen. With a fresh coat of paint, you can completely change the color and style of your sink, giving your kitchen a whole new vibe. Plus, if you're tired of your old, stained sink, repainting can help cover up any imperfections and make it look brand new.
Furthermore, repainting your sink is a much more affordable option compared to buying a new one. A high-quality sink can cost hundreds, if not thousands, of dollars, and that doesn't even include installation fees. By repainting your sink, you can achieve a similar result for a fraction of the cost. Plus, it's a relatively easy and quick project that you can do yourself, saving you even more money.
The Process of Repainting Your Kitchen Sink
Final Thoughts
 Repainting your kitchen sink is a simple and affordable way to upgrade your kitchen. With the right materials and a little bit of elbow grease, you can achieve a beautiful, personalized sink that will enhance the overall look of your kitchen. So why wait? Grab your paintbrush and start transforming your kitchen today!


