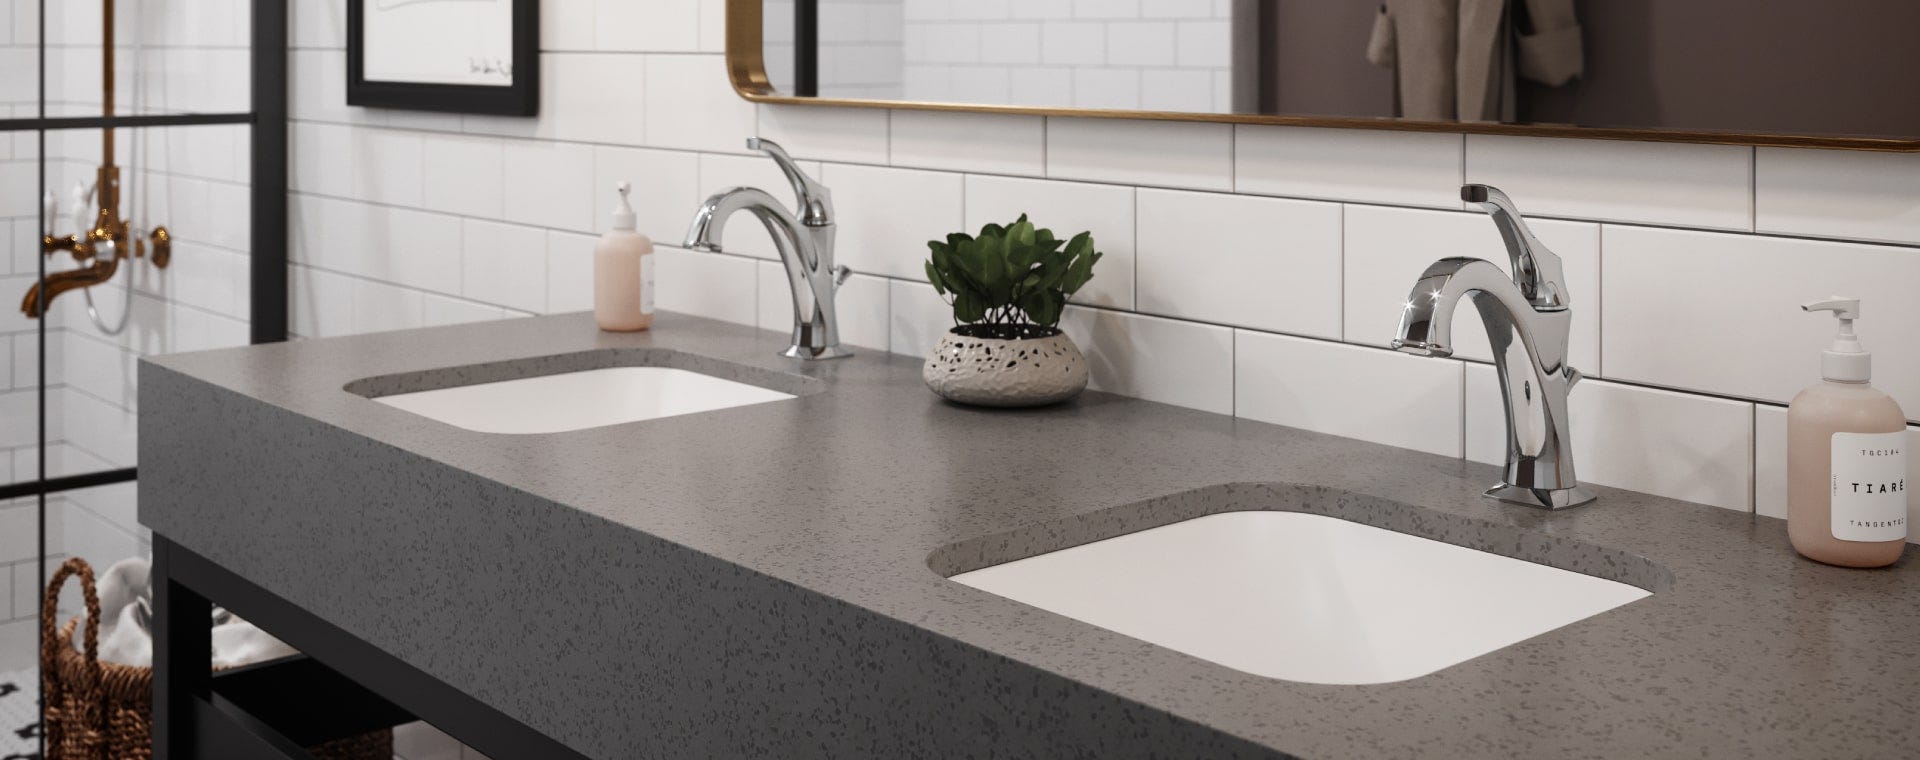
Removing an Undermount Sink
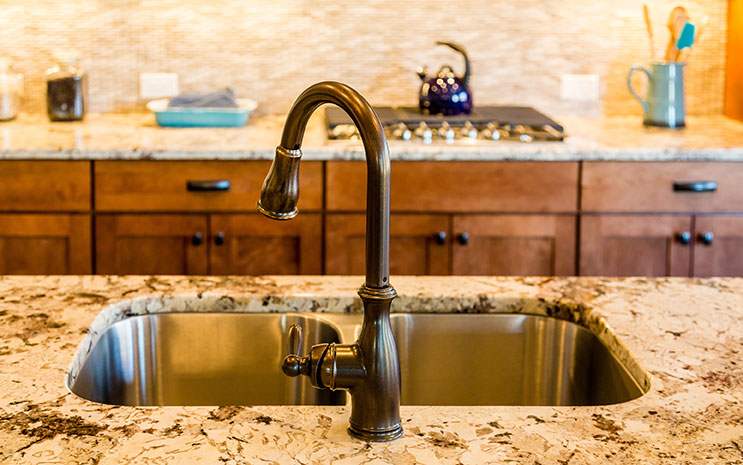
Undermount sinks have become increasingly popular in modern kitchens. They offer a sleek and seamless look, as they are mounted underneath the countertop rather than on top. However, when it comes time to replace or upgrade your sink, removing an undermount sink can be a bit more challenging than a top-mounted one. In this article, we will discuss the top 10 main steps for removing an undermount porcelain kitchen sink.


Removing an Undermount Sink


How to Remove an Undermount Sink
Removing an undermount sink requires some careful planning and preparation. Before you begin, gather all the necessary tools and materials to make the process smoother. These include a utility knife, silicone adhesive remover, putty knife, adjustable pliers, and a screwdriver. Once you have these items, follow the steps below to successfully remove your undermount sink.


How to Remove an Undermount Sink


Step-by-Step Guide for Removing an Undermount Sink
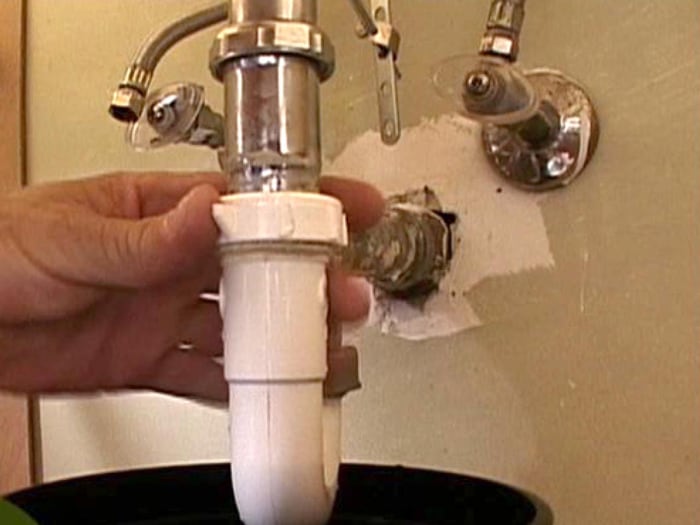
Step 1: Shut off the water supply to the sink and disconnect the water lines. This is usually done by turning off the valves located under the sink.
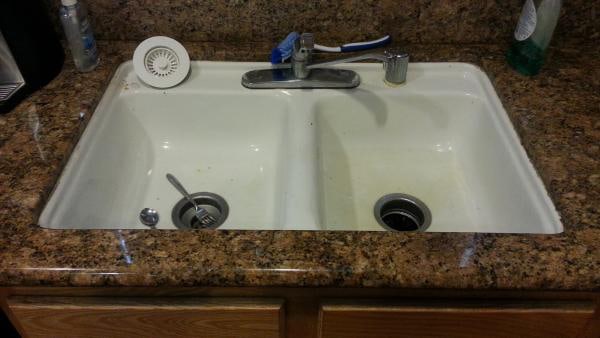
Step 2: Disconnect the garbage disposal or any other plumbing components attached to the sink.
Step 3: Use a utility knife to cut through the silicone adhesive around the edges of the sink. This will loosen the sink from the countertop.
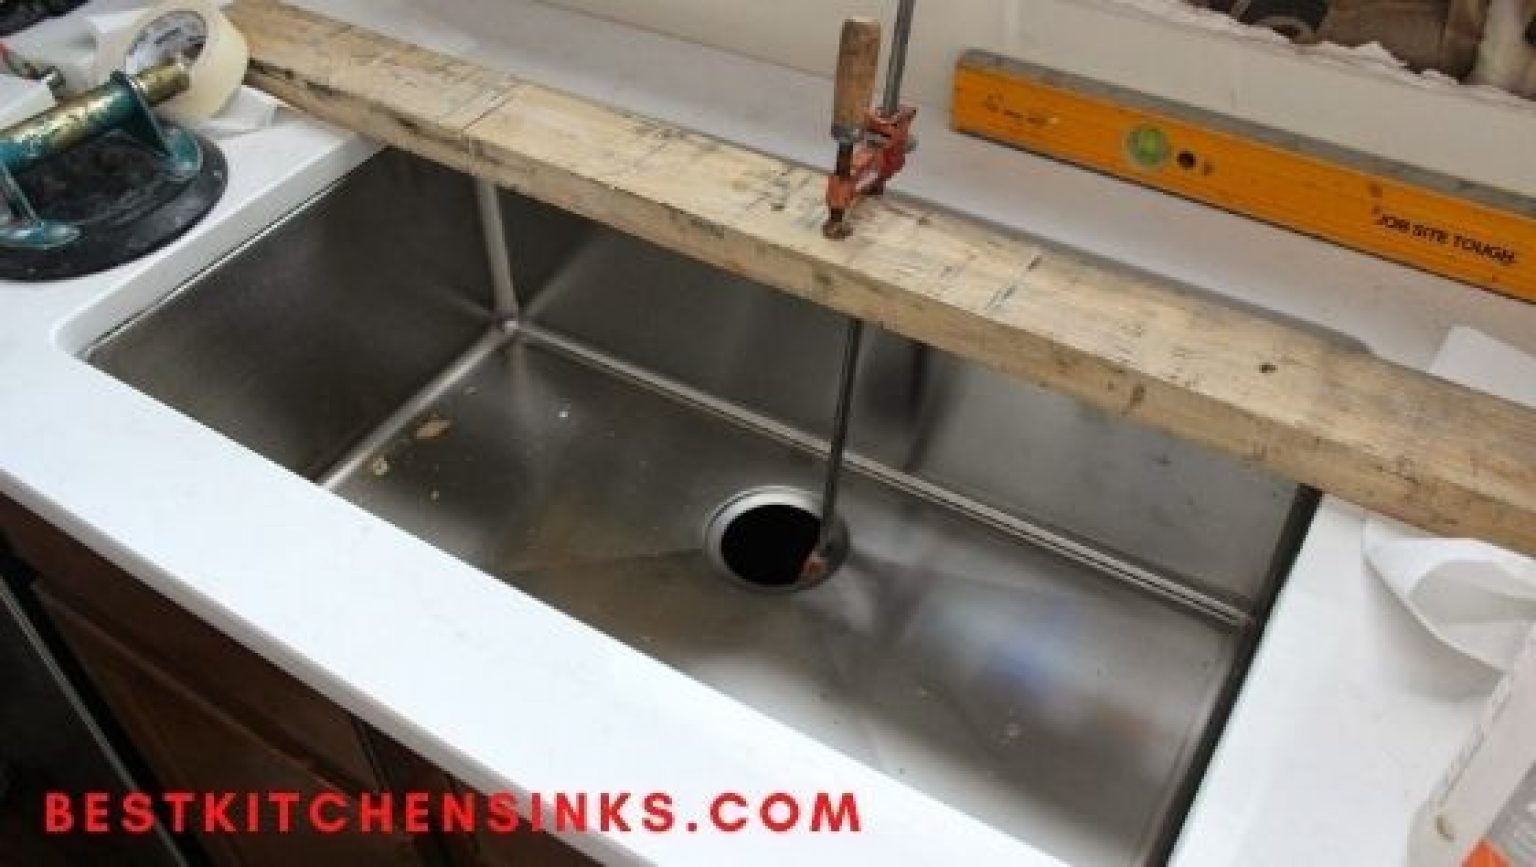
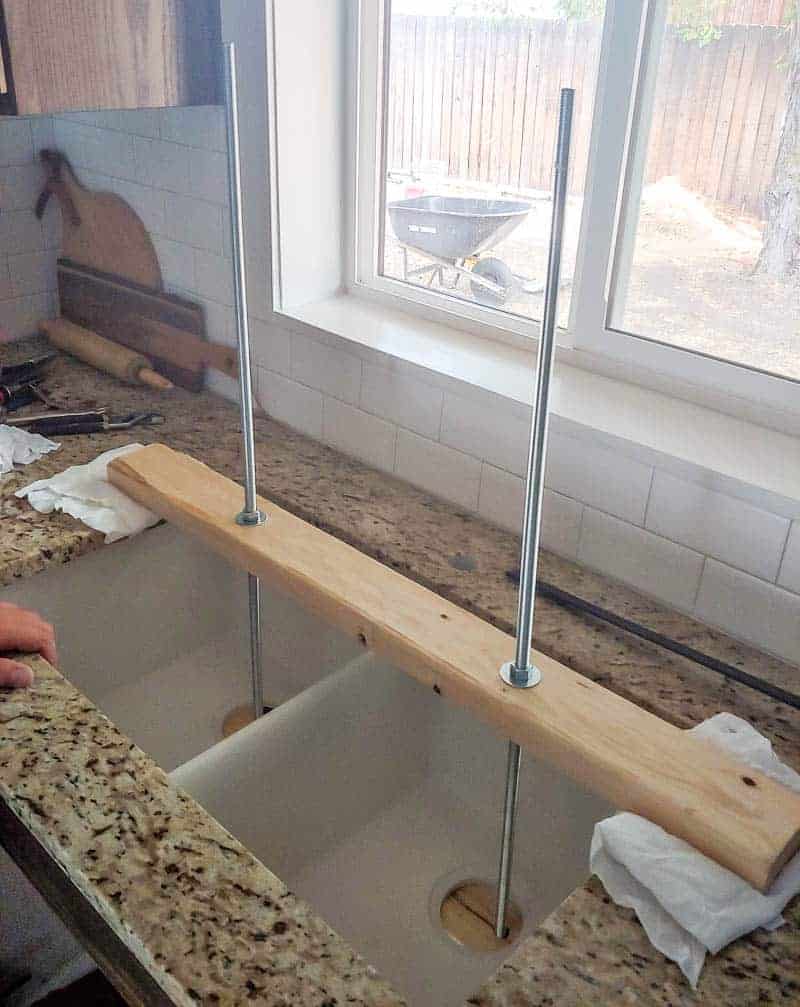
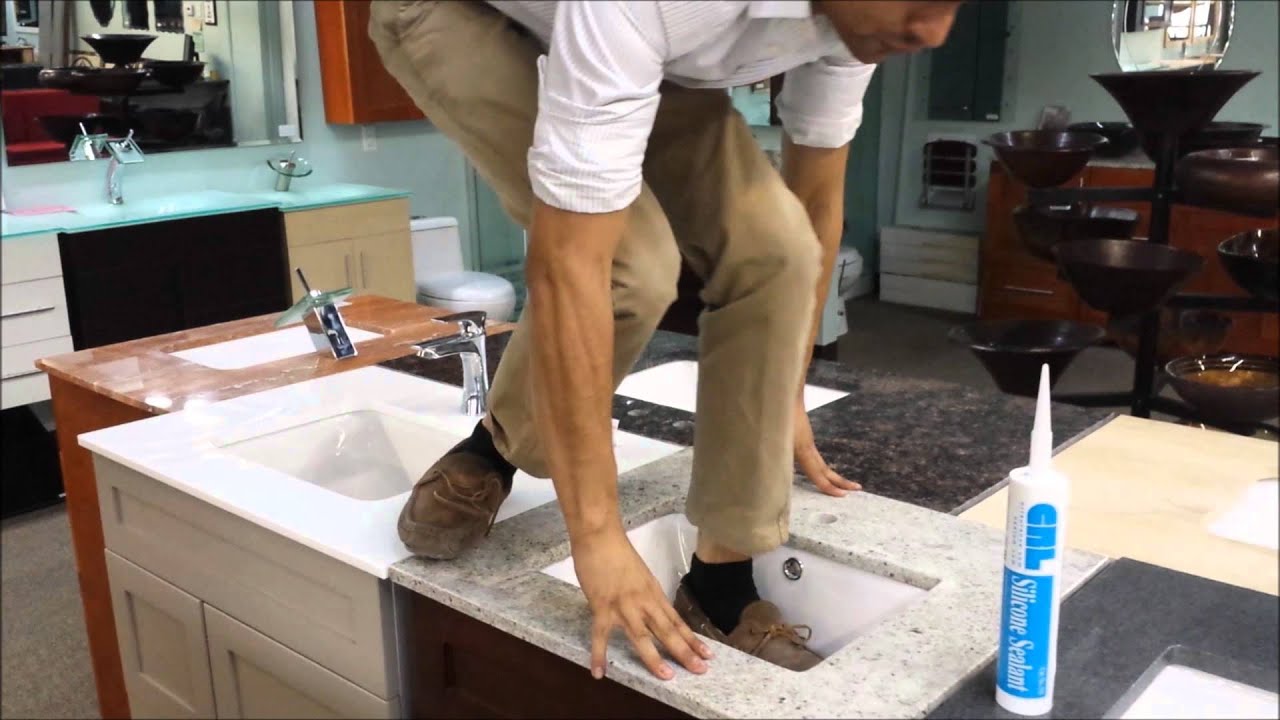
Step 4: Gently pry the sink away from the countertop using a putty knife. Be careful not to damage the countertop or the sink.
Step 5: Once the sink is completely detached, lift it out of the countertop and set it aside.
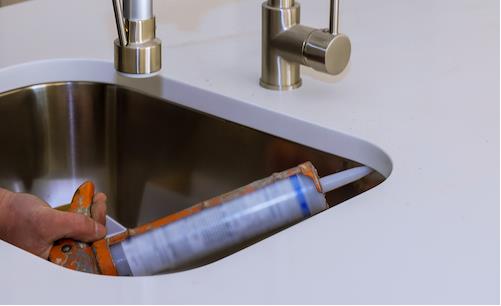
Step 6: Use a silicone adhesive remover to clean off any remaining adhesive from the countertop. This will ensure a clean surface for the new sink to be installed on.
Step 7: If you are planning to replace the sink, now is the time to measure and cut a new hole in the countertop to fit the new sink.
Step 8: Install the new sink according to the manufacturer's instructions.
Step 9: Reconnect the plumbing components and turn the water supply back on.
Step 10: Enjoy your newly installed undermount sink!


Step-by-Step Guide for Removing an Undermount Sink


Removing an Undermount Porcelain Sink
Porcelain sinks are a popular choice for many kitchens due to their durability and classic look. If you have an undermount porcelain sink that needs to be removed, follow the same steps as outlined above. However, be extra careful when handling the sink as porcelain can easily chip or break.


Removing an Undermount Porcelain Sink


DIY Guide for Removing an Undermount Kitchen Sink
If you are a DIY enthusiast, removing an undermount kitchen sink can be a fun and satisfying project. Just make sure to follow the steps carefully and take your time to avoid any accidents or damage to your sink or countertop.


DIY Guide for Removing an Undermount Kitchen Sink


Tools Needed for Removing an Undermount Sink
As mentioned earlier, the tools you will need for removing an undermount sink include a utility knife, silicone adhesive remover, putty knife, adjustable pliers, and a screwdriver. These tools are readily available at most hardware stores and are essential for a successful removal process.

Tools Needed for Removing an Undermount Sink


Tips for Removing an Undermount Sink Without Damaging Countertops
Removing an undermount sink can be a delicate process, and it's important to take precautions to avoid damaging your countertops. One tip is to use a putty knife to gently pry the sink away from the countertop rather than using excessive force. Additionally, using a silicone adhesive remover will help to loosen the sink without causing any damage.


Tips for Removing an Undermount Sink Without Damaging Countertops


Removing an Undermount Sink from Granite Countertops
Granite is a popular choice for kitchen countertops due to its durability and aesthetic appeal. If you have an undermount sink attached to a granite countertop, follow the same steps as outlined above. However, be extra cautious when prying the sink away from the countertop, as granite can be more delicate than other materials.

Removing an Undermount Sink from Granite Countertops


Removing an Undermount Sink with Silicone Adhesive
Most undermount sinks are attached to the countertop using silicone adhesive. This can make the removal process a bit challenging, but using a silicone adhesive remover will make it much easier. Simply apply the remover around the edges of the sink and let it sit for a few minutes before attempting to remove the sink.

Removing an Undermount Sink with Silicone Adhesive


How to Remove an Undermount Sink for Replacement
If you are removing an undermount sink to replace it with a new one, make sure to measure and cut a new hole in the countertop before installing the new sink. This will ensure a perfect fit and a seamless installation process.
Removing an undermount sink may seem like a daunting task, but with the right tools and techniques, it can be done easily and safely. Just remember to take your time, follow the steps carefully, and be cautious to avoid any damage to your sink or countertop. And if you're not confident in your DIY skills, it's always best to hire a professional to ensure a smooth and successful removal process.


How to Remove an Undermount Sink for Replacement

Why Choose an Undermount Porcelain Kitchen Sink?
Benefits of an Undermount Porcelain Kitchen Sink
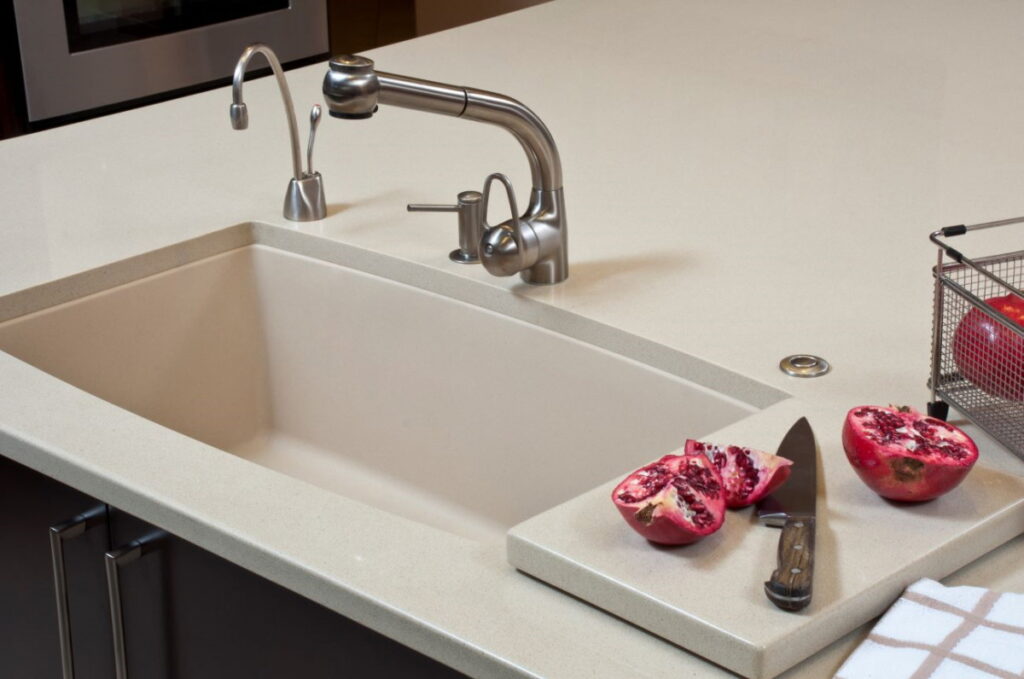
 One of the most important elements in a kitchen design is the sink. It is not only a functional aspect, but also a design element that can greatly enhance the overall look of your kitchen. When it comes to choosing a sink, there are many options available, but one that stands out is the undermount porcelain kitchen sink. This type of sink offers a sleek and seamless look that can elevate the style of any kitchen. But what exactly makes an undermount porcelain kitchen sink a top choice for many homeowners?
Durability:
Porcelain is a highly durable material, making it a popular choice for kitchen sinks. It is resistant to scratches, stains, and heat, making it perfect for everyday use in a busy kitchen.
Easy to Clean:
The smooth surface of a porcelain sink makes it easy to clean and maintain. Unlike other materials, porcelain does not absorb stains, making it a hygienic option for a kitchen sink.
Design Versatility:
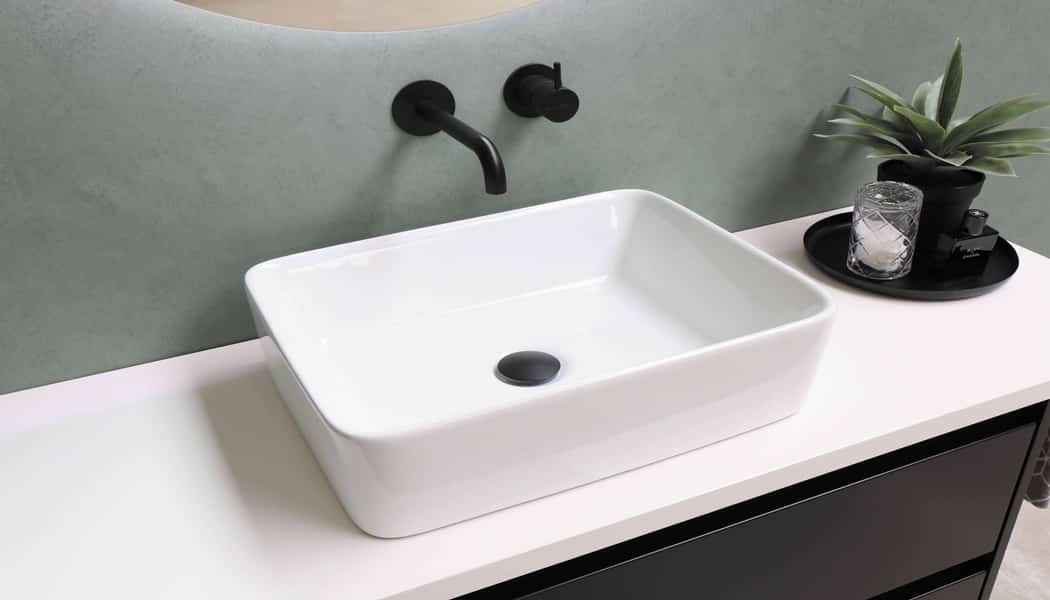
Undermount porcelain kitchen sinks come in a variety of shapes, sizes, and colors, making it easy to find one that fits your kitchen design. Whether you have a traditional or modern kitchen, there is a porcelain sink that will complement your style.
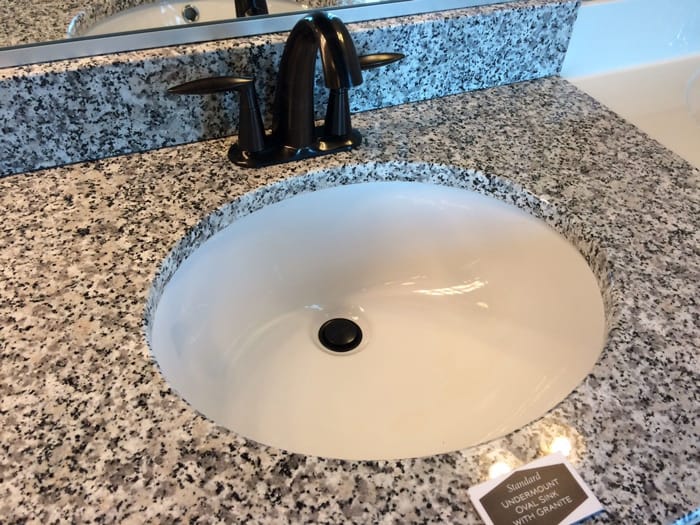
Seamless Integration:
The undermount design of these sinks allows for a seamless integration with your countertop, creating a clean and streamlined look. This also makes it easier to wipe crumbs and spills directly into the sink without any obstruction from the sink rim.
One of the most important elements in a kitchen design is the sink. It is not only a functional aspect, but also a design element that can greatly enhance the overall look of your kitchen. When it comes to choosing a sink, there are many options available, but one that stands out is the undermount porcelain kitchen sink. This type of sink offers a sleek and seamless look that can elevate the style of any kitchen. But what exactly makes an undermount porcelain kitchen sink a top choice for many homeowners?
Durability:
Porcelain is a highly durable material, making it a popular choice for kitchen sinks. It is resistant to scratches, stains, and heat, making it perfect for everyday use in a busy kitchen.
Easy to Clean:
The smooth surface of a porcelain sink makes it easy to clean and maintain. Unlike other materials, porcelain does not absorb stains, making it a hygienic option for a kitchen sink.
Design Versatility:
Undermount porcelain kitchen sinks come in a variety of shapes, sizes, and colors, making it easy to find one that fits your kitchen design. Whether you have a traditional or modern kitchen, there is a porcelain sink that will complement your style.
Seamless Integration:
The undermount design of these sinks allows for a seamless integration with your countertop, creating a clean and streamlined look. This also makes it easier to wipe crumbs and spills directly into the sink without any obstruction from the sink rim.
How to Remove an Undermount Porcelain Kitchen Sink
 Now that you know the benefits of having an undermount porcelain kitchen sink, it is important to know how to properly remove it. Whether you are replacing your sink or doing a kitchen renovation, here are the steps to safely remove your undermount porcelain kitchen sink:
Step 1: Prepare the Area:
Before starting, ensure that the area around the sink is clear and there is enough space for you to work. It is also important to shut off the water supply to the sink and disconnect any plumbing connections.
Step 2: Remove the Sink Clips:
Most undermount sinks are held in place with sink clips. These can be easily removed using a screwdriver. Once the clips are removed, the sink should be loose.
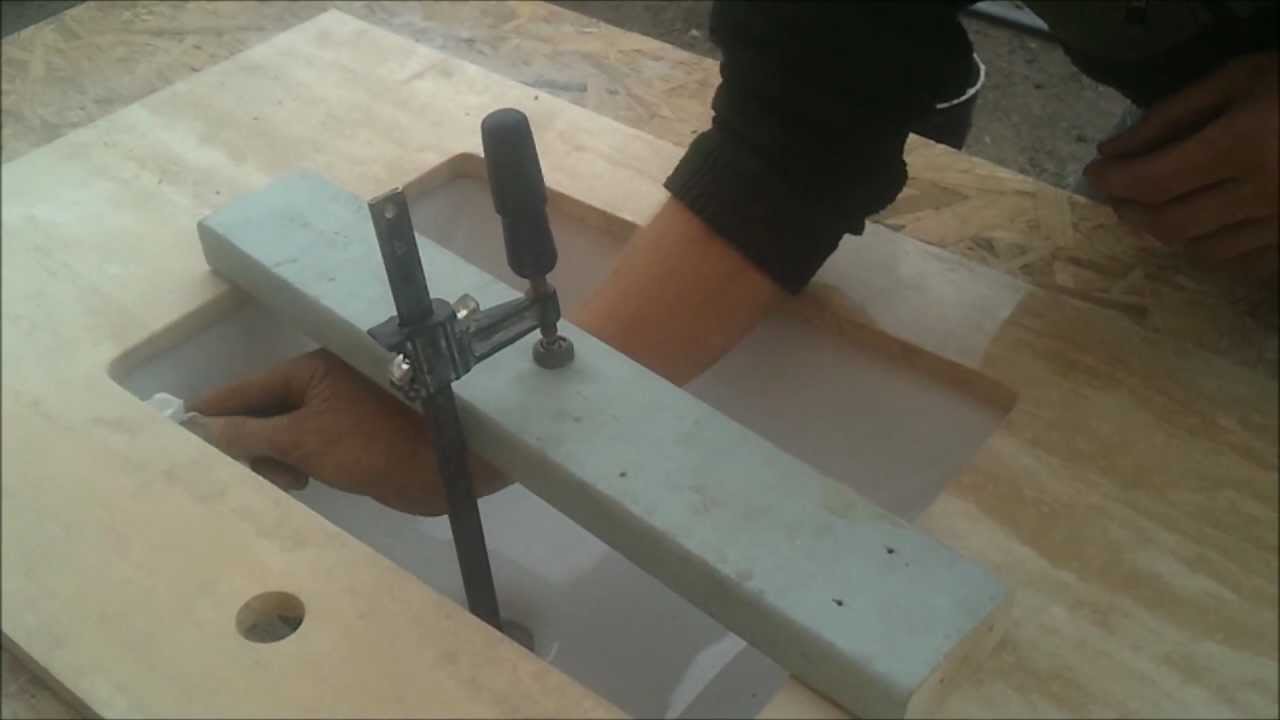
Step 3: Loosen the Adhesive:
Undermount sinks are also secured to the countertop with adhesive. To loosen the adhesive, use a putty knife to gently pry the sink away from the countertop.
Step 4: Lift and Remove the Sink:
Once the sink is loose, carefully lift it out of the countertop. If there is any remaining adhesive, use a razor blade to scrape it off.
With these simple steps, you can easily remove your undermount porcelain kitchen sink without causing any damage to your countertop. Remember to handle the sink with care to avoid any chips or cracks. Now you can confidently choose an undermount porcelain kitchen sink for your kitchen design knowing that it is not only a stylish choice, but also a durable and practical one.
Now that you know the benefits of having an undermount porcelain kitchen sink, it is important to know how to properly remove it. Whether you are replacing your sink or doing a kitchen renovation, here are the steps to safely remove your undermount porcelain kitchen sink:
Step 1: Prepare the Area:
Before starting, ensure that the area around the sink is clear and there is enough space for you to work. It is also important to shut off the water supply to the sink and disconnect any plumbing connections.
Step 2: Remove the Sink Clips:
Most undermount sinks are held in place with sink clips. These can be easily removed using a screwdriver. Once the clips are removed, the sink should be loose.
Step 3: Loosen the Adhesive:
Undermount sinks are also secured to the countertop with adhesive. To loosen the adhesive, use a putty knife to gently pry the sink away from the countertop.
Step 4: Lift and Remove the Sink:
Once the sink is loose, carefully lift it out of the countertop. If there is any remaining adhesive, use a razor blade to scrape it off.
With these simple steps, you can easily remove your undermount porcelain kitchen sink without causing any damage to your countertop. Remember to handle the sink with care to avoid any chips or cracks. Now you can confidently choose an undermount porcelain kitchen sink for your kitchen design knowing that it is not only a stylish choice, but also a durable and practical one.