Is your bathroom sink faucet starting to show signs of wear and tear? Perhaps it's time to give your bathroom a fresh new look by removing your old Moen bathroom sink faucet. While it may seem like a daunting task, with the right tools and techniques, you can easily remove your faucet and replace it with a new one. In this article, we'll provide you with a step-by-step guide on how to remove your old Moen bathroom sink faucet.Removing Old Moen Bathroom Sink Faucet: A Step-by-Step Guide


Removing Old Moen Bathroom Sink Faucet: A Step-by-Step Guide


Before we get into the steps, it's important to note that the process of removing a Moen bathroom faucet may vary depending on the specific model and design. However, the basic steps are similar and can be applied to most Moen bathroom faucets. The first step is to shut off the water supply to your sink. This is usually done by turning off the water valves located under the sink. Once the water is turned off, you can move on to the next step.How to Remove a Moen Bathroom Faucet


How to Remove a Moen Bathroom Faucet


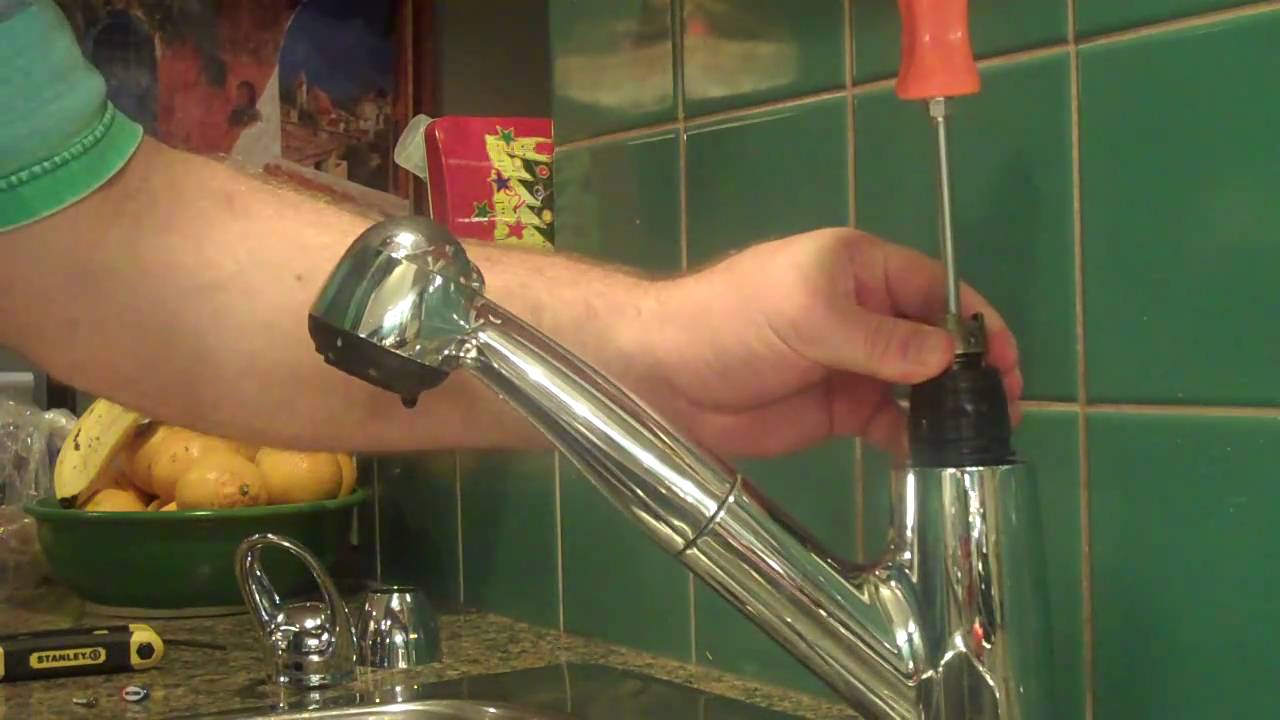
Now that the water supply is turned off, you can start removing your old Moen bathroom sink faucet. Here are the basic steps to follow:DIY: Removing a Moen Bathroom Faucet
DIY: Removing a Moen Bathroom Faucet


Removing a Moen bathroom faucet may seem simple enough, but there are some tips and tricks that can make the process even easier:Removing a Moen Bathroom Faucet: Tips and Tricks
Removing a Moen Bathroom Faucet: Tips and Tricks


While removing a Moen bathroom faucet may seem like a straightforward task, there are some common mistakes that you should avoid:Removing a Moen Bathroom Faucet: Common Mistakes to Avoid

Removing a Moen Bathroom Faucet: Common Mistakes to Avoid

Here is a list of tools that you'll need to successfully remove your old Moen bathroom sink faucet:Removing a Moen Bathroom Faucet: Tools You'll Need
Removing a Moen Bathroom Faucet: Tools You'll Need
If you encounter any problems during the removal process, here are some common issues and how to troubleshoot them:Removing a Moen Bathroom Faucet: Troubleshooting Common Issues
Removing a Moen Bathroom Faucet: Troubleshooting Common Issues

If you're a visual learner, watching a step-by-step video tutorial can be helpful in understanding the removal process. There are many DIY videos available online that provide detailed instructions on how to remove a Moen bathroom sink faucet.Removing a Moen Bathroom Faucet: Step-by-Step Video Tutorial
Removing a Moen Bathroom Faucet: Step-by-Step Video Tutorial


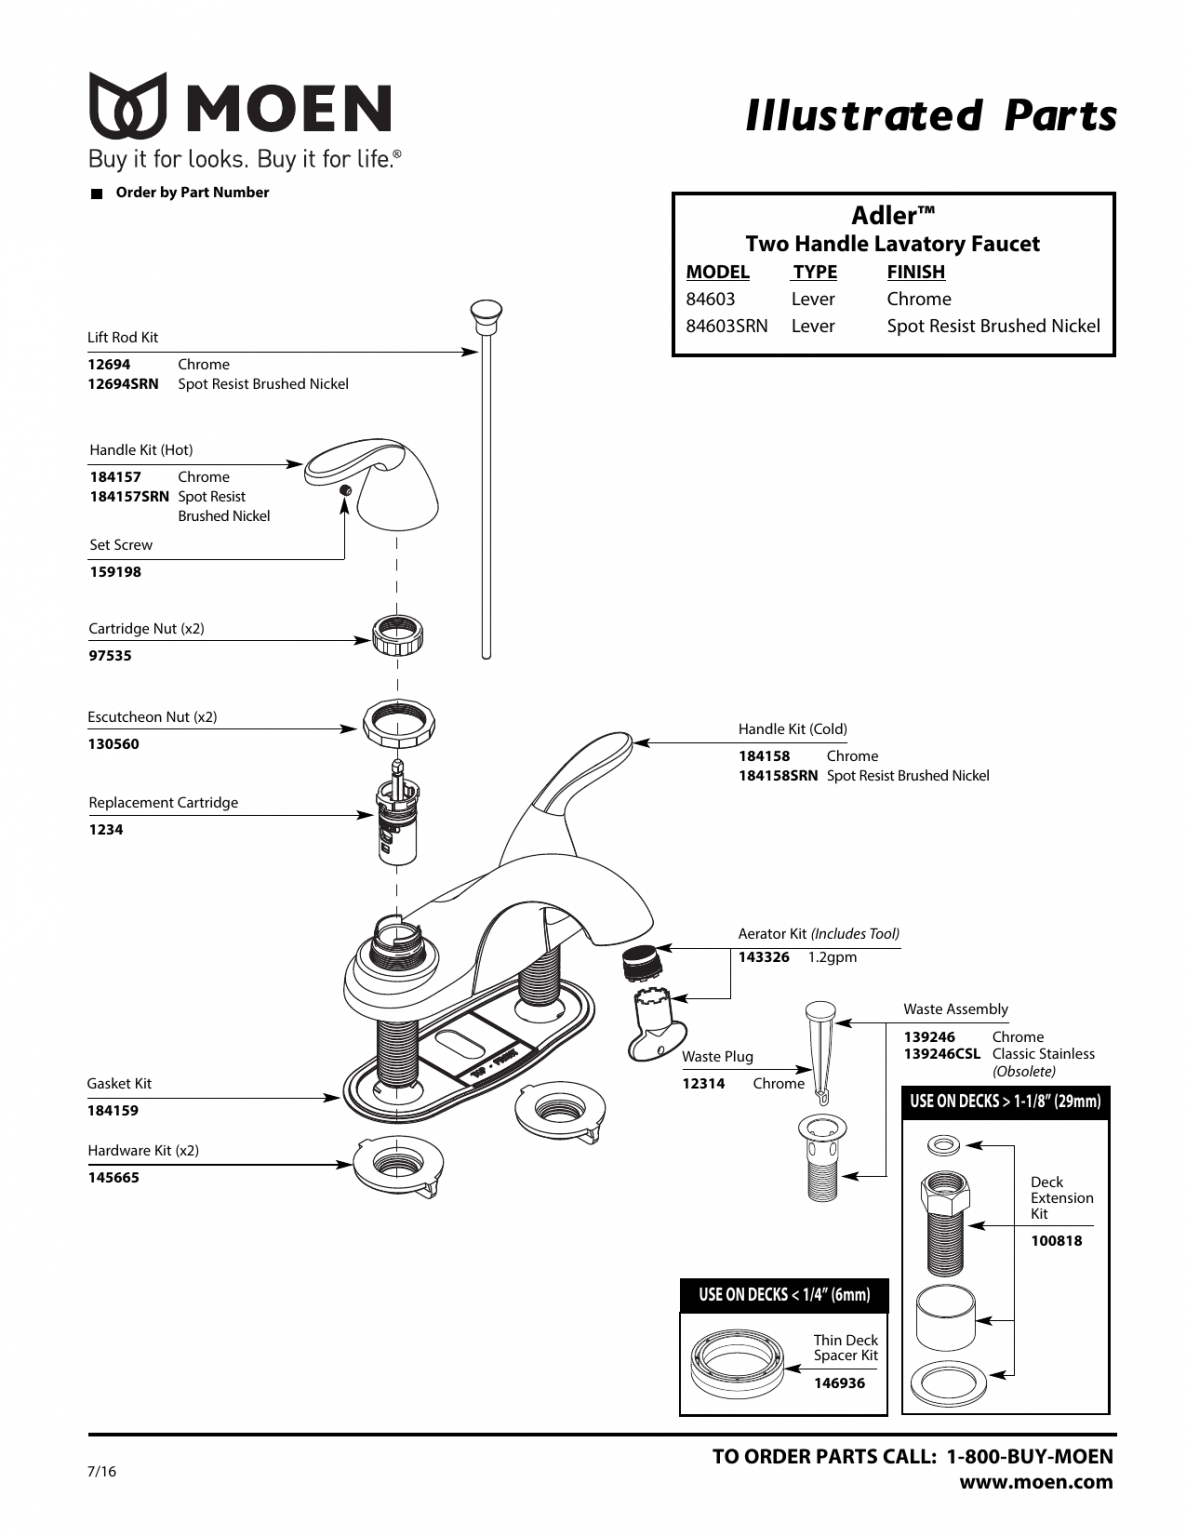
If you're planning on reusing your old faucet, it's important to clean and replace any worn or damaged parts before reinstalling it. This will ensure that your faucet works properly and lasts longer.Removing a Moen Bathroom Faucet: How to Replace Old Parts

Removing a Moen Bathroom Faucet: How to Replace Old Parts
While removing a Moen bathroom sink faucet can be a DIY project, it's always a good idea to consider hiring a professional plumber. They have the experience, tools, and knowledge to safely and efficiently remove your old faucet and install a new one. This can save you time, effort, and potential headaches in the long run. Now that you know how to remove your old Moen bathroom sink faucet, you can confidently give your bathroom a fresh new look by installing a new one. Remember to take your time and follow the steps carefully to ensure a successful removal process. Happy renovating!Removing a Moen Bathroom Faucet: Professional vs. DIY
Removing a Moen Bathroom Faucet: Professional vs. DIY

Why Should You Consider Replacing Your Old Moen Bathroom Sink Faucet?

Improved Functionality and Efficiency
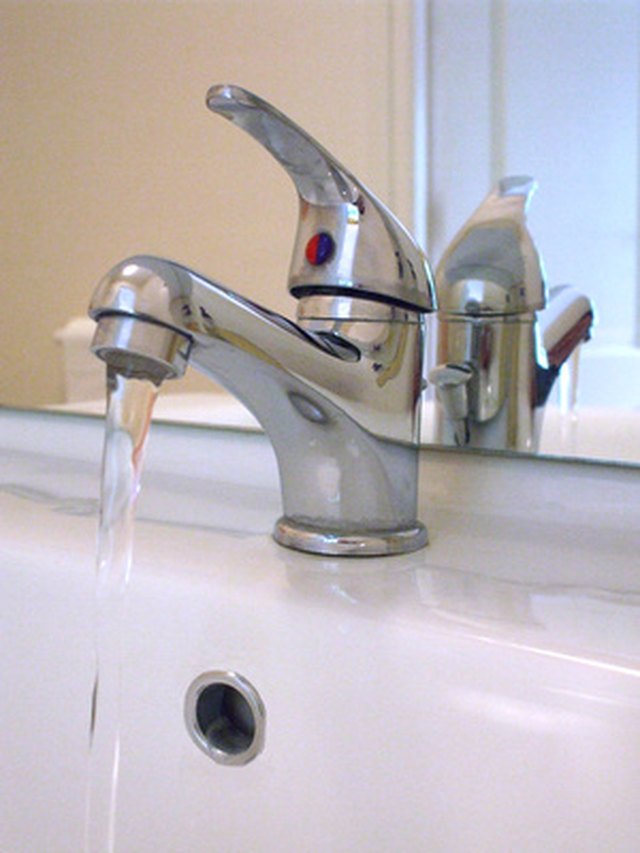
 Replacing an old Moen bathroom sink faucet can greatly improve the functionality and efficiency of your sink. Over time, faucets can become clogged with mineral deposits and other debris, causing the water to flow slower or unevenly. This can make it difficult to properly rinse your hands or wash dishes. By replacing your old faucet, you can ensure a strong and steady flow of water, making your daily tasks easier and more efficient.
Enhanced Aesthetic Appeal
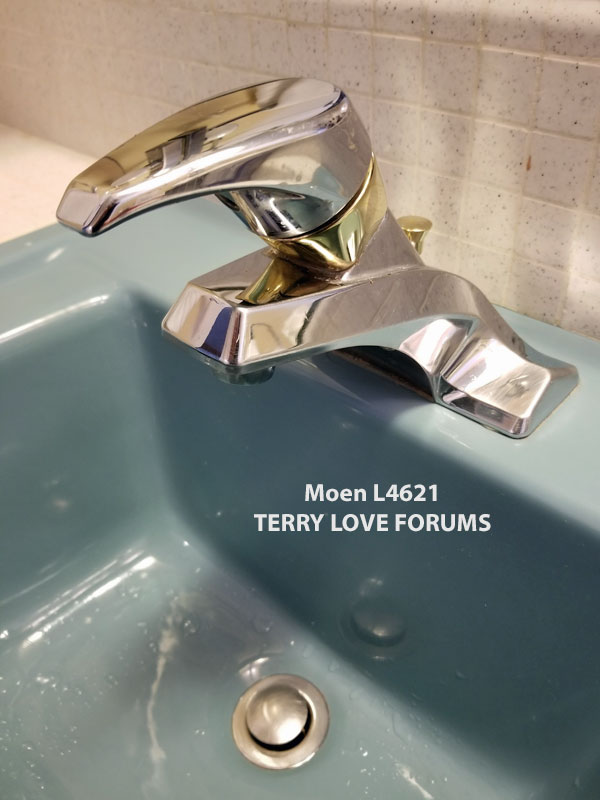
 Another reason to consider replacing your old Moen bathroom sink faucet is for the aesthetic appeal it can bring to your bathroom. As faucets age, they can become discolored or develop tarnish, making them look dull and outdated. By installing a new faucet, you can instantly update the look of your bathroom. Additionally, Moen offers a wide range of stylish designs and finishes to choose from, allowing you to customize the look of your sink to match your personal style and the overall design of your bathroom.
Increase in Property Value
 If you're planning to sell your house in the future, replacing your old Moen bathroom sink faucet can be a smart investment. Potential buyers will be drawn to a bathroom with modern and functional fixtures, and a new faucet can make a big difference in the overall appearance of the space. This simple upgrade can also increase the value of your home, making it a worthwhile investment for both current and future homeowners.
In conclusion, replacing your old Moen bathroom sink faucet is not only beneficial for its improved functionality, enhanced aesthetic appeal, and increase in property value, but it can also save you from potential repair costs in the long run. Don't hesitate to make this small but impactful change in your bathroom design.
If you're planning to sell your house in the future, replacing your old Moen bathroom sink faucet can be a smart investment. Potential buyers will be drawn to a bathroom with modern and functional fixtures, and a new faucet can make a big difference in the overall appearance of the space. This simple upgrade can also increase the value of your home, making it a worthwhile investment for both current and future homeowners.
In conclusion, replacing your old Moen bathroom sink faucet is not only beneficial for its improved functionality, enhanced aesthetic appeal, and increase in property value, but it can also save you from potential repair costs in the long run. Don't hesitate to make this small but impactful change in your bathroom design.


