When it comes to home renovations, removing a kitchen wall can make a huge impact on the overall look and feel of your space. However, if your kitchen wall has a chimney built into it, the process becomes a little more complicated. Before you start knocking down walls and ripping out chimneys, it’s important to understand the steps involved and the potential challenges you may face. In this article, we’ll take a closer look at the process of removing a kitchen wall with a chimney and provide you with tips and tricks to make the project a success.Removing a Kitchen Wall: What You Need to Know
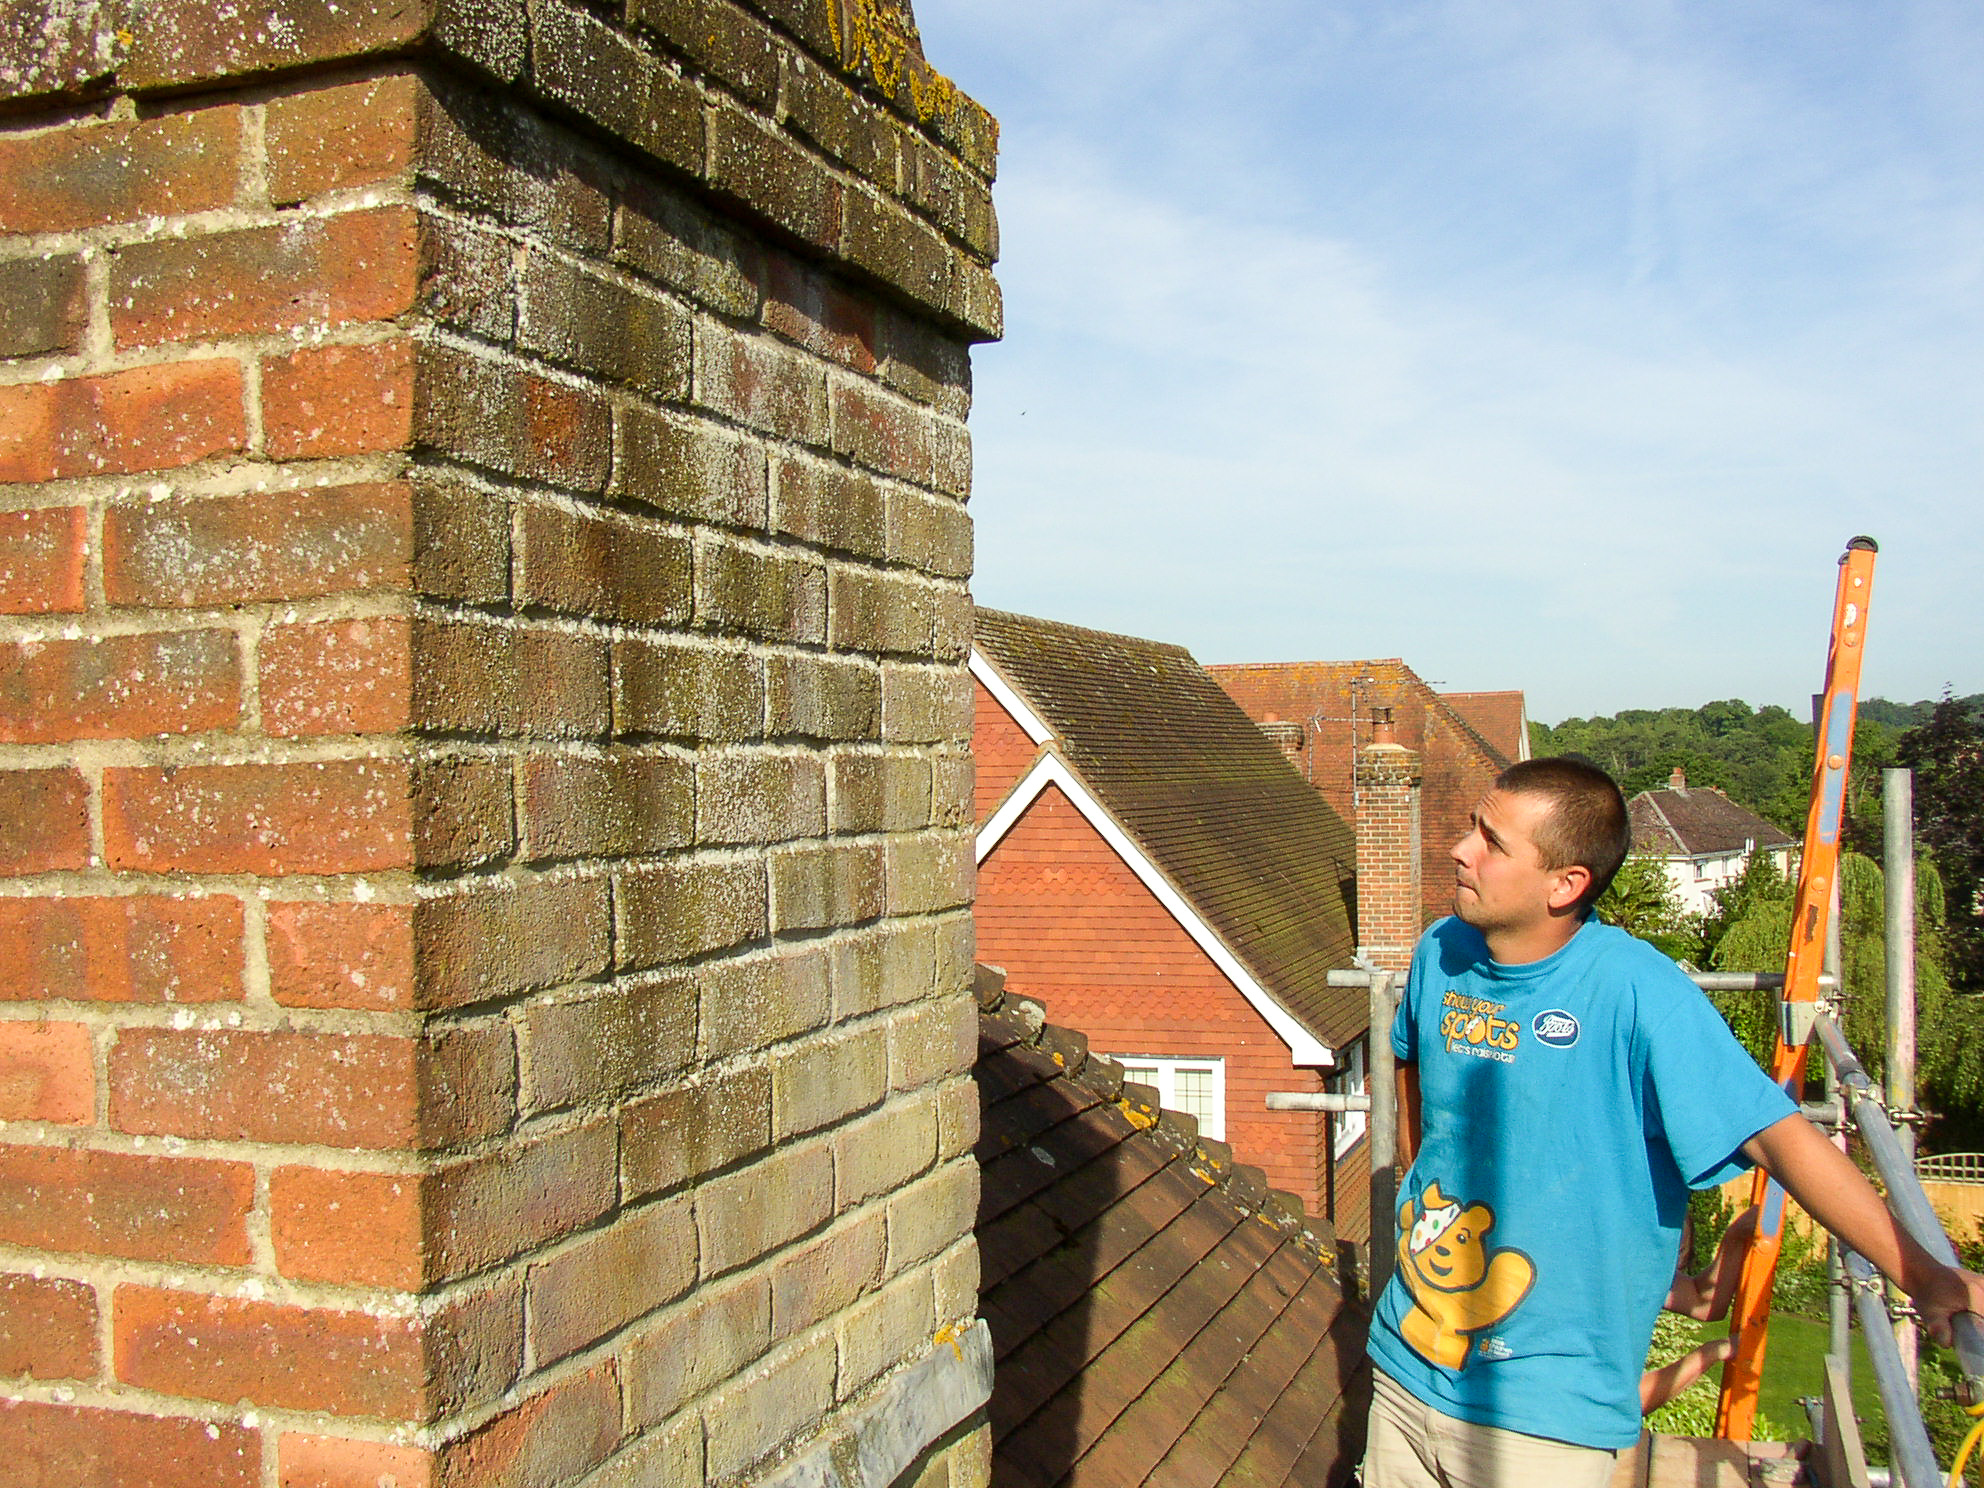
Removing a chimney from a kitchen wall can be a daunting task, but with the right tools and techniques, it can be done. The first step is to assess the situation and determine whether the chimney is load-bearing or not. If it is, you may need to consult a structural engineer to ensure the removal won’t compromise the integrity of your home. Once you have the green light, you can begin the process of removing the chimney.How to Remove a Chimney from a Kitchen Wall
If you’re feeling confident in your DIY skills, you may be tempted to tackle removing a kitchen wall and chimney on your own. While this can save you money, it’s important to keep in mind that this is a complex project that requires proper planning and execution. It’s recommended to consult with a professional before attempting to remove a load-bearing wall and chimney on your own.DIY Kitchen Remodel: Removing a Wall and Chimney
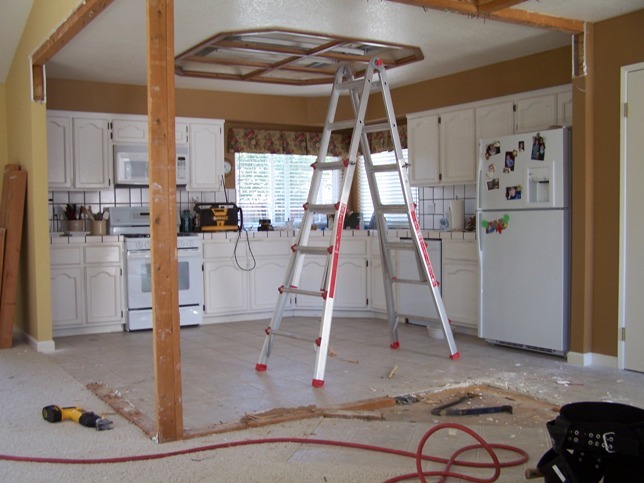
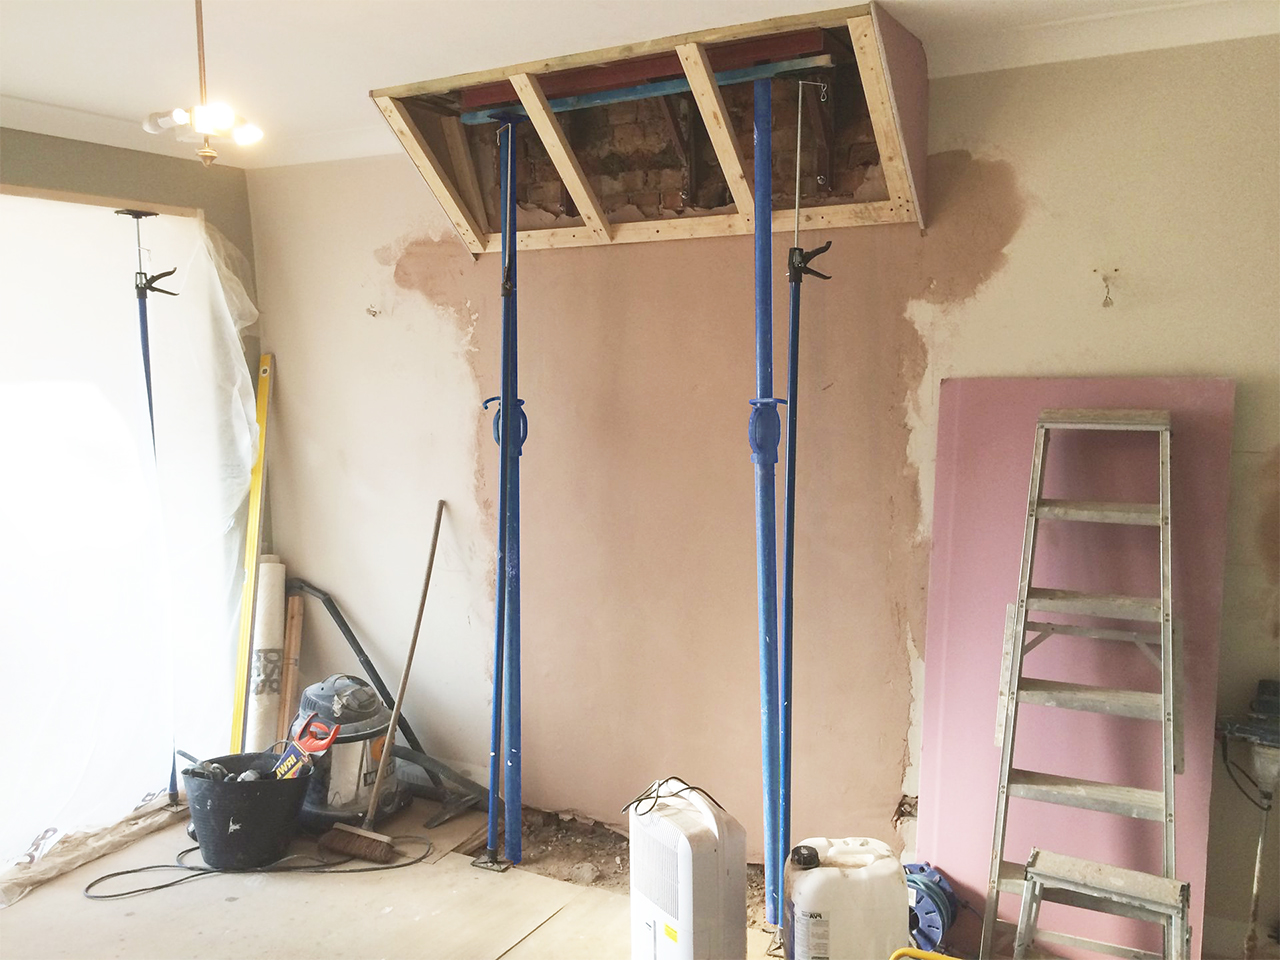
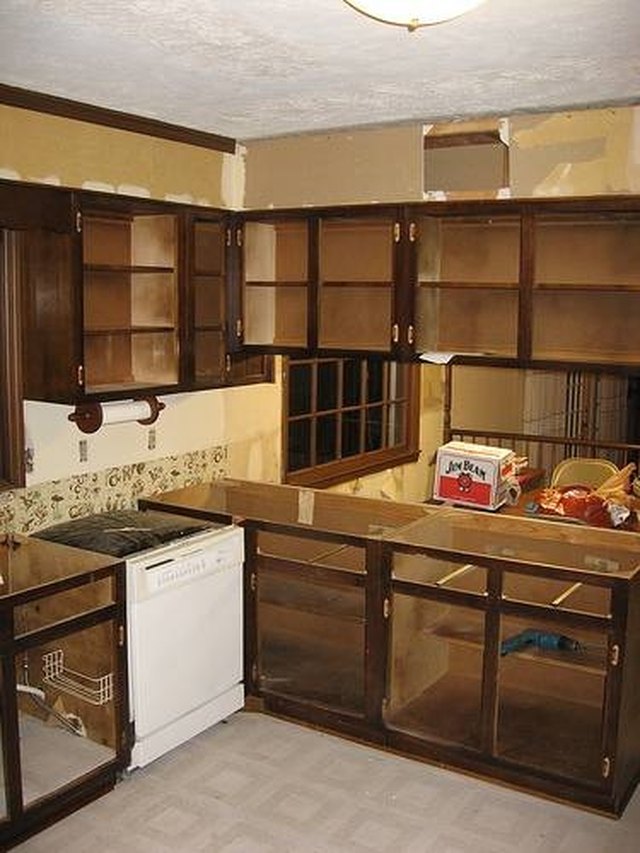
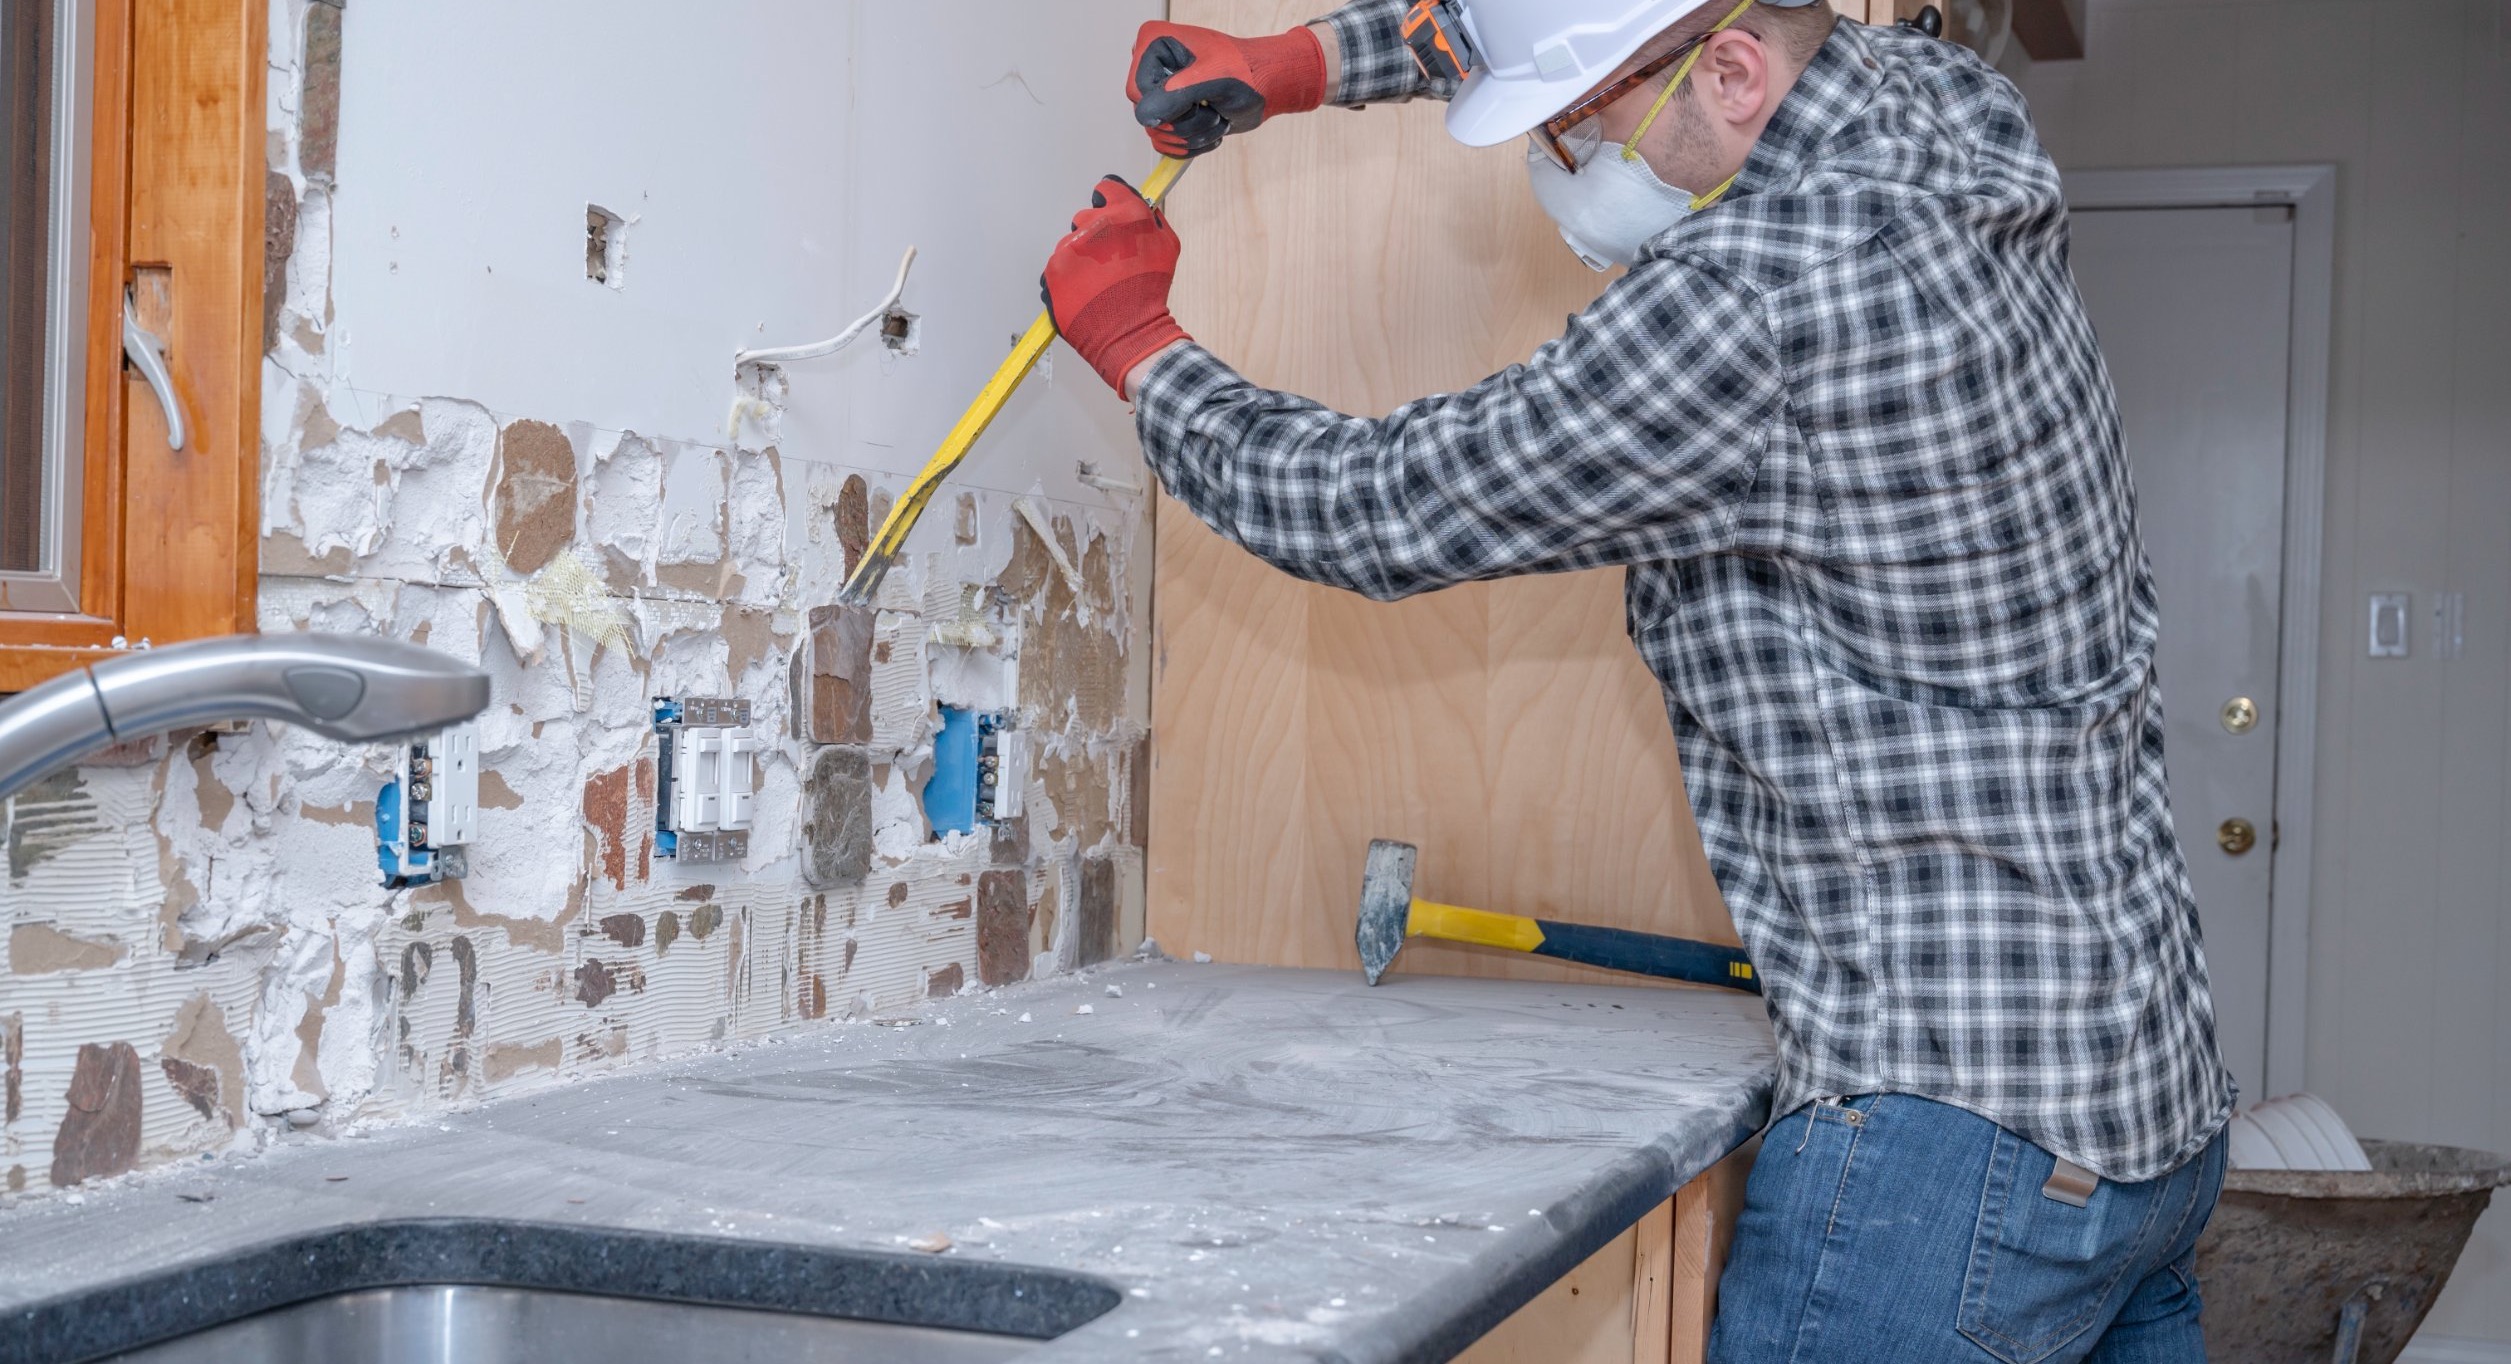
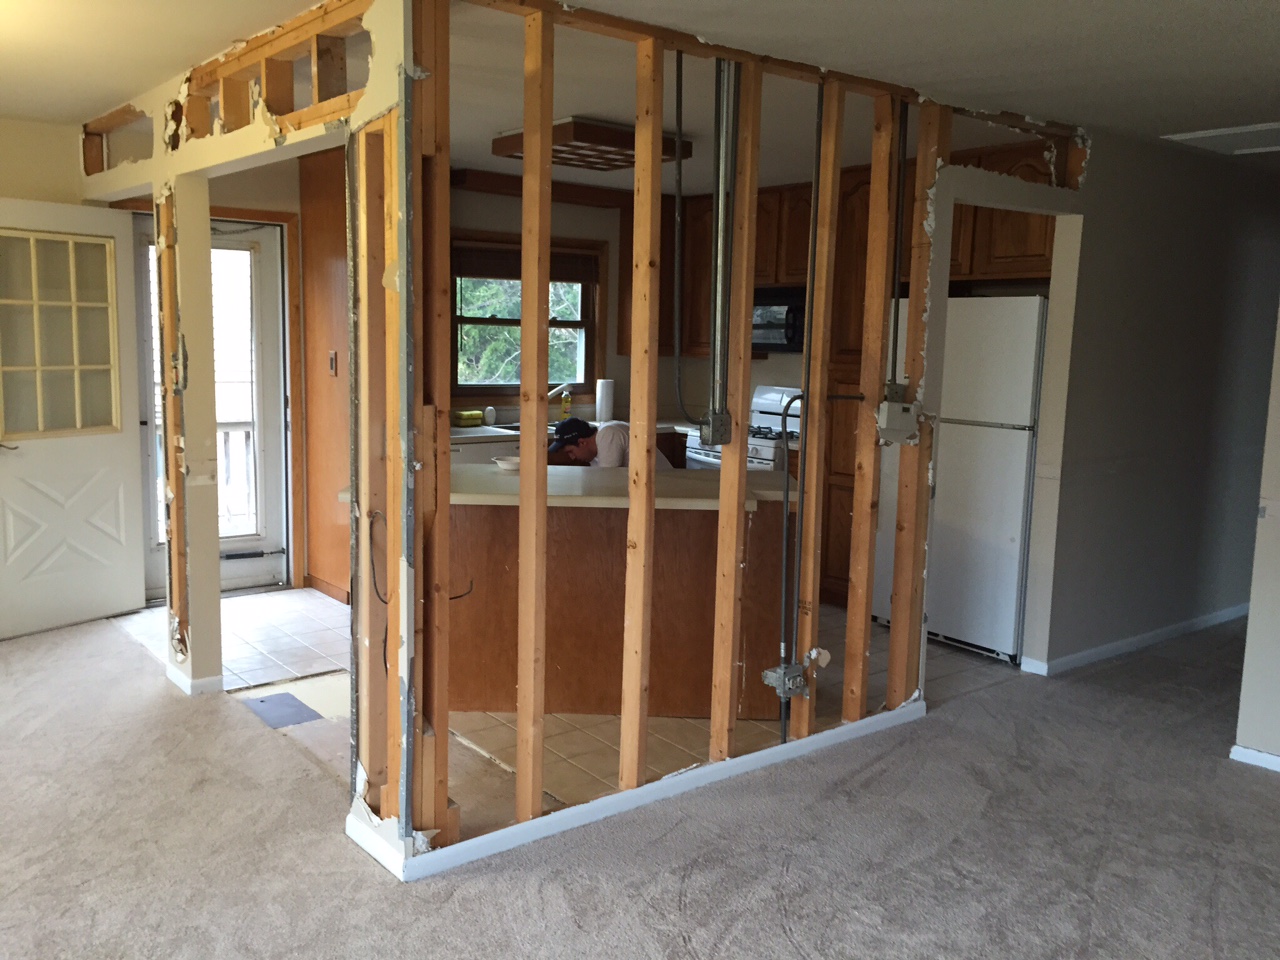
Here’s a step-by-step guide to removing a kitchen wall with a chimney: Step 1: Plan and Prepare Before you start any demolition work, make sure to have a solid plan in place. This should include getting any necessary permits and consulting with a professional if needed. You should also prepare the work area by covering floors and furniture with protective materials. Step 2: Remove Fixtures and Appliances Next, remove any fixtures and appliances that may be attached to the wall, such as cabinets, shelves, and appliances. This will make it easier to remove the wall and chimney. Step 3: Remove Drywall and Insulation Using a hammer and pry bar, carefully remove the drywall and insulation from the wall. Be sure to wear protective gear, such as gloves and a mask, to avoid inhaling any dust or debris. Step 4: Remove the Chimney If the chimney is not load-bearing, it can be removed using a sledgehammer and chisel to break it apart. If it is load-bearing, you may need to hire a professional to remove it safely. Step 5: Remove the Wall Using a sledgehammer, carefully start breaking down the wall from top to bottom. Be sure to remove any remaining debris and clean up the area before proceeding. Step 6: Repair and Refinish With the wall and chimney removed, you can now repair any damage to the surrounding area and refinish it to match the rest of your kitchen.Removing a Kitchen Wall with a Chimney: Step-by-Step Guide
Removing a kitchen wall and chimney can create a more open and spacious feel in your home. It’s a popular choice for those looking to modernize their kitchen and create a better flow between rooms. However, it’s important to keep in mind that this type of renovation can also be costly and may require the help of professionals.Kitchen Renovation: Removing a Wall and Chimney for an Open Concept
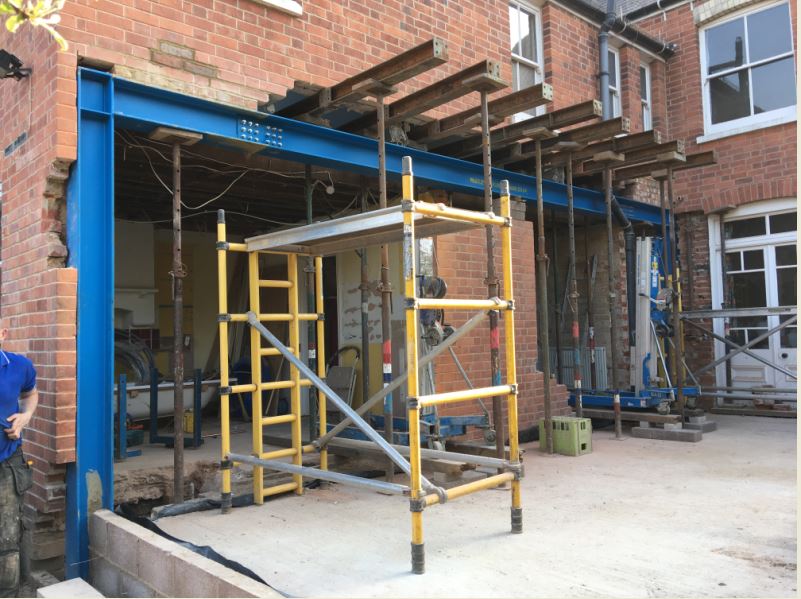
If your kitchen wall with a chimney is load-bearing, there are a few things you need to consider before removing it. First, you’ll need to determine if there are any alternative load-bearing structures in place to support the weight of the wall. You may also need to consult with a structural engineer to come up with a safe and effective solution for removing the wall.Removing a Load-Bearing Wall in Your Kitchen: What to Consider
The cost of removing a kitchen wall and chimney will vary depending on the complexity of the project, the materials and tools needed, and whether or not you hire professionals. On average, the cost can range from $500 to $4,000. It’s important to budget accordingly and consider any potential additional costs, such as repairing flooring or electrical work.Kitchen Wall Removal Cost: How Much to Remove a Wall and Chimney
Here are some helpful tips and tricks for removing a kitchen wall with a chimney: Tip 1: Consult with a Professional Before starting any demolition work, it’s best to consult with a professional to ensure the project is safe and feasible. Tip 2: Get All Necessary Permits Make sure to obtain any necessary permits before starting the project to avoid any potential legal issues. Tip 3: Protect Surrounding Areas Cover floors and furniture with protective materials to avoid any damage during the demolition process. Tip 4: Dispose of Debris Properly Make sure to properly dispose of all debris and materials to avoid any potential hazards or fines.Removing a Kitchen Wall with a Chimney: Tips and Tricks
Before deciding to remove a kitchen wall and chimney, it’s important to weigh the pros and cons: Pros: - Creates more open and spacious living areas - Modernizes the look of your home - Improves flow between rooms Cons: - Can be costly, especially if the wall is load-bearing - May require the help of professionals - Can cause disruption and mess during the renovation processKitchen Wall Removal: Pros and Cons of Removing a Wall and Chimney
Here are some common mistakes to avoid when removing a kitchen wall with a chimney: Mistake 1: Not Getting Professional Help Attempting to remove a load-bearing wall and chimney on your own can be dangerous and may result in costly mistakes. It’s best to consult with professionals to ensure the project is done safely and correctly. Mistake 2: Not Getting Permits Failing to obtain necessary permits can result in legal issues and fines. Be sure to get all necessary permits before starting the project. Mistake 3: Not Properly Protecting Surrounding Areas Failure to cover floors and furniture can result in damage during the demolition process. Be sure to properly protect the surrounding areas to avoid any additional costs.Removing a Kitchen Wall with a Chimney: Common Mistakes to Avoid
The Benefits of Removing a Kitchen Wall with Chimney

Creating an Open and Spacious Layout
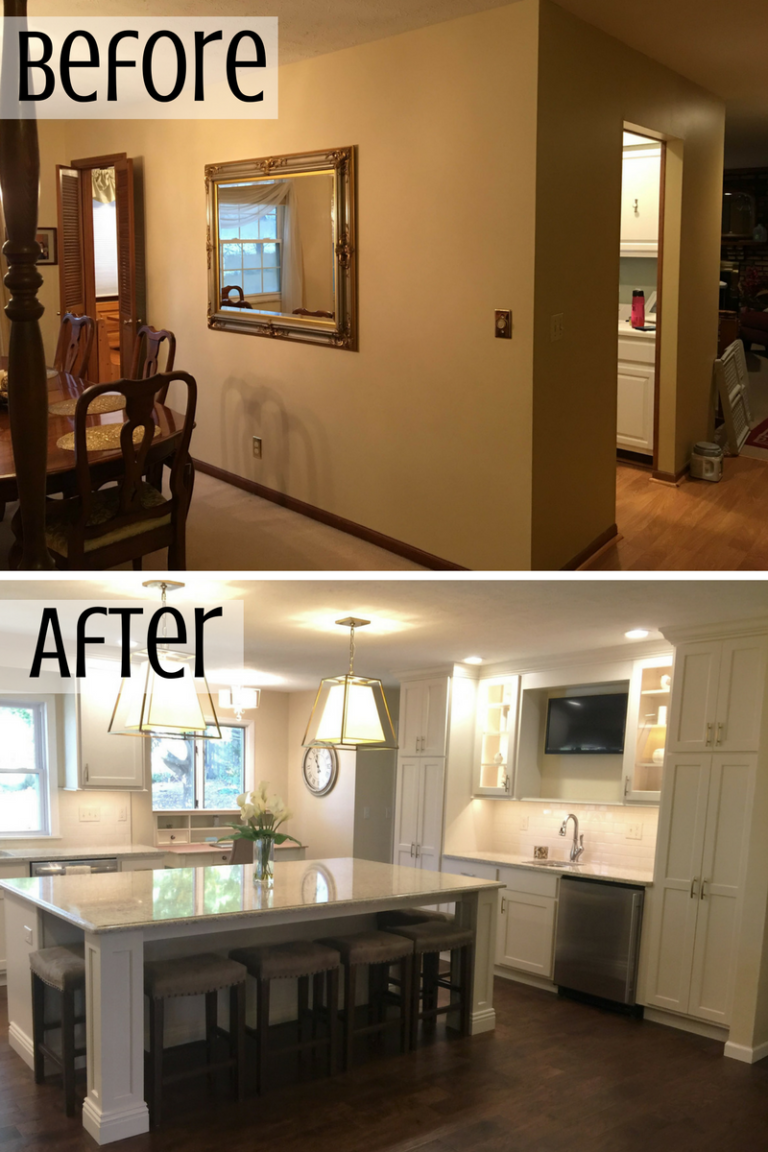
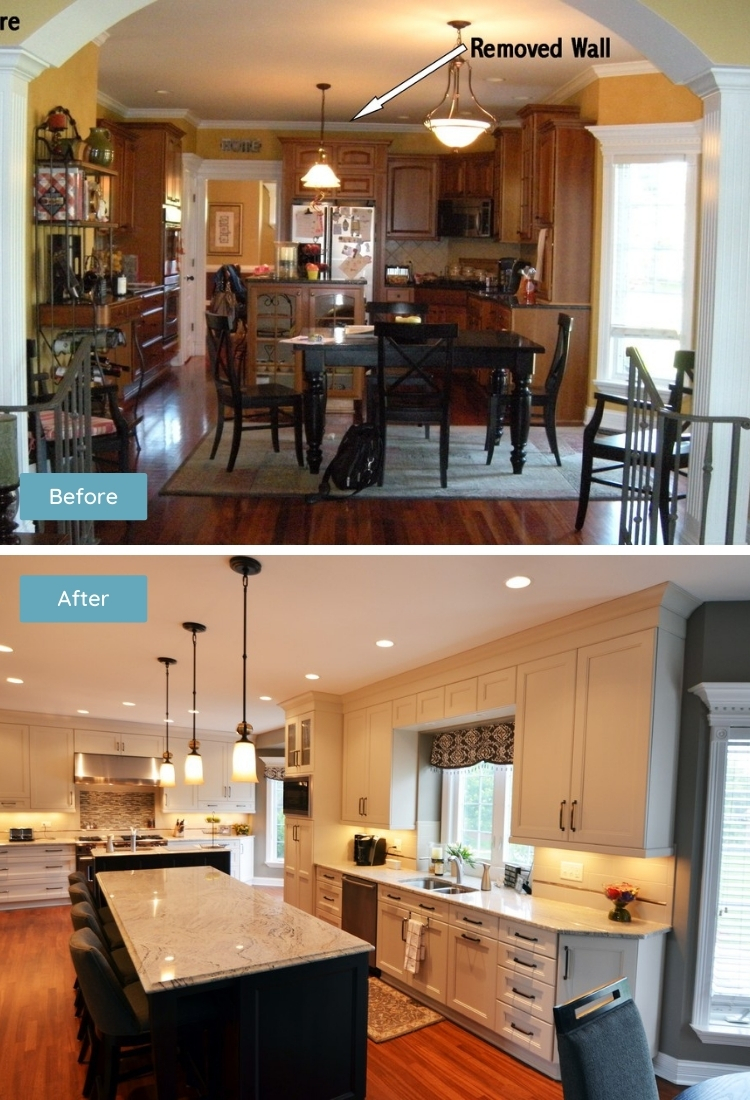
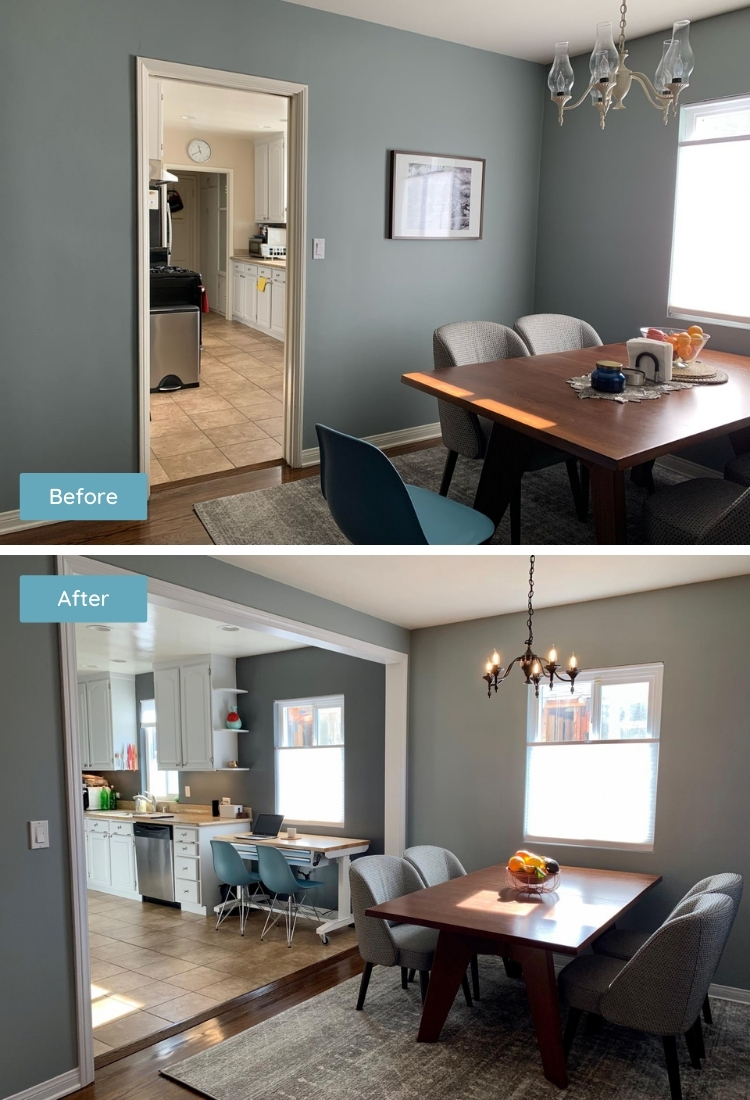
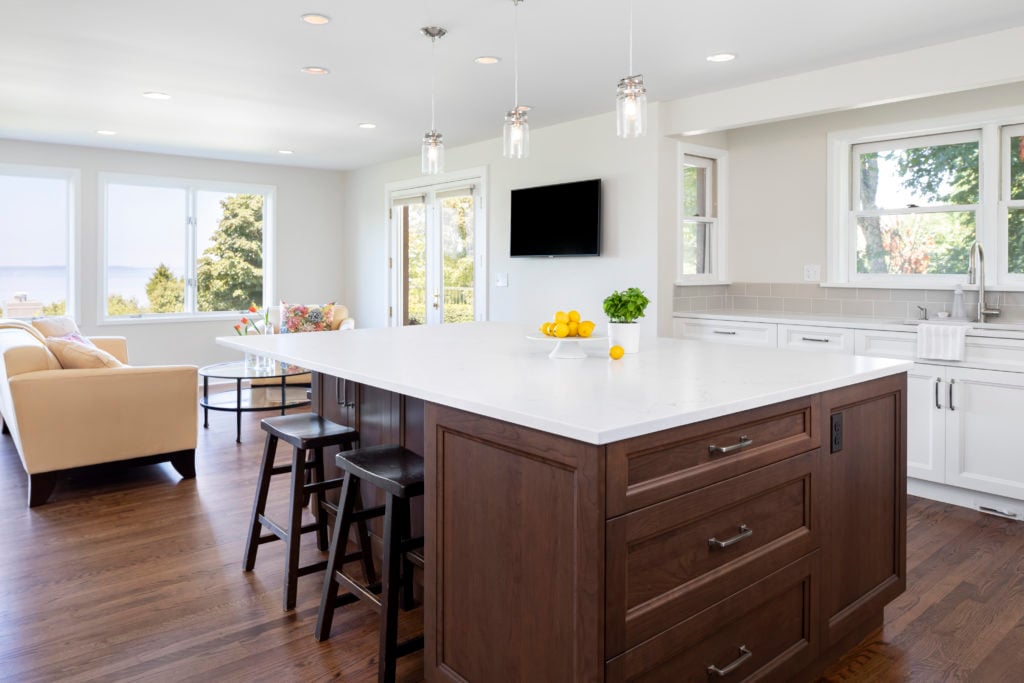
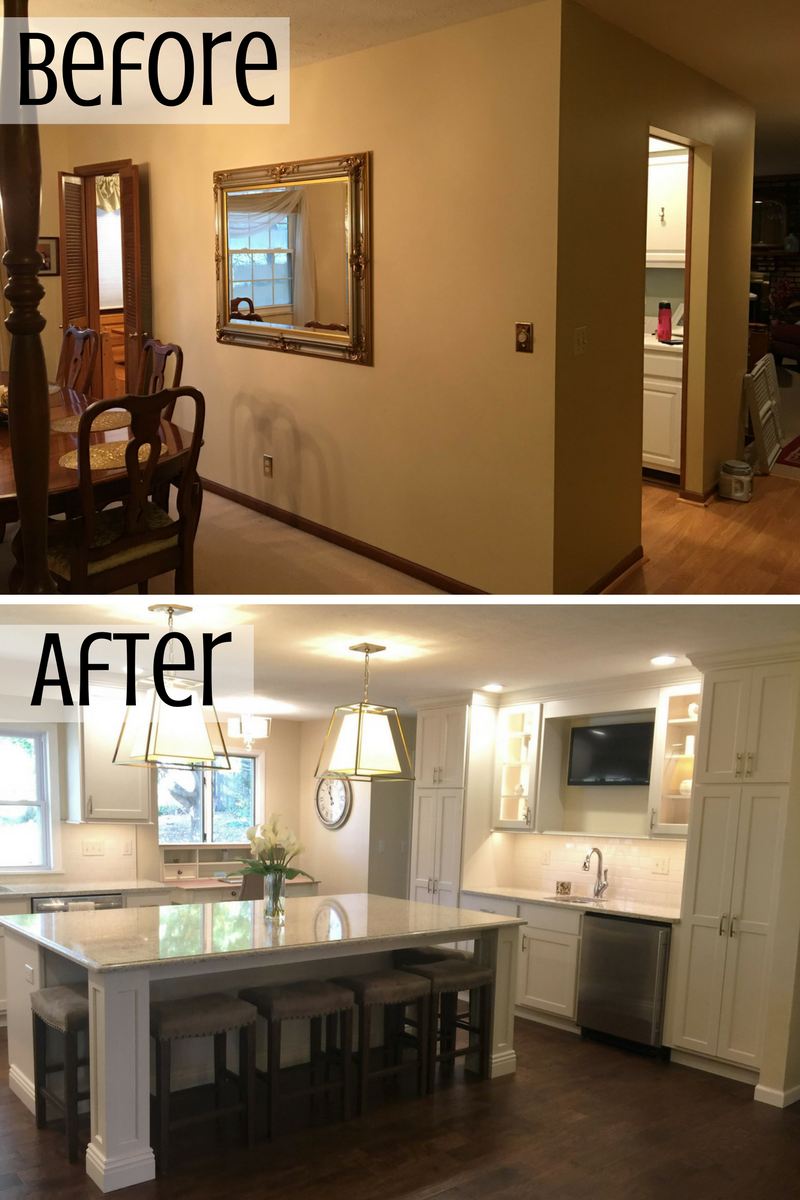
 One of the main reasons homeowners consider removing a kitchen wall with chimney is to create a more open and spacious layout. Traditional homes often have separate rooms for the kitchen, dining area, and living room, which can make the space feel small and closed off. By removing the wall and chimney, you can create a larger, more open space that is perfect for entertaining and daily family activities.
Open layout
designs have become increasingly popular in recent years, as they provide a more modern and functional living space. With the kitchen and living area connected, it allows for better flow and movement between the two spaces. This also creates the illusion of a larger area, making your home feel more spacious and inviting.
Increase Natural Light and Airflow
 Another benefit of removing a kitchen wall with chimney is the increase in natural light and airflow. By opening up the space, you allow more natural light to enter the room, making it brighter and more welcoming. This can also help save on energy costs as you rely less on artificial lighting during the day.
Moreover, removing a wall and chimney can also improve the airflow in your home. With better circulation, you can reduce the buildup of odors and moisture in the kitchen, making the space more comfortable and hygienic. This can also help improve the overall air quality in your home, making it a healthier place to live.
Customize Your Kitchen Design
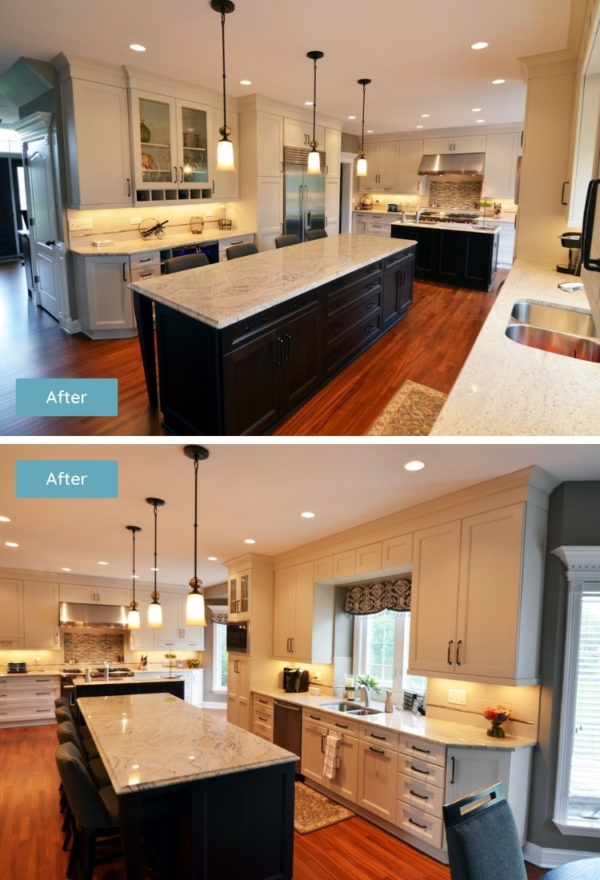
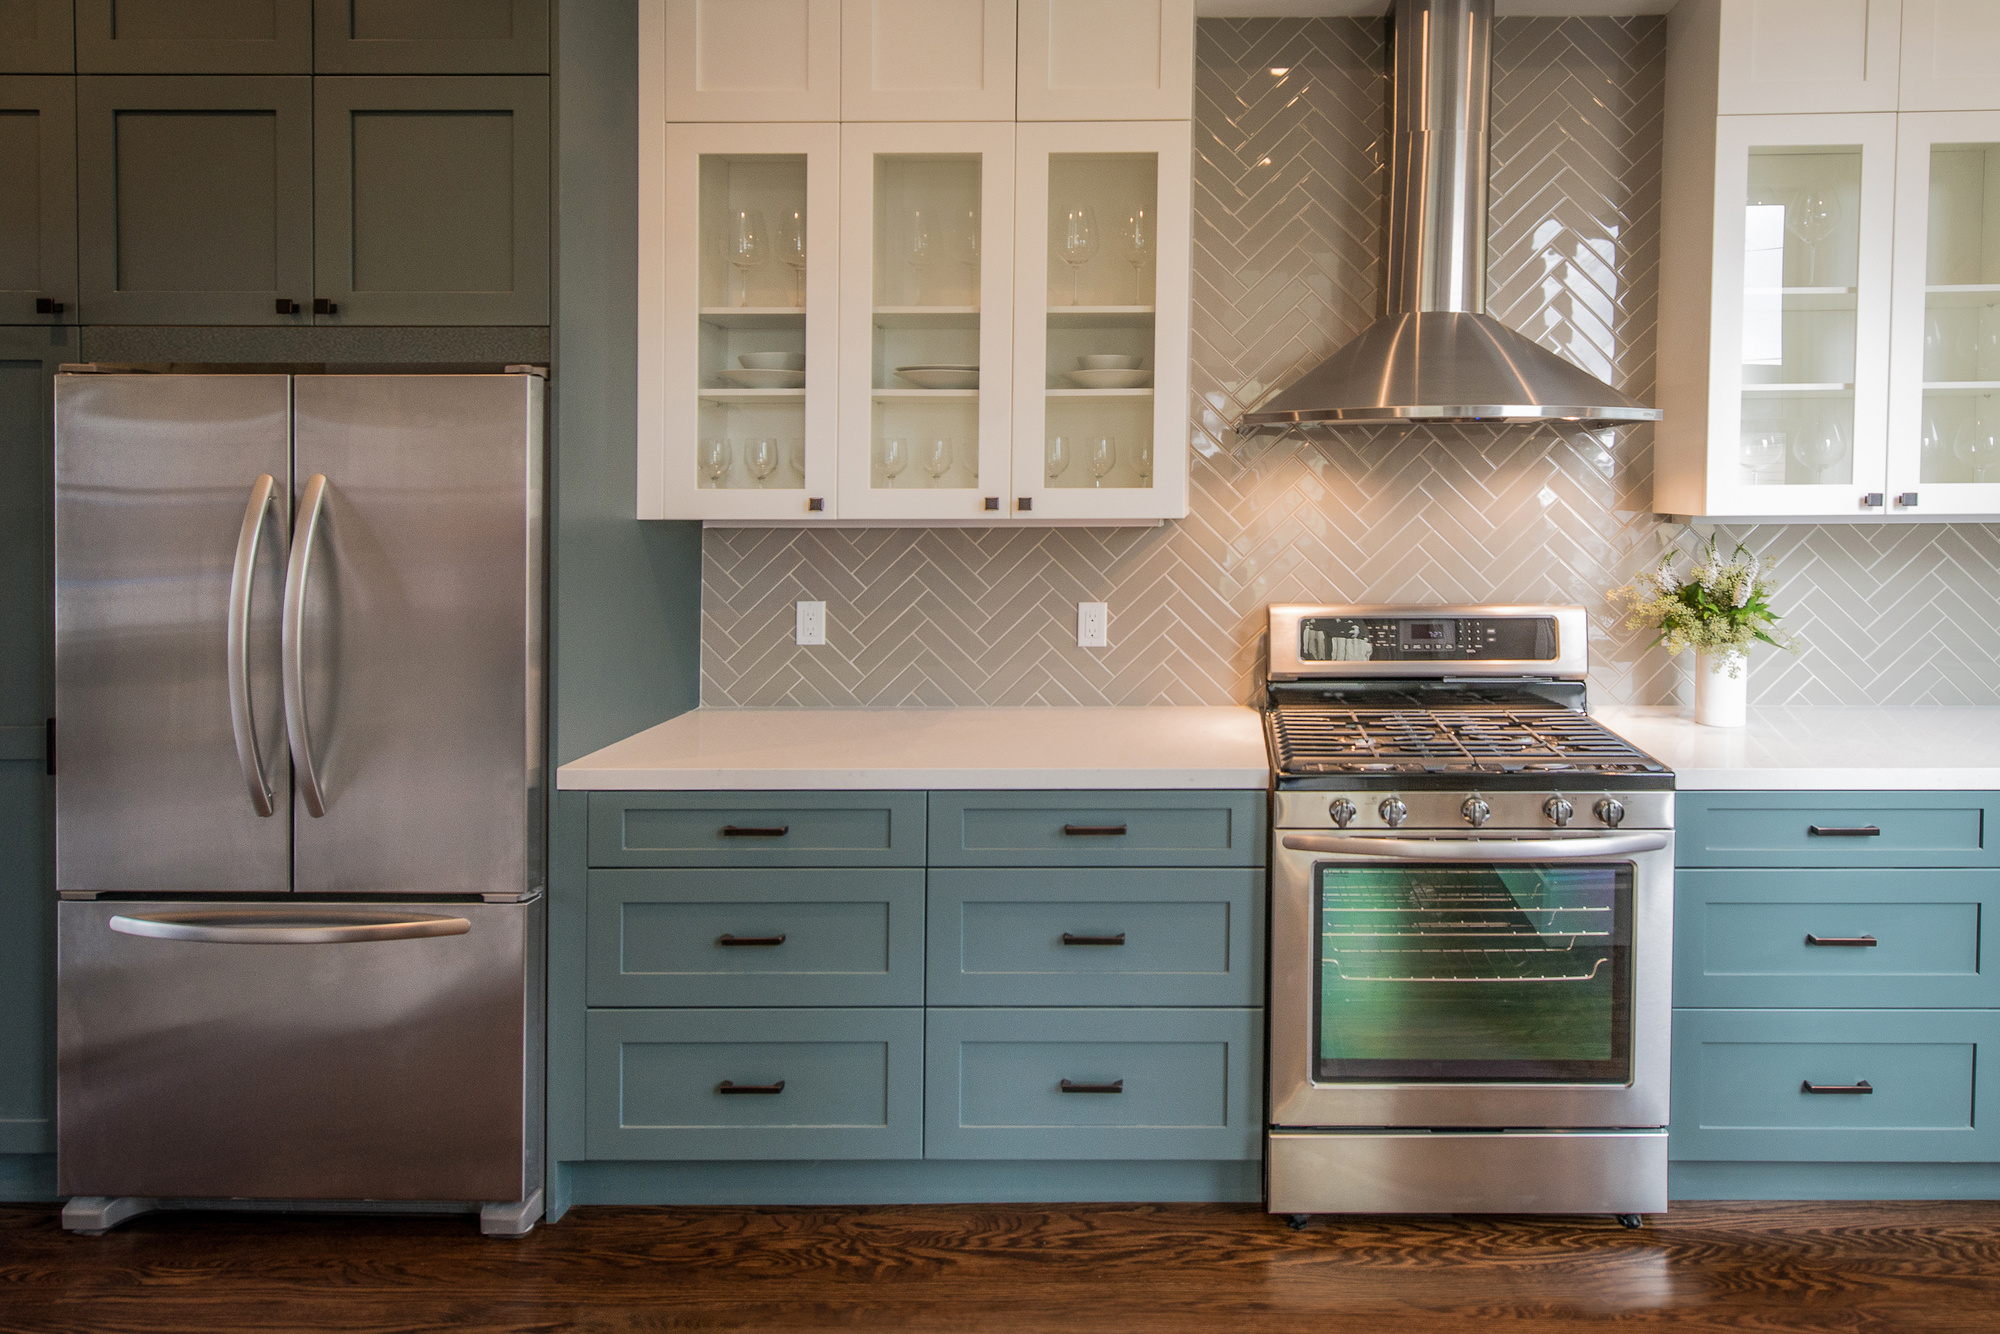
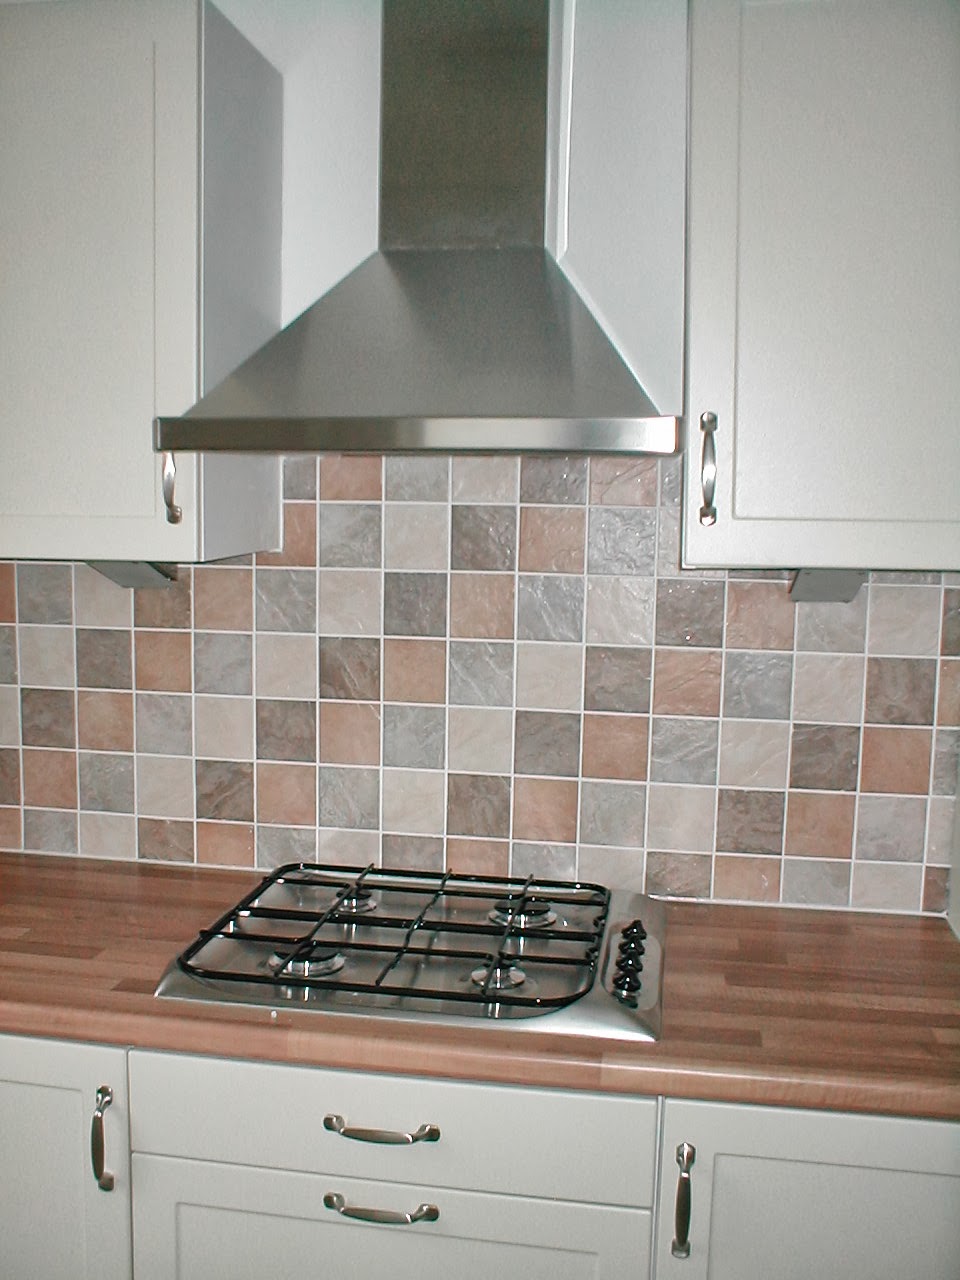
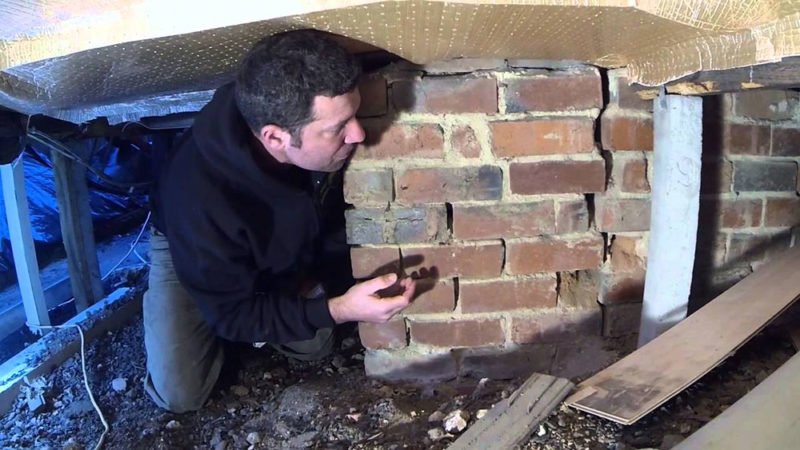 Removing a kitchen wall with chimney also gives you the opportunity to customize your kitchen design. With an open layout, you have more flexibility in terms of placement and design of your kitchen cabinets, appliances, and countertops. This allows you to create a more functional and personalized space that meets your specific needs and preferences.
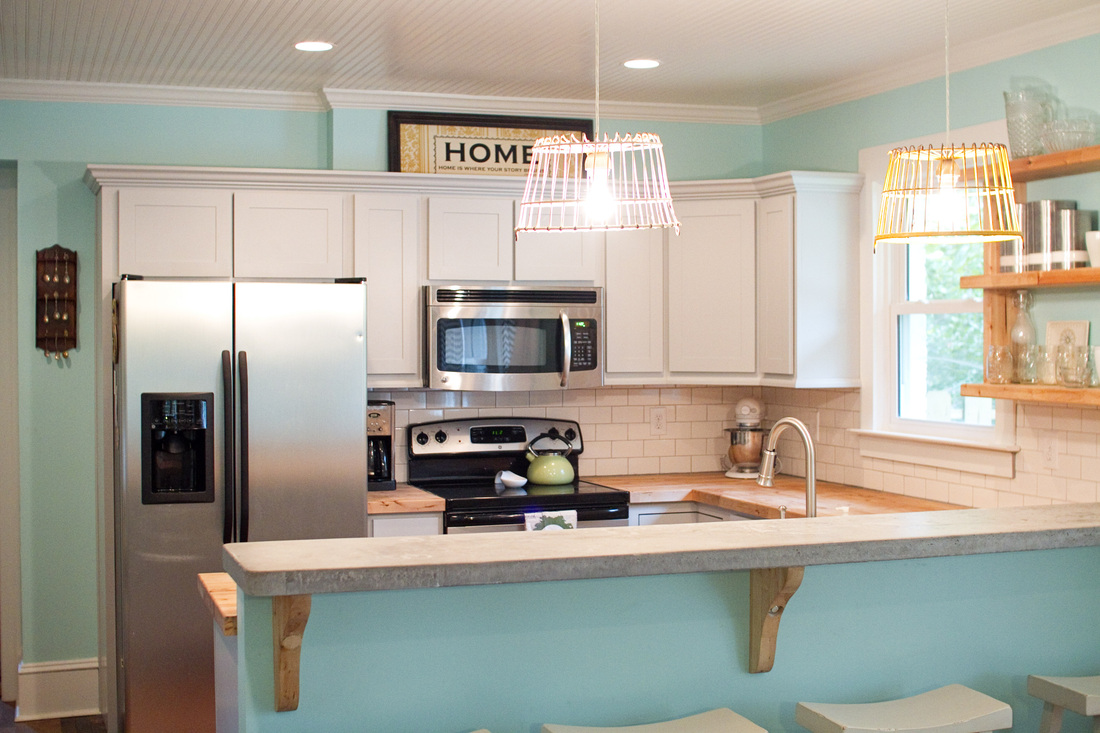
In addition, you can also incorporate a kitchen island or breakfast bar into the design, which can serve as a focal point and provide additional storage and seating. This not only adds to the functionality of the space but also adds a touch of style and sophistication to your kitchen.
Conclusion:
In conclusion, removing a kitchen wall with chimney can bring many benefits to your home, from creating an open and spacious layout to improving natural light and airflow, to customizing your kitchen design. Whether you are looking to modernize your home or simply want a more functional and inviting space, this renovation project is definitely worth considering.


















:max_bytes(150000):strip_icc()/removing-a-load-bearing-wall-1821964-hero-5aa39356ae414ab985ba06f62e1d328b.jpg)


:max_bytes(150000):strip_icc()/removing-a-load-bearing-wall-1821964-02-46ac76bac5ce42789c6cae5c8bf68926.jpg)

