How to Remove Caulk Around a Kitchen Sink
Removing caulk around a kitchen sink may seem like a daunting task, but with the right tools and techniques, it can be a simple and satisfying DIY project. Whether you're looking to freshen up the look of your sink or preparing for a new installation, removing old caulk is an important first step. In this guide, we'll go over the best methods for removing caulk around a kitchen sink and how to properly clean the area for a smooth finish.


How to Remove Caulk Around a Kitchen Sink


How to Clean Caulk Around a Kitchen Sink
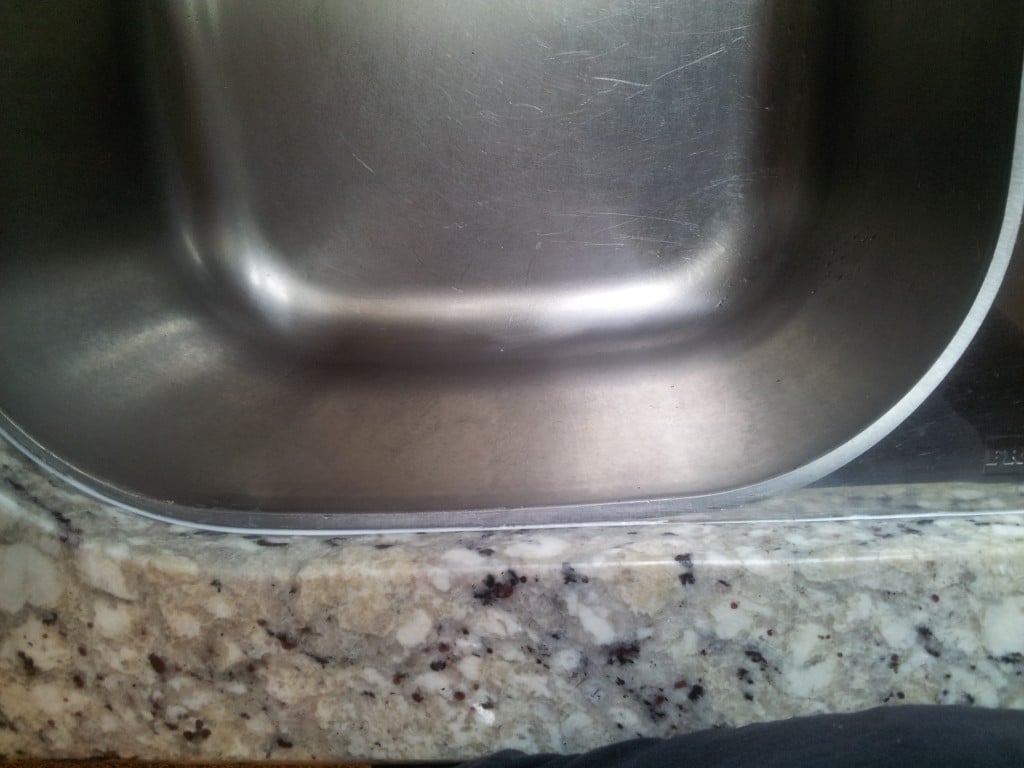
Cleaning caulk around a kitchen sink is essential to achieving a professional-looking result. Over time, caulk can become discolored, moldy, or cracked, making your sink area look dirty and unkempt. To clean caulk around a kitchen sink, start by using a mild cleaning solution and a scrub brush to remove any surface dirt or grime. Then, use a caulk remover tool or a razor blade to carefully scrape away any remaining caulk. Finally, wipe the area clean with a damp cloth and allow it to dry completely before applying new caulk.


How to Clean Caulk Around a Kitchen Sink


Best Way to Remove Caulk from Kitchen Sink
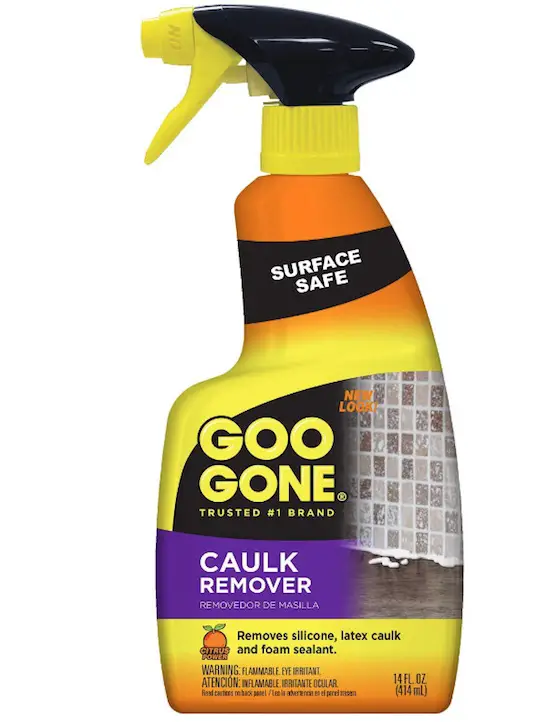
When it comes to removing caulk from a kitchen sink, the best method will depend on the type of caulk used and how old it is. For silicone caulk, a caulk remover tool or a razor blade can be used to carefully scrape away the caulk. For older or more stubborn caulk, a heat gun or hairdryer can be used to soften the caulk and make it easier to remove. It's important to work slowly and carefully to avoid damaging the sink or surrounding areas.


Best Way to Remove Caulk from Kitchen Sink


DIY Caulk Removal for Kitchen Sink
If you're looking to save some money and tackle the caulk removal around your kitchen sink on your own, you're in luck. With the right tools and a bit of patience, you can easily remove old caulk and achieve a professional result. To start, gather your supplies, including a caulk remover tool, a razor blade, a heat gun or hairdryer, and a cleaning solution. Then, follow the steps outlined in this guide for a successful DIY caulk removal project.


DIY Caulk Removal for Kitchen Sink


Removing Old Caulk from Kitchen Sink
If your kitchen sink has old, cracked, or moldy caulk, it's time for a refresh. Removing old caulk is an important first step before applying new caulk for a clean and professional finish. To remove old caulk from a kitchen sink, start by using a caulk remover tool or a razor blade to scrape away as much of the caulk as possible. Then, use a heat gun or hairdryer to soften the remaining caulk and make it easier to remove. Finally, clean the area thoroughly and allow it to dry completely before applying new caulk.


Removing Old Caulk from Kitchen Sink

:max_bytes(150000):strip_icc()/how-to-remove-old-caulk-1824827-01-3d0370c59e124dbbaa6560c68bab111c.jpg)

:max_bytes(150000):strip_icc()/caulk-removal-tool-56ec7f1b3df78ce5f83535fe.jpg)

Easy Steps to Clean Caulk Around Kitchen Sink
Cleaning caulk around a kitchen sink doesn't have to be a difficult or time-consuming task. With a few simple steps, you can make your caulk look like new again. First, use a mild cleaning solution and a scrub brush to remove any surface dirt or grime. Then, carefully scrape away any remaining caulk using a caulk remover tool or a razor blade. Finally, wipe the area clean with a damp cloth and allow it to dry completely before applying new caulk.


Easy Steps to Clean Caulk Around Kitchen Sink


Removing and Replacing Caulk Around Kitchen Sink
If you're looking to replace the caulk around your kitchen sink, it's important to properly remove the old caulk first. Old caulk can prevent new caulk from adhering properly and can result in a messy and uneven finish. To remove and replace caulk around a kitchen sink, follow the steps outlined in this guide for a clean and professional result. Remember to clean the area thoroughly and allow it to dry completely before applying new caulk.


Removing and Replacing Caulk Around Kitchen Sink


Tips for Removing Stubborn Caulk from Kitchen Sink
Removing stubborn caulk from a kitchen sink can be a frustrating task, but with the right tools and techniques, you can achieve a successful result. If a caulk remover tool or a razor blade isn't doing the trick, try using a heat gun or hairdryer to soften the caulk and make it easier to remove. You can also try using a caulk softener or a mixture of vinegar and baking soda to loosen the caulk. Remember to work slowly and carefully to avoid damaging the sink or surrounding areas.

Tips for Removing Stubborn Caulk from Kitchen Sink

How to Properly Clean and Remove Caulk from Kitchen Sink
Properly cleaning and removing caulk from a kitchen sink is essential to achieving a professional-looking result. To start, gather your supplies, including a mild cleaning solution, a caulk remover tool, a razor blade, and a heat gun or hairdryer. Then, follow the steps outlined in this guide for a successful caulk removal and cleaning project. Remember to take your time and be thorough for a smooth and clean finish.

How to Properly Clean and Remove Caulk from Kitchen Sink


Removing and Reapplying Caulk Around Kitchen Sink for a Fresh Look
Removing and reapplying caulk around a kitchen sink is a simple and cost-effective way to give your sink area a fresh and updated look. With the right tools and techniques, you can easily remove old caulk and replace it with new caulk for a clean and professional finish. Follow the steps outlined in this guide for a successful caulk removal and reapplication project. Remember to clean the area thoroughly and allow it to dry completely before applying new caulk.


Removing and Reapplying Caulk Around Kitchen Sink for a Fresh Look


Why Removing Caulk Around Your Kitchen Sink is Essential for a Clean and Beautiful Kitchen

What is Caulk?
 Caulk is a waterproof sealant used to fill in gaps and cracks around surfaces, such as a kitchen sink. It is typically made of silicone or a combination of silicone and acrylic, and is used to prevent water from seeping into areas where it shouldn't. Over time, caulk can become discolored, cracked, or moldy, which not only looks unsightly but also creates a breeding ground for bacteria and germs. That's why it's important to regularly remove old caulk and reapply a fresh layer to maintain a clean and beautiful kitchen.
The Importance of Removing Old Caulk
 Removing old caulk around your kitchen sink is essential for several reasons. First and foremost, it helps to maintain the overall cleanliness of your kitchen. As mentioned before, old caulk can become moldy and discolored, which not only looks unappealing but can also pose health risks. By removing old caulk and replacing it with a new layer, you are ensuring that your kitchen remains free of mold and bacteria.
In addition, removing old caulk also helps to maintain the aesthetic appeal of your kitchen. Over time, caulk can shrink and crack, creating an unsightly and uneven appearance. By removing old caulk and replacing it with a fresh layer, you are not only ensuring a clean and hygienic space, but also a visually appealing one.
Removing old caulk around your kitchen sink is essential for several reasons. First and foremost, it helps to maintain the overall cleanliness of your kitchen. As mentioned before, old caulk can become moldy and discolored, which not only looks unappealing but can also pose health risks. By removing old caulk and replacing it with a new layer, you are ensuring that your kitchen remains free of mold and bacteria.
In addition, removing old caulk also helps to maintain the aesthetic appeal of your kitchen. Over time, caulk can shrink and crack, creating an unsightly and uneven appearance. By removing old caulk and replacing it with a fresh layer, you are not only ensuring a clean and hygienic space, but also a visually appealing one.
The Cleaning Process
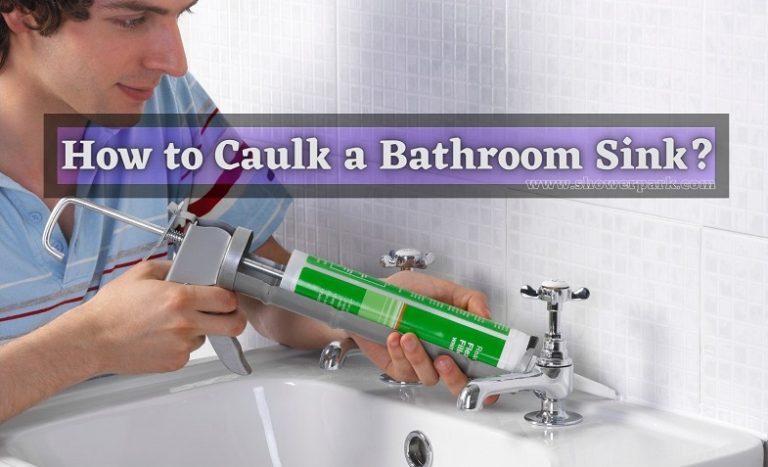
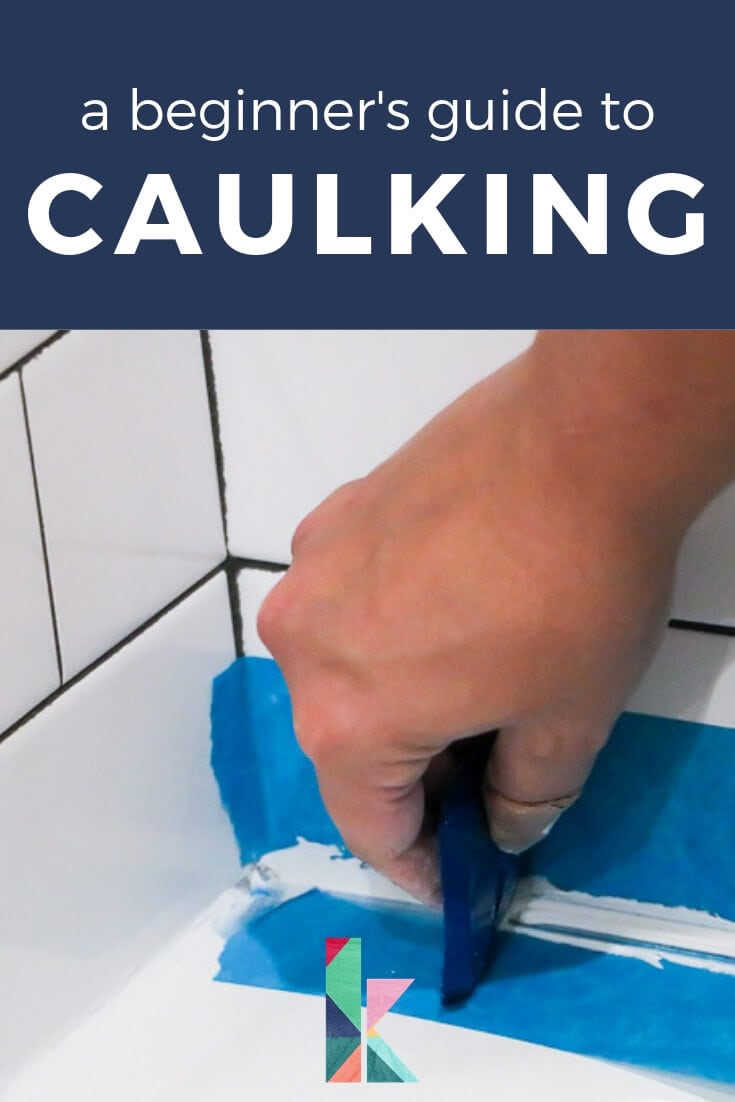
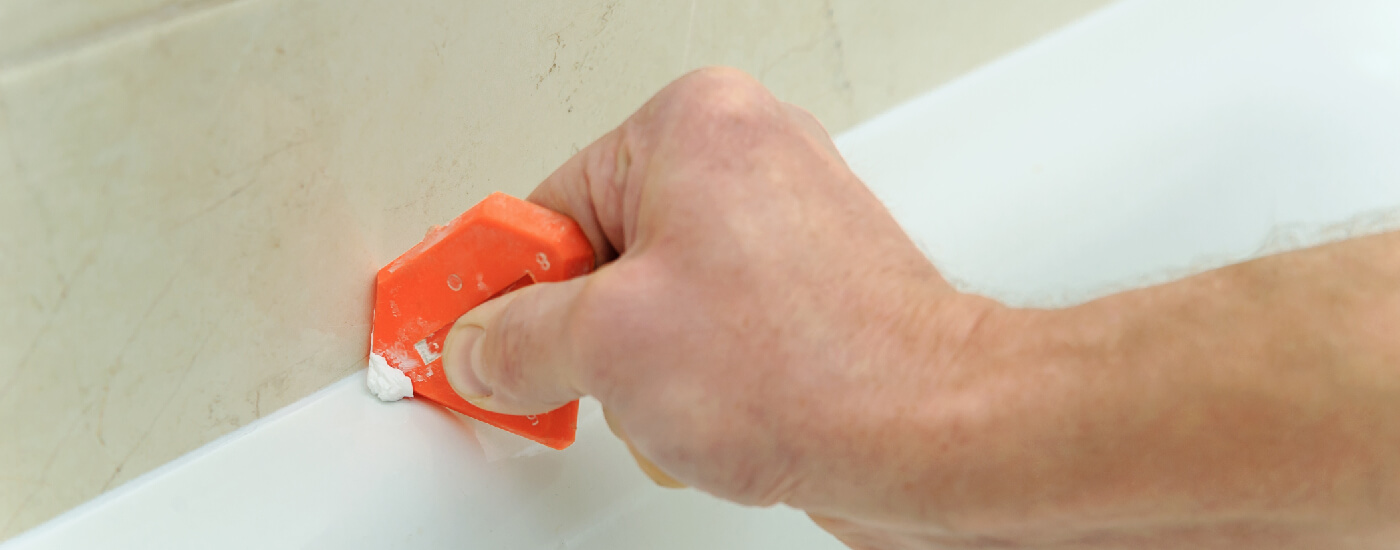
 Now that you understand the importance of removing old caulk, let's discuss the steps for doing so effectively. First, you'll want to gather your supplies, including a utility knife, caulk remover, and a caulk gun. Next, use the utility knife to carefully cut along the edges of the caulk, being careful not to damage the surrounding surfaces. Once the caulk is removed, use the caulk remover to clean any remaining residue.
Once the area is clean and dry, you can then apply a new layer of caulk using the caulk gun. Be sure to use a caulk that is specifically designed for use in kitchens and bathrooms, as these areas are prone to moisture. Apply a thin and even layer of caulk, using a damp finger or a caulk smoothing tool to create a smooth finish.
Now that you understand the importance of removing old caulk, let's discuss the steps for doing so effectively. First, you'll want to gather your supplies, including a utility knife, caulk remover, and a caulk gun. Next, use the utility knife to carefully cut along the edges of the caulk, being careful not to damage the surrounding surfaces. Once the caulk is removed, use the caulk remover to clean any remaining residue.
Once the area is clean and dry, you can then apply a new layer of caulk using the caulk gun. Be sure to use a caulk that is specifically designed for use in kitchens and bathrooms, as these areas are prone to moisture. Apply a thin and even layer of caulk, using a damp finger or a caulk smoothing tool to create a smooth finish.
Final Thoughts
/caulk-removal-tool-56ec7f1b3df78ce5f83535fe.jpg) Removing old caulk around your kitchen sink is an essential step in maintaining a clean and beautiful kitchen. By regularly replacing old caulk, you are not only ensuring a hygienic space, but also a visually appealing one. Follow these simple steps and enjoy a fresh and clean kitchen sink that will make you proud to show off to your guests.
Removing old caulk around your kitchen sink is an essential step in maintaining a clean and beautiful kitchen. By regularly replacing old caulk, you are not only ensuring a hygienic space, but also a visually appealing one. Follow these simple steps and enjoy a fresh and clean kitchen sink that will make you proud to show off to your guests.