Removing Bathroom Vanity Faucet
Removing a bathroom vanity faucet may seem like a daunting task, but with the right tools and knowledge, it can be a simple DIY project. Whether you're looking to update your bathroom or replace a faulty faucet, learning how to remove a bathroom vanity faucet is an important skill to have. In this guide, we'll go through the step-by-step process of removing a bathroom vanity faucet and provide tips and tricks to make the process even easier.


Removing Bathroom Vanity Faucet


How to Remove a Bathroom Vanity Faucet
The first step in removing a bathroom vanity faucet is to gather all the necessary tools. You'll need an adjustable wrench, pliers, screwdriver, and a basin wrench. Once you have all your tools ready, follow these steps:
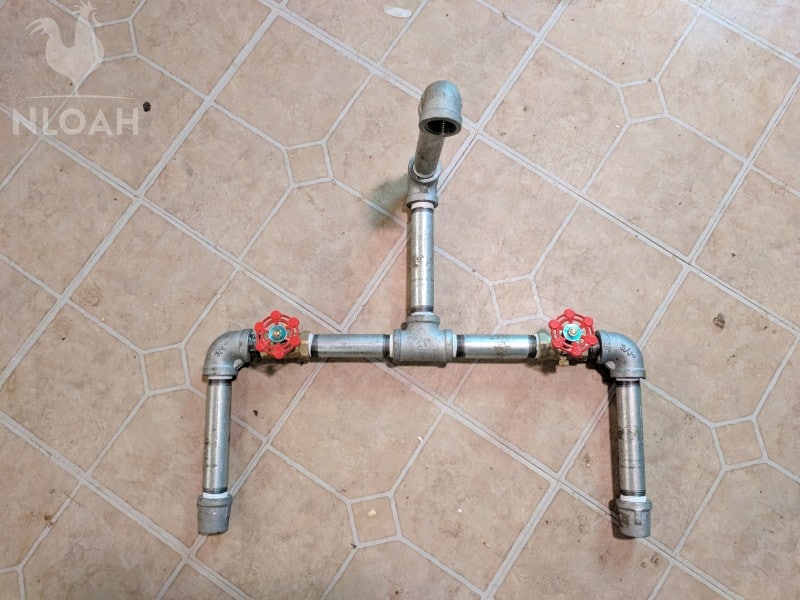
Step 1: Turn off the water supply. Before you start removing the faucet, make sure to turn off the water supply. You can do this by shutting off the main water valve or turning off the valves under the sink.
Step 2: Disconnect the supply lines. Use your pliers to loosen and remove the supply lines connected to the faucet. Make sure to have a bucket or towel handy to catch any excess water that may come out.
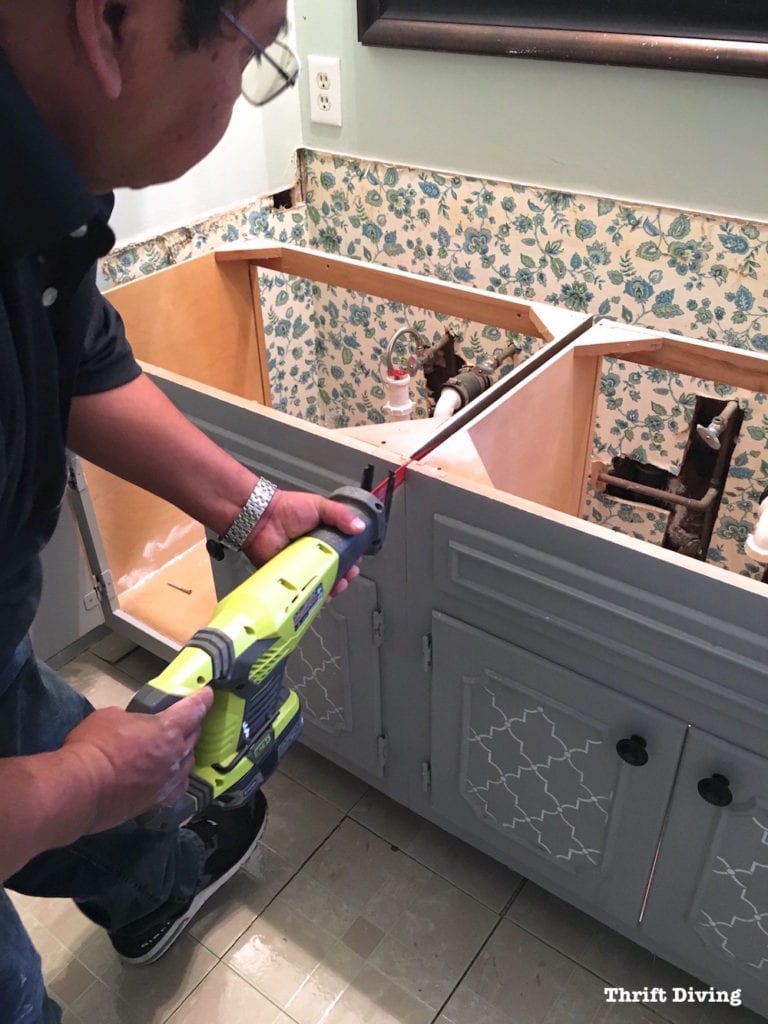
Step 3: Remove the mounting nuts. Using your basin wrench, loosen and remove the mounting nuts that hold the faucet in place. These are usually located under the sink. If you're having trouble reaching them, you can also use a wrench or pliers.
Step 4: Disconnect the drain. Underneath the sink, there will be a drain pipe connected to the bottom of the faucet. Use your pliers to loosen and remove this connection.
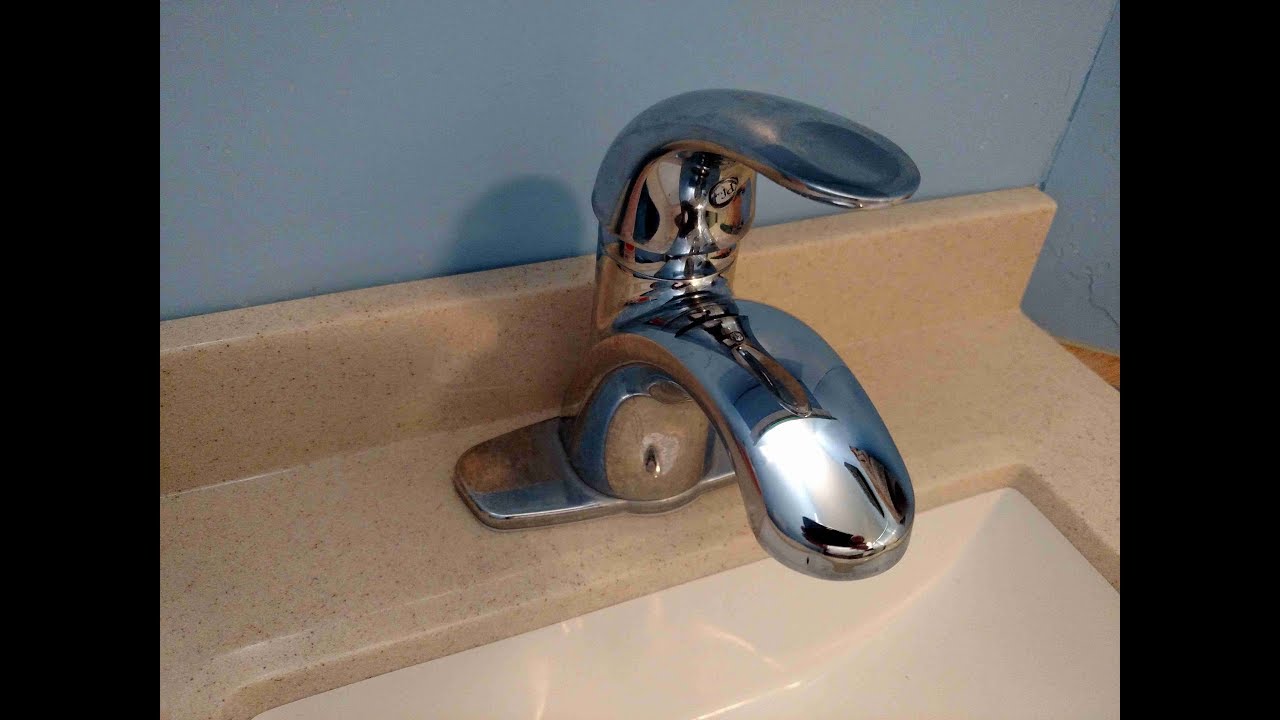
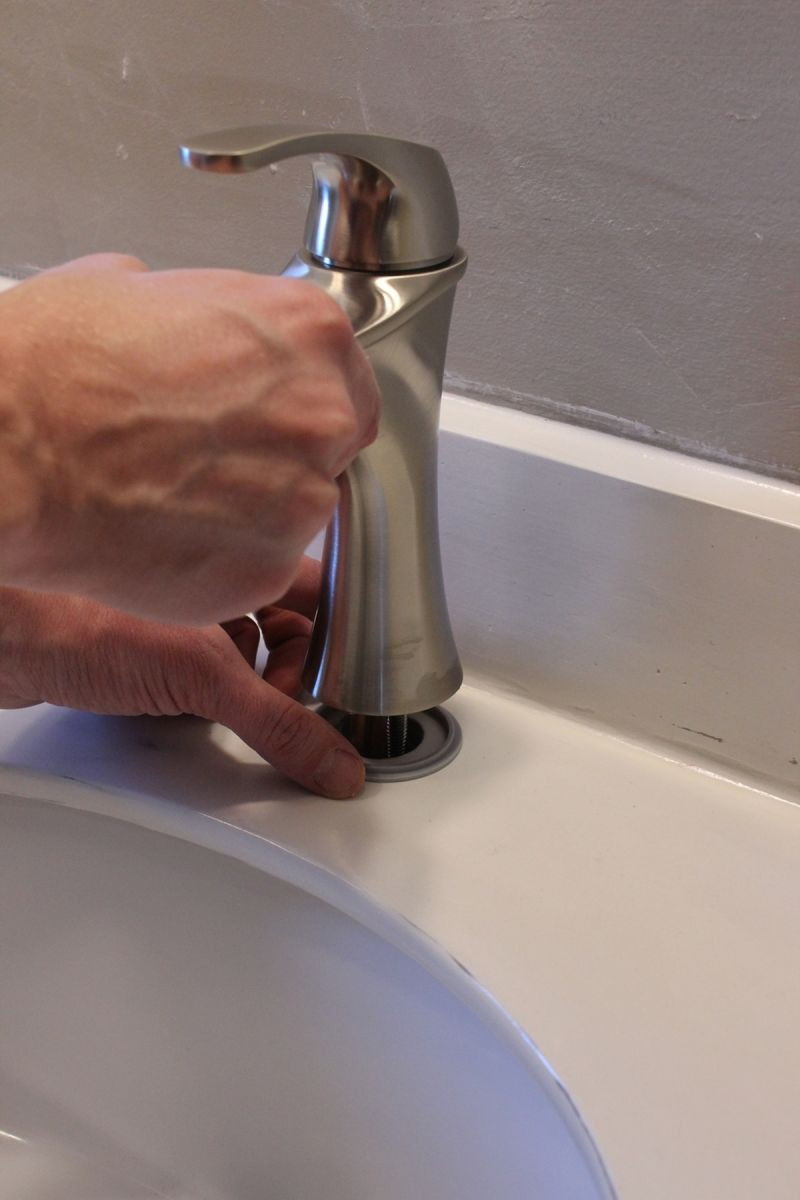
Step 5: Remove the faucet. Once all the connections have been loosened and removed, you should be able to lift the faucet off the sink. If it's stuck, you can use a putty knife to gently pry it off.


How to Remove a Bathroom Vanity Faucet


Step-by-Step Guide for Removing a Bathroom Vanity Faucet
Now that you have a general idea of how to remove a bathroom vanity faucet, let's go through a step-by-step guide to make sure you don't miss any important steps.
Step 1: As mentioned before, start by turning off the water supply and disconnecting the supply lines.
Step 2: Remove the pop-up drain. If your faucet has a pop-up drain, you'll need to remove it before you can lift the faucet off the sink. You can do this by unscrewing the pivot nut and removing the pivot rod.
Step 3: Loosen the mounting nuts. Use your basin wrench to loosen and remove the mounting nuts. If they're too tight, you can also use a wrench or pliers.
Step 4: Disconnect the drain. As mentioned before, use your pliers to loosen and remove the drain pipe connected to the bottom of the faucet.
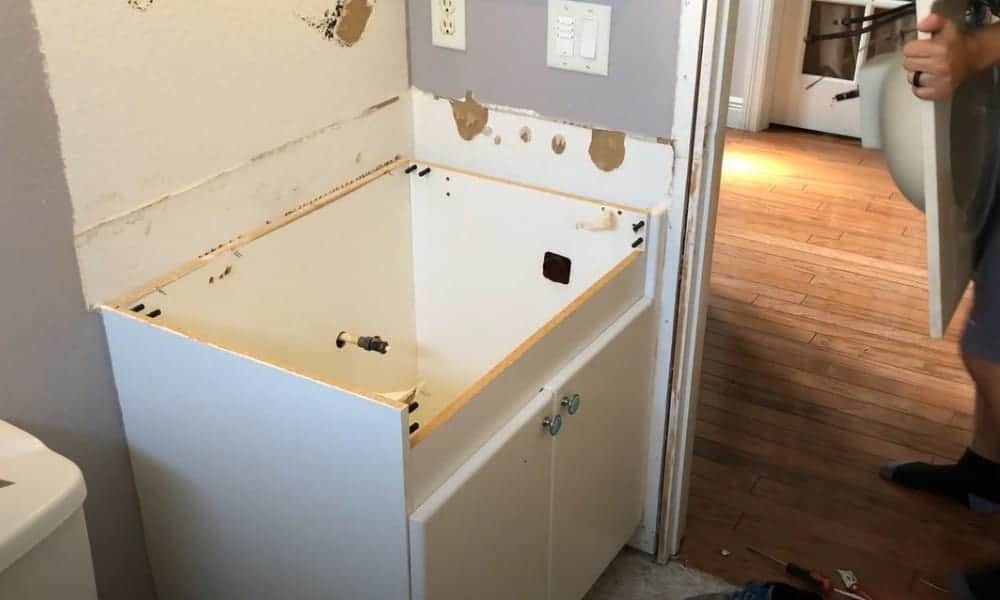
Step 5: Lift off the faucet. Once all the connections have been removed, you should be able to lift the faucet off the sink.
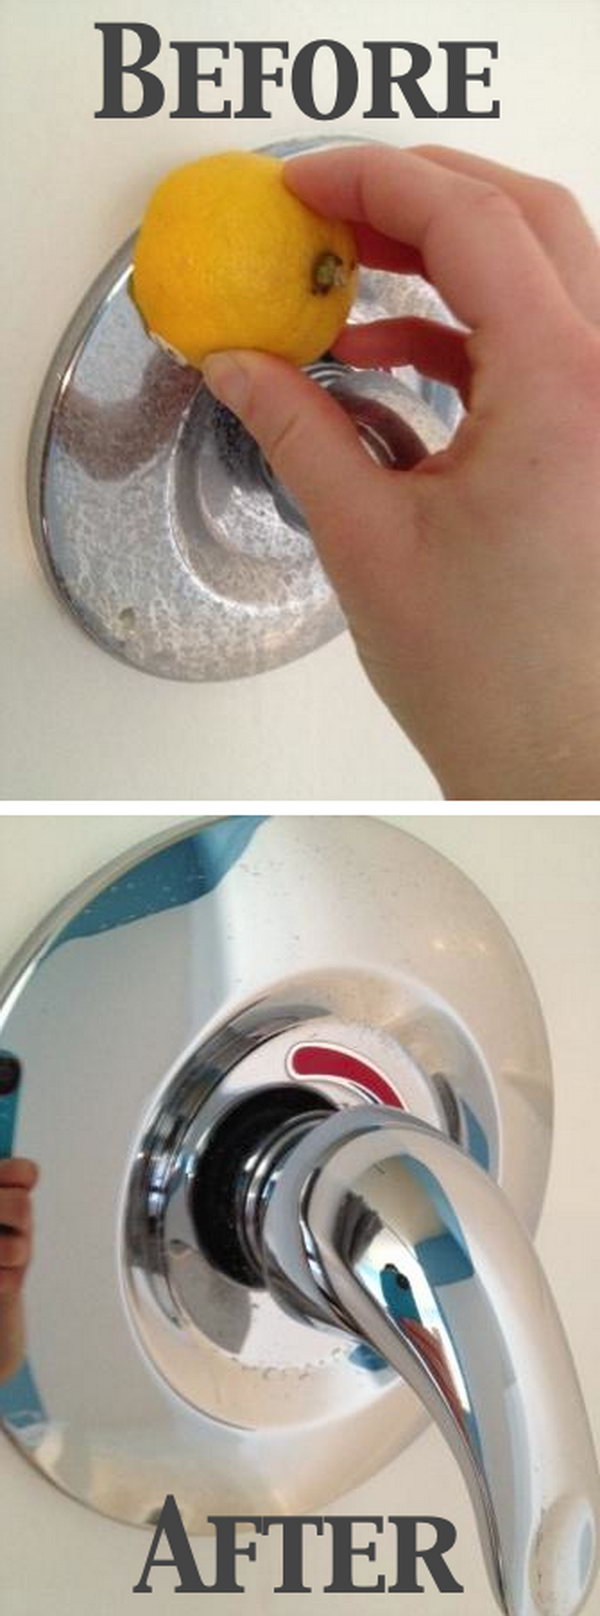
Step 6: Clean the area. Before installing a new faucet, it's important to clean the area thoroughly to ensure a proper installation.
Step 7: Inspect the connections. While the faucet is removed, take the time to inspect the connections for any damage or wear and tear. This will help you determine if you need to replace any parts before installing a new faucet.


Step-by-Step Guide for Removing a Bathroom Vanity Faucet


Removing a Bathroom Vanity Faucet: Tips and Tricks
Now that you know the basic steps for removing a bathroom vanity faucet, here are some tips and tricks to make the process even easier:
Tip 1: Use penetrating oil. If you're having trouble loosening the mounting nuts, you can use a penetrating oil such as WD-40 to make it easier.
Tip 2: Label the connections. To make it easier to reassemble the faucet, label the connections as you remove them. You can use tape or a marker to label which connection goes where.
Tip 3: Use a towel as a cushion. When removing the mounting nuts, place a towel underneath to catch them in case they fall into the sink.
Tip 4: Have a bucket or towel handy. As mentioned before, make sure to have a bucket or towel nearby to catch any excess water that may come out.
Tip 5: Don't force anything. If something is not coming loose, don't force it. This can cause damage and make the process even more difficult.

Removing a Bathroom Vanity Faucet: Tips and Tricks


DIY: Removing a Bathroom Vanity Faucet
Removing a bathroom vanity faucet is a simple DIY project that you can do yourself with the right tools and knowledge. Not only will it save you money, but it will also give you a sense of accomplishment. Just make sure to follow the steps and tips mentioned above for a smooth and successful removal process.


DIY: Removing a Bathroom Vanity Faucet


Tools You'll Need for Removing a Bathroom Vanity Faucet
As mentioned before, you'll need an adjustable wrench, pliers, screwdriver, and a basin wrench for removing a bathroom vanity faucet. These tools are essential and can be found at most hardware stores. Make sure to have them ready before starting the removal process.


Tools You'll Need for Removing a Bathroom Vanity Faucet


Removing a Bathroom Vanity Faucet: Common Mistakes to Avoid
While removing a bathroom vanity faucet may seem like a simple task, there are some common mistakes that people make that can cause damage or make the process more difficult. Here are some mistakes to avoid:
Mistake 1: Not turning off the water supply. This is an important step that can prevent water damage and make the removal process easier.
Mistake 2: Using the wrong tools. Make sure to have the necessary tools mentioned above to avoid damaging the faucet or making the process more difficult.
Mistake 3: Forcing connections. As mentioned before, don't force anything. This can cause damage and make the process more difficult.


Removing a Bathroom Vanity Faucet: Common Mistakes to Avoid


Removing a Bathroom Vanity Faucet: Safety Precautions
While removing a bathroom vanity faucet is a fairly safe process, it's always important to take some safety precautions to avoid any accidents. Here are some safety precautions to keep in mind:
Precaution 1: Wear protective gear. It's always a good idea to wear gloves and safety glasses to protect your hands and eyes.
Precaution 2: Be careful with tools. Make sure to handle your tools with care to avoid any accidents.
Precaution 3: Use caution with water. Make sure to turn off the water supply and have a bucket or towel handy to catch any excess water.

Removing a Bathroom Vanity Faucet: Safety Precautions
Removing a Bathroom Vanity Faucet: Troubleshooting Common Issues
While removing a bathroom vanity faucet is a relatively straightforward process, there may be some common issues that you may encounter. Here are some troubleshooting tips for common issues:
Issue 1: Faucet won't budge. If the faucet is stuck, you can use a putty knife to gently pry it off the sink. Just be careful not to damage the sink or the faucet.
Issue 2: Leaking connections. If you notice any leaking connections, make sure to tighten them properly or replace any damaged parts before installing a new faucet.
Issue 3: Difficult to reach mounting nuts. If the mounting nuts are hard to reach, you can use an adjustable wrench or pliers to remove them.


Removing a Bathroom Vanity Faucet: Troubleshooting Common Issues

Removing a Bathroom Vanity Faucet: Professional vs. DIY
Now that you know how to remove a bathroom vanity faucet, you may be wondering if it's better to hire a professional or do it yourself. While hiring a professional can save you time and ensure a proper installation, doing it yourself can save you money and give you a sense of accomplishment. It ultimately depends on your skill level and comfort with DIY projects. Just make sure to follow the steps and safety precautions mentioned above for a successful removal process.
Now that you have a better understanding of how to remove a bathroom vanity faucet, you can confidently tackle this DIY project and update your bathroom with a new faucet. Remember to always take your time and be careful to avoid any accidents. Good luck!


Removing a Bathroom Vanity Faucet: Professional vs. DIY

Why You Should Consider Removing Your Bathroom Vanity Faucet for a Fresh Look

Revamp Your Bathroom with a Simple Faucet Upgrade
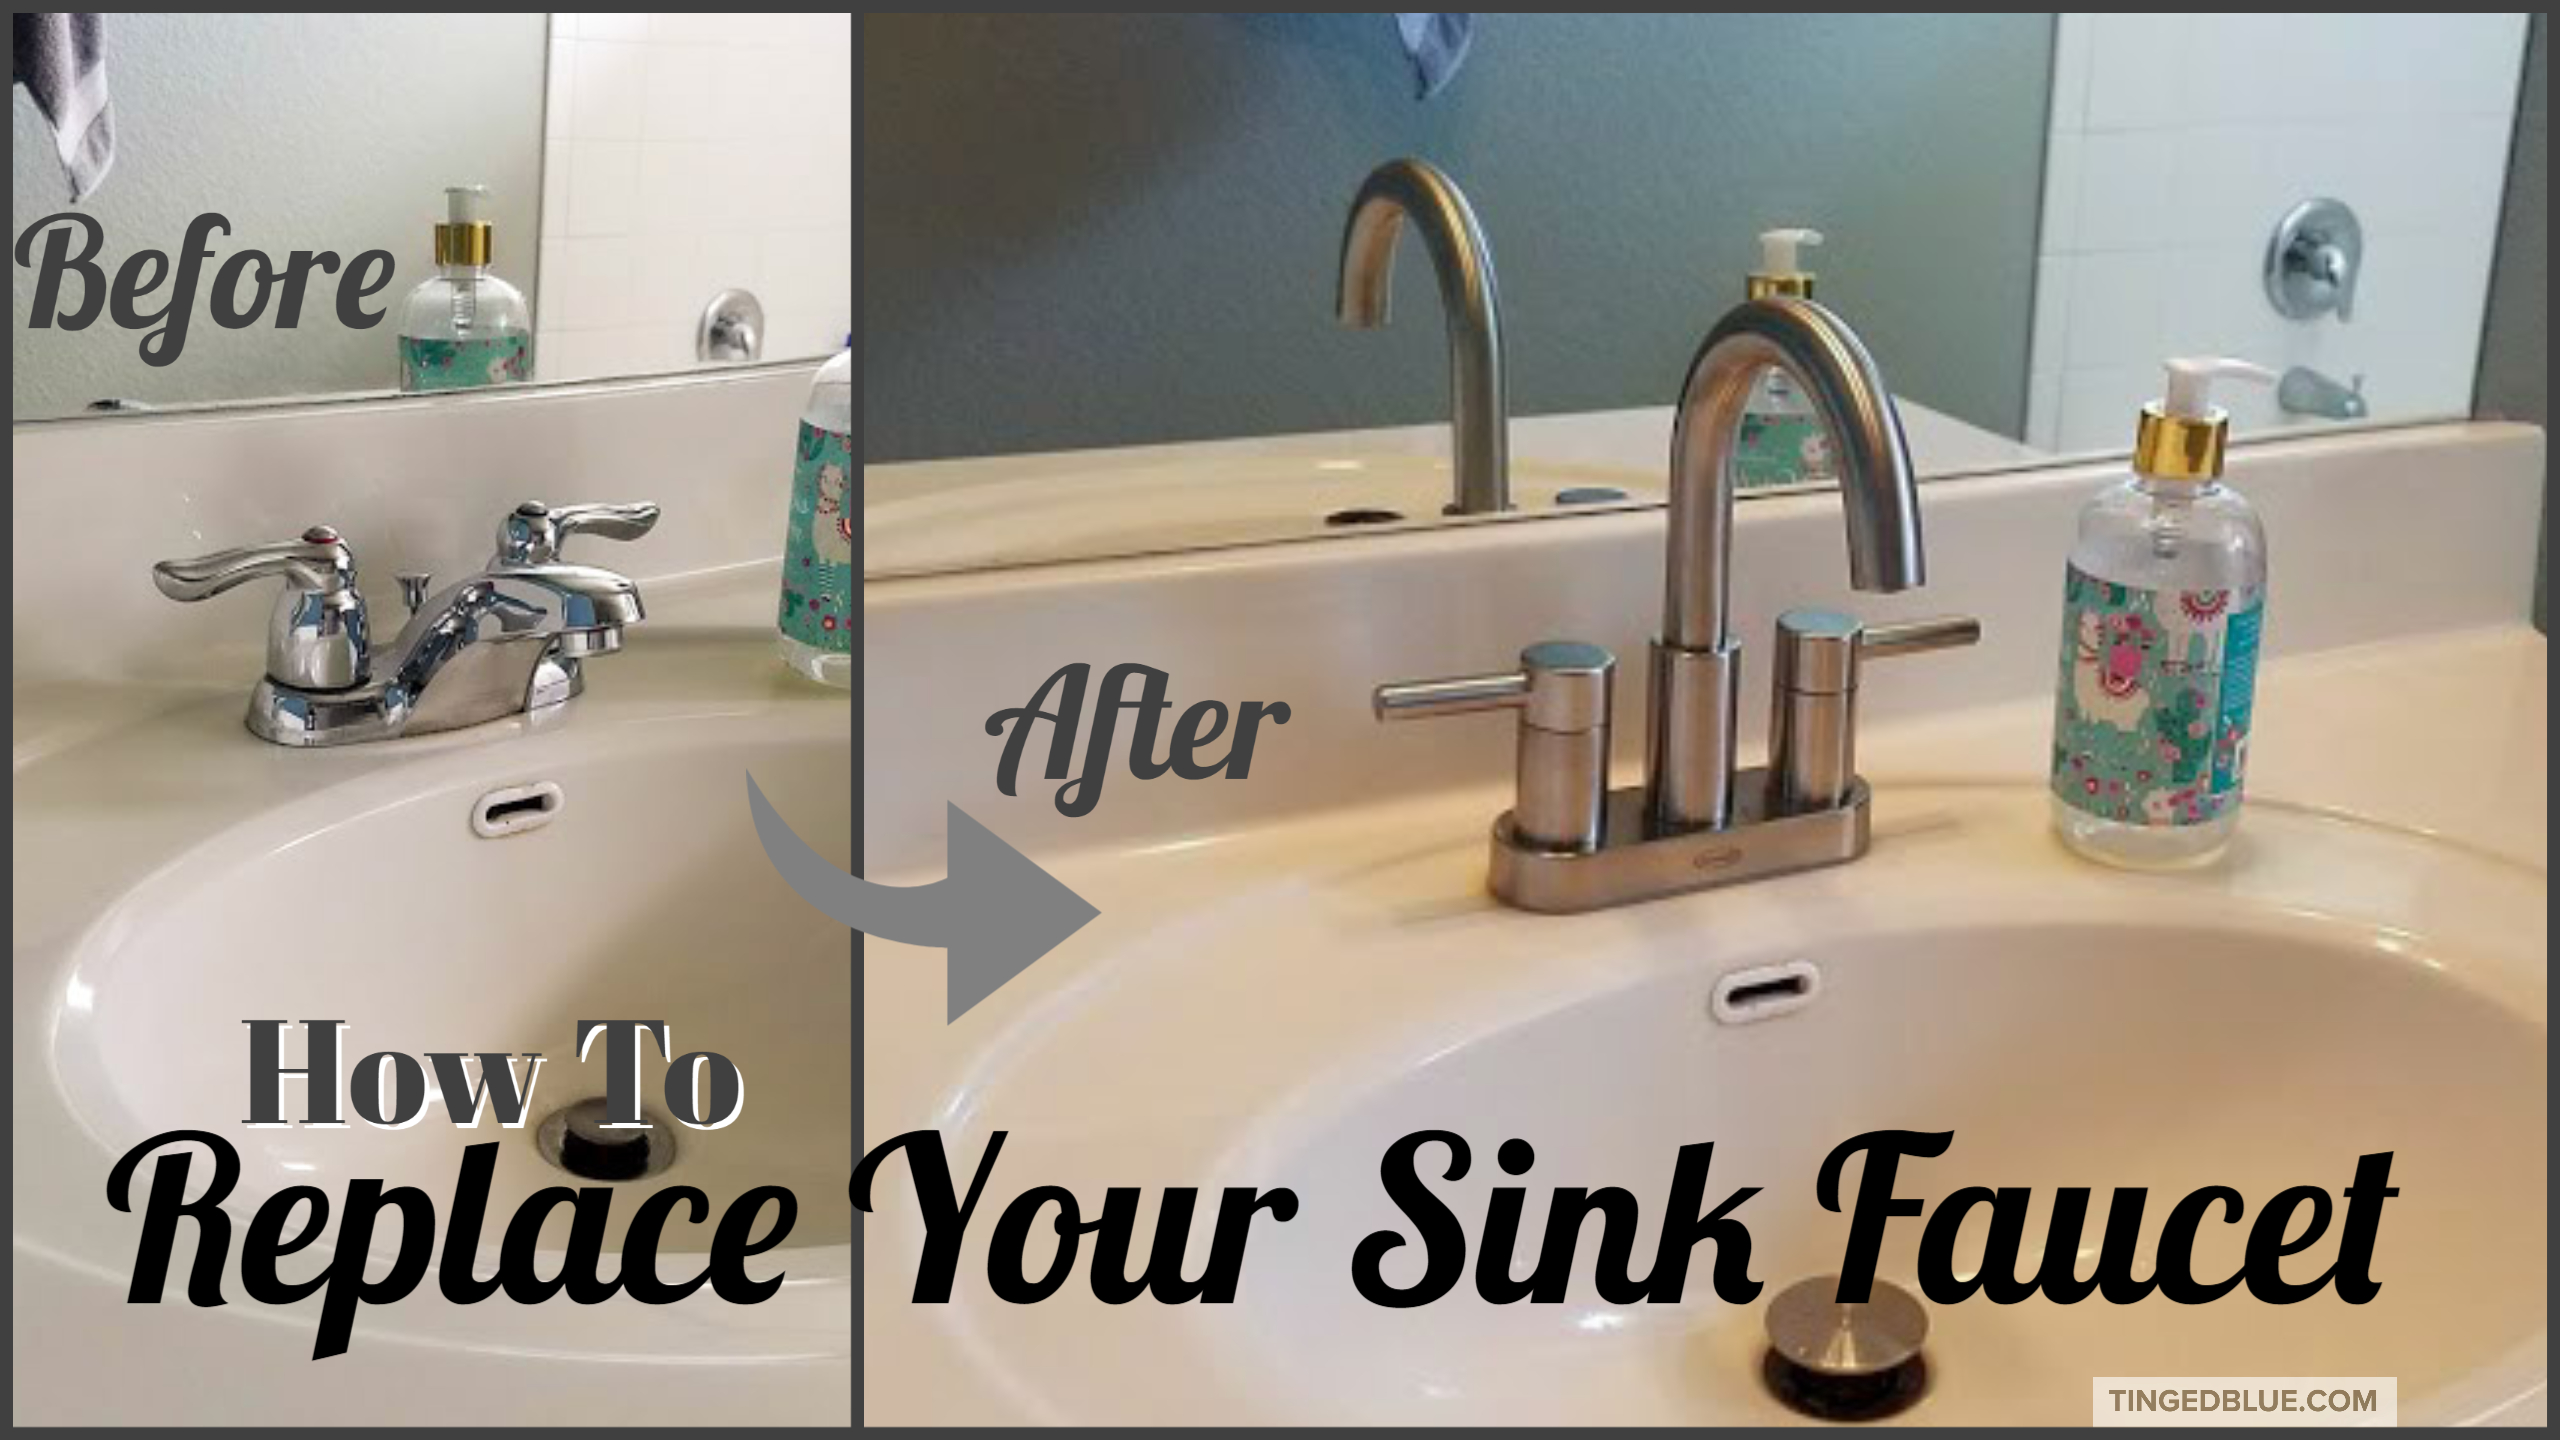
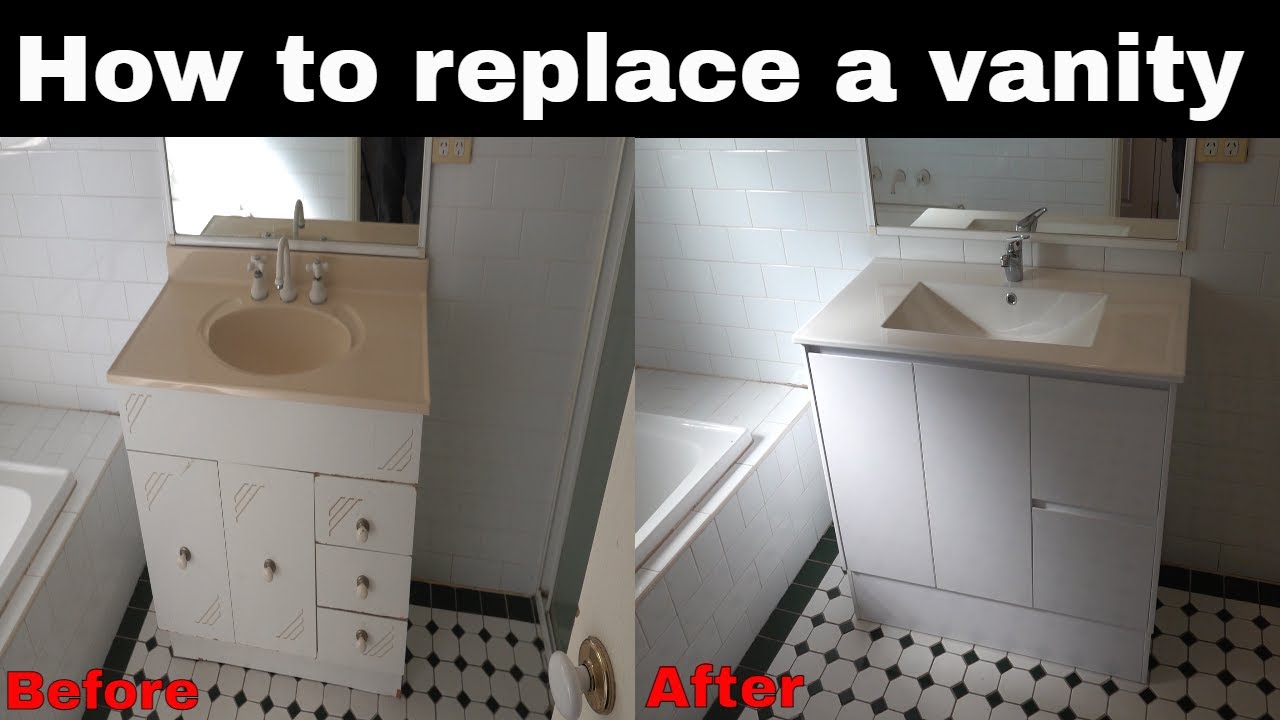
 If you're looking for a quick and easy way to give your bathroom a new and updated look, removing your old vanity faucet and replacing it with a new one can make a big difference. Not only will a new faucet instantly freshen up the aesthetic of your bathroom, but it can also improve its functionality and increase the value of your home. In this article, we'll discuss the process of removing a bathroom vanity faucet and why it's a worthwhile home improvement project.
The Benefits of Upgrading Your Bathroom Vanity Faucet
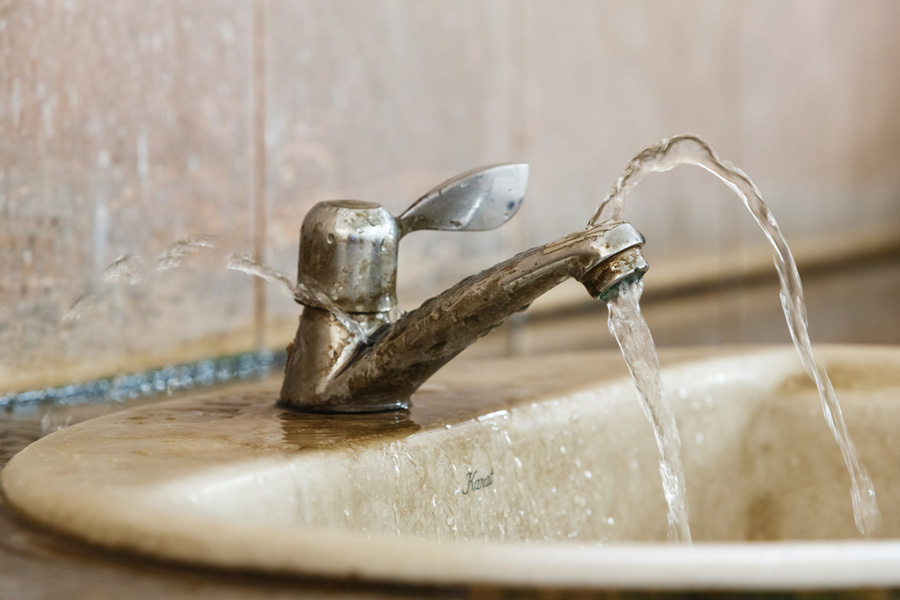
 Your bathroom vanity faucet is a key element in your overall bathroom design. It's not only a functional piece that allows you to wash your hands and brush your teeth, but it also serves as a focal point in the room. By removing your old faucet and replacing it with a new one, you can completely transform the look and feel of your bathroom. A new faucet can also help improve the water flow and temperature control, making your daily routines more efficient and enjoyable.
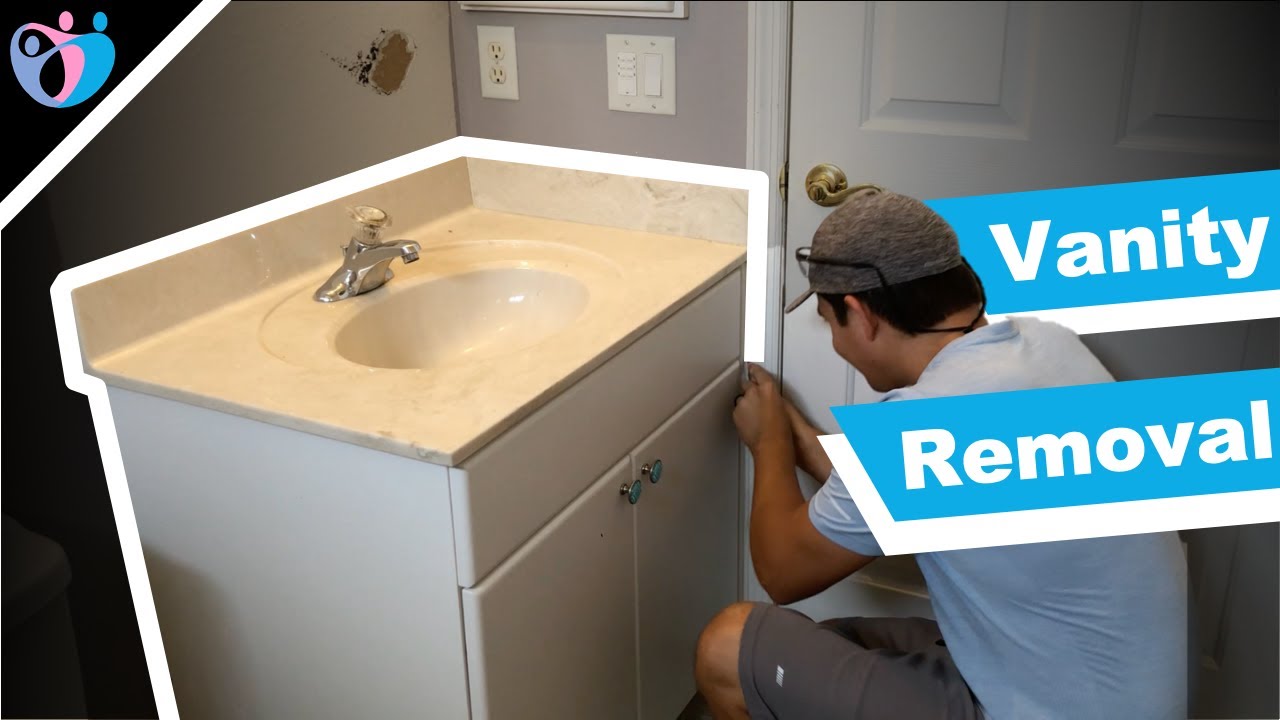
The Steps to Removing Your Bathroom Vanity Faucet
 Before starting the removal process, be sure to gather all the necessary tools, including an adjustable wrench, pliers, and a bucket or towel to catch any water. Begin by shutting off the water supply to the faucet, either by turning off the main water valve or the individual shut-off valves under the sink. Next, disconnect the water supply lines and the drain pipe from the faucet. Use the adjustable wrench to loosen and remove the mounting nuts that hold the faucet in place. Once the nuts are removed, you can lift the old faucet out of the vanity and clean the surface before installing the new one.
Choosing the Right Faucet for Your Bathroom
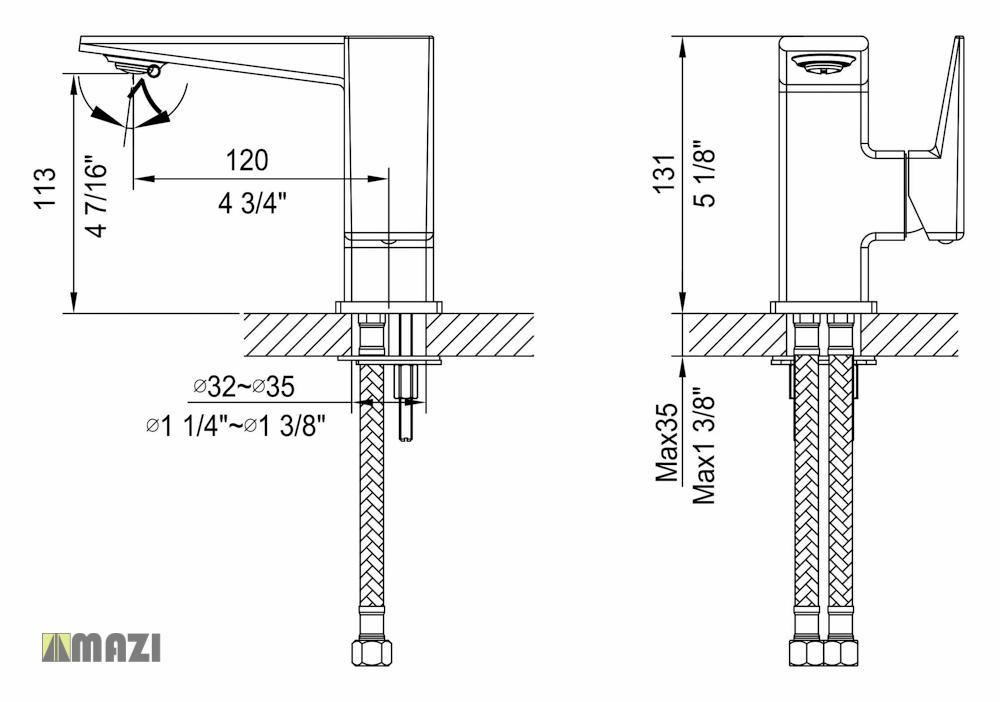
 When selecting a new bathroom vanity faucet, consider the style and design of your bathroom. If you have a modern bathroom, opt for a sleek and minimalist faucet, while a traditional bathroom may benefit from a more ornate and decorative faucet. Additionally, consider the finish of the faucet, such as chrome, brushed nickel, or bronze, to complement the other fixtures and hardware in your bathroom.
Conclusion
 Removing your old bathroom vanity faucet and installing a new one is a simple and affordable way to upgrade your bathroom. Not only will it enhance the overall look of your space, but it can also improve its functionality and add value to your home. So, don't be afraid to take on this DIY project and enjoy a fresh and updated bathroom in no time.