Removing Bathroom Sink Drain Trap: A Step-by-Step Guide
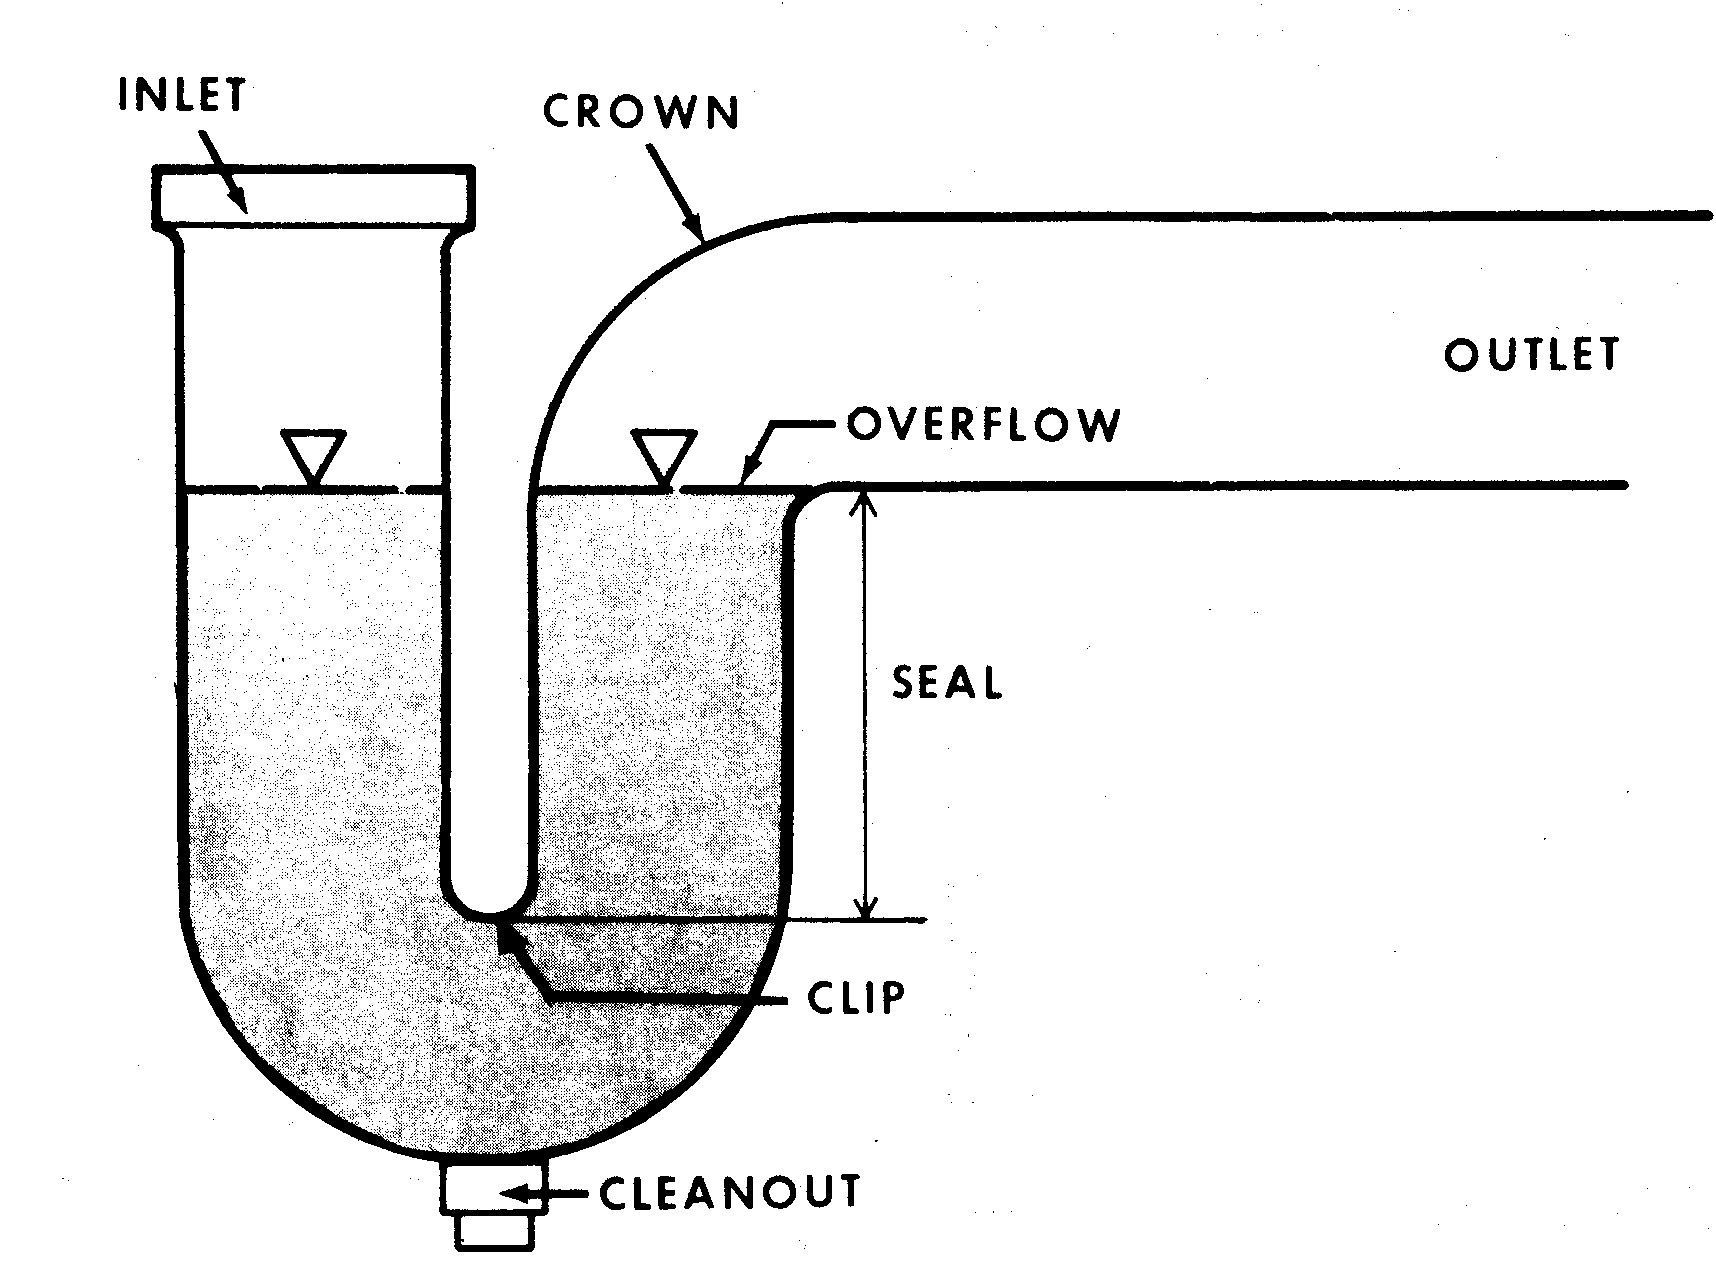
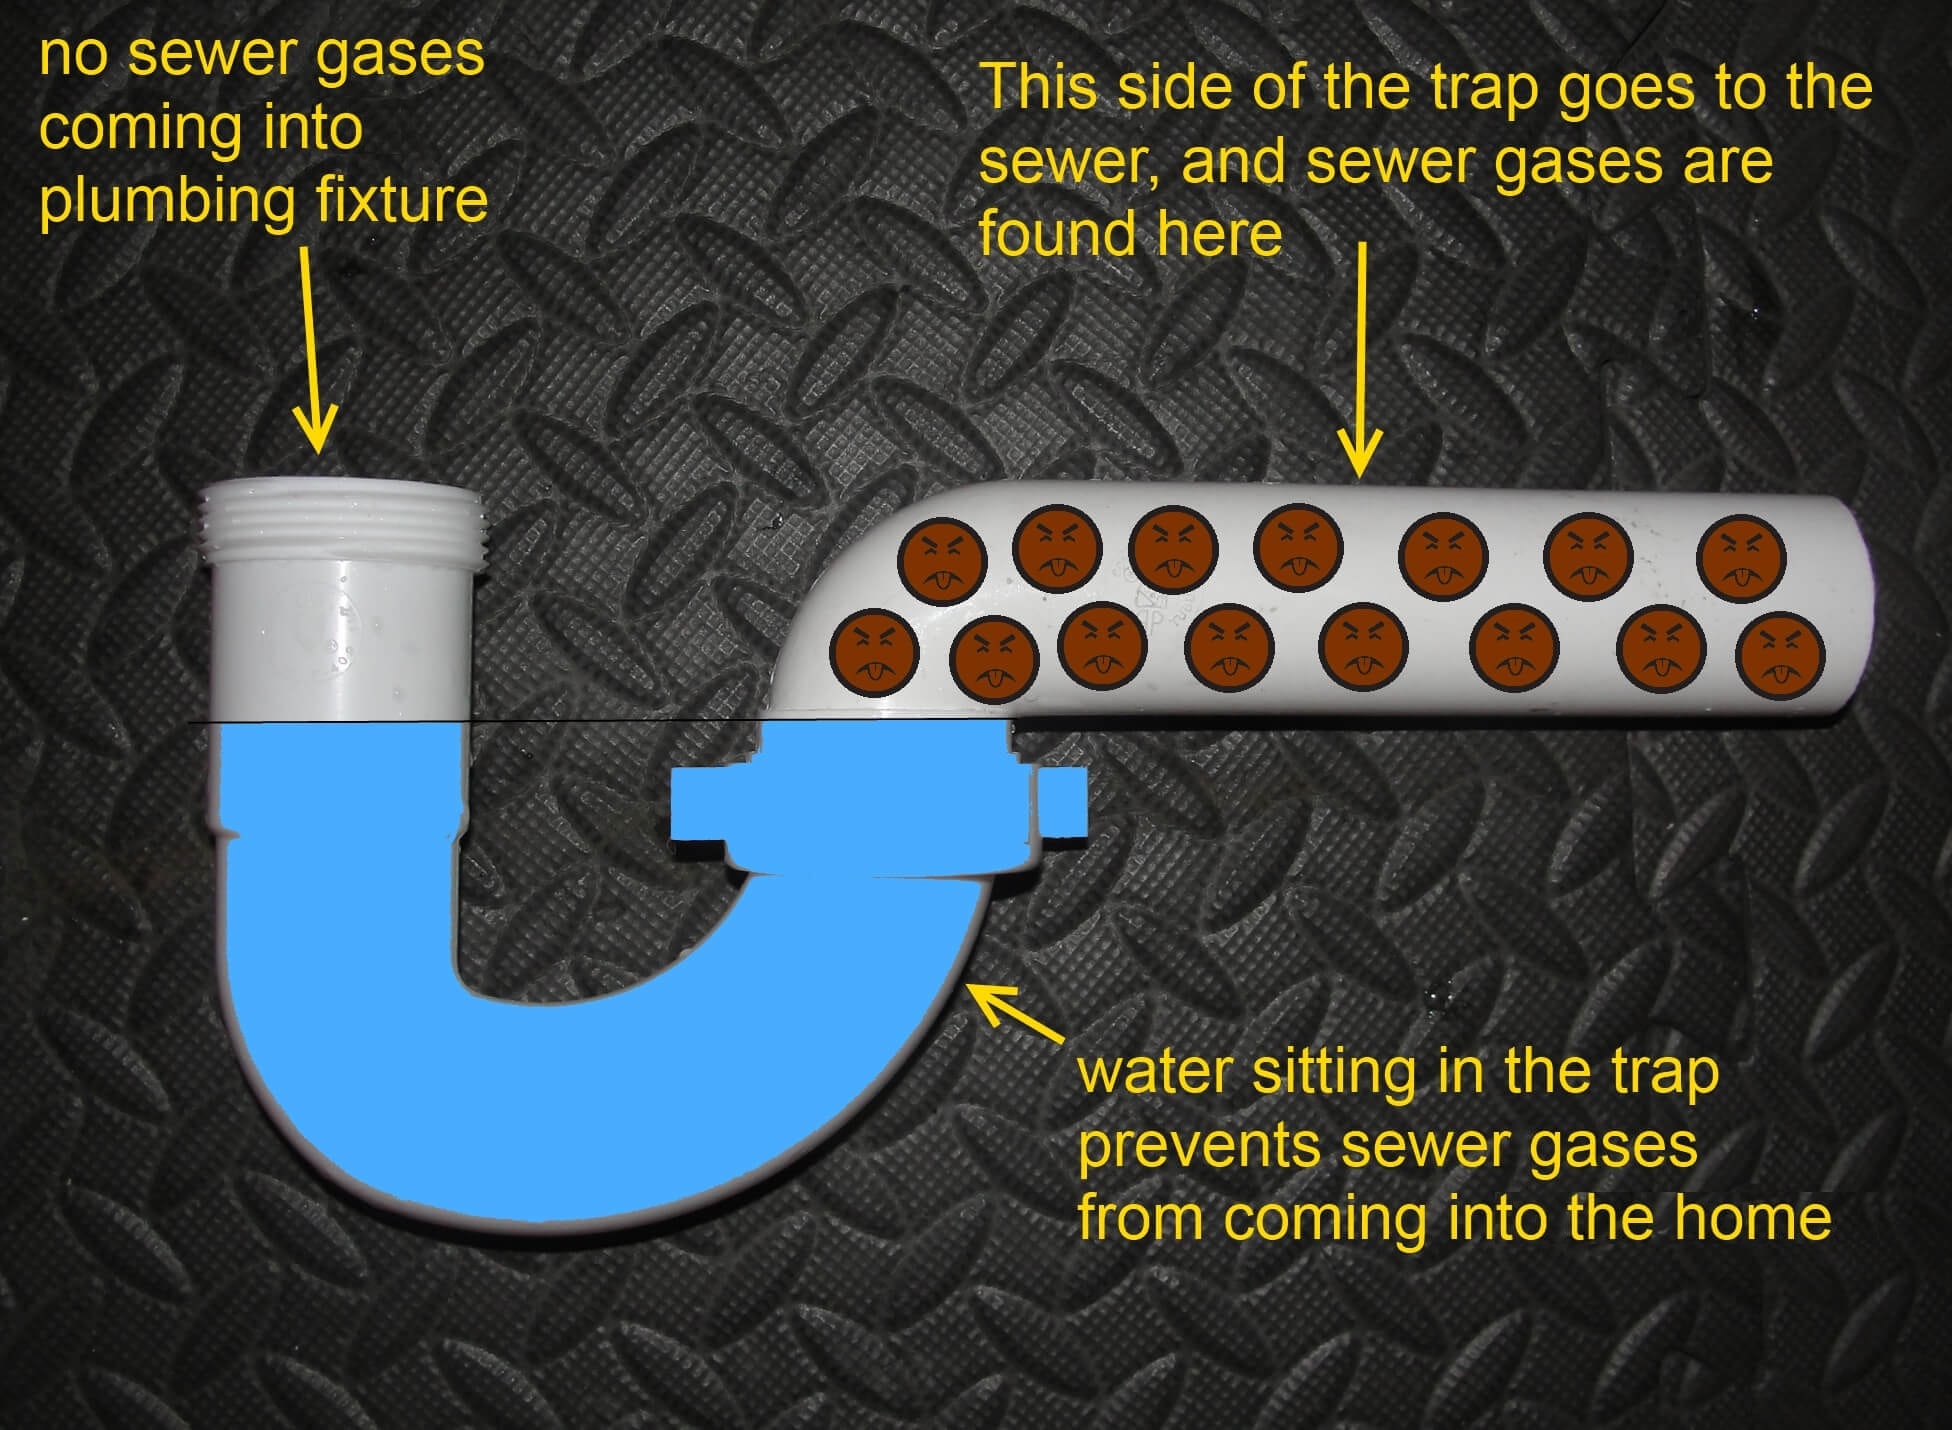
If you're experiencing a clogged or slow draining sink, the culprit may be a build-up of debris in your bathroom sink drain trap. This U-shaped pipe is located underneath the sink and is designed to catch any hair, soap scum, or other debris before it enters the main drain pipe. Removing this trap and cleaning it out can help restore proper drainage and prevent future clogs. Here's a guide on how to remove a bathroom sink drain trap in 10 easy steps.
Step 1: Gather Your Tools
Before you begin, make sure you have all the necessary tools on hand. These may include a pair of pliers, a pipe wrench, a bucket or large bowl, and a cleaning brush or old toothbrush. Having these tools ready will make the process smoother and more efficient.
Step 2: Turn Off the Water
It's important to turn off the water flow to your sink before you start working on the drain trap. Look for the shut-off valves under the sink and turn them clockwise to close the water supply. If you can't find these valves, you may need to shut off the main water supply to your home.
Step 3: Place a Bucket Underneath
Place a bucket or large bowl underneath the drain trap to catch any water or debris that may spill out during the removal process. This will prevent a mess and make clean-up easier.
Step 4: Loosen the Slip Nuts
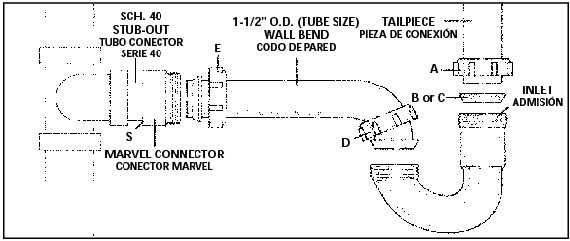
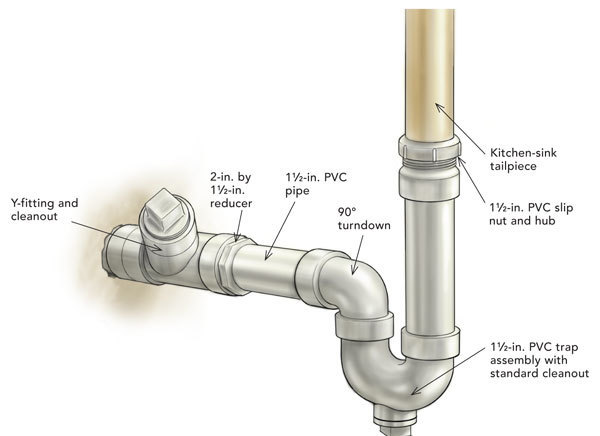
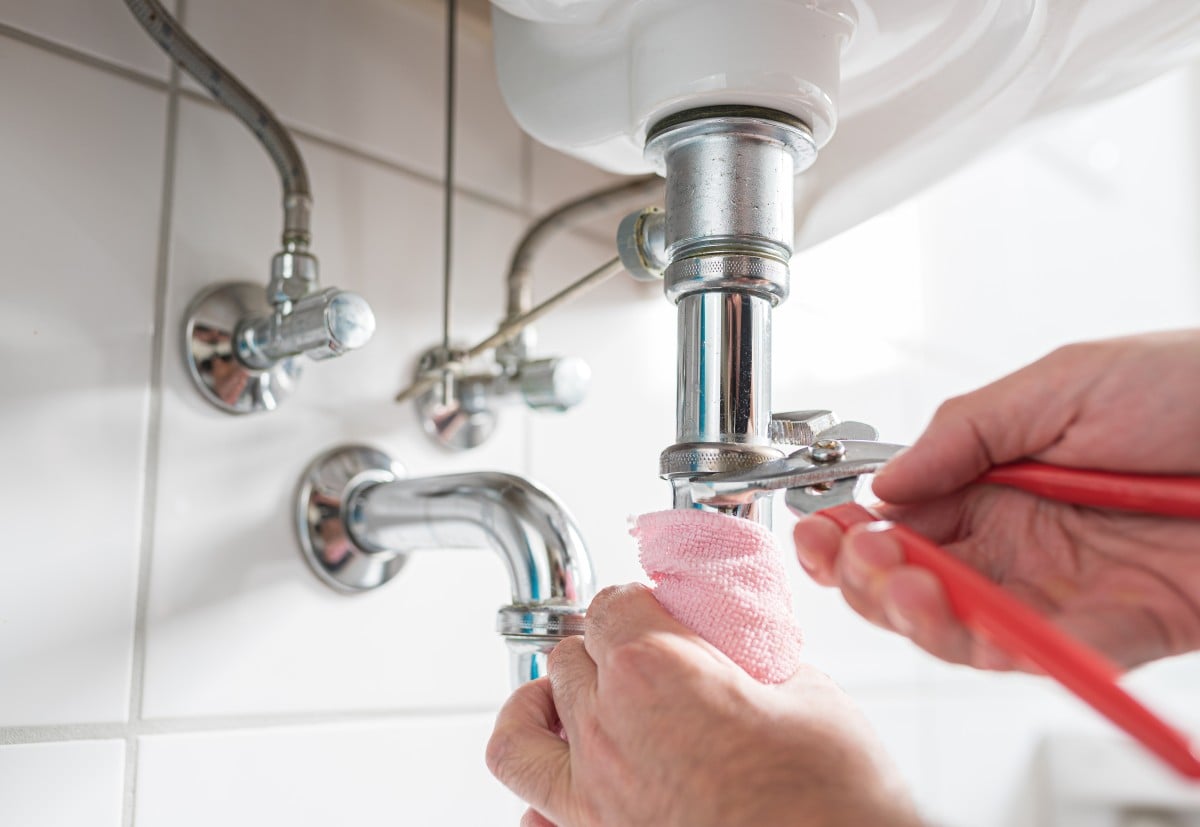
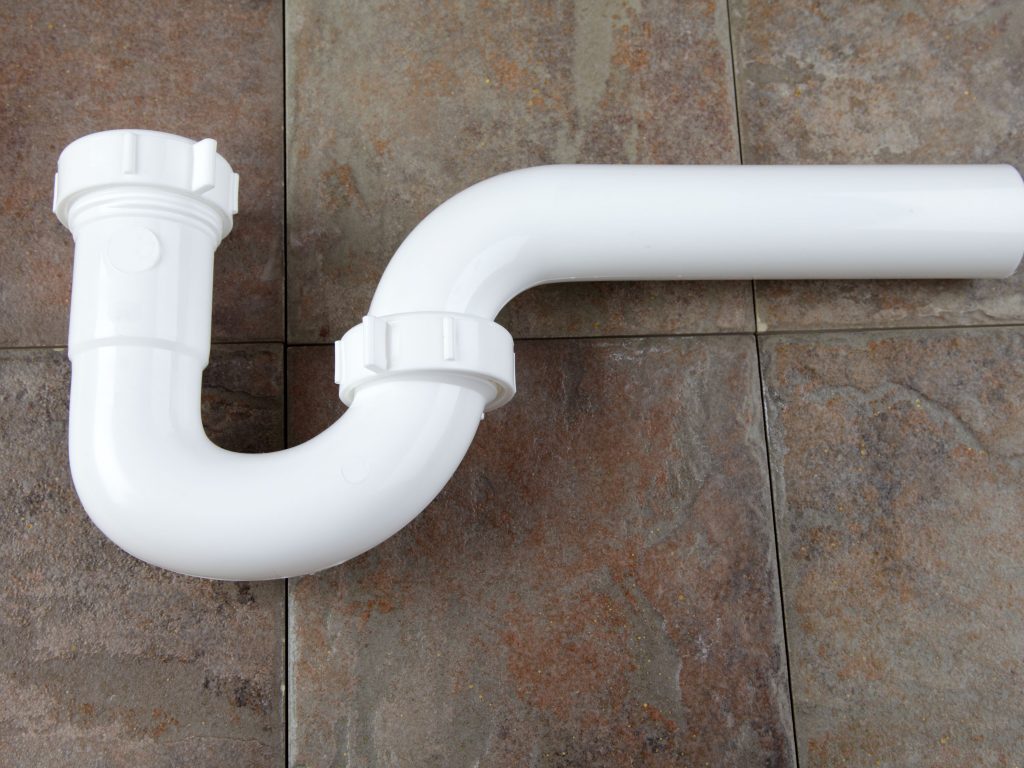
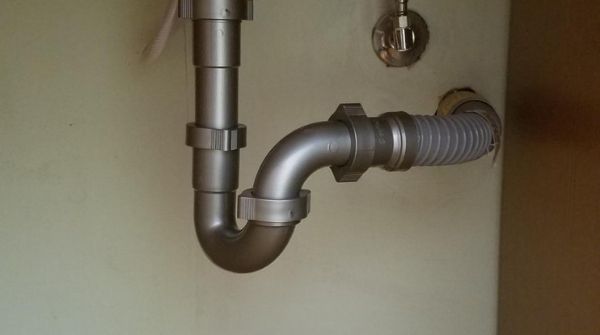
Using pliers or a pipe wrench, loosen the slip nuts on both ends of the drain trap. These are the large, round nuts that connect the trap to the sink drain and the main drain pipe. Be cautious not to overtighten or damage these nuts.
Step 5: Remove the Trap
Once the slip nuts are loosened, you can remove the drain trap from the pipes. The trap should come off easily, but you may need to gently twist or wiggle it to loosen it completely.
Step 6: Empty the Debris
Once the trap is removed, you can empty the contents into your bucket. Be prepared for a buildup of hair, soap scum, and other debris. You may need to use a cleaning brush or old toothbrush to remove any stubborn debris.
Step 7: Inspect the Trap
While you have the trap removed, take a moment to inspect it for any cracks, damage, or wear and tear. If you notice any issues, it may be time to replace the trap with a new one.
Step 8: Clean the Trap
Using a cleaning brush or old toothbrush, scrub the trap inside and out to remove any remaining debris and buildup. You can also soak the trap in warm, soapy water for a more thorough cleaning.
Step 9: Reattach the Trap
Once the trap is clean, you can reattach it to the pipes. Make sure the slip nuts are tightened securely, but not too tight, to prevent leaks.
Why It's Important to Remove Bathroom Sink Drain Trap

Ensuring Proper Drainage and Preventing Clogs
 When it comes to maintaining a well-functioning and hygienic bathroom, the sink drain trap is an essential component that should never be overlooked. This small, curved pipe located under the sink is responsible for catching debris and preventing it from clogging your plumbing system. Over time, however, the drain trap can become clogged itself, leading to slow drainage or even a complete blockage. This is why it's important to know how to remove the bathroom sink drain trap.
Removing the drain trap not only ensures proper drainage but also helps prevent future clogs and plumbing issues. This simple maintenance task can save you from costly repairs down the line.
Easy Access for Cleaning and Repairing
 In addition to preventing clogs, removing the bathroom sink drain trap also provides easy access for cleaning and repairing any potential issues. As the trap is located in an easily accessible spot, you can quickly clean it out or remove any debris that may have accumulated. This is especially important for households with long hair or those who use a lot of hair products, as hair can easily get stuck in the drain trap over time.
Moreover, if there is a leak or any damage to the drain trap, removing it allows for easier repairs. This can save you time and money in the long run.
Improving Overall Bathroom Aesthetics
 Another reason to remove the bathroom sink drain trap is to improve the overall aesthetics of your bathroom. The drain trap can easily collect soap scum, grime, and other debris, making it look dirty and unsightly. By regularly removing and cleaning the trap, you can keep your sink looking clean and fresh. This is especially important if you have guests coming over or are trying to sell your house.
Removing the drain trap also allows you to thoroughly clean the sink and surrounding area, giving your bathroom a more polished and inviting appearance.
Conclusion
 In conclusion, removing the bathroom sink drain trap is a simple yet important task that should not be overlooked. It not only ensures proper drainage and prevents clogs, but also allows for easy cleaning and repairs and improves the overall aesthetics of your bathroom. So the next time you notice your sink draining slowly, don't hesitate to remove the drain trap and give it a good clean. Your plumbing system and bathroom will thank you.



:max_bytes(150000):strip_icc()/sink-drain-trap-185105402-5797c5f13df78ceb869154b5.jpg)
.jpg)




/sink-drain-trap-185105402-5797c5f13df78ceb869154b5.jpg)







:max_bytes(150000):strip_icc()/bathroom-sink-drain-installation-2718843-11-675b59e962dd4f69b510d5c9e1fd215f.jpg)
/plumber-installing-bathtub-drain-185313098-581786f93df78cc2e8f424f0.jpg)


