If you're planning on doing some renovations in your kitchen, you may need to remove the stop cock under your kitchen sink. This valve controls the flow of water to your sink and is an essential part of your plumbing system. Whether you're replacing the sink, installing a new faucet, or simply need to access the pipes, removing the stop cock is a necessary step. However, it can be a tricky task for those who are not familiar with plumbing. In this guide, we will walk you through the process of removing a stop cock under a kitchen sink.Removing a stop cock under a kitchen sink


Removing a stop cock under a kitchen sink


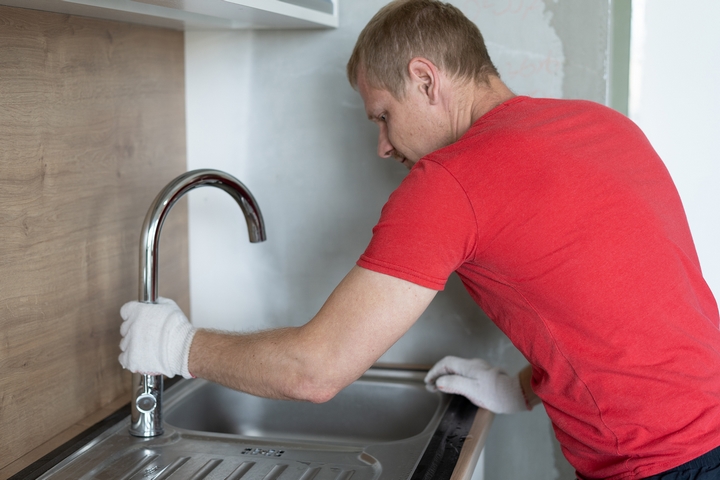


Before you begin, make sure to gather all the necessary tools and materials. You will need a pipe wrench, adjustable pliers, Teflon tape, and a bucket to catch any water. It's also recommended to wear protective gloves as a safety precaution. Once you have everything ready, follow these steps: 1. Shut off the water supply - Before you start working on the stop cock, you need to turn off the water supply. Look for the shut-off valve, which is typically located under the sink or in the basement. Turn it clockwise to shut off the water. 2. Open the faucet - To release any remaining water pressure, open the faucet and let the water drain out. 3. Disconnect the supply line - Use your adjustable pliers to loosen the nut that connects the supply line to the stop cock. Once it's loose, you can unscrew it by hand and set it aside. 4. Remove the stop cock - Using a pipe wrench, turn the stop cock counterclockwise to loosen it. It may be tight, so use some force, but be careful not to damage the pipes or the valve. Once it's loose, you can remove it from the pipe.How to remove a stop cock under a kitchen sink


How to remove a stop cock under a kitchen sink


If you're still unsure about how to remove the stop cock, here is a more detailed step-by-step guide: Step 1: Gather your tools and materials - As mentioned earlier, you will need a pipe wrench, adjustable pliers, Teflon tape, and a bucket to catch water. Step 2: Turn off the water supply - Locate the shut-off valve and turn it clockwise to shut off the water supply. Open the faucet to release any remaining water pressure. Step 3: Disconnect the supply line - Use the adjustable pliers to loosen the nut that connects the supply line to the stop cock. Once it's loose, you can unscrew it by hand. Step 4: Remove the stop cock - Use a pipe wrench to turn the stop cock counterclockwise. If it's too tight, you can use a pipe wrench with a longer handle for more leverage. Be careful not to damage the pipes or the valve while removing it. Step 5: Clean the threads - Once the stop cock is removed, use a wire brush or a piece of sandpaper to clean the threads on the pipe. This will ensure a smooth installation of the new valve. Step 6: Wrap Teflon tape - Wrap Teflon tape around the threads of the pipe in a clockwise direction. This will create a watertight seal when you install the new stop cock. Step 7: Install the new stop cock - Screw the new stop cock onto the pipe in a clockwise direction. Use a pipe wrench to tighten it, but be careful not to over-tighten it. Step 8: Reconnect the supply line - Use the adjustable pliers to reconnect the supply line to the new stop cock. Make sure it's tight and secure. Step 9: Turn on the water supply - Once everything is connected, turn on the water supply by turning the shut-off valve counterclockwise. Check for any leaks and make sure the water is flowing properly.Step-by-step guide for removing a stop cock under a kitchen sink


Removing a stop cock from under a kitchen sink
Removing a stop cock under a kitchen sink requires just a few basic tools that you may already have in your toolbox. These include a pipe wrench, adjustable pliers, and Teflon tape. However, it's always a good idea to have these tools on hand in case of any plumbing emergencies.Tools needed for removing a stop cock under a kitchen sink

Step-by-step guide for removing a stop cock under a kitchen sink


Here are a few tips to keep in mind when removing a stop cock under your kitchen sink: - It's always better to shut off the main water supply rather than just the shut-off valve under the sink. This will prevent any accidental water flow and make the task easier. - Use Teflon tape to create a watertight seal when installing the new stop cock. This will prevent any leaks in the future. - If the stop cock is too tight, you can use some penetrating oil to loosen it up before attempting to remove it.Tips for removing a stop cock under a kitchen sink


Tools needed for removing a stop cock under a kitchen sink

While removing a stop cock may seem like a simple task, there are a few common mistakes that people make. These include: - Forgetting to shut off the water supply - This can result in a big mess and cause damage to your pipes. - Over-tightening the stop cock - This can damage the pipes, making it difficult to remove or install a new valve. - Not cleaning the threads - It's important to clean the threads on the pipe before installing the new stop cock to ensure a proper seal.Common mistakes when removing a stop cock under a kitchen sink


Tips for removing a stop cock under a kitchen sink


While removing a stop cock is a relatively simple task, it's important to take some safety precautions to avoid any accidents or injuries: - Wear protective gloves to avoid any cuts or scrapes while working with tools. - Be careful not to damage the pipes or the valve while removing it. - If you're unsure about your plumbing skills, it's best to call a professional to avoid any potential risks.Safety precautions for removing a stop cock under a kitchen sink

Common mistakes when removing a stop cock under a kitchen sink
If you're not comfortable removing the stop cock on your own, there are a few alternative methods you can try: - Use a hacksaw to cut the stop cock - This method is best used if the valve is old and rusty and cannot be removed with a pipe wrench. - Call a professional plumber - If you're not confident in your plumbing skills, it's always best to call a professional to avoid any potential damage or accidents.Alternative methods for removing a stop cock under a kitchen sink

Safety precautions for removing a stop cock under a kitchen sink


If you're not comfortable performing any plumbing tasks on your own, you can always call a professional plumber. They have the necessary skills and experience to remove the stop cock and install a new one without any hassle. While it may cost you a bit more, it's always better to ensure the task is done correctly and without any potential risks. Removing a stop cock under a kitchen sink may seem like a daunting task, but with the right tools and knowledge, it can be done easily. Just remember to follow these steps and take the necessary safety precautions, and you'll have your stop cock removed in no time. Professional services for removing a stop cock under a kitchen sink
Alternative methods for removing a stop cock under a kitchen sink


Why Removing a Stop Cock Under a Kitchen Sink is Important for Your House Design

The Function of a Stop Cock
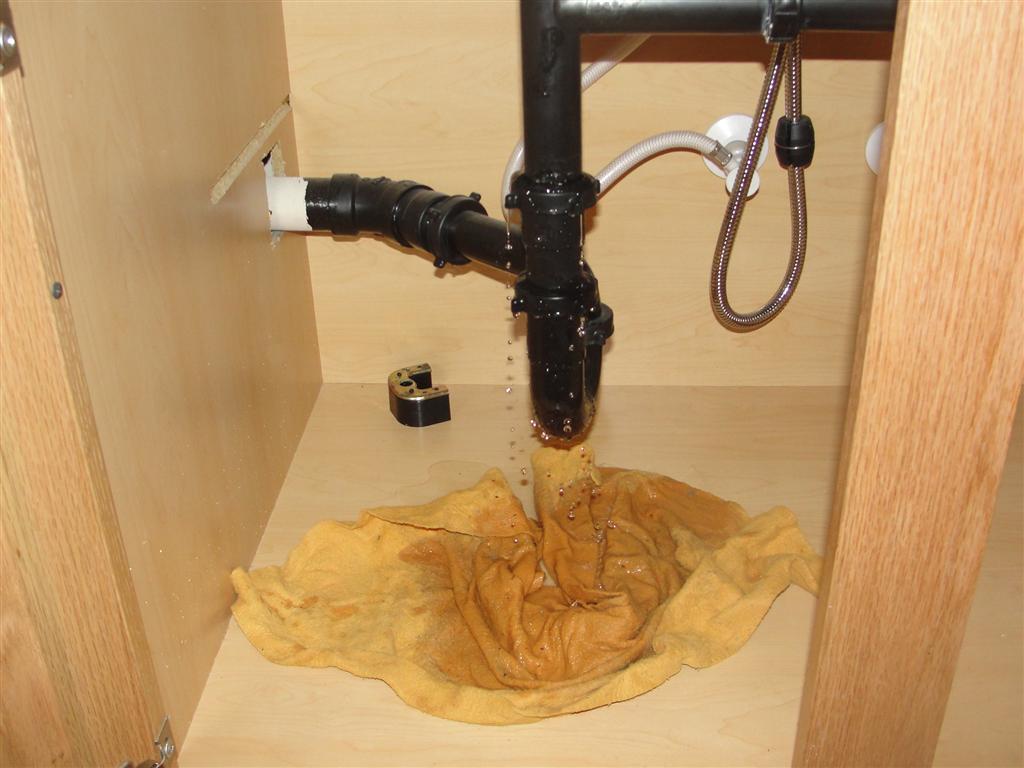
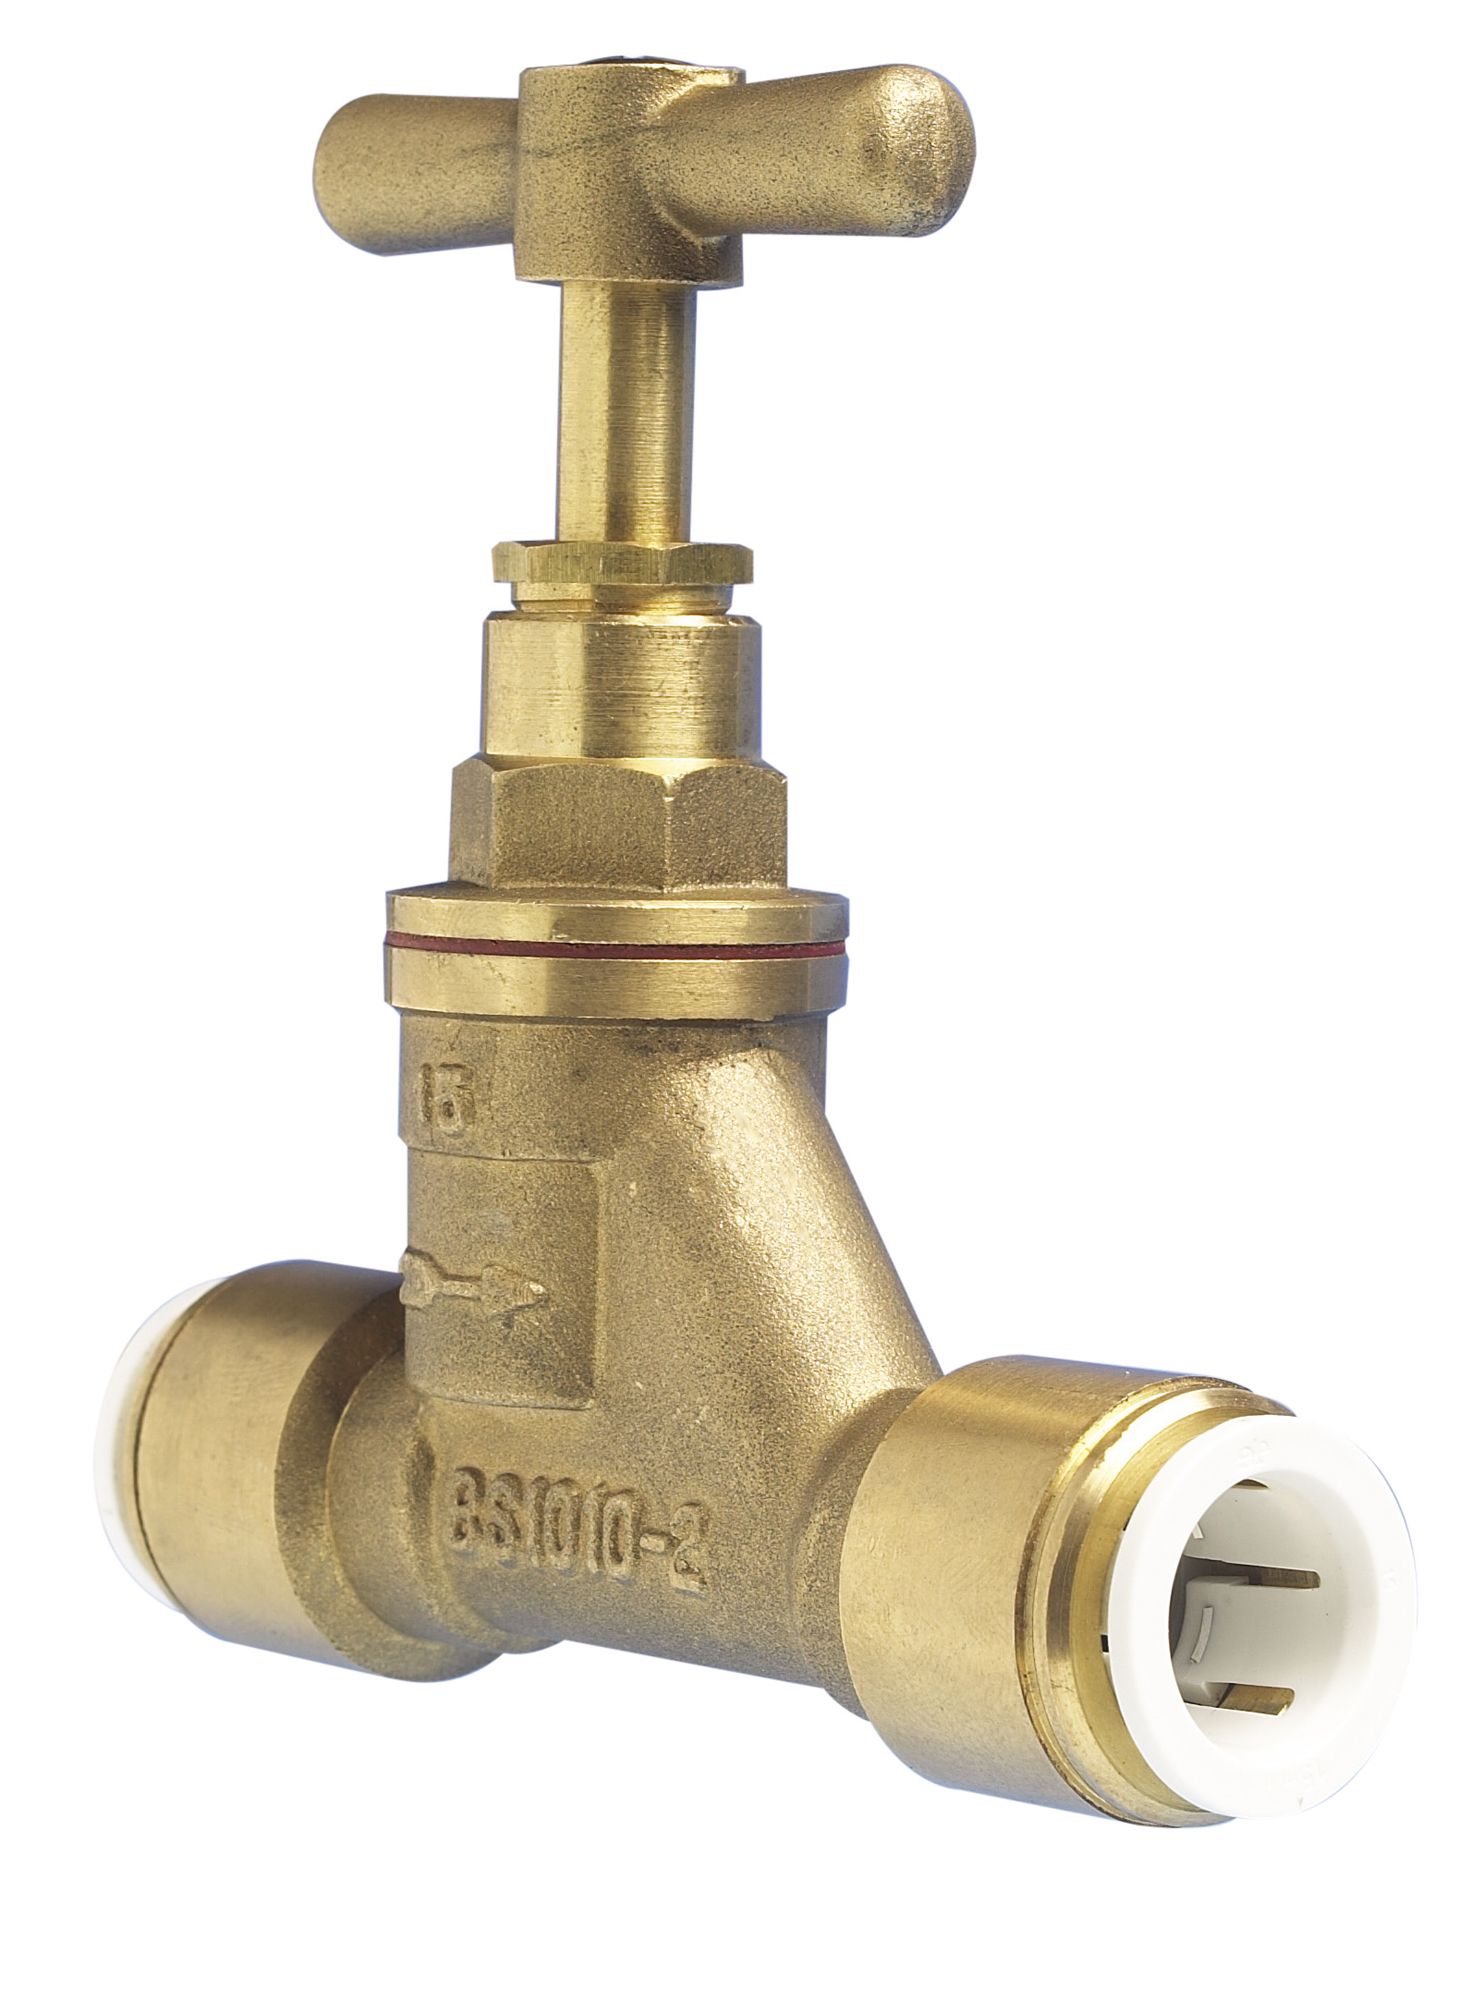
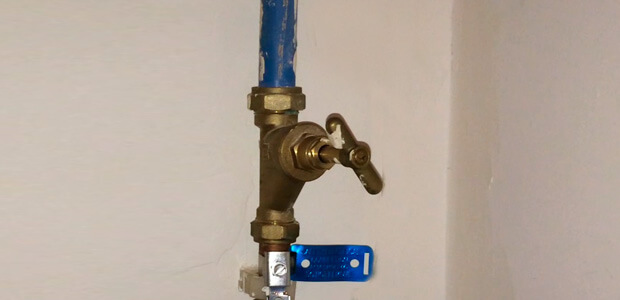 Before delving into the process of removing a stop cock under a kitchen sink, it is important to understand the function of this small but essential fixture. A stop cock is a valve that controls the flow of water into a building. It is usually located under the kitchen sink, and it allows you to shut off the water supply to the sink in case of a leak or when you need to make repairs. However, this fixture can become damaged or faulty over time, and it is important to know how to remove it properly.
The Benefits of Removing a Stop Cock
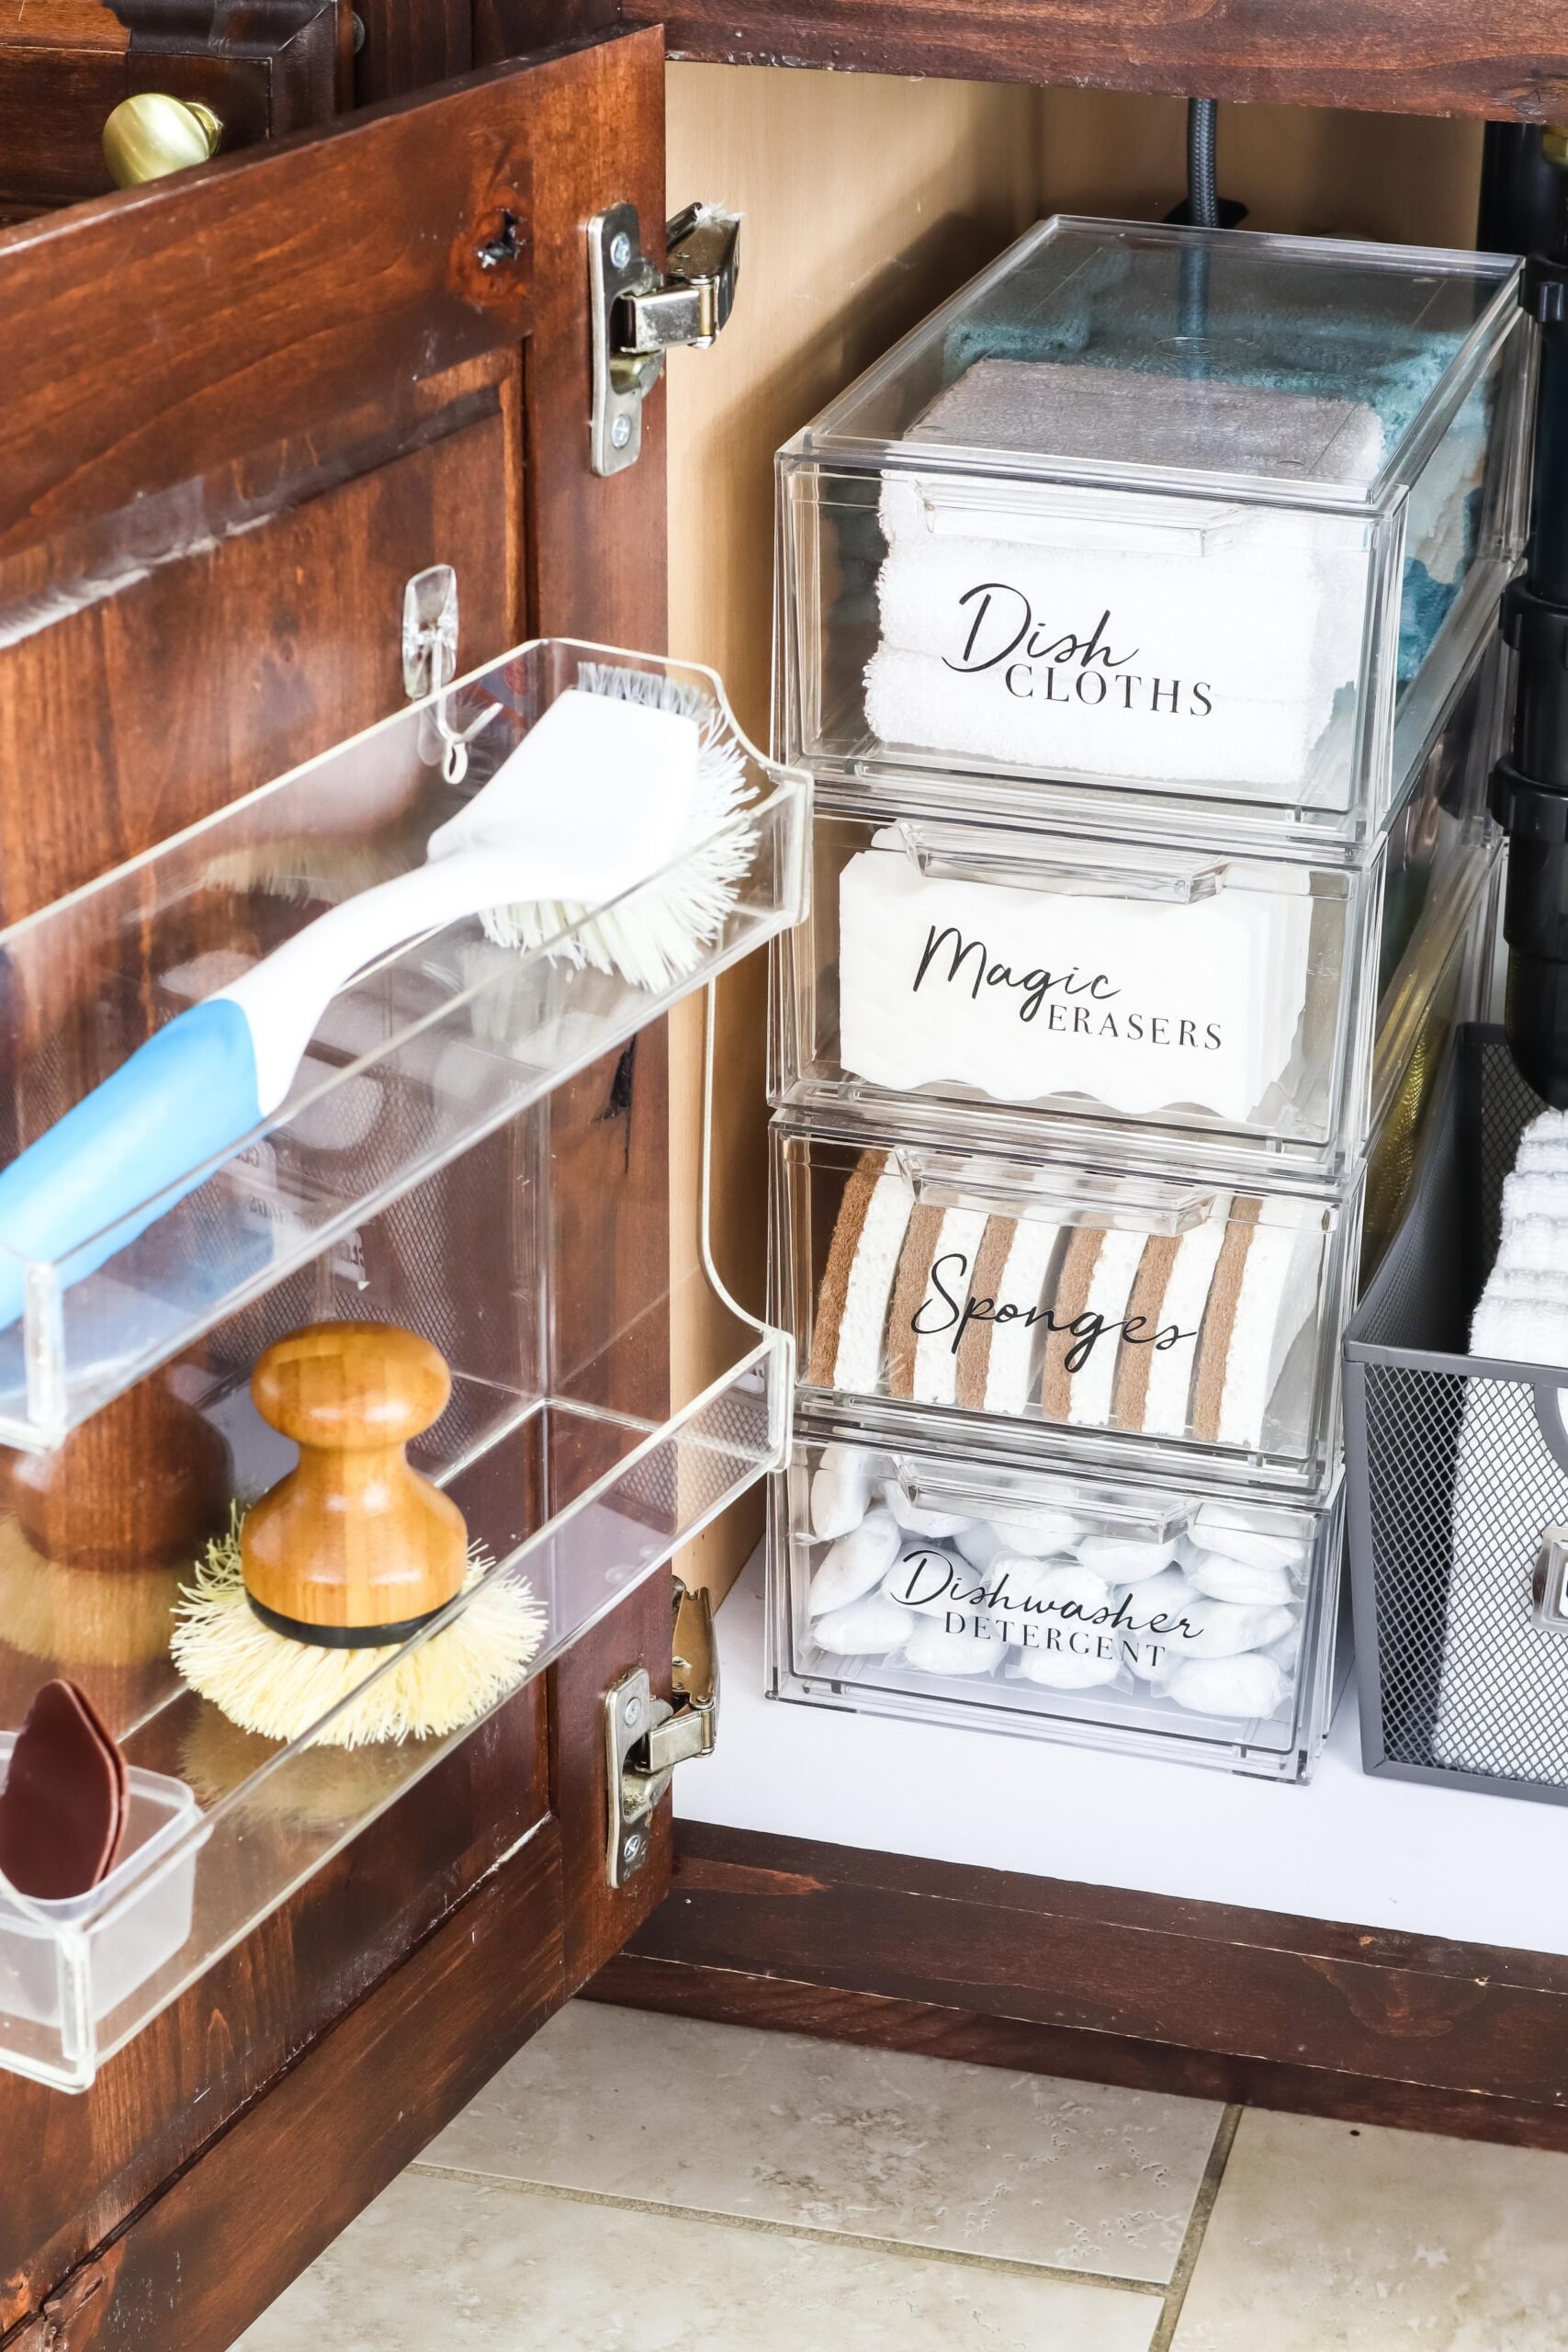
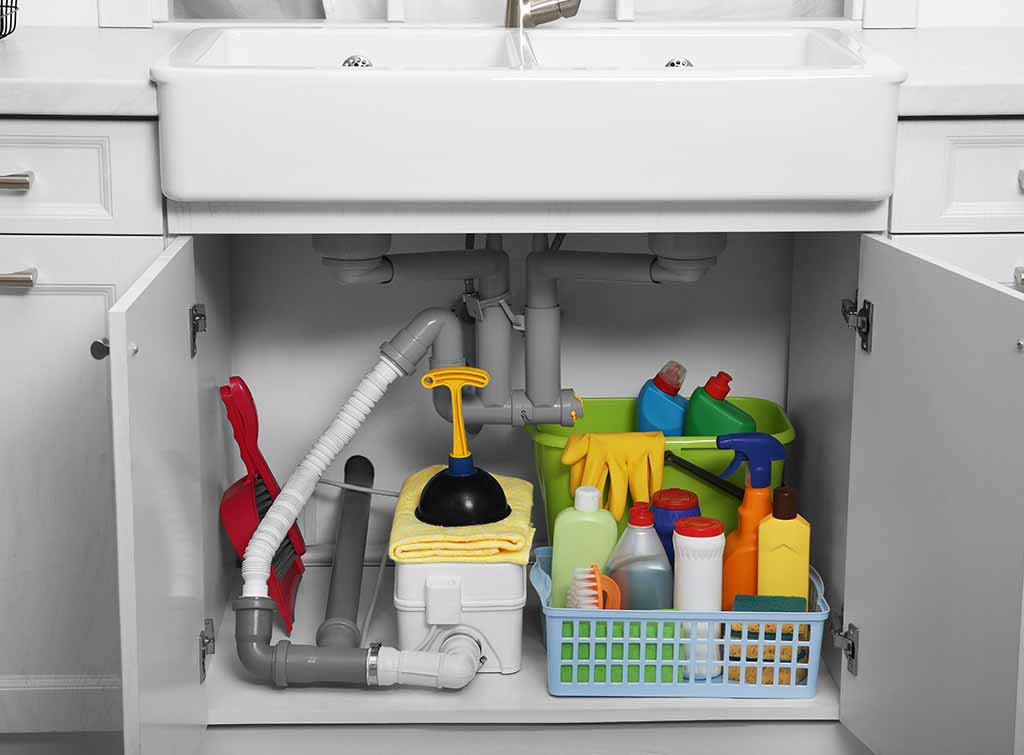
 Removing a stop cock under your kitchen sink may seem like a daunting task, but it can bring several benefits to your house design. Firstly, it allows for easier access to the plumbing system and makes any future repairs or replacements much simpler. Secondly, it can provide more space under the sink, allowing for better organization and storage. And lastly, removing a stop cock can also improve the overall aesthetic of your kitchen by eliminating an unnecessary and often unsightly fixture.
The Process of Removing a Stop Cock
 Now that you understand the importance of removing a stop cock under your kitchen sink, let's talk about the process. The first step is to turn off the water supply to the sink. This can usually be done by locating the main shut-off valve for your house and closing it. Next, using a wrench or pliers, unscrew the connecting nuts and remove the stop cock from the pipes. Make sure to have a bucket or towels ready to catch any excess water that may spill out.
Conclusion
 In conclusion, removing a stop cock under a kitchen sink is an important aspect of house design. It not only allows for easier access to the plumbing system and better organization, but it can also improve the overall aesthetic of your kitchen. With the proper tools and knowledge, this task can be easily accomplished, and it can bring many benefits to your home. So don't hesitate to remove that old, faulty stop cock and upgrade your house design today!