Removing a kitchen sink tap may seem like a daunting task, but with the right tools and knowledge, it can be a relatively simple DIY project. Whether you're looking to replace an old, outdated tap or just need to fix a leaky one, learning how to remove a kitchen sink tap is an essential skill for any homeowner. In this guide, we'll take you through the step-by-step process of removing a kitchen sink tap. So put on your DIY hat and let's get started!How to Remove a Kitchen Sink Tap
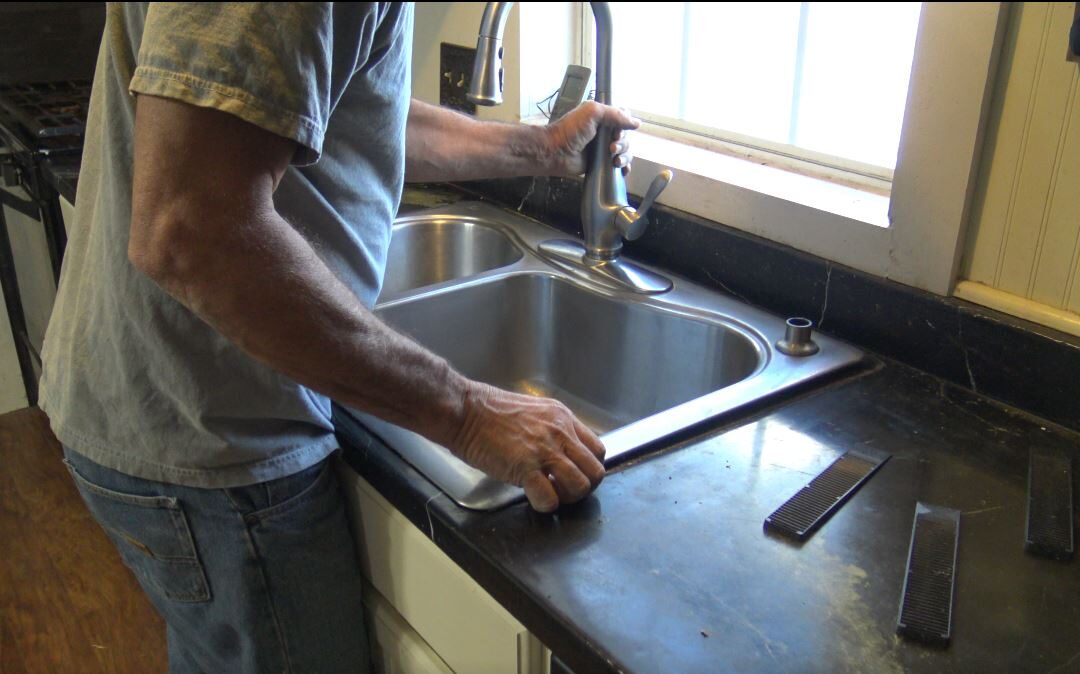
Before you begin, it's important to gather all the necessary tools and materials. This will ensure a smooth and hassle-free removal process. You will need a pair of pliers, a basin wrench, a screwdriver, and some plumber's putty. Once you have all your tools ready, follow these steps: Step 1: Turn off the water supply to the sink tap by shutting off the water valves located under the sink. Step 2: Place a bucket or a large bowl under the sink to catch any water that may still be in the pipes. Step 3: Using a pair of pliers, disconnect the water supply lines from the tap. Step 4: Loosen the nuts that hold the tap in place using a basin wrench. Step 5: Once the nuts are loosened, you should be able to lift the tap out of the sink. Step 6: Remove any remaining putty or adhesive from the sink using a scraper or putty knife. Step 7: Your old tap is now removed, and you can move on to installing a new one or fixing any issues you may have encountered.Removing a Kitchen Sink Tap: A Step-by-Step Guide
Removing a kitchen sink tap can be a satisfying DIY project that will save you money and give you a sense of accomplishment. However, it's essential to be cautious and follow safety precautions to avoid any mishaps. Make sure to turn off the water supply and wear protective gear, such as gloves and safety glasses, to avoid any injuries. If you're not confident in your DIY skills, it's always best to hire a professional to avoid any potential damage to your sink or plumbing.DIY: Removing a Kitchen Sink Tap
When removing a kitchen sink tap, there are a few tips and tricks that can make the process smoother and more efficient. Firstly, make sure to have a towel or rag handy to clean up any spills or drips. It's also helpful to take a picture of the tap before removing it to use as a reference when installing a new one. Additionally, using a lubricant like WD-40 can help loosen stuck nuts and make the removal process easier.Removing a Kitchen Sink Tap: Tips and Tricks
While removing a kitchen sink tap may seem straightforward, there are a few common mistakes that can lead to complications and frustrations. One of the most common mistakes is not turning off the water supply before starting the removal process, which can result in a messy and potentially damaging situation. It's also crucial to be gentle when removing the tap to avoid damaging the sink or pipes.Removing a Kitchen Sink Tap: Common Mistakes to Avoid
As mentioned earlier, having the right tools is essential when removing a kitchen sink tap. A pair of pliers, basin wrench, screwdriver, and plumber's putty are the basic tools you'll need. It's also helpful to have a scraper or putty knife to remove any old putty or adhesive. If you're planning on installing a new tap, make sure to also have the necessary tools for that, such as a new tap, tape measure, and plumber's tape.Removing a Kitchen Sink Tap: Tools You'll Need
We can't stress enough the importance of safety when it comes to DIY projects. When removing a kitchen sink tap, always turn off the water supply and wear protective gear to avoid any injuries. It's also crucial to be careful when handling tools and pipes to prevent any damage to yourself or your sink. If you encounter any issues or feel uncomfortable, don't hesitate to call a professional for help.Removing a Kitchen Sink Tap: Safety Precautions
During the removal process, you may encounter some common issues that can make the task more challenging. For example, if the nuts holding the tap in place are stuck, using a lubricant or applying some heat can help loosen them. If the tap is stuck to the sink due to old adhesive, gently tapping it with a hammer can help break the seal. If you're unsure how to troubleshoot an issue, it's best to consult a professional.Removing a Kitchen Sink Tap: Troubleshooting Common Issues
If you're replacing an old tap with a new one, the installation process is essentially the reverse of the removal process. Make sure to follow the manufacturer's instructions for your specific tap, and use plumber's putty or adhesive to secure it in place. Once the tap is installed, turn on the water supply and check for any leaks. If you encounter any issues, make sure to tighten any loose connections or call a professional for help.Removing a Kitchen Sink Tap: How to Reinstall a New Tap
Deciding whether to remove a kitchen sink tap yourself or hire a professional often depends on your level of DIY experience and the complexity of the task. If you're confident in your skills and have the necessary tools, removing a tap yourself can save you money. However, if you're unsure or encounter any issues, it's always best to call a professional to avoid any potential damage or safety hazards.Removing a Kitchen Sink Tap: Professional vs. DIY
Why Removing a Kitchen Sink Tap is Important for Your House Design

The Importance of a Functional Kitchen Sink Tap
 The kitchen sink tap is an essential element in any kitchen. It allows us to wash our hands, clean dishes, and fill up pots with water. However, over time, a tap can become worn out or outdated, affecting its functionality and overall appearance. This is why removing a kitchen sink tap is an important step in improving your house design.
Replacing Your Tap for a Modern Look
One of the main reasons for removing a kitchen sink tap is to update the look and feel of your kitchen. With so many modern and stylish tap designs available, it's an easy and affordable way to give your kitchen a fresh new look. Whether you prefer a sleek and minimalist design or a more traditional and elegant style, there are plenty of options to choose from. Upgrading your tap can instantly elevate the overall aesthetic of your kitchen and make it more visually appealing.
Improving Functionality and Efficiency
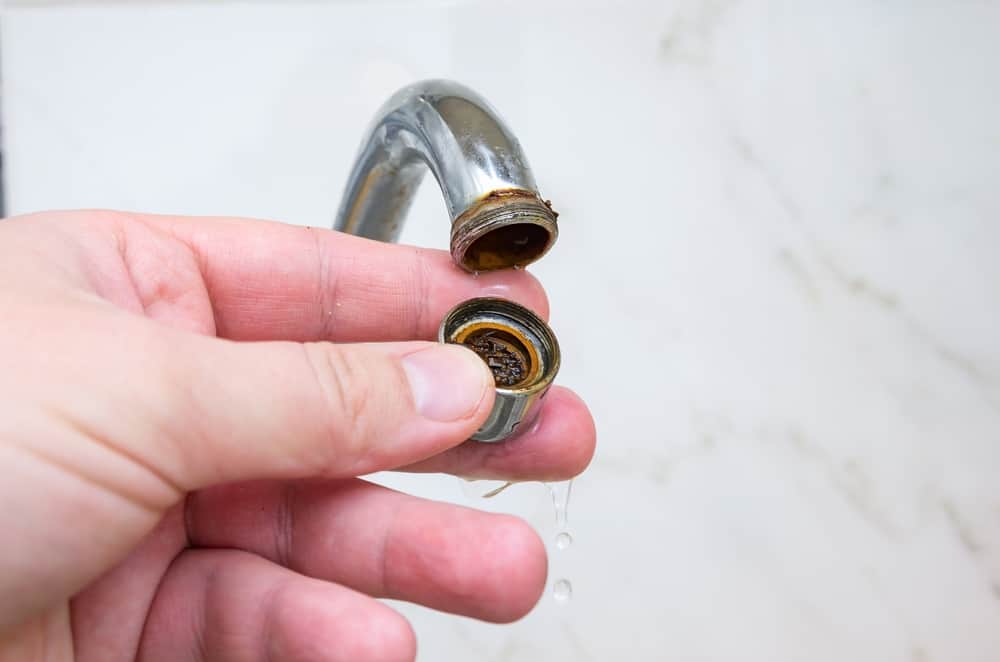
Another reason to remove a kitchen sink tap is to improve its functionality and efficiency. Over time, taps can become clogged with mineral deposits, affecting water flow and pressure. This can make simple tasks like washing dishes or filling up a pot with water a frustrating and time-consuming experience. By removing the old tap and installing a new one, you can significantly improve water flow and efficiency in your kitchen. Additionally, newer taps often come with features such as adjustable water pressure and temperature control, making them more convenient and user-friendly.
Preventing Water Damage and Leaks
If your kitchen sink tap is old or damaged, it can potentially lead to water leaks and damage to your kitchen cabinets and countertops. This can not only be costly to repair but also pose a safety hazard. By regularly replacing your kitchen sink tap, you can ensure that it remains in good condition and prevent any potential water damage.
Conclusion
In conclusion, removing a kitchen sink tap is an important step in maintaining the functionality and aesthetics of your kitchen. It allows you to upgrade to a more modern and stylish tap, improve water flow and efficiency, and prevent potential water damage. Whether you decide to replace your tap yourself or hire a professional, make sure to choose a high-quality tap that fits your personal style and needs.


