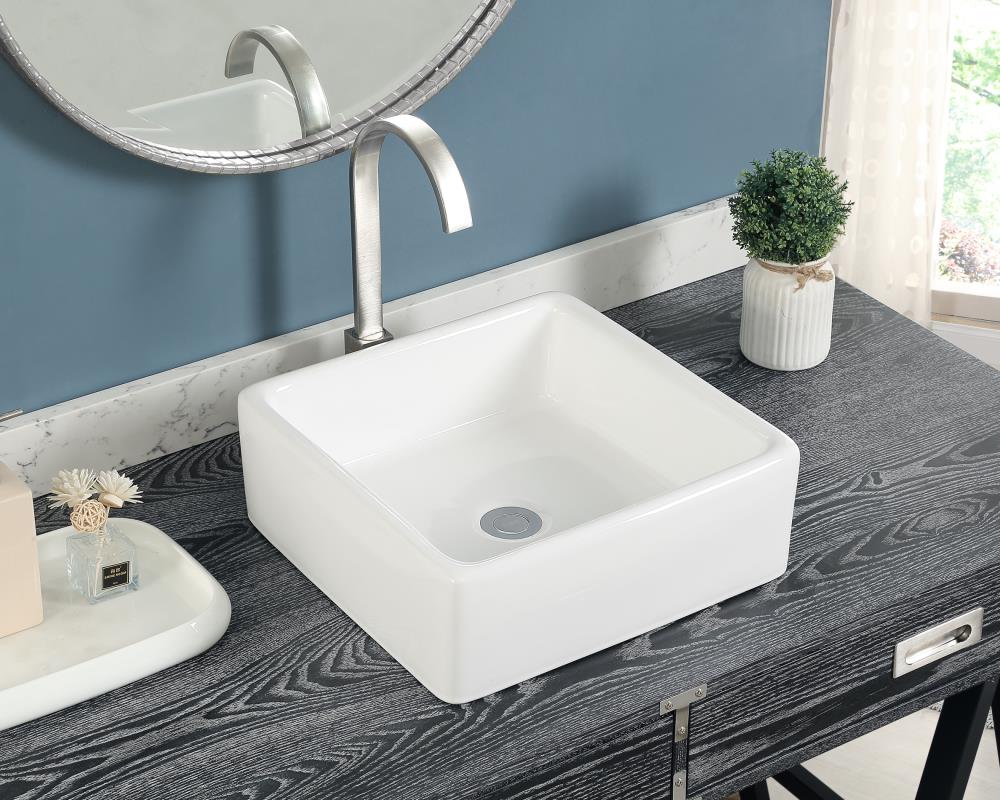
Removing a Retaining Bracket from a Kitchen Sink
A retaining bracket is an essential component of any kitchen sink, as it helps to keep the sink in place and prevents it from shifting or moving. However, there may come a time when you need to remove the retaining bracket in order to replace the sink or make repairs. In this article, we will discuss the top 10 main steps for removing a retaining bracket from a kitchen sink.


Removing a Retaining Bracket from a Kitchen Sink


How to Remove a Retaining Bracket from a Kitchen Sink
Removing a retaining bracket from a kitchen sink may seem like a daunting task, but with the right tools and techniques, it can be done easily and safely. Here are the main steps to follow:


How to Remove a Retaining Bracket from a Kitchen Sink


Step-by-Step Guide to Removing a Retaining Bracket from a Kitchen Sink
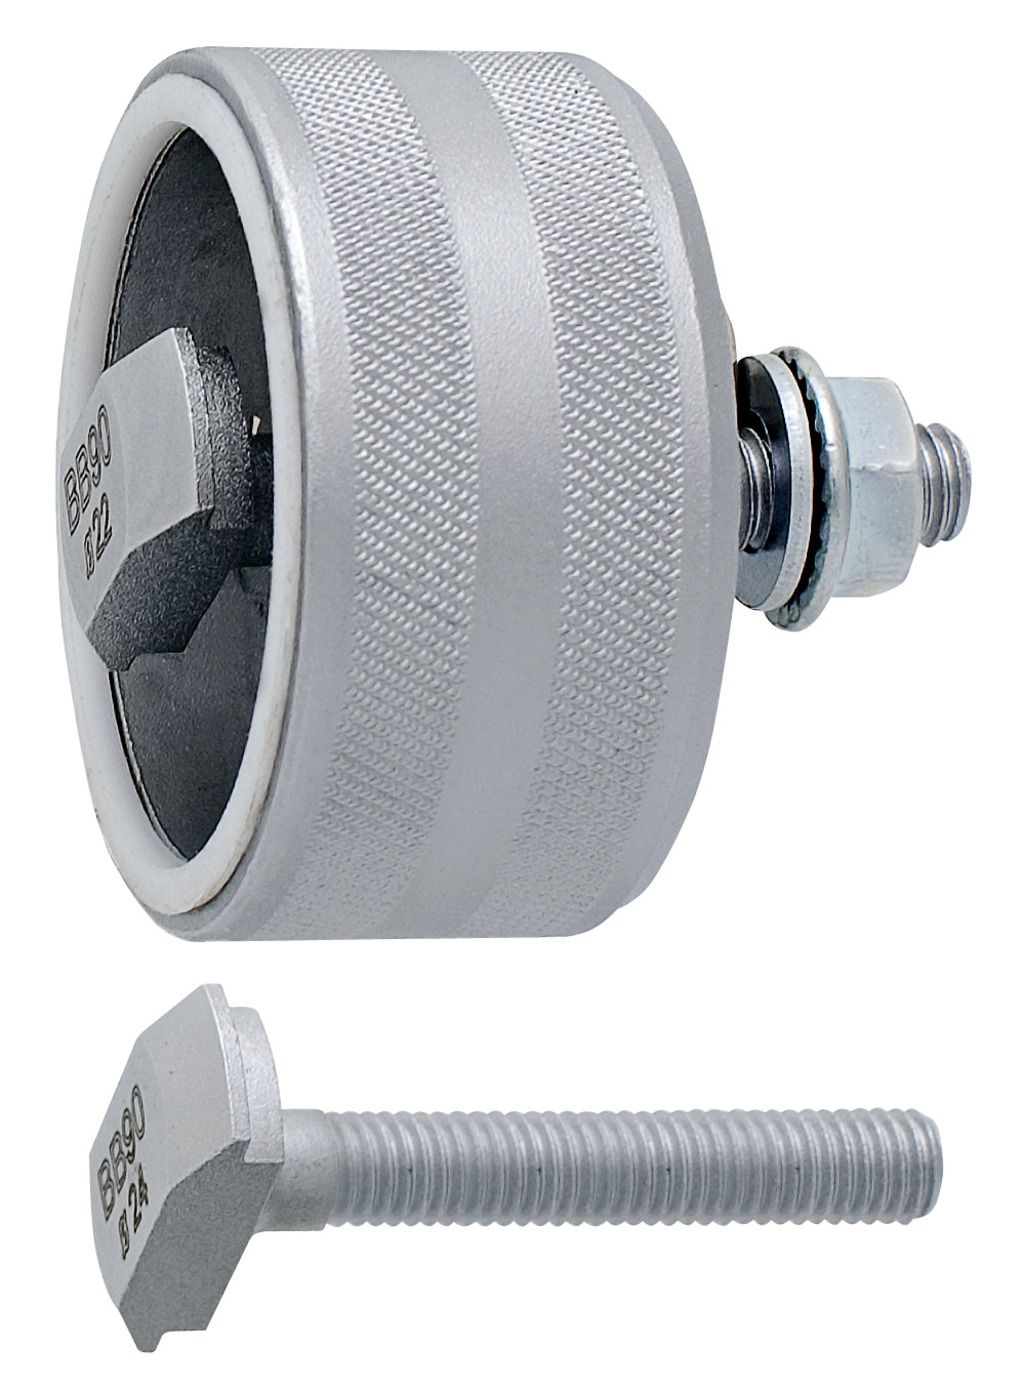
Step 1: Gather your tools - Before you start, make sure you have all the necessary tools on hand. You will need a wrench, pliers, screwdriver, and a bucket to catch any water that may drip from the sink.
Step 2: Turn off the water supply - Locate the shut-off valves under the sink and turn them off to prevent any water from flowing into the sink while you work.
Step 3: Disconnect the plumbing - Use your pliers to loosen the nuts connecting the drain pipes to the bottom of the sink. Once they are loose, you can remove the pipes and set them aside.
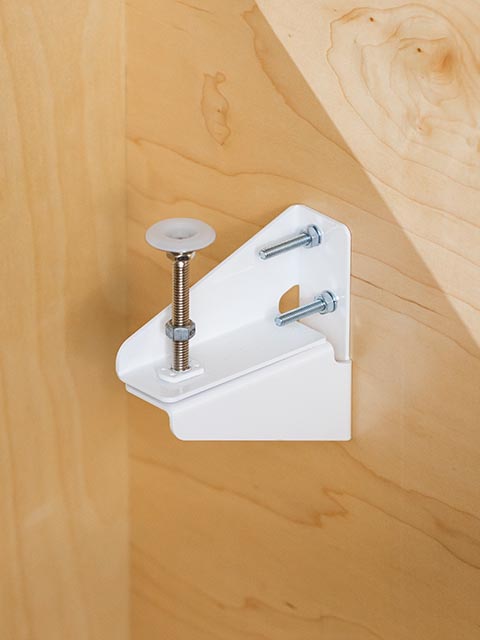
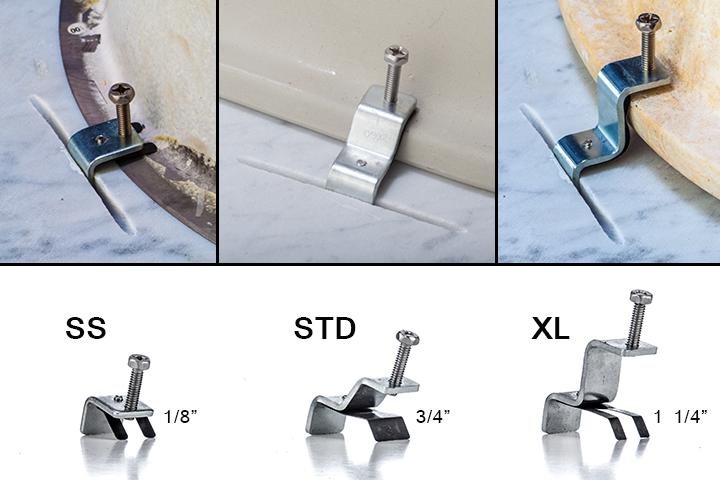
Step 4: Loosen the retaining screws - Using a screwdriver, loosen the screws that hold the retaining bracket in place. These are usually located at the top of the bracket, near the rim of the sink.
Step 5: Remove the retaining bracket - Once the screws are loose, you can gently lift the retaining bracket off the sink. Be careful not to damage the sink or any surrounding fixtures.
Step 6: Clean the area - With the retaining bracket removed, you may notice some debris or grime around the sink area. Take this opportunity to clean it thoroughly before installing a new bracket.
Step 7: Install a new retaining bracket - If you are replacing the old bracket, simply follow the same steps in reverse to install the new one. Make sure the screws are tight and the bracket is securely in place.
Step 8: Reconnect the plumbing - Once the new bracket is installed, you can reconnect the plumbing. Make sure the nuts are tight to prevent any leaks.
Step 9: Turn the water supply back on - Once everything is connected and secure, you can turn the water supply back on and test the sink to make sure it is functioning properly.
Step 10: Dispose of the old retaining bracket - If you are not reusing the old retaining bracket, make sure to dispose of it properly.


Step-by-Step Guide to Removing a Retaining Bracket from a Kitchen Sink


Removing a Retaining Bracket from a Kitchen Sink: Tips and Tricks
Here are some additional tips and tricks to keep in mind when removing a retaining bracket from a kitchen sink:
- If the retaining bracket is difficult to remove, try using some WD-40 or another lubricant to loosen the screws.
- If the screws are stripped or difficult to remove, you may need to use a screw extractor tool to help loosen them.
- Always wear protective gear, such as gloves and goggles, when working with tools to prevent any accidents or injuries.

Removing a Retaining Bracket from a Kitchen Sink: Tips and Tricks


DIY: Removing a Retaining Bracket from a Kitchen Sink
Removing a retaining bracket from a kitchen sink is a task that can easily be done by yourself with the right tools and knowledge. By following the steps outlined in this article, you can save money on hiring a professional and successfully remove the bracket on your own.


DIY: Removing a Retaining Bracket from a Kitchen Sink

Tools You'll Need to Remove a Retaining Bracket from a Kitchen Sink
- Wrench
- Pliers
- Screwdriver
- Bucket
- WD-40 or other lubricant (optional)
- Screw extractor tool (optional)


Tools You'll Need to Remove a Retaining Bracket from a Kitchen Sink


Removing a Retaining Bracket from a Kitchen Sink: Common Mistakes to Avoid
While removing a retaining bracket from a kitchen sink may seem like a simple task, there are some common mistakes that people make that can lead to complications. Here are some mistakes to avoid:
- Not turning off the water supply before starting the process.
- Forgetting to disconnect the plumbing before removing the bracket.
- Using the wrong tools or not having all the necessary tools on hand.
- Rushing the process and not taking the time to properly clean and install the new bracket.


Removing a Retaining Bracket from a Kitchen Sink: Common Mistakes to Avoid

How to Remove a Retaining Bracket from a Kitchen Sink: A Comprehensive Guide
Removing a retaining bracket from a kitchen sink may seem intimidating, but by following the steps outlined in this article, you can easily and safely remove the bracket without any issues. Just remember to take your time, use the right tools, and follow all safety precautions.
How to Remove a Retaining Bracket from a Kitchen Sink: A Comprehensive Guide

Removing a Retaining Bracket from a Kitchen Sink: Safety Precautions to Keep in Mind
When working with tools and plumbing, it is important to prioritize safety to prevent any accidents or injuries. Here are some safety precautions to keep in mind when removing a retaining bracket from a kitchen sink:
- Wear protective gear, such as gloves and goggles, to protect your hands and eyes from potential hazards.
- Turn off the water supply to prevent any water from leaking or spraying while you work.
- Use caution when handling tools and sharp objects.

Removing a Retaining Bracket from a Kitchen Sink: Safety Precautions to Keep in Mind

Step-by-Step Video Tutorial: Removing a Retaining Bracket from a Kitchen Sink
If you prefer visual instructions, you can also find many helpful video tutorials online that demonstrate the process of removing a retaining bracket from a kitchen sink. These tutorials can provide a more in-depth understanding of the process and help you feel more confident in completing the task on your own.


Step-by-Step Video Tutorial: Removing a Retaining Bracket from a Kitchen Sink


Benefits of Removing Retaining Bracket for Your Kitchen Sink

Protect Your Sink from Damage
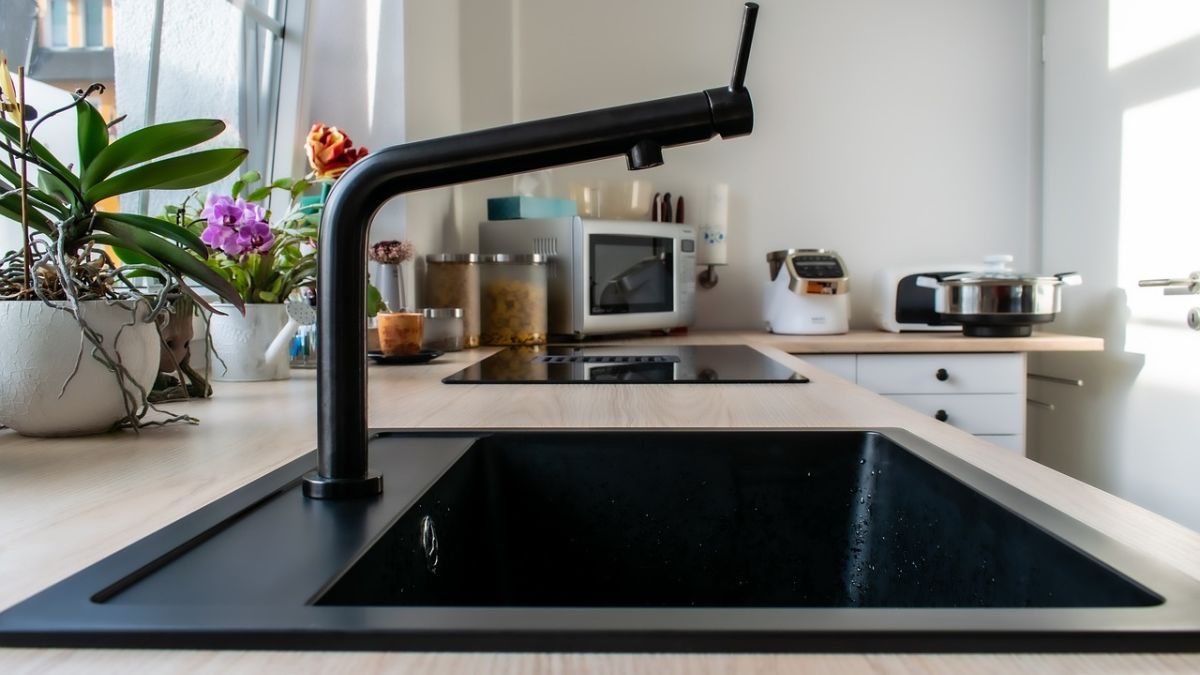
 One of the main benefits of removing the retaining bracket for your kitchen sink is that it can protect your sink from damage. The bracket is typically used to hold the sink in place, but over time it can become loose or corroded, causing the sink to shift or even fall out of place. This can lead to cracks, chips, and other damage to your sink, which can be costly to repair. By removing the retaining bracket, you can ensure that your sink stays securely in place and is less susceptible to damage.
Make Cleaning Easier
 The retaining bracket for your kitchen sink can often get in the way when it comes to cleaning. It can be difficult to reach certain areas of the sink and the surrounding countertop with the bracket in place. By removing it, you can have easier access to clean all parts of your sink and keep it looking sparkling clean. This is especially beneficial for those hard-to-reach spots that can accumulate grime and bacteria if not cleaned regularly.
Create More Space
 If you have a smaller kitchen, every inch of space counts. Removing the retaining bracket for your kitchen sink can help create more space on your countertop. This can be especially useful if you have limited counter space to begin with. Without the bracket, you can have more room to prepare meals, store appliances, or simply have a clutter-free workspace. This can also make your kitchen look and feel more spacious and open.
Customize Your Kitchen Design
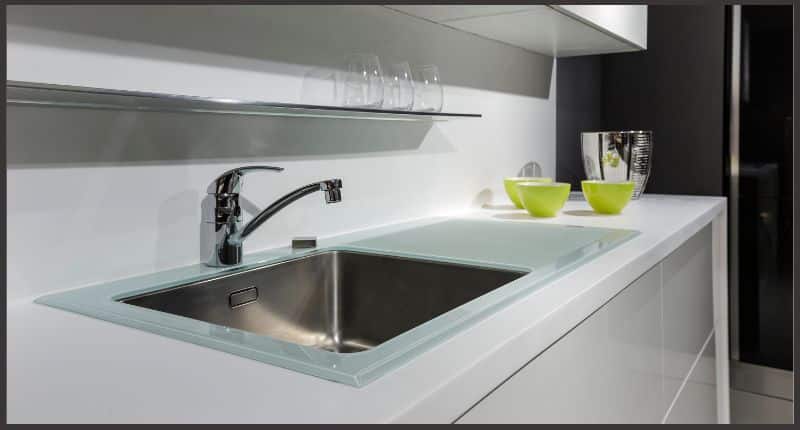
 The retaining bracket for your kitchen sink may not always match your desired kitchen design. By removing it, you can have the freedom to choose a sink that better fits your aesthetic preferences. Whether you want a modern, sleek look or a more traditional style, removing the bracket can help achieve your desired design. This small change can make a big impact on the overall look and feel of your kitchen.
Overall, removing the retaining bracket for your kitchen sink can have numerous benefits for the functionality and design of your kitchen. It can protect your sink from damage, make cleaning easier, create more space, and allow for a customized design. So if you're looking to upgrade your kitchen, don't overlook the importance of removing the retaining bracket for your sink.
The retaining bracket for your kitchen sink may not always match your desired kitchen design. By removing it, you can have the freedom to choose a sink that better fits your aesthetic preferences. Whether you want a modern, sleek look or a more traditional style, removing the bracket can help achieve your desired design. This small change can make a big impact on the overall look and feel of your kitchen.
Overall, removing the retaining bracket for your kitchen sink can have numerous benefits for the functionality and design of your kitchen. It can protect your sink from damage, make cleaning easier, create more space, and allow for a customized design. So if you're looking to upgrade your kitchen, don't overlook the importance of removing the retaining bracket for your sink.