If you have ever experienced the frustration of a clogged drain in your bathroom sink, you know how important it is to keep your drain clean and functioning properly. One way to ensure this is by regularly removing and cleaning the pop up drain. In this article, we will walk you through the process of removing a pop up drain from your bathroom sink in just a few simple steps.1. Removing a Pop Up Drain from Your Bathroom Sink: A Step-by-Step Guide
Before you start removing the pop up drain from your bathroom sink, make sure you have all the necessary tools and materials. You will need a pair of pliers, a drain wrench, a screwdriver, a bucket, and a towel.2. How to Remove a Pop Up Drain: Tools and Materials You Will Need
Start by placing a towel or cloth over the bottom of your sink to protect it from scratches. Then, place a bucket or container underneath the sink to catch any water that may spill out.3. Step 1: Prepare Your Work Area
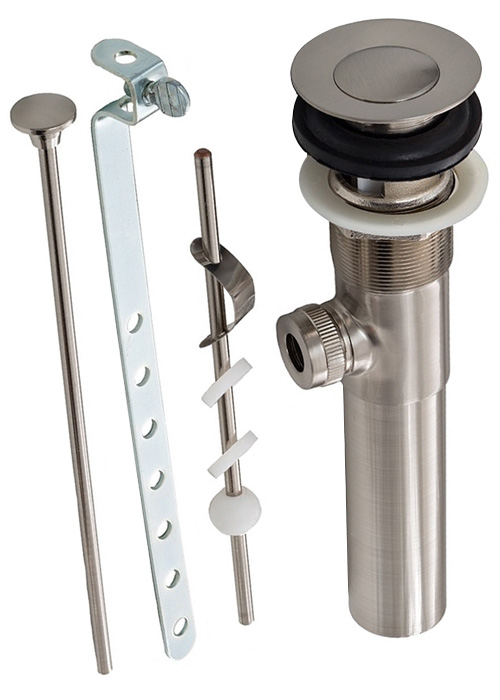
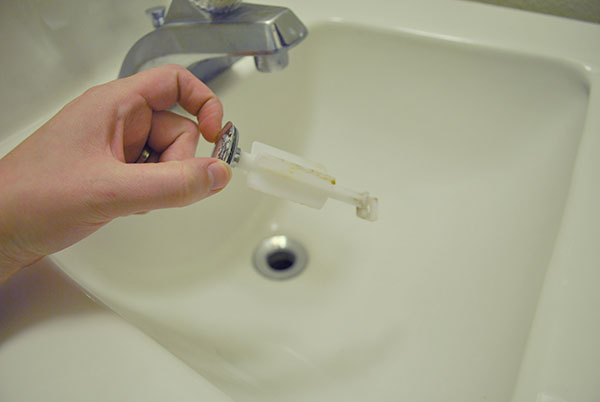
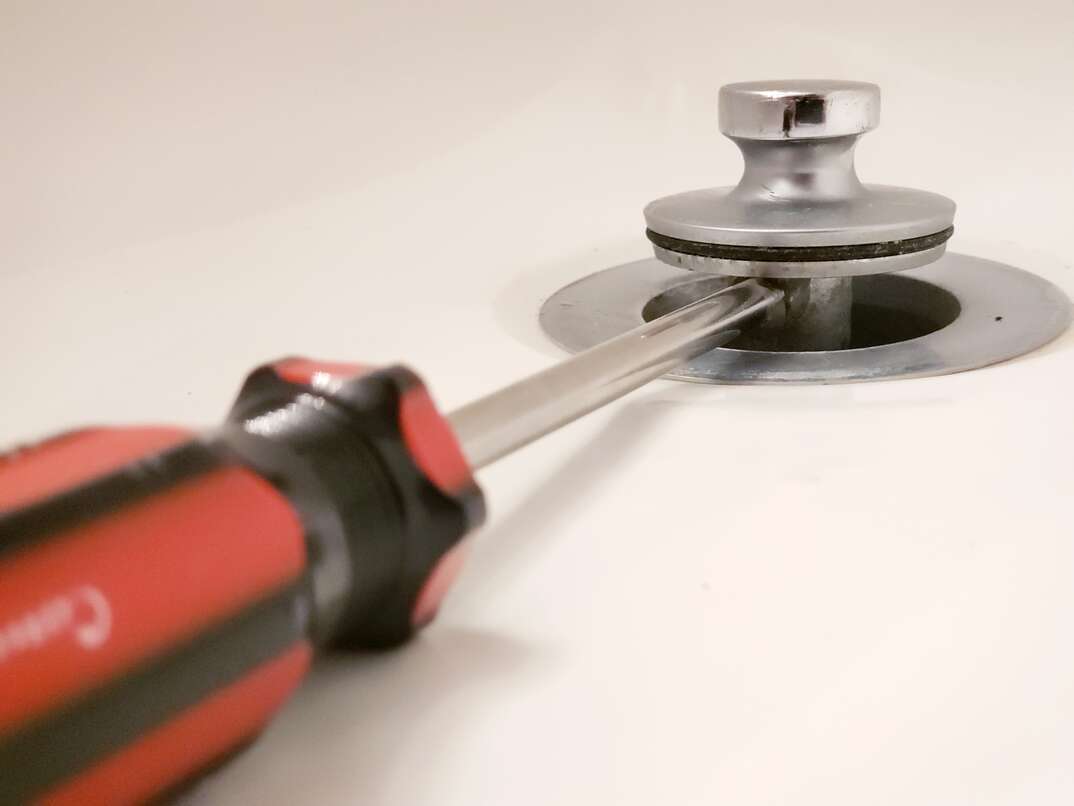
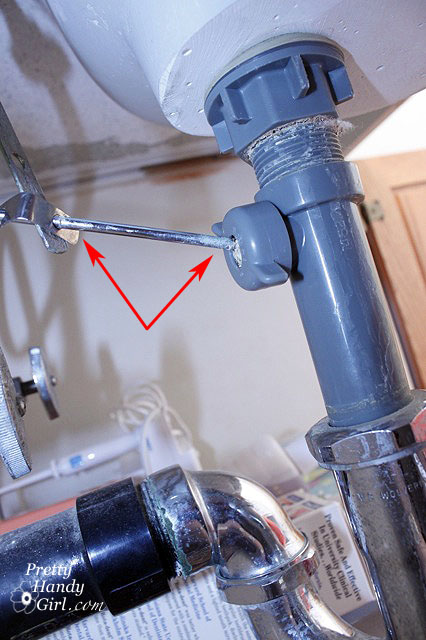
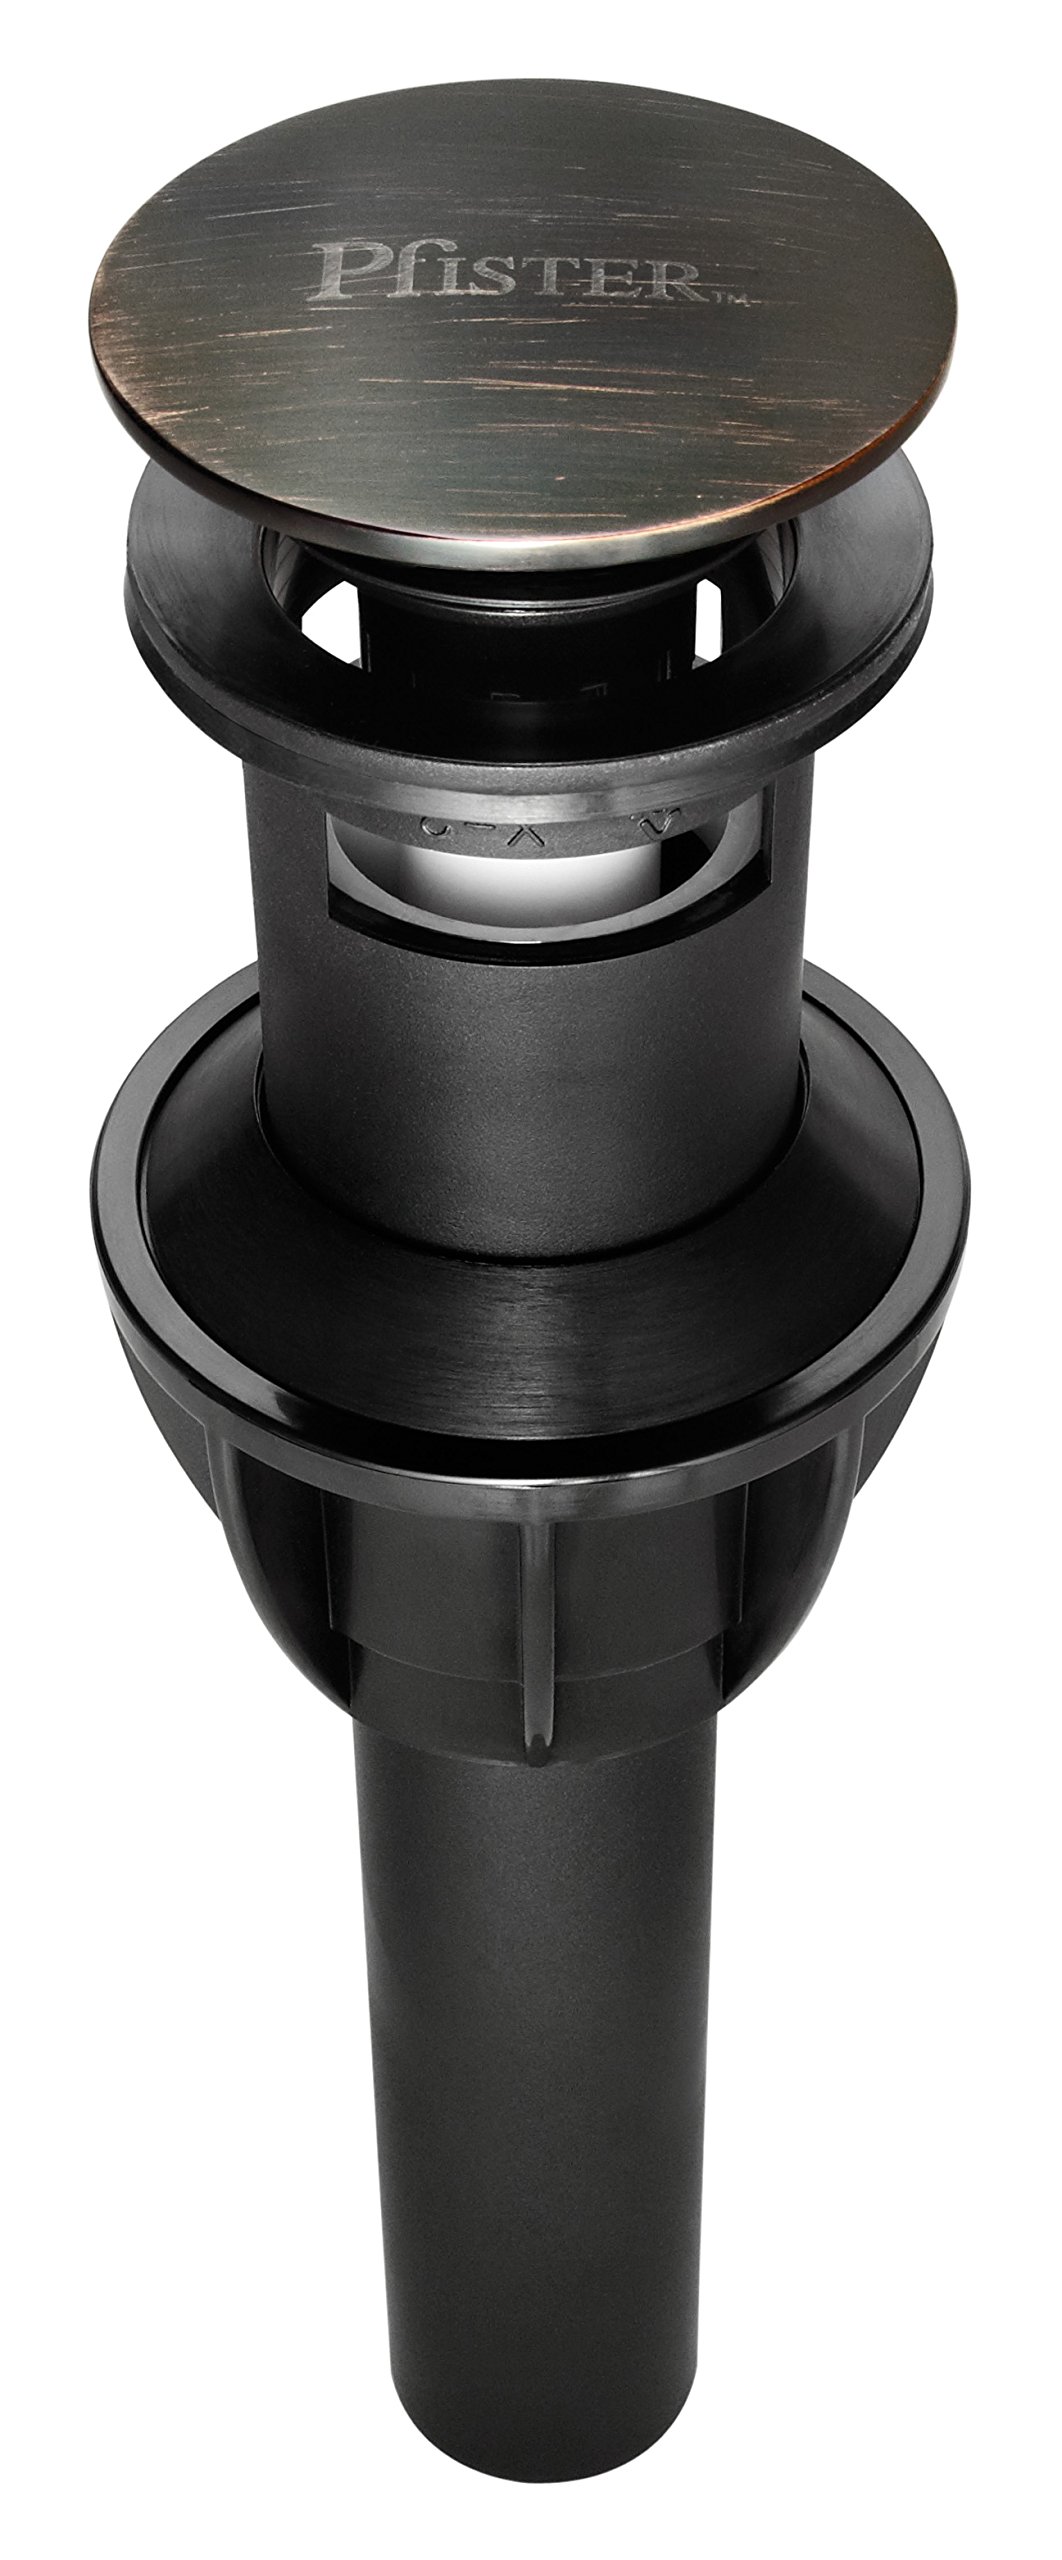
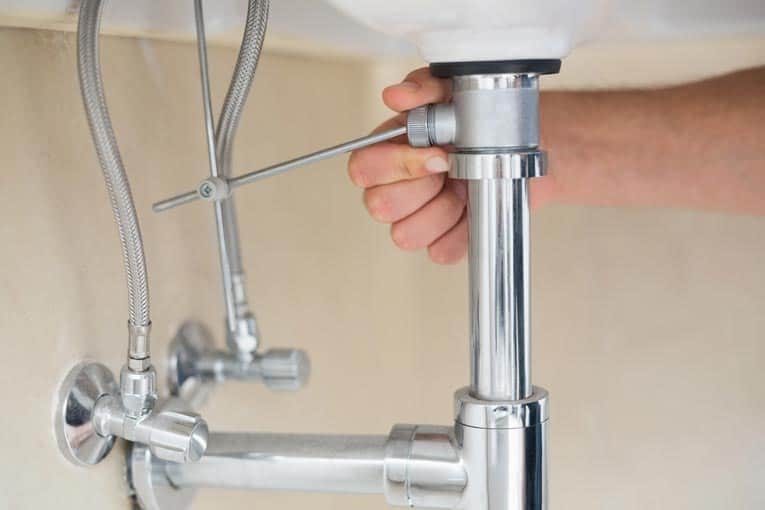
The first step in removing the pop up drain is to remove the drain stopper. This is the part of the drain that you push down to close and pull up to open. To do this, remove the pop up stopper handle by unscrewing it counterclockwise with your hand or a screwdriver.4. Step 2: Remove the Drain Stopper
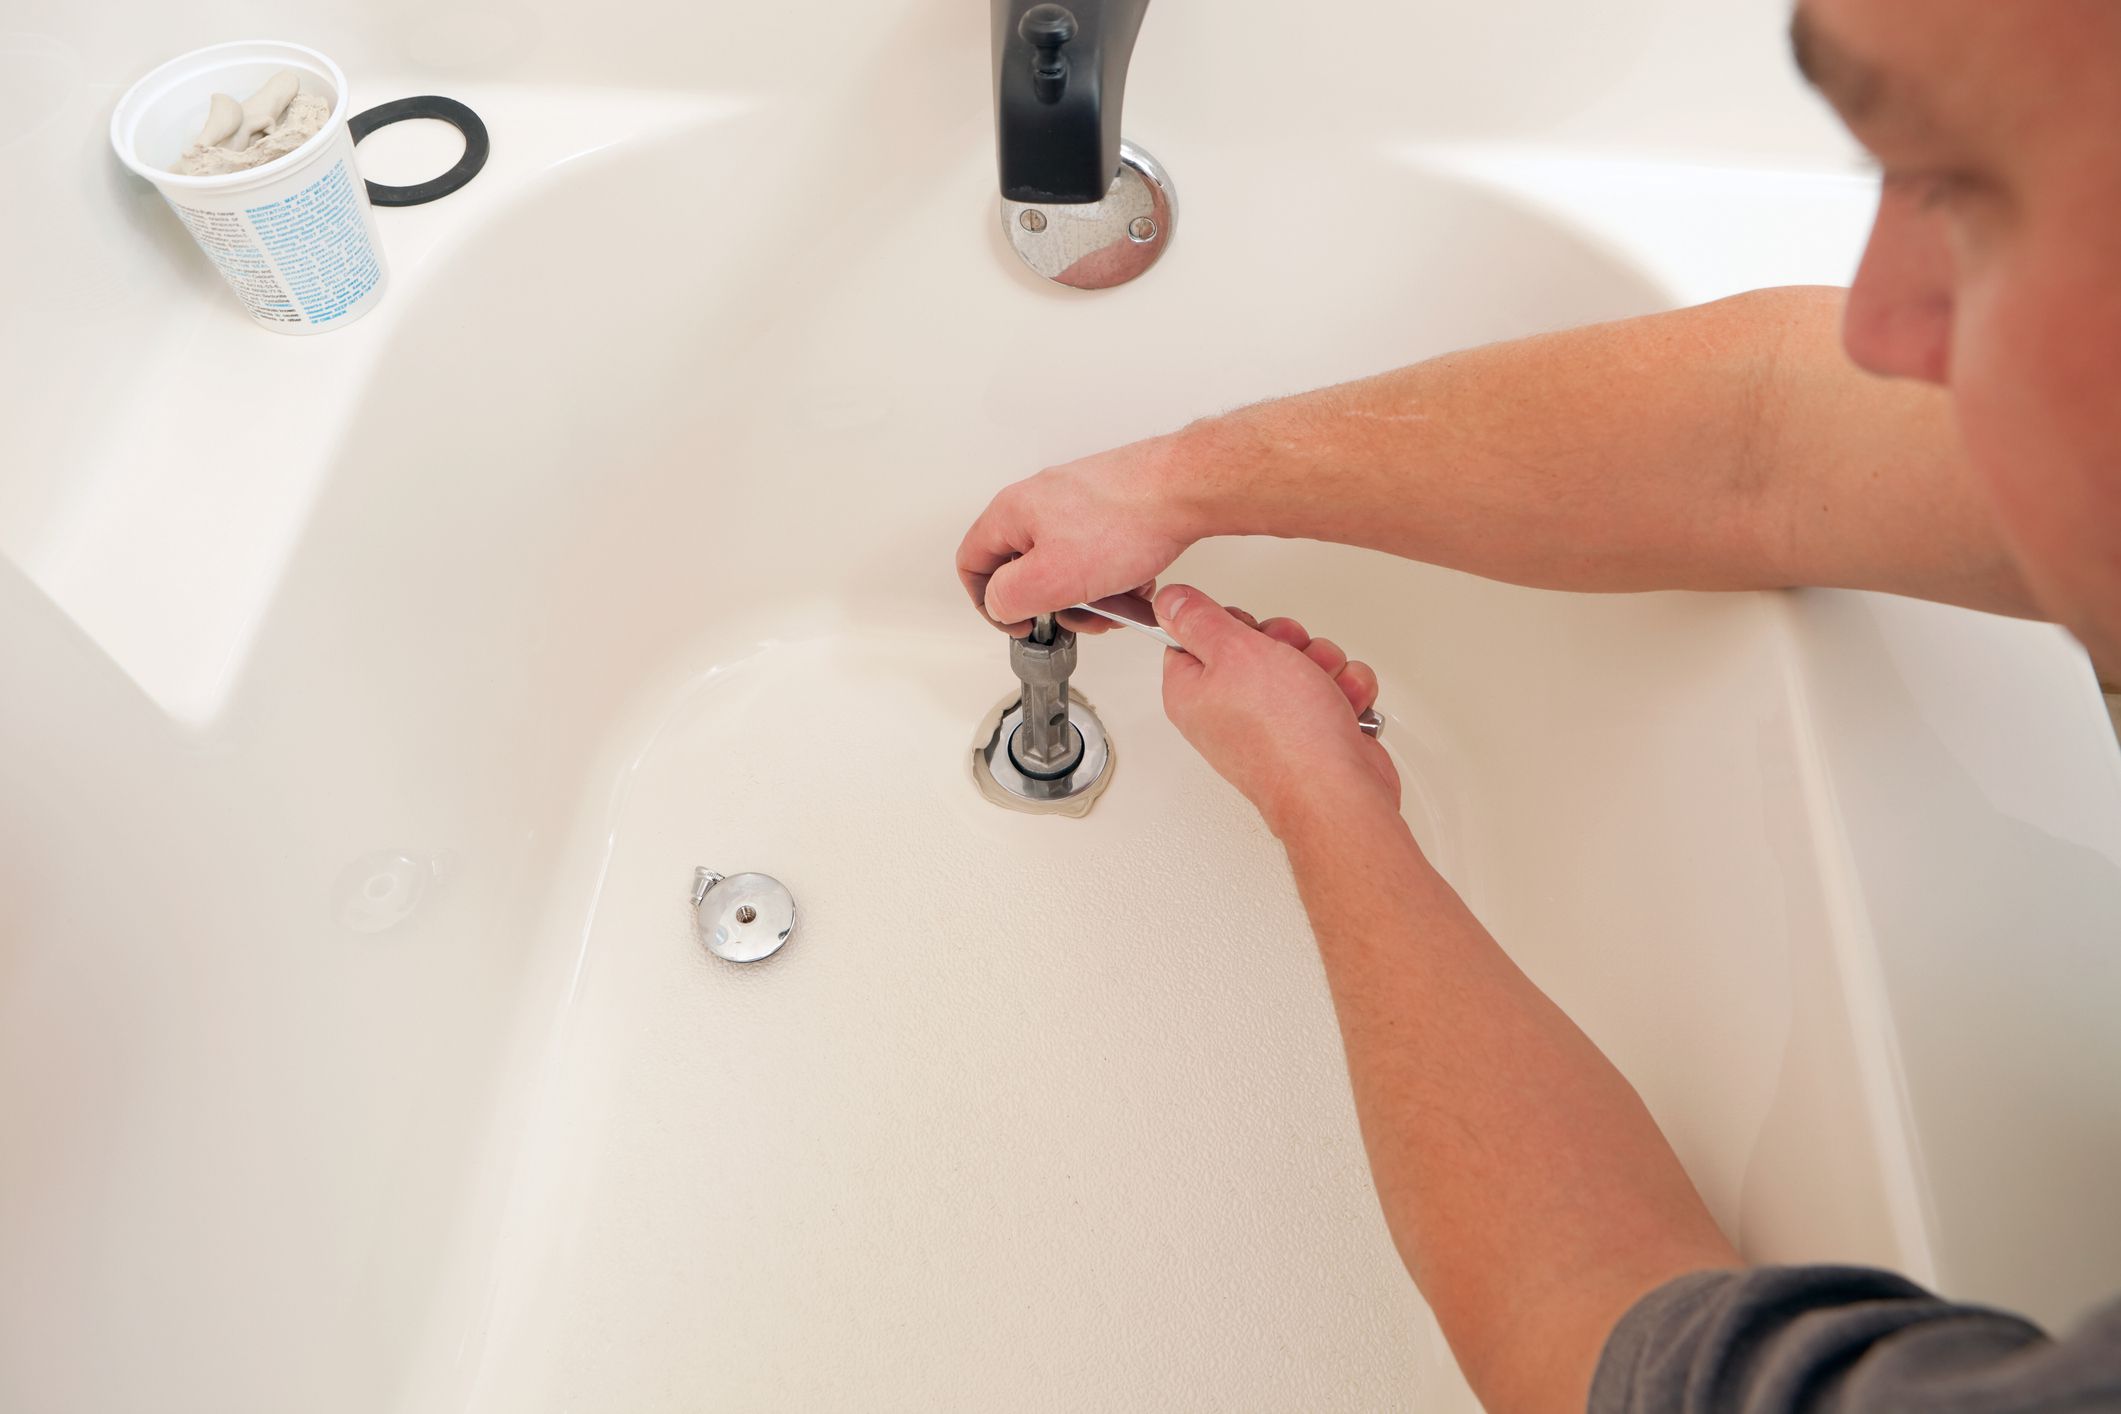
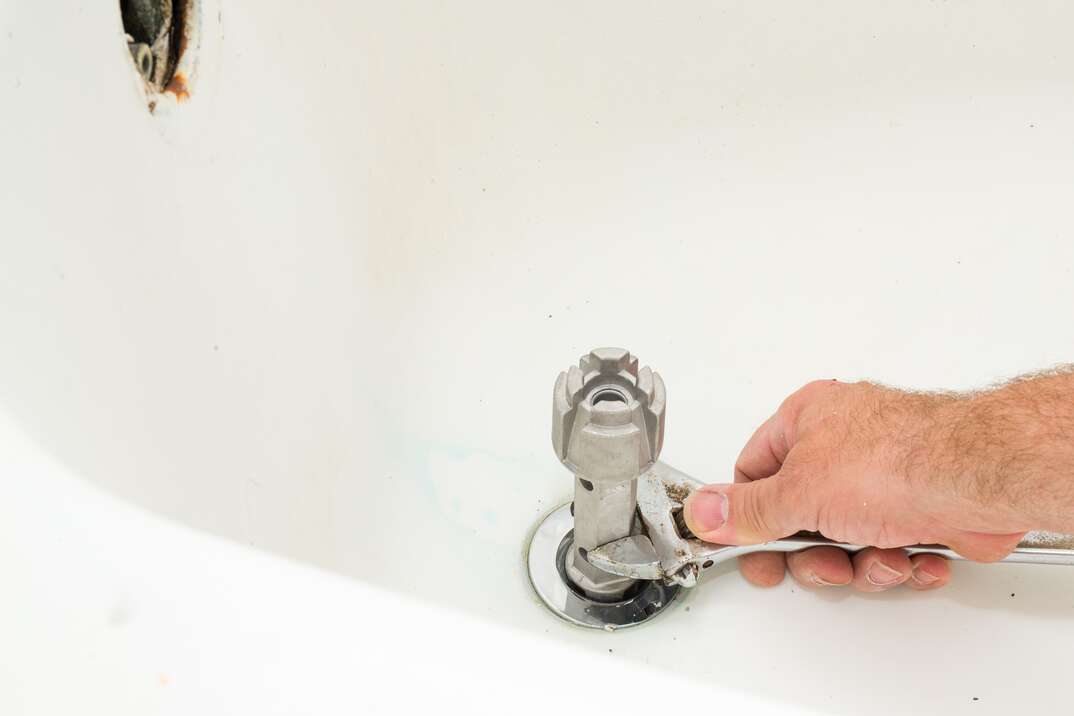
Next, use a pair of pliers to loosen the drain flange. This is the round piece that sits on top of the drain and is usually held in place with a nut. Use the pliers to turn the nut counterclockwise until it is loose enough to be removed by hand.5. Step 3: Loosen the Drain Flange
Once the nut is removed, you can lift the drain flange out of the sink. If it is stuck, you can use the pliers to gently twist and loosen it. Be careful not to damage the sink or the drain pipe.6. Step 4: Remove the Drain Flange
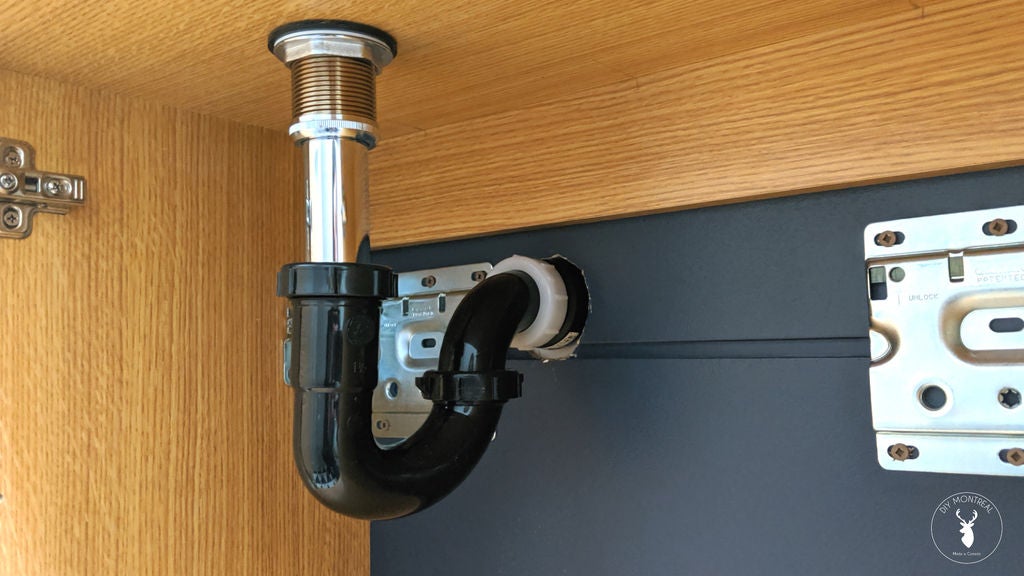
After removing the flange, you will see the drain pipe underneath. To remove this, use a drain wrench to loosen the connection between the drain pipe and the sink drain. Once it is loose, you can pull the drain pipe out of the sink.7. Step 5: Remove the Drain Pipe
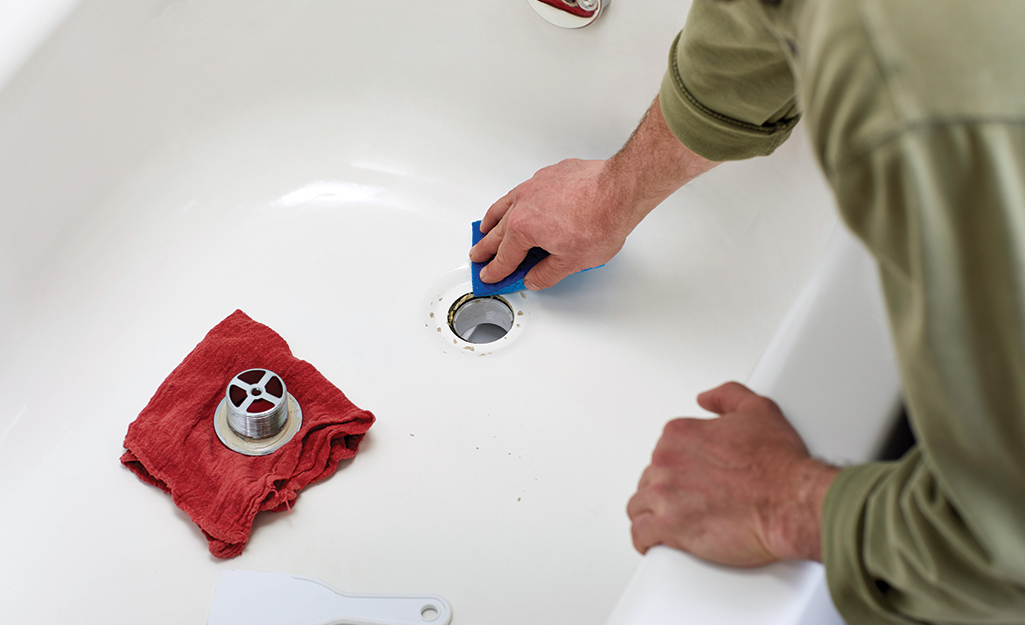
Now that you have removed all the parts of the pop up drain, you can clean them thoroughly with warm water and soap. Make sure to remove any debris or buildup that may have been causing the clog. Once everything is clean, you can reassemble the drain in the reverse order of how you removed it.8. Step 6: Clean and Reassemble
If you encounter any difficulties while removing the pop up drain, here are some tips to help make the process easier:9. Tips for Removing a Stubborn Pop Up Drain
Removing a pop up drain from your bathroom sink may seem like a daunting task, but with the right tools and techniques, it can be done easily and efficiently. By following the steps outlined in this article, you will have a clean and functional drain in no time. Remember to regularly clean and maintain your pop up drain to prevent clogs and keep your sink in top condition.10. In Conclusion
Removing a Pop Up Drain from Your Bathroom Sink: A Step-by-Step Guide

Why Remove a Pop Up Drain?
 If you're tired of dealing with clogged drains or simply want to give your bathroom sink a fresh new look, removing the pop up drain is a relatively simple and cost-effective solution. Whether you're planning a complete bathroom remodel or just looking for a quick DIY project, removing the pop up drain from your bathroom sink can make a big difference in terms of both functionality and aesthetics.
Step 1: Gather Your Tools
 Before you start, make sure you have all the necessary tools on hand. You will need a pair of pliers, a screwdriver, and possibly a wrench depending on the type of pop up drain you have. It's also a good idea to have a bucket or container nearby to catch any excess water that may come out during the process.
Step 2: Locate the Drain Stopper
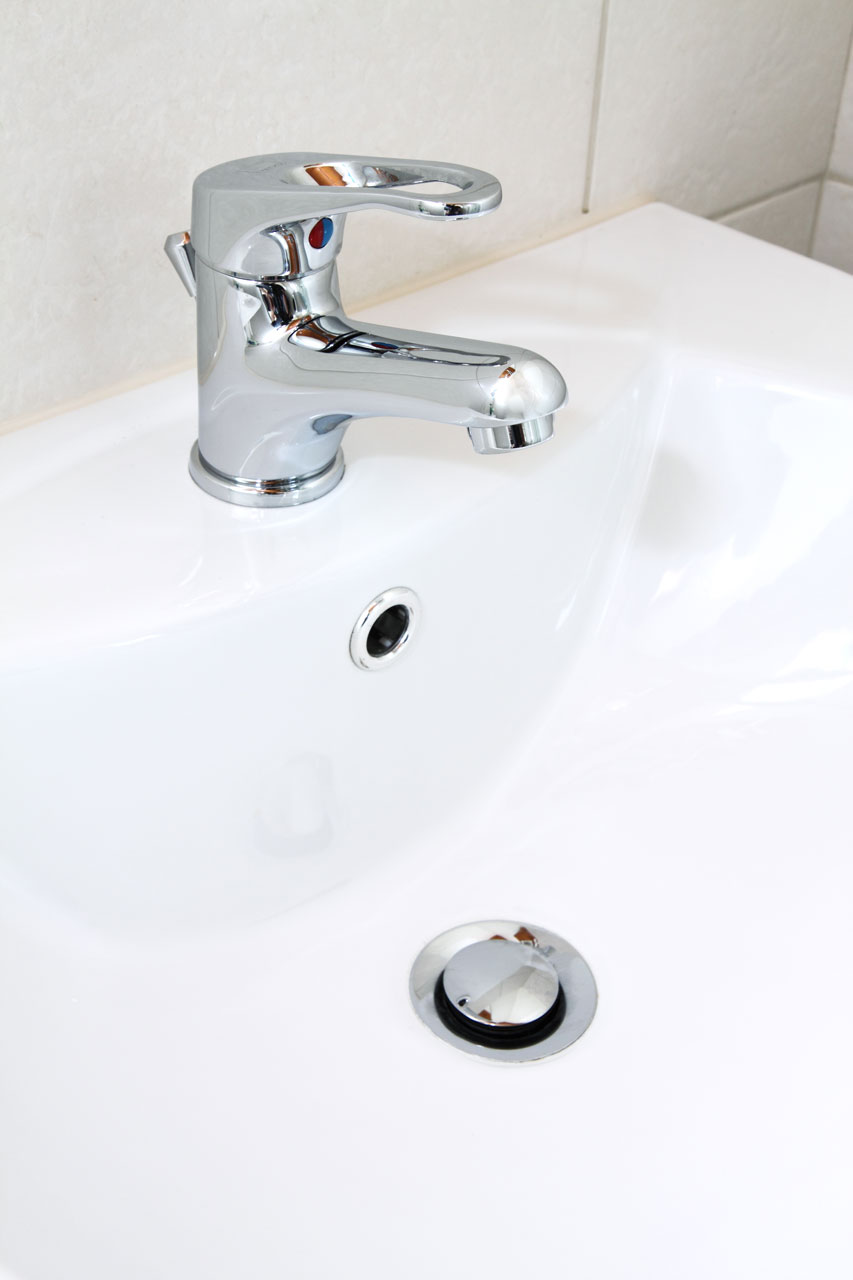
 The drain stopper is the part of the pop up drain that prevents water from draining out of the sink. It is typically located on the top of the sink, near the faucet. Look for a small knob, lever, or button that controls the stopper.
Step 3: Remove the Drain Stopper
 Once you have located the drain stopper, use your pliers or screwdriver to unscrew and remove it. This will expose the drain flange, which is the circular piece that sits on top of the drain hole.
Step 4: Loosen the Drain Flange
 Using your pliers or wrench, loosen the drain flange by turning it counterclockwise. If you have a pop up drain with a lever or knob, you may need to remove these parts first before you can access the flange.
Step 5: Remove the Drain Flange
 Once the drain flange is loose, simply lift it out of the sink. It may be helpful to use a pair of pliers to grip the flange and pull it out if it is stuck.
Step 6: Clean the Drain Opening
 With the drain flange removed, you can now clean any debris or buildup from the drain opening. This will ensure that your new drain will function properly and prevent any future clogs.
Step 7: Install the New Drain
 If you are replacing the pop up drain with a new one, now is the time to install it. Follow the manufacturer's instructions for your specific type of drain. If you are not replacing the drain, simply skip this step.
Step 8: Reassemble the Drain
 Once the new drain is installed or if you are reusing the existing one, you can reassemble the various parts of the pop up drain. This includes the drain flange, drain stopper, and any other components that were removed.
Step 9: Test the Drain
 After everything is reassembled, turn on the water and test the drain to ensure it is working properly. If there are any issues, double check that all parts are installed correctly and adjust as needed.
In conclusion,
removing the pop up drain from your bathroom sink is a relatively simple and straightforward process. With the right tools and a little bit of patience, you can give your bathroom a fresh new look and improve the functionality of your sink. So why wait? Grab your tools and get started on removing that old pop up drain today!
















/bathroom-sink-drain-installation-2718843-03-6fee5b9d9f7d475abfe06a95ddb1f695.jpg)








/clean-modern-bathroom-sink-157675881-5798d34d5f9b589aa980ed67.jpg)


