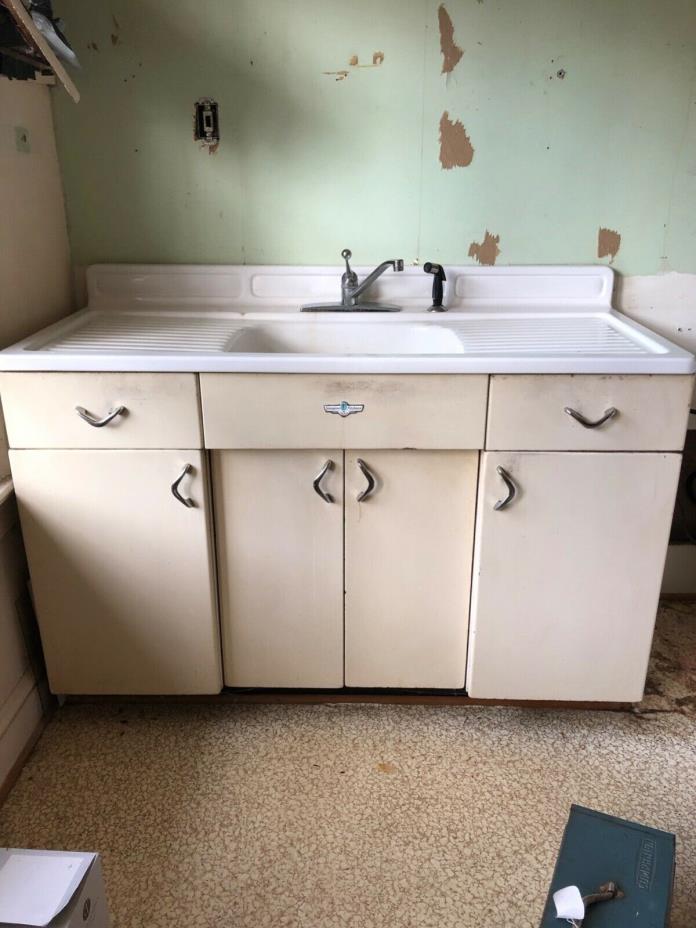
Removing a Cast Iron Kitchen Sink: A How-To Guide
When it comes to kitchen renovations, one of the most common tasks is removing an old cast iron kitchen sink. Whether you’re upgrading to a newer model or simply changing the layout of your kitchen, removing a cast iron sink can be a daunting task. But fear not, we’ve put together a step-by-step guide to make the process as smooth and hassle-free as possible.
How to Remove a Cast Iron Sink
Before we dive into the actual removal process, it’s important to gather all the necessary tools and materials. You will need a pair of safety goggles, a utility knife, a pry bar, a bucket, and a wrench. It’s also a good idea to have a helper on hand to assist with lifting and carrying the sink.
Once you have everything you need, follow these steps to remove your old cast iron kitchen sink:
Step 1: Turn off the Water Supply
Before doing anything else, turn off the water supply to your sink. This can usually be done by turning the valves under the sink in a clockwise direction. If you can’t find the valves, you may need to shut off the main water supply to your house.
Step 2: Disconnect the Plumbing
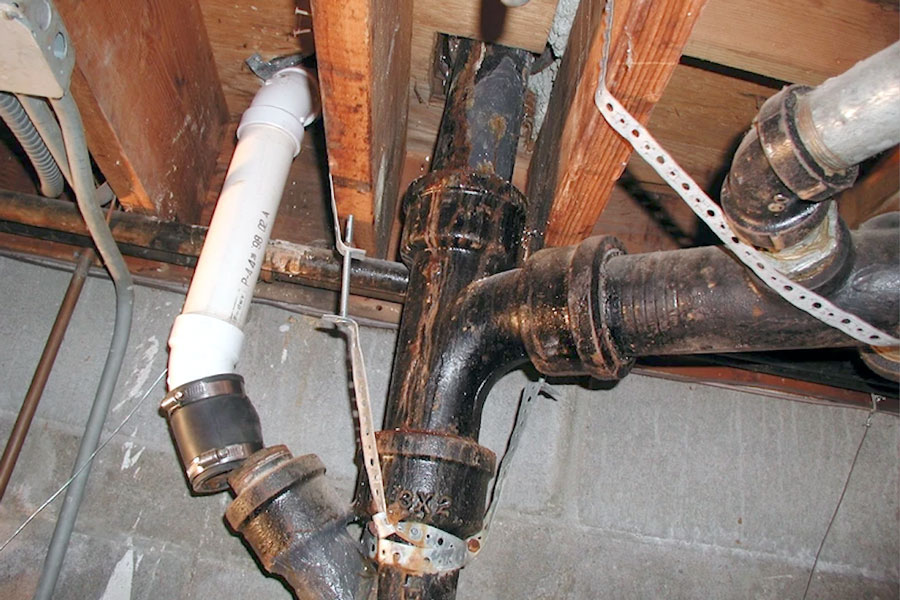
Next, you’ll need to disconnect the plumbing. Place a bucket under the pipes to catch any water that may be left in them. Use a wrench to loosen and remove the nuts that connect the pipes to the sink. Once the pipes are disconnected, set them aside.
Step 3: Remove the Sink Clips
Most cast iron sinks are held in place with clips attached to the underside of the countertop. Use a utility knife to cut through any caulk or adhesive that may be holding the sink in place. Then, use a pry bar to remove the sink clips. Be careful not to damage the countertop in the process.
Step 4: Lift the Sink
With the plumbing and clips removed, you can now lift the sink out of its place. This is where having a helper comes in handy. Carefully lift the sink and set it aside.
Step 5: Clean the Area
With the sink removed, you can now clean the area and prepare it for the installation of your new sink. Use a scraper or putty knife to remove any remaining caulk or adhesive from the countertop. Wipe down the area with a damp cloth to remove any dust or debris.
Step 6: Dispose of the Old Sink
The last step is to properly dispose of your old cast iron sink. Depending on the size and weight, you may need to hire a professional to haul it away for you. If you have the means to transport it yourself, be sure to follow proper safety precautions.
DIY: Removing an Old Cast Iron Kitchen Sink
While it may seem like a daunting task, removing an old cast iron kitchen sink is a DIY project that can save you money and give you a sense of accomplishment. Just be sure to follow the steps carefully and take your time to avoid any potential injuries or damage to your kitchen.
Removing a Cast Iron Kitchen Sink: Tips and Tricks
Here are some additional tips and tricks to keep in mind when removing a cast iron kitchen sink:
Why You Should Remove Your Old Cast Iron Kitchen Sink for a Modern Upgrade

Improve the Functionality and Aesthetics of Your Kitchen
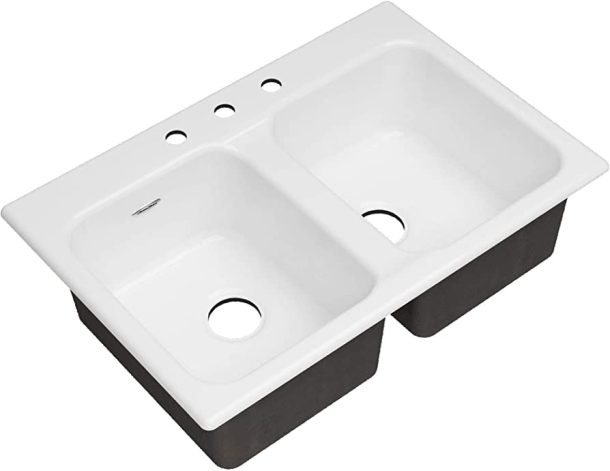
 If you have an old cast iron kitchen sink, it may be time for an upgrade. While these sinks were once a popular choice for their durability and classic look, they can now be a hindrance to the functionality and aesthetics of your kitchen. With modern advancements in sink materials and design, it's time to say goodbye to your old cast iron sink and hello to a better and more efficient kitchen.
Old Cast Iron Sinks Are Prone to Damage and Wear
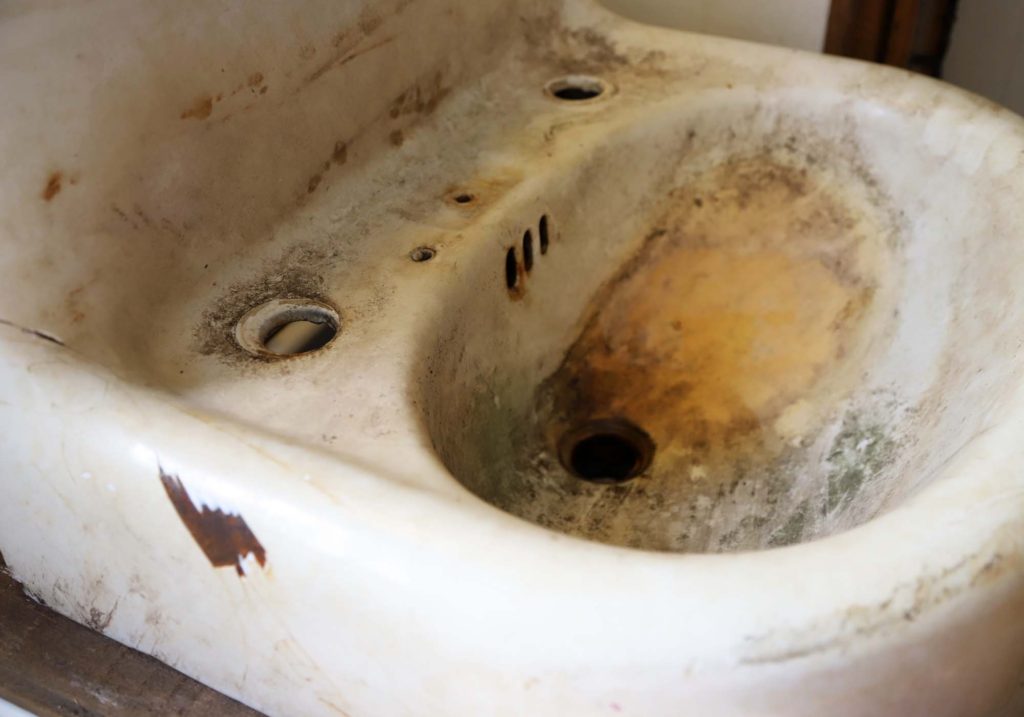
One of the main drawbacks of cast iron sinks is their susceptibility to damage and wear over time. These heavy sinks are prone to chipping, cracking, and rusting, especially in areas with hard water. This not only affects the appearance of your sink but can also lead to leaks and other plumbing issues. By removing your old cast iron sink, you can avoid costly repairs and replacements down the line.
Upgrade to a More Durable and Low-Maintenance Sink
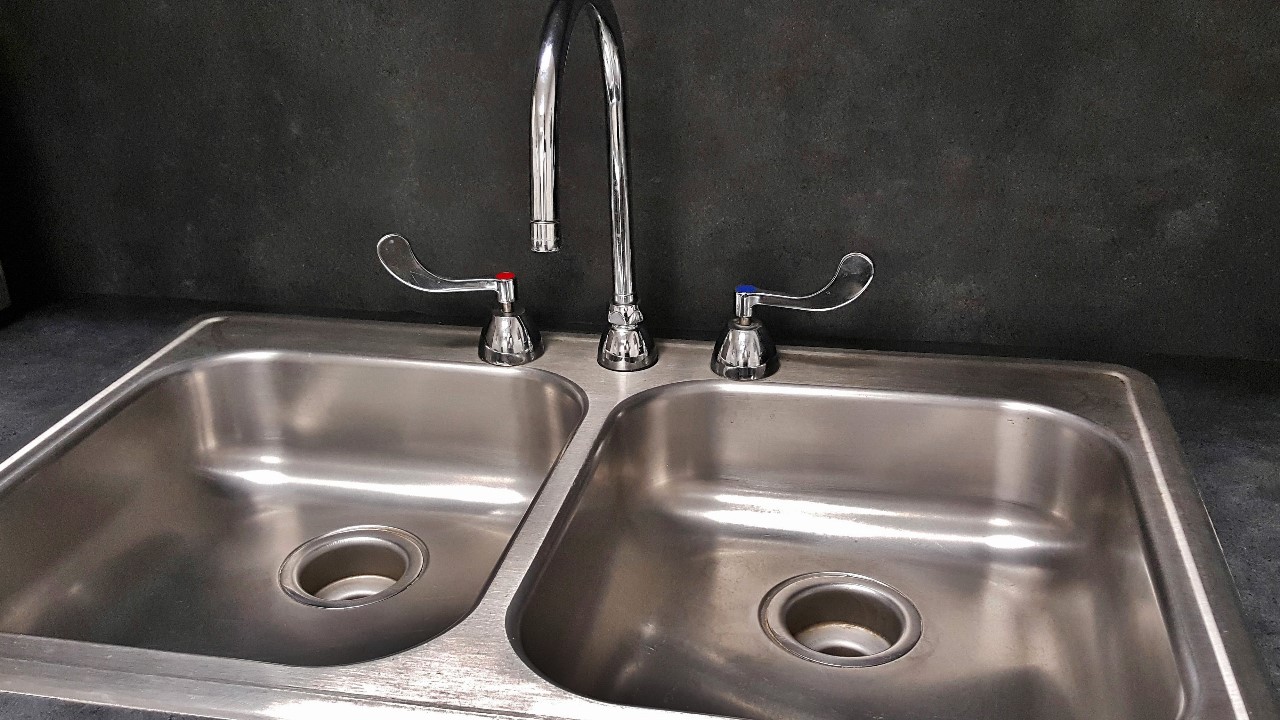
Modern sink materials such as stainless steel, granite, and quartz are not only more durable but also require less maintenance. Unlike cast iron, they are resistant to scratches, stains, and heat, making them an ideal choice for a busy kitchen. A new sink will not only save you time and money on repairs, but it will also enhance the overall look of your kitchen.
Add a Touch of Style to Your Kitchen with a New Sink
Aside from functionality, a new sink can also greatly improve the aesthetics of your kitchen. With a variety of designs and finishes to choose from, you can find a sink that complements your kitchen's style and adds a modern touch. Whether you prefer a farmhouse-style apron sink or a sleek undermount sink, the options are endless and will instantly elevate the look of your kitchen.
Improve the Value of Your Home
If you're planning on selling your home in the future, a new sink can greatly increase its value. Potential buyers are often drawn to updated and modern kitchens, and a new sink can be a major selling point. By removing your old cast iron sink and replacing it with a modern one, you can potentially increase the value of your home and make it more appealing to buyers.
In conclusion, removing your old cast iron kitchen sink and upgrading to a modern one can greatly improve the functionality and aesthetics of your kitchen. With a more durable and low-maintenance sink, you can avoid costly repairs and enhance the overall value of your home. Don't be afraid to say goodbye to your old sink and hello to a new and improved kitchen.


