How to Remove a Lock Nut from a Kitchen Sink
Removing a lock nut from a kitchen sink can seem like a daunting task, but with the right tools and techniques, it can be done easily. Whether you're replacing a sink or just need to remove the lock nut for maintenance, we've got you covered. In this guide, we'll give you step-by-step instructions on how to remove a lock nut from a kitchen sink.
How to Remove a Lock Nut on a Kitchen Sink
Before we dive into the steps, let's make sure we have a clear understanding of what a lock nut is. A lock nut is a type of fastener that is used to secure two objects together, in this case, a kitchen sink and its faucet. It is typically found under the sink, holding the faucet in place. Now, let's get started on removing it.
Removing a Lock Nut from a Kitchen Sink
The first step is to gather all the necessary tools. You will need an adjustable wrench, a screwdriver, and a pair of pliers. You may also need a basin wrench if the lock nut is located in a hard-to-reach area. Once you have your tools ready, follow these steps:
Step-by-Step Guide to Removing a Lock Nut from a Kitchen Sink
Step 1: Turn off the water supply. Before you start working on the lock nut, make sure to turn off the water supply to your kitchen sink. This will prevent any water from leaking and making a mess while you work.
Step 2: Remove the faucet handle. Use a screwdriver to remove the screw that holds the faucet handle in place. Once the screw is removed, gently pull off the handle.
Step 3: Locate the lock nut. The lock nut is usually located under the sink, securing the faucet to the sink. It may be covered by a plastic cover that you can easily remove by hand.
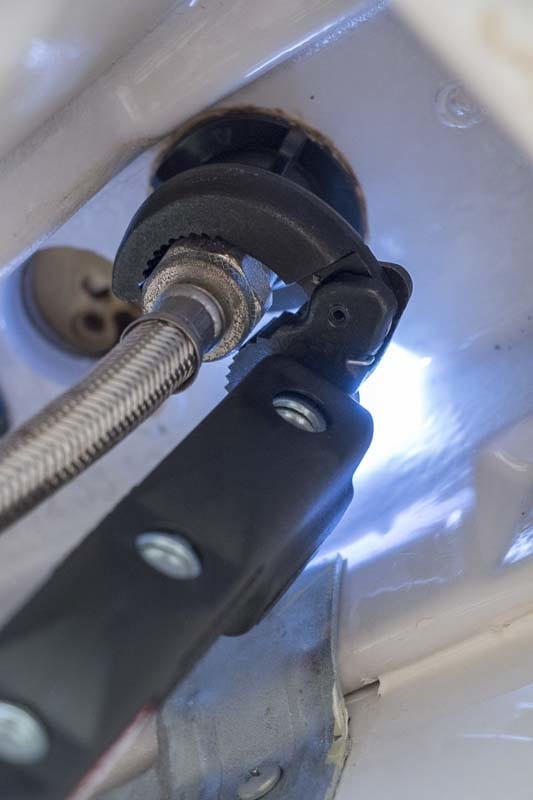
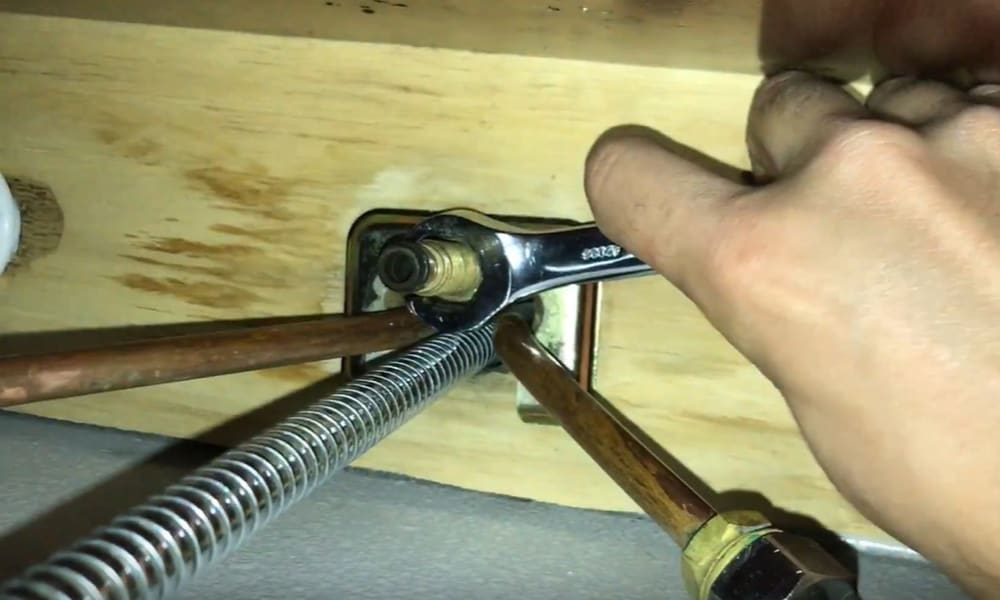
Step 4: Loosen the lock nut. Using an adjustable wrench, start loosening the lock nut by turning it counterclockwise. You may need to use pliers to hold the faucet in place while you loosen the nut.
Step 5: Remove the lock nut. Once the lock nut is loose enough, you can remove it by hand. If it is still stuck, use a basin wrench to get a better grip and turn it counterclockwise until it comes off.
Step 6: Remove the faucet. With the lock nut removed, you can now lift the faucet off the sink. You may need to gently wiggle it back and forth to loosen it if it's stuck.
Step 7: Clean the area. Now that the faucet is removed, you can clean the area and make any necessary repairs or replacements.
Easy Ways to Remove a Lock Nut from a Kitchen Sink
If the lock nut is stuck and won't budge, there are a few tricks you can try to make the removal process easier. Here are some easy ways to remove a stubborn lock nut from a kitchen sink:
- Apply WD-40: Spray some WD-40 on the lock nut and let it sit for a few minutes. The lubricant will help loosen the nut and make it easier to remove.
- Use a heat gun: If the lock nut is really stuck, you can use a heat gun to heat up the area around it. The heat will expand the metal, making it easier to turn the nut.
- Tap with a hammer: You can also try tapping the lock nut with a hammer to loosen it. Be careful not to hit it too hard, as you may damage the sink.
Tools and Techniques for Removing a Lock Nut from a Kitchen Sink
As mentioned earlier, you will need some tools to successfully remove a lock nut from a kitchen sink. Here are some recommended tools and techniques that will make the process easier:
Tools: Adjustable wrench, screwdriver, pliers, basin wrench (if needed), heat gun (if needed), hammer (if needed).
Techniques: Use WD-40, apply heat, tap with a hammer, use pliers to hold the faucet in place while loosening the nut.
DIY: Removing a Lock Nut from a Kitchen Sink
If you're a handy person and like to tackle projects on your own, removing a lock nut from a kitchen sink is a great DIY project. Just make sure to follow the steps and use the recommended tools and techniques for a successful removal.
Tips for Removing a Stubborn Lock Nut from a Kitchen Sink
If you're struggling with a stubborn lock nut, here are some tips that may help:
- Use a penetrating oil: A penetrating oil like Liquid Wrench can help loosen a stuck lock nut.
- Use a pipe wrench: If the lock nut is really stuck, you can use a pipe wrench for a better grip and more leverage.
- Ask for help: Don't be afraid to ask for help if you're having trouble. Sometimes a second pair of hands can make all the difference.
Common Mistakes to Avoid When Removing a Lock Nut from a Kitchen Sink
While removing a lock nut may seem like a simple task, there are some common mistakes that people make that can make the process more difficult. Here are some mistakes to avoid when removing a lock nut from a kitchen sink:
- Not turning off the water supply: This can lead to a messy and potentially damaging situation.
- Using the wrong tools: Using the wrong tools can make the process more difficult and may damage the sink or faucet.
- Overtightening the lock nut: This can make it harder to remove in the future and may damage the sink or faucet.
Removing a lock nut from a kitchen sink may seem like a challenging task, but with the right tools and techniques, it can be done easily. Just remember to turn off the water supply, use the recommended tools and techniques, and avoid common mistakes. With these tips, you'll have that lock nut removed in no time.
How to Remove a Lock Nut on a Kitchen Sink

Effortlessly Upgrade Your Kitchen Design with These Simple Steps
 Are you looking to give your kitchen a fresh new look? One of the easiest and most cost-effective ways to do so is by replacing your old kitchen sink. However, removing a lock nut on a kitchen sink can be a daunting task for many homeowners. But don't worry, with the right tools and techniques, it can be a quick and easy process. In this article, we will guide you through the steps on how to remove a lock nut on a kitchen sink, allowing you to upgrade your kitchen design effortlessly.
Step 1: Gather Your Tools
Before starting, make sure you have all the necessary tools on hand. You will need an adjustable wrench, pliers, a screwdriver, and a large bucket or bowl to catch any water that may spill out during the process. Having all your tools ready will save you time and frustration during the removal process.
Step 2: Turn Off the Water Supply
Before attempting to remove the lock nut, you must turn off the water supply to your sink. Look for the shut-off valves under the sink and turn them clockwise to stop the water flow. If you cannot find the shut-off valves, you can turn off the main water supply to your house.
Step 3: Remove the Drain Pipes
Using your pliers, loosen the nuts connecting the drain pipes to the bottom of the sink. Have your bucket or bowl ready to catch any water or debris that may come out. Once the pipes are disconnected, set them aside.
Step 4: Loosen the Lock Nut
Using your adjustable wrench, grip the lock nut and turn it counterclockwise. If the nut is too tight, spray some penetrating oil on it and let it sit for a few minutes before trying again. If the lock nut is still difficult to remove, you can use a hammer and a screwdriver to tap on the nut while turning it to loosen it.
Step 5: Remove the Lock Nut
Once the lock nut is loosened, you can easily remove it by hand. If it is still stuck, use your adjustable wrench to continue turning it counterclockwise until it comes off.
Step 6: Install the New Sink
With the lock nut removed, you can now install your new sink. Follow the manufacturer's instructions for the specific sink you have purchased. Make sure to tighten the lock nut securely to prevent any leaks.
Congratulations, you have successfully removed the lock nut on your kitchen sink! Now you can install your new sink and enjoy the upgraded look of your kitchen. Remember to turn the water supply back on and check for any leaks before using your sink.
In conclusion, removing a lock nut on a kitchen sink may seem like a daunting task, but with the right tools and techniques, it can be a simple and quick process. By following these steps, you can effortlessly upgrade your kitchen design and give your space a fresh new look. Happy renovating!


:max_bytes(150000):strip_icc()/HypoallergenicQuiltedStretch-to-FitMattressPadByHannaKay10YearWarranty-ClyneCollectionQueen-590cd5ba3df78c92835bb144.jpg)


