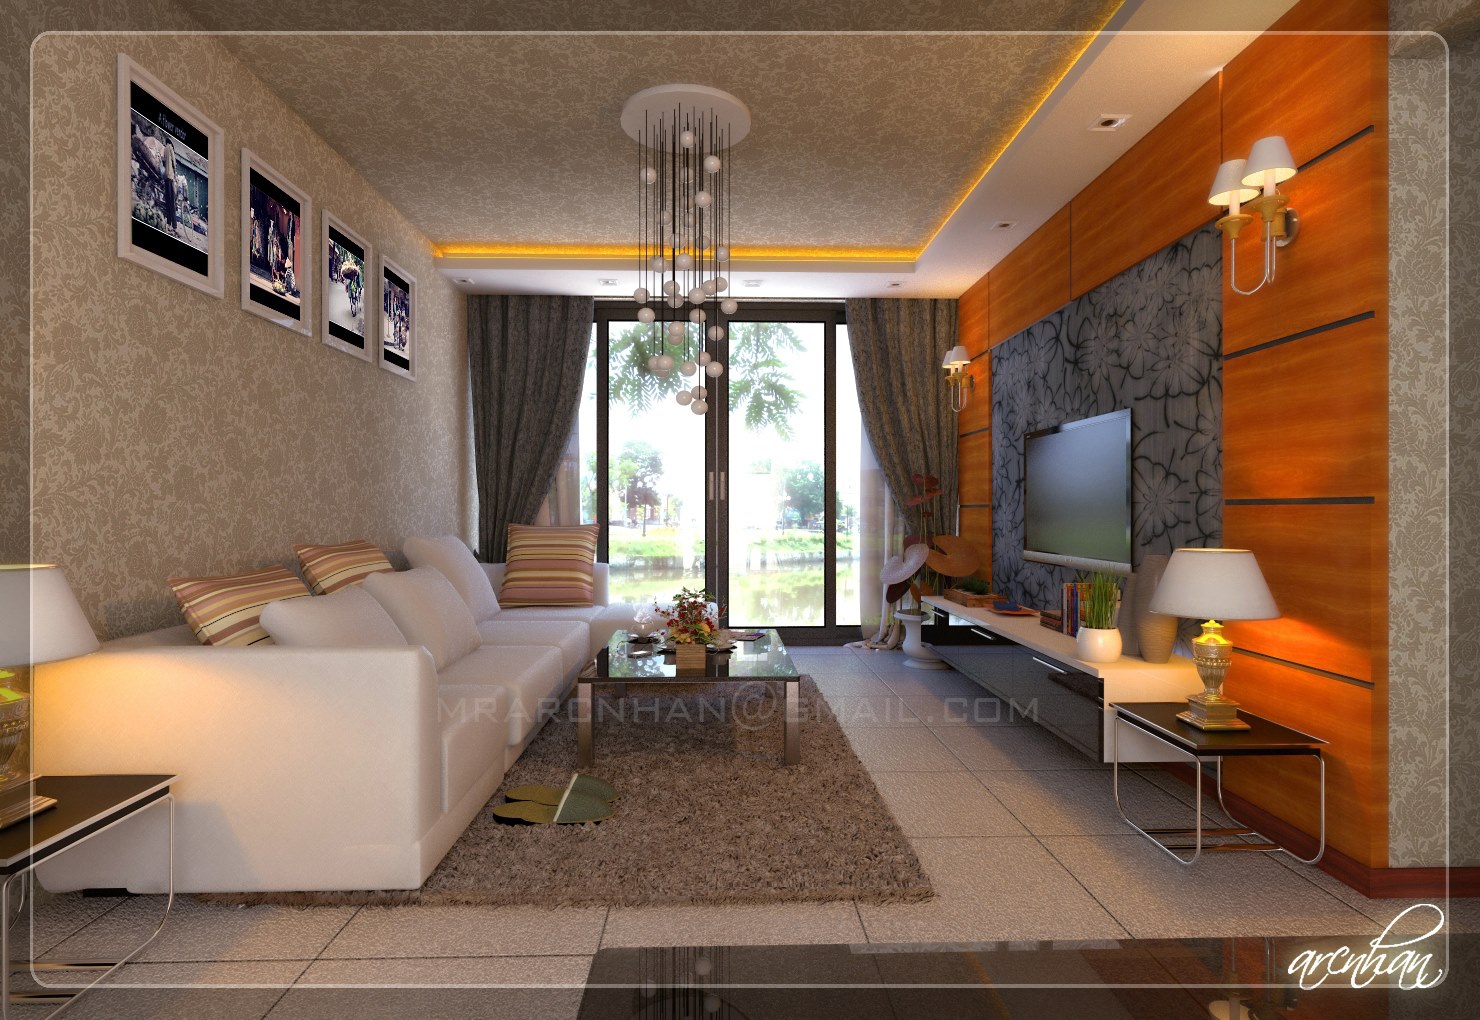
Are you tired of the cluttered look of your living room? One way to declutter and create a more streamlined space is by removing the display from your TV. Not only will this give your room a more minimalist and modern feel, but it also has practical benefits such as reducing screen time and distractions. Here's a step-by-step guide on how to remove the living room display from your TV.Remove Living Room Display: A Step-by-Step Guide


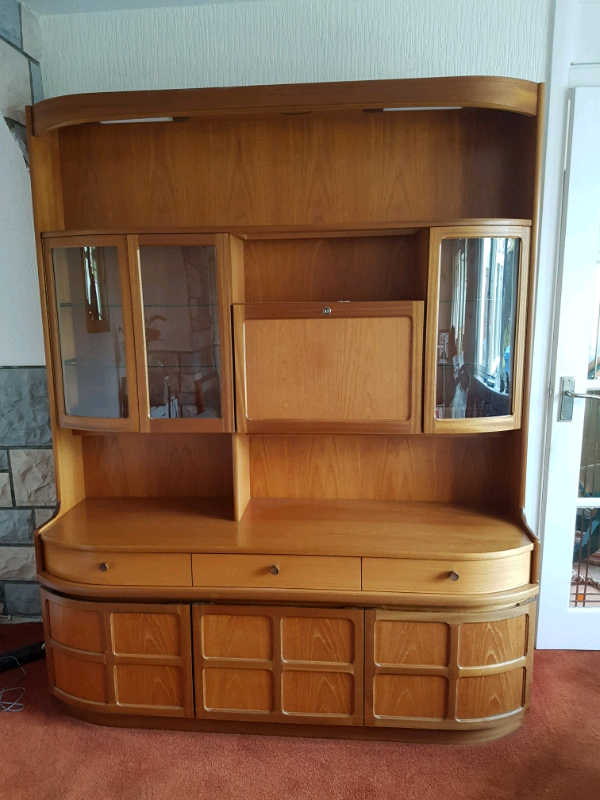
Remove Living Room Display


The first step in any project is to gather all the necessary tools. For this task, you will need a screwdriver, a soft cloth, and a screen cleaner. Make sure the screwdriver is the correct size for your TV's screws to avoid any frustration during the process.Step 1: Gather Your Tools


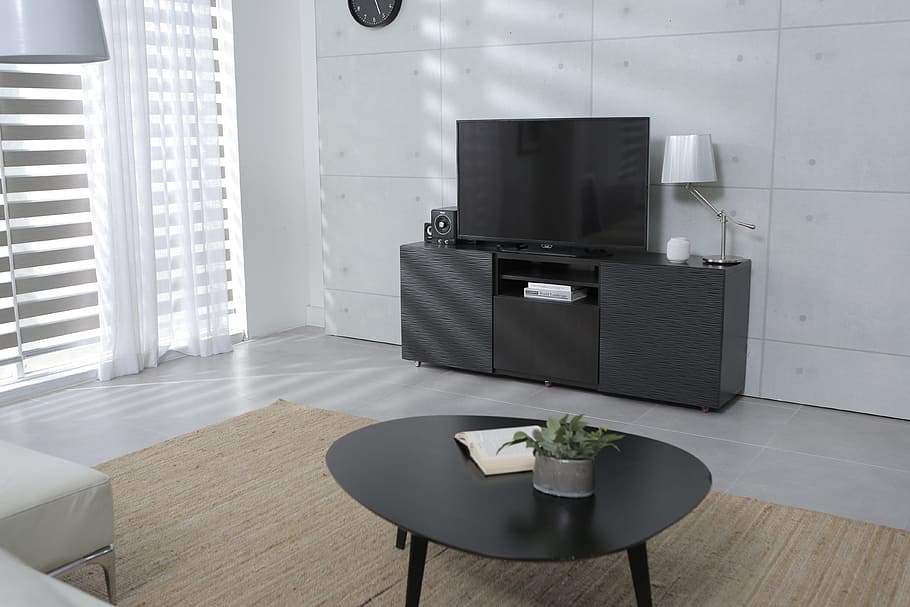
Remove TV Display


Before you begin, it's essential to turn off and unplug your TV to avoid any potential shock or damage. You don't want to risk getting electrocuted while trying to remove the display. Once the TV is off and unplugged, use the soft cloth to wipe the screen gently and remove any dirt or dust.Step 2: Turn Off and Unplug Your TV


Living Room TV Display Removal


Next, you will need to locate and remove the screws that are holding the display in place. The number of screws and their placement may vary depending on the TV model. You may need to refer to the user manual for specific instructions. Once you have located the screws, use your screwdriver to carefully remove them.Step 3: Locate and Remove the Screws


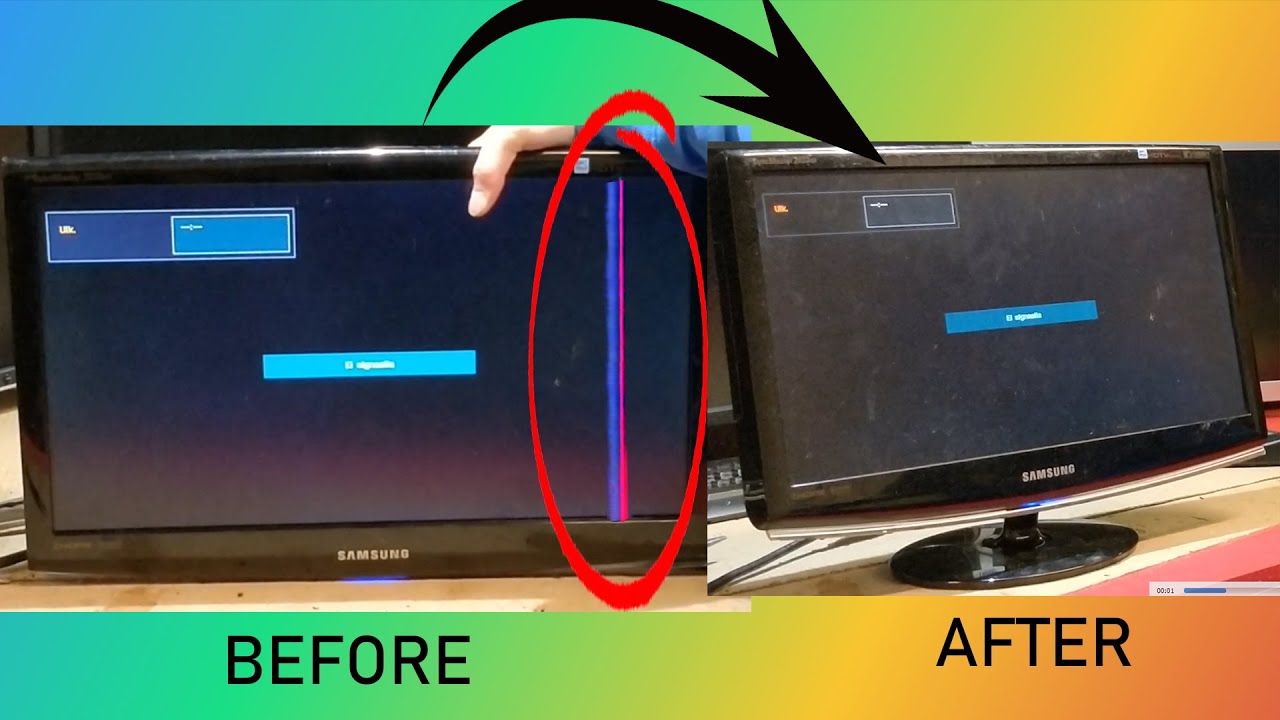
TV Display Removal

:quality(90)/article-new/2020/10/heated-display-removal-fixture-iphone.jpeg)


With the screws removed, you can now gently remove the display from the TV. Be sure to support the display with one hand while using the other hand to remove any remaining screws or connectors that may be holding it in place. Once the display is free, set it aside on a soft surface to avoid any scratches or damage.Step 4: Remove the Display


Living Room Display Removal

With the display removed, you now have access to the TV screen. Take this opportunity to clean it thoroughly using a screen cleaner and a soft cloth. You can also use this time to clean any other parts of the TV that may have accumulated dust or dirt.Step 5: Clean the Screen


Remove Display from TV


If you plan on permanently removing the display from your TV, you can skip this step. However, if you want the option to reattach it in the future, it's essential to keep all the screws and connectors in a safe place. When you're ready to reattach the display, follow the same steps in reverse order.Step 6: Reattach the Display


TV Display Removal in Living Room


Congratulations, you have successfully removed the living room display from your TV! Take a step back and admire your new, clutter-free living room. Not only does it look more modern and organized, but it also promotes a healthier environment by reducing screen time and distractions.Step 7: Enjoy Your New Minimalist Living Room


Remove TV Display in Living Room


Removing the living room display from your TV may seem like a daunting task, but with the right tools and steps, it's a simple and straightforward process. Not only does it give your living room a more modern and decluttered look, but it also has practical benefits such as reducing screen time and distractions. So go ahead and give it a try, and enjoy your new minimalist living room!Conclusion


Living Room TV Display Removal Process


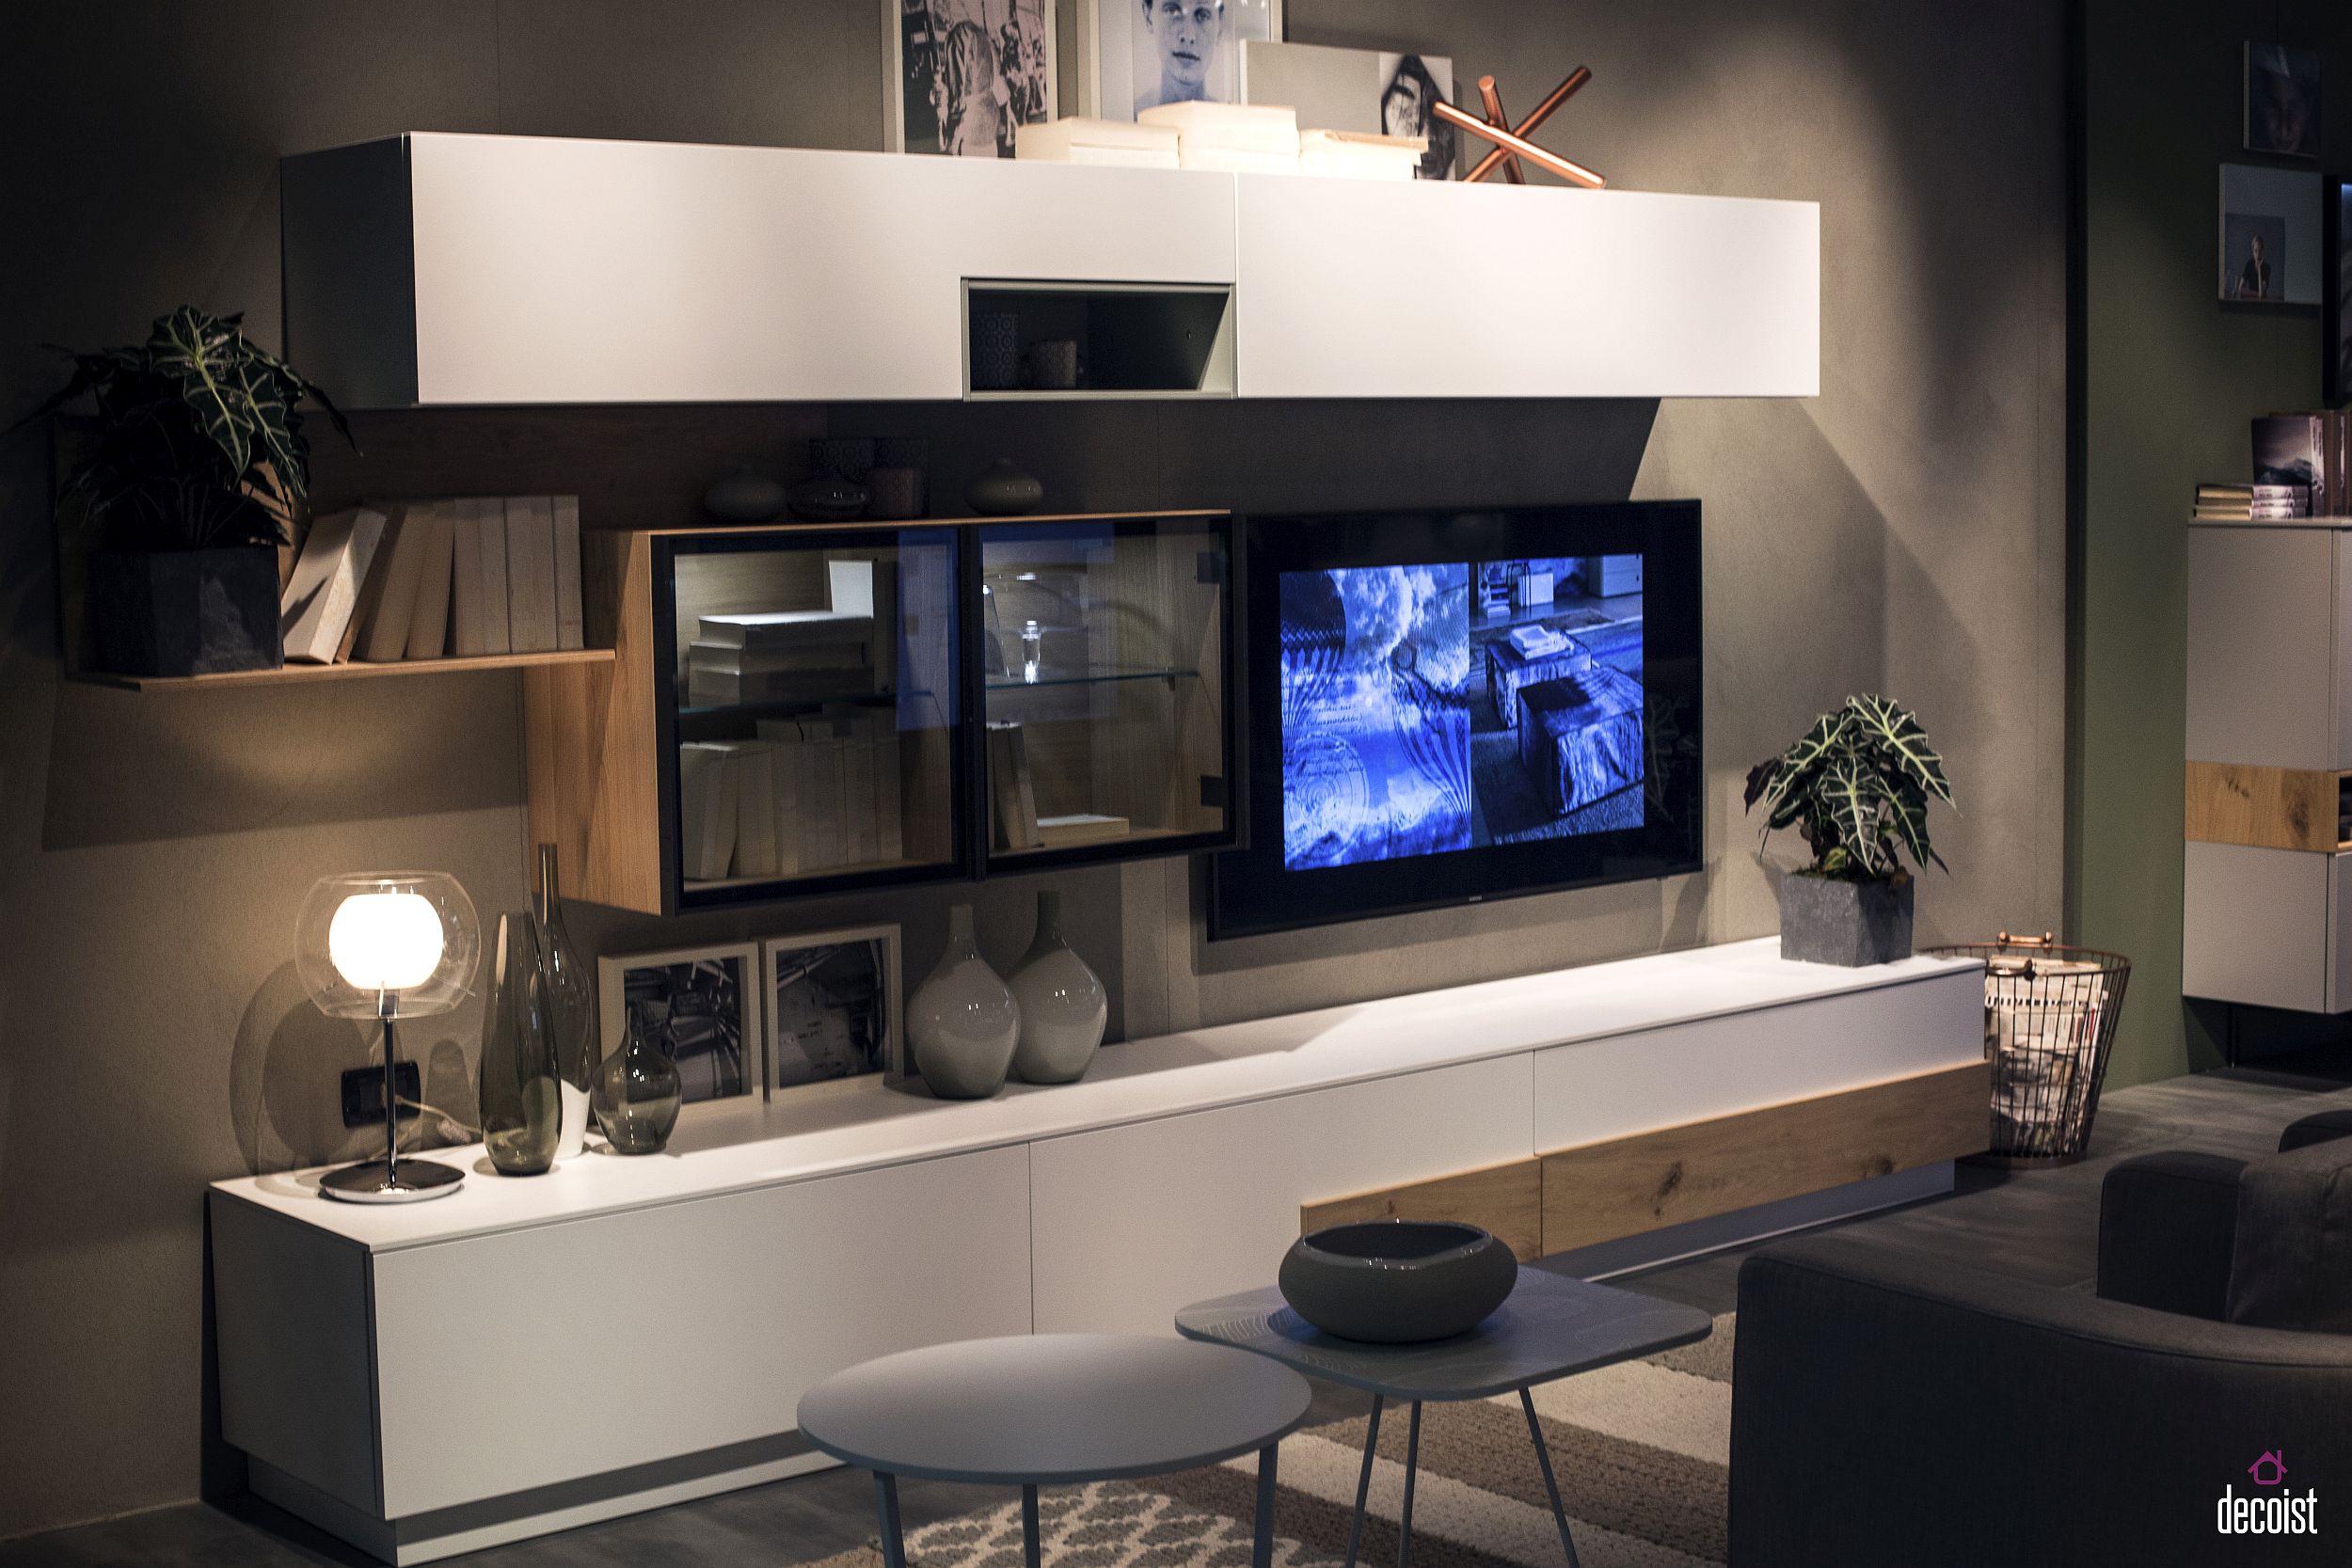
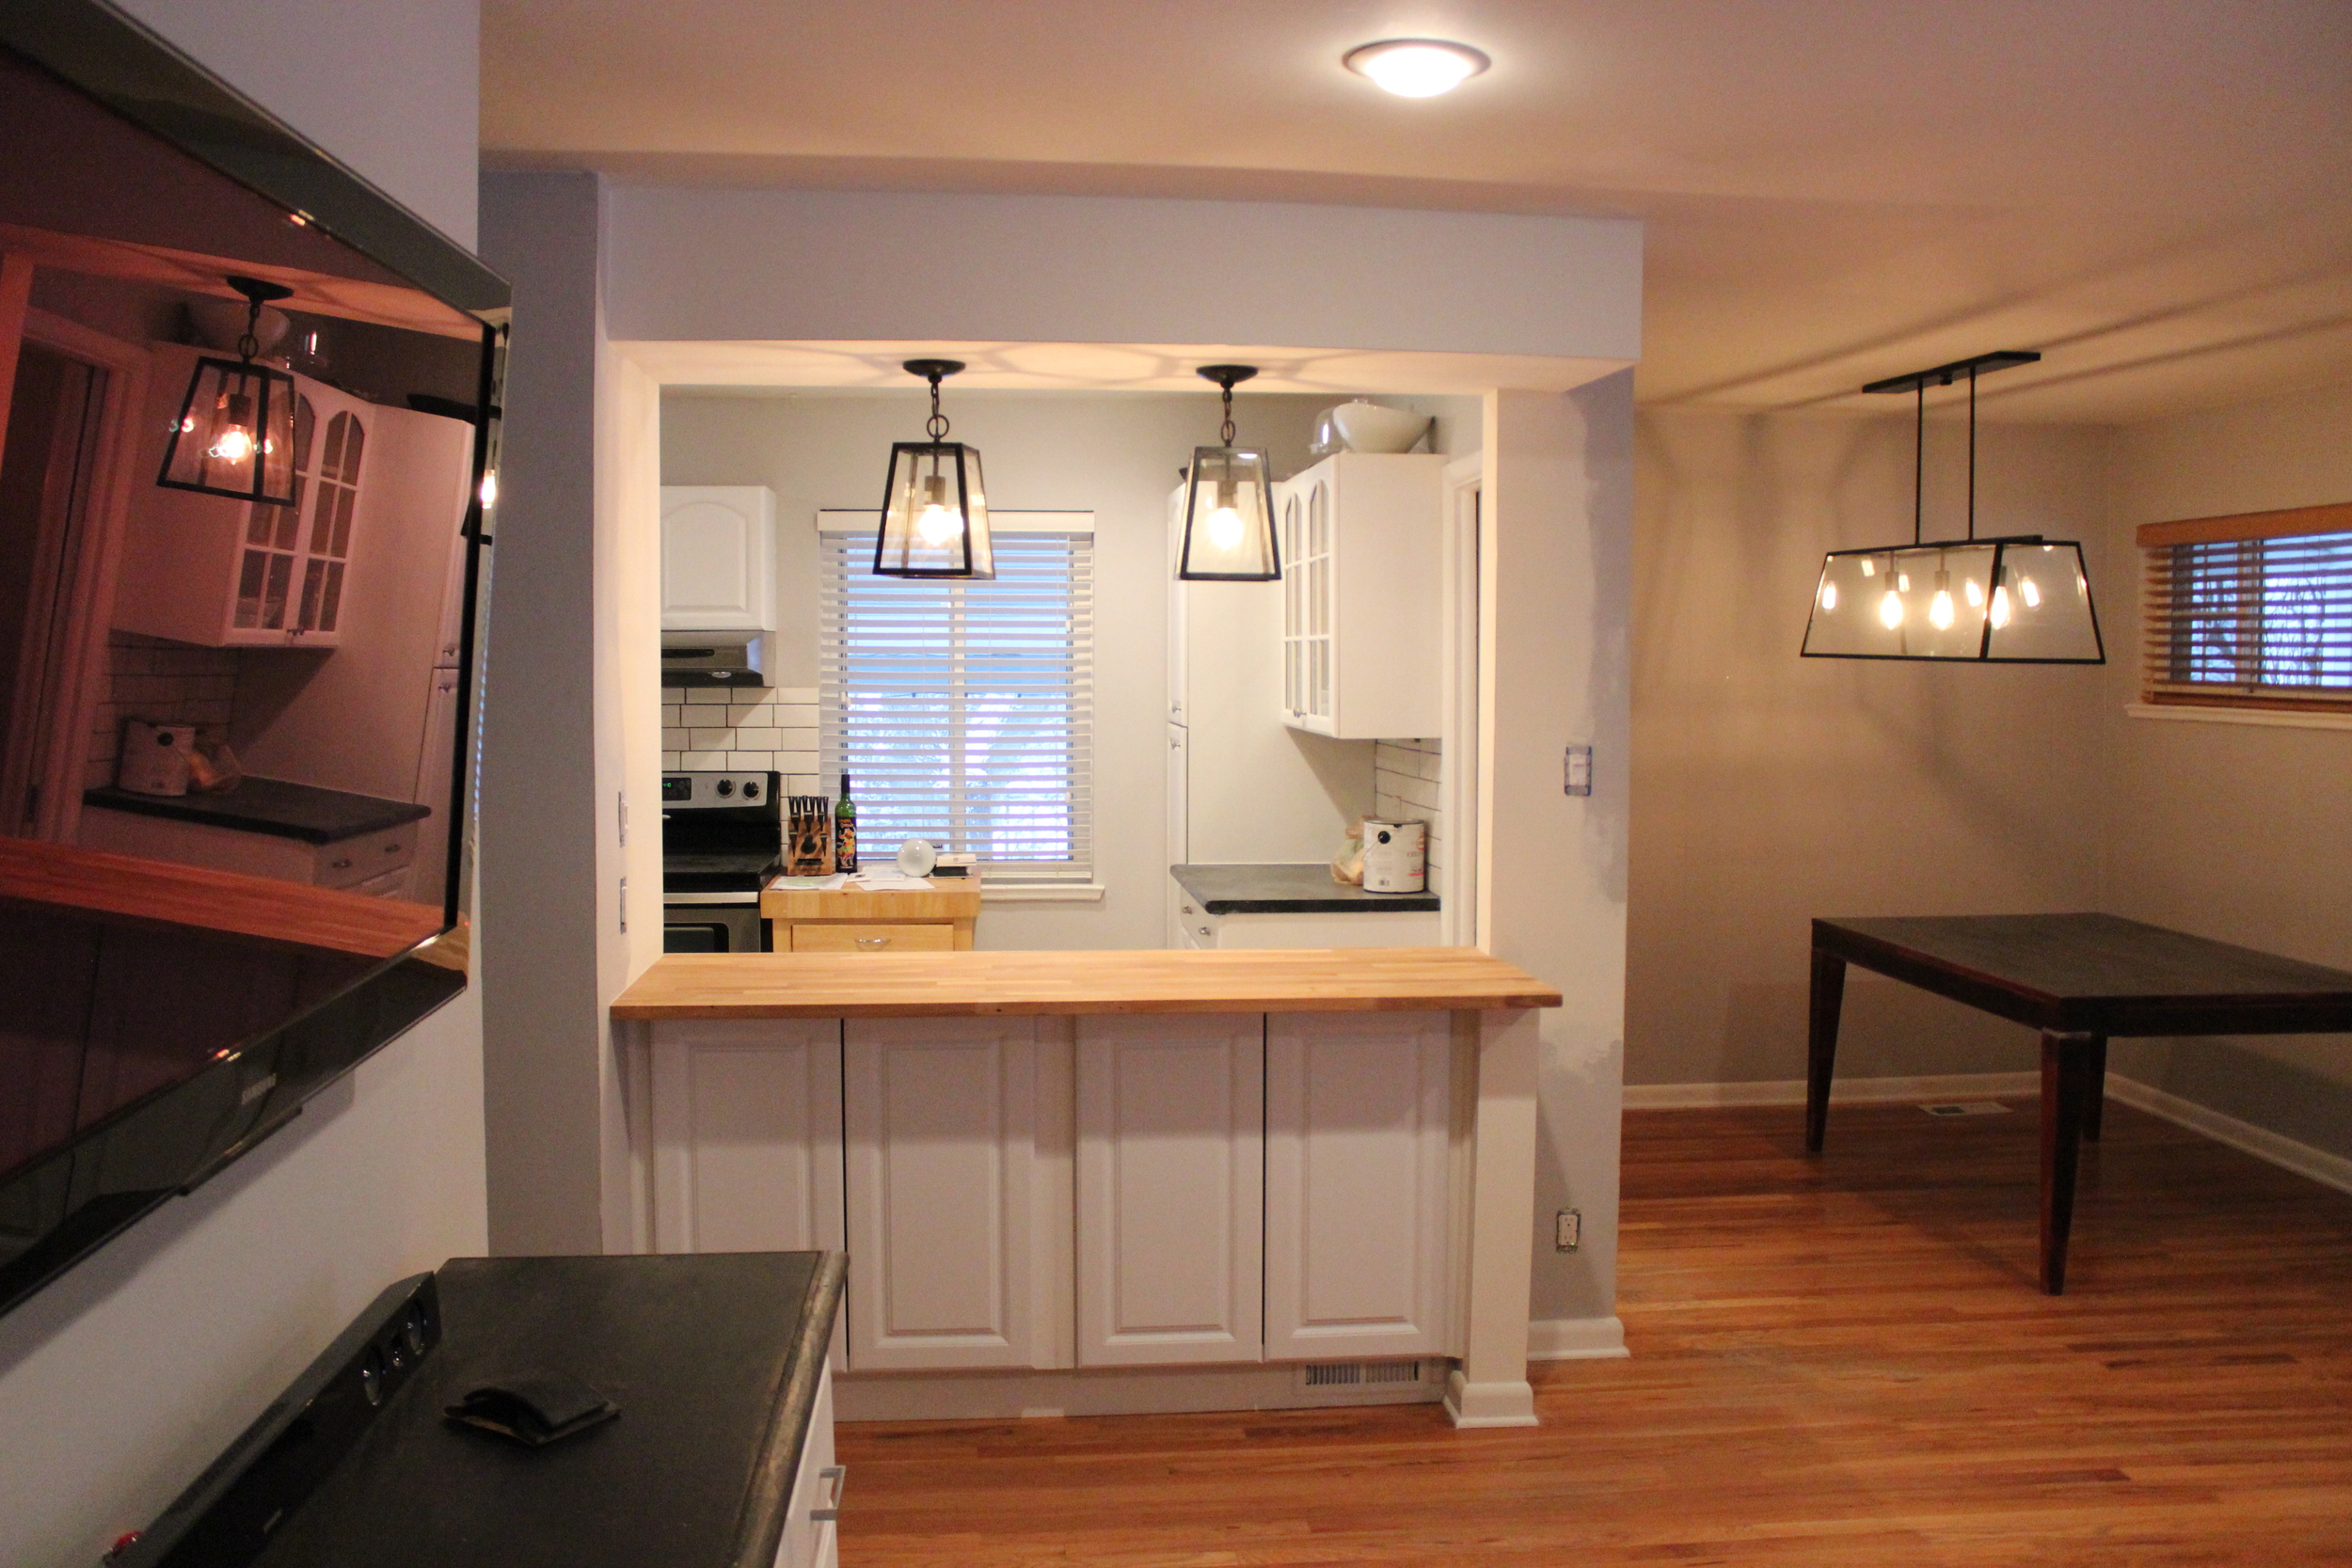
Why Removing Your Living Room Display from TV Can Transform Your House Design

Creating a More Open and Inviting Space
 Removing the living room display from your TV can instantly transform the overall look and feel of your space.
Many living room designs revolve around the television, making it the focal point of the room. However, having a large, bulky TV on display can often make the room feel cluttered and closed off. By removing the TV, you can open up the space and create a more inviting and open atmosphere. This allows for more natural flow and conversation, making your living room a more comfortable and welcoming area for both you and your guests.
Removing the living room display from your TV can instantly transform the overall look and feel of your space.
Many living room designs revolve around the television, making it the focal point of the room. However, having a large, bulky TV on display can often make the room feel cluttered and closed off. By removing the TV, you can open up the space and create a more inviting and open atmosphere. This allows for more natural flow and conversation, making your living room a more comfortable and welcoming area for both you and your guests.
Embracing Minimalism
 In today's fast-paced world, many people are turning to minimalism as a way to simplify their lives and declutter their homes.
By removing the living room display from your TV, you are embracing this minimalist mindset. Instead of having a large, imposing piece of technology taking up space in your living room, you are creating a more streamlined and simplistic look. This not only creates a more aesthetically pleasing design, but it can also help reduce stress and promote a sense of calm in your home.
In today's fast-paced world, many people are turning to minimalism as a way to simplify their lives and declutter their homes.
By removing the living room display from your TV, you are embracing this minimalist mindset. Instead of having a large, imposing piece of technology taking up space in your living room, you are creating a more streamlined and simplistic look. This not only creates a more aesthetically pleasing design, but it can also help reduce stress and promote a sense of calm in your home.
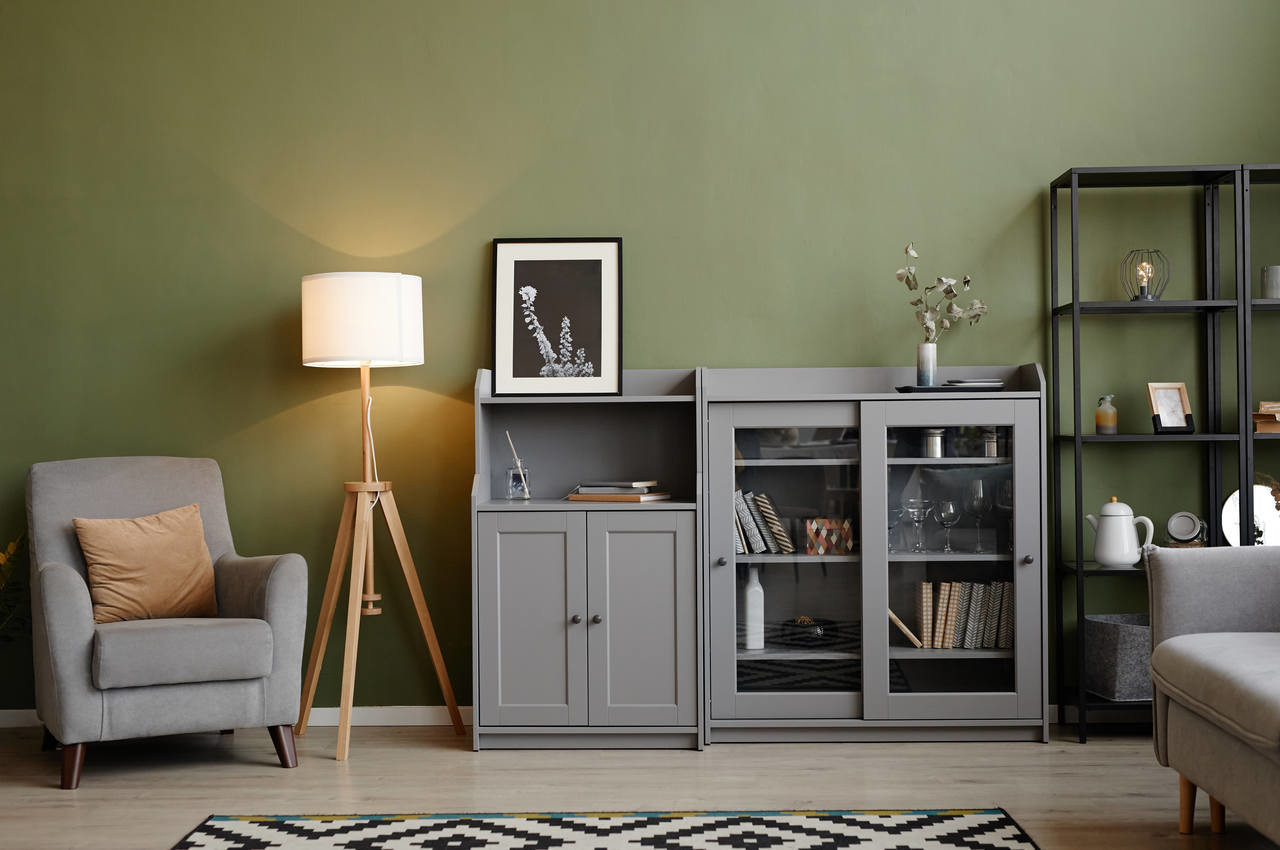
Exploring Alternative Design Options
 Removing the TV from your living room display can also open up a world of new design possibilities.
Without the constraints of a bulky television, you have more room to play around with different furniture arrangements and decor options. You can create a cozy reading nook, a stylish gallery wall, or even a dedicated space for board games and other activities. By removing the TV, you are giving yourself the freedom to explore new design ideas and create a truly unique and personalized living room.
Removing the TV from your living room display can also open up a world of new design possibilities.
Without the constraints of a bulky television, you have more room to play around with different furniture arrangements and decor options. You can create a cozy reading nook, a stylish gallery wall, or even a dedicated space for board games and other activities. By removing the TV, you are giving yourself the freedom to explore new design ideas and create a truly unique and personalized living room.
Encouraging Quality Time and Conversation
 In today's digital age, it's easy to get caught up in the distractions of technology, often leading to less quality time and conversation with loved ones.
By removing the TV from your living room display, you are promoting a more tech-free environment. This encourages more face-to-face interactions and quality time with family and friends. It also allows for deeper and more meaningful conversations, creating a stronger sense of connection and bonding within your home.
In today's digital age, it's easy to get caught up in the distractions of technology, often leading to less quality time and conversation with loved ones.
By removing the TV from your living room display, you are promoting a more tech-free environment. This encourages more face-to-face interactions and quality time with family and friends. It also allows for deeper and more meaningful conversations, creating a stronger sense of connection and bonding within your home.
Conclusion
 Removing the living room display from your TV may seem like a small change, but it can have a significant impact on your house design and overall lifestyle.
By creating a more open and inviting space, embracing minimalism, exploring new design options, and promoting quality time and conversation, you can transform your living room into a more functional and enjoyable space. So, why not take a step towards a more visually appealing and fulfilling living room by removing your TV from the display? Your home and your well-being will thank you.
Removing the living room display from your TV may seem like a small change, but it can have a significant impact on your house design and overall lifestyle.
By creating a more open and inviting space, embracing minimalism, exploring new design options, and promoting quality time and conversation, you can transform your living room into a more functional and enjoyable space. So, why not take a step towards a more visually appealing and fulfilling living room by removing your TV from the display? Your home and your well-being will thank you.