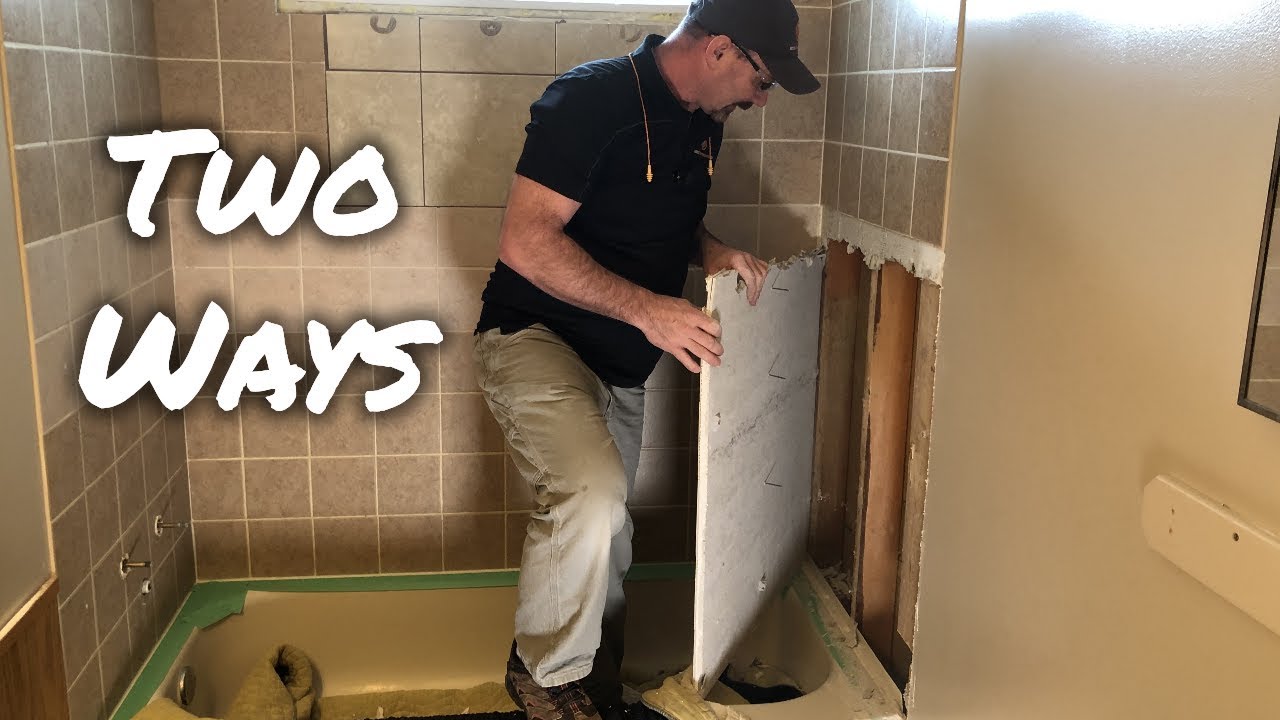
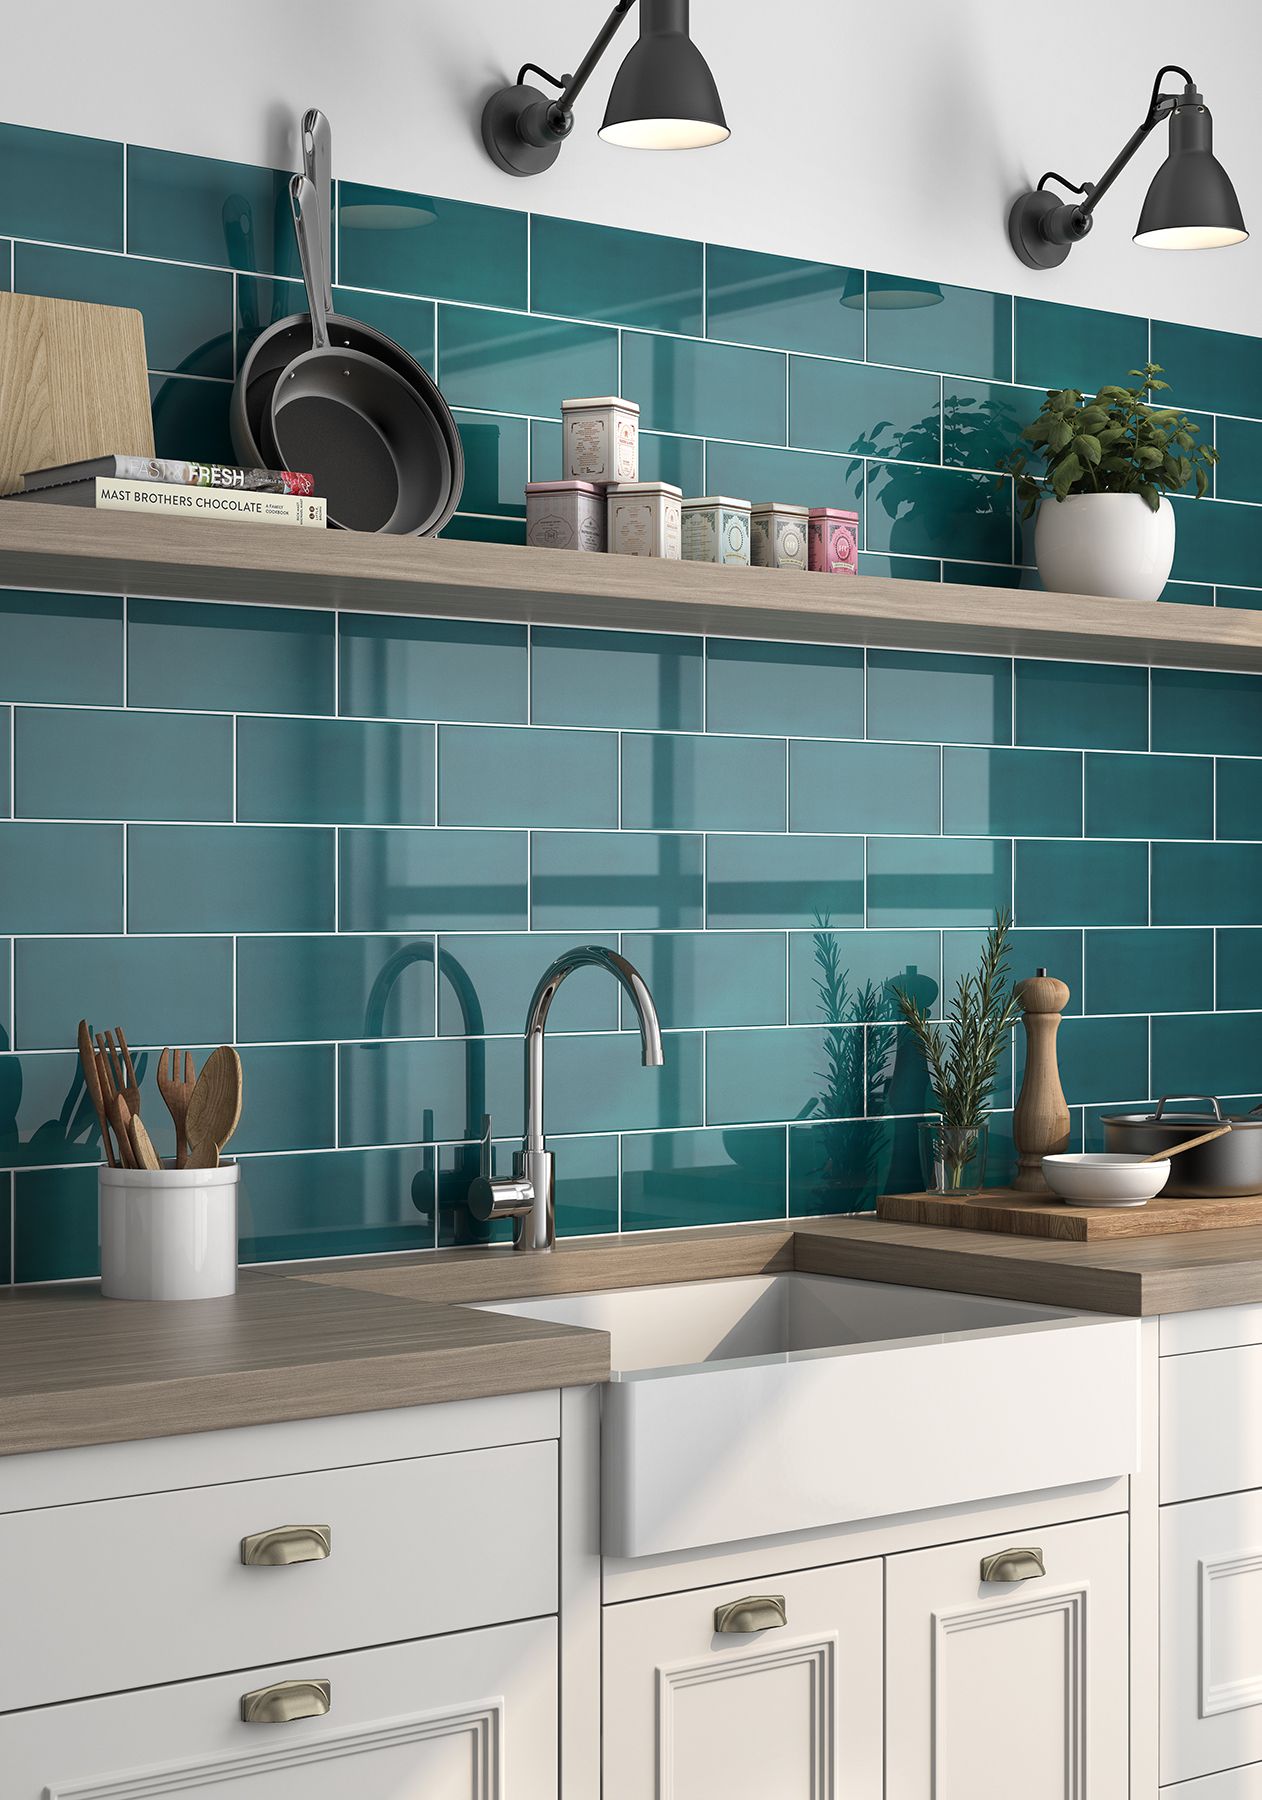
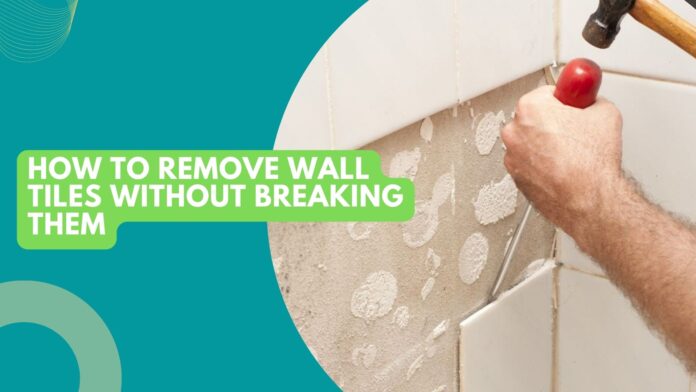
If you're looking to update your kitchen without breaking the bank, removing old tiles from your kitchen wall is a great place to start. However, the thought of tackling this project may seem intimidating. But fear not, with the right tools and techniques, you can easily remove kitchen tiles without causing damage to your drywall. Follow this step-by-step guide for a stress-free and successful tile removal process.1. How to Remove Kitchen Tiles from Wall: A Step-by-Step Guide


1. How to Remove Kitchen Tiles from Wall: A Step-by-Step Guide


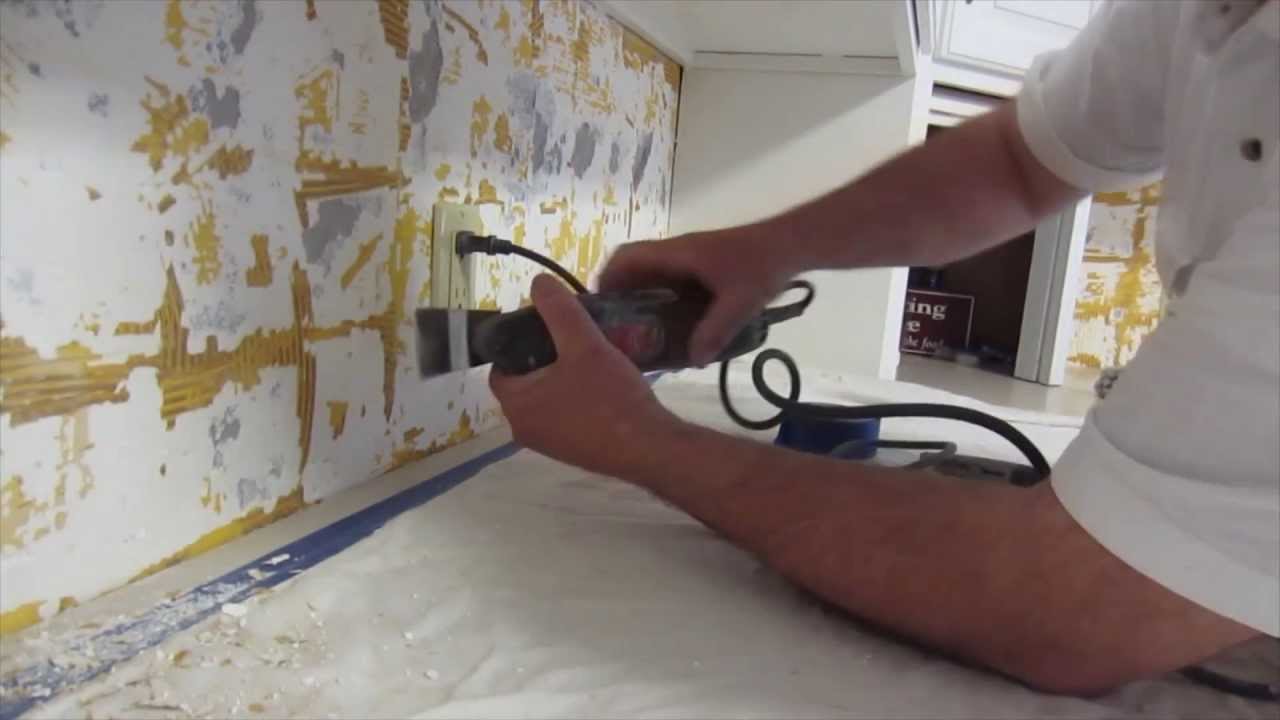
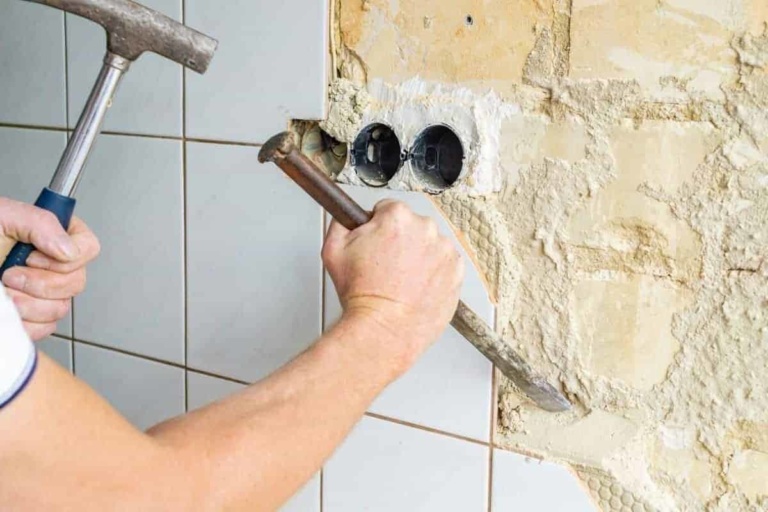
Before you begin, it's important to gather all the necessary tools. This includes a chisel, hammer, grout saw, putty knife, and safety goggles. It's also a good idea to wear gloves to protect your hands from any sharp tile edges. Once you have everything you need, start by using the grout saw to remove the grout between the tiles. This will make it easier to remove the tiles without damaging the drywall behind them.2. The Best Way to Remove Kitchen Tiles from Wall Without Damaging Drywall


2. The Best Way to Remove Kitchen Tiles from Wall Without Damaging Drywall


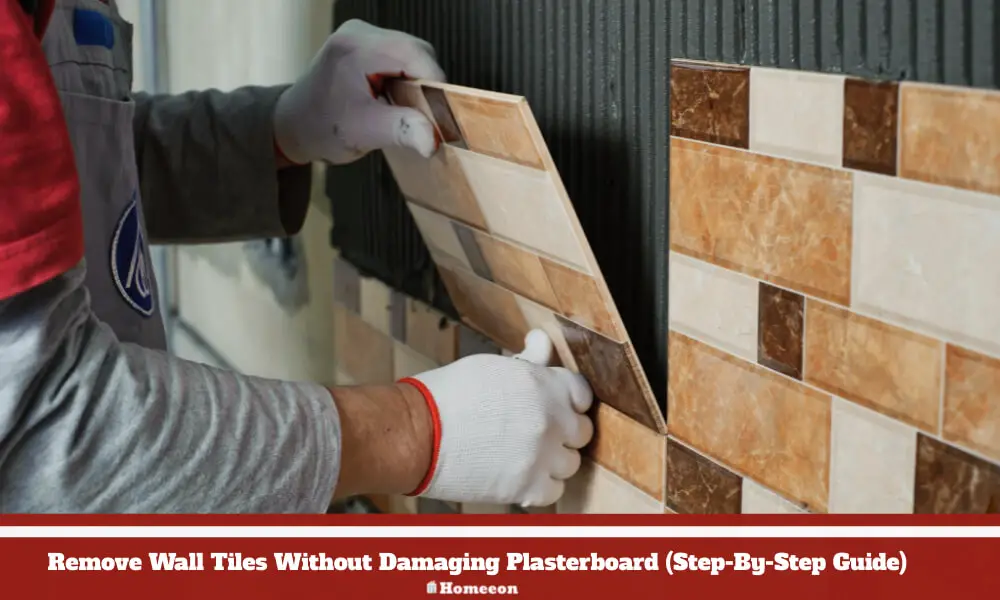


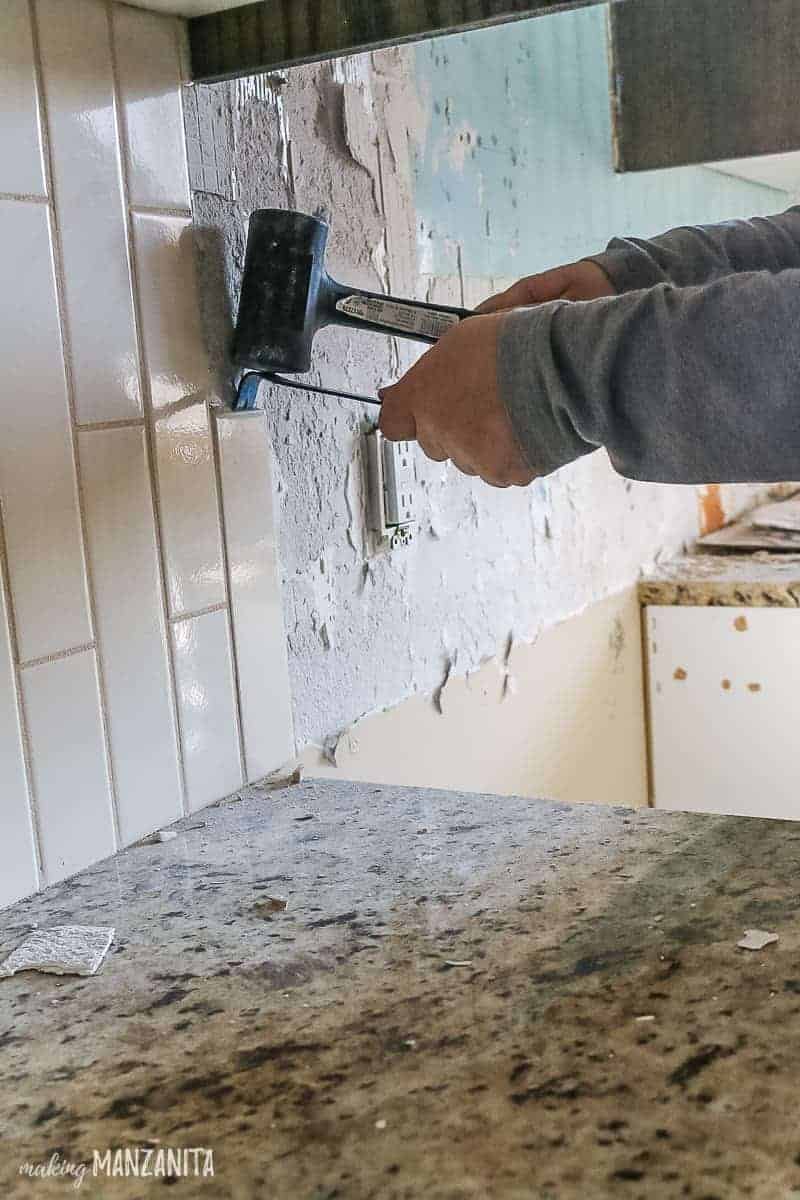
Once the grout is removed, use the hammer and chisel to gently tap and pry the tiles off the wall. Be sure to work slowly and carefully to avoid damaging the drywall. If you encounter any stubborn tiles, use the putty knife to loosen them before using the chisel and hammer again. It's important to be patient during this process to ensure the tiles are removed cleanly without causing any damage.3. DIY: Removing Kitchen Tiles from Wall Made Easy


3. DIY: Removing Kitchen Tiles from Wall Made Easy
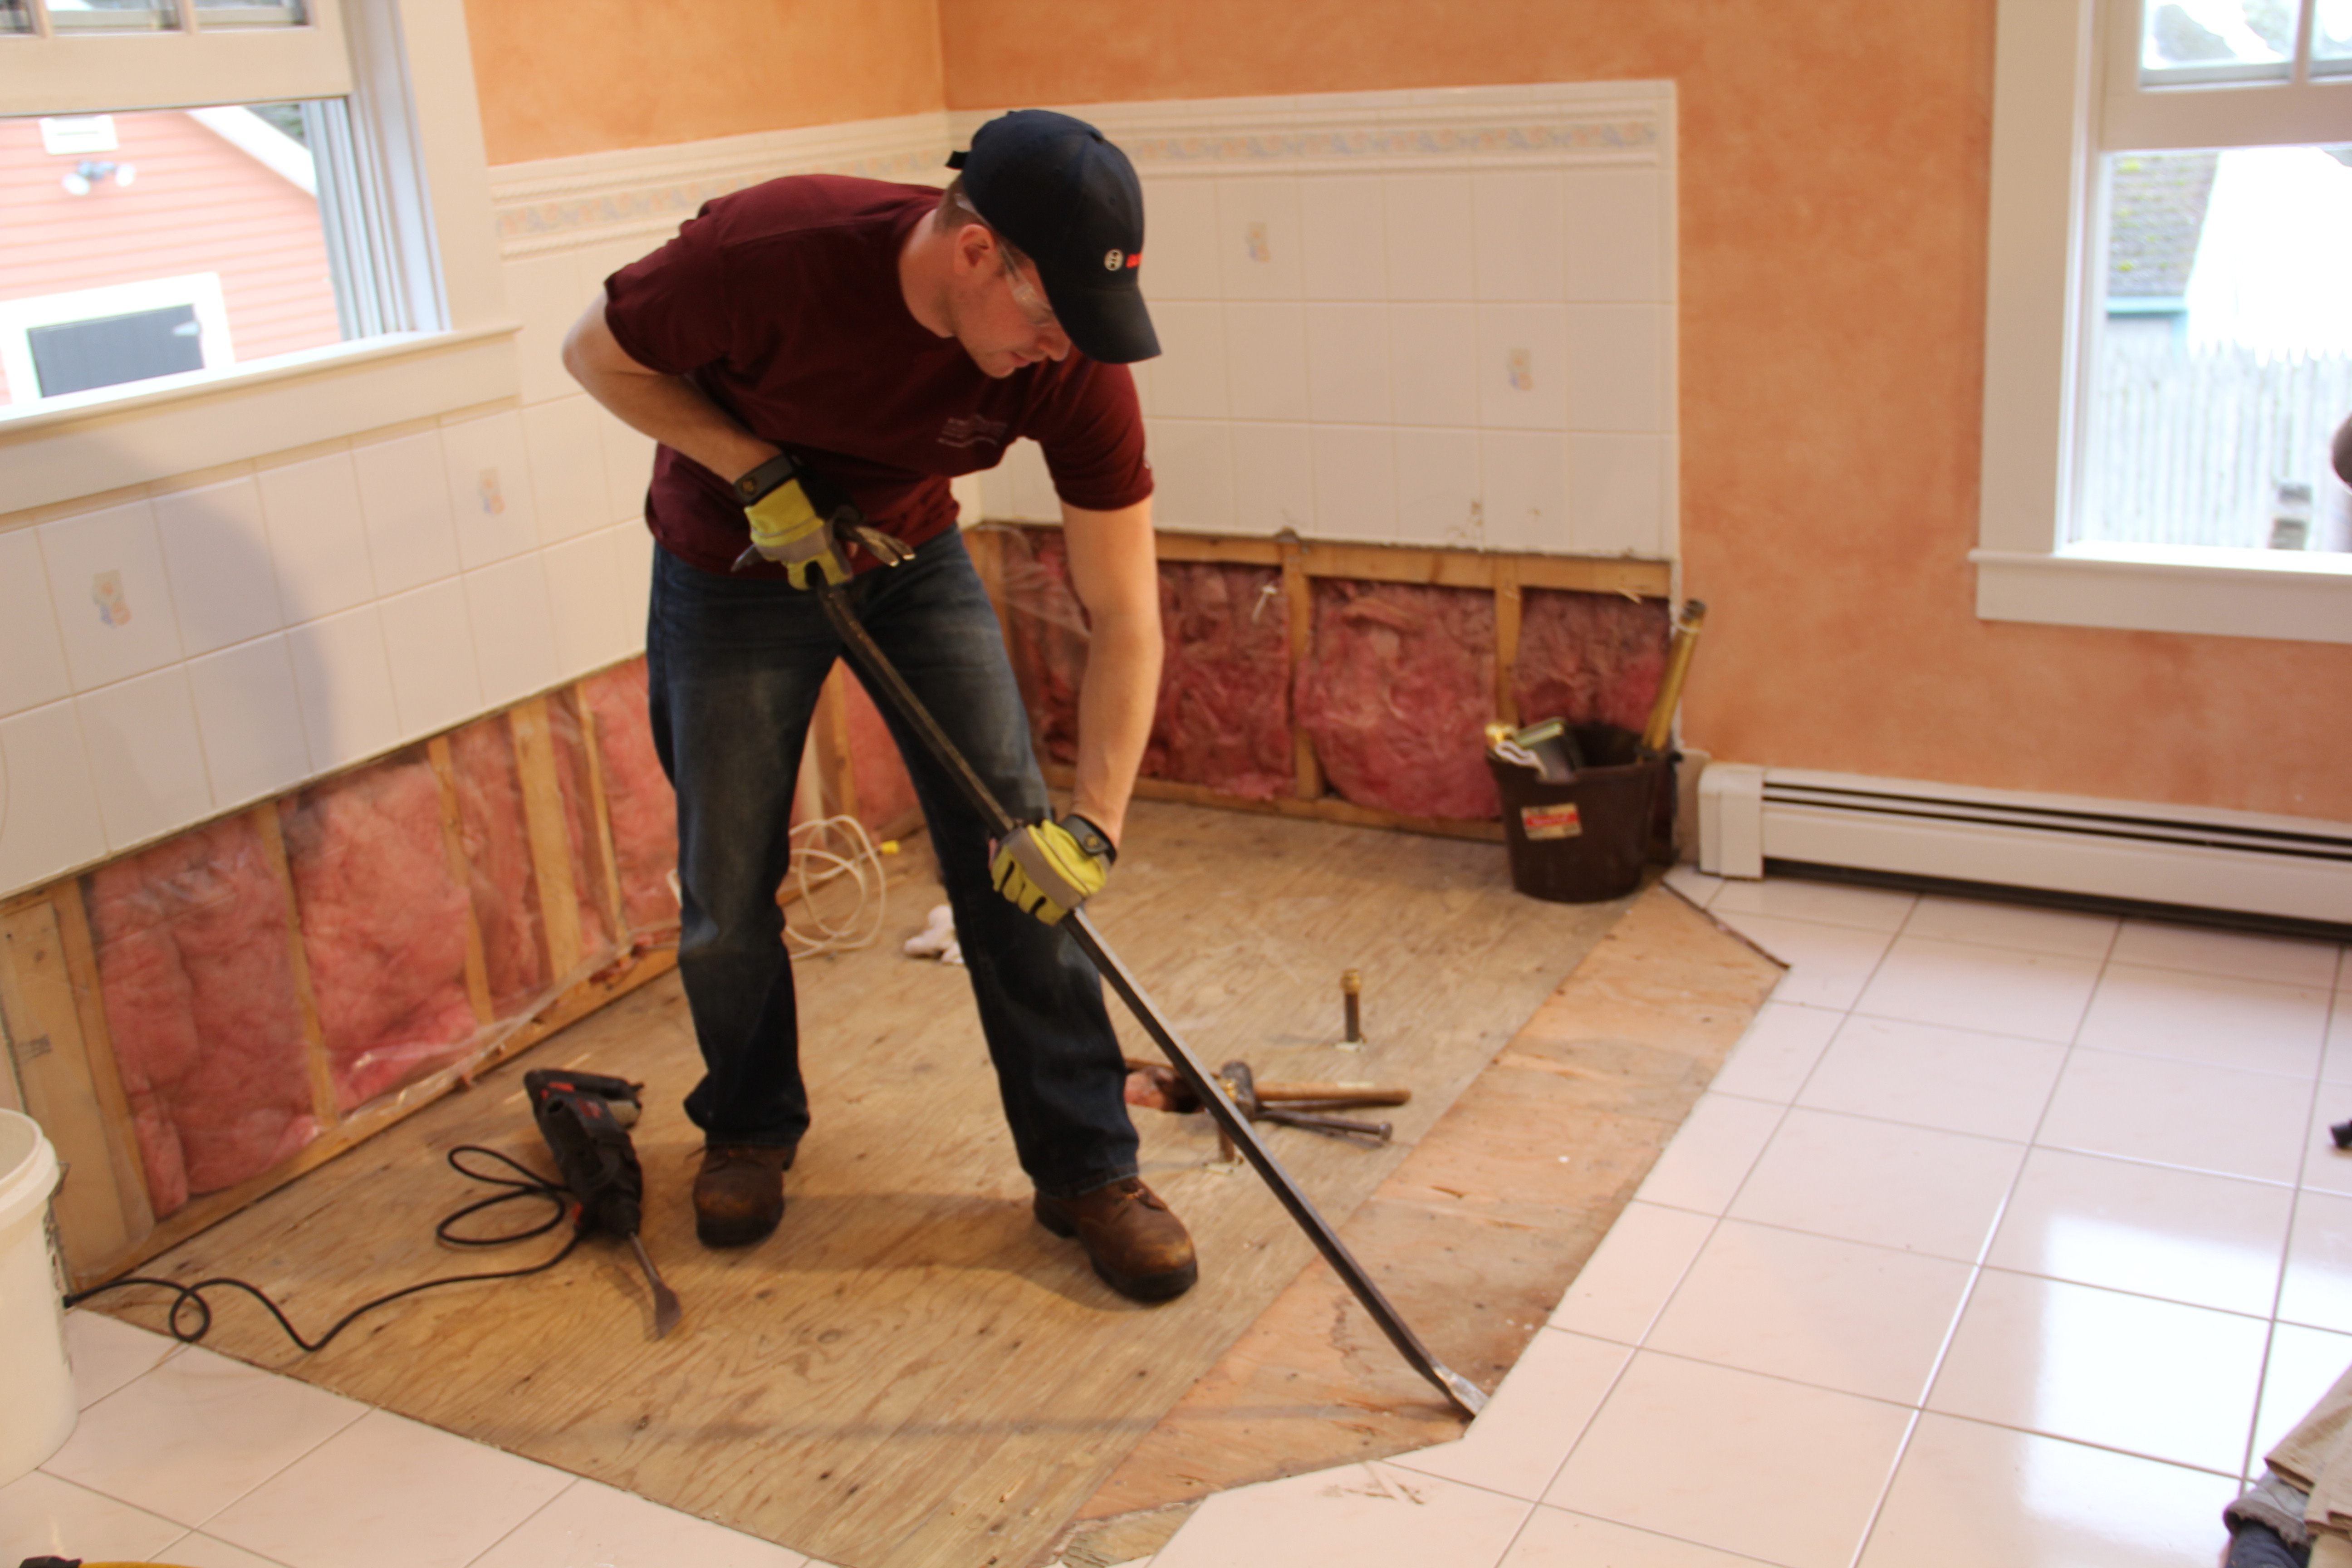


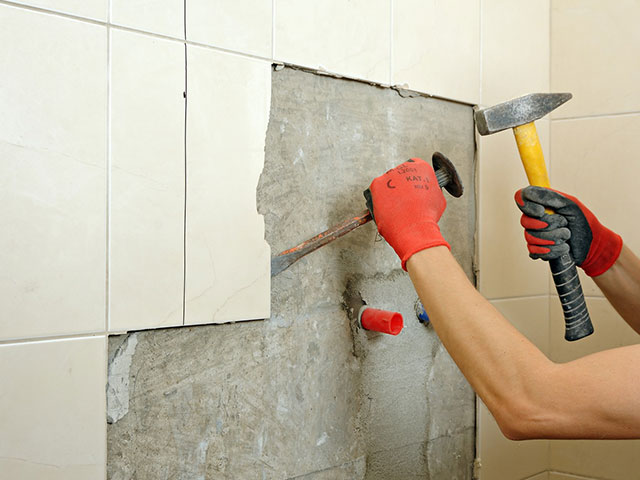
To avoid breaking the tiles while removing them, it's important to use the right amount of force. Don't try to forcefully pry the tiles off the wall as this can cause them to crack. Instead, use gentle tapping and prying motions to loosen and remove the tiles. It's also helpful to start from the bottom and work your way up to prevent any tiles from falling and potentially breaking.4. Tips for Removing Kitchen Tiles from Wall Without Breaking Them


4. Tips for Removing Kitchen Tiles from Wall Without Breaking Them
/woman-removing-old-tiles-645377785-5852d2215f9b586e02d2ee25.jpg)


If you're looking for an even easier method to remove kitchen tiles, you can try using a heat gun. This tool will soften the adhesive behind the tiles, making them easier to remove. However, be cautious when using a heat gun as it can cause the tiles to become hot and break. It's important to keep the heat gun moving and not to hold it in one spot for too long.5. The Easiest Method for Removing Kitchen Tiles from Wall

5. The Easiest Method for Removing Kitchen Tiles from Wall

/Tilecleanup-5c11bec9c9e77c00014ef82d.jpg)


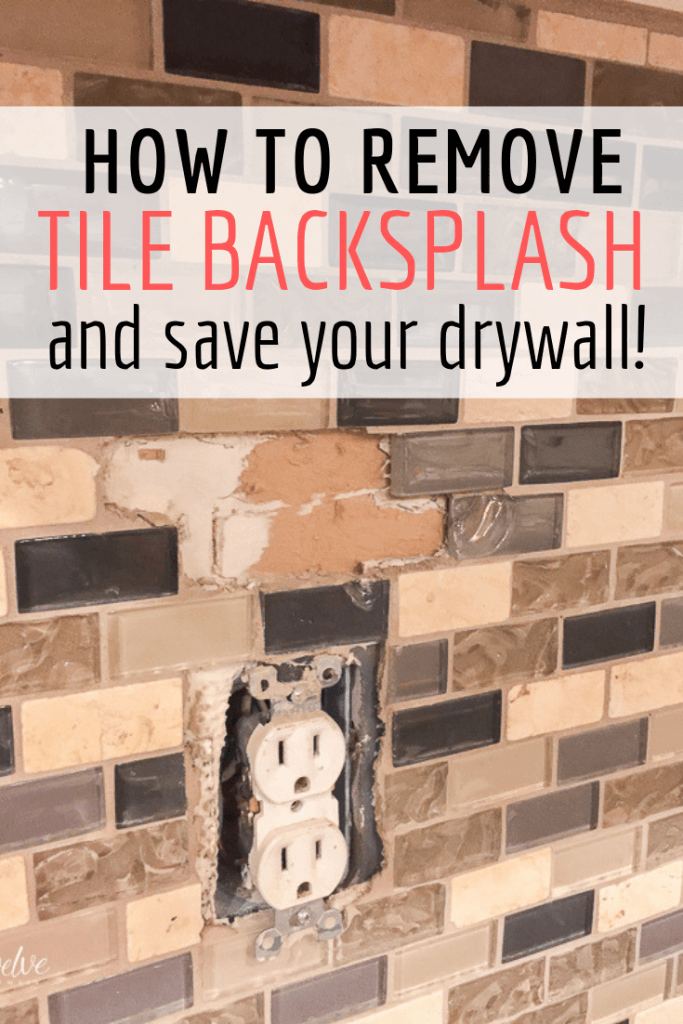
In addition to the tools mentioned above, it's also helpful to have a scraper or putty knife with a wide blade. This will come in handy for removing any leftover adhesive from the wall after the tiles are removed. It's important to remove as much of the adhesive as possible to ensure a smooth and even surface for your new backsplash.6. Removing Kitchen Tiles from Wall: Tools and Techniques You Need to Know


6. Removing Kitchen Tiles from Wall: Tools and Techniques You Need to Know


Once all the tiles and adhesive are removed, it's time to prep the wall for a new backsplash. Start by cleaning the wall with a mild detergent and warm water to remove any remaining debris. Then, use a sanding block to smooth out any rough areas on the drywall. Finally, wipe down the wall with a damp cloth and let it dry completely before installing your new backsplash.7. How to Remove Kitchen Tiles from Wall and Prep for New Backsplash


7. How to Remove Kitchen Tiles from Wall and Prep for New Backsplash


If you're not confident in your DIY skills, you can always hire a professional to remove the tiles for you. However, this can be costly. With the right tools and techniques, you can save money and successfully remove the tiles yourself. Just be sure to follow the steps outlined above and work slowly and carefully to avoid any damage to your walls.8. Step-by-Step Guide for Removing Kitchen Tiles from Wall Without Professional Help

8. Step-by-Step Guide for Removing Kitchen Tiles from Wall Without Professional Help


When it comes to removing kitchen tiles, there are a few dos and don'ts to keep in mind. Do wear safety goggles and gloves to protect yourself. Do use the right tools for the job and work slowly and carefully. Don't use excessive force or you may risk damaging the tiles or drywall. Don't forget to properly clean and prep the wall before installing a new backsplash.9. The Dos and Don'ts of Removing Kitchen Tiles from Wall


9. The Dos and Don'ts of Removing Kitchen Tiles from Wall


One of the most common mistakes people make when removing kitchen tiles is using too much force. This can cause the tiles to break or the drywall to become damaged. It's also important to properly clean and prep the wall before installing a new backsplash. Skipping this step can result in an uneven surface and cause your new tiles to not adhere properly. Now that you have a step-by-step guide and helpful tips, you can confidently tackle the project of removing kitchen tiles from your wall. With the right tools and techniques, you can successfully remove the old tiles and prepare for a fresh new look in your kitchen.10. Removing Kitchen Tiles from Wall: Common Mistakes to Avoid


10. Removing Kitchen Tiles from Wall: Common Mistakes to Avoid

Why You Should Consider Removing Kitchen Tiles from Your Walls

Introduction
 Removing kitchen tiles from your walls may seem like a daunting and unnecessary task, but it can actually be a beneficial and cost-effective way to update your kitchen design.
Many homeowners are hesitant to remove tiles because they are concerned about the amount of time and effort it will take, as well as the potential damage to their walls. However, with the right tools and techniques, removing kitchen tiles can be a relatively simple and rewarding project. In this article, we will discuss the benefits of removing kitchen tiles from your walls and provide you with a step-by-step guide on how to do it yourself.
Removing kitchen tiles from your walls may seem like a daunting and unnecessary task, but it can actually be a beneficial and cost-effective way to update your kitchen design.
Many homeowners are hesitant to remove tiles because they are concerned about the amount of time and effort it will take, as well as the potential damage to their walls. However, with the right tools and techniques, removing kitchen tiles can be a relatively simple and rewarding project. In this article, we will discuss the benefits of removing kitchen tiles from your walls and provide you with a step-by-step guide on how to do it yourself.
Benefits of Removing Kitchen Tiles
 Removing kitchen tiles can bring a fresh and modern look to your kitchen.
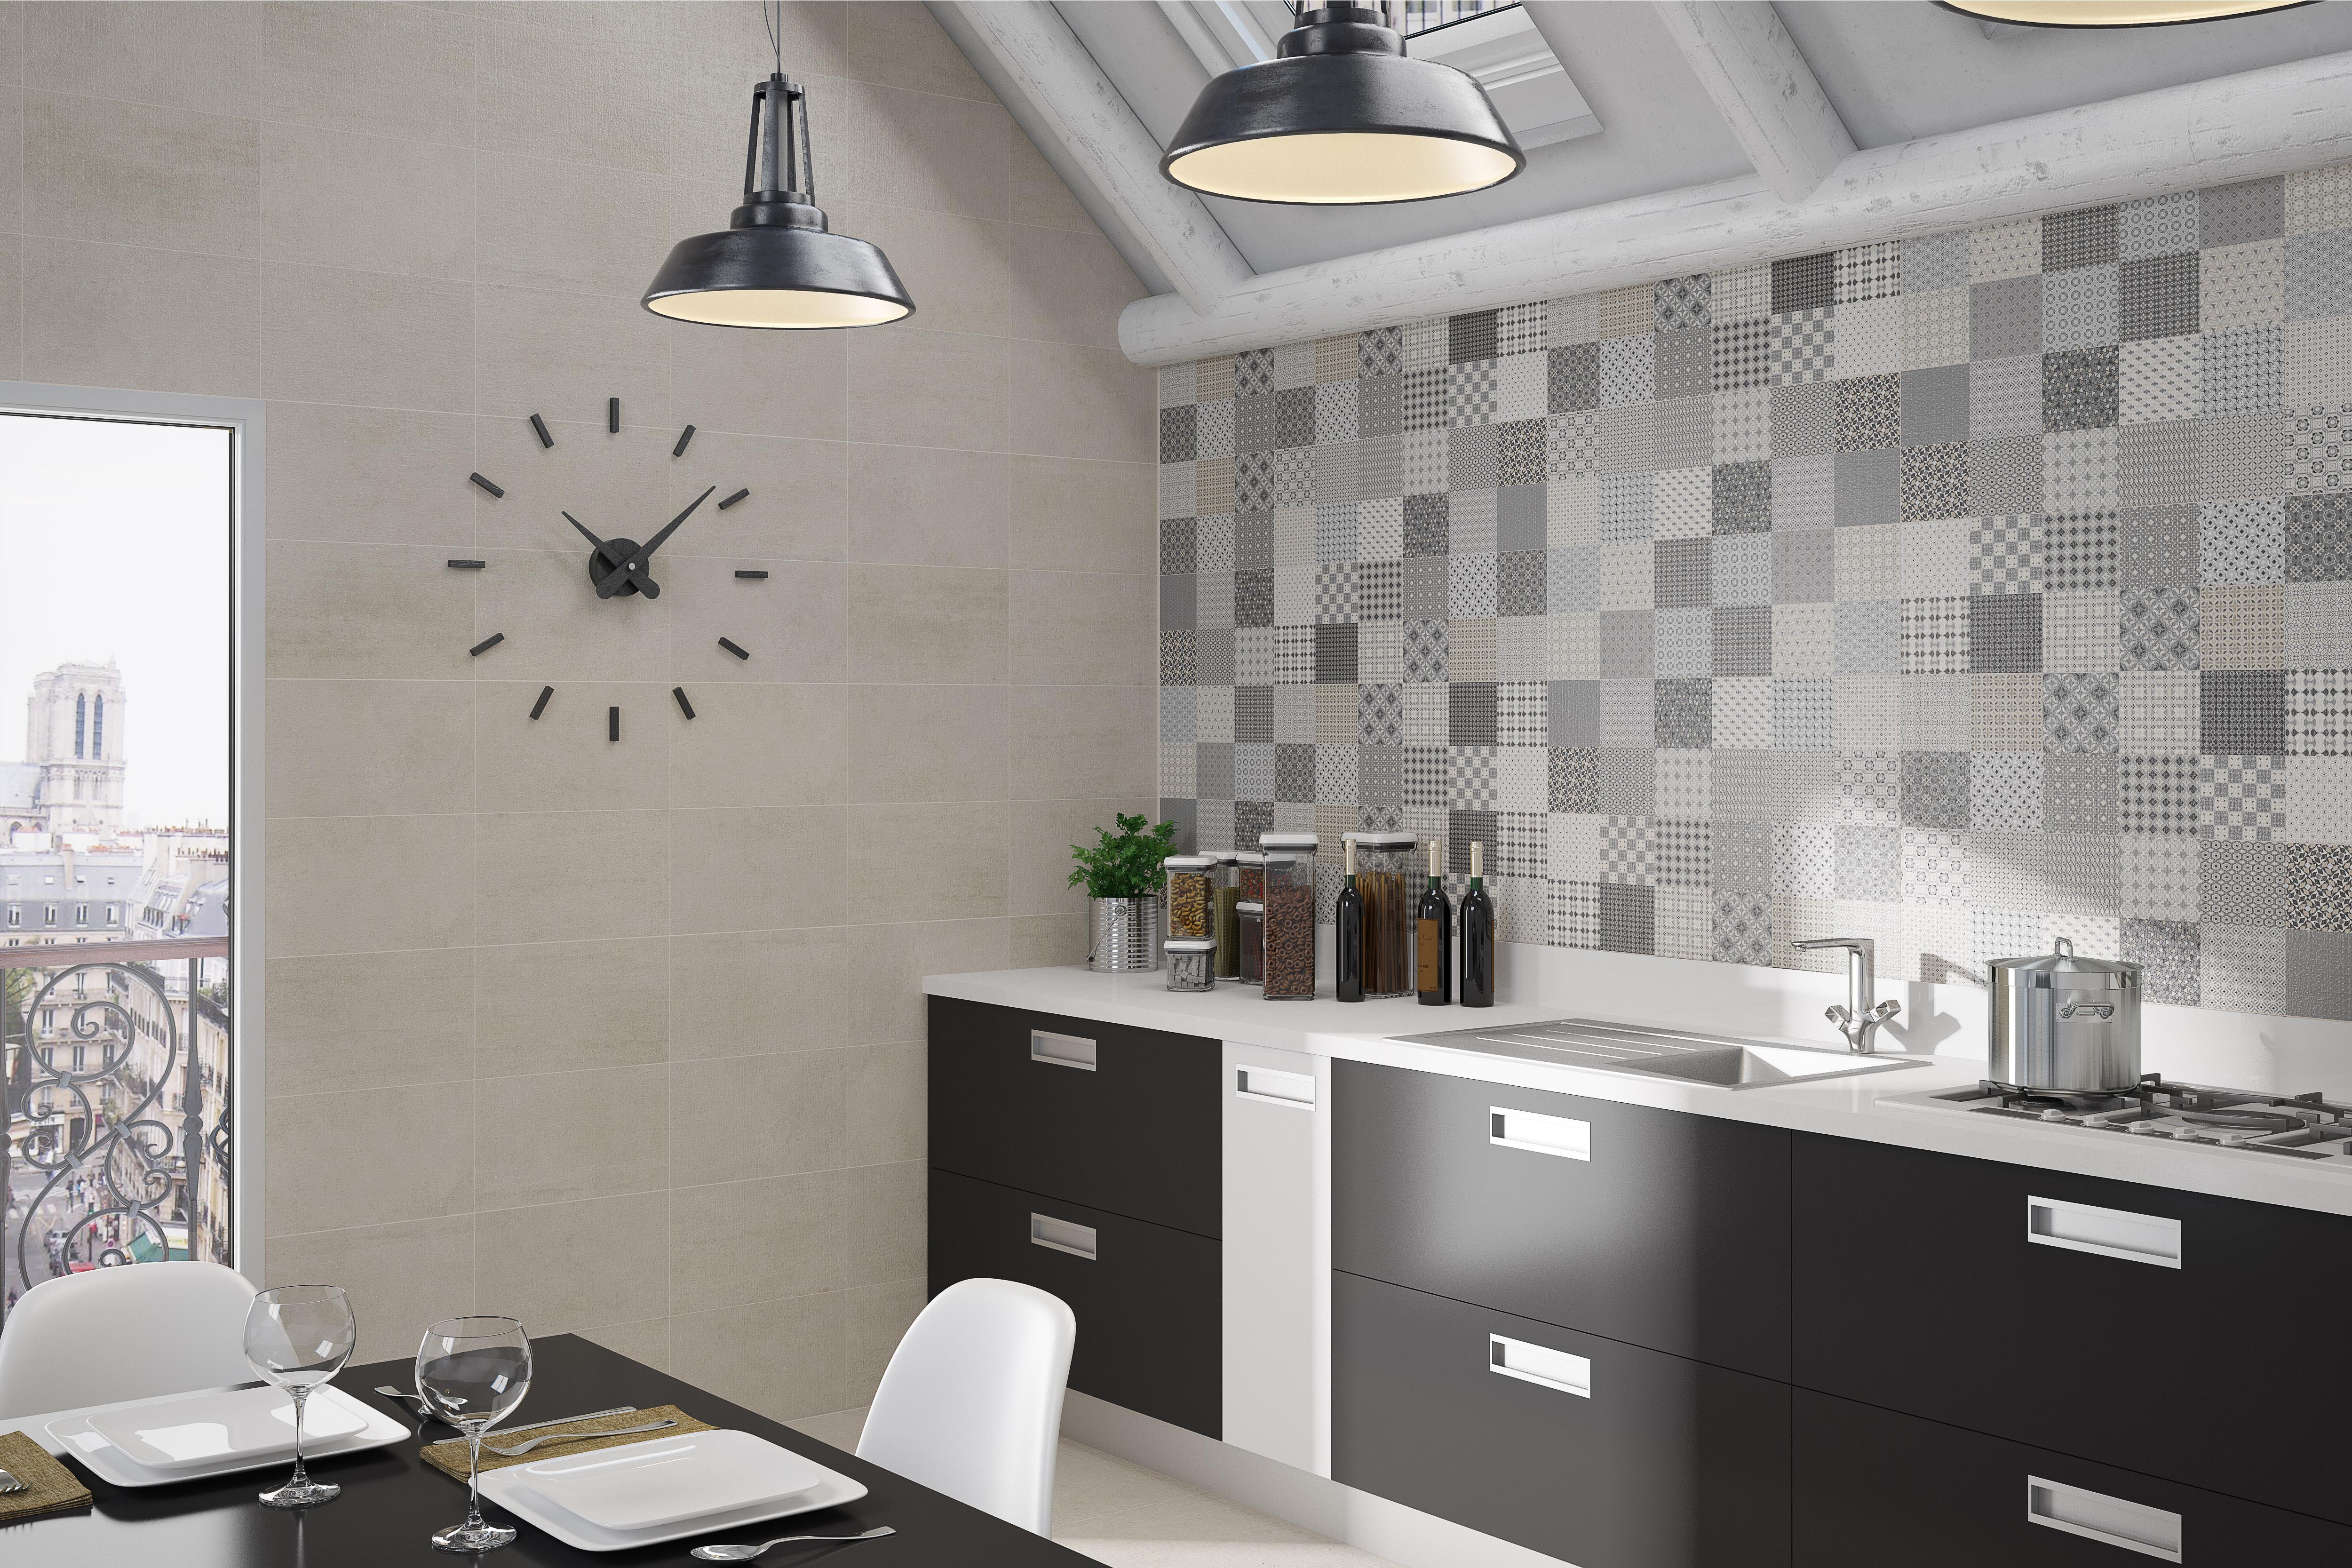
Over time, kitchen tiles can become dated and dull, making your kitchen look outdated and uninviting. By removing the tiles, you have the opportunity to choose a new wall covering, such as paint or wallpaper, that can completely transform the look of your kitchen.
It can also be a more cost-effective option compared to replacing tiles.
Replacing kitchen tiles can be an expensive project, as you not only have to purchase new tiles but also pay for installation. By removing the tiles yourself, you can save money on labor costs and use that money towards new wall coverings or other kitchen updates.
Removing kitchen tiles can also reveal potential underlying issues.
As you remove the tiles, you may discover water damage, mold, or other issues that need to be addressed. It is better to discover these issues early on and fix them before they become bigger and more expensive problems.
Removing kitchen tiles can bring a fresh and modern look to your kitchen.
Over time, kitchen tiles can become dated and dull, making your kitchen look outdated and uninviting. By removing the tiles, you have the opportunity to choose a new wall covering, such as paint or wallpaper, that can completely transform the look of your kitchen.
It can also be a more cost-effective option compared to replacing tiles.
Replacing kitchen tiles can be an expensive project, as you not only have to purchase new tiles but also pay for installation. By removing the tiles yourself, you can save money on labor costs and use that money towards new wall coverings or other kitchen updates.
Removing kitchen tiles can also reveal potential underlying issues.
As you remove the tiles, you may discover water damage, mold, or other issues that need to be addressed. It is better to discover these issues early on and fix them before they become bigger and more expensive problems.
How to Remove Kitchen Tiles from Your Walls
 Before you begin, make sure you have the necessary tools and materials, including a grout saw, putty knife, hammer, and chisel.
It is also important to wear protective gear, such as gloves and goggles, to prevent injury.
The first step is to remove the grout between the tiles using a grout saw.
This will loosen the tiles and make them easier to remove. Next, use a putty knife to gently pry the tiles off the wall. If the tiles are not coming off easily, use a hammer and chisel to carefully break them into smaller pieces and remove them.
Once all the tiles are removed, use a putty knife to scrape off any remaining adhesive or grout.
You may also need to sand the wall to remove any rough spots or residue. Afterward, you can choose to paint, wallpaper, or add new tiles to your walls.
Before you begin, make sure you have the necessary tools and materials, including a grout saw, putty knife, hammer, and chisel.
It is also important to wear protective gear, such as gloves and goggles, to prevent injury.
The first step is to remove the grout between the tiles using a grout saw.
This will loosen the tiles and make them easier to remove. Next, use a putty knife to gently pry the tiles off the wall. If the tiles are not coming off easily, use a hammer and chisel to carefully break them into smaller pieces and remove them.
Once all the tiles are removed, use a putty knife to scrape off any remaining adhesive or grout.
You may also need to sand the wall to remove any rough spots or residue. Afterward, you can choose to paint, wallpaper, or add new tiles to your walls.
Conclusion
 Removing kitchen tiles from your walls can be a simple and cost-effective way to update your kitchen design and reveal any underlying issues.
With the right tools and techniques, it can be a DIY project that can bring new life to your kitchen. We hope this article has provided you with the motivation and guidance to remove your kitchen tiles and create a fresh and modern space in your home.
Removing kitchen tiles from your walls can be a simple and cost-effective way to update your kitchen design and reveal any underlying issues.
With the right tools and techniques, it can be a DIY project that can bring new life to your kitchen. We hope this article has provided you with the motivation and guidance to remove your kitchen tiles and create a fresh and modern space in your home.