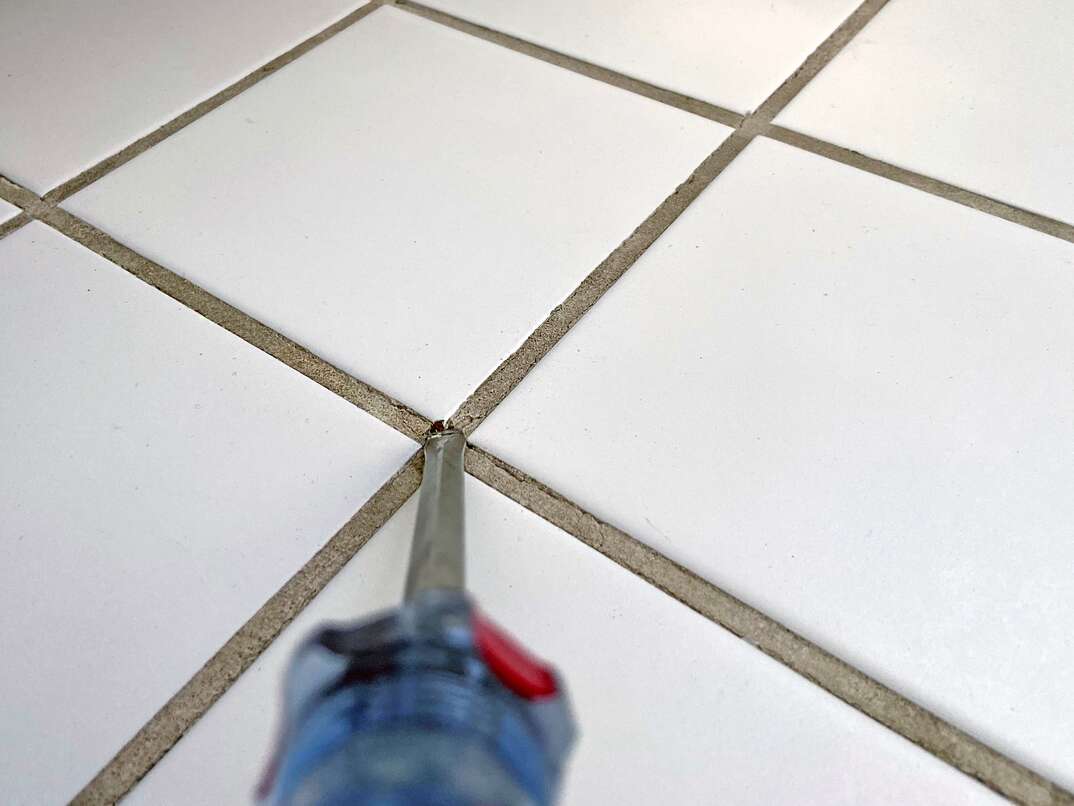
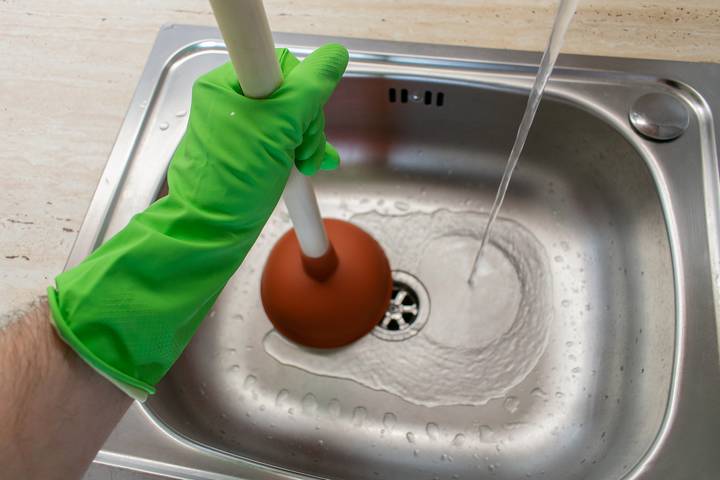
Grout is a common problem in kitchen sinks, especially in areas with hard water. It can make your sink look dirty and can even lead to mold growth. But fear not, removing grout from your kitchen sink is not as daunting as it may seem. With the right tools and techniques, you can easily get rid of grout and restore your sink to its former glory. Start by gathering your supplies. You will need a grout removal tool, such as a grout saw or utility knife, a scrub brush, white vinegar, and baking soda. You may also want to wear gloves and protective eyewear to avoid any potential irritation from the grout removal process. Next, use the grout removal tool to carefully scrape away the grout from the sink surface. Be sure to work gently and avoid scratching the sink. Once you have removed as much grout as possible, use a scrub brush to loosen any remaining grout and debris. Now it's time to tackle any stubborn grout stains. Mix equal parts white vinegar and water in a spray bottle and spray the solution onto the affected areas. Let it sit for a few minutes before scrubbing with a brush or sponge. For tougher stains, sprinkle baking soda onto the affected area and then spray with the vinegar solution. The combination of the two will create a powerful cleaning agent that can break down even the toughest grout stains. After scrubbing, rinse the sink with water and dry with a clean cloth. If there are still traces of grout, repeat the cleaning process until the sink is completely free of grout.1. How to Remove Grout from a Kitchen Sink


1. How to Remove Grout from a Kitchen Sink


If the grout in your kitchen sink is particularly stubborn, there are a few alternative methods you can try. One popular option is to use a steam cleaner. The high-pressure steam can loosen and dissolve grout quickly and effectively. Just be sure to follow the manufacturer's instructions and use caution when handling the steam cleaner. You can also try using a commercial grout cleaner, which is specially formulated to break down and remove grout. Look for a cleaner that is safe for use on your sink surface and follow the instructions carefully. Another natural method for removing grout is to make a paste of lemon juice and cream of tartar. Apply the paste to the grout and let it sit for at least 30 minutes before scrubbing and rinsing. For tougher grout stains, you may need to use a more abrasive cleaner. Be careful when using these products, as they can damage certain sink surfaces. Always test the cleaner on a small, inconspicuous area first and follow the instructions carefully.2. Easy Ways to Get Rid of Grout in Your Kitchen Sink


2. Easy Ways to Get Rid of Grout in Your Kitchen Sink


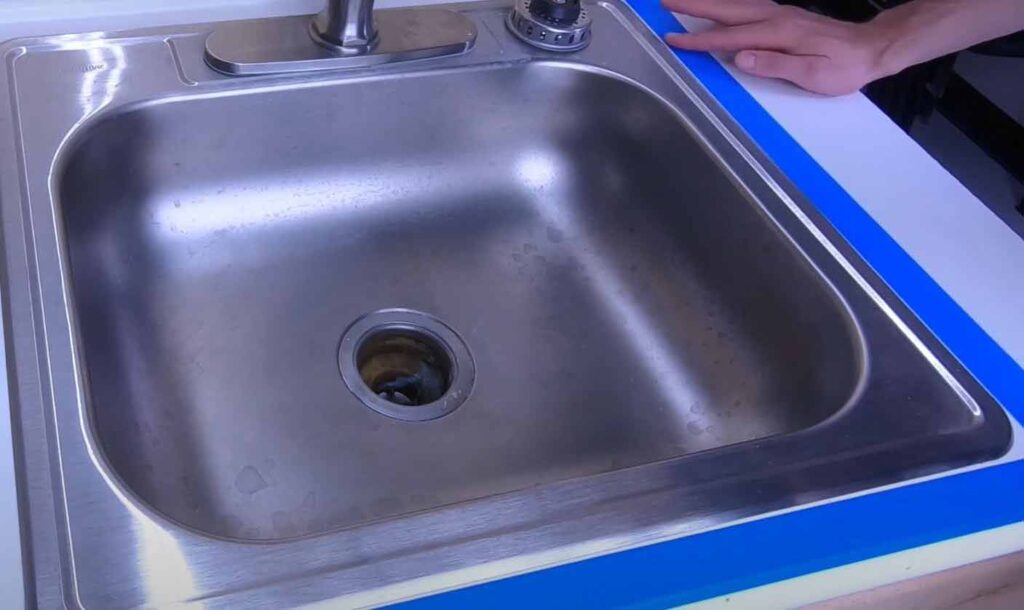
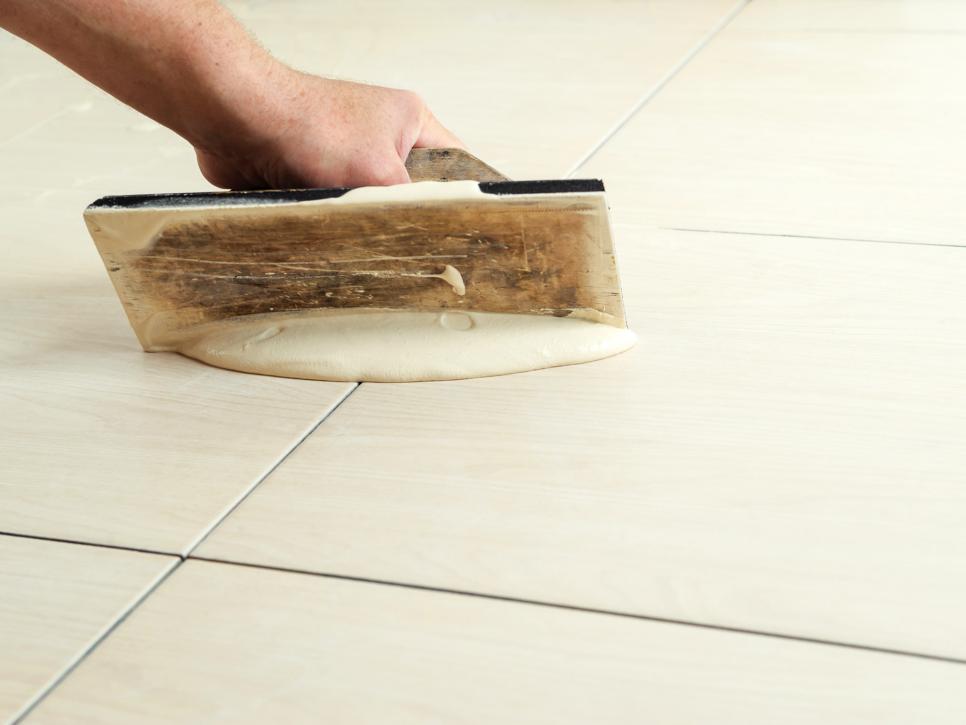
Here is a step-by-step guide for removing grout from your kitchen sink: Step 1: Gather your supplies, including a grout removal tool, scrub brush, white vinegar, baking soda, and protective gear. Step 2: Use the grout removal tool to scrape away as much grout as possible from the sink surface. Step 3: Use a scrub brush to loosen any remaining grout and debris. Step 4: Make a solution of equal parts white vinegar and water in a spray bottle. Step 5: Spray the solution onto the affected areas and let it sit for a few minutes. Step 6: Scrub the sink with a brush or sponge. Step 7: For tougher stains, sprinkle baking soda onto the affected area and then spray with the vinegar solution. Step 8: Rinse the sink with water and dry with a clean cloth. Step 9: If there are still traces of grout, repeat the cleaning process until the sink is completely free of grout.3. Removing Grout from a Kitchen Sink: Step-by-Step Guide


3. Removing Grout from a Kitchen Sink: Step-by-Step Guide

:max_bytes(150000):strip_icc()/remove_tile_grout_in_a_few_simple_steps_1822630_01-b72988e0255c448fbdcdc3b03d3372e9.jpg)


:max_bytes(150000):strip_icc()/How_to_Regrout_Ceramic_Tile_64434_08-63a0298cea2a47ba985a0a17ed65d278.jpg)


While there are many homemade solutions for removing grout, sometimes it's best to use a commercial product specifically designed for the job. Here are some of the best products for removing grout from kitchen sinks: 1. Grout-Eez Super Heavy-Duty Grout Cleaner: This professional strength cleaner is safe for use on most sink surfaces and can even be used in a steam cleaner for tougher jobs. 2. Goo Gone Grout & Tile Cleaner: This powerful cleaner is safe for use on both tile and grout and can help remove stubborn grout stains. 3. Ultimate Grout Cleaner by Black Diamond Stoneworks: This acid-free cleaner is safe for use on porcelain, ceramic, and natural stone sinks and is effective for removing grout and other tough stains. 4. CLR Calcium, Lime & Rust Remover: This multi-purpose cleaner can help remove tough grout stains and is safe for use on most sink surfaces. 5. Zep Grout Cleaner and Whitener: This cleaner can help remove grout and restore the original color of your sink surface.4. Best Products for Removing Grout from Kitchen Sink


4. Best Products for Removing Grout from Kitchen Sink

:max_bytes(150000):strip_icc()/remove_tile_grout_in_a_few_simple_steps_1822630_03-5d5a661a967b4aabab4f3411252508a5.jpg)


If you're still struggling to remove grout from your kitchen sink, here are some tips to help make the process easier: 1. Use a grout removal tool: This tool is specifically designed to remove grout and can make the process much easier and more efficient. 2. Apply pressure: When using a scrub brush or sponge, be sure to apply enough pressure to effectively loosen the grout. You may need to scrub for several minutes to get the desired results. 3. Let the solution sit: When using a homemade or commercial cleaner, be sure to let the solution sit for at least 10-15 minutes before scrubbing. This will give the cleaner time to break down the grout and make it easier to remove. 4. Use protective gear: Grout can be irritating to the skin and eyes, so be sure to wear gloves and protective eyewear when removing it. 5. Be patient: Removing grout from a kitchen sink can be a time-consuming process, especially if the grout is particularly stubborn. Be patient and persistent, and you will eventually achieve a clean and grout-free sink.5. Tips for Removing Stubborn Grout from Kitchen Sink


5. Tips for Removing Stubborn Grout from Kitchen Sink


If you prefer to use natural, homemade solutions for removing grout from your kitchen sink, here are some DIY methods you can try: 1. Lemon juice and cream of tartar: Mix equal parts lemon juice and cream of tartar to create a paste. Apply the paste to the grout and let it sit for at least 30 minutes before scrubbing and rinsing. 2. Vinegar and baking soda: Create a paste of baking soda and water and apply it to the grout. Then, spray the area with a mixture of equal parts vinegar and water. Let it sit for a few minutes before scrubbing and rinsing. 3. Hydrogen peroxide and baking soda: Mix equal parts hydrogen peroxide and baking soda to create a paste. Apply the paste to the grout and let it sit for 10-15 minutes before scrubbing and rinsing. 4. Salt and vinegar: Mix equal parts salt and vinegar to create a paste. Apply the paste to the grout and let it sit for a few minutes before scrubbing and rinsing.6. DIY Methods for Removing Grout from Kitchen Sink


6. DIY Methods for Removing Grout from Kitchen Sink


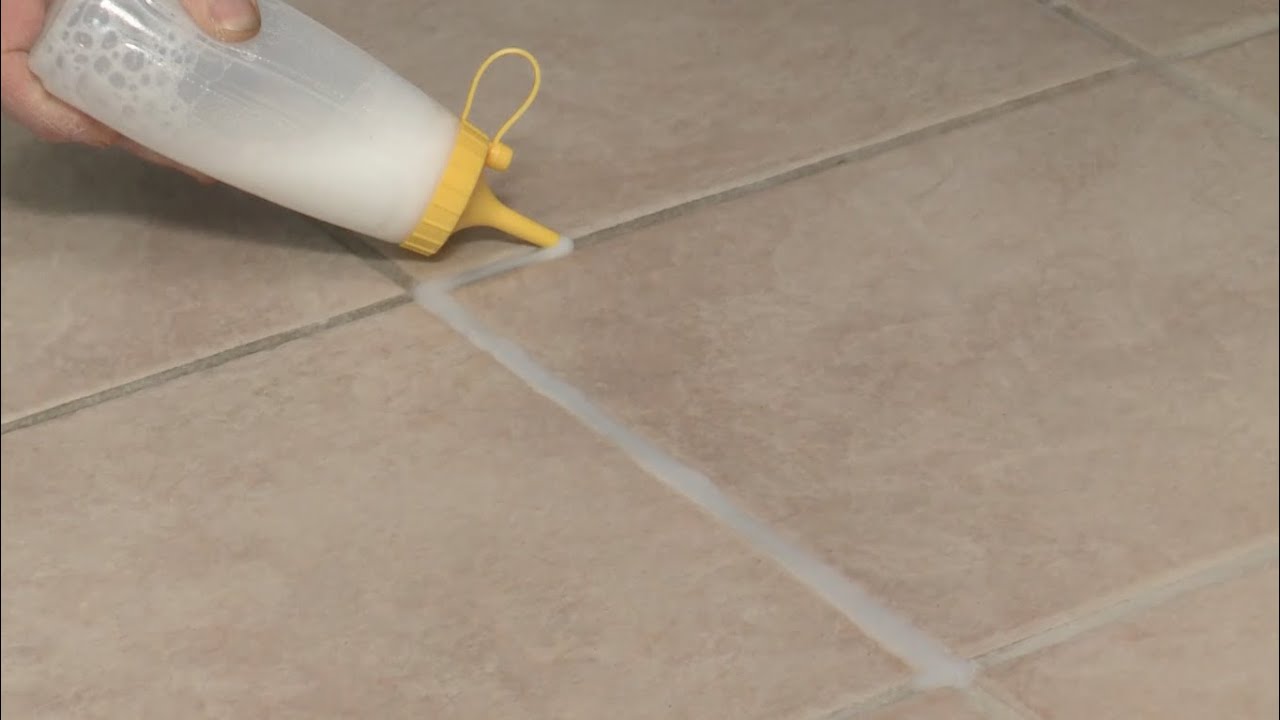
After removing grout from your kitchen sink, it's important to clean and disinfect the area to prevent mold growth and keep your sink looking its best. Here's how to clean and remove grout from a kitchen sink: Step 1: Rinse the sink with water to remove any remaining debris. Step 2: Mix equal parts water and vinegar in a spray bottle. Step 3: Spray the solution onto the sink and let it sit for a few minutes. Step 4: Use a sponge or scrub brush to clean the sink, paying special attention to the areas where grout was removed. Step 5: Rinse the sink with water and dry with a clean cloth. Step 6: For extra disinfection, you can also spray the sink with a mixture of water and bleach. Be sure to follow the instructions on the bleach bottle and use caution when handling it.7. How to Clean and Remove Grout from a Kitchen Sink

7. How to Clean and Remove Grout from a Kitchen Sink

If you're looking for natural, eco-friendly solutions for removing grout from your kitchen sink, here are some options to consider: 1. White vinegar: This common household ingredient is acidic and can help dissolve grout when applied directly to the affected areas. 2. Baking soda: Baking soda is a mild abrasive that can help loosen grout when mixed with water to create a paste. 3. Lemon juice: The citric acid in lemon juice can help break down grout and make it easier to remove. 4. Hydrogen peroxide: This powerful cleaner can help remove tough grout stains and is safe for use on most sink surfaces. 5. Salt: Salt is a natural abrasive that can be used to scrub away grout stains.8. Natural Solutions for Removing Grout from Kitchen Sink
8. Natural Solutions for Removing Grout from Kitchen Sink


If you're not confident in your ability to remove grout from your kitchen sink yourself, you may want to consider hiring a professional. Here are some techniques that professionals use for removing grout from kitchen sinks: 1. Chemical grout removers: Professional cleaners often use strong, acid-based solutions to break down and remove grout from sinks and other surfaces. 2. Steam cleaning: High-pressure steam can be an effective method for removing grout. Professionals use specialized steam cleaning equipment to ensure the job is done safely and effectively. 3. Sanding: In some cases, professionals may use sanding tools to remove grout from sinks and other surfaces. 4. Re-grouting: If the grout in your sink is beyond repair, a professional can remove the old grout and replace it with new grout to give your sink a fresh, clean look.9. Professional Techniques for Removing Grout from Kitchen Sink

9. Professional Techniques for Removing Grout from Kitchen Sink


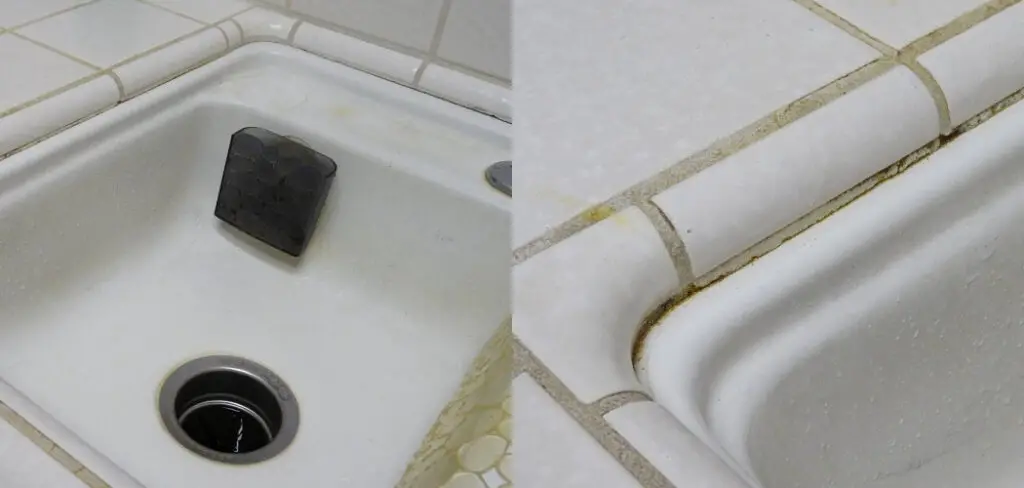
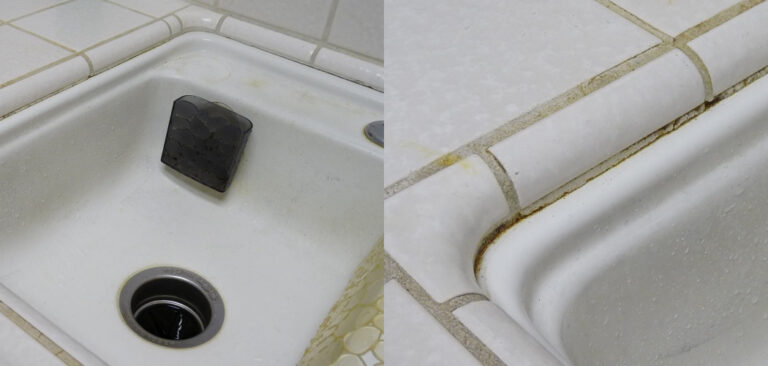
One of the main reasons for removing grout from a kitchen sink is to prevent and remove mold growth. Here are some tips for preventing and removing moldy grout in your kitchen sink: 1. Keep the sink dry: Mold thrives in damp environments, so be sure to dry your sink after use to prevent moisture buildup. 2. Use a mold-killing solution: If you notice any mold growth in your sink, use a solution of equal parts water and bleach to kill the mold and prevent it from spreading. 3. Ventilate the area: Proper ventilation can help prevent mold growth. If your kitchen doesn't have a window, consider using a dehumidifier to reduce moisture levels. 4. Regular cleaning: Regularly cleaning your sink with a mixture of water and vinegar or baking soda can help prevent mold growth and keep your sink looking clean and fresh. 5. Fix any leaks: If you notice any leaks in your sink or plumbing, be sure to fix them as soon as possible. Standing water can lead to mold growth and other issues. 6. Re-grouting: If you do notice moldy grout in your sink, it's important to remove and replace it to prevent further mold growth. Be sure to follow the steps outlined above for removing grout from a kitchen sink. In conclusion, removing grout from a kitchen sink may seem like a daunting task, but with the right tools and techniques, it can be done easily and effectively. Whether you choose to use homemade solutions or opt for a commercial product, be sure to follow the instructions carefully and take the necessary precautions. With a little patience and persistence, your kitchen sink will be free of grout and looking as good as new. 10. Preventing and Removing Moldy Grout in Kitchen Sink


10. Preventing and Removing Moldy Grout in Kitchen Sink


Why Grout Removal is Essential for a Beautiful Kitchen Design

Revamp Your Kitchen with Grout Removal
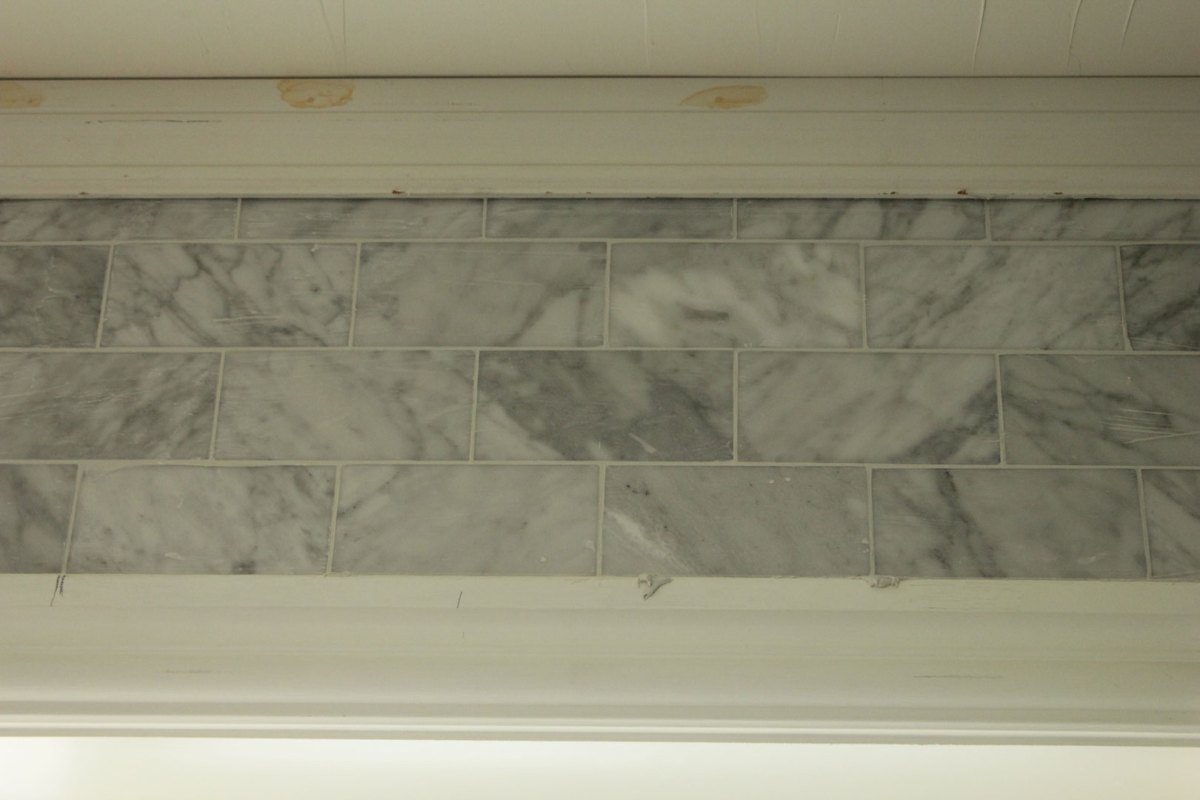
 The kitchen is often considered the heart of the home. It is where meals are prepared, memories are made, and guests are entertained. Therefore, it is important for this space to not only be functional, but also aesthetically pleasing. When it comes to kitchen design, every detail matters, including the grout in between tiles. Over time, the grout can become discolored, cracked, and stained, which can detract from the overall beauty of the kitchen. That's why it's important to prioritize grout removal as part of your kitchen design process.
The Importance of Clean and Well-Maintained Grout
 Grout serves as a filler between tiles, providing stability and preventing water from seeping in. However, it is also prone to collecting dirt, grime, and bacteria. This not only makes the grout look unsightly, but it can also compromise the overall cleanliness and hygiene of your kitchen. Not to mention, dirty grout can also emit unpleasant odors, which can be off-putting for guests. By
removing kitchen sink grout
and replacing it with fresh, clean grout, you can improve the overall appearance and functionality of your kitchen.
Grout serves as a filler between tiles, providing stability and preventing water from seeping in. However, it is also prone to collecting dirt, grime, and bacteria. This not only makes the grout look unsightly, but it can also compromise the overall cleanliness and hygiene of your kitchen. Not to mention, dirty grout can also emit unpleasant odors, which can be off-putting for guests. By
removing kitchen sink grout
and replacing it with fresh, clean grout, you can improve the overall appearance and functionality of your kitchen.
Enhance the Aesthetic Appeal of Your Kitchen
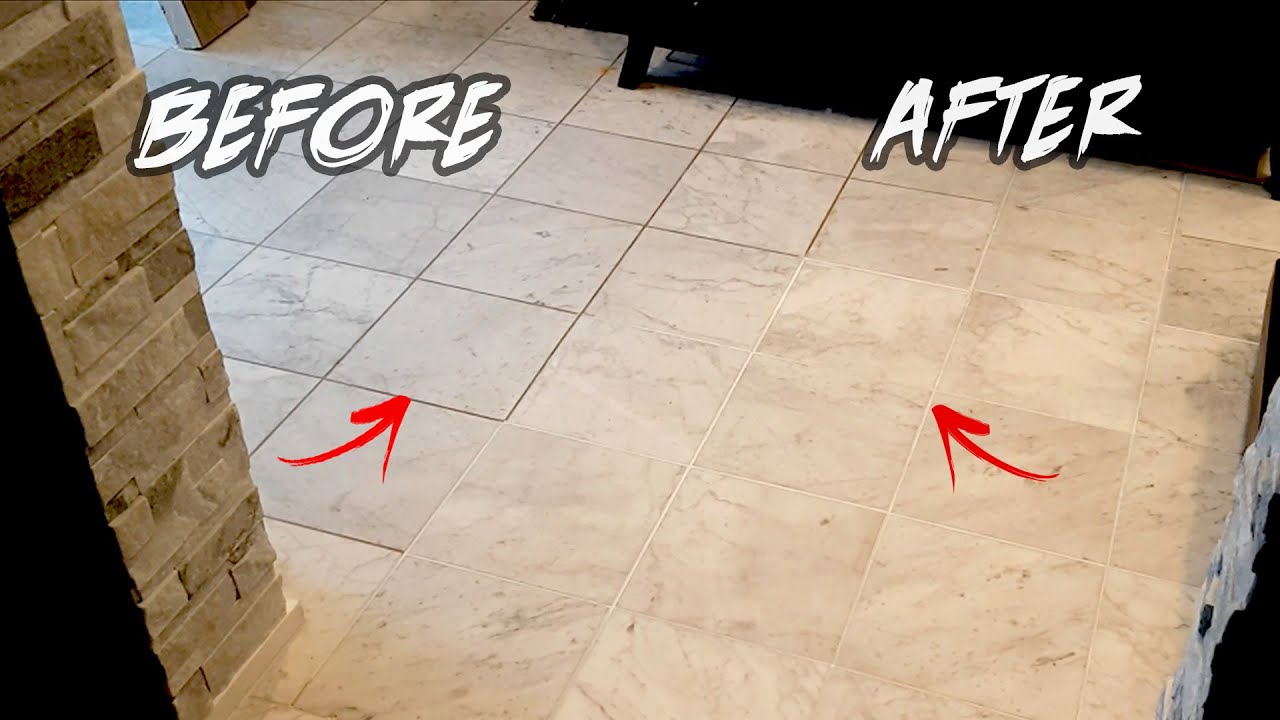
 Grout may seem like a small detail, but it can have a big impact on the overall look of your kitchen. Discolored or cracked grout can make the entire space appear worn and outdated. On the other hand, fresh and clean grout can instantly give your kitchen a much-needed facelift. Additionally, you can choose from a variety of grout colors to complement your kitchen design and create a cohesive look. By
removing kitchen sink grout
and replacing it with new grout, you can revamp the aesthetic appeal of your kitchen without having to make major renovations or spend a lot of money.
Grout may seem like a small detail, but it can have a big impact on the overall look of your kitchen. Discolored or cracked grout can make the entire space appear worn and outdated. On the other hand, fresh and clean grout can instantly give your kitchen a much-needed facelift. Additionally, you can choose from a variety of grout colors to complement your kitchen design and create a cohesive look. By
removing kitchen sink grout
and replacing it with new grout, you can revamp the aesthetic appeal of your kitchen without having to make major renovations or spend a lot of money.
Professional Grout Removal for Optimal Results
 While some homeowners may attempt to
remove kitchen sink grout
themselves, it is a labor-intensive and time-consuming process. Not to mention, without the proper tools and techniques, the results may not be as satisfactory as hiring a professional grout removal service. Professionals have the experience and equipment to efficiently and effectively remove old grout and replace it with new grout that will last for years to come. This ensures a smooth and seamless finish that will enhance the overall beauty and functionality of your kitchen.
In conclusion, grout removal is an essential step in creating a beautiful and functional kitchen design. It not only improves the aesthetic appeal of the space, but also ensures cleanliness and hygiene. By hiring a professional grout removal service, you can achieve optimal results and enjoy a revamped kitchen that you can be proud of. Don't neglect the importance of grout in your kitchen design, and consider investing in grout removal for a stunning and inviting kitchen space.
While some homeowners may attempt to
remove kitchen sink grout
themselves, it is a labor-intensive and time-consuming process. Not to mention, without the proper tools and techniques, the results may not be as satisfactory as hiring a professional grout removal service. Professionals have the experience and equipment to efficiently and effectively remove old grout and replace it with new grout that will last for years to come. This ensures a smooth and seamless finish that will enhance the overall beauty and functionality of your kitchen.
In conclusion, grout removal is an essential step in creating a beautiful and functional kitchen design. It not only improves the aesthetic appeal of the space, but also ensures cleanliness and hygiene. By hiring a professional grout removal service, you can achieve optimal results and enjoy a revamped kitchen that you can be proud of. Don't neglect the importance of grout in your kitchen design, and consider investing in grout removal for a stunning and inviting kitchen space.