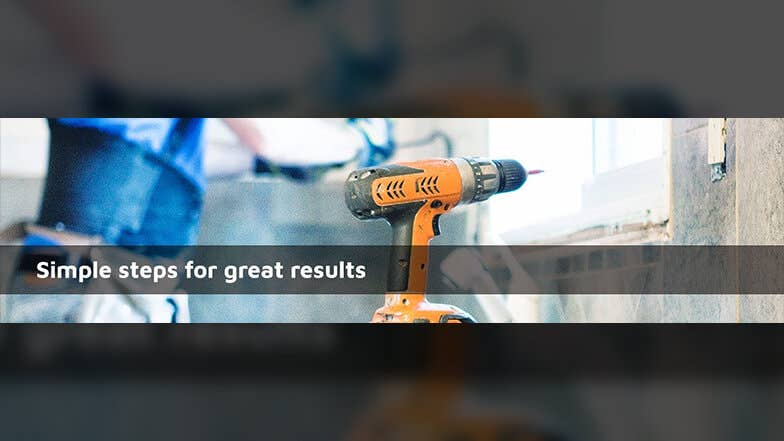
Removing kitchen cabinets can be a daunting task, especially when you're worried about damaging the walls underneath. But fear not, because with the right techniques and tools, you can remove your cabinets without causing any harm to your walls. In this article, we'll guide you through the process step-by-step and share some expert tips to ensure a smooth and damage-free removal.How to Remove Kitchen Cabinets Without Damaging the Wall

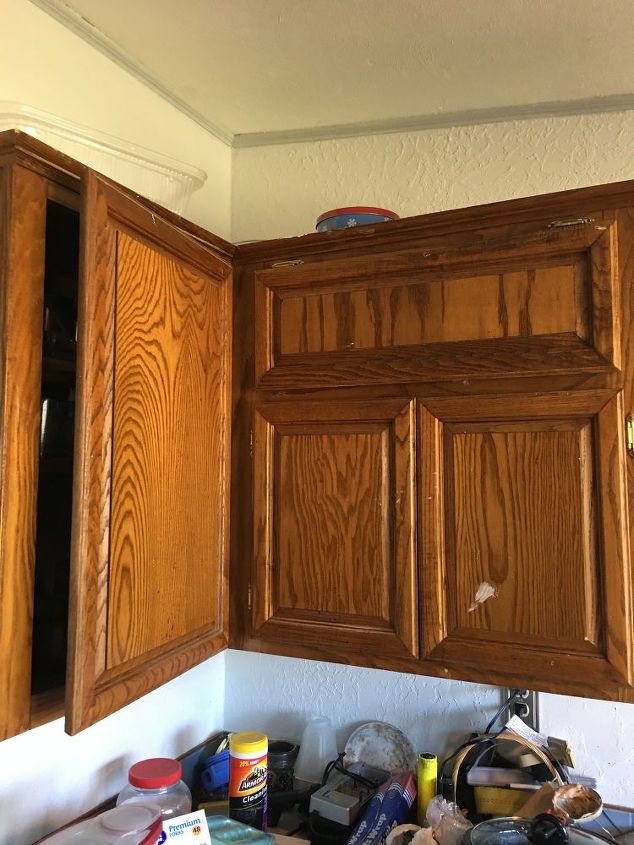

How to Remove Kitchen Cabinets Without Damaging the Wall


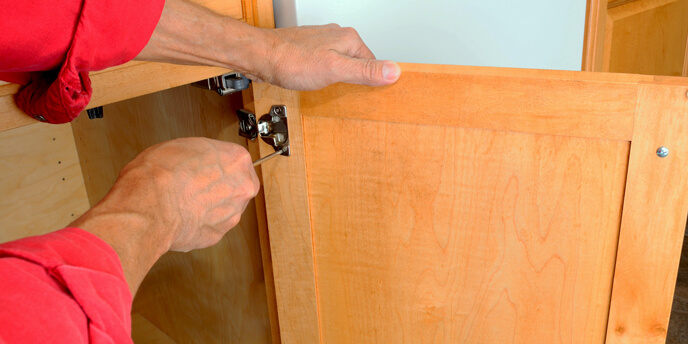
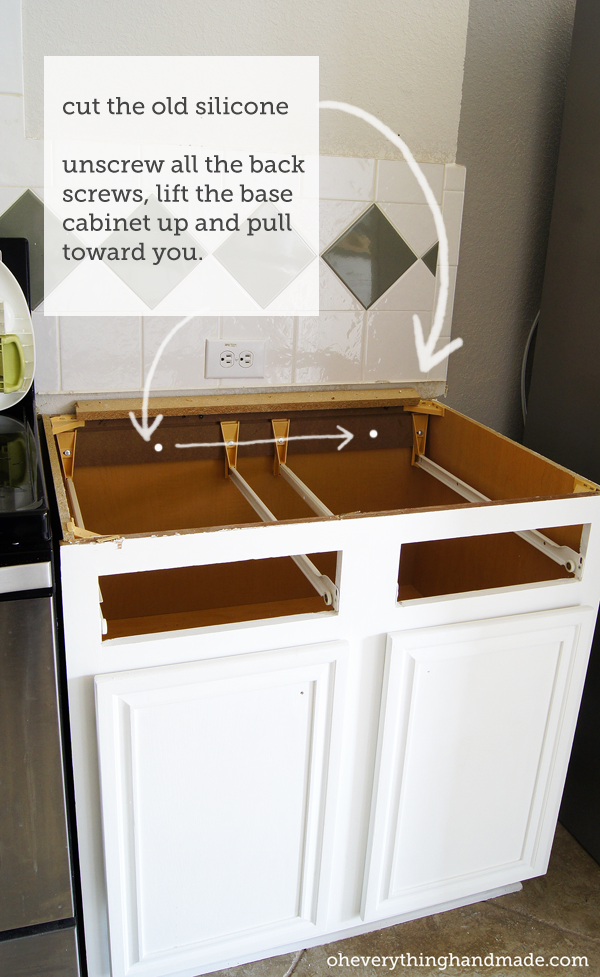
Step 1: Empty the Cabinets The first step to removing your kitchen cabinets is to empty them out completely. This will make the cabinets lighter and easier to handle, reducing the risk of damage to your walls. Step 2: Remove Cabinet Doors and Drawers Using a screwdriver, remove the cabinet doors and drawers from their hinges. This will make it easier to access the screws holding the cabinets to the wall. Step 3: Locate the Studs Before removing the cabinets, you need to locate and mark the studs on your wall. This will help you determine where the cabinets are attached and avoid damaging the drywall. Step 4: Remove Screws Holding the Cabinets Using a screwdriver or drill, remove the screws holding the cabinets to the wall. Make sure to keep the screws in a safe place, as you will need them when reinstalling the cabinets. Step 5: Support the Cabinets As you remove the screws, have someone hold the cabinet in place to prevent it from falling off the wall. If you're working alone, use a support beam or makeshift support to hold the cabinet in place. Step 6: Carefully Remove the Cabinets Once all the screws are removed, gently pull the cabinets away from the wall. Be mindful of any wires or pipes that may be attached to the cabinets and disconnect them if necessary. Step 7: Patch Any Holes If the cabinets were attached with screws, you may be left with some holes in your wall. Use spackling paste or drywall putty to fill in these holes and smooth them out with a putty knife. Step 8: Clean the Walls After removing the cabinets, it's a good idea to clean the walls to remove any dirt or grime that may have accumulated behind the cabinets. This will also give you a clean surface to work with when installing new cabinets.Removing Kitchen Cabinets Without Damaging the Wall: A Step-by-Step Guide

Removing Kitchen Cabinets Without Damaging the Wall: A Step-by-Step Guide


If you're a DIY enthusiast, you may be tempted to try removing your kitchen cabinets on your own. While it is doable, it's important to take the necessary precautions to avoid damaging your walls. Here are some tips to help you out: Tip 1: Use the Right Tools Invest in a good quality screwdriver or drill to remove the screws holding the cabinets. This will make the process easier and reduce the risk of stripping the screws or damaging the walls. Tip 2: Work Slowly and Carefully Take your time when removing the cabinets and make sure to support them as you remove the screws. Rushing the process can lead to accidents and damage to your walls. Tip 3: Protect Your Floors Place a drop cloth or old sheet on the floor to protect it from any falling debris or tools. This will also make the cleanup process easier. Tip 4: Have a Plan for Disposing of the Cabinets Before starting the removal process, make sure you have a plan for disposing of the old cabinets. You can donate them if they're still in good condition or hire a disposal service to take them away.DIY: How to Remove Kitchen Cabinets Without Damaging the Wall


DIY: How to Remove Kitchen Cabinets Without Damaging the Wall


Tip 1: Loosen Adhesives If your cabinets are attached with adhesive, use a heat gun or hairdryer to loosen the glue before removing the cabinets. This will make the process easier and reduce the risk of damage to your walls. Tip 2: Cut Caulk Lines If your cabinets are caulked to the wall, use a utility knife to cut through the caulk before removing the cabinets. This will prevent the caulk from tearing and damaging the drywall. Tip 3: Protect Your Countertops Place a towel or cardboard on your countertops to protect them from any falling debris or tools. This will also prevent scratches or damage to the surface. Tip 4: Use a Pry Bar If your cabinets are stubbornly attached to the wall, use a pry bar to gently loosen them. Be careful not to apply too much pressure, as this can damage the wall or the cabinets. Tip 5: Get Professional Help If you're unsure about removing your kitchen cabinets on your own, it's best to seek professional help. This will ensure that the cabinets are removed safely and without causing any damage to your walls.5 Tips for Removing Kitchen Cabinets Without Damaging the Wall

5 Tips for Removing Kitchen Cabinets Without Damaging the Wall

It's important to keep in mind that some cabinets may be more difficult to remove than others. For example, cabinets that are attached with adhesive or caulk may require more effort and care to remove without damaging the walls. It's always a good idea to consult a professional if you're unsure about removing your cabinets on your own. Additionally, if you're planning on installing new cabinets, make sure to properly measure and plan before removing the old ones. This will ensure that the new cabinets fit correctly and reduce the risk of damaging the walls during installation.Removing Kitchen Cabinets Without Damaging the Wall: What You Need to Know


Removing Kitchen Cabinets Without Damaging the Wall: What You Need to Know


When removing kitchen cabinets, the most important thing to keep in mind is to work slowly and carefully. Take your time and use the right tools to ensure that the cabinets are removed without causing any damage to your walls. If you're not confident in your DIY skills, it's always best to seek professional help. They have the experience and tools necessary to remove your cabinets safely and without damaging your walls.Protecting Your Walls: How to Remove Kitchen Cabinets Without Damage


Protecting Your Walls: How to Remove Kitchen Cabinets Without Damage


Removing kitchen cabinets without damaging drywall can be a tricky task, but with the right techniques, it can be done. Here are some additional tips to help you protect your drywall during the removal process: Tip 1: Use a Stud Finder A stud finder is a handy tool that can help you locate the studs in your wall. This will help you determine where the cabinets are attached and avoid damaging the drywall in between the studs. Tip 2: Don't Force It If you encounter resistance when trying to remove the cabinets, don't force them. This can cause damage to the drywall or the cabinets themselves. Instead, take a step back and assess the situation before proceeding. Tip 3: Repair Any Damage Immediately If you do end up damaging the drywall during the removal process, make sure to repair it immediately. This will prevent any further damage and ensure a smooth surface for installing new cabinets.Removing Kitchen Cabinets Without Damaging Drywall: A Comprehensive Guide

Removing Kitchen Cabinets Without Damaging Drywall: A Comprehensive Guide
To summarize, here is a step-by-step guide for removing your kitchen cabinets without damaging the wall: Step 1: Empty the cabinets. Step 2: Remove cabinet doors and drawers. Step 3: Locate the studs. Step 4: Remove screws holding the cabinets. Step 5: Support the cabinets. Step 6: Carefully remove the cabinets. Step 7: Patch any holes. Step 8: Clean the walls. Step 9: Repair any damage to the drywall.Step-by-Step: How to Remove Kitchen Cabinets Without Damaging the Wall


Step-by-Step: How to Remove Kitchen Cabinets Without Damaging the Wall


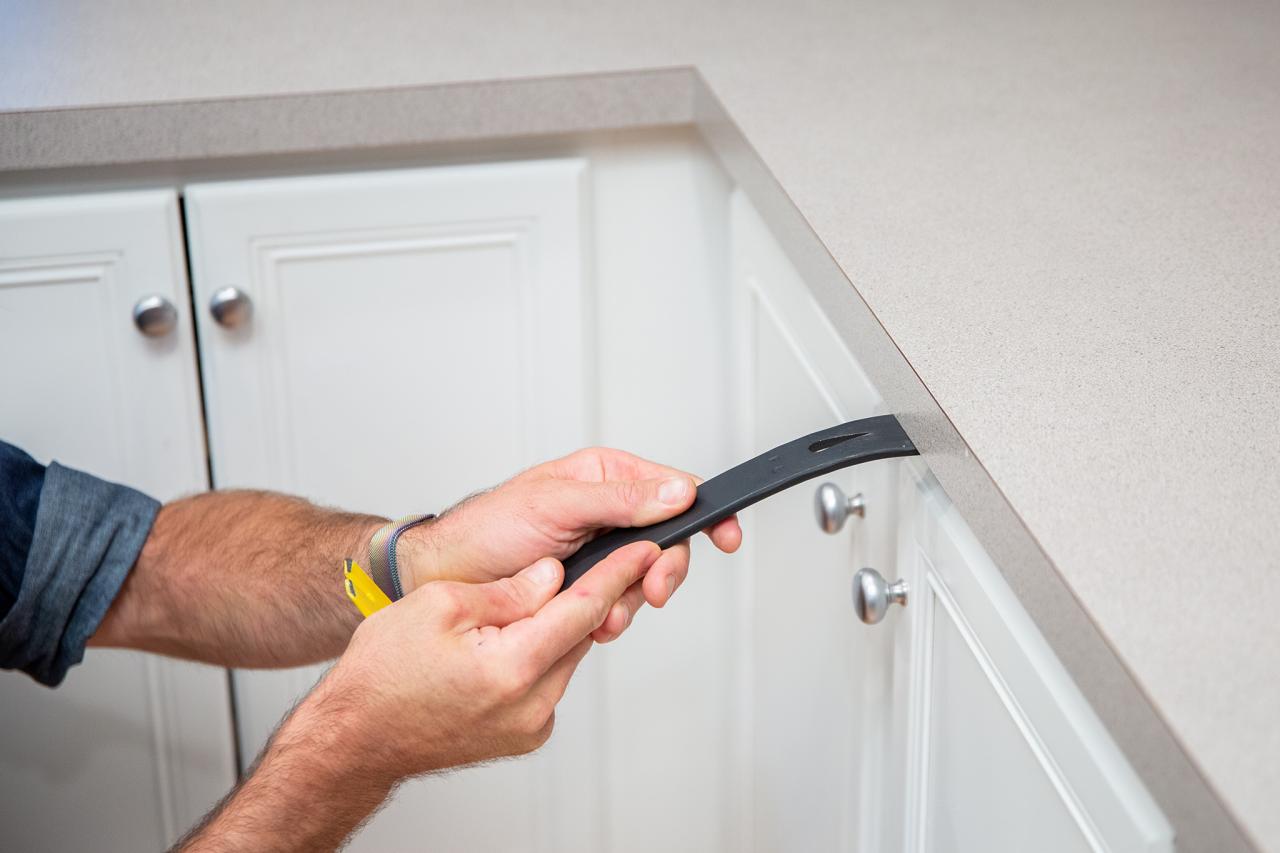
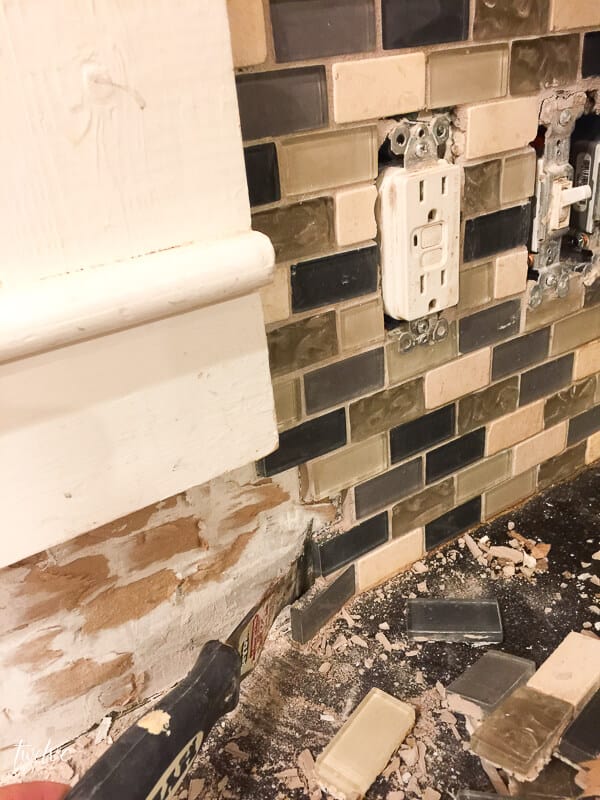
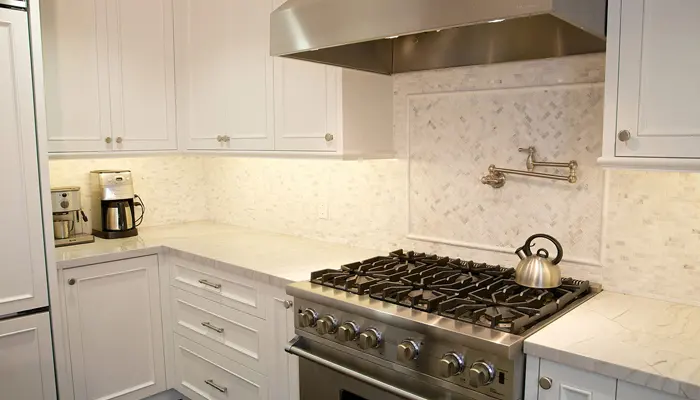
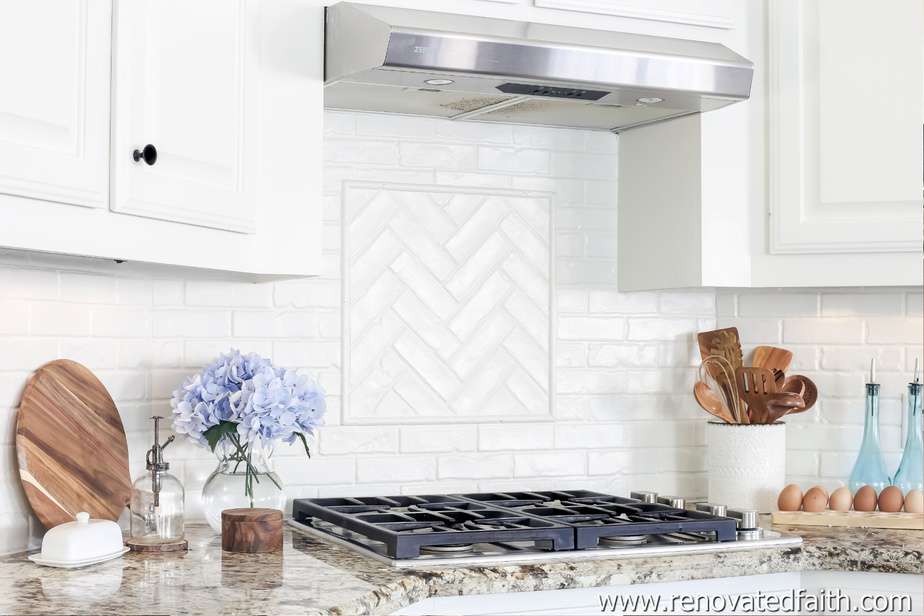
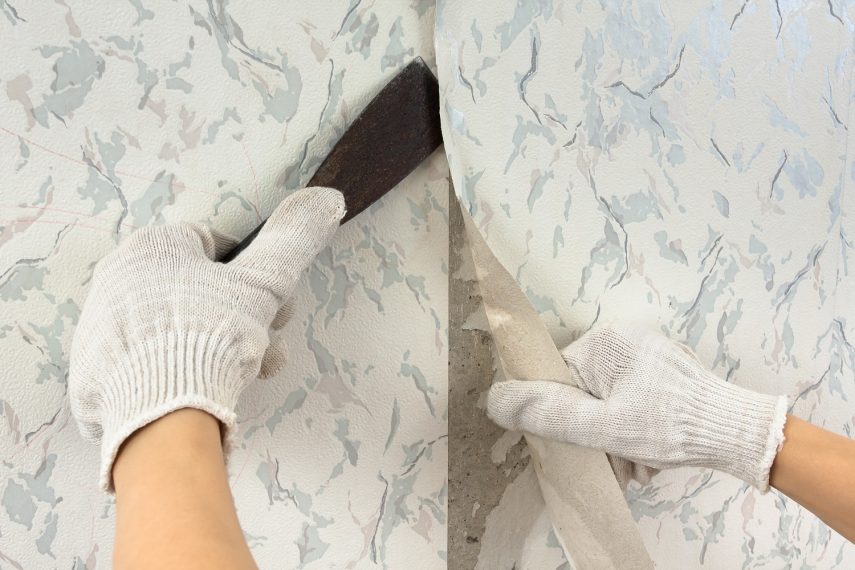
If your kitchen has a tile or backsplash, you may be worried about damaging them during the cabinet removal process. Here's how you can protect your tile or backsplash: Tip 1: Use a Putty Knife Before removing the cabinets, use a putty knife to gently pry the backsplash away from the wall. This will create a small gap between the wall and the backsplash, preventing any damage when removing the cabinets. Tip 2: Cover the Tile or Backsplash If you're unable to pry the backsplash away, use a protective material such as cardboard or a towel to cover the tile or backsplash. This will prevent any scratches or damage when removing the cabinets. Tip 3: Work Slowly and Carefully When removing the cabinets, take your time and work carefully to avoid bumping or damaging the tile or backsplash. If necessary, have someone hold a protective barrier in place while you remove the cabinets.Removing Kitchen Cabinets Without Damaging Tile or Backsplash
Removing Kitchen Cabinets Without Damaging Tile or Backsplash


Here are some essential tools you'll need when removing your kitchen cabinets: Screwdriver or Drill: A screwdriver or drill will help you remove the screws holding the cabinets to the wall. Pry Bar: A pry bar can come in handy when removing stubborn cabinets that are attached with adhesive or caulk. Stud Finder: A stud finder will help you locate the studs in your wall, preventing damage to the drywall in between. Putty Knife: A putty knife can be used to gently pry the backsplash away from the wall to create a gap for removing the cabinets. Drop Cloth or Towel: Use a drop cloth or towel to protect your floors and countertops from any debris or tools. Protective Barrier: If you're working with a delicate backsplash or tile, use a protective barrier such as cardboard or a towel to prevent damage. Heat Gun or Hairdryer: These tools can be used to loosen adhesive on cabinets that are attached with glue. Sturdy Support: Have a support beam or makeshift support ready to hold the cabinets in place as you remove them.The Best Tools for Removing Kitchen Cabinets Without Damaging the Wall


The Best Tools for Removing Kitchen Cabinets Without Damaging the Wall

Removing Kitchen Cabinets Without Damaging the Wall: A Professional Guide
Why Remove Kitchen Cabinets?
 Kitchen cabinets are an essential part of any kitchen, providing storage space and enhancing the overall design of the room. However, there may come a time when you need to remove them, whether it's for a remodel, repair, or simply to change the layout. Whatever the reason may be, it's important to know how to remove kitchen cabinets without damaging the wall behind them.
Tools You Will Need
 Before you begin the process of removing your kitchen cabinets, gather all the necessary tools. This will include a drill, screwdriver, hammer, pry bar, and a putty knife. You may also need a stud finder and a level to ensure the cabinets are properly installed and secured to the wall.
Step 1: Empty the Cabinets
 Before you start removing any cabinets, make sure to empty them of all their contents. This will not only make them easier to handle, but it will also reduce the risk of damaging any items inside.
Step 2: Locate the Studs
 Using a stud finder, locate the studs behind the cabinets. The studs are the vertical beams in the wall that provide support for the cabinets. Mark the location of the studs with a pencil.
Step 3: Remove the Doors and Shelves
 Using a screwdriver, remove the doors and shelves from the cabinets. This will make the cabinets lighter and easier to handle.
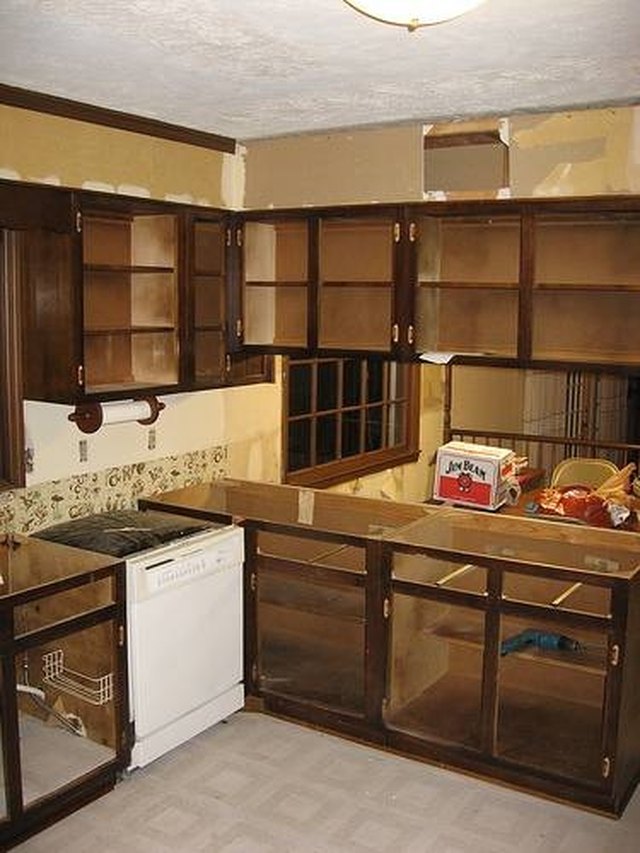
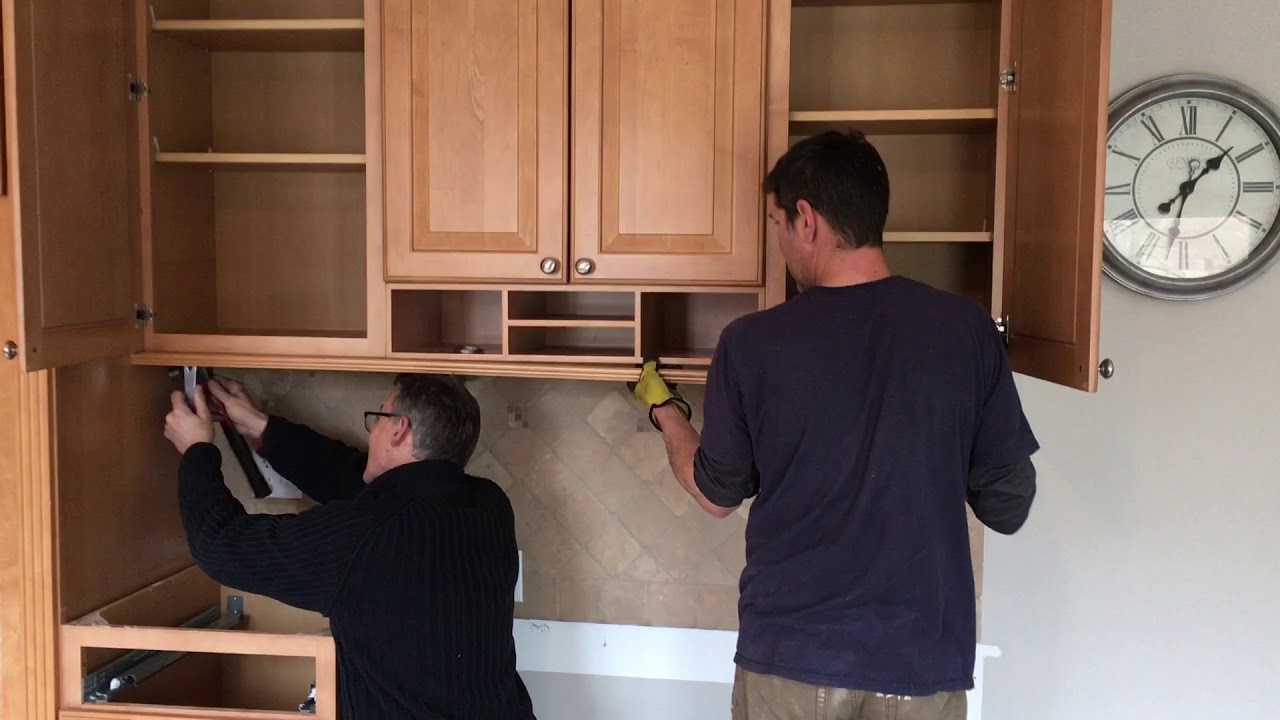
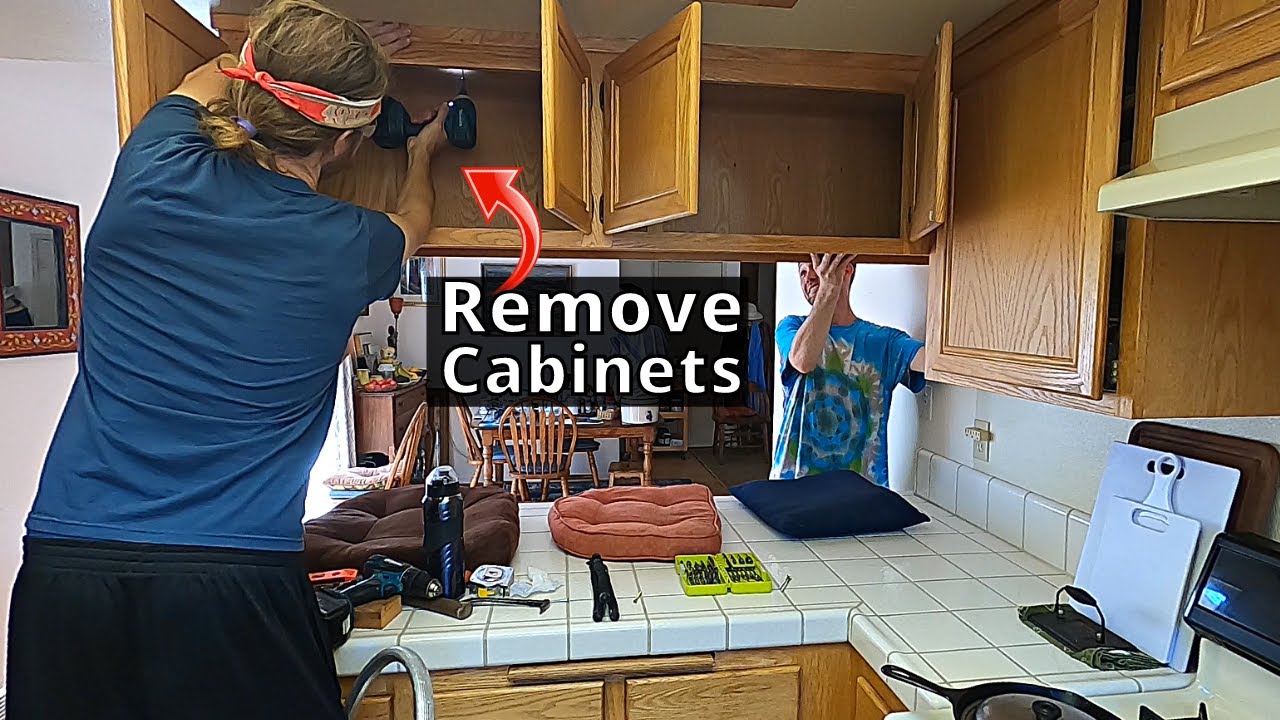
Step 4: Unscrew the Cabinets
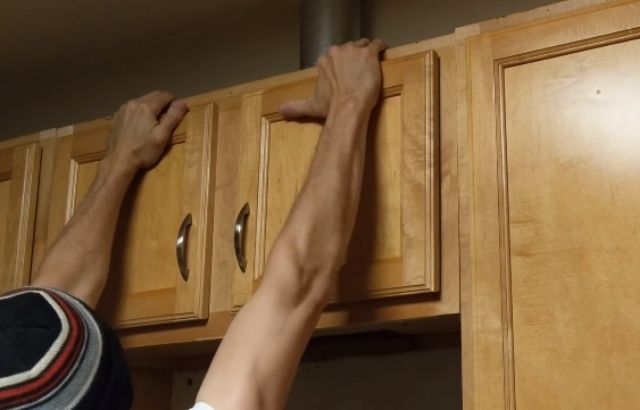
Step 5: Pry the Cabinets Off the Wall
 Once the cabinets are unscrewed, use a pry bar to gently pry them away from the wall. Be careful not to apply too much pressure, as this could cause damage to the wall.
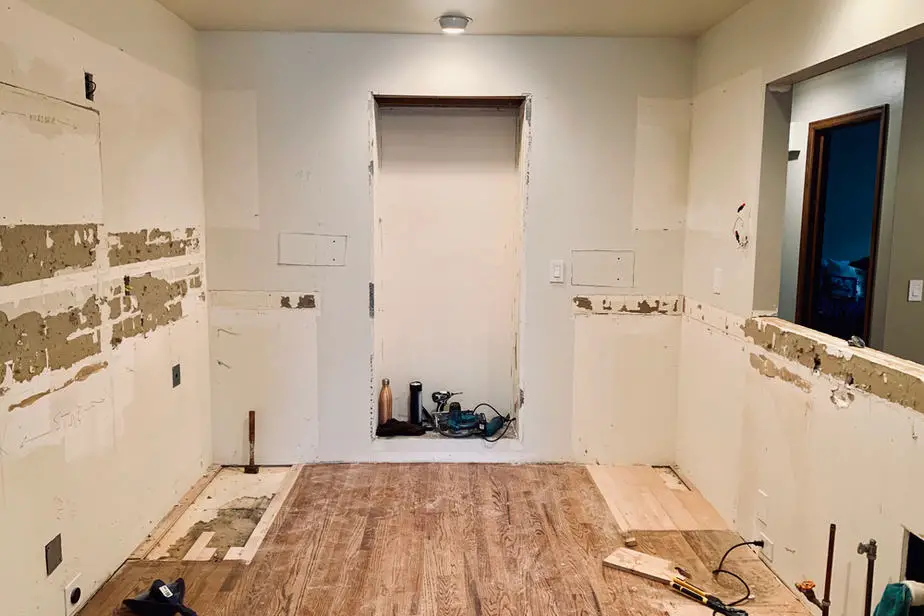
Step 6: Patch and Repair
 After the cabinets have been removed, you may notice some holes or damage to the wall. Use a putty knife and spackling compound to fill in any holes or dents. Allow the compound to dry before sanding and painting over the repaired areas.
Conclusion
 Removing kitchen cabinets without damaging the wall is a relatively simple process, as long as you have the right tools and follow the steps carefully. By taking the time to properly remove the cabinets, you can avoid any unnecessary damage and ensure a smooth and successful removal process. Remember to always work carefully and have someone assist you to safely remove the cabinets.