1. How to Remove a Kitchen Faucet
Removing a kitchen faucet may seem like a daunting task, but with the right tools and knowledge, it can be done easily. Whether you're replacing an old faucet or simply cleaning it, knowing how to properly remove it is essential. In this article, we'll guide you through the step-by-step process of removing a kitchen faucet.


1. How to Remove a Kitchen Faucet


2. Step-by-Step Guide: Removing a Kitchen Faucet
Before starting the process, make sure to turn off the water supply to your kitchen sink. You can do this by either turning off the main water supply or shutting off the valves under the sink. Once the water is turned off, follow these steps:
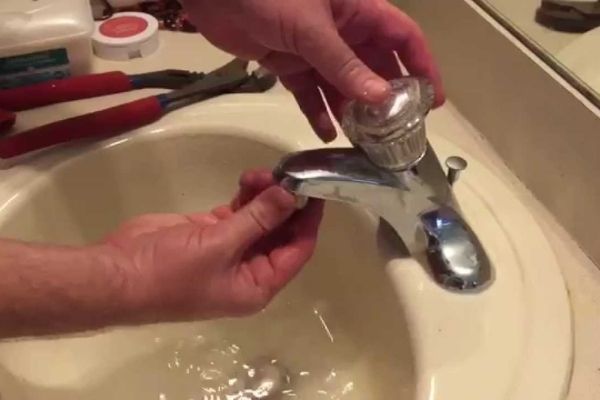
Step 1: Remove any objects or clutter around the sink area to give yourself enough space to work. This will also prevent any damage to your belongings during the removal process.
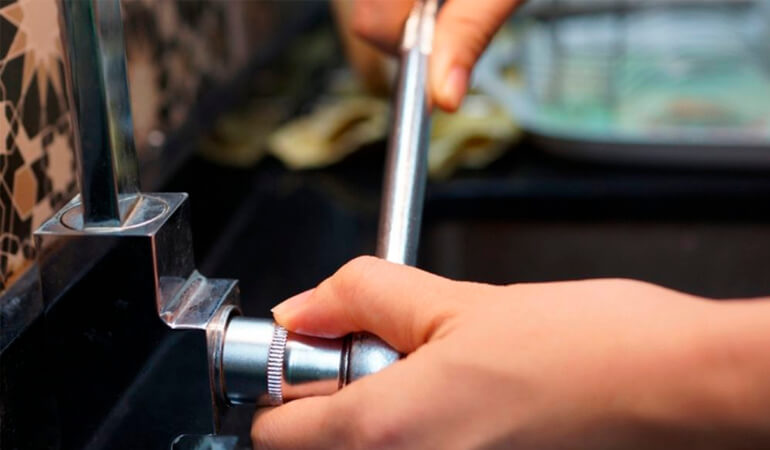
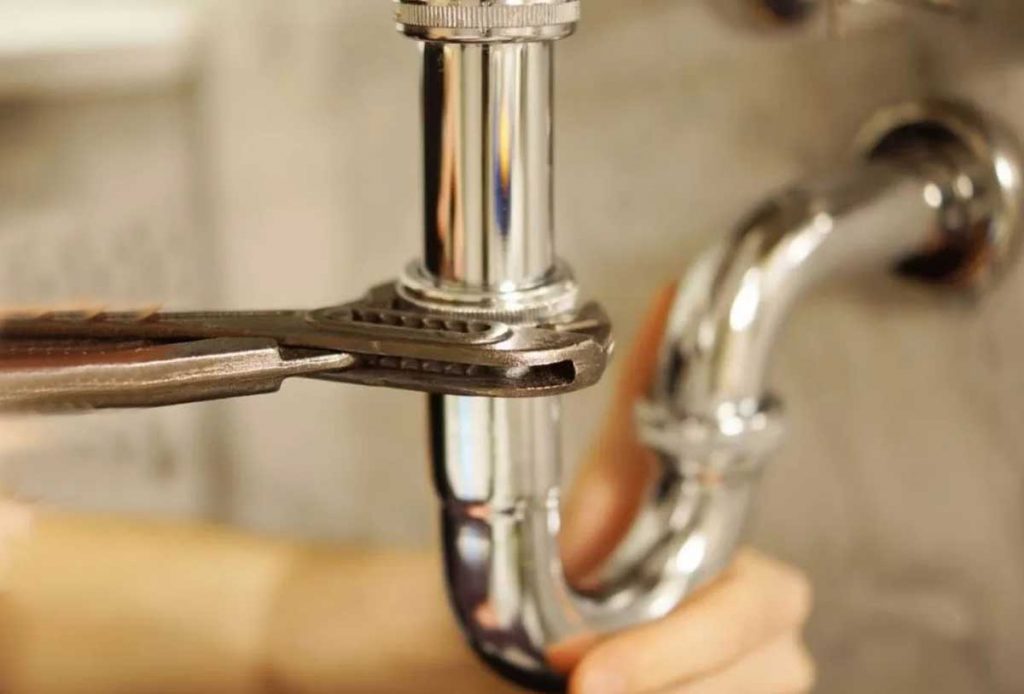
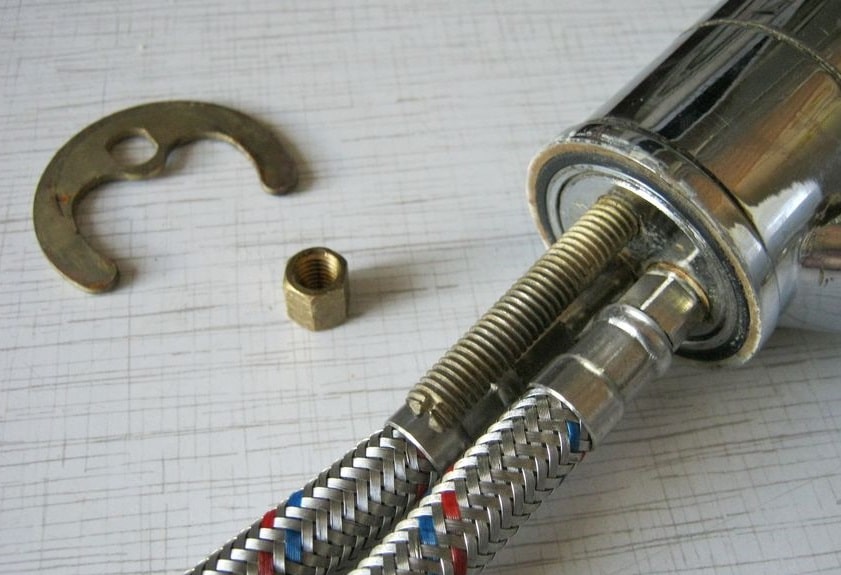
Step 2: Locate the mounting nuts that hold the faucet in place. These are usually located under the sink and can be easily identified by their hexagonal shape.
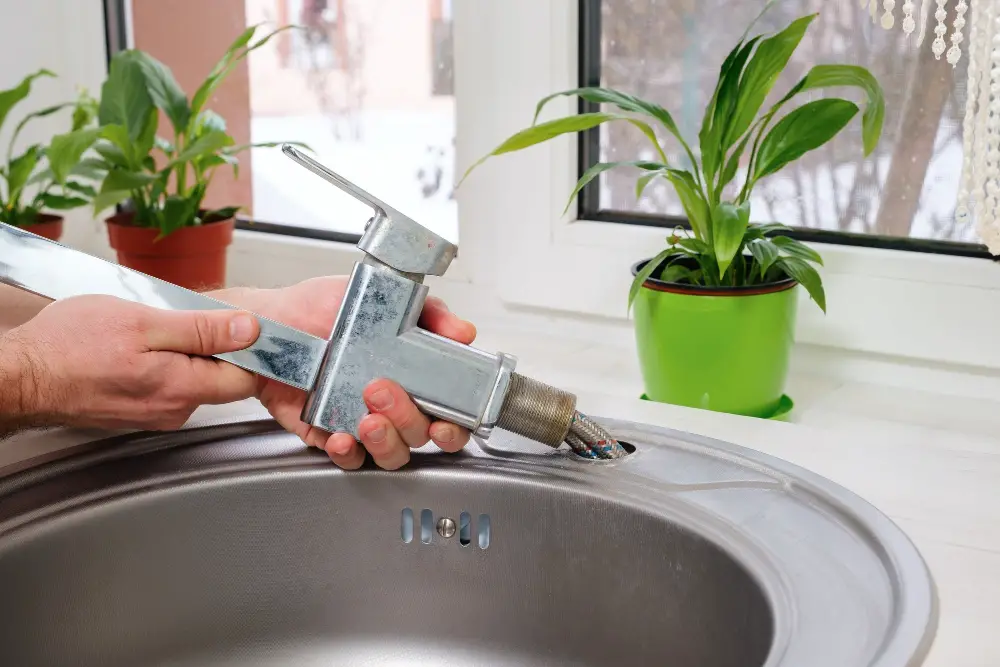
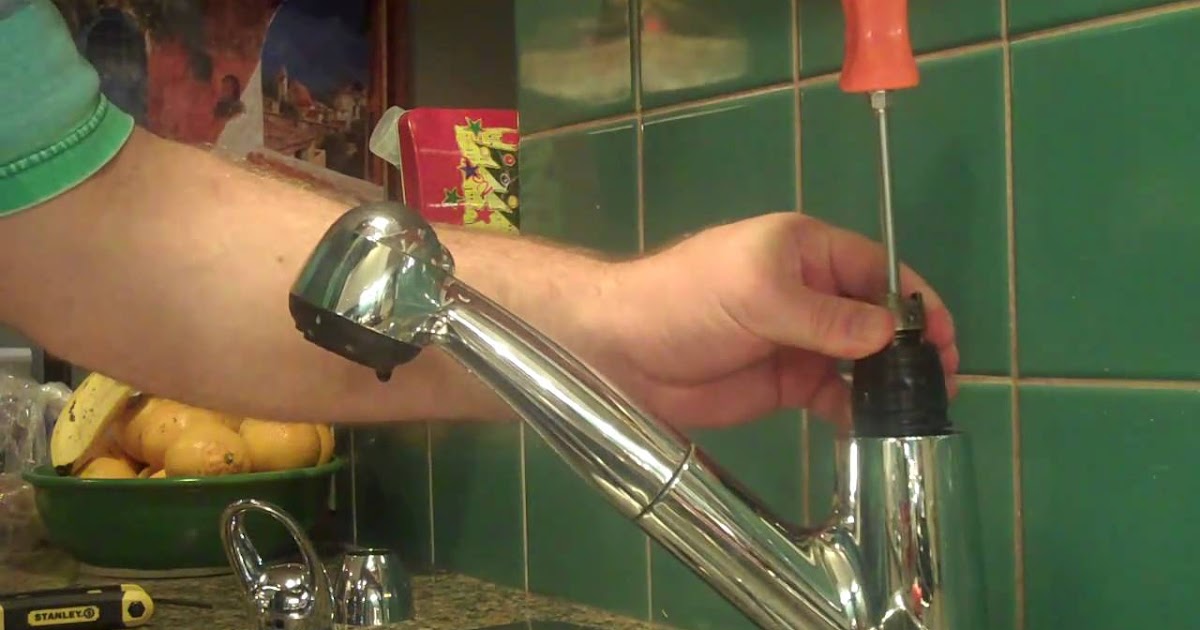
Step 3: Using a basin wrench or adjustable wrench, loosen and remove the mounting nuts. You may need to hold the faucet steady with one hand while using the wrench with the other hand.
Step 4: Once the mounting nuts are removed, lift the faucet up and out of the sink. If the faucet is stuck, gently wiggle it back and forth until it comes loose.


2. Step-by-Step Guide: Removing a Kitchen Faucet


/cdn.vox-cdn.com/uploads/chorus_image/image/69616954/Narragansett_01232021NR_39.0.jpg)


3. DIY: Removing a Kitchen Faucet
Removing a kitchen faucet on your own can save you time and money. With the right tools and a little bit of DIY knowledge, you can easily remove your kitchen faucet. Here are some tips to keep in mind while attempting to remove your faucet:
Tip 1: Take pictures of the faucet before removing it. This will help you remember how it was installed and make the reinstallation process easier.
Tip 2: Use a penetrating oil, such as WD-40, to loosen any stuck parts before attempting to remove them.
Tip 3: If the faucet is stuck, try using a hairdryer to heat up the area. This will help loosen any stuck parts and make it easier to remove.


3. DIY: Removing a Kitchen Faucet

4. Removing a Kitchen Faucet: Tips and Tricks
Removing a kitchen faucet may seem like a straightforward process, but there are some tips and tricks that can make it even easier. Here are some useful tips to keep in mind:
Tip 1: To prevent any damage to your kitchen sink, place a towel or cloth over the sink before removing the faucet. This will protect the surface from any scratches or dents.
Tip 2: If you're having trouble accessing the mounting nuts, try using a basin wrench with a long handle. This will give you more reach and make it easier to loosen the nuts.
Tip 3: If the mounting nuts are too tight, you can use a little bit of vinegar to loosen them. Simply soak a cloth in vinegar and wrap it around the nut. Leave it for a few minutes before attempting to loosen the nut.


4. Removing a Kitchen Faucet: Tips and Tricks


5. Kitchen Sink Faucet Removal: A Comprehensive Guide
Removing a kitchen faucet can be a tricky process, especially if you've never done it before. That's why we've put together this comprehensive guide to help you through the process. From gathering the right tools to troubleshooting common issues, this guide covers everything you need to know about removing a kitchen faucet.


5. Kitchen Sink Faucet Removal: A Comprehensive Guide


6. The Easiest Way to Remove a Kitchen Faucet
If you're looking for the easiest way to remove a kitchen faucet, look no further. With the right tools and techniques, you can remove your faucet in no time. Here are some tips to make the process even easier:
Tip 1: Make sure to have a bucket or container nearby to catch any water that may come out of the pipes while removing the faucet.
Tip 2: Use a flashlight to get a better view of the mounting nuts and other parts under the sink.
Tip 3: If the faucet is stuck, try using a rubber mallet to gently tap it and loosen it.


6. The Easiest Way to Remove a Kitchen Faucet


7. Removing a Kitchen Faucet: Common Mistakes to Avoid
While removing a kitchen faucet may seem like a simple task, there are some common mistakes that people make that can make the process more difficult. Here are some mistakes to avoid while removing a kitchen faucet:
Mistake 1: Not turning off the water supply before attempting to remove the faucet. This can result in water damage or a flooded kitchen.
Mistake 2: Using the wrong tools, such as pliers, to remove the mounting nuts. This can damage the nuts and make it harder to remove them.
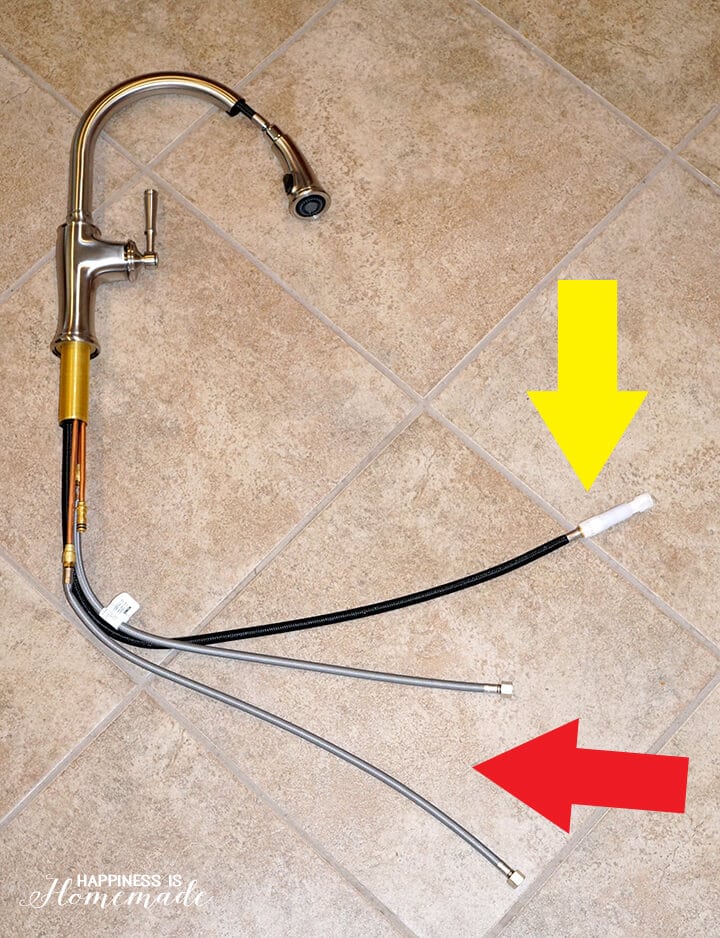
Mistake 3: Forgetting to disconnect the supply lines before attempting to remove the faucet. This can cause leaks and make the process more difficult.

7. Removing a Kitchen Faucet: Common Mistakes to Avoid
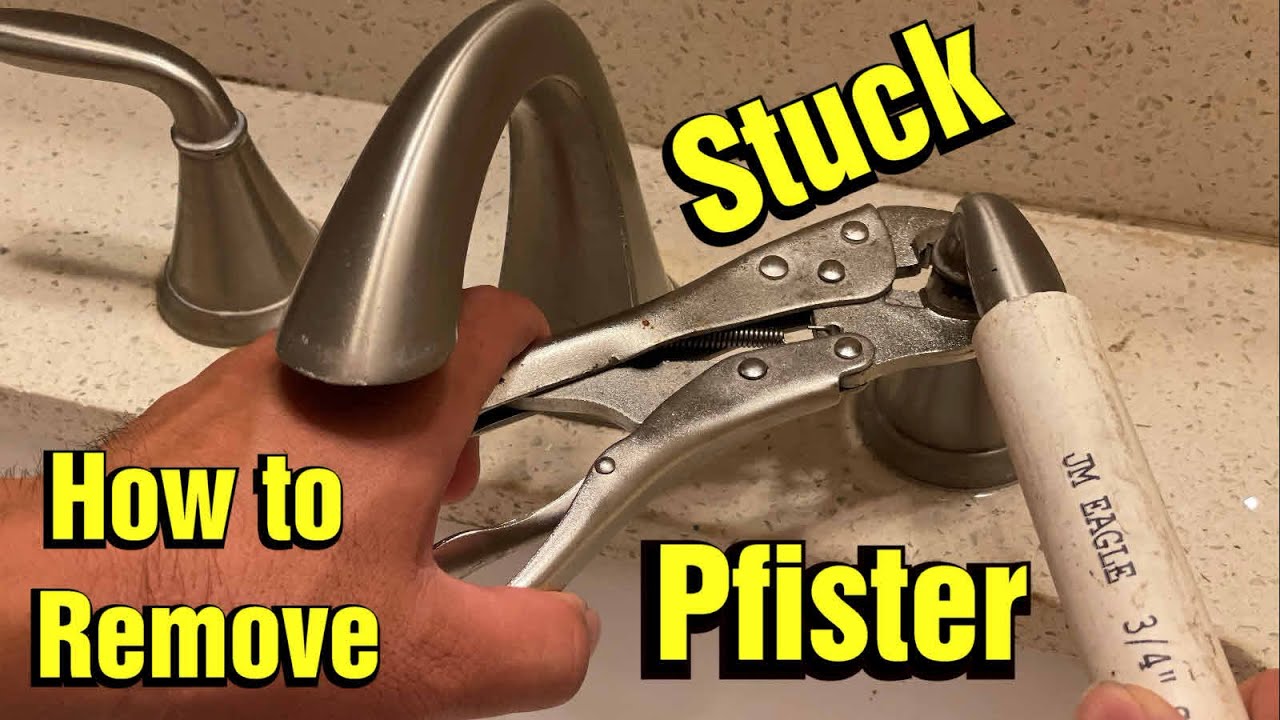
8. How to Remove a Stuck Kitchen Faucet
If your kitchen faucet is stuck and won't budge, don't panic. There are a few techniques you can try to loosen it and remove it easily. Here are some tips to help you remove a stuck kitchen faucet:
Tip 1: Use a penetrating oil, such as WD-40, to loosen any stuck parts.
Tip 2: If the faucet is stuck due to mineral deposits or corrosion, soak a cloth in vinegar and wrap it around the affected area. Leave it for a few minutes before attempting to remove the faucet.
Tip 3: If all else fails, try using a hairdryer to heat up the stuck area. This will help loosen any stuck parts and make it easier to remove the faucet.
8. How to Remove a Stuck Kitchen Faucet


9. Removing a Kitchen Faucet: Tools You'll Need
Before attempting to remove a kitchen faucet, make sure you have the right tools for the job. Here are some essential tools you'll need:
Tool 1: Adjustable wrench or basin wrench
Tool 2: Screwdriver
Tool 3: Plumber's tape
Tool 4: Bucket or container

9. Removing a Kitchen Faucet: Tools You'll Need


10. Kitchen Sink Faucet Removal: Troubleshooting Common Issues
Even with the right tools and knowledge, you may encounter some issues while removing a kitchen faucet. Here are some common issues and how to troubleshoot them:
Issue 1: The faucet is stuck and won't come loose.
Solution: Try using a penetrating oil or a hairdryer to loosen the stuck parts. You can also try tapping the faucet gently with a rubber mallet.
Issue 2: The mounting nuts are too tight to remove.
Solution: Use a basin wrench with a longer handle for better reach. You can also use a little bit of vinegar to loosen the nuts.
Issue 3: Water is leaking from the supply lines.
Solution: Make sure the supply lines are disconnected before attempting to remove the faucet. If the lines are damaged, replace them before reinstalling the faucet.
Now that you know how to remove a kitchen faucet, you can confidently tackle this task on your own. Just remember to take your time, use the right tools, and don't be afraid to ask for help if needed. Happy removing!


10. Kitchen Sink Faucet Removal: Troubleshooting Common Issues


Why Removing Your Faucet Can Enhance the Design of Your Kitchen Sink

The Importance of Choosing the Right Faucet
 When it comes to designing your kitchen, the faucet may not be the first thing that comes to mind. However, it is an essential element that can greatly impact the overall look and functionality of your kitchen sink. The right faucet can elevate the design of your kitchen and make your daily tasks easier and more efficient.
Removing Old and Outdated Faucets
If you have an old or outdated faucet in your kitchen, it may be time for an upgrade. Not only can an old faucet bring down the aesthetic of your kitchen, but it can also cause issues such as leaks and low water pressure. By removing your old faucet and replacing it with a new one, you can instantly give your kitchen sink a refreshed and modern look.
Creating a Cohesive Design
When choosing a new faucet for your kitchen sink, it is important to consider the overall design of your kitchen. The faucet should complement the style and color scheme of your kitchen, creating a cohesive and visually appealing look. For example, a sleek and minimalist faucet would pair well with a modern kitchen, while a vintage-style faucet would add charm to a farmhouse-style kitchen.
When it comes to designing your kitchen, the faucet may not be the first thing that comes to mind. However, it is an essential element that can greatly impact the overall look and functionality of your kitchen sink. The right faucet can elevate the design of your kitchen and make your daily tasks easier and more efficient.
Removing Old and Outdated Faucets
If you have an old or outdated faucet in your kitchen, it may be time for an upgrade. Not only can an old faucet bring down the aesthetic of your kitchen, but it can also cause issues such as leaks and low water pressure. By removing your old faucet and replacing it with a new one, you can instantly give your kitchen sink a refreshed and modern look.
Creating a Cohesive Design
When choosing a new faucet for your kitchen sink, it is important to consider the overall design of your kitchen. The faucet should complement the style and color scheme of your kitchen, creating a cohesive and visually appealing look. For example, a sleek and minimalist faucet would pair well with a modern kitchen, while a vintage-style faucet would add charm to a farmhouse-style kitchen.
Maximizing Functionality
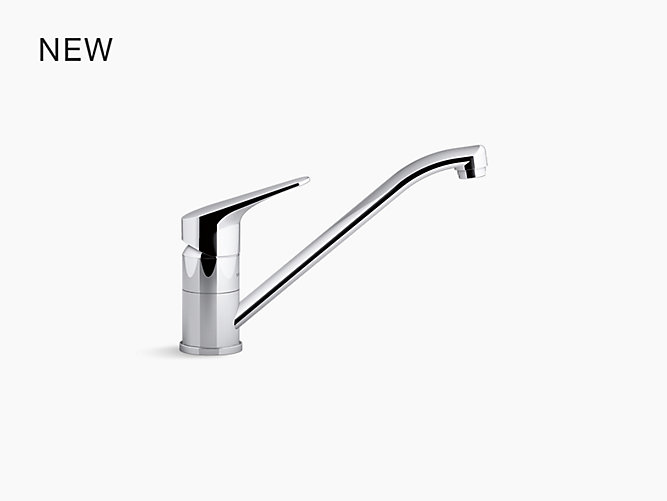
 The design of your faucet can also greatly impact its functionality. By removing your old faucet and choosing a new one that is more practical, you can make your daily kitchen tasks easier and more efficient. For example, a pull-down faucet with a high arc can make washing dishes and filling large pots much easier, while a touchless faucet can provide convenience and hygiene.
Consider Your Family's Needs
When selecting a new faucet, it is important to consider the needs of your family. If you have young children, a faucet with a safety lock feature may be necessary to prevent accidental scalding. If you have elderly family members, a faucet with a single lever and easy-to-use controls can make it more accessible for them to use.
The design of your faucet can also greatly impact its functionality. By removing your old faucet and choosing a new one that is more practical, you can make your daily kitchen tasks easier and more efficient. For example, a pull-down faucet with a high arc can make washing dishes and filling large pots much easier, while a touchless faucet can provide convenience and hygiene.
Consider Your Family's Needs
When selecting a new faucet, it is important to consider the needs of your family. If you have young children, a faucet with a safety lock feature may be necessary to prevent accidental scalding. If you have elderly family members, a faucet with a single lever and easy-to-use controls can make it more accessible for them to use.
Incorporating Technology
 Technology has also made its way into kitchen faucet design, offering innovative features that can enhance your cooking and cleaning experience. Some faucets now come with touchless sensors, LED lighting, and voice activation, making it easier to control the flow and temperature of water with just a wave of your hand or a simple voice command.
Conclusion
In conclusion, removing your faucet from your kitchen sink can greatly enhance the design and functionality of your kitchen. By choosing a new faucet that complements your kitchen's style and meets the needs of your family, you can create a more cohesive and efficient space. With technology continuously advancing, the possibilities for faucet design are endless, making it an exciting element to consider in your kitchen design process.
Technology has also made its way into kitchen faucet design, offering innovative features that can enhance your cooking and cleaning experience. Some faucets now come with touchless sensors, LED lighting, and voice activation, making it easier to control the flow and temperature of water with just a wave of your hand or a simple voice command.
Conclusion
In conclusion, removing your faucet from your kitchen sink can greatly enhance the design and functionality of your kitchen. By choosing a new faucet that complements your kitchen's style and meets the needs of your family, you can create a more cohesive and efficient space. With technology continuously advancing, the possibilities for faucet design are endless, making it an exciting element to consider in your kitchen design process.