Removing the drain fitting from your bathroom sink is a task that may seem daunting, especially if you're not familiar with plumbing. However, with the right tools and techniques, it can be a relatively simple process. Here are the top 10 steps to successfully remove the drain fitting from your bathroom sink.


Remove bathroom sink drain fitting


Before you begin, make sure you have all the necessary tools on hand for the job. This includes a pair of pliers, a pipe wrench, a bucket, and a plumber's snake. You may also need a flashlight and some lubricant if your drain fitting is stuck. Step 1: Gather Your Tools


Bathroom sink drain removal


Before starting any plumbing work, it's important to turn off the water supply to your bathroom sink. Look for the shut-off valve under the sink and turn it off to prevent any water from flowing while you work. Step 2: Turn Off the Water


Removing drain fitting from bathroom sink


To have easier access to the drain fitting, clear out the cabinet space under your bathroom sink. This will give you more room to work and maneuver your tools. Step 3: Clear the Cabinet Space


Bathroom sink drain fitting removal

:max_bytes(150000):strip_icc()/bathroom-sink-drain-installation-2718843-02-61e5ecbee1e949be8d8f45ac4f5a6797.jpg)
/replace-bathtub-drain-flange-with-wrench-and-specialty-tool-533556351-5c61a9ff46e0fb000127cd5d.jpg)


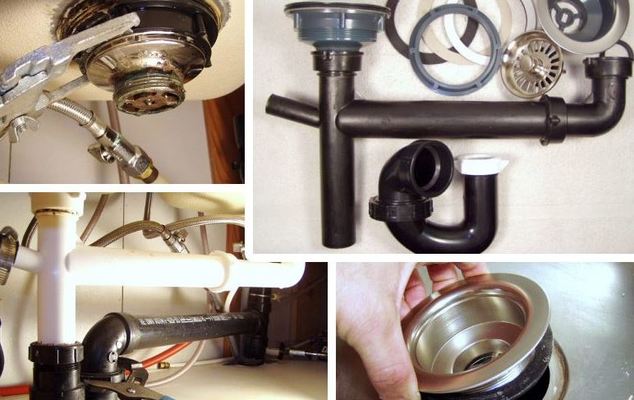
The P-trap is the curved pipe under your sink that connects to the drain fitting. Use your pliers to loosen the nuts on both ends of the P-trap and remove it. Place a bucket underneath to catch any water or debris that may come out. Step 4: Remove the P-Trap

How to remove bathroom sink drain fitting


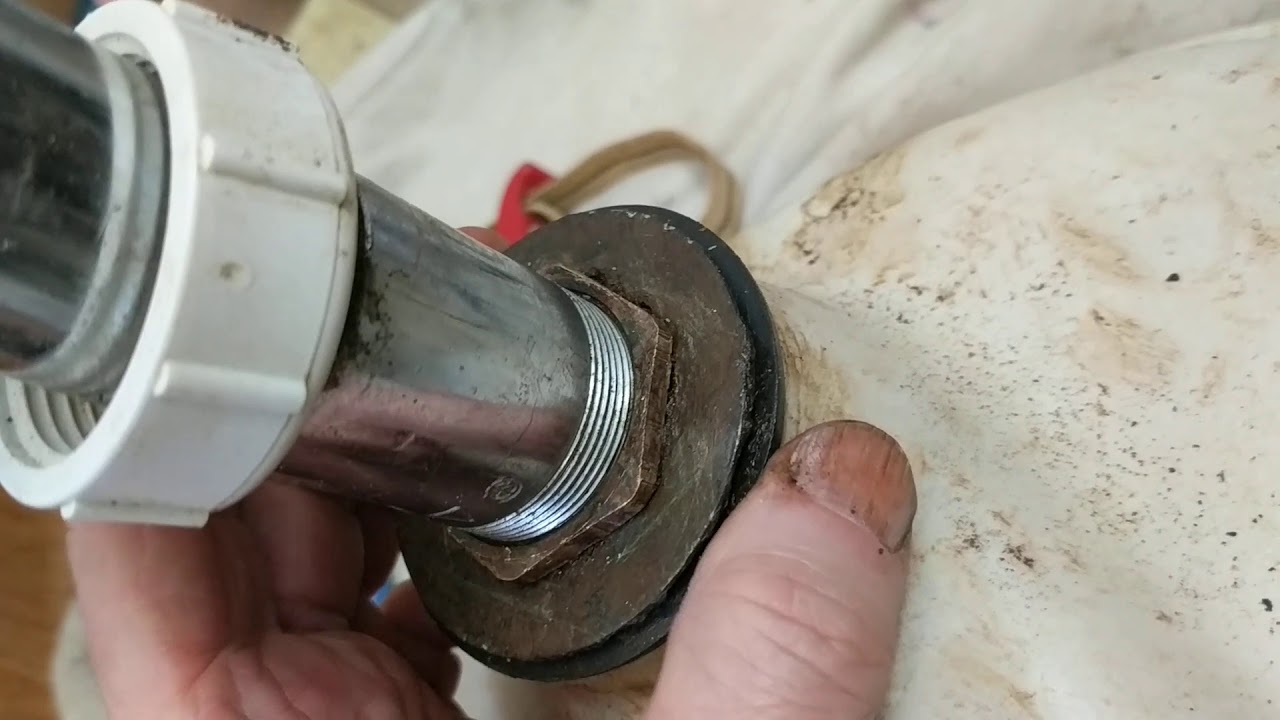
The locknut is the large nut that holds the drain fitting in place. Use a pipe wrench to loosen and remove it. If the locknut is stuck, use some lubricant to make it easier to loosen. Step 5: Loosen the Locknut


Bathroom sink drain fitting removal guide
The tailpiece is the pipe that connects the sink to the drain fitting. Use your pliers to loosen the nuts on both ends and remove it. Again, have a bucket handy to catch any water or debris. Step 6: Remove the Tailpiece

DIY bathroom sink drain fitting removal


With the drain fitting now exposed, use a cloth to wipe away any debris or gunk that may have accumulated. This will make it easier to remove the fitting. Step 7: Clean the Area


Step-by-step guide for removing bathroom sink drain fitting


If your drain fitting is stuck, you may need to use a plumber's snake to loosen it. Insert the snake into the drain and turn it clockwise to grab onto any obstructions. Once the fitting is loose, you can pull it out. Step 8: Use a Plumber's Snake


Tools needed for removing bathroom sink drain fitting

With the fitting removed, take a look at it to see if it needs to be replaced. If it's damaged or corroded, it's best to install a new one to prevent any future plumbing issues. Step 9: Inspect the Drain Fitting


Tips for removing bathroom sink drain fitting


Removing a Drain Fitting from Your Bathroom Sink: A Step-by-Step Guide

Why You May Need to Remove a Drain Fitting
 When it comes to designing your dream bathroom, every detail counts. From the color scheme to the fixtures, every element plays a crucial role in creating a functional and aesthetically pleasing space. However, sometimes, even the most carefully planned designs can encounter issues. One of the most common problems homeowners face with their bathroom sinks is a clogged drain. Whether it's due to a buildup of hair, soap scum, or other debris, a clogged drain can be a major inconvenience. In some cases, the clog may be so stubborn that it requires removing the
drain fitting
entirely in order to clear it out. If you're facing this issue, don't panic – with the right tools and techniques, you can easily remove a drain fitting from your bathroom sink.
When it comes to designing your dream bathroom, every detail counts. From the color scheme to the fixtures, every element plays a crucial role in creating a functional and aesthetically pleasing space. However, sometimes, even the most carefully planned designs can encounter issues. One of the most common problems homeowners face with their bathroom sinks is a clogged drain. Whether it's due to a buildup of hair, soap scum, or other debris, a clogged drain can be a major inconvenience. In some cases, the clog may be so stubborn that it requires removing the
drain fitting
entirely in order to clear it out. If you're facing this issue, don't panic – with the right tools and techniques, you can easily remove a drain fitting from your bathroom sink.
Step-by-Step Guide to Removing a Drain Fitting
 Before you begin, gather all the necessary tools and materials. You'll need a pair of pliers, a wrench, a bucket, and a plumber's snake. Once you have everything ready, follow these steps:
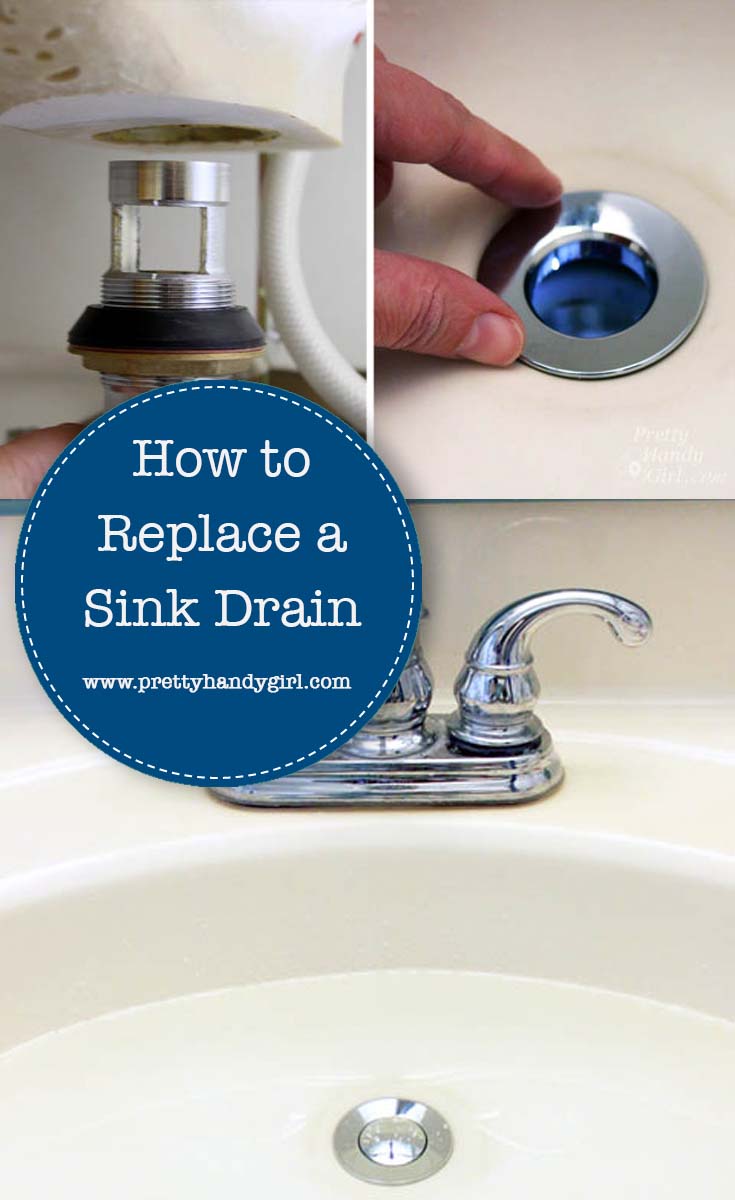
- Step 1: Start by removing the sink stopper. Depending on the type of stopper you have, you may need to unscrew it or simply lift and pull it out.
- Step 2: Locate the nut that holds the drain fitting in place. This is usually located underneath the sink, near the bottom of the drain pipe.
- Step 3: Use your pliers to loosen and remove the nut. If the nut is too tight, you can use a wrench for extra leverage.
- Step 4: Once the nut is removed, carefully pull out the drain fitting from the sink.
- Step 5: If you encounter any resistance, use a plumber's snake to clear out any debris or clogs that may be causing the issue.
- Step 6: Once the drain fitting is removed, clean it thoroughly to remove any buildup or residue.
- Step 7: Inspect the drain pipe for any clogs or damage. If necessary, use a plumber's snake to clear out any remaining debris.
- Step 8: Reattach the drain fitting and tighten the nut to secure it in place.
- Step 9: Finally, test the sink by running water to ensure that the clog is completely cleared and the drain is functioning properly.
Conclusion
 Removing a drain fitting from your bathroom sink may seem like a daunting task, but with the right tools and techniques, it can be a simple process. By following the steps outlined above, you can easily clear out any clogs and get your sink back in working order. However, if you encounter any difficulties or the clog persists, it may be best to consult a professional plumber for further assistance. With proper maintenance and care, you can prevent future clogs and ensure that your bathroom sink remains a functional and stylish centerpiece in your home.