If you're tired of dealing with the unsightly mold and mildew that has accumulated around your kitchen sink, it may be time to remove the old caulk and start fresh. This may seem like a daunting task, but with the right tools and techniques, you can easily remove caulk around your kitchen sink and give your space a much-needed facelift.How to Remove Caulking Around a Kitchen Sink


How to Remove Caulking Around a Kitchen Sink


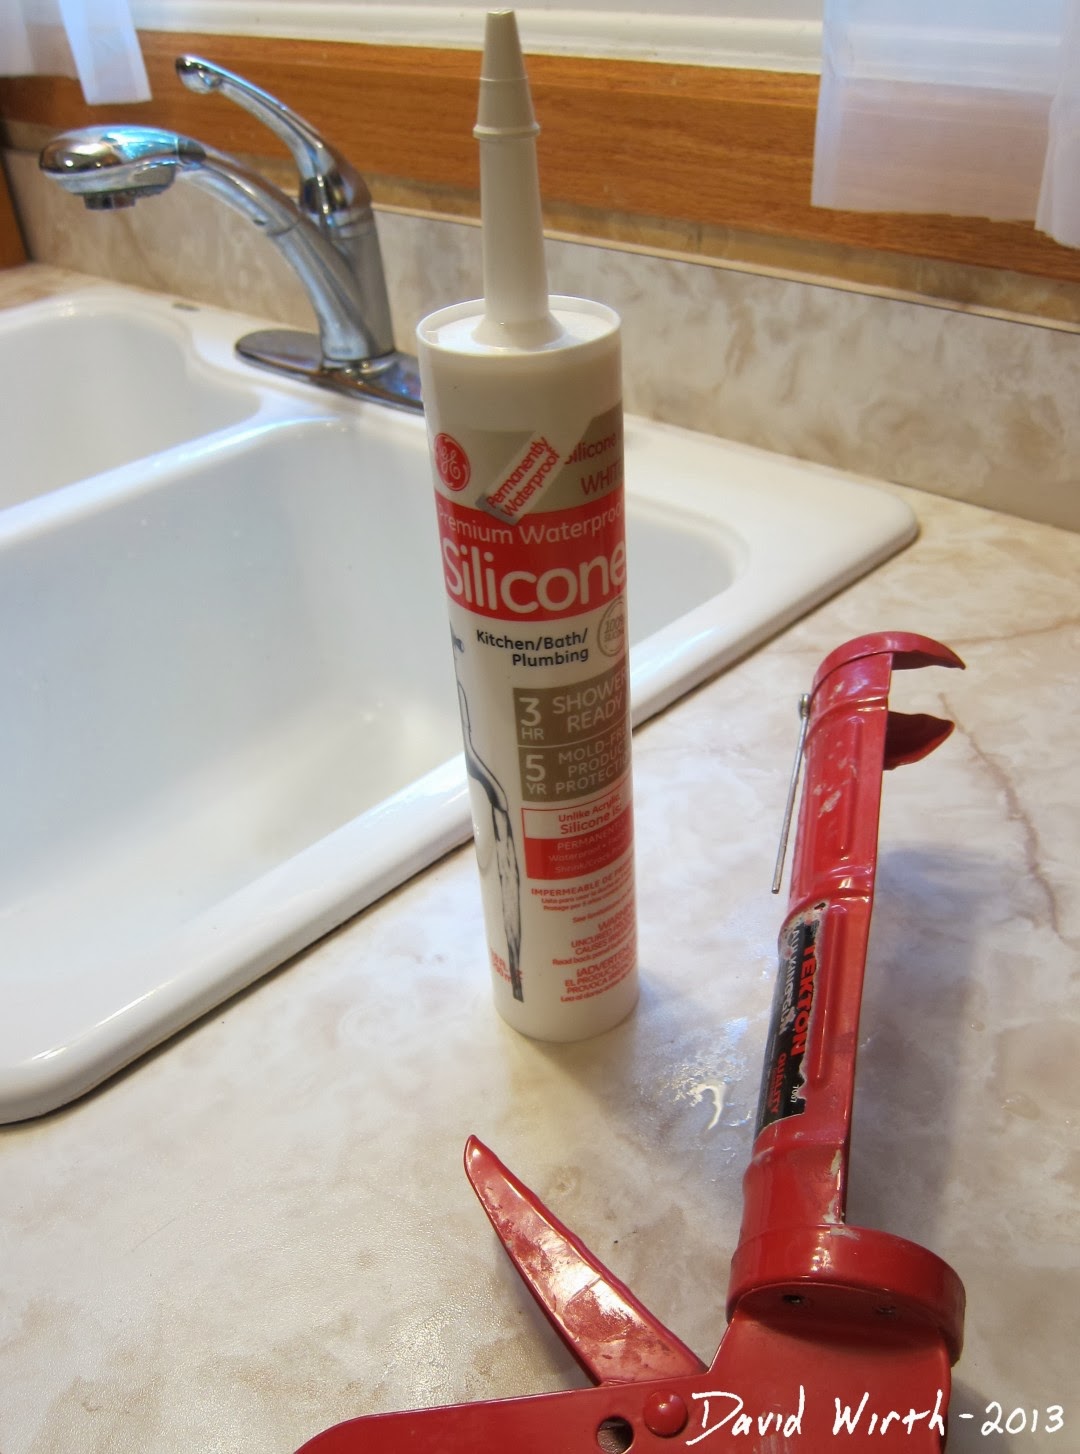
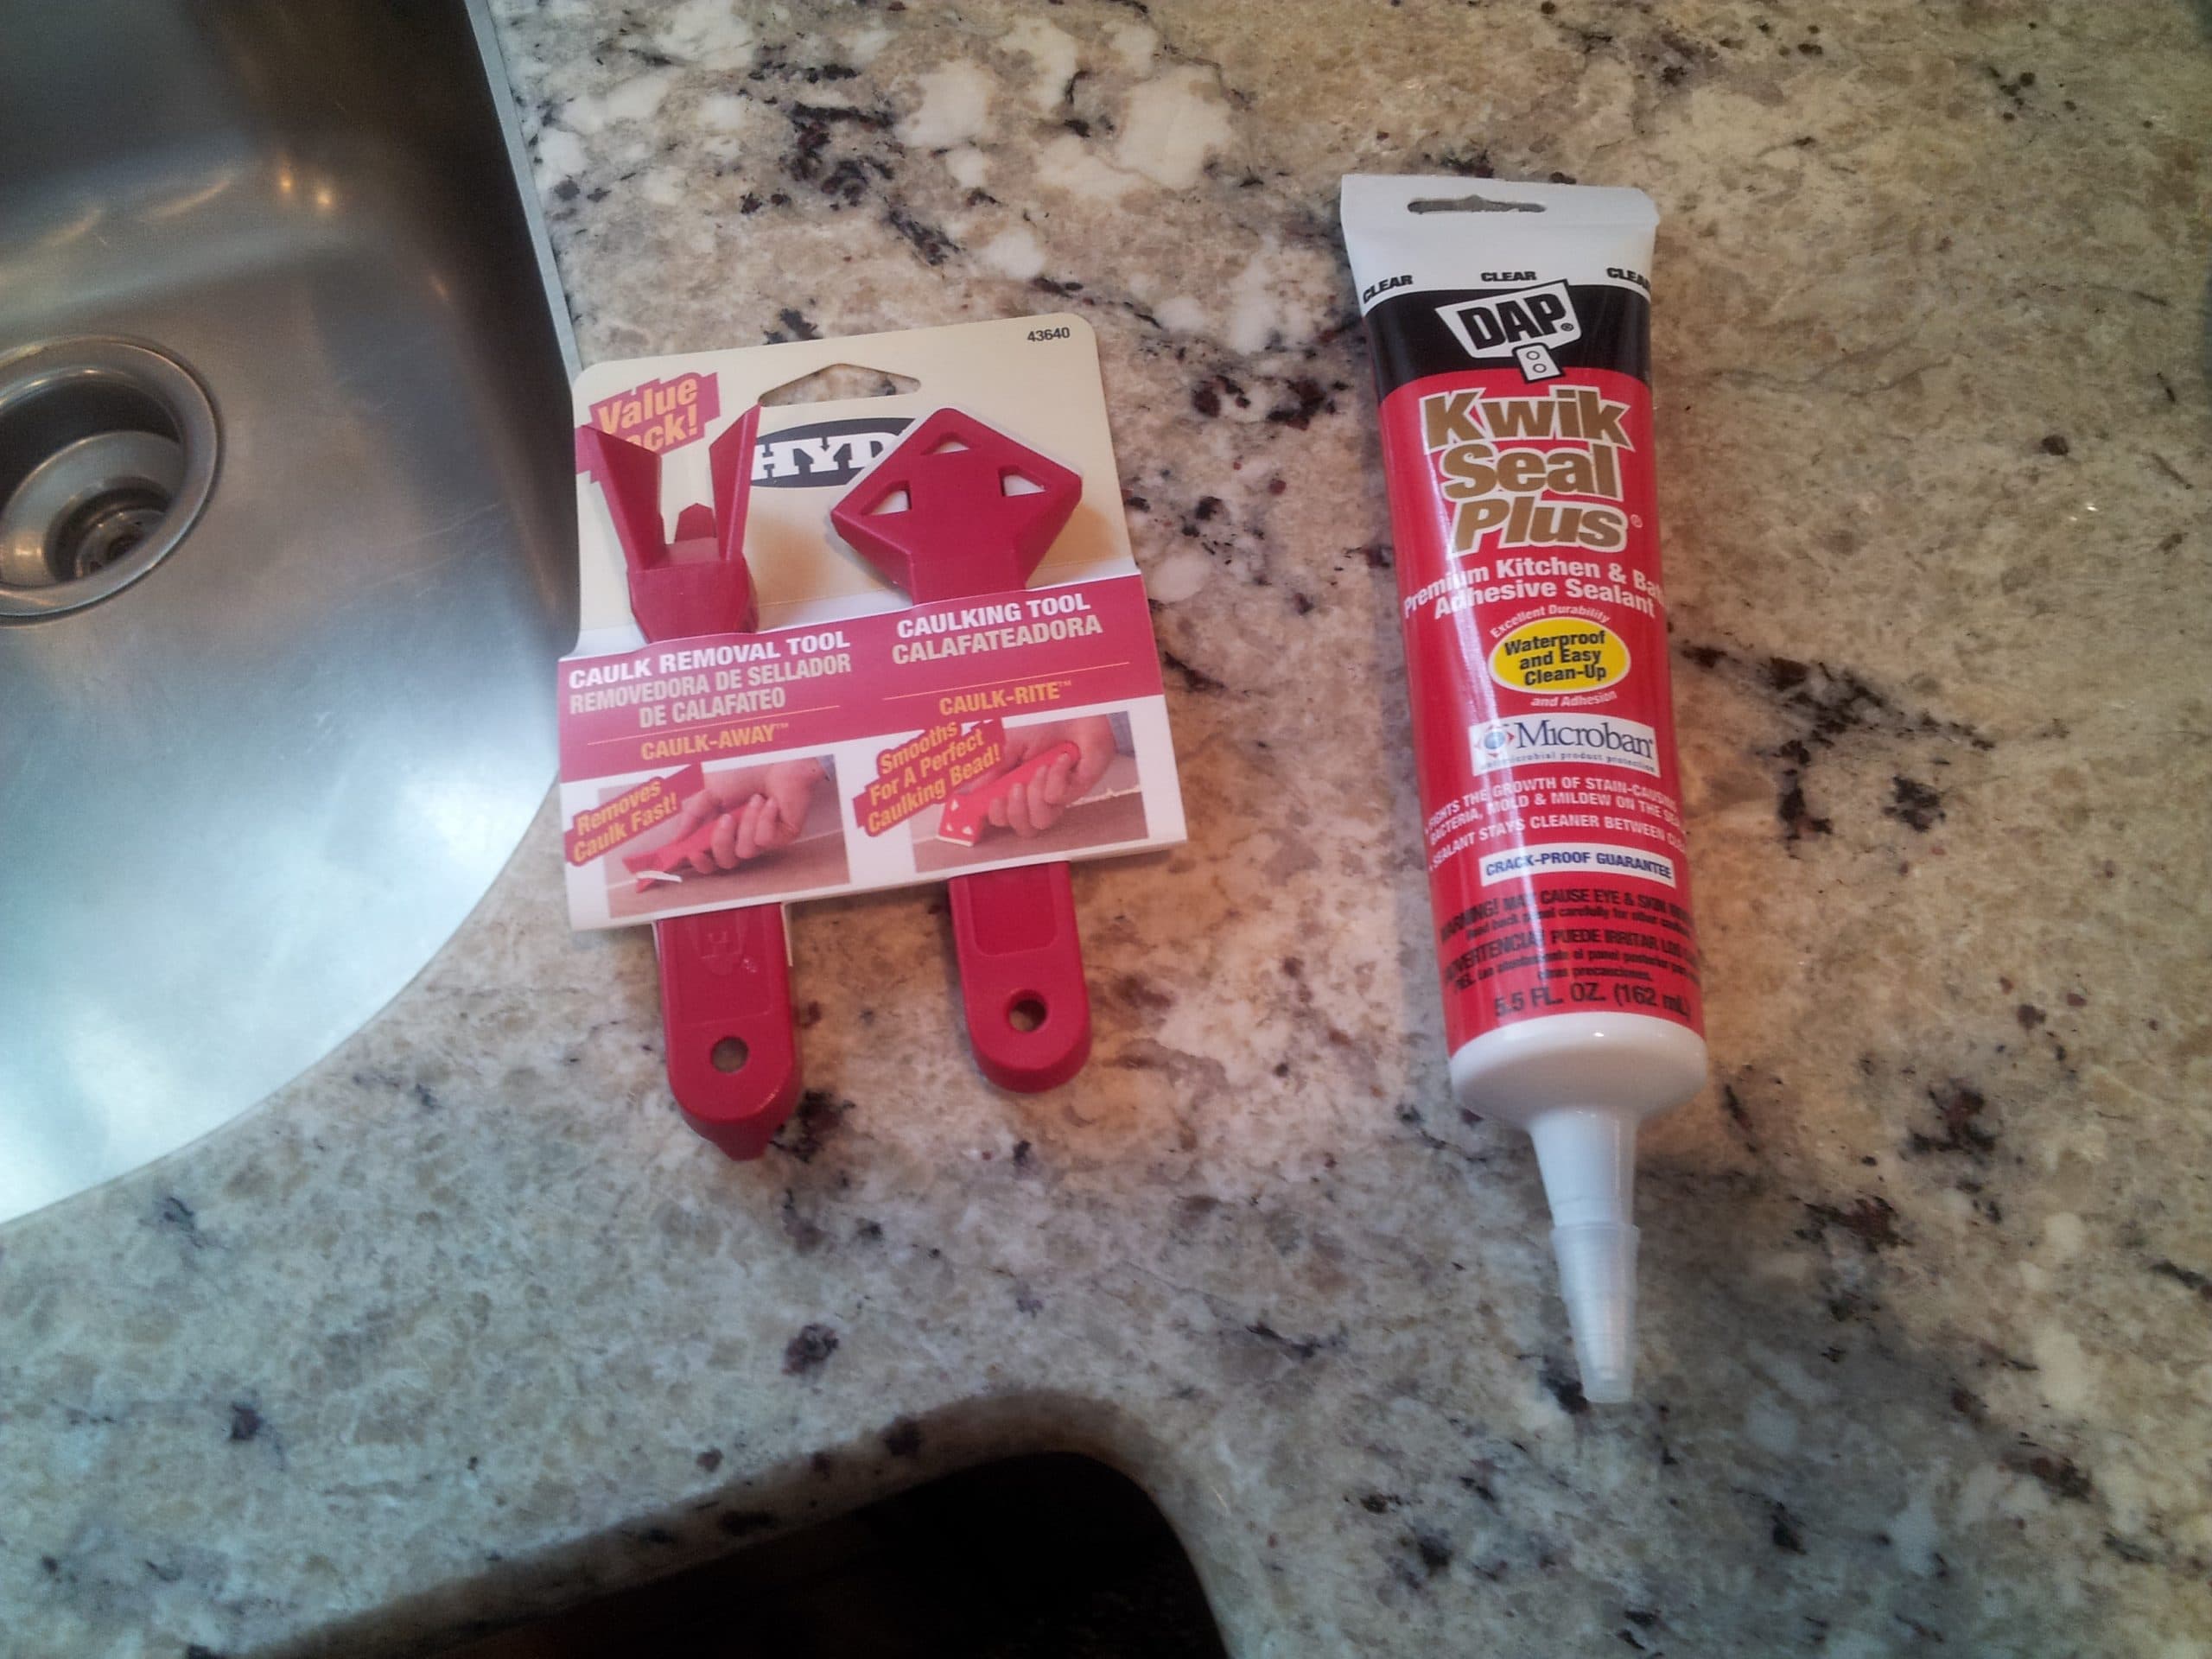
The first step in removing caulk around your kitchen sink is to gather all the necessary tools. You will need a caulk remover, a scraper or putty knife, a utility knife, and some rubbing alcohol. Once you have all your tools, you can begin the process of removing the old caulk. Start by using the caulk remover to soften and loosen the old caulk. This can take anywhere from 30 minutes to a few hours, depending on the type of caulk used and how long it has been in place. Once the caulk is softened, use the scraper or putty knife to gently remove the caulk from the surface. Be sure to work carefully and slowly to avoid damaging the sink or surrounding areas. If you encounter any stubborn or hard-to-remove caulk, you can use a utility knife to carefully cut away at it.Removing Old Caulk Around Kitchen Sink

.jpg)

Removing Old Caulk Around Kitchen Sink
:max_bytes(150000):strip_icc()/how-to-remove-old-caulk-1824827-01-3d0370c59e124dbbaa6560c68bab111c.jpg)


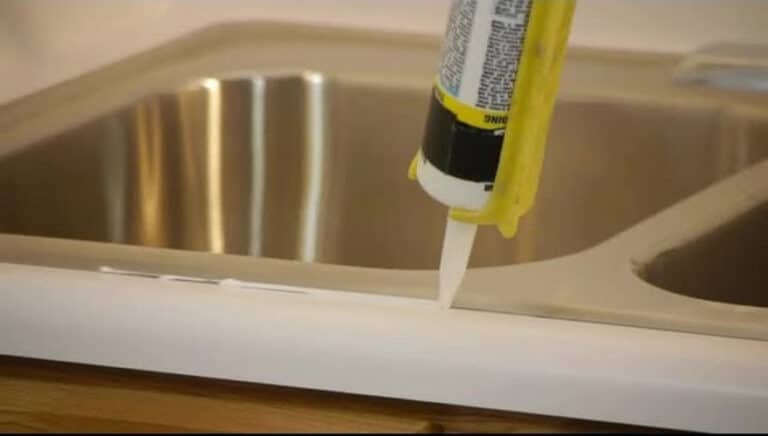
Removing caulk around a kitchen sink is a relatively simple DIY project that can save you time and money. All you need are the right tools and some patience. Start by following the steps outlined above to remove the old caulk. Once the caulk is removed, use a damp cloth to clean the area and remove any residue. Then, use rubbing alcohol to thoroughly clean the area and ensure it is free of any remaining caulk or debris. Next, apply a new bead of caulk using a caulk gun. Use your finger or a caulk smoothing tool to smooth and shape the caulk for a clean and professional finish. Let the caulk dry according to the manufacturer's instructions before using your sink again.DIY: How to Remove Caulk from a Kitchen Sink


DIY: How to Remove Caulk from a Kitchen Sink


If you prefer a more detailed guide, here is a step-by-step process for removing caulk around your kitchen sink: Step 1: Gather all necessary tools, including caulk remover, scraper or putty knife, utility knife, and rubbing alcohol. Step 2: Apply caulk remover to the old caulk and let it sit for 30 minutes to a few hours, depending on the type of caulk. Step 3: Use a scraper or putty knife to gently remove the old caulk from the surface. Step 4: Use a utility knife to carefully cut away any stubborn or hard-to-remove caulk. Step 5: Clean the area with a damp cloth and then with rubbing alcohol to remove any residue. Step 6: Apply a new bead of caulk using a caulk gun. Step 7: Use your finger or a caulk smoothing tool to shape and smooth the caulk. Step 8: Let the caulk dry completely before using your sink again.Step-by-Step Guide to Removing Caulk Around Kitchen Sink


Step-by-Step Guide to Removing Caulk Around Kitchen Sink


When it comes to removing caulk around a kitchen sink, there are a few different methods you can try. Some people prefer using a caulk remover, while others prefer using a heat gun or a hairdryer to soften the caulk. Ultimately, the best method for removing caulk will depend on your personal preference and the type of caulk you are dealing with. Whichever method you choose, be sure to take your time and work carefully to avoid damaging the sink or surrounding areas.Best Methods for Removing Caulk Around Kitchen Sink

Best Methods for Removing Caulk Around Kitchen Sink


If you're new to removing caulk, here are a few tips and tricks to keep in mind: - Always wear gloves to protect your hands from any chemicals or sharp tools. - Use a caulk remover to make the process easier and more efficient. - Take your time and work carefully to avoid damaging the sink or surrounding areas. - Use rubbing alcohol to thoroughly clean the area before applying new caulk. - Use a caulk smoothing tool or your finger to shape and smooth the caulk for a professional finish.Removing Caulk Around Kitchen Sink: Tips and Tricks


Removing Caulk Around Kitchen Sink: Tips and Tricks


If you're looking for an easier way to remove caulk from your kitchen sink, here are a few tricks you can try: - Use a heat gun or hairdryer to soften the caulk before scraping it away. - Use a caulk softener, available at most hardware stores, to make the caulk easier to remove. - Use a caulk removal tool, such as a caulk removal knife or caulk removal saw, to help you remove the caulk more efficiently.Easy Ways to Remove Caulk from Kitchen Sink

Easy Ways to Remove Caulk from Kitchen Sink


When removing caulk around a kitchen sink, there are a few common mistakes that people make. Here are some things to avoid: - Using too much force when scraping away the old caulk, which can damage the sink or surrounding areas. - Not thoroughly cleaning the area before applying new caulk, which can affect the adhesion and longevity of the new caulk. - Rushing the process and not taking the time to properly remove the old caulk and apply the new caulk.Removing Caulk Around Kitchen Sink: Common Mistakes to Avoid

Removing Caulk Around Kitchen Sink: Common Mistakes to Avoid
:max_bytes(150000):strip_icc()/caulk-removal-tool-56ec7f1b3df78ce5f83535fe.jpg)


Before you start removing caulk around your kitchen sink, make sure you have all the necessary tools on hand. Here's a list of what you'll need: - Caulk remover - Scraper or putty knife - Utility knife - Rubbing alcohol - Gloves - Damp cloth - Caulk gun - Caulk smoothing toolTools You'll Need to Remove Caulk Around Kitchen Sink


Tools You'll Need to Remove Caulk Around Kitchen Sink
:max_bytes(150000):strip_icc()/caulk-removal-tool-56ec7f1b3df78ce5f83535fe.jpg)
While it is possible to remove caulk around a kitchen sink on your own, some people prefer to leave this task to the professionals. If you're not confident in your abilities or don't have the time to do it yourself, hiring a professional can save you time and ensure a high-quality result. However, if you're up for the challenge, removing caulk around a kitchen sink is a relatively easy and affordable DIY project that can give your space a much-needed refresh. In conclusion, removing caulk around a kitchen sink may seem like a daunting task, but with the right tools and techniques, it can be a simple and rewarding project. Whether you choose to tackle it yourself or hire a professional, a clean and freshly caulked kitchen sink can make a big difference in the overall look and feel of your kitchen. So don't wait any longer, get started on removing that old caulk and give your kitchen sink the makeover it deserves!Removing Caulk Around Kitchen Sink: Professional vs. DIY


Removing Caulk Around Kitchen Sink: Professional vs. DIY
Why Removing Caulking Around Your Kitchen Sink Is Essential for a Clean and Functional Kitchen

Proper caulking removal can prevent water damage and maintain the overall appearance of your kitchen sink.
 Caulking, a flexible material used to seal gaps, is commonly found around kitchen sinks. While it serves as a barrier to prevent water from seeping into crevices, it can also be a breeding ground for mold and mildew. Over time, caulking can become discolored, cracked, or worn out, making it less effective in keeping water out. This can lead to water damage, which can be costly to repair. That's why it is essential to regularly remove and replace caulking around your kitchen sink to maintain a clean and functional kitchen.
Prevent Water Damage
Water is the enemy of any kitchen, and it can cause significant damage if not properly contained. When caulking around your kitchen sink starts to deteriorate, it can create gaps where water can seep through. This water can then drip onto your cabinets, countertops, and floor, causing damage over time. Mold and mildew can also thrive in these damp conditions, leading to health hazards and unpleasant odors. By regularly removing and replacing caulking, you can prevent water from entering these gaps and keep your kitchen safe from damage.
Maintain a Clean Appearance
Over time, caulking around your kitchen sink can become discolored, stained, or even moldy. This can make your kitchen look dirty and unappealing, no matter how much you clean it. By removing old caulking and replacing it with new, clean caulking, you can instantly refresh the appearance of your kitchen. This simple task can make a big difference in the overall look and feel of your kitchen, making it a more inviting and enjoyable space.
Ensure Proper Functionality
Caulking also plays a crucial role in keeping your kitchen sink functional. When it starts to break down, it can no longer create a tight seal, leading to leaks and other plumbing issues. This can disrupt your daily tasks and cause inconveniences. By regularly removing and replacing caulking, you can ensure that your kitchen sink remains functional and in good working condition.
In conclusion, removing caulking around your kitchen sink is an essential task for maintaining a clean, functional, and visually appealing kitchen. By preventing water damage, maintaining a clean appearance, and ensuring proper functionality, you can save yourself from costly repairs and create a more pleasant and welcoming space in your home. So, don't neglect this simple yet crucial task and make it a part of your regular kitchen maintenance routine.
Caulking, a flexible material used to seal gaps, is commonly found around kitchen sinks. While it serves as a barrier to prevent water from seeping into crevices, it can also be a breeding ground for mold and mildew. Over time, caulking can become discolored, cracked, or worn out, making it less effective in keeping water out. This can lead to water damage, which can be costly to repair. That's why it is essential to regularly remove and replace caulking around your kitchen sink to maintain a clean and functional kitchen.
Prevent Water Damage
Water is the enemy of any kitchen, and it can cause significant damage if not properly contained. When caulking around your kitchen sink starts to deteriorate, it can create gaps where water can seep through. This water can then drip onto your cabinets, countertops, and floor, causing damage over time. Mold and mildew can also thrive in these damp conditions, leading to health hazards and unpleasant odors. By regularly removing and replacing caulking, you can prevent water from entering these gaps and keep your kitchen safe from damage.
Maintain a Clean Appearance
Over time, caulking around your kitchen sink can become discolored, stained, or even moldy. This can make your kitchen look dirty and unappealing, no matter how much you clean it. By removing old caulking and replacing it with new, clean caulking, you can instantly refresh the appearance of your kitchen. This simple task can make a big difference in the overall look and feel of your kitchen, making it a more inviting and enjoyable space.
Ensure Proper Functionality
Caulking also plays a crucial role in keeping your kitchen sink functional. When it starts to break down, it can no longer create a tight seal, leading to leaks and other plumbing issues. This can disrupt your daily tasks and cause inconveniences. By regularly removing and replacing caulking, you can ensure that your kitchen sink remains functional and in good working condition.
In conclusion, removing caulking around your kitchen sink is an essential task for maintaining a clean, functional, and visually appealing kitchen. By preventing water damage, maintaining a clean appearance, and ensuring proper functionality, you can save yourself from costly repairs and create a more pleasant and welcoming space in your home. So, don't neglect this simple yet crucial task and make it a part of your regular kitchen maintenance routine.