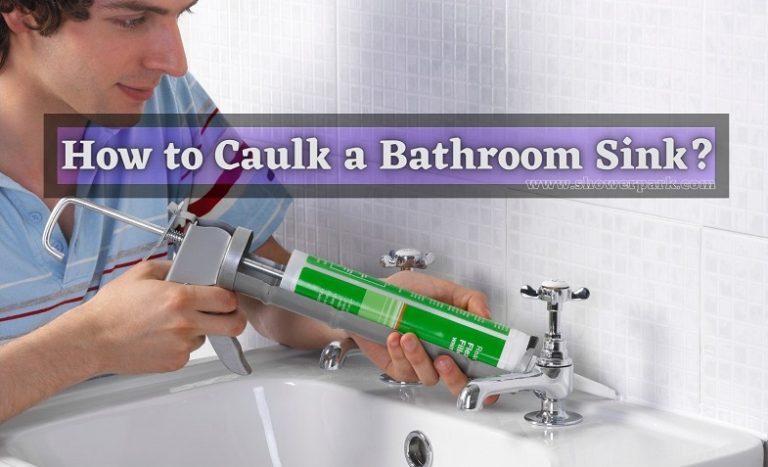
If you've noticed that the caulk around your bathroom sink is starting to crack or peel, it's time to remove it and give your sink a refreshed look. Removing caulk from a bathroom sink may seem like a daunting task, but with the right tools and techniques, it can be a simple and easy process. Follow these 10 steps to remove caulk from your bathroom sink and have it looking like new in no time.Remove Caulk from Bathroom Sink: 10 Easy Steps


Remove Caulk from Bathroom Sink: 10 Easy Steps


:max_bytes(150000):strip_icc()/how-to-remove-old-caulk-1824827-hero-4863fcf5169e426da8f822429ed46301.jpg?strip=all)
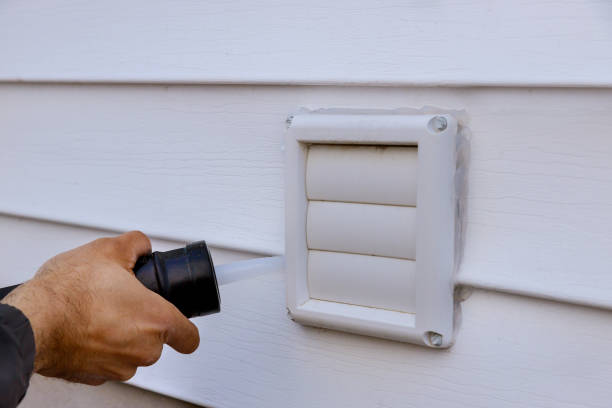
The first step to removing caulk from your bathroom sink is to gather all the necessary tools and materials. You will need a caulk remover tool, a utility knife, a scraper, rubbing alcohol, a scrub brush, and a clean cloth.How to Remove Caulk from a Bathroom Sink


How to Remove Caulk from a Bathroom Sink


Before starting the removal process, it's important to protect yourself and your sink. Wear gloves to protect your hands and lay a drop cloth or old towel on the floor to catch any debris. This will also prevent any scratches on your sink.Best Way to Remove Caulk from Bathroom Sink


Best Way to Remove Caulk from Bathroom Sink


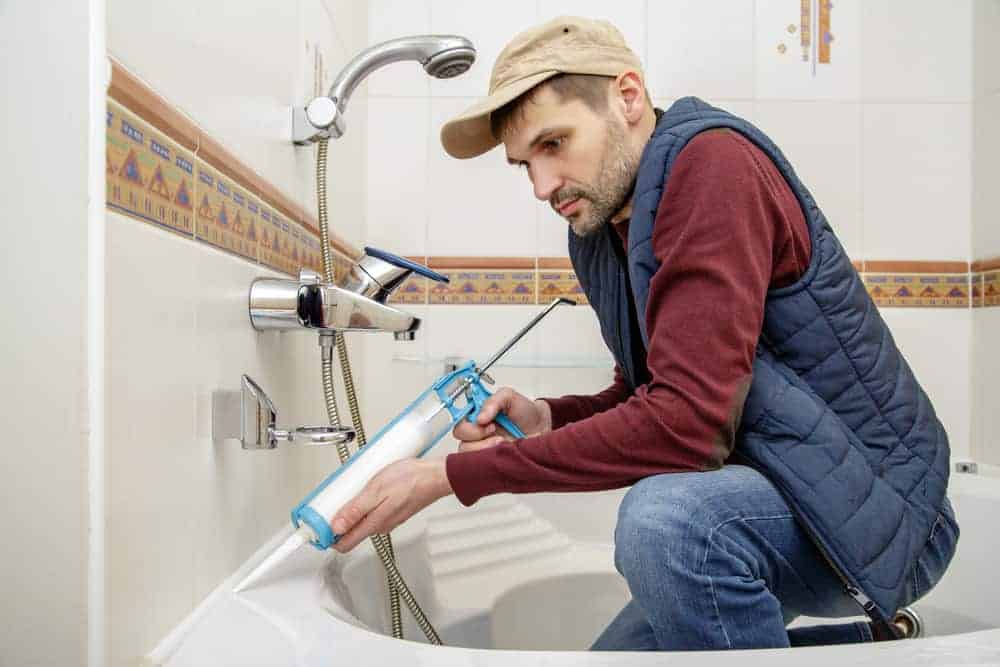
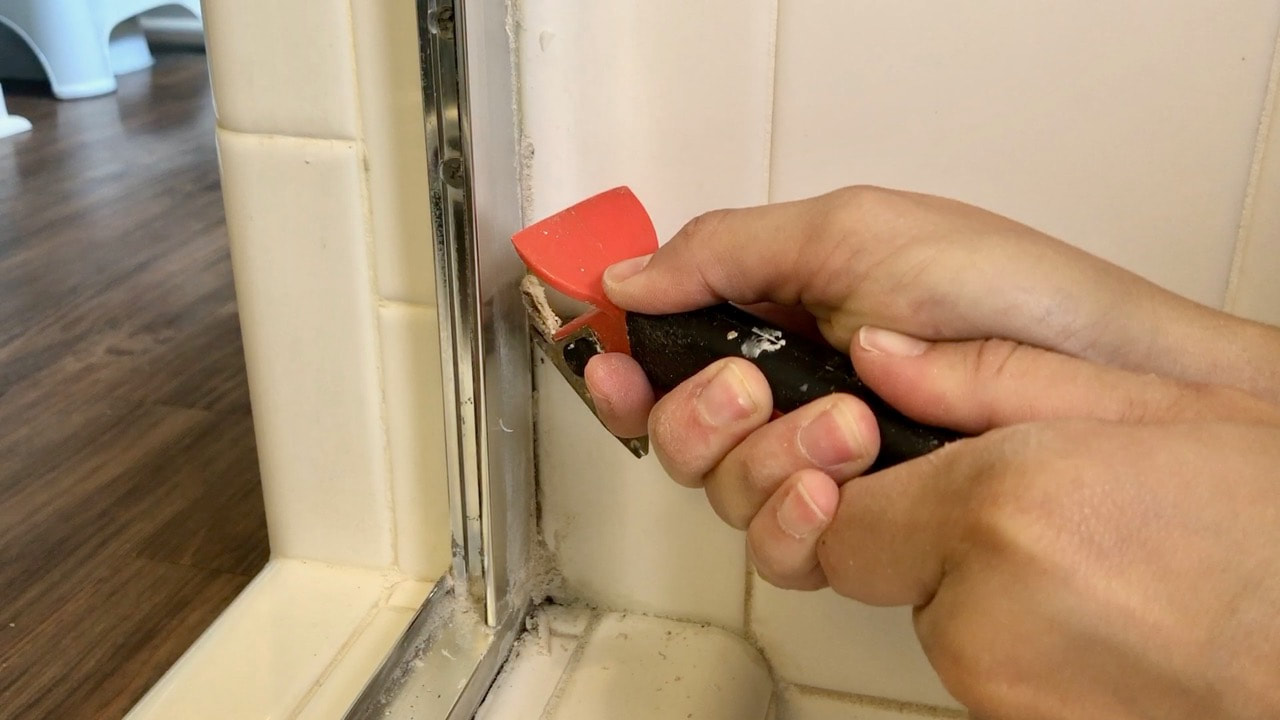
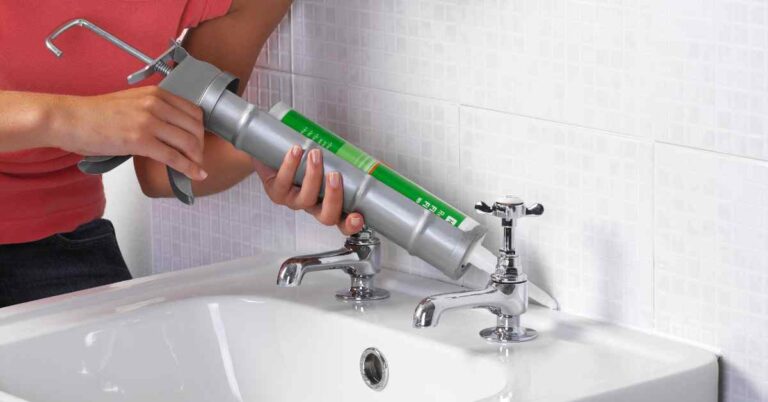
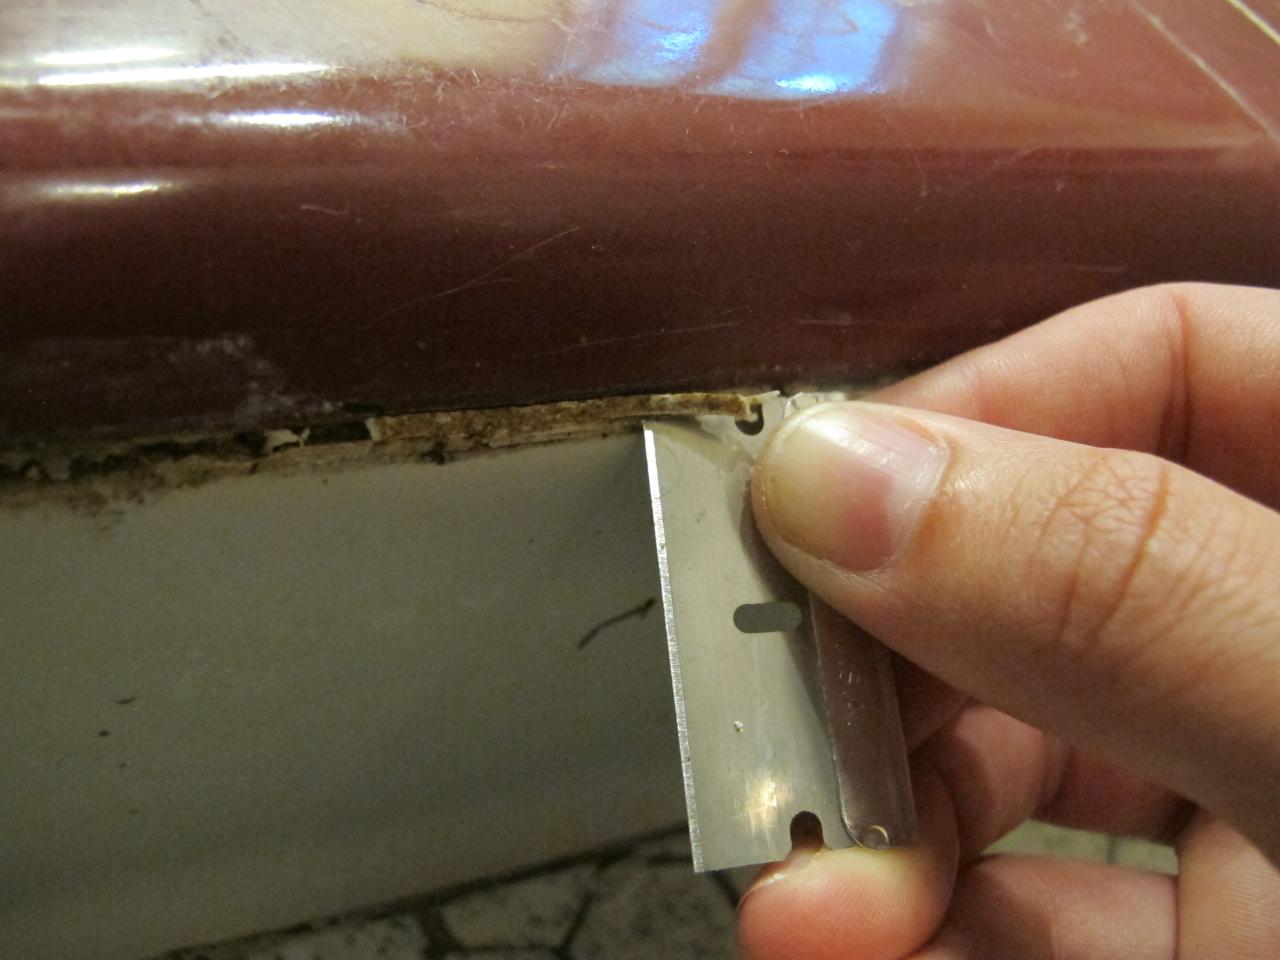
Using the caulk remover tool, gently run it along the old caulk to loosen it from the surface. Be careful not to scratch the sink while doing this. If the caulk is stubborn, use a utility knife to carefully cut through it and make it easier to remove.Removing Caulk from Bathroom Sink: Tips and Tricks


Removing Caulk from Bathroom Sink: Tips and Tricks

/caulk-removal-tool-56ec7f1b3df78ce5f83535fe.jpg)


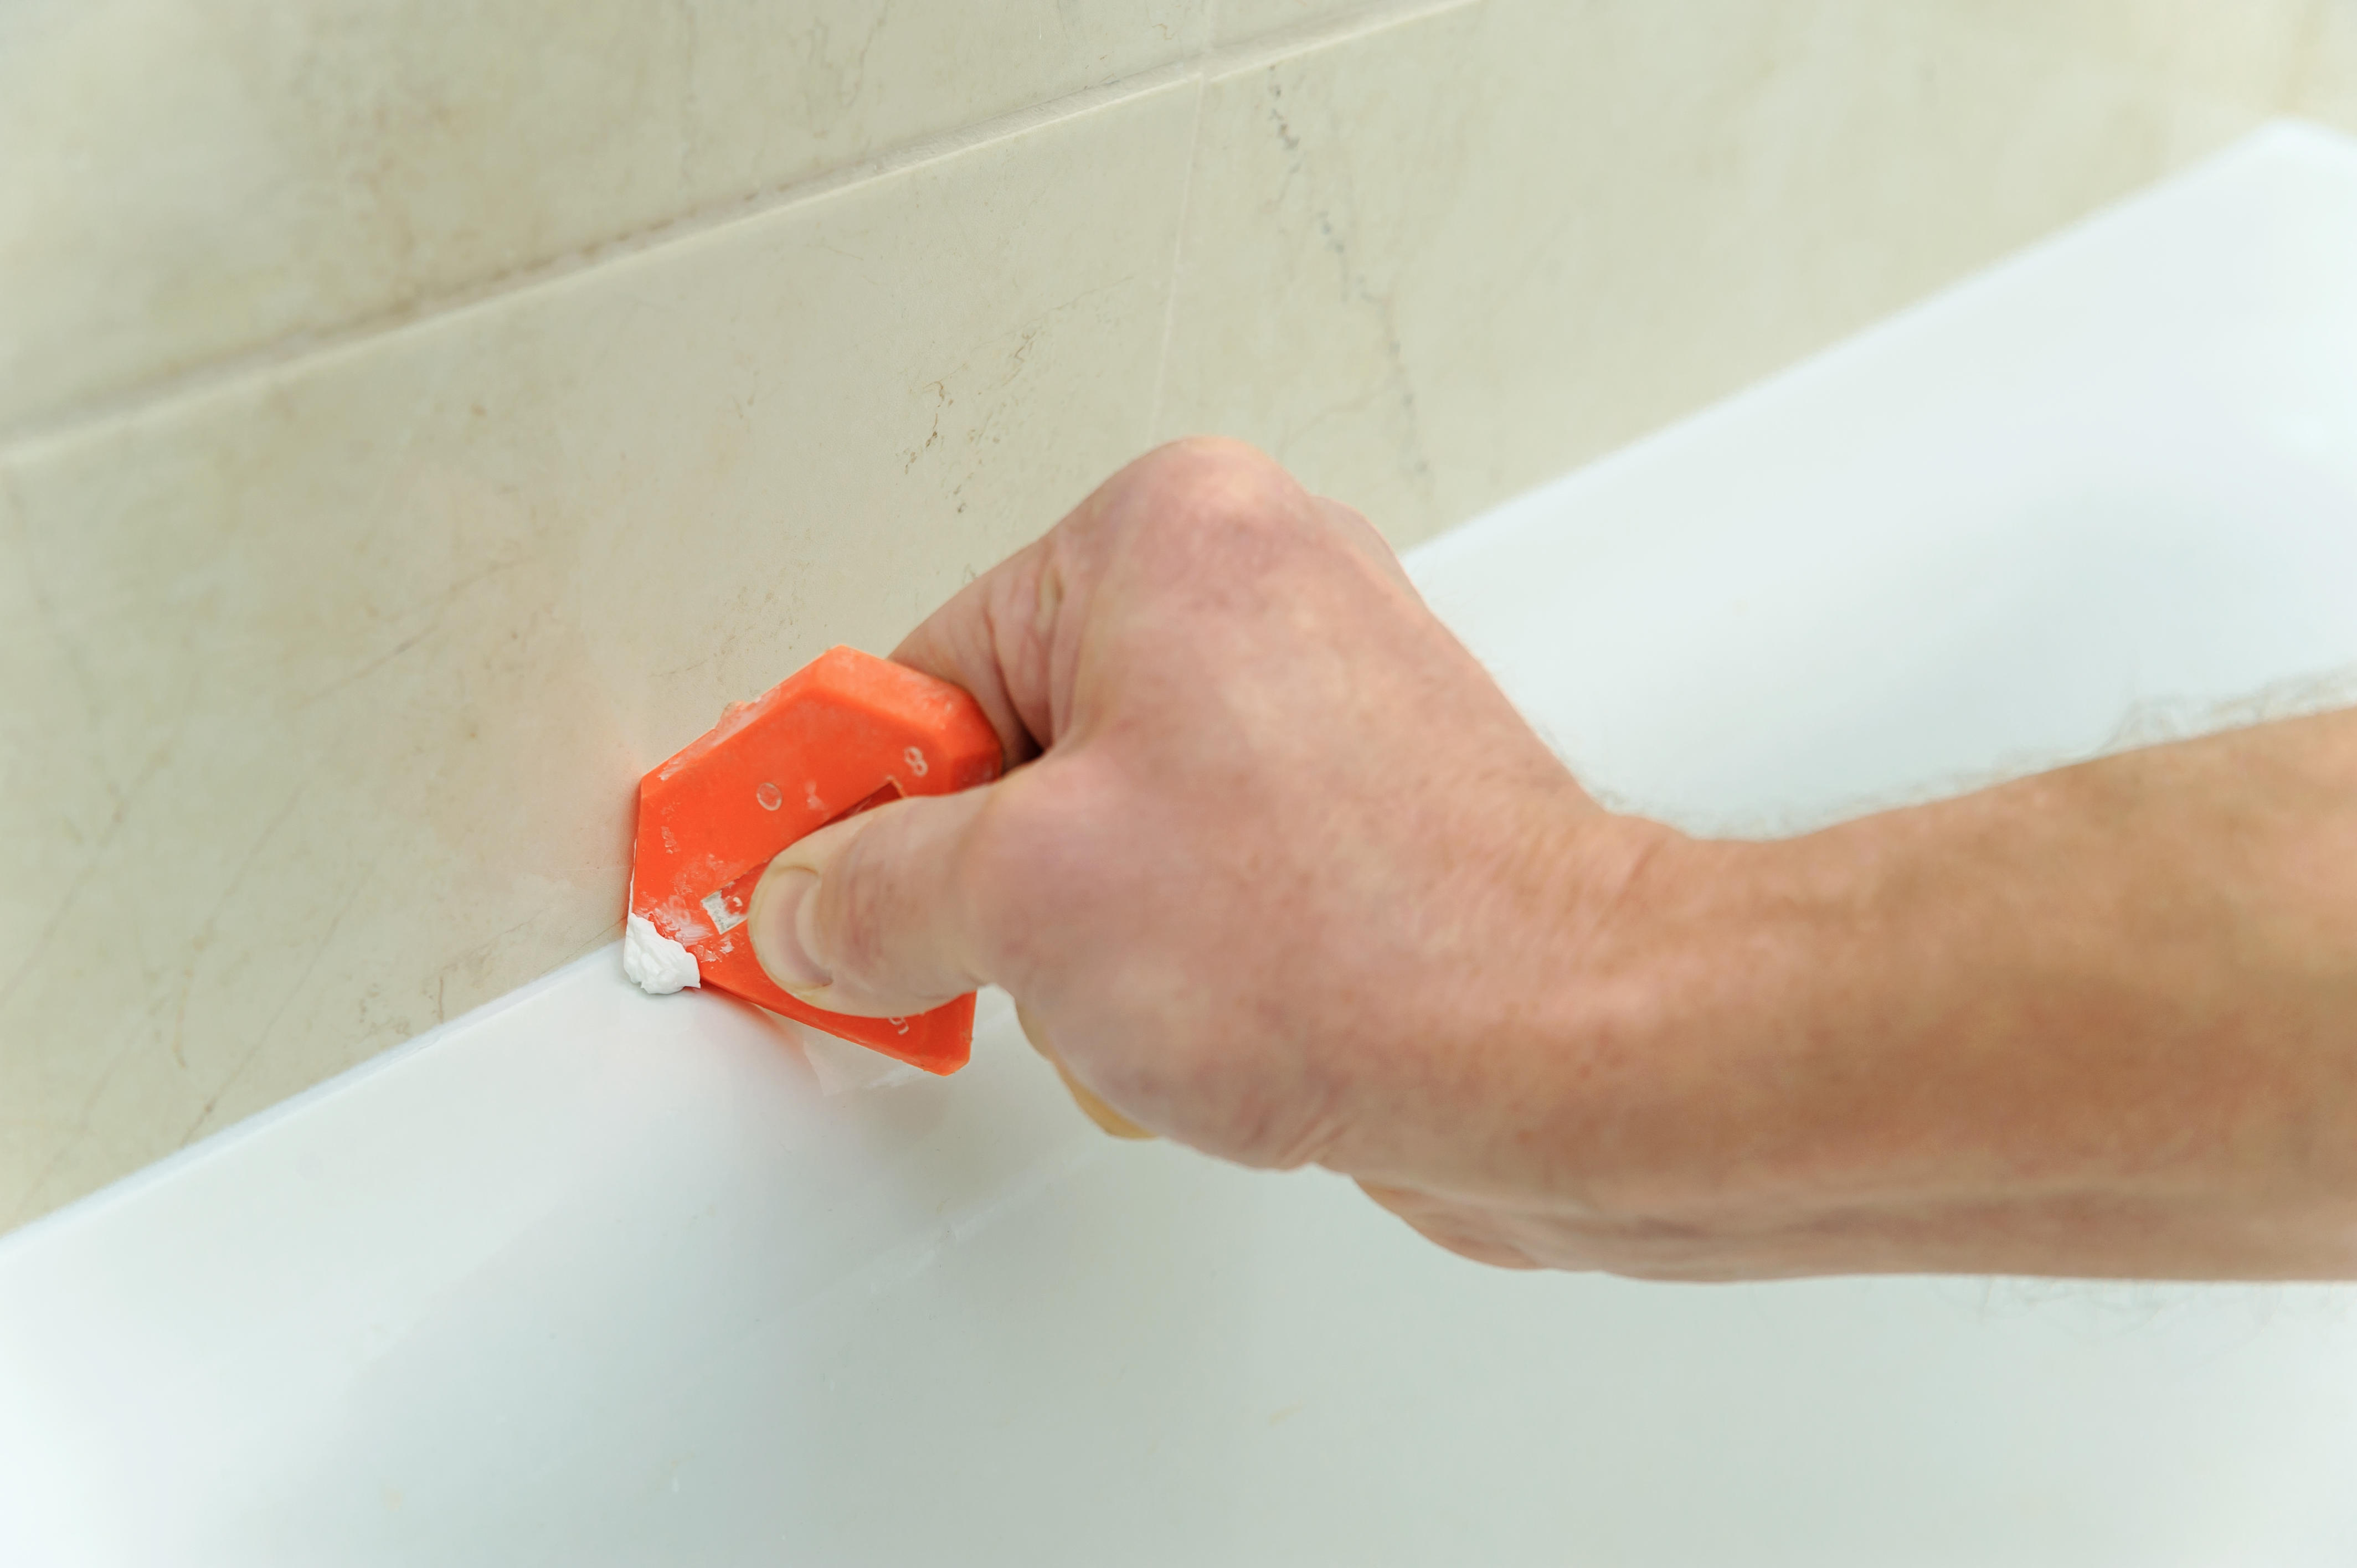
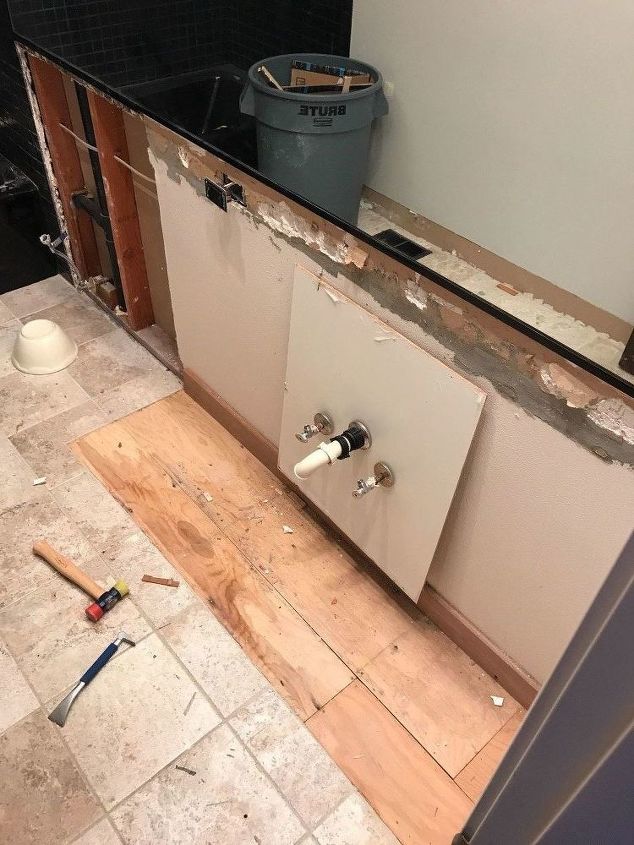
Once the caulk is loosened, use a scraper to remove the caulk from the sink. Be sure to scrape in the direction away from the sink to avoid any scratches. If there are any small pieces of caulk left, use the scraper to gently lift them out.DIY: Removing Caulk from Bathroom Sink


DIY: Removing Caulk from Bathroom Sink

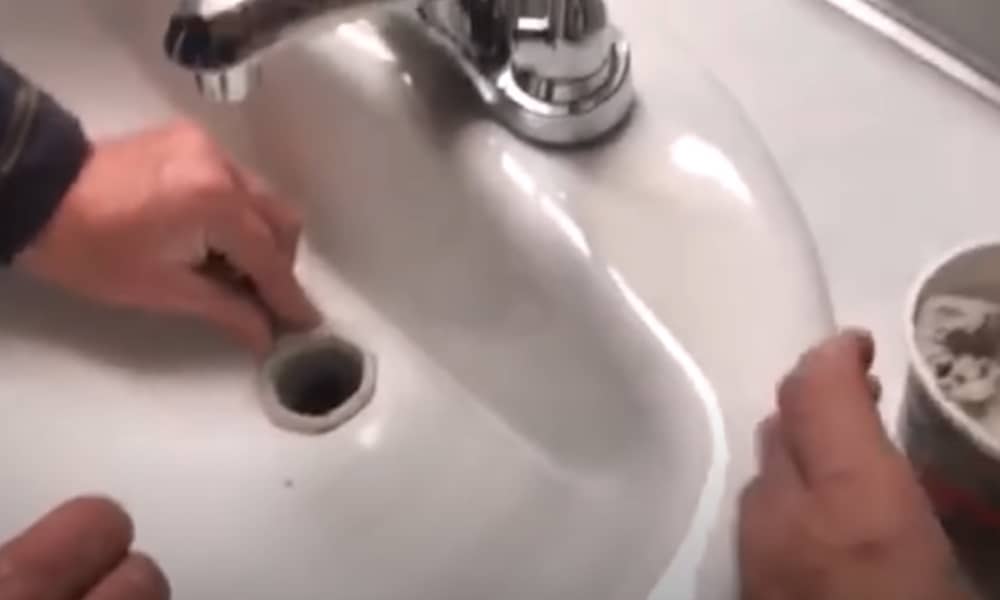
Next, use rubbing alcohol and a scrub brush to clean the area where the caulk was removed. This will help to remove any residue and prepare the surface for new caulk. Once the area is clean, wipe it down with a clean cloth and let it dry completely.Step-by-Step Guide to Removing Caulk from Bathroom Sink


Step-by-Step Guide to Removing Caulk from Bathroom Sink


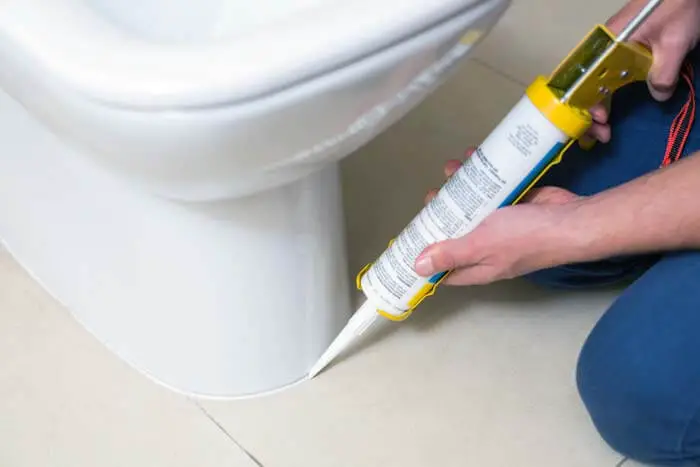
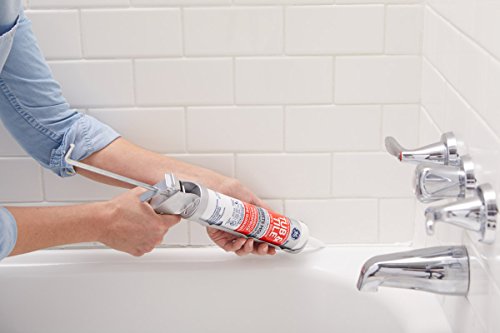
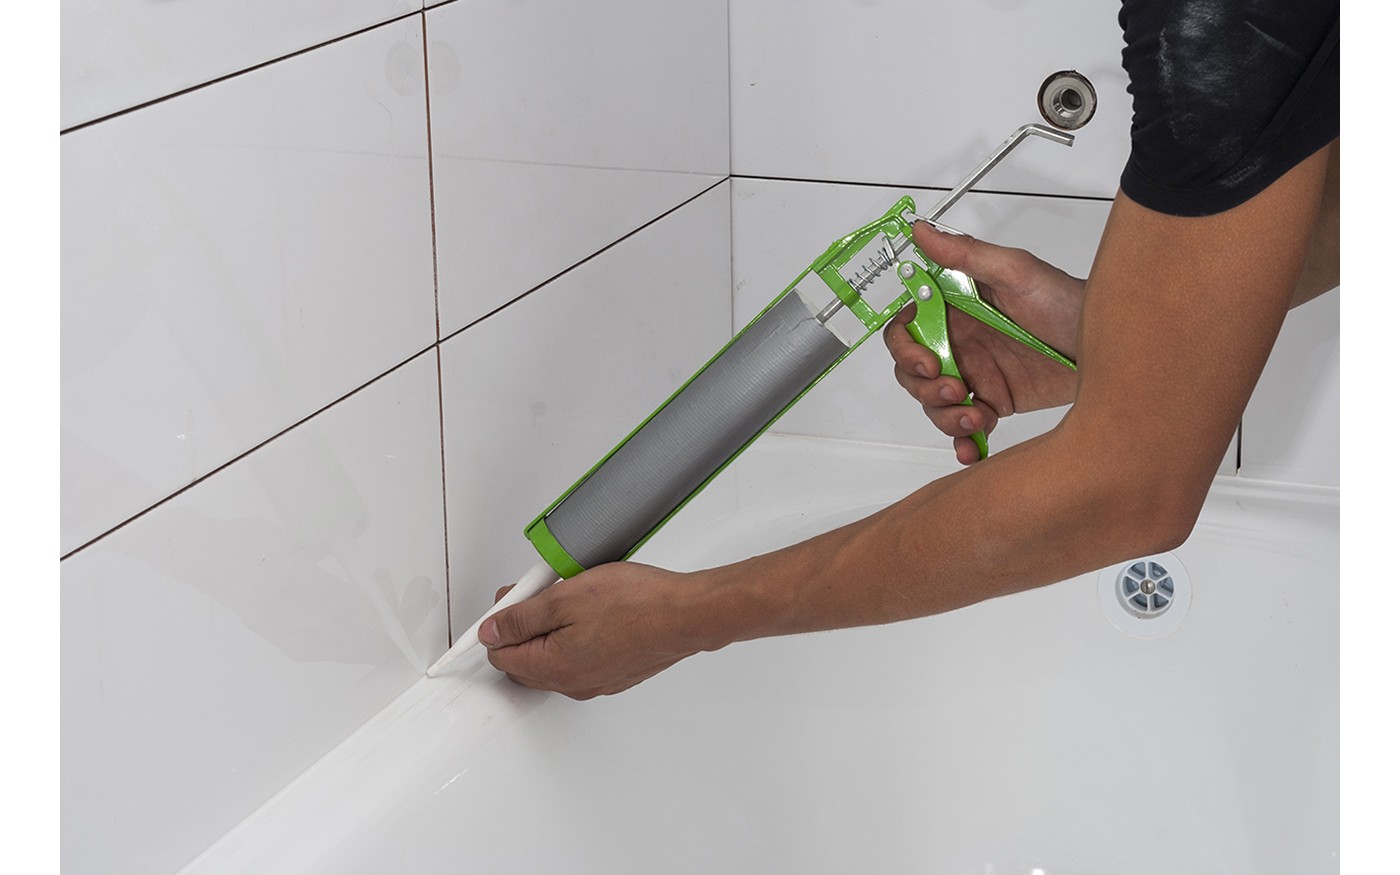
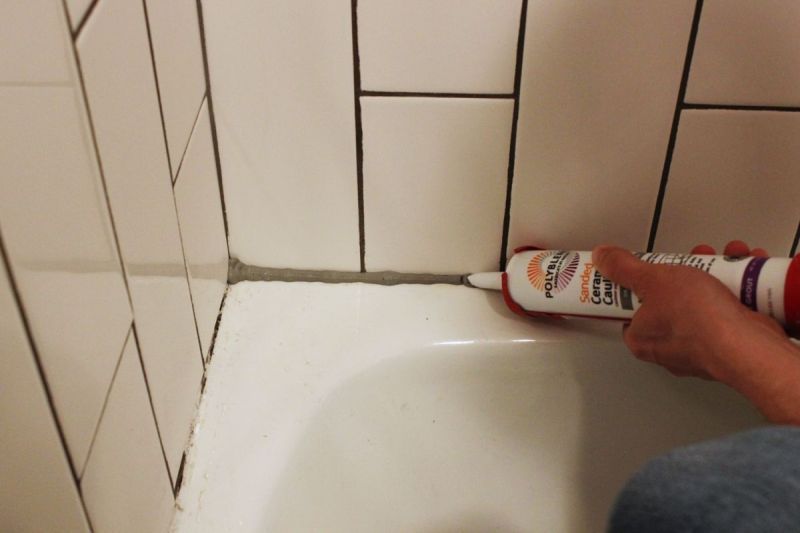
Now it's time to apply new caulk. Choose a caulk that is specifically designed for bathroom use and is mold and mildew resistant. Cut the tip of the caulk tube at an angle and apply a thin, even line of caulk along the seam of the sink and counter. Use your finger or a caulk smoother to smooth out the caulk and create a clean line.Removing Old Caulk from Bathroom Sink: A Comprehensive Guide

Removing Old Caulk from Bathroom Sink: A Comprehensive Guide


Allow the caulk to dry for at least 24 hours before using the sink or getting it wet. This will ensure that the caulk has properly adhered and will last for a long time.Quick and Easy Method for Removing Caulk from Bathroom Sink


Quick and Easy Method for Removing Caulk from Bathroom Sink

If you notice any gaps or areas that need touch-ups, use a small amount of caulk to fill them in. Once the caulk is completely dry, your bathroom sink will have a fresh, clean look.Removing Stubborn Caulk from Bathroom Sink: Tried and Tested Techniques


Removing Stubborn Caulk from Bathroom Sink: Tried and Tested Techniques

Remember to regularly check and replace any old or cracked caulk in your bathroom sink to prevent any water damage or mold growth. With these easy steps, you can easily remove caulk from your bathroom sink and keep it looking like new for years to come.Expert Tips for Removing Caulk from Bathroom Sink Like a Pro


Expert Tips for Removing Caulk from Bathroom Sink Like a Pro

Why Removing Caulk is Essential for a Clean and Beautiful Bathroom Sink

Maintaining a Clean and Hygienic Bathroom
:max_bytes(150000):strip_icc()/how-to-remove-old-caulk-1824827-01-3d0370c59e124dbbaa6560c68bab111c.jpg) When it comes to house design, the bathroom is often one of the most overlooked areas. However, it is also one of the most used spaces in any home. A clean and well-maintained bathroom not only enhances the overall aesthetics of your house, but it also promotes good hygiene and prevents the spread of germs. One of the key elements of a clean bathroom is a well-maintained sink. And
removing caulk from your bathroom sink
is an essential step in this process. In this article, we will discuss why it is important to remove caulk from your bathroom sink and how you can do it effectively.
When it comes to house design, the bathroom is often one of the most overlooked areas. However, it is also one of the most used spaces in any home. A clean and well-maintained bathroom not only enhances the overall aesthetics of your house, but it also promotes good hygiene and prevents the spread of germs. One of the key elements of a clean bathroom is a well-maintained sink. And
removing caulk from your bathroom sink
is an essential step in this process. In this article, we will discuss why it is important to remove caulk from your bathroom sink and how you can do it effectively.
Preventing the Growth of Mold and Mildew
 Caulk is a waterproof sealant that is commonly used to seal gaps between the sink and the wall or countertop. Over time, this caulk can start to deteriorate, allowing water to seep in and create a moist environment. This creates the perfect breeding ground for mold and mildew, which not only looks unsightly but can also pose health risks. By
removing the old caulk and replacing it with a fresh layer
, you can prevent the growth of mold and mildew, keeping your bathroom sink clean and hygienic.
Caulk is a waterproof sealant that is commonly used to seal gaps between the sink and the wall or countertop. Over time, this caulk can start to deteriorate, allowing water to seep in and create a moist environment. This creates the perfect breeding ground for mold and mildew, which not only looks unsightly but can also pose health risks. By
removing the old caulk and replacing it with a fresh layer
, you can prevent the growth of mold and mildew, keeping your bathroom sink clean and hygienic.
Improving the Aesthetics of Your Bathroom
 Another reason to remove caulk from your bathroom sink is to improve its overall appearance. Old, discolored caulk can make your sink look dirty and unkempt, even if it is regularly cleaned. By
removing the old caulk and applying a new layer
, you can instantly refresh the look of your sink and give your bathroom a more polished and put-together look. Additionally,
choosing a caulk color that complements your sink and bathroom tiles
can add a touch of personal style to your bathroom design.
Another reason to remove caulk from your bathroom sink is to improve its overall appearance. Old, discolored caulk can make your sink look dirty and unkempt, even if it is regularly cleaned. By
removing the old caulk and applying a new layer
, you can instantly refresh the look of your sink and give your bathroom a more polished and put-together look. Additionally,
choosing a caulk color that complements your sink and bathroom tiles
can add a touch of personal style to your bathroom design.
Ensuring Proper Functionality of Your Sink
 Caulk not only serves an aesthetic purpose but also plays a crucial role in keeping your sink in good working condition. It seals and protects the edges of your sink from water damage, preventing leaks and potential structural damage. Over time, old caulk can become brittle and crack, compromising its ability to keep water out. By
regularly removing and replacing caulk
, you can ensure that your sink is functioning properly and prevent any costly repairs in the future.
In conclusion,
removing caulk from your bathroom sink
is an important step in maintaining a clean, hygienic, and functional bathroom. It not only prevents the growth of mold and mildew but also improves the overall aesthetics of your sink and ensures its proper functionality. With the right tools and techniques, you can easily remove and replace caulk, giving your bathroom a fresh and updated look. So, don't neglect this important task in your house design and make sure to regularly check and replace the caulk in your bathroom sink.
Caulk not only serves an aesthetic purpose but also plays a crucial role in keeping your sink in good working condition. It seals and protects the edges of your sink from water damage, preventing leaks and potential structural damage. Over time, old caulk can become brittle and crack, compromising its ability to keep water out. By
regularly removing and replacing caulk
, you can ensure that your sink is functioning properly and prevent any costly repairs in the future.
In conclusion,
removing caulk from your bathroom sink
is an important step in maintaining a clean, hygienic, and functional bathroom. It not only prevents the growth of mold and mildew but also improves the overall aesthetics of your sink and ensures its proper functionality. With the right tools and techniques, you can easily remove and replace caulk, giving your bathroom a fresh and updated look. So, don't neglect this important task in your house design and make sure to regularly check and replace the caulk in your bathroom sink.