Refinishing a Dining Room Table Top: A Step-by-Step Guide
Refinishing a dining room table top can be a daunting task, but with the right tools and techniques, it can be a rewarding DIY project. Whether you want to restore an old table or give a new life to a worn-out one, refinishing is the way to go. In this step-by-step guide, we will walk you through the process of refinishing a dining room table top and give you tips to achieve a professional-looking finish.


Refinishing a Dining Room Table Top: A Step-by-Step Guide


How to Refinish a Dining Room Table Top in 5 Easy Steps
Refinishing a dining room table top can seem overwhelming, but breaking it down into simple steps can make the process much easier. Here are the five easy steps you need to follow to refinish your dining room table top:
Step 1: Strip off the old finish. Use a chemical stripper or sandpaper to remove the old finish and reveal the bare wood surface.
Step 2: Sand the table top. Use a progression of sandpaper grits to smooth out the surface and remove any imperfections.
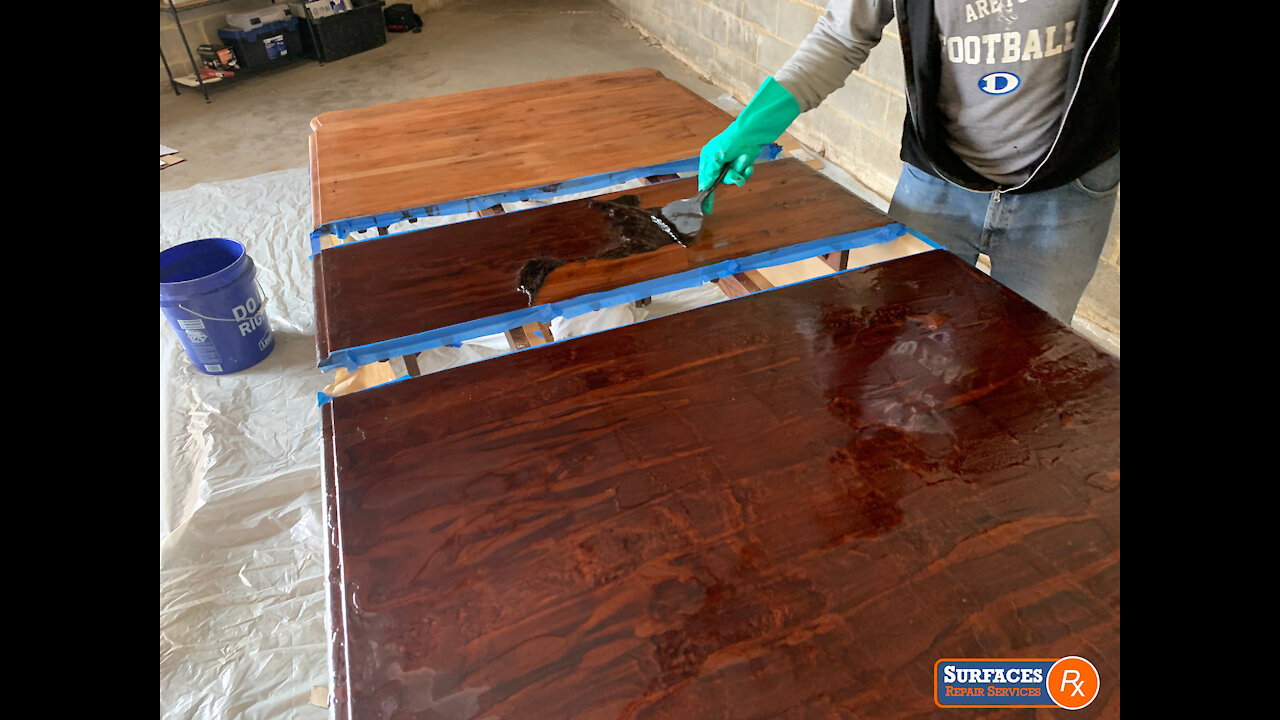
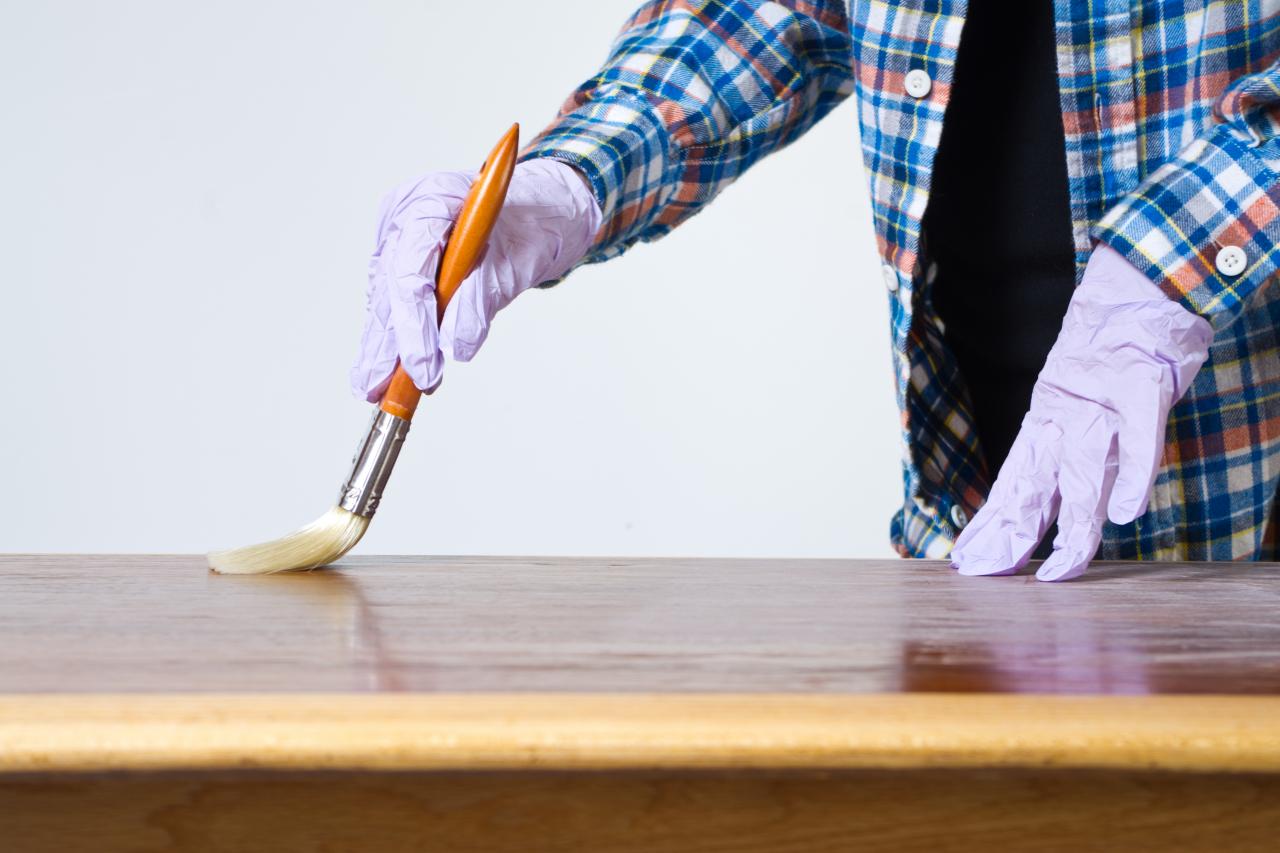
Step 3: Stain or paint the table top. Choose your desired finish and apply it evenly using a brush or a cloth.
Step 4: Apply a topcoat. Protect your newly stained or painted table top with a topcoat such as polyurethane or wax.
Step 5: Let it dry completely. Allow the table top to dry completely before using it or placing any items on it.


How to Refinish a Dining Room Table Top in 5 Easy Steps


DIY Dining Room Table Refinishing: Tips and Tricks
Refinishing a dining room table top can be a challenging task, but with these tips and tricks, you can achieve a professional-looking finish:
Tip 1: Work in a well-ventilated area. Chemical strippers and finishes can emit strong fumes, so make sure to work in a well-ventilated area to avoid any health hazards.
Tip 2: Test the finish on a small area first. Before applying the finish to the entire table top, test it on a small, inconspicuous area to ensure you are happy with the color and finish.
Tip 3: Use a tack cloth. After sanding, use a tack cloth to remove any dust or debris from the table top before applying the finish.
Tip 4: Apply multiple thin coats. It is better to apply multiple thin coats of finish rather than one thick coat. This will prevent drips and ensure a smoother finish.
Tip 5: Sand between coats. If you are applying multiple coats of finish, make sure to sand lightly between each coat to achieve a smoother and more even finish.


DIY Dining Room Table Refinishing: Tips and Tricks


Refinishing a Dining Room Table Top: Materials and Tools You'll Need
To successfully refinish a dining room table top, you will need the following materials and tools:
Materials: Chemical stripper, sandpaper (various grits), stain or paint, topcoat (polyurethane or wax), tack cloth.
Tools: Paintbrush, plastic scraper, gloves, goggles, dust mask, sanding block or orbital sander.


Refinishing a Dining Room Table Top: Materials and Tools You'll Need
Refinishing a Dining Room Table Top: Common Mistakes to Avoid
Even with the best intentions, refinishing a dining room table top can go wrong if you make certain mistakes. Here are some common mistakes to avoid:
Mistake 1: Not sanding enough. Sanding is a crucial step in refinishing a table top as it helps to remove any imperfections and creates a smooth surface for the finish to adhere to.
Mistake 2: Skipping the topcoat. A topcoat not only adds a protective layer to the table top but also enhances the color and finish of the stain or paint.
Mistake 3: Using too much stain or paint. Applying too much stain or paint can lead to drips and an uneven finish. Always follow the manufacturer's instructions for the recommended amount to use.
Mistake 4: Not wearing protective gear. Chemical strippers and finishes can be harmful, so make sure to wear gloves, goggles, and a dust mask to protect yourself.
Mistake 5: Not letting the table top dry completely. Rushing the drying process can ruin all your hard work. Make sure to give your table top enough time to dry completely before using it.


Refinishing a Dining Room Table Top: Common Mistakes to Avoid

Refinishing a Dining Room Table Top: Staining vs. Painting
When it comes to refinishing a dining room table top, you have the option to either stain or paint it. Here are some pros and cons of each option:
Staining: Staining allows the natural beauty of the wood to show through and gives a more organic look. However, it can be more time-consuming and requires more steps.
Painting: Painting allows you to choose from a variety of colors and can be a quicker and easier process. However, it can cover up the natural wood grain and may require more frequent touch-ups.


Refinishing a Dining Room Table Top: Staining vs. Painting


How to Repair and Refinish a Damaged Dining Room Table Top
If your dining room table top has scratches, dents, or other damage, refinishing it can help restore its beauty. Here's how you can repair and refinish a damaged table top:
Step 1: Assess the damage. Identify the areas that need to be repaired and determine if they need to be sanded down or filled in.
Step 2: Sand the damaged areas. Use sandpaper to smooth out any scratches or dents. If there are deep scratches or gouges, use wood filler to fill them in and sand again once it is dry.
Step 3: Refinish the table top. Follow the steps mentioned above to refinish the table top, making sure to pay extra attention to the damaged areas.


How to Repair and Refinish a Damaged Dining Room Table Top


Refinishing a Dining Room Table Top: Choosing the Right Finish
Choosing the right finish is crucial for achieving the desired look and protecting your dining room table top. Here are some popular options to consider:
Polyurethane: This is a durable and water-resistant finish that comes in different sheens, such as matte, satin, and glossy.
Wax: Wax provides a more subtle and natural finish and is a good option for vintage or rustic-style tables.
Lacquer: This finish is durable and dries quickly, making it a popular choice for professionals. However, it can emit strong fumes and may require special equipment for application.

Refinishing a Dining Room Table Top: Choosing the Right Finish

Refinishing a Dining Room Table Top: How Long Does it Take?
The time it takes to refinish a dining room table top can vary depending on the size of the table, the type of finish used, and the drying time between coats. Generally, it can take anywhere from a few days to a week to complete the process.
Refinishing a Dining Room Table Top: How Long Does it Take?
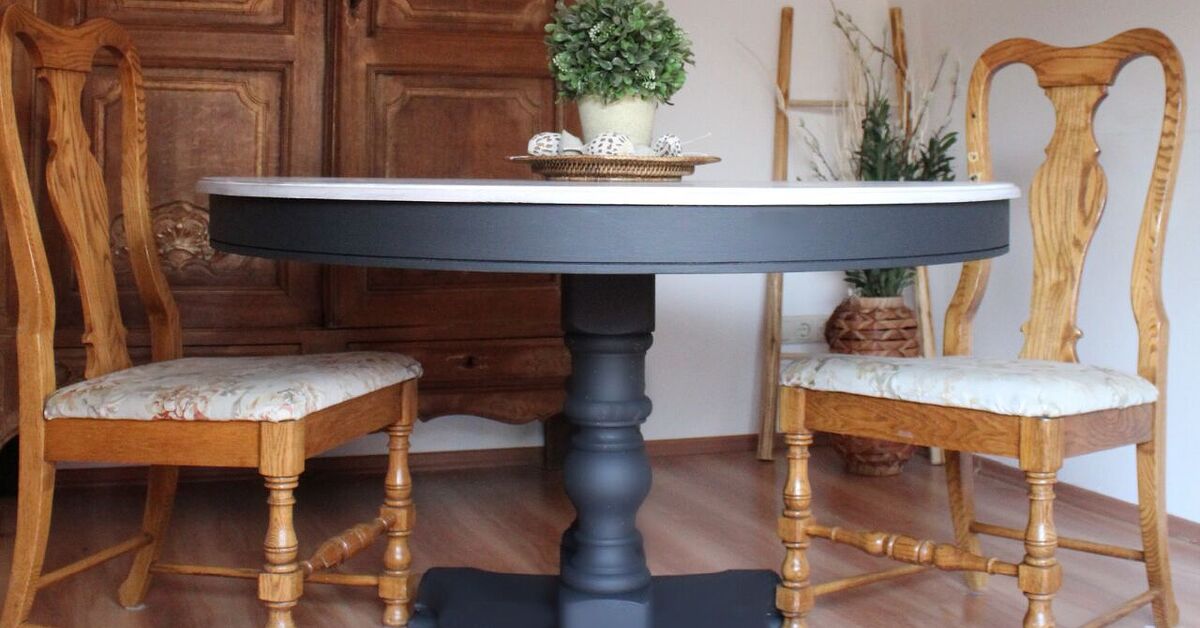
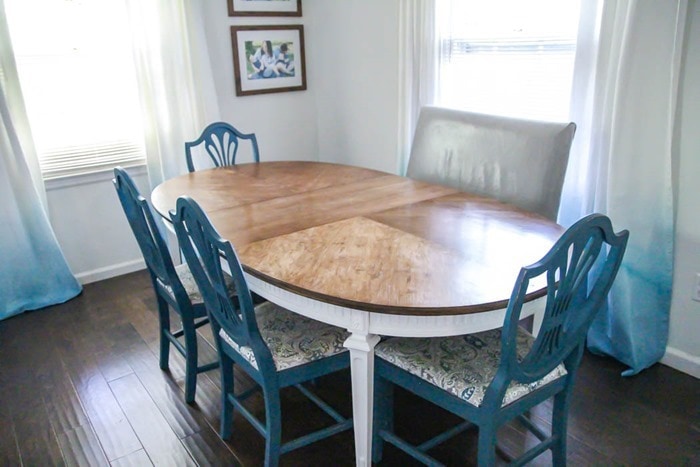
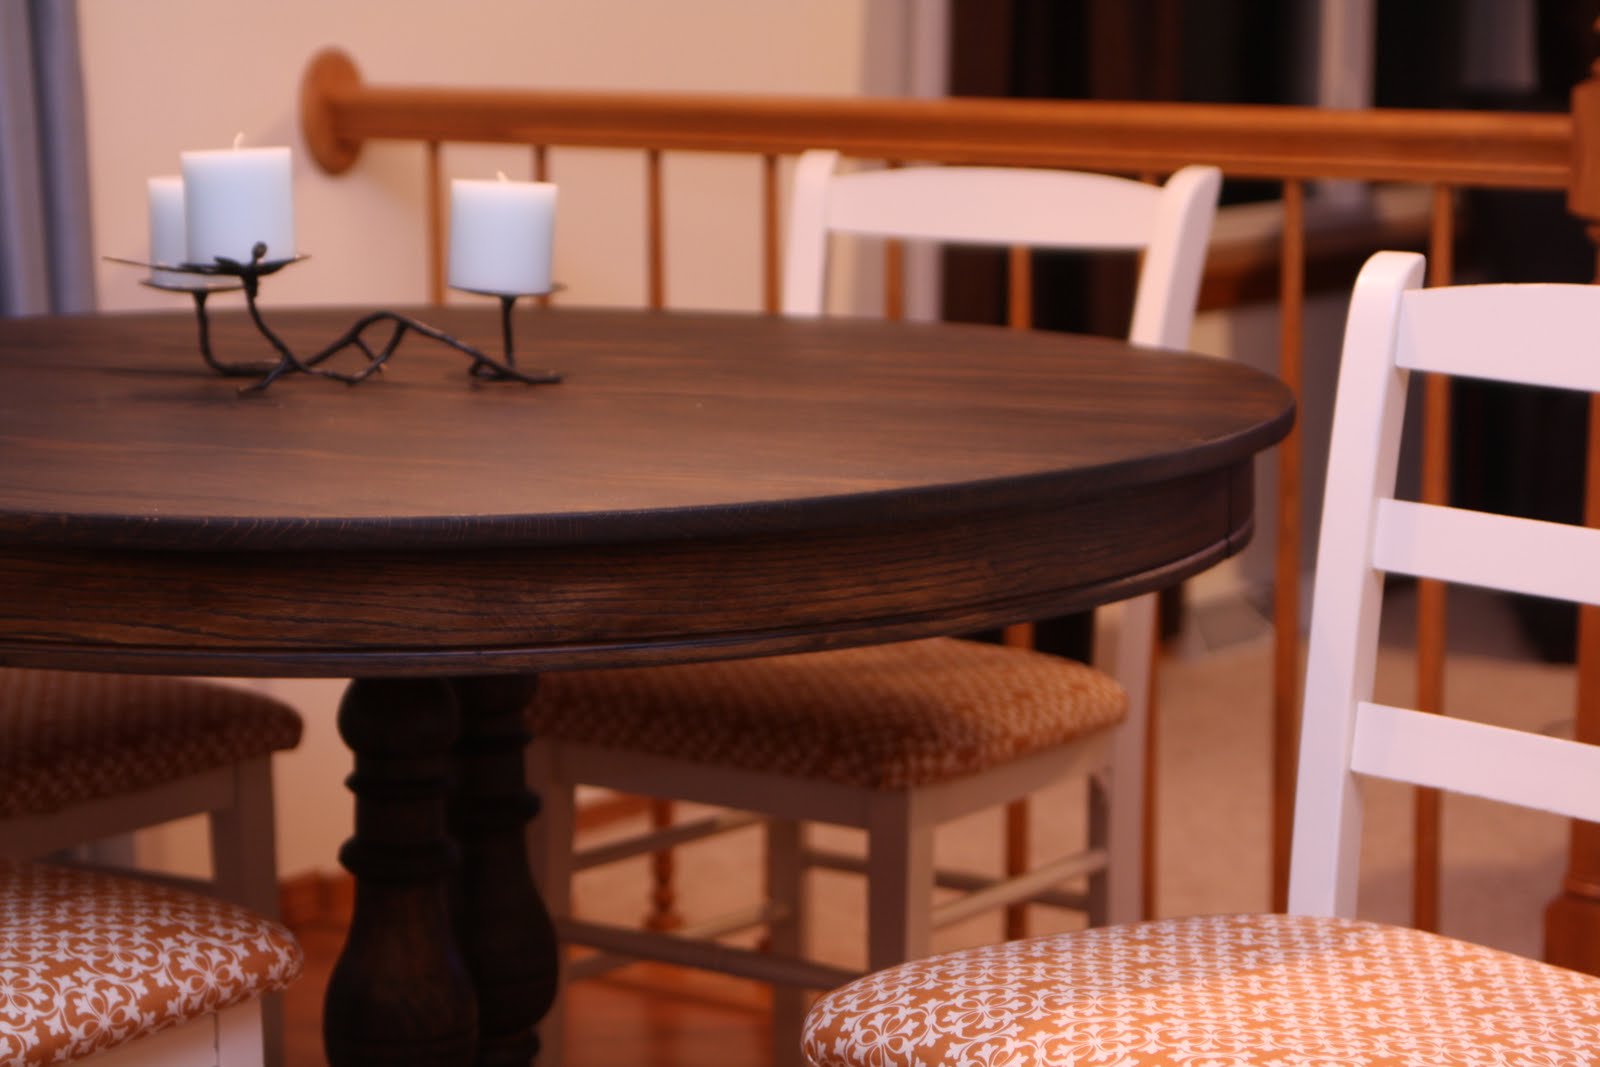
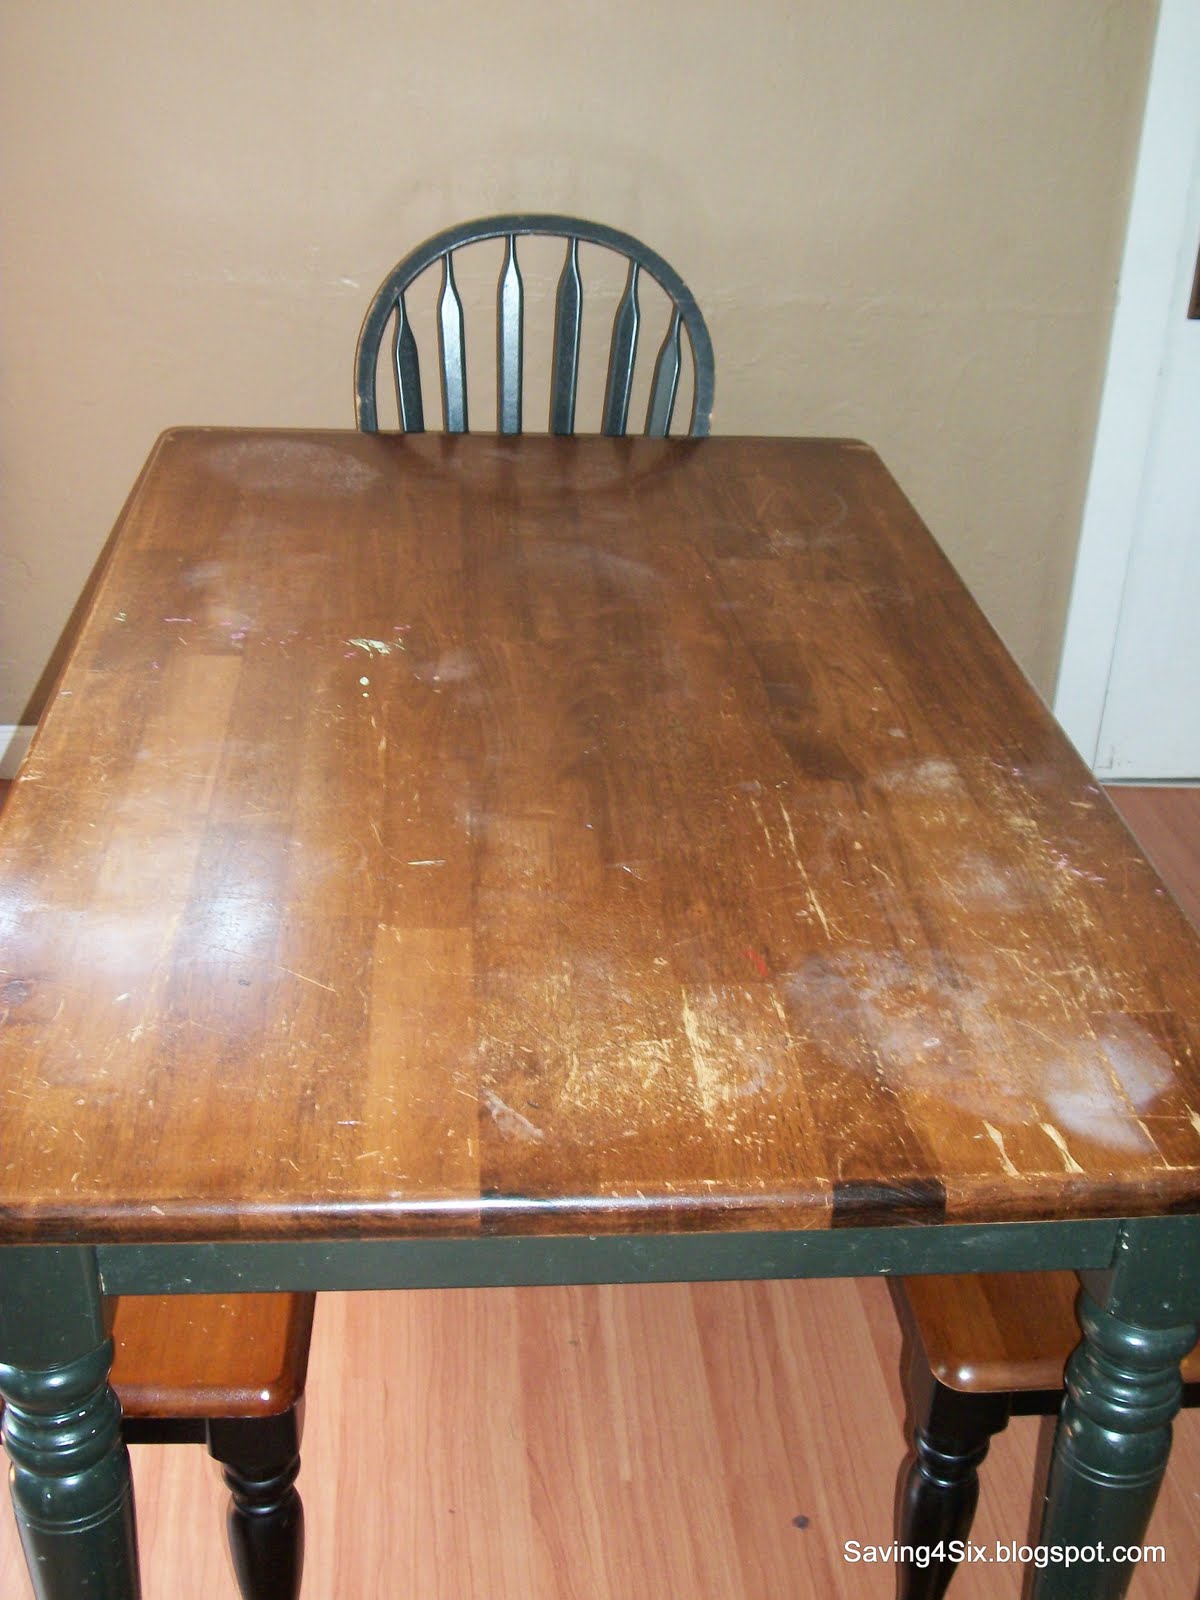
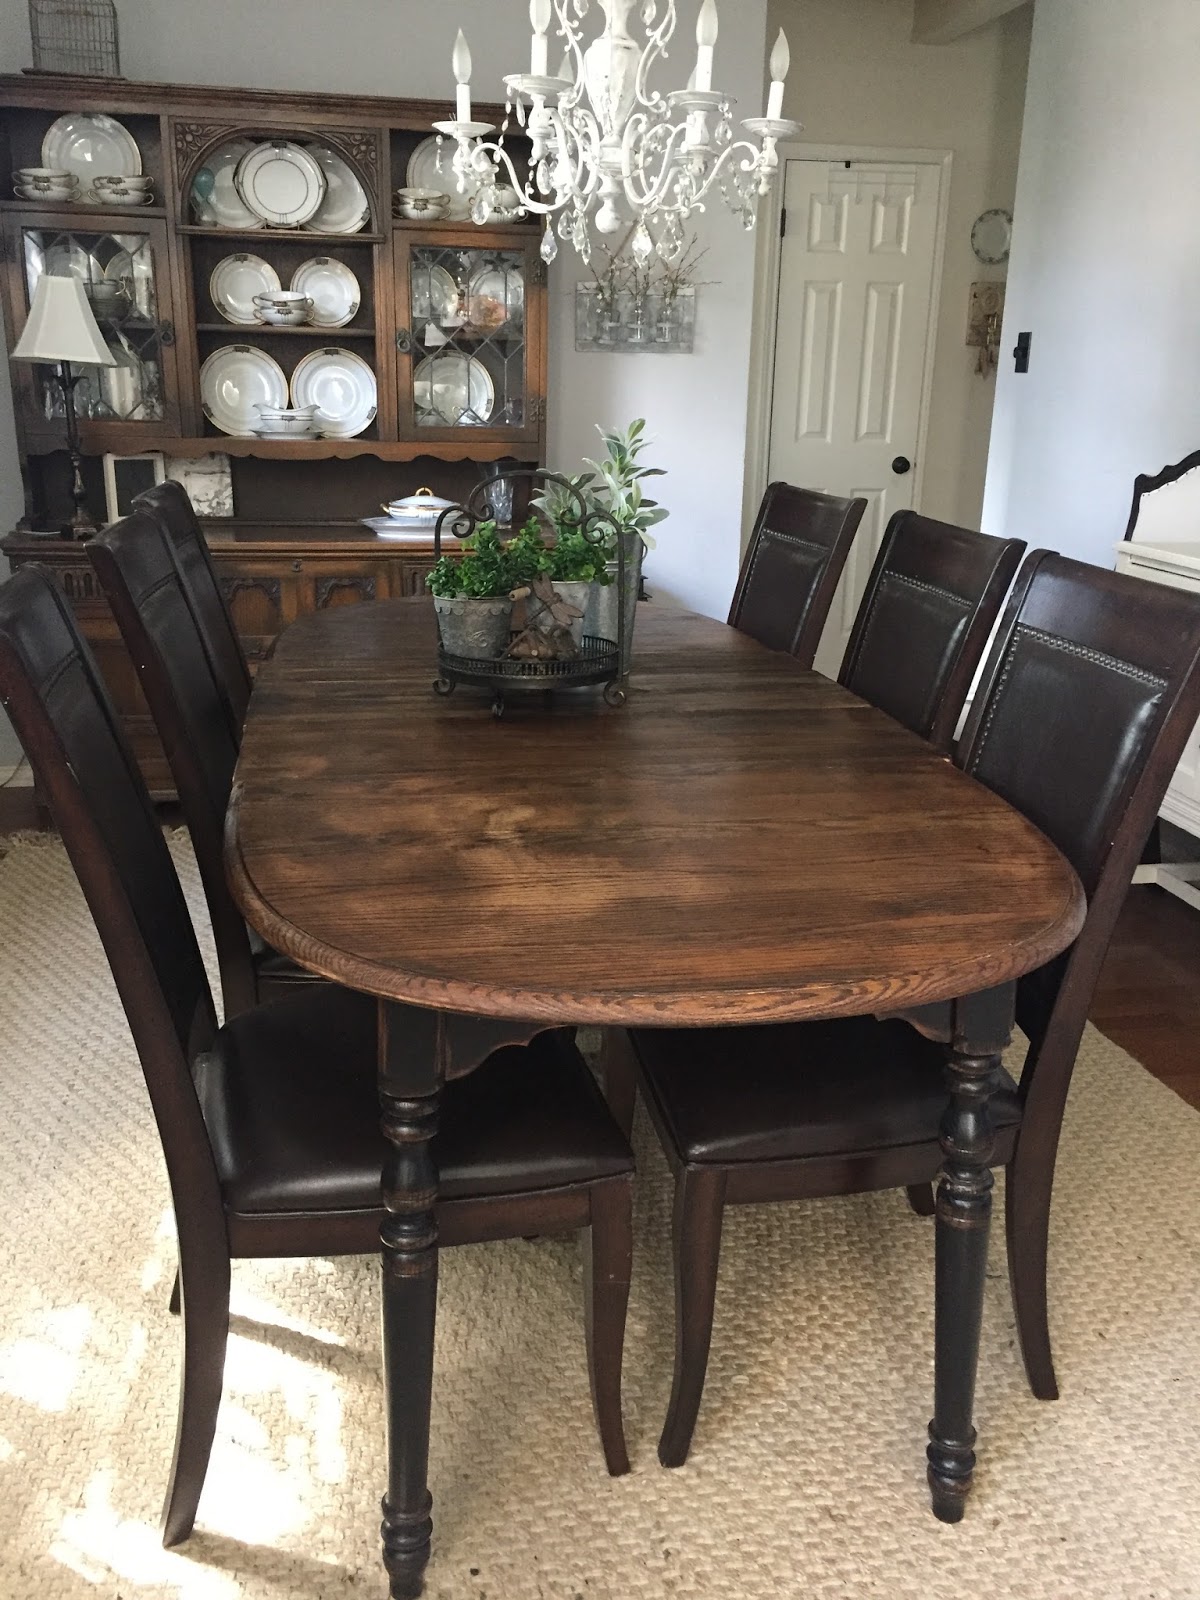
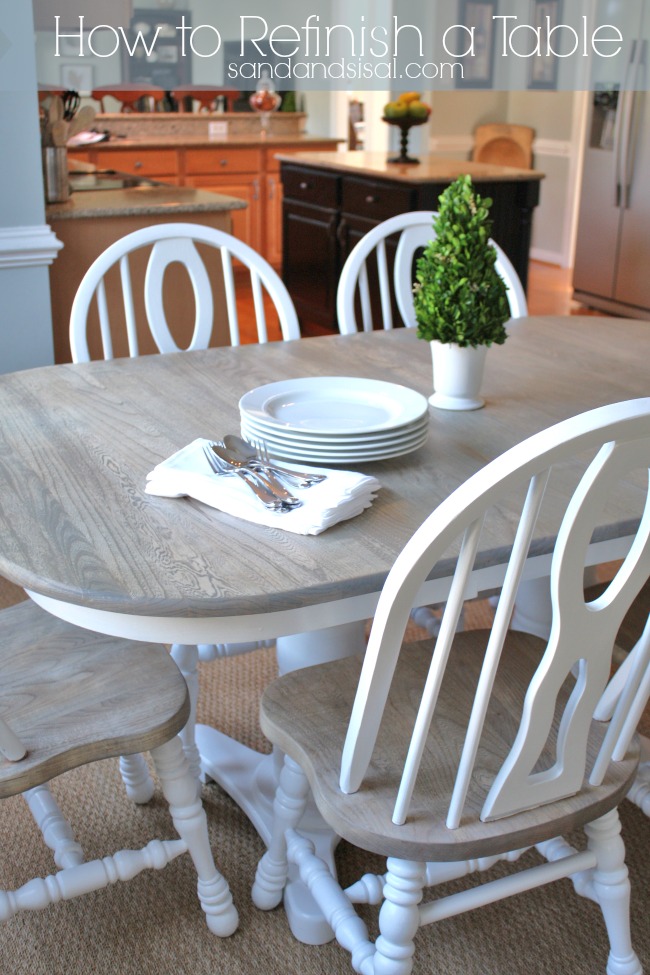
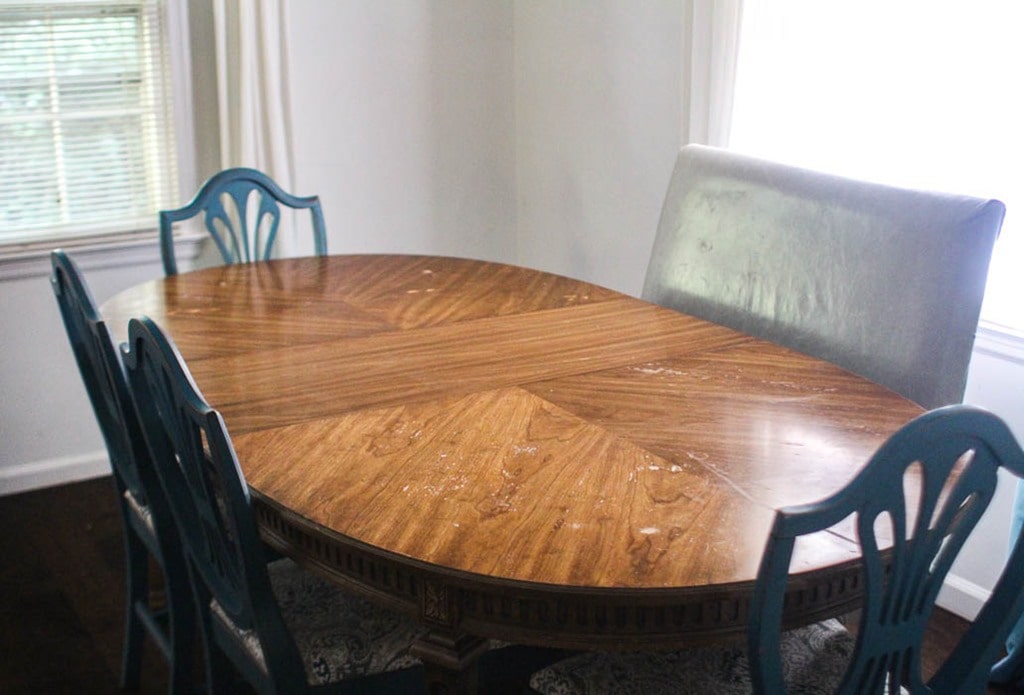
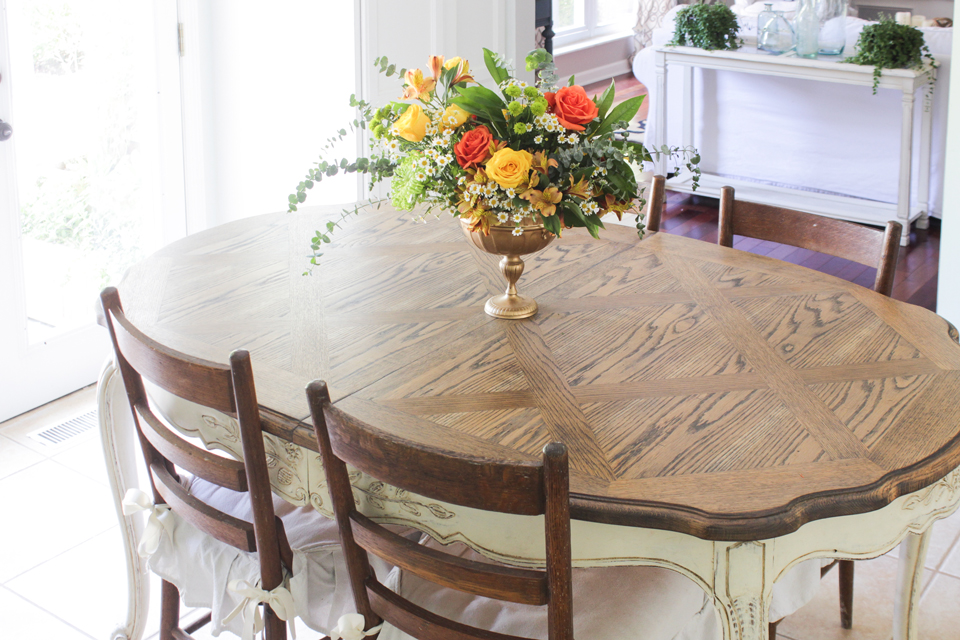
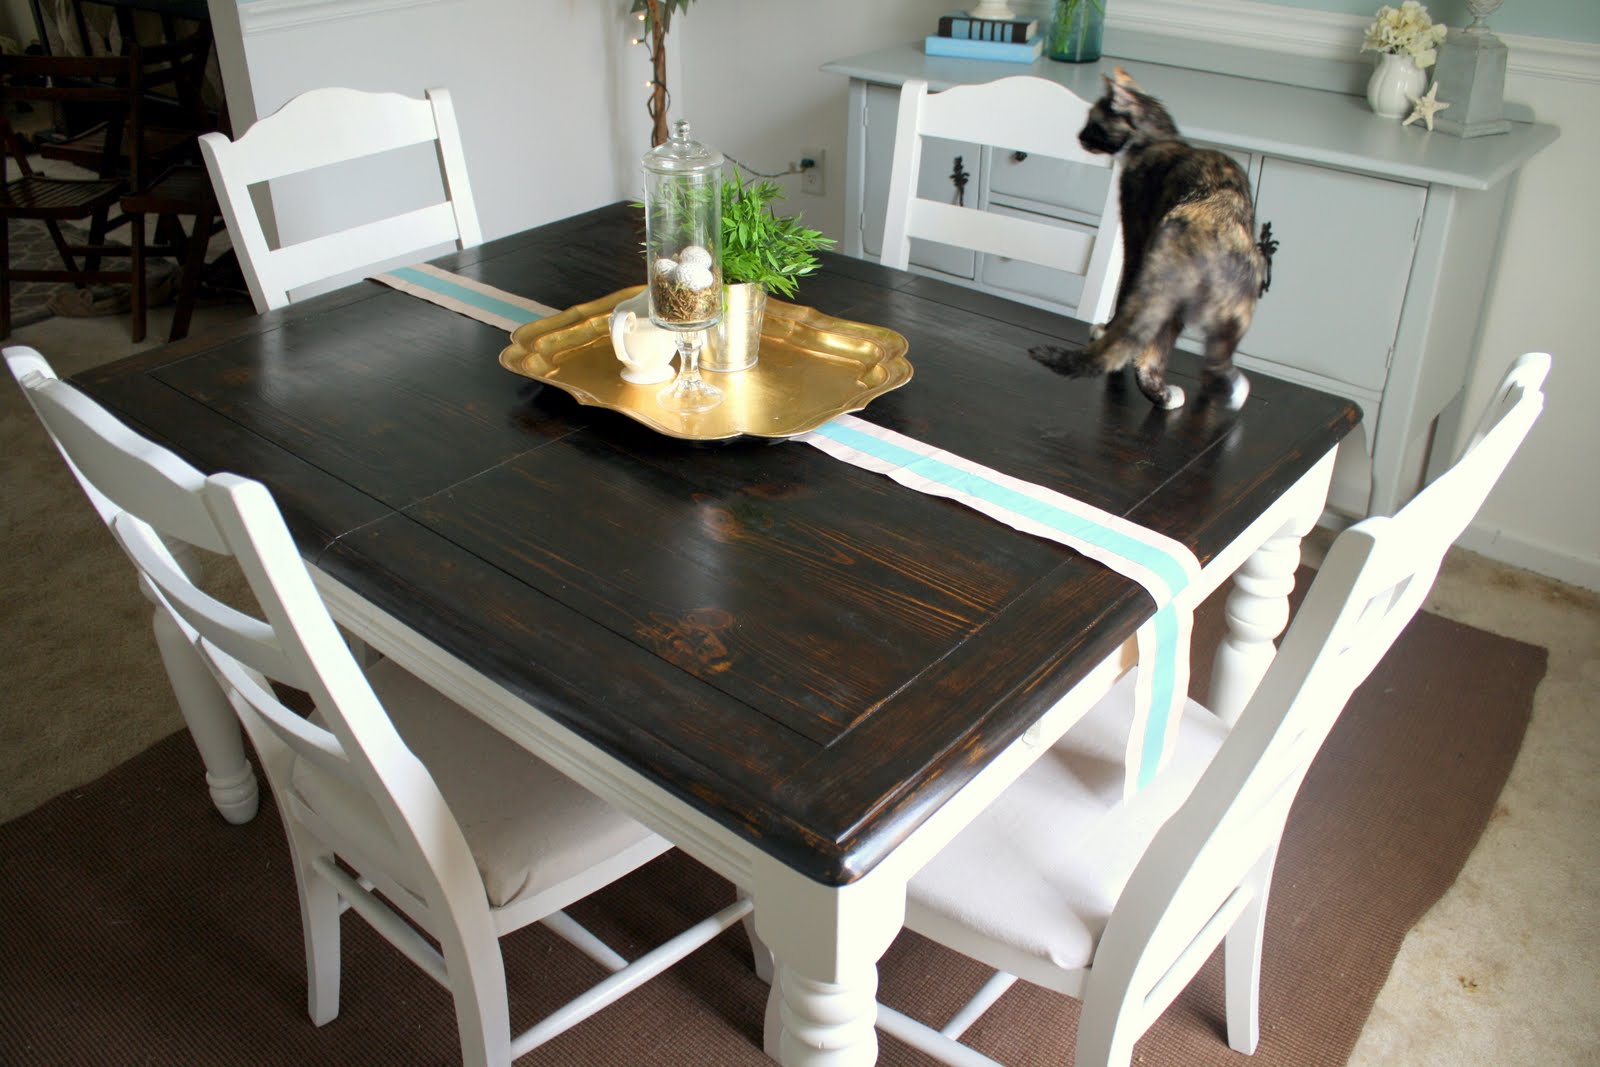
Before and After: Stunning Dining Room Table Top Refinishing Transformations
The best part about refinishing a dining room table top is seeing the stunning transformation it can undergo. Here are some before and after photos to inspire you:
Insert before and after photos of a table top with scratches and dull finish transformed into a beautiful, shiny surface with a deep wood color.
Refinishing a dining room table top may require some time and effort, but the end result is well worth it. With this step-by-step guide and our tips and tricks, you can achieve a professional-looking finish and give new life to your old or worn-out table. So, put on your DIY hat and get ready to transform your dining room table into a beautiful centerpiece for your home!


Before and After: Stunning Dining Room Table Top Refinishing Transformations


The Importance of Refinishing Your Dining Room Table Top
Transforming Your Dining Room with a Fresh Table Top
 Refinishing your dining room table top is a simple yet effective way to transform the entire look and feel of your dining room. As the centerpiece of the room, the dining table is often the first thing that catches the eye. Over time, the table top may become worn, scratched, or discolored, making the entire room look outdated and dull. By refinishing your dining room table top, you can bring new life to your dining room and create a beautiful, inviting space for family and friends to gather.
Enhancing the Aesthetic Appeal of Your Dining Room
A dining room table top that is well-maintained and visually appealing can greatly enhance the overall aesthetic appeal of your dining room. Refinishing your table top can give it a fresh, new look that complements your existing décor or allows you to completely change the style of the room. Whether you prefer a rustic farmhouse look or a sleek and modern design, refinishing your dining room table top can help you achieve the desired aesthetic for your space.
Refinishing your dining room table top is a simple yet effective way to transform the entire look and feel of your dining room. As the centerpiece of the room, the dining table is often the first thing that catches the eye. Over time, the table top may become worn, scratched, or discolored, making the entire room look outdated and dull. By refinishing your dining room table top, you can bring new life to your dining room and create a beautiful, inviting space for family and friends to gather.
Enhancing the Aesthetic Appeal of Your Dining Room
A dining room table top that is well-maintained and visually appealing can greatly enhance the overall aesthetic appeal of your dining room. Refinishing your table top can give it a fresh, new look that complements your existing décor or allows you to completely change the style of the room. Whether you prefer a rustic farmhouse look or a sleek and modern design, refinishing your dining room table top can help you achieve the desired aesthetic for your space.
Preserving Your Dining Room Table for Years to Come
 Protecting Your Investment
Your dining room table is not only a functional piece of furniture, but it is also an investment. By refinishing the table top, you are protecting your investment and ensuring that it will last for years to come. Refinishing involves sanding down the existing finish, repairing any damaged areas, and applying a new protective coating. This process not only restores the beauty of your table, but it also helps to prevent future damage and wear.
Increasing the Lifespan of Your Dining Room Table
Regularly refinishing your dining room table top can also increase its lifespan. As the protective coating wears down over time, the wood is more susceptible to damage from spills, scratches, and heat. By refinishing the table top, you are adding a new layer of protection that will help to keep your table looking like new for longer. This can save you money in the long run by extending the lifespan of your table and reducing the need for costly repairs or replacements.
Protecting Your Investment
Your dining room table is not only a functional piece of furniture, but it is also an investment. By refinishing the table top, you are protecting your investment and ensuring that it will last for years to come. Refinishing involves sanding down the existing finish, repairing any damaged areas, and applying a new protective coating. This process not only restores the beauty of your table, but it also helps to prevent future damage and wear.
Increasing the Lifespan of Your Dining Room Table
Regularly refinishing your dining room table top can also increase its lifespan. As the protective coating wears down over time, the wood is more susceptible to damage from spills, scratches, and heat. By refinishing the table top, you are adding a new layer of protection that will help to keep your table looking like new for longer. This can save you money in the long run by extending the lifespan of your table and reducing the need for costly repairs or replacements.
Conclusion
 Refinishing your dining room table top is a simple and cost-effective way to transform the look of your dining room and protect your investment. It can enhance the aesthetic appeal of your space, increase the lifespan of your table, and give you the opportunity to change the style of your room. So, if your dining room is in need of a refresh, consider refinishing your table top and enjoy a beautiful and functional dining space for years to come.