Recording Vocals in a Living Room: 10 Tips for Great Sound
Recording vocals in a living room is a common practice for many musicians and artists. It offers a convenient and cost-effective way to record without having to rent a professional studio. However, achieving a high-quality vocal recording in a living room can be challenging. But fear not, we have 10 tips that will help you produce great sound in your living room recording sessions.
How to Set Up a Home Recording Studio in Your Living Room
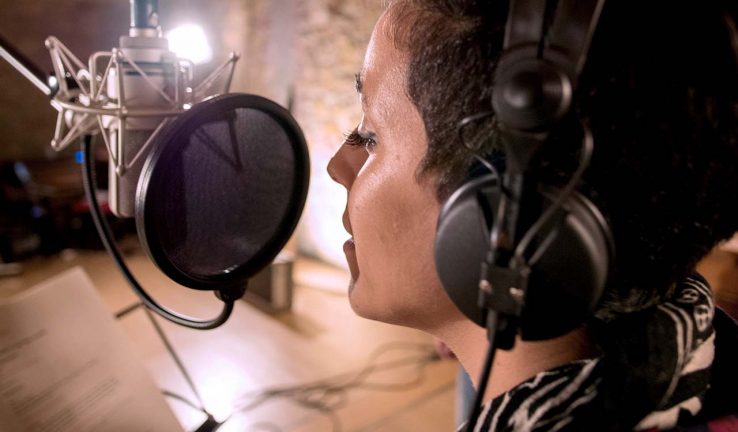
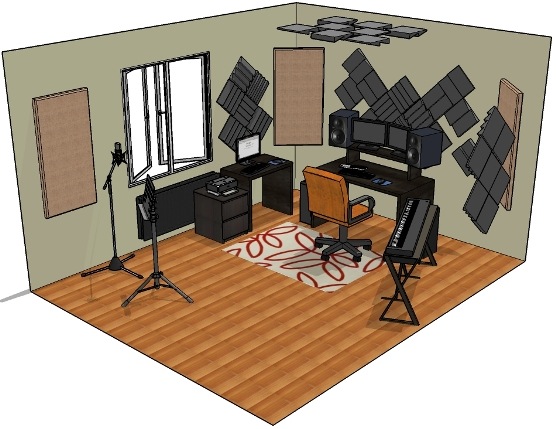
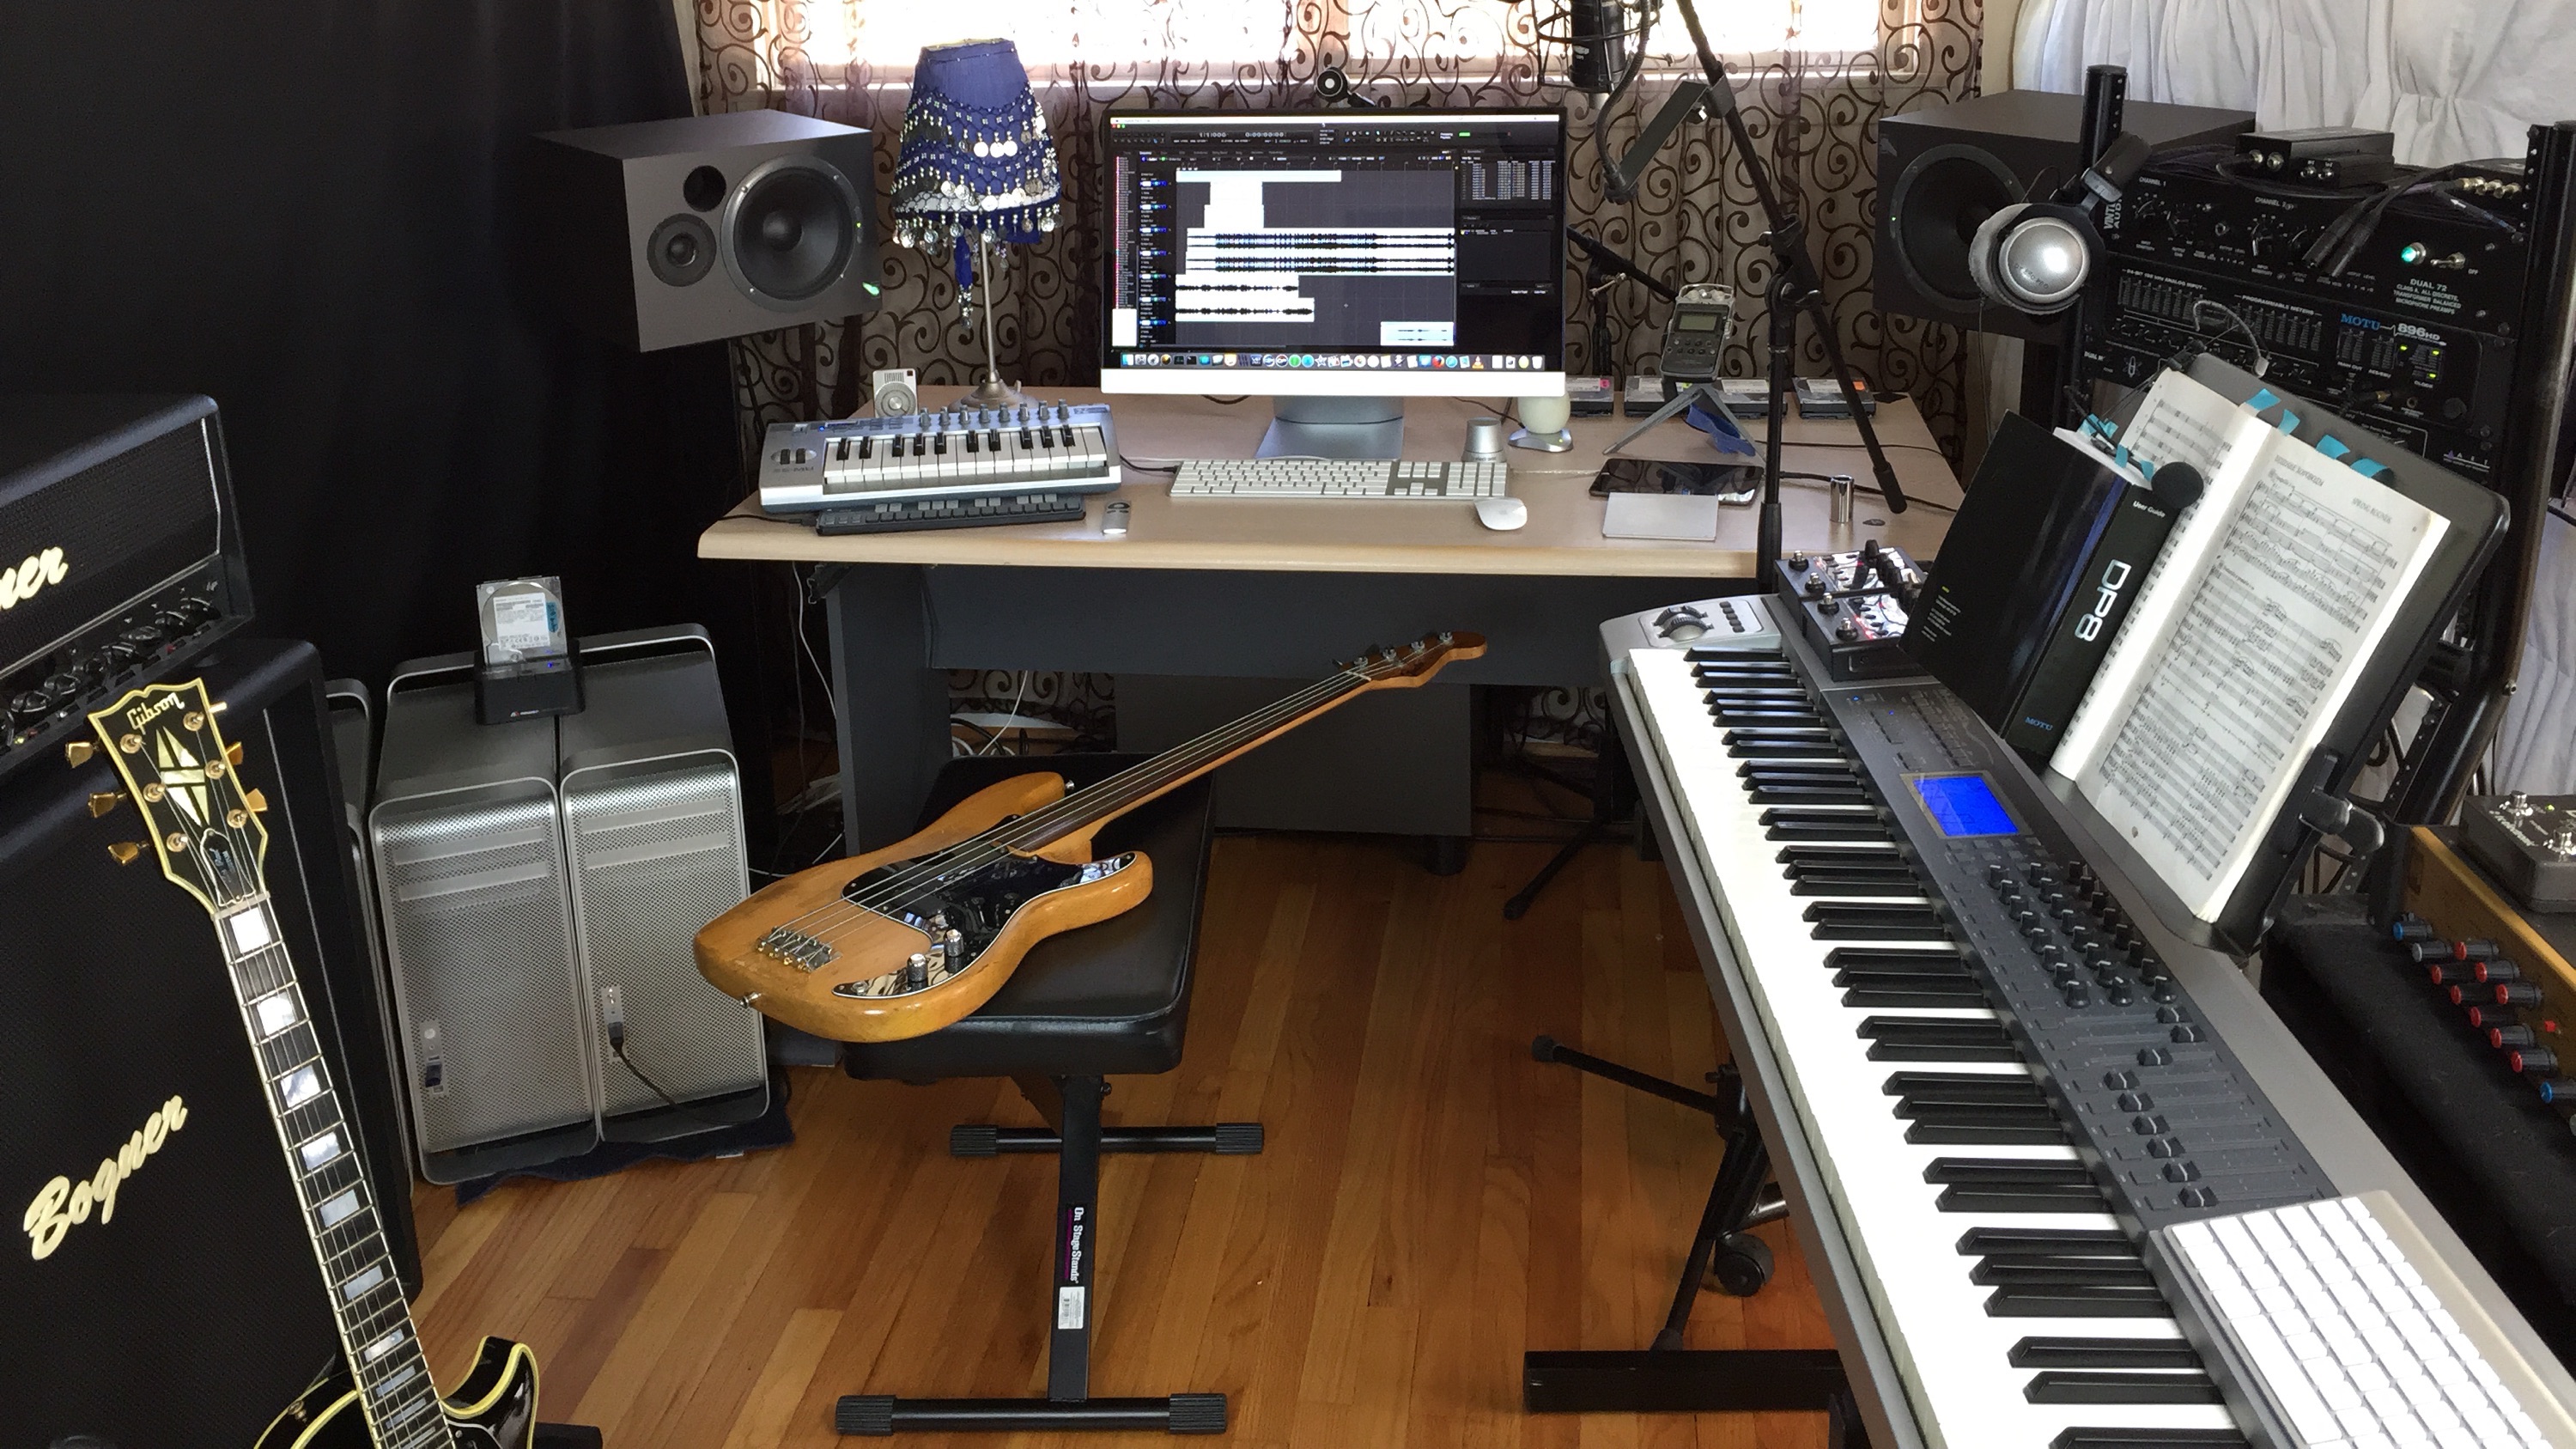
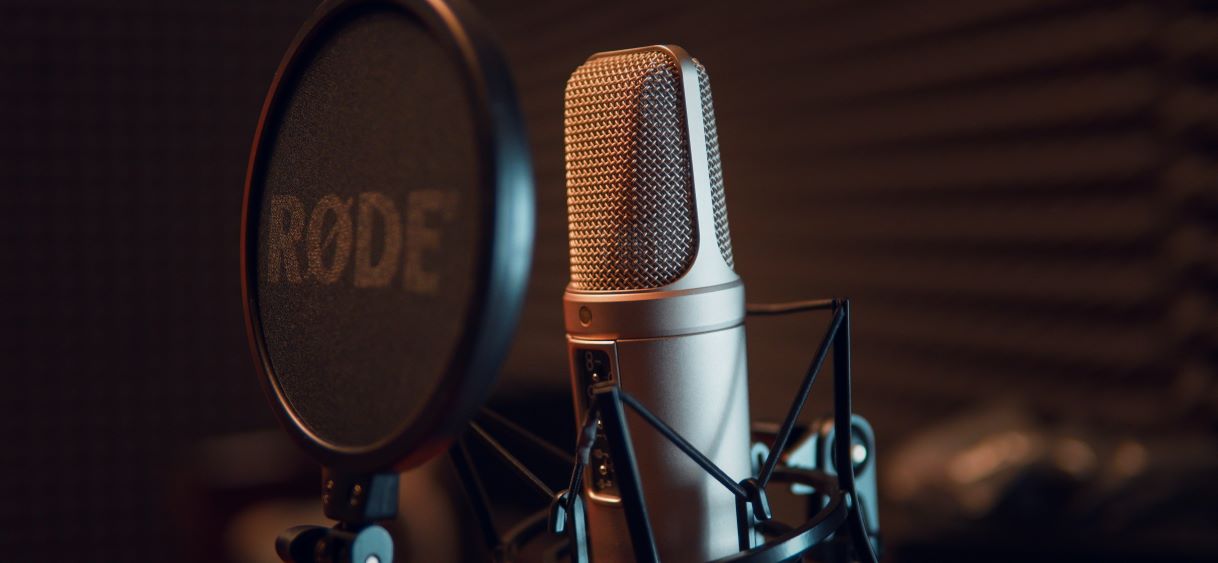
Before we dive into tips for recording vocals, let's talk about setting up a home recording studio in your living room. The first step is to choose the right space. Ideally, you want a room with minimal ambient noise and good acoustics. If possible, choose a room with carpet or curtains to help absorb sound. Next, invest in essential equipment such as a computer, audio interface, microphone, and headphones. You can also add additional equipment like a pop filter, mic stand, and reflection filter to improve your recordings.
Best Microphones for Recording Vocals in a Living Room
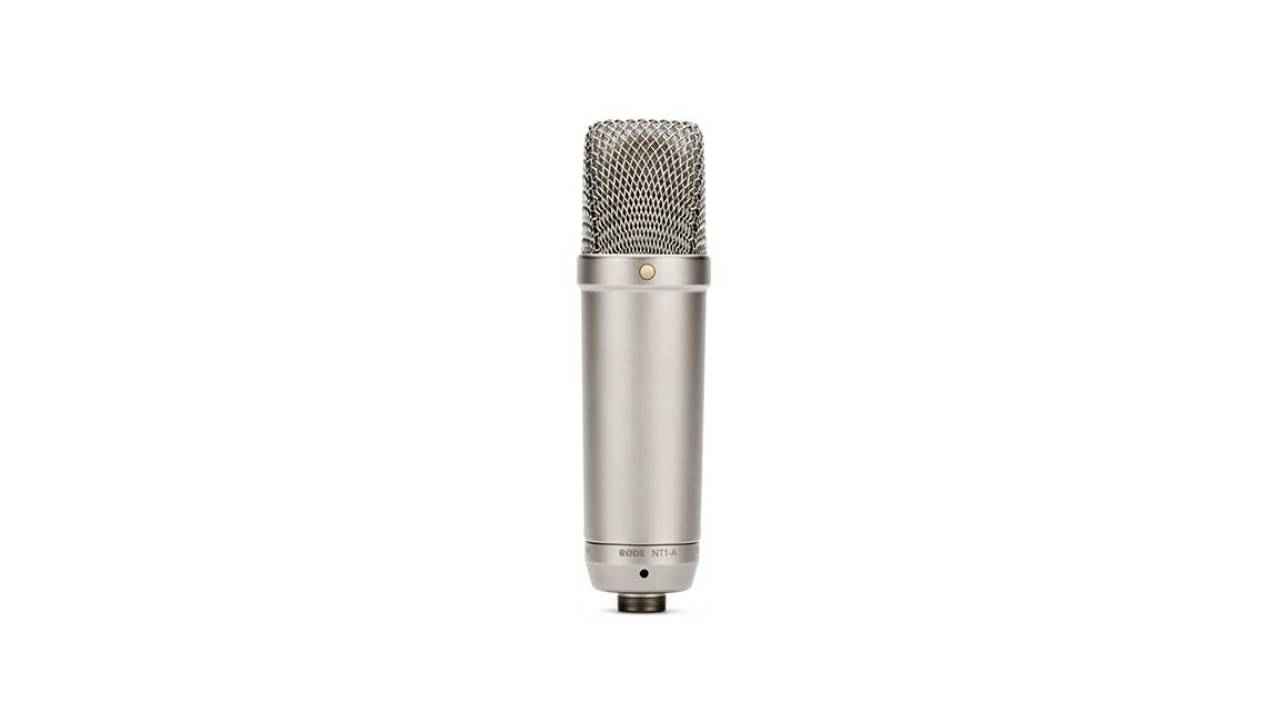
The microphone you use can make a significant difference in the quality of your vocal recordings. While there are many options available, some stand out as the best for recording vocals in a living room. The Shure SM7B and Audio-Technica AT4053b are both popular choices with excellent sound quality and the ability to capture vocals without picking up too much background noise. Another budget-friendly option is the AKG P220, which offers a warm and clear sound.
Acoustic Treatment for Recording Vocals in a Living Room
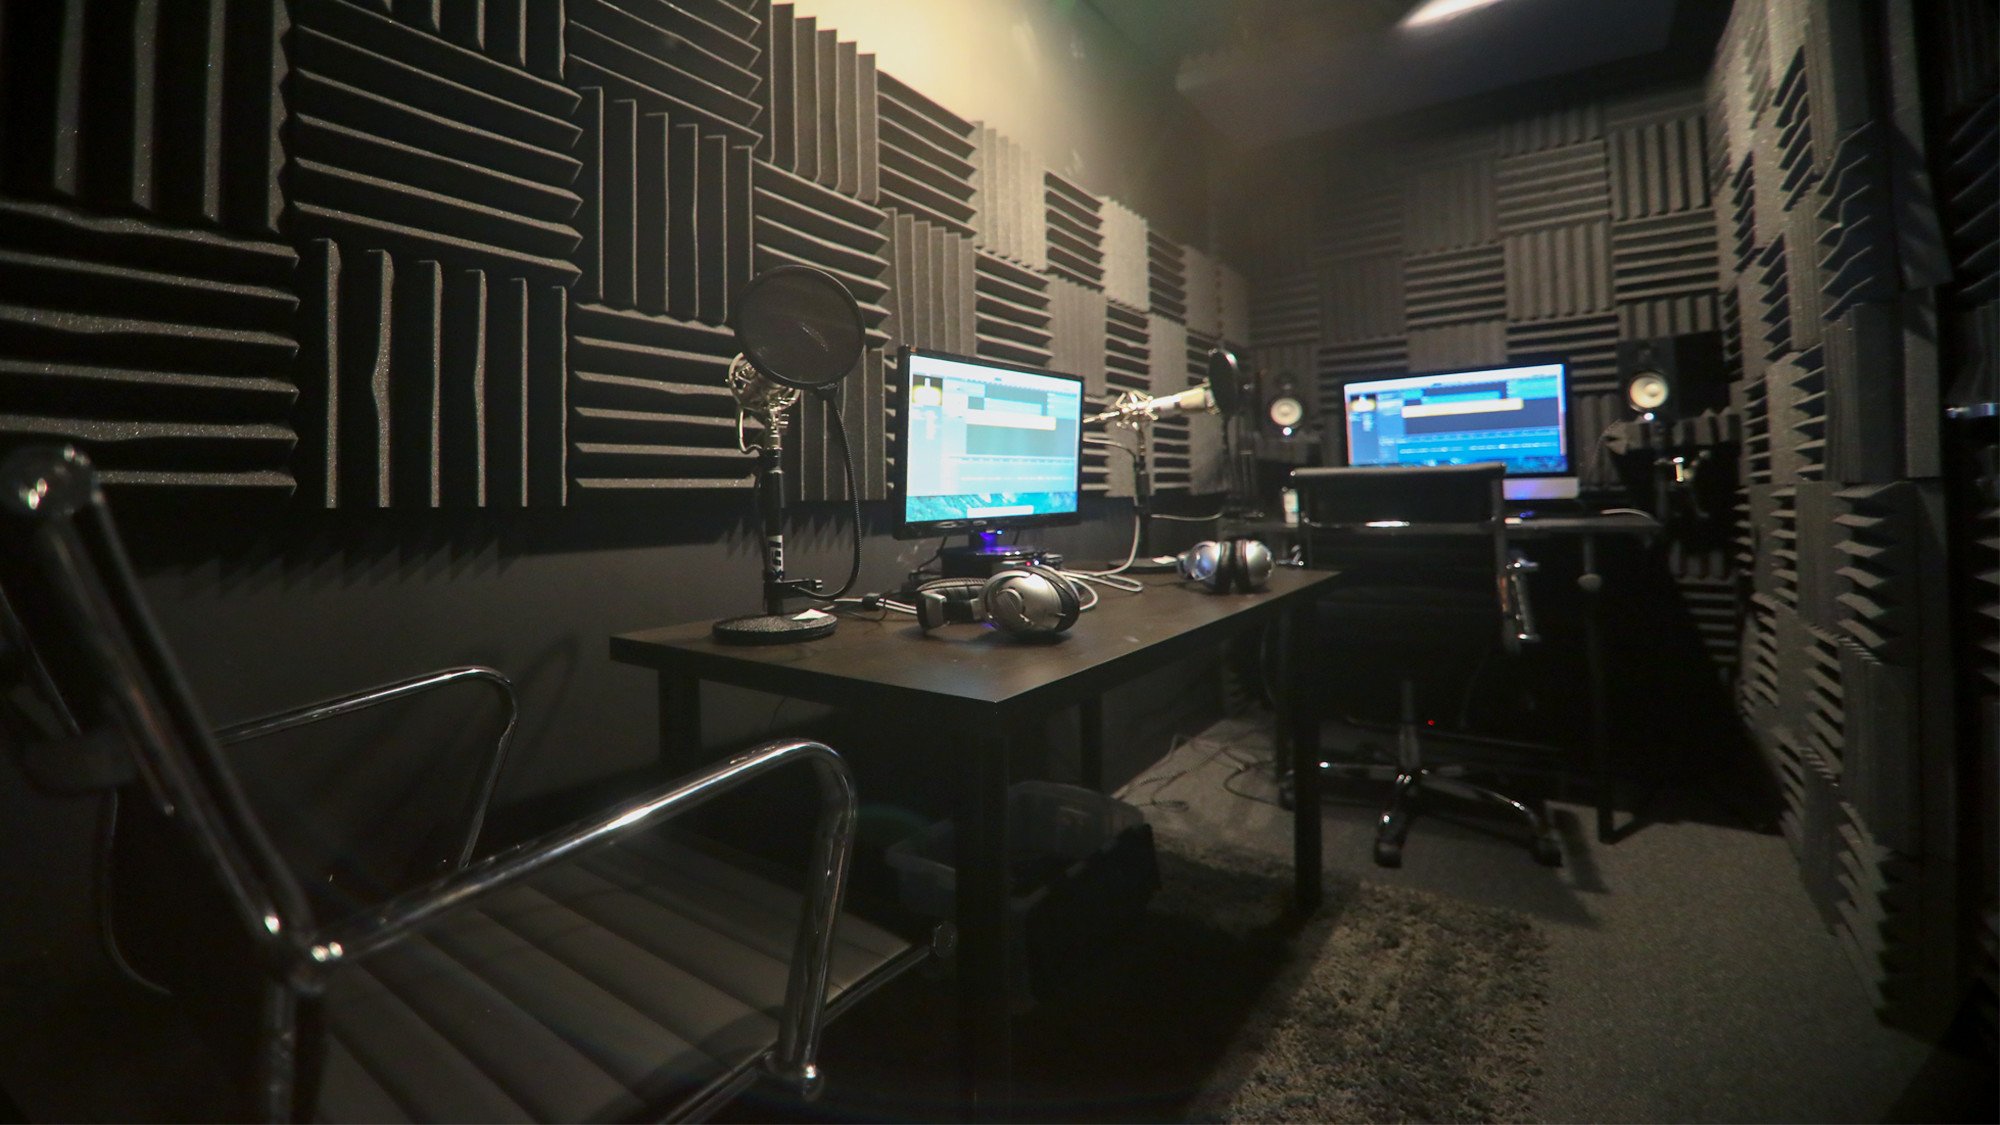
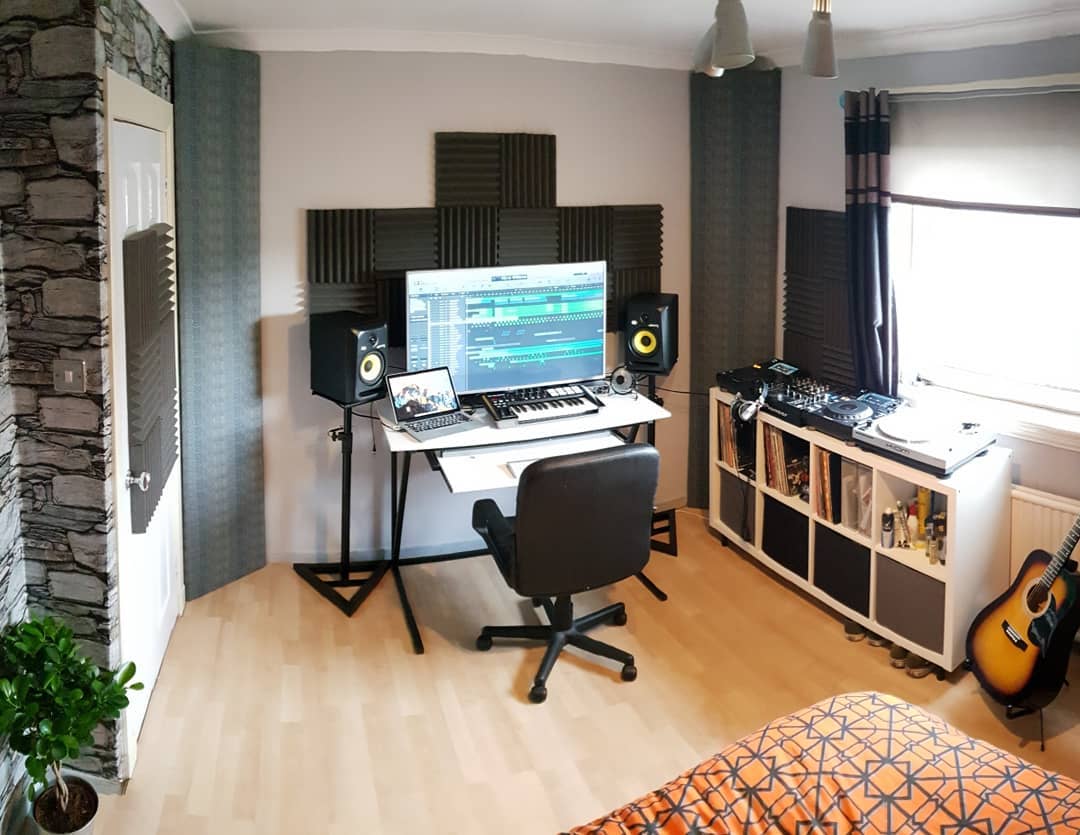
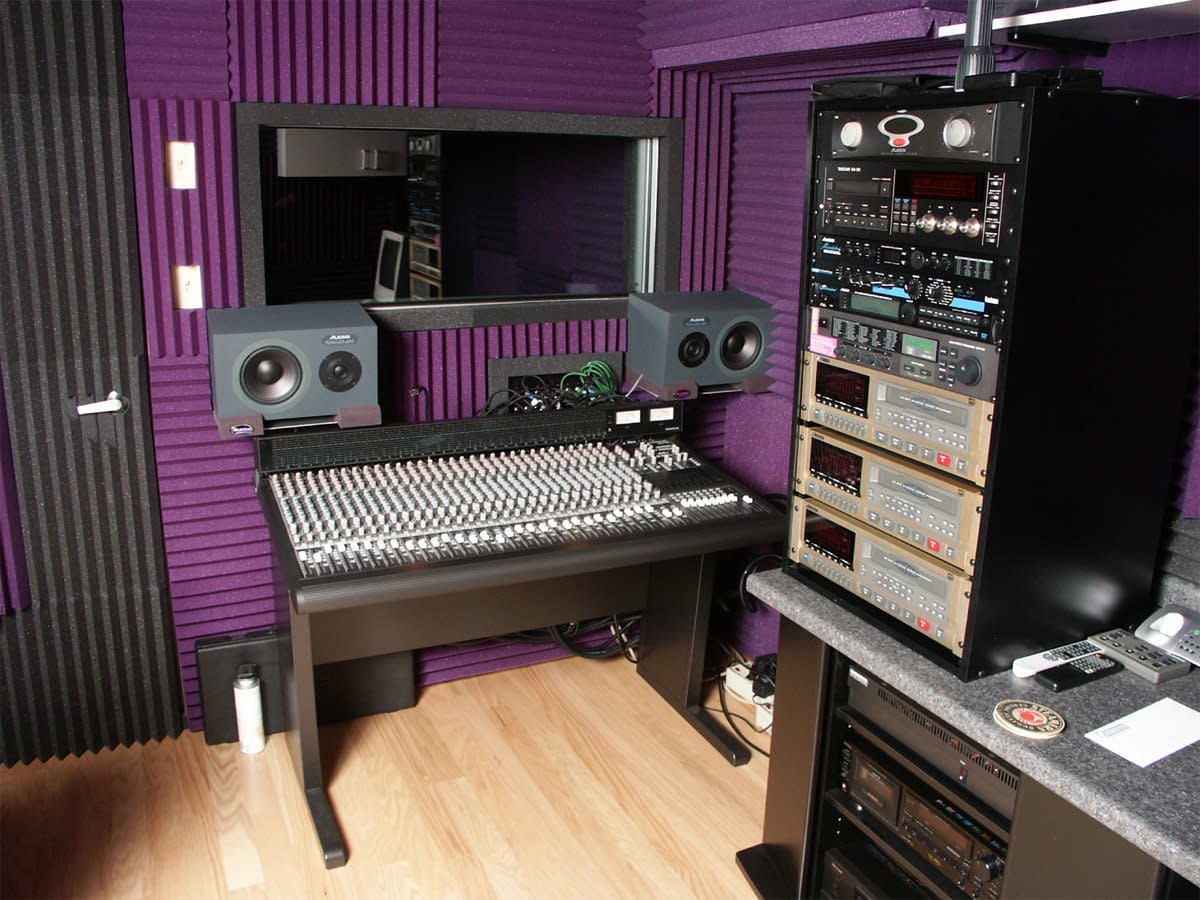
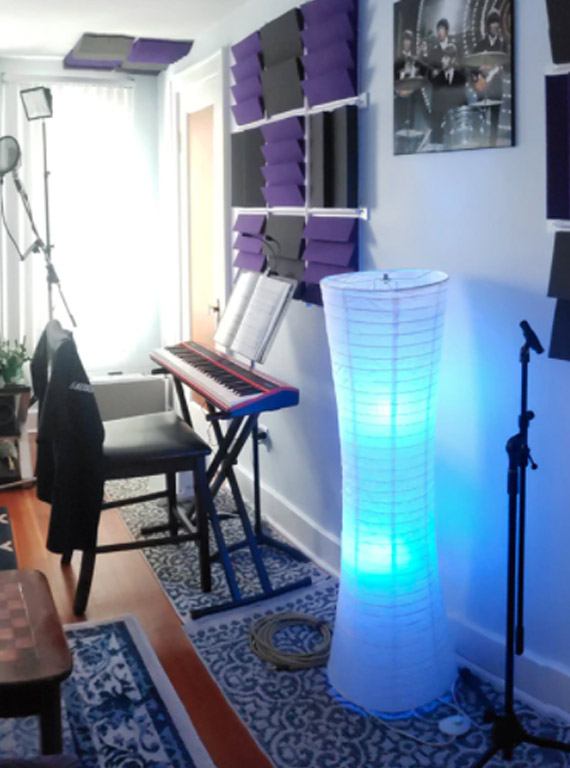
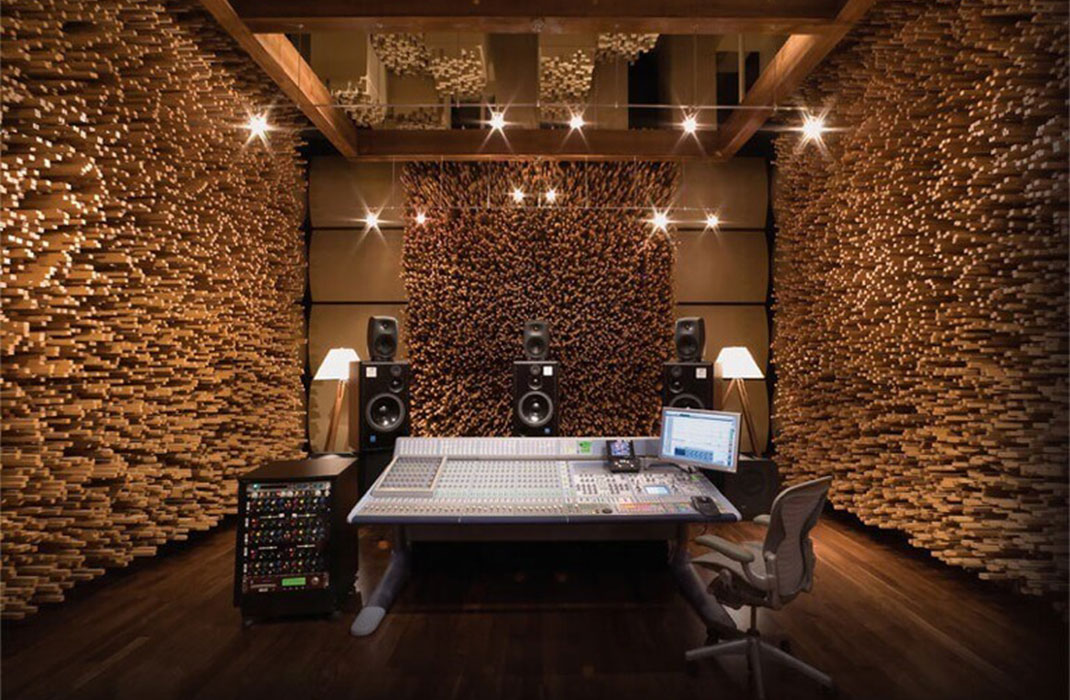
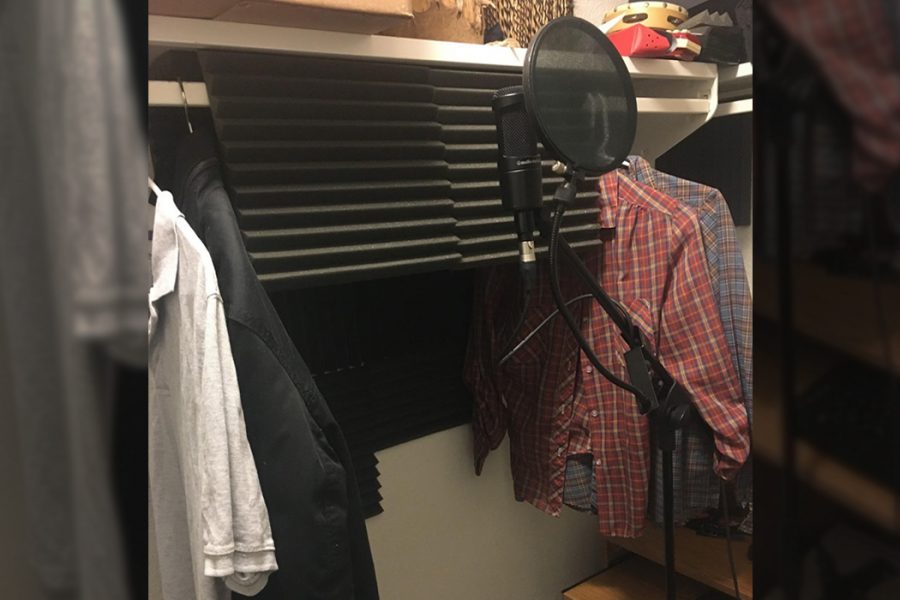
One of the biggest challenges when recording vocals in a living room is controlling the room's acoustics. Without proper acoustic treatment, your recordings may sound muddy or have unwanted echoes. One easy and budget-friendly solution is to use blankets or foam panels to absorb sound. You can also invest in professional acoustic panels or DIY your own with materials like rockwool or fiberglass insulation. Place these panels strategically around the room, especially behind and beside the vocalist, to reduce reflections and improve sound quality.
DIY Vocal Booth for Recording in a Living Room
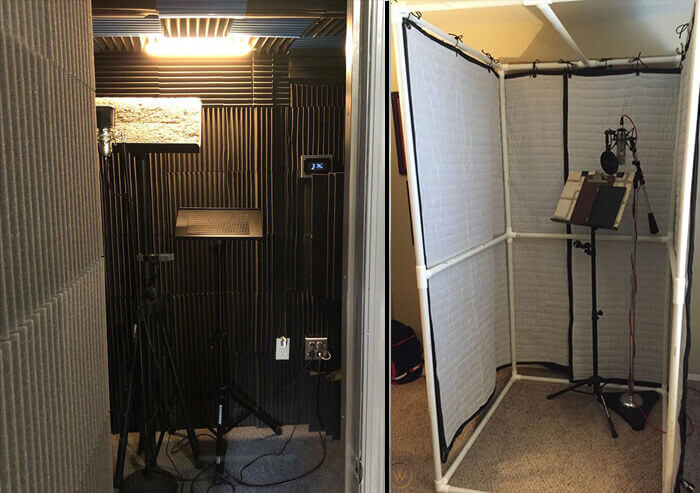
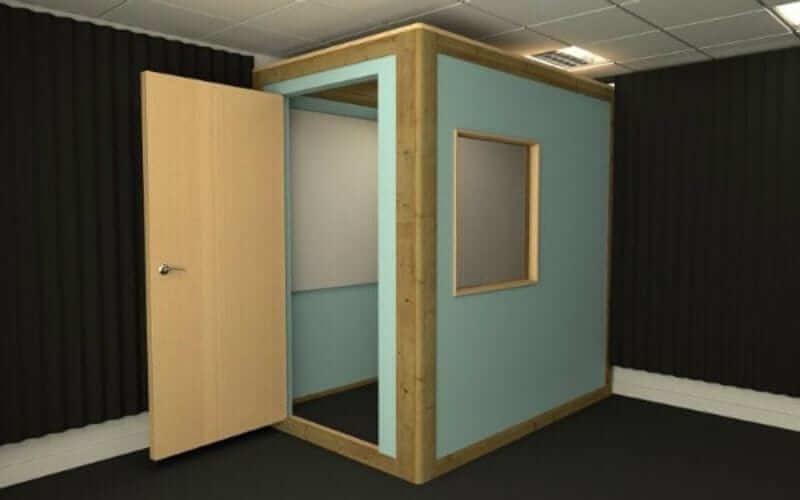
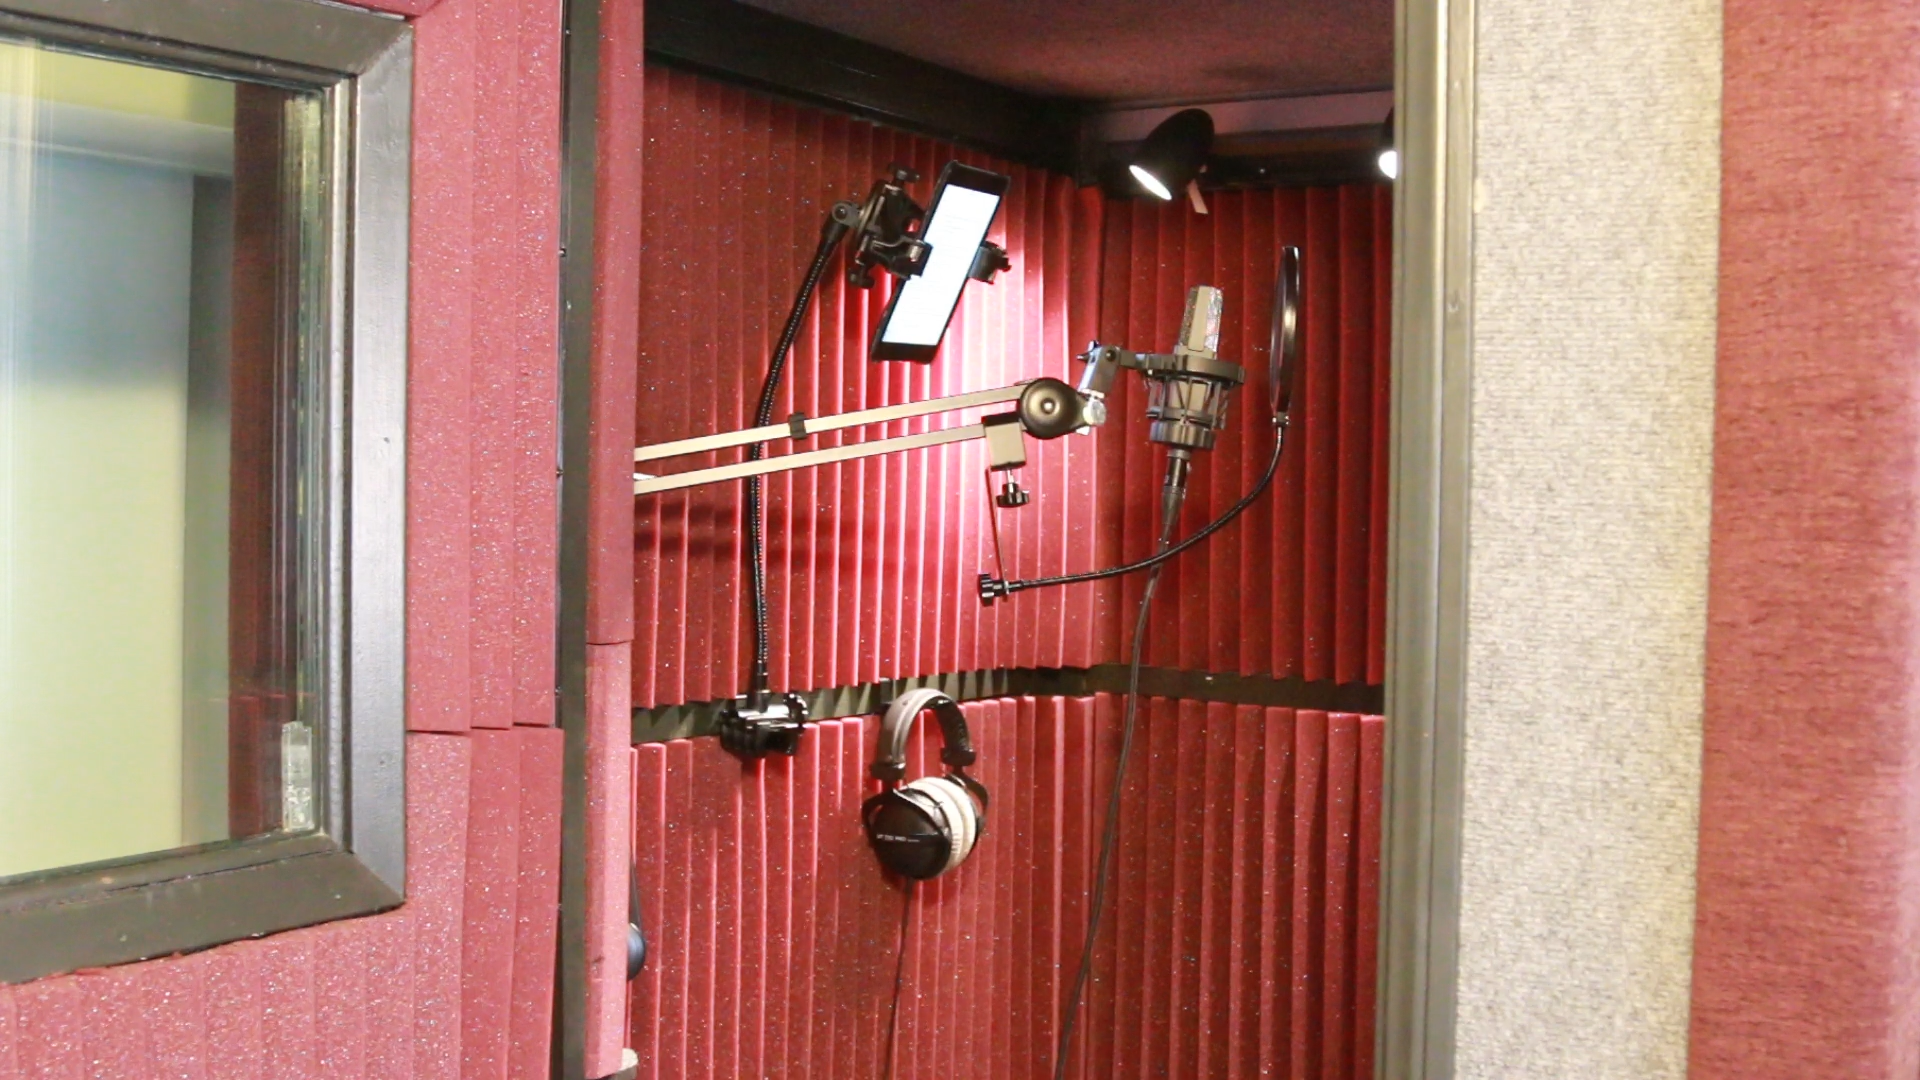
If you want to take your acoustic treatment to the next level, consider building a DIY vocal booth in your living room. This can be done by creating a small, enclosed space using PVC pipes and moving blankets. You can also use a portable vocal booth or reflection filter to isolate the vocals and reduce background noise. These options are great for those who don't have a dedicated room for recording and need to create a makeshift vocal booth in their living room.
Recording Vocals in a Small Living Room: Space-Saving Techniques
Recording vocals in a small living room can present its own set of challenges. But with a few space-saving techniques, you can still achieve great sound. One option is to use a microphone stand with a boom arm, which allows you to position the microphone closer to the vocalist and reduce the amount of background noise picked up. Another option is to use a directional microphone, which only picks up sound from a specific direction and can help minimize unwanted noise in a small space.
How to Reduce Background Noise When Recording Vocals in a Living Room
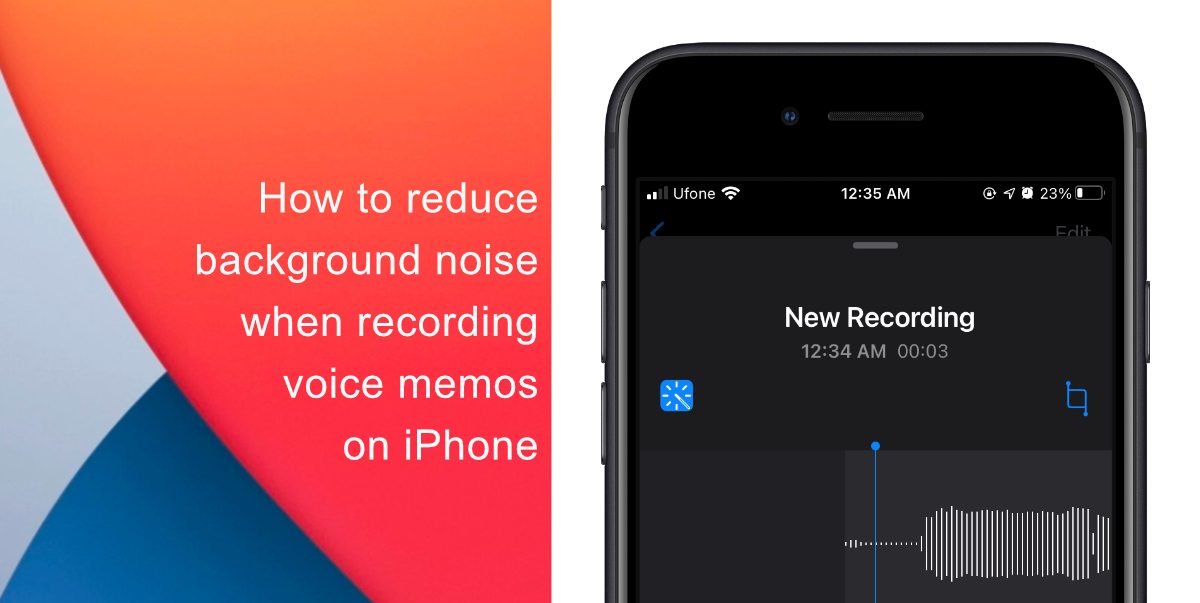
Background noise can be a major issue when recording vocals in a living room, especially if you live in a busy or noisy area. To reduce background noise, try recording during quieter hours or use a noise gate plugin during post-production. You can also use thick blankets or heavy curtains to help block out outside noise. If all else fails, consider investing in a portable vocal booth or recording in a different location with better sound isolation.
Using Furniture and Household Items for Better Vocal Recordings in a Living Room
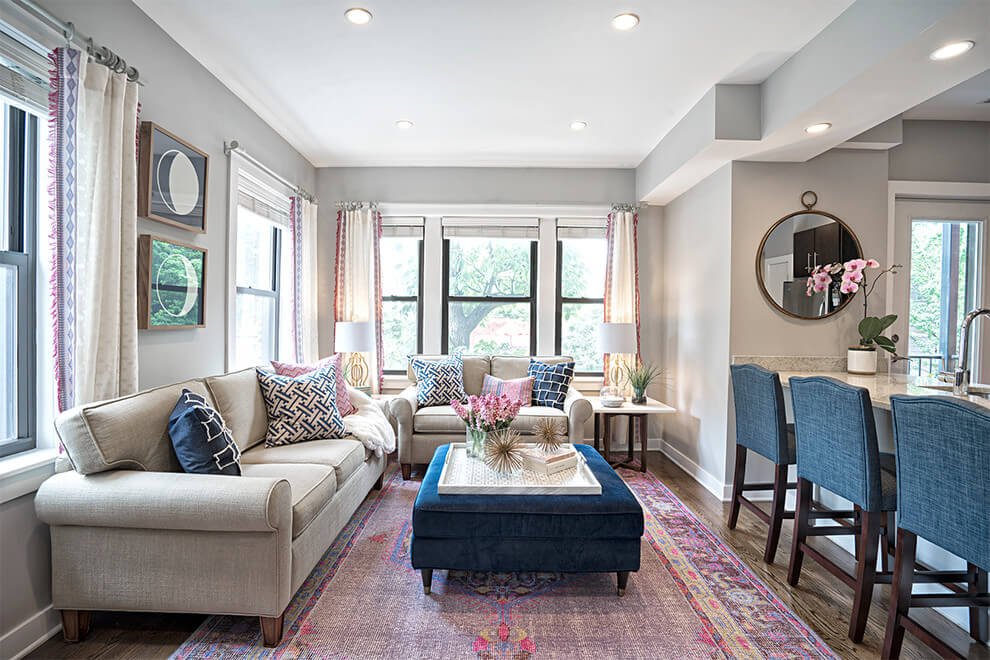
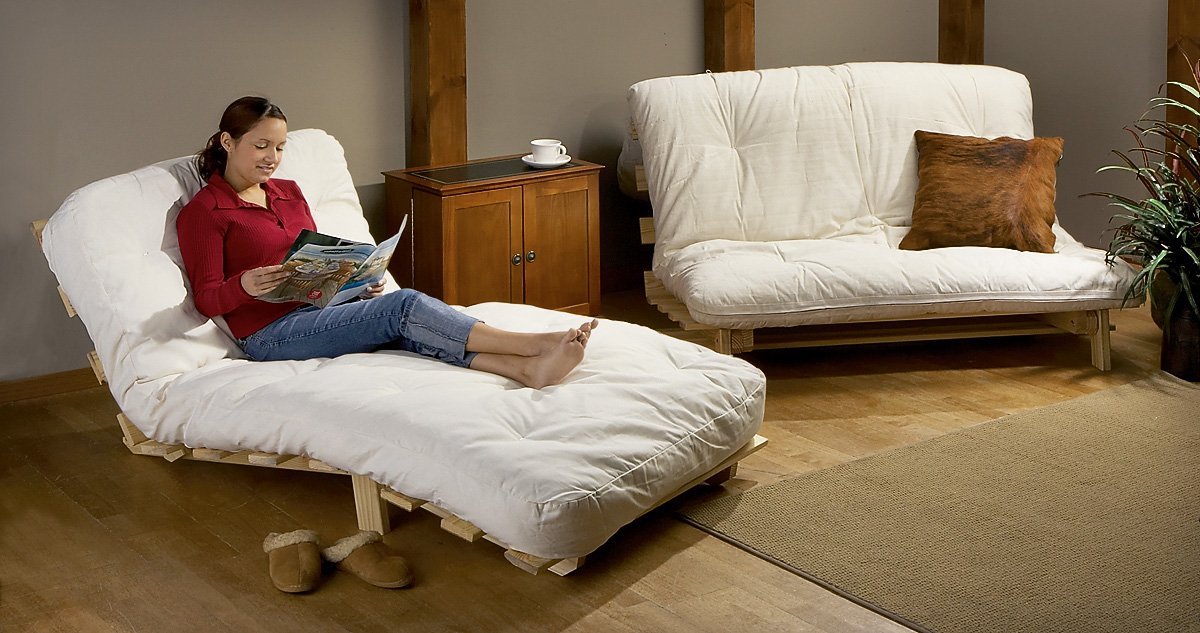
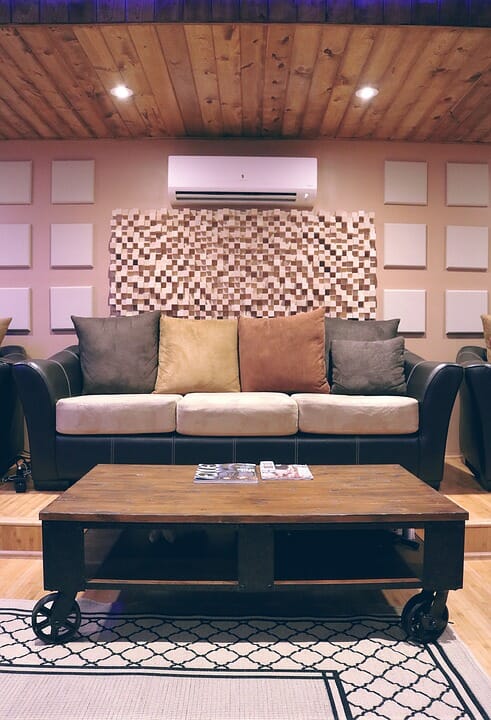
Believe it or not, furniture and household items can also play a role in improving your vocal recordings in a living room. For example, placing a couch or armchair behind the vocalist can help absorb sound and reduce reflections. Hanging curtains or blankets on the walls can also help improve the acoustics of the room. And don't be afraid to get creative – using pillows, rugs, and even bookshelves can also help improve the sound quality of your recordings.
Recording Vocals in a Living Room with Hardwood Floors: Tips and Tricks
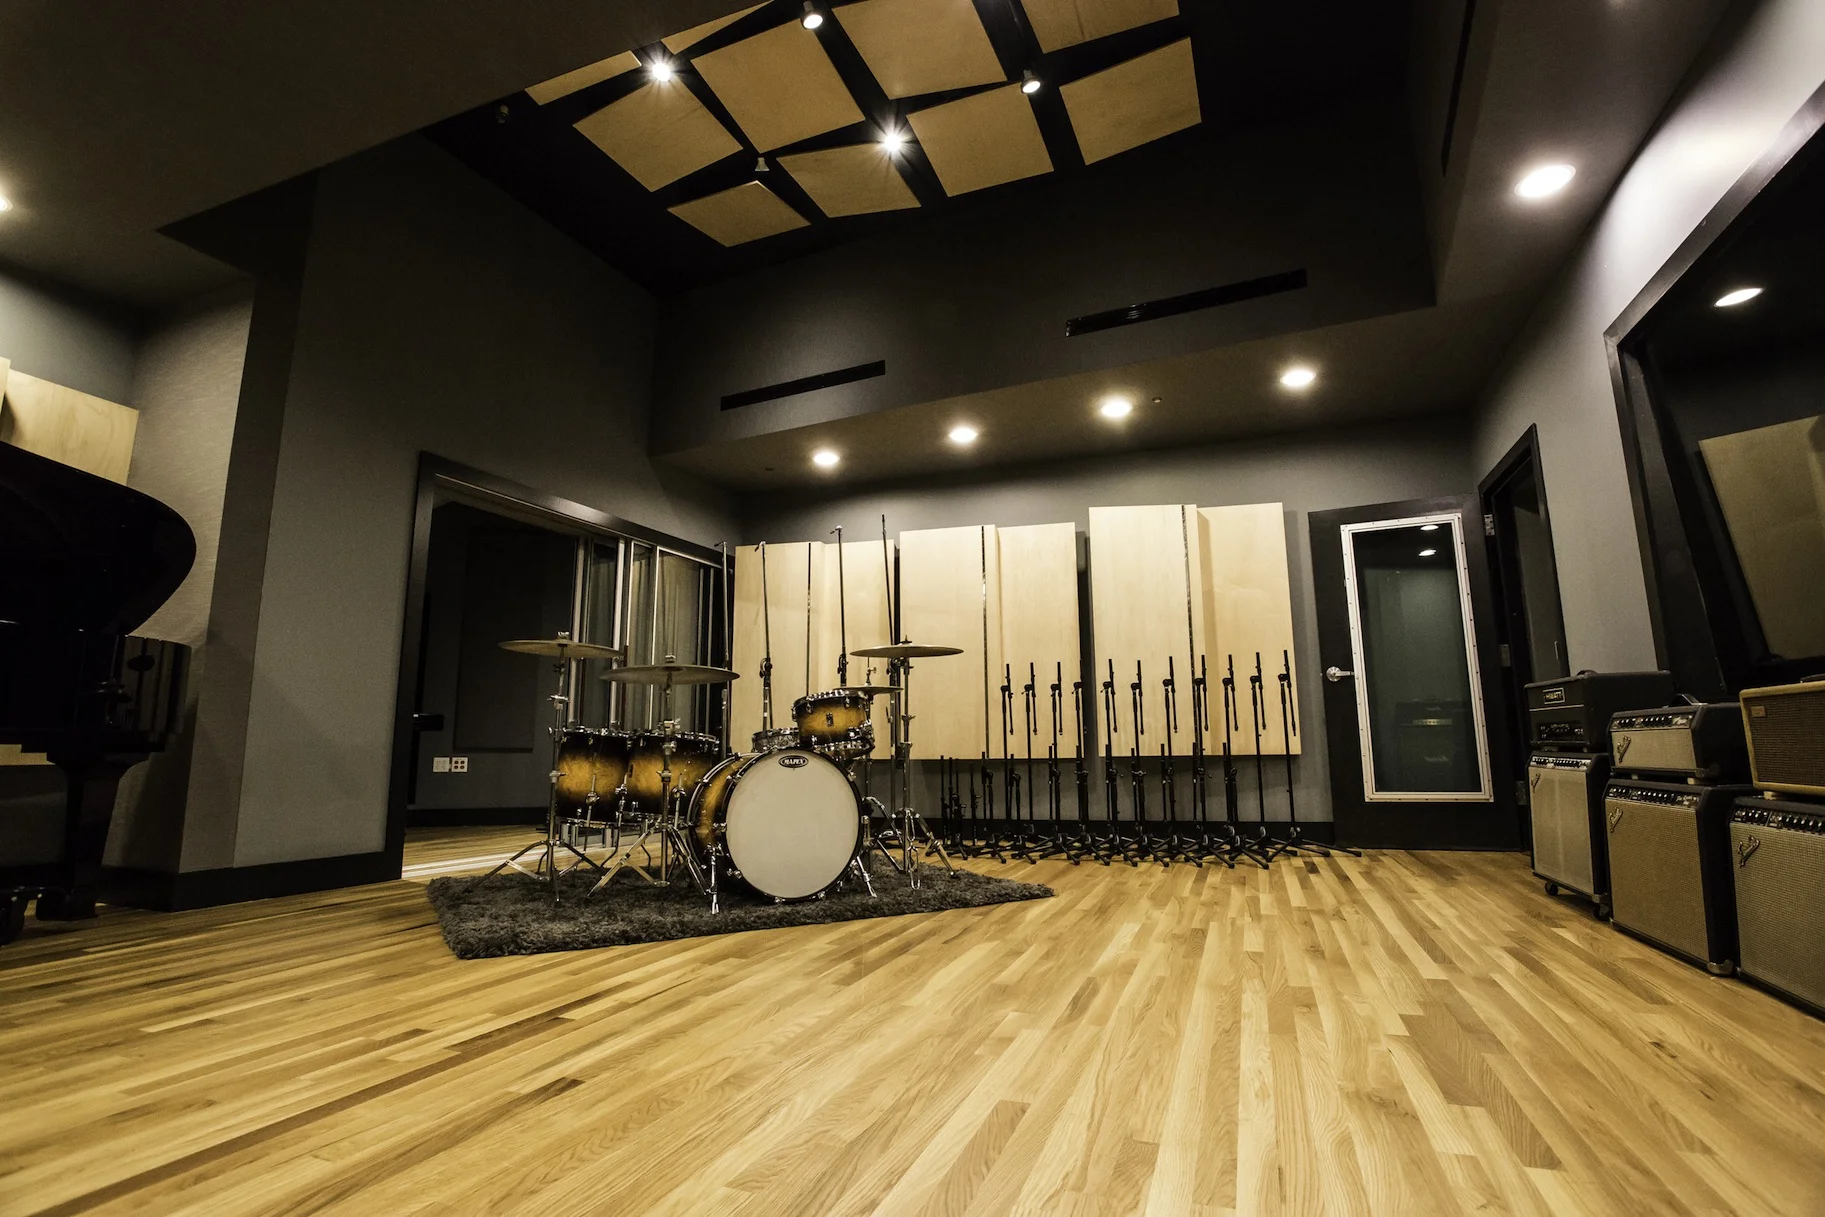
Hardwood floors can be a nightmare for recording vocals as they can cause unwanted reflections and echoes. But with a few tips and tricks, you can still achieve great sound even with hardwood floors in your living room. One option is to use a rug or carpet to help absorb sound. You can also place a large piece of furniture, such as a bookshelf or dresser, behind the vocalist to help absorb sound and reduce reflections.
How to Create a Professional-Sounding Vocal Recording in a Living Room on a Budget
Creating a professional-sounding vocal recording in a living room doesn't have to break the bank. With the right equipment and techniques, you can achieve great sound on a budget. As mentioned earlier, investing in essential equipment like a good microphone and audio interface is crucial. You can also take advantage of free recording software and plugins to enhance your vocal recordings. And don't forget to utilize acoustic treatment and space-saving techniques to improve the overall sound quality.
In conclusion, recording vocals in a living room may have its challenges, but with these 10 tips, you can produce high-quality recordings without having to leave the comfort of your home. With the right equipment, techniques, and a little creativity, you can achieve professional-sounding vocal recordings in your living room. Happy recording!
Creating a Professional Recording Space in Your Living Room

Why Record Vocals in Your Living Room?
 When it comes to recording vocals, many people immediately think of a professional studio. However, with the advancement of technology and the rise of home recording, it is becoming more common for artists to record in their own living rooms. Not only does this offer convenience and comfort, but it can also save you a significant amount of money in the long run. With the right set-up and techniques, you can achieve professional-quality recordings in the comfort of your own home.
Designing Your Space
 Before you start recording, it is important to assess your living room and determine the best space for recording vocals. Look for a room with minimal background noise, as this can interfere with the quality of your recording. Consider using a carpet or rugs to help absorb any unwanted echoes or reverberations. Additionally, make sure the room has good ventilation to prevent any unwanted sounds from the air conditioning or heating system.
Setting Up Your Equipment
 To record vocals in your living room, you will need some basic equipment. This includes a microphone, audio interface, headphones, and a computer. You can also add extra equipment such as a pop filter, microphone stand, and a reflection filter to improve the quality of your recordings. It is important to choose high-quality equipment to ensure professional-sounding results.
Pro tip:
When setting up your equipment, make sure to place your microphone in an area that is free from any potential obstructions and offers good acoustics. This will help to capture the best sound possible.
Controlling External Noise
 One of the main challenges of recording vocals in a living room is controlling external noise. This can include noises from outside, such as traffic or construction, as well as noises from within your home, such as pets or household appliances. To minimize these distractions, consider recording during quieter times of the day and using soundproofing materials, such as acoustic panels or blankets, to absorb any unwanted noise.
Pro tip:
If you have a particularly noisy environment, consider using a dynamic microphone instead of a condenser microphone. Dynamic microphones are more directional and can help to block out external noise.
Utilizing Technology
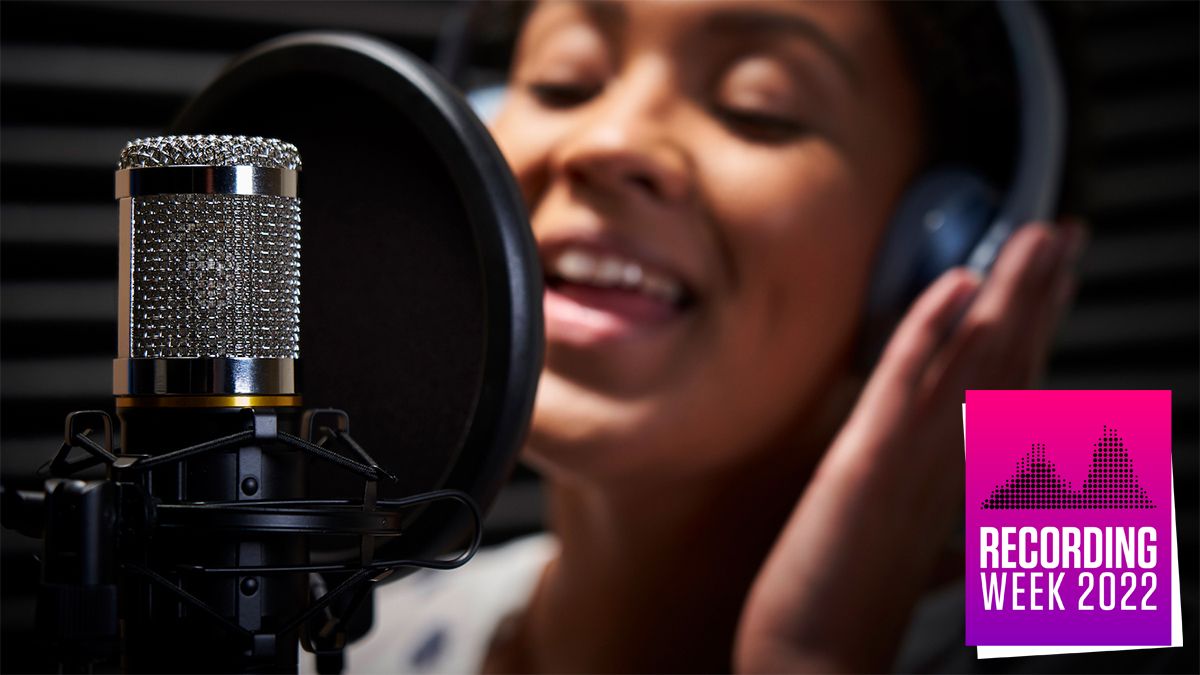 With the advancements in technology, there are now many software programs available that can help enhance your vocals and improve the overall quality of your recordings. These programs allow you to adjust and manipulate your vocals, from pitch correction to adding effects. They also offer the ability to layer multiple vocal tracks, giving your recordings a fuller sound.
Pro tip:
Experiment with different effects and techniques to find the perfect sound for your vocals. Don't be afraid to try out different settings and effects to achieve a unique and professional sound.
In Conclusion
 Recording vocals in your living room may seem daunting at first, but with the right set-up and techniques, you can achieve professional-sounding results. By carefully designing your space, setting up your equipment correctly, and utilizing technology, you can create a comfortable and convenient recording space in your own home. So why not give it a try and see what kind of magic you can create in your living room?

























/living-room-gallery-shelves-l-shaped-couch-ELeyNpyyqpZ8hosOG3EG1X-b5a39646574544e8a75f2961332cd89a.jpg)

