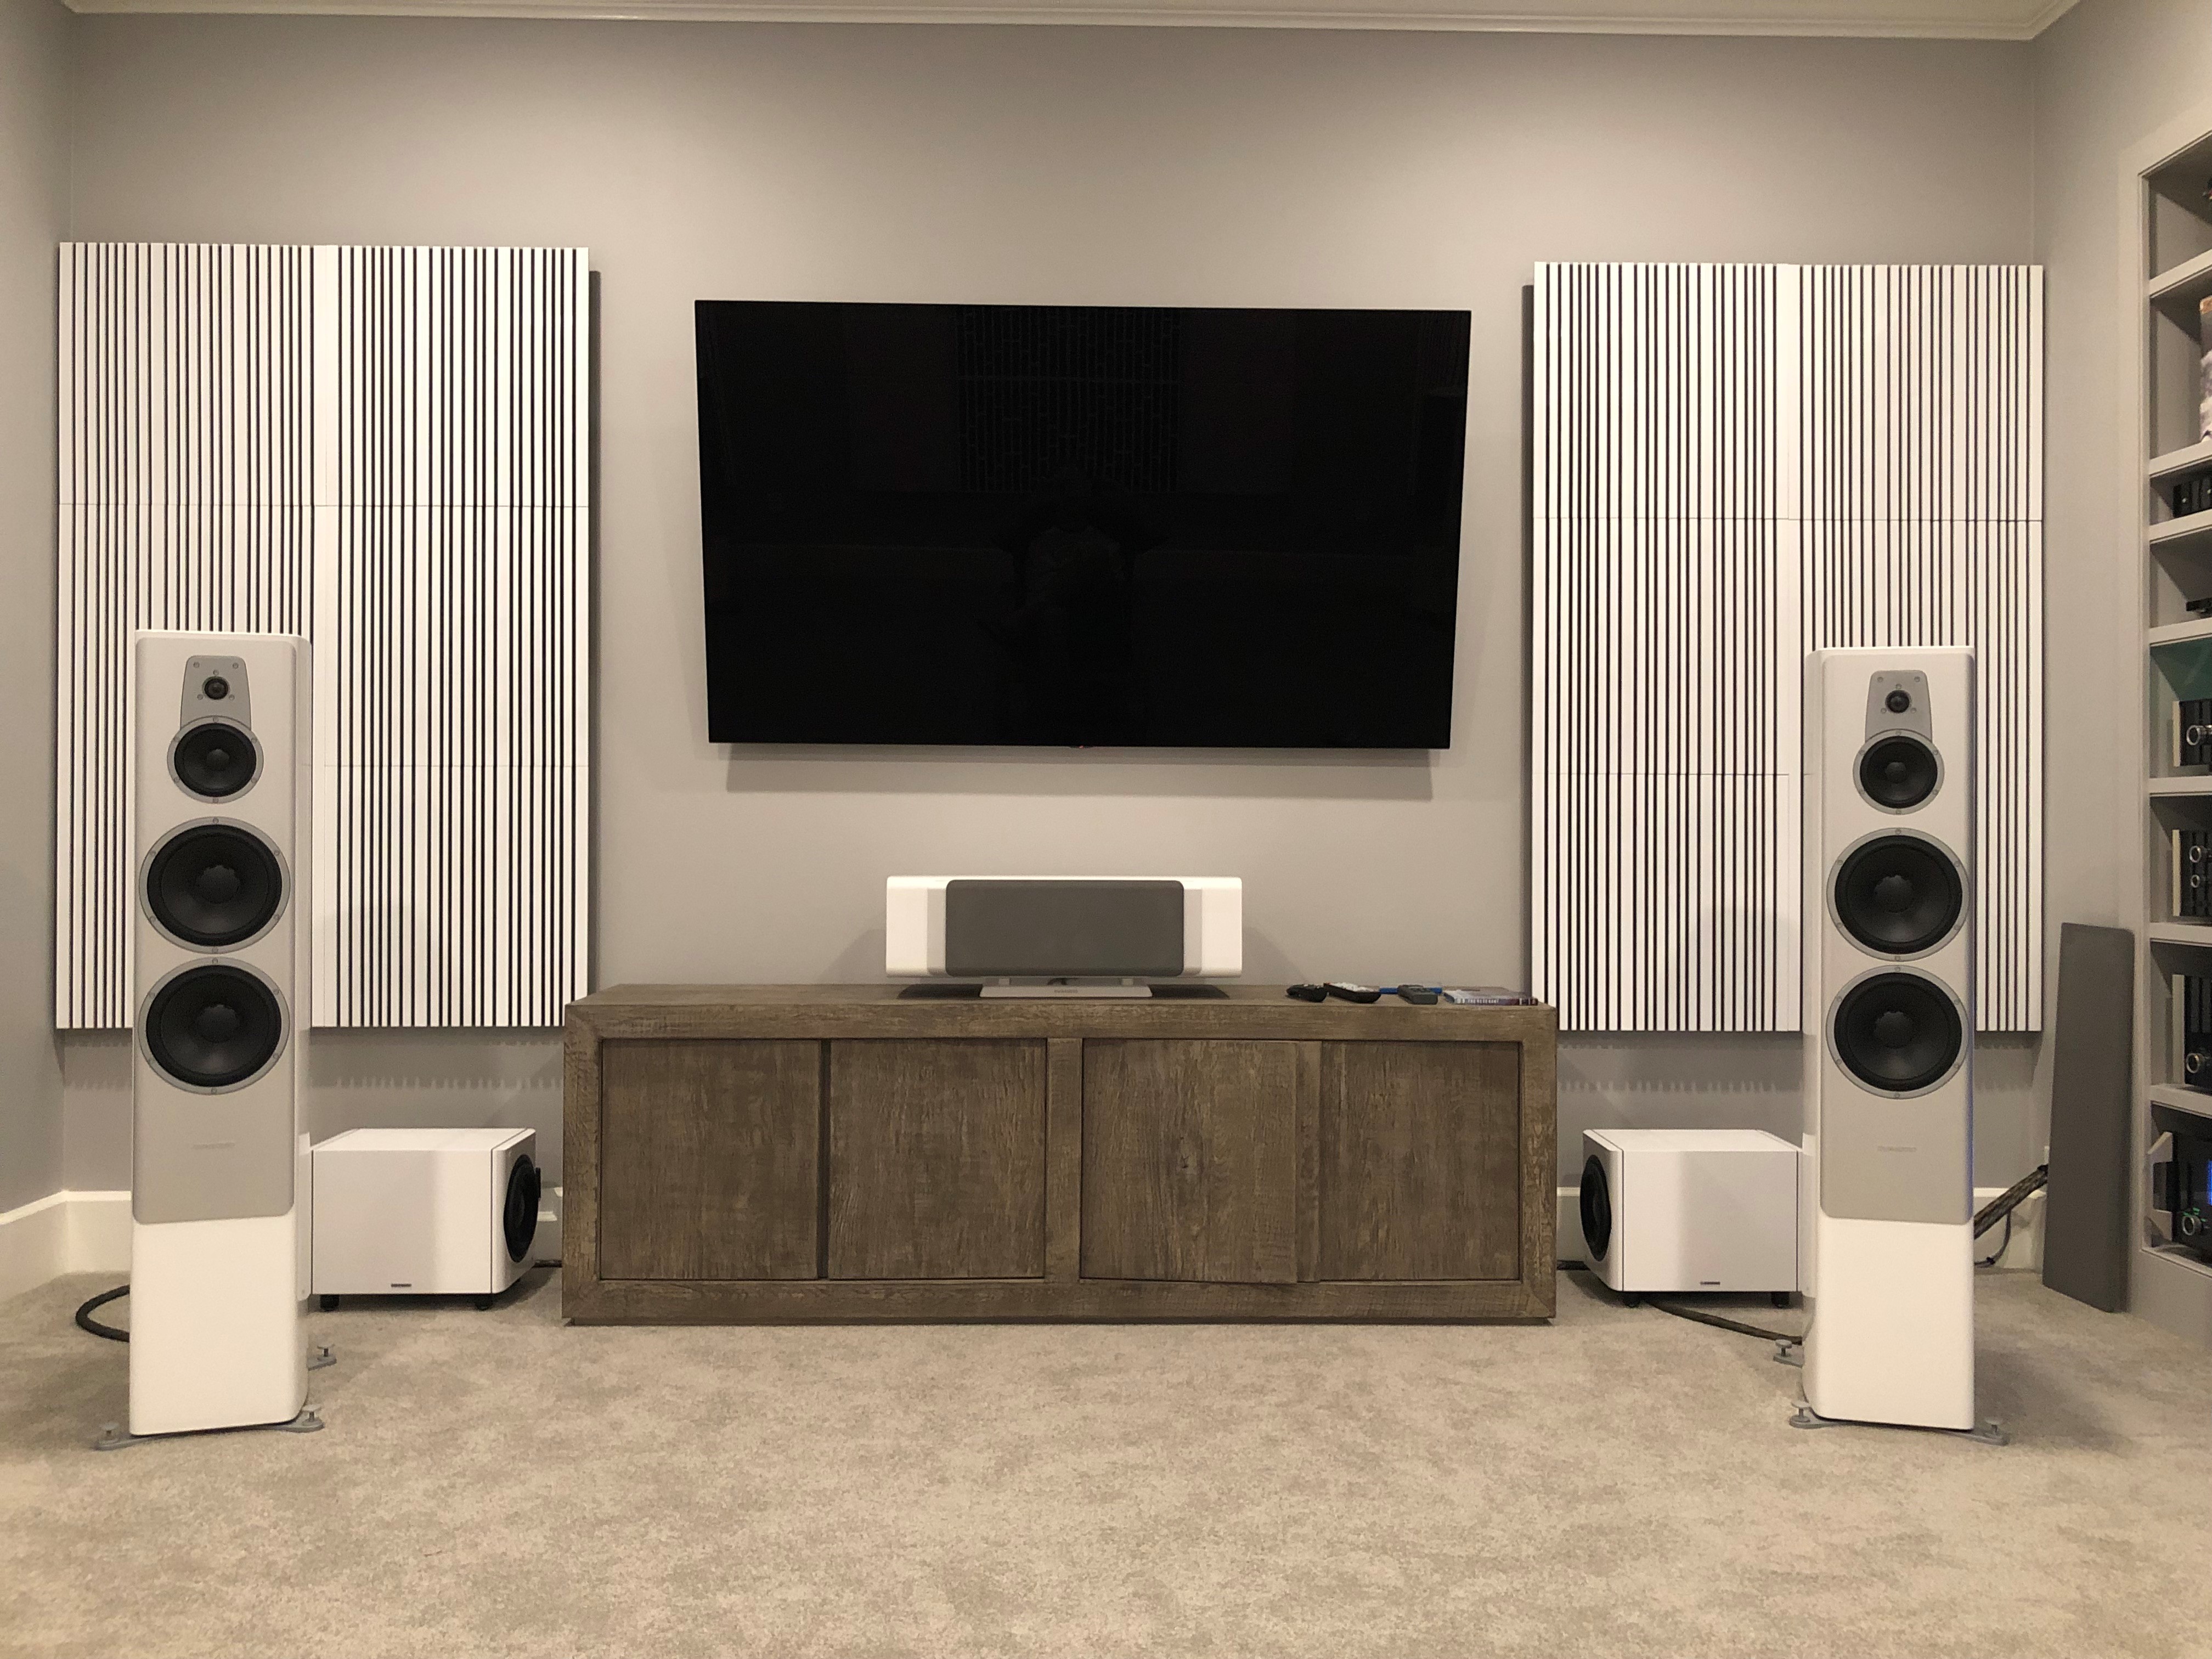
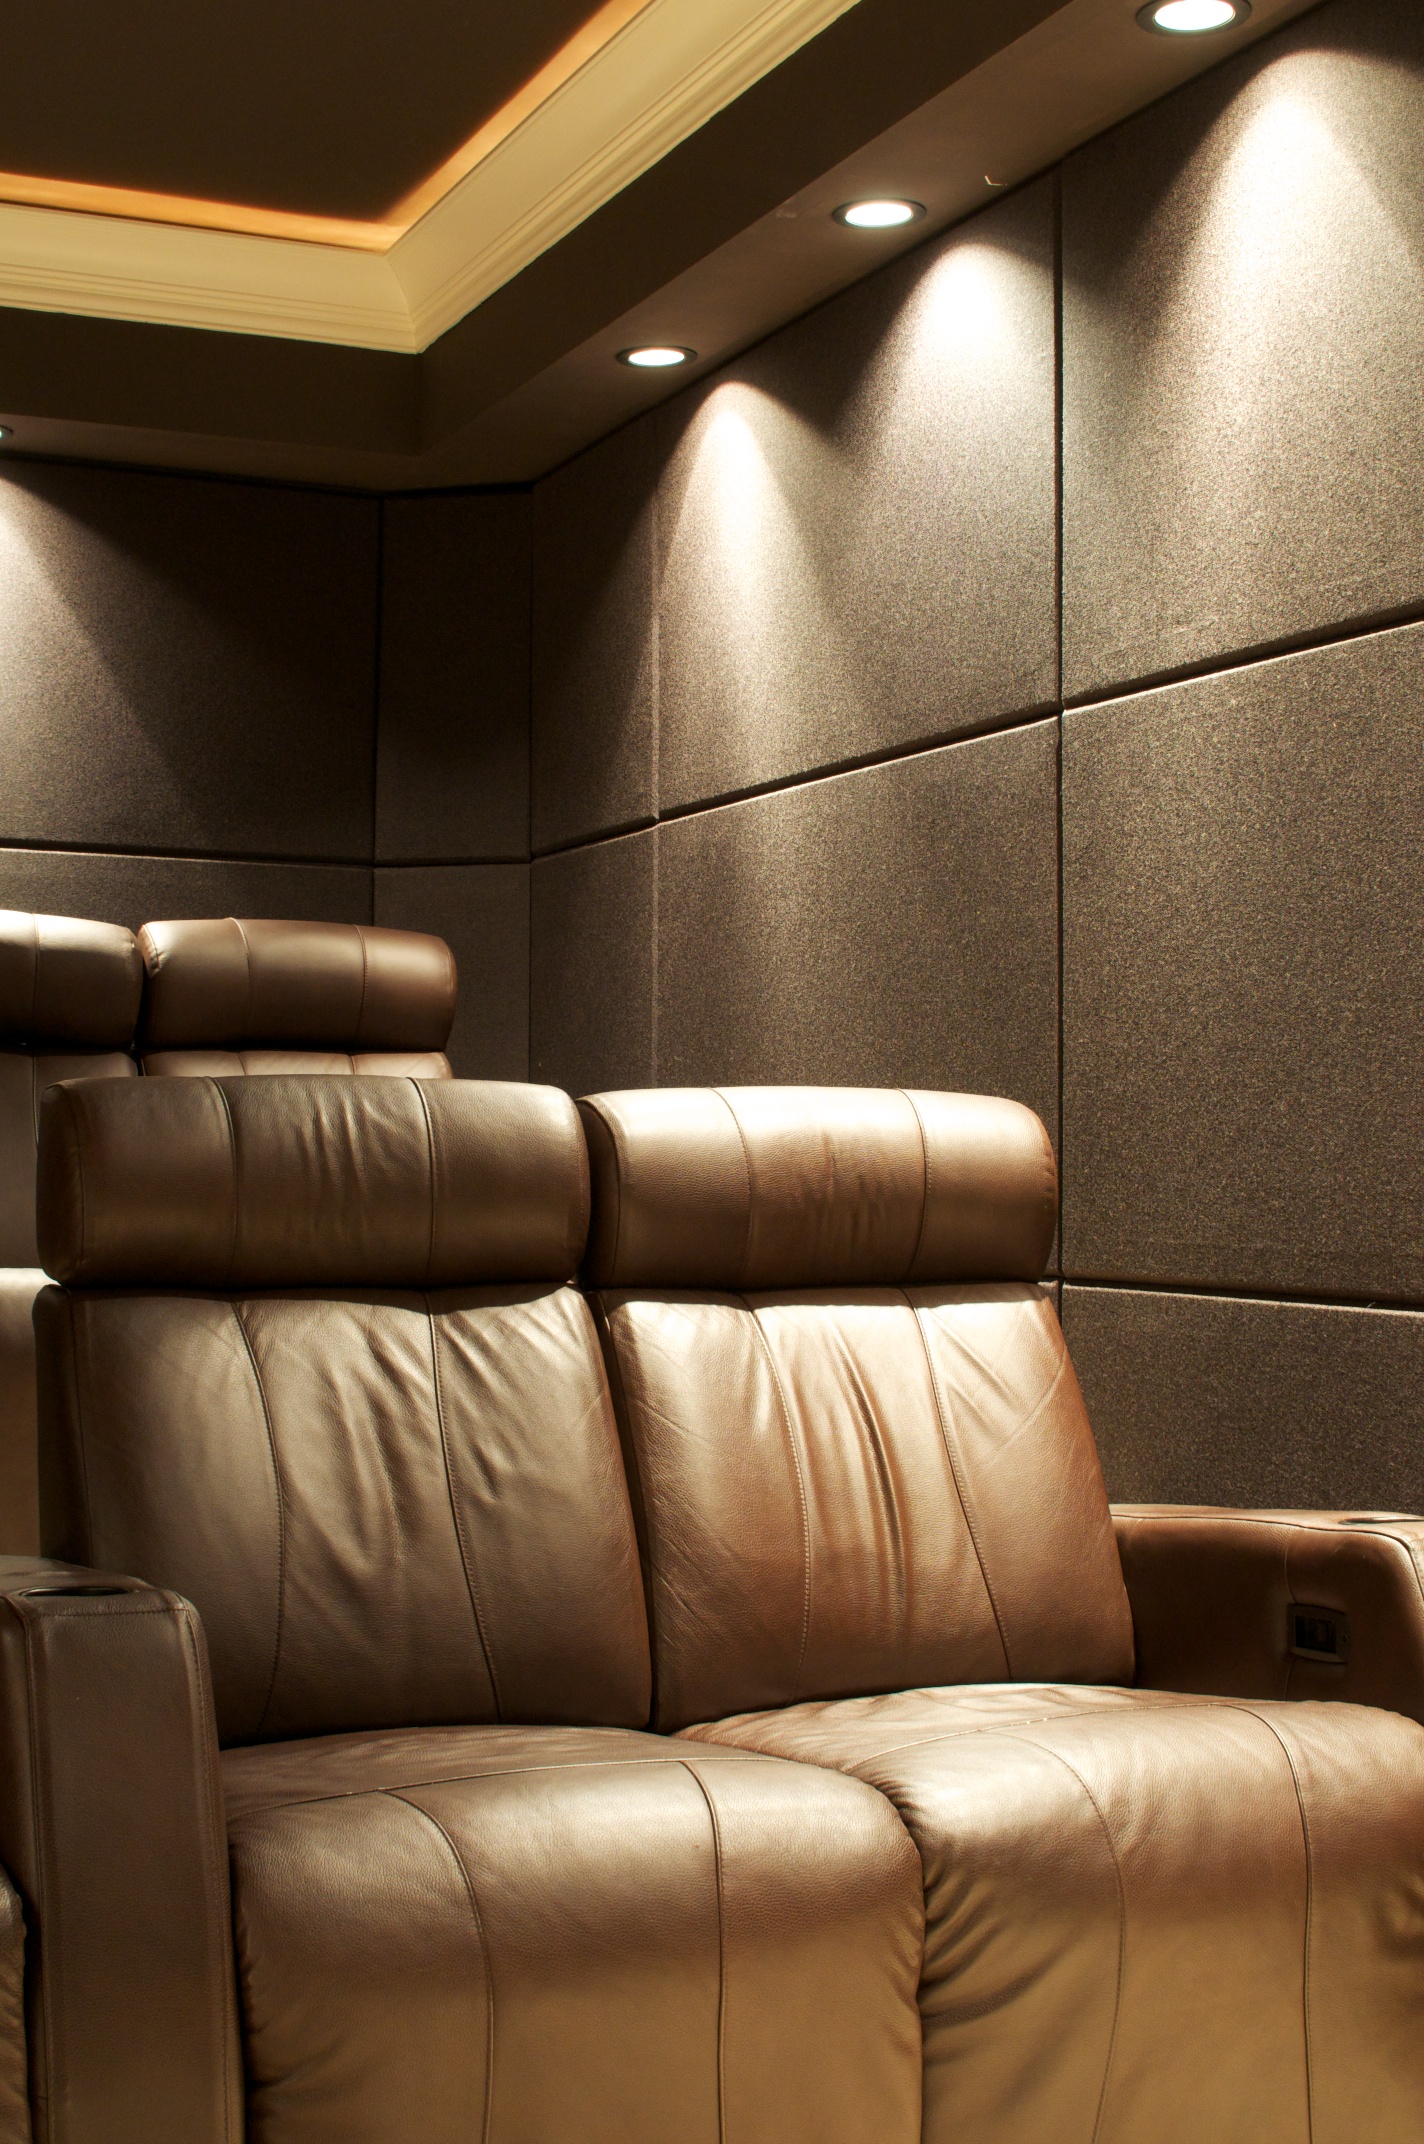
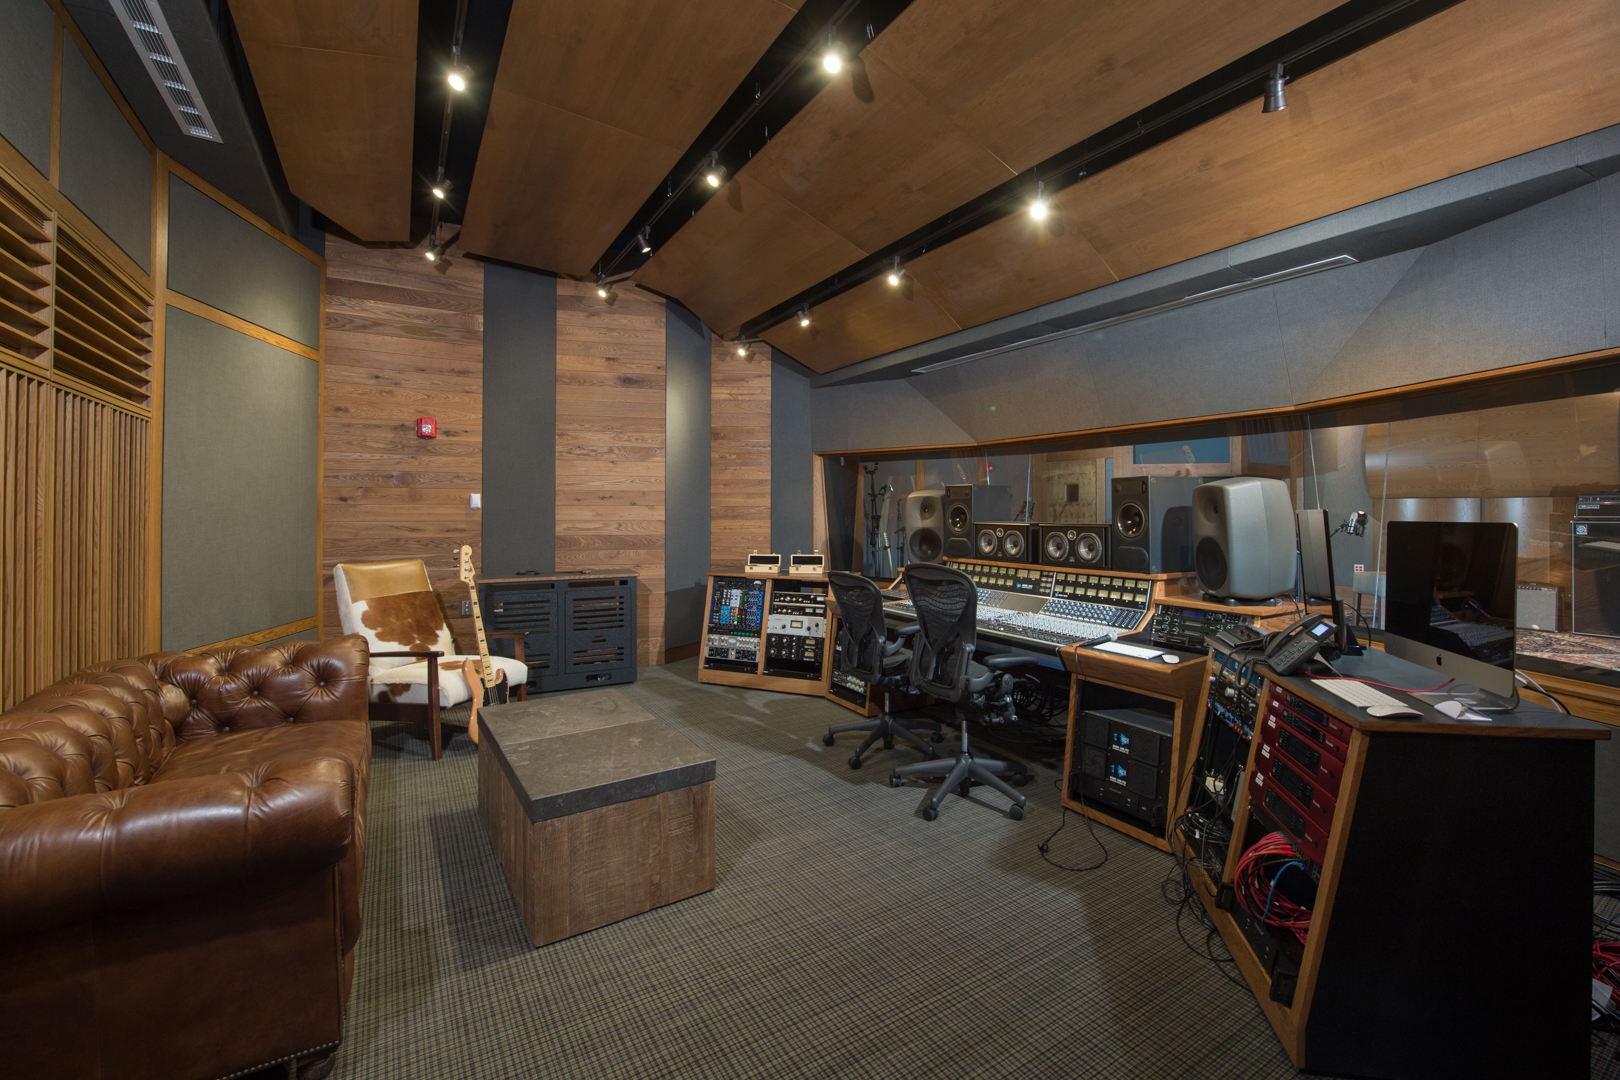
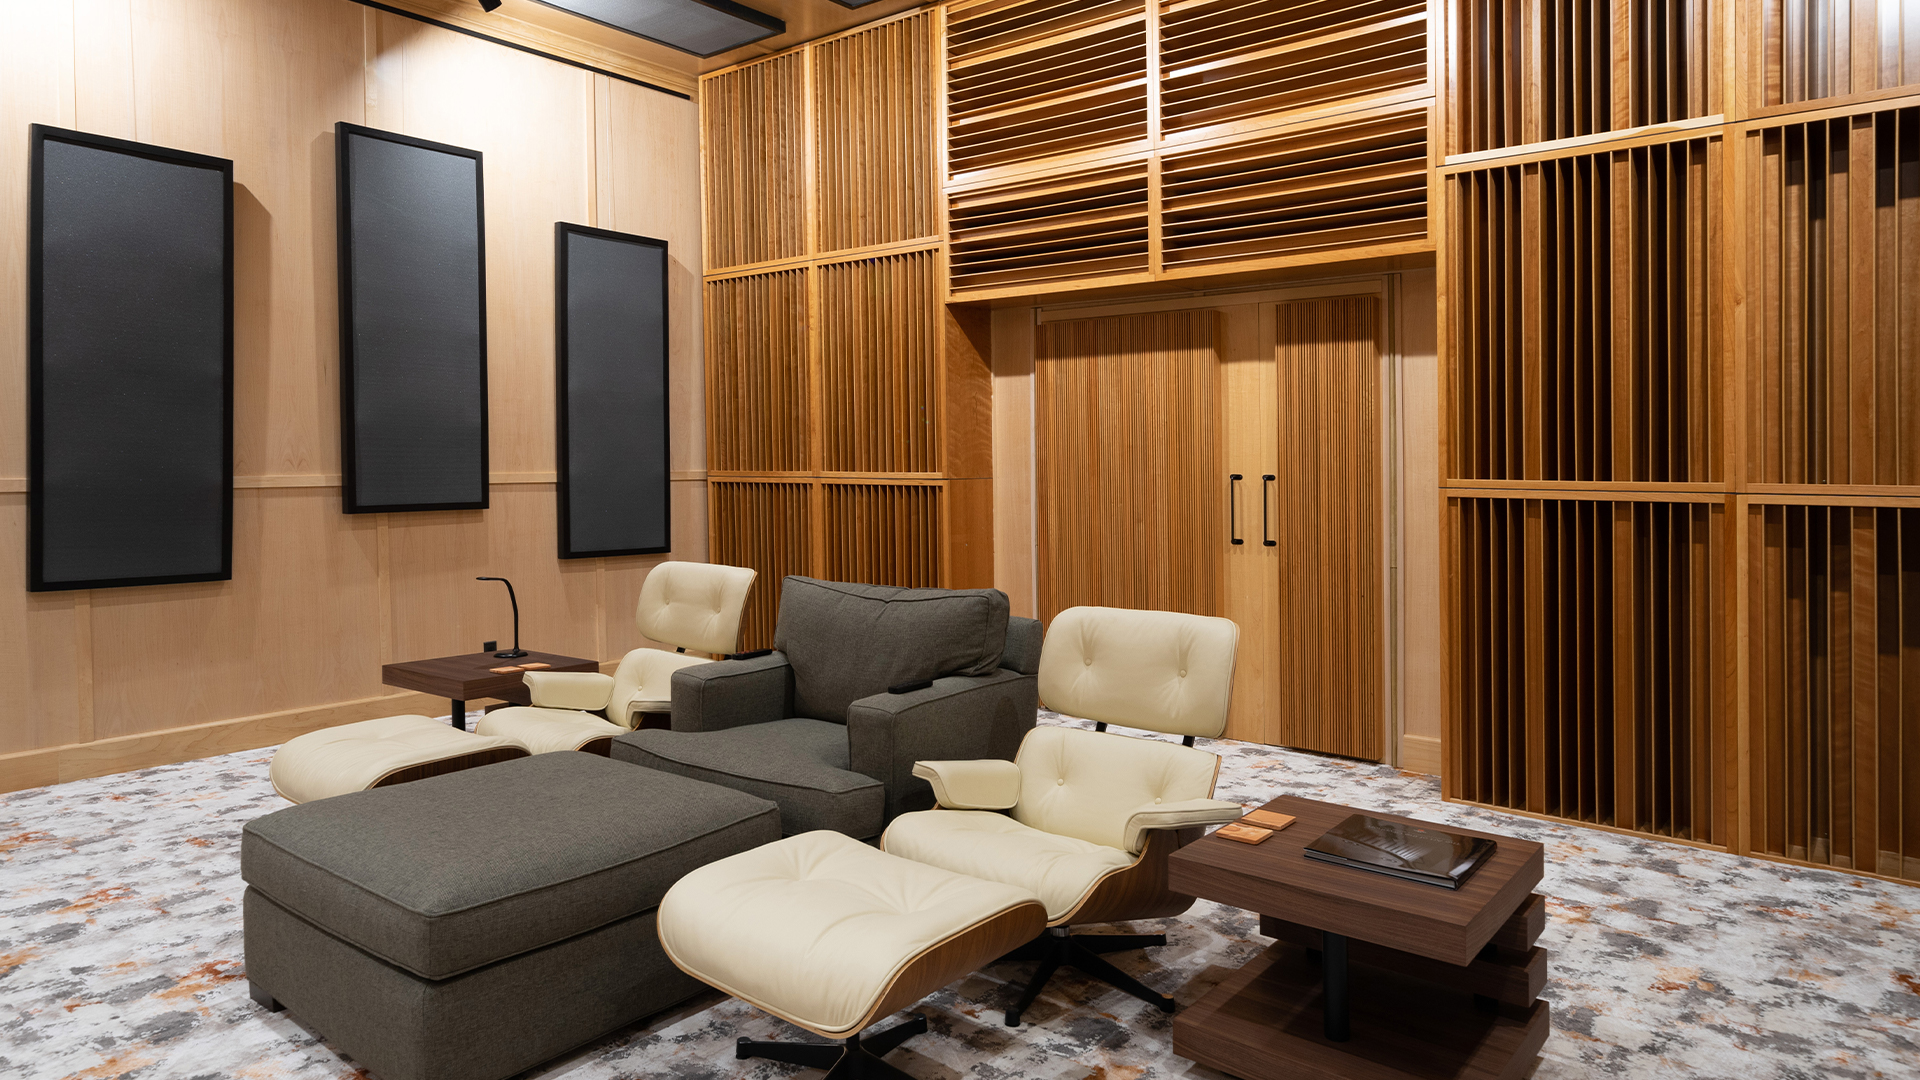
Acoustic Treatment
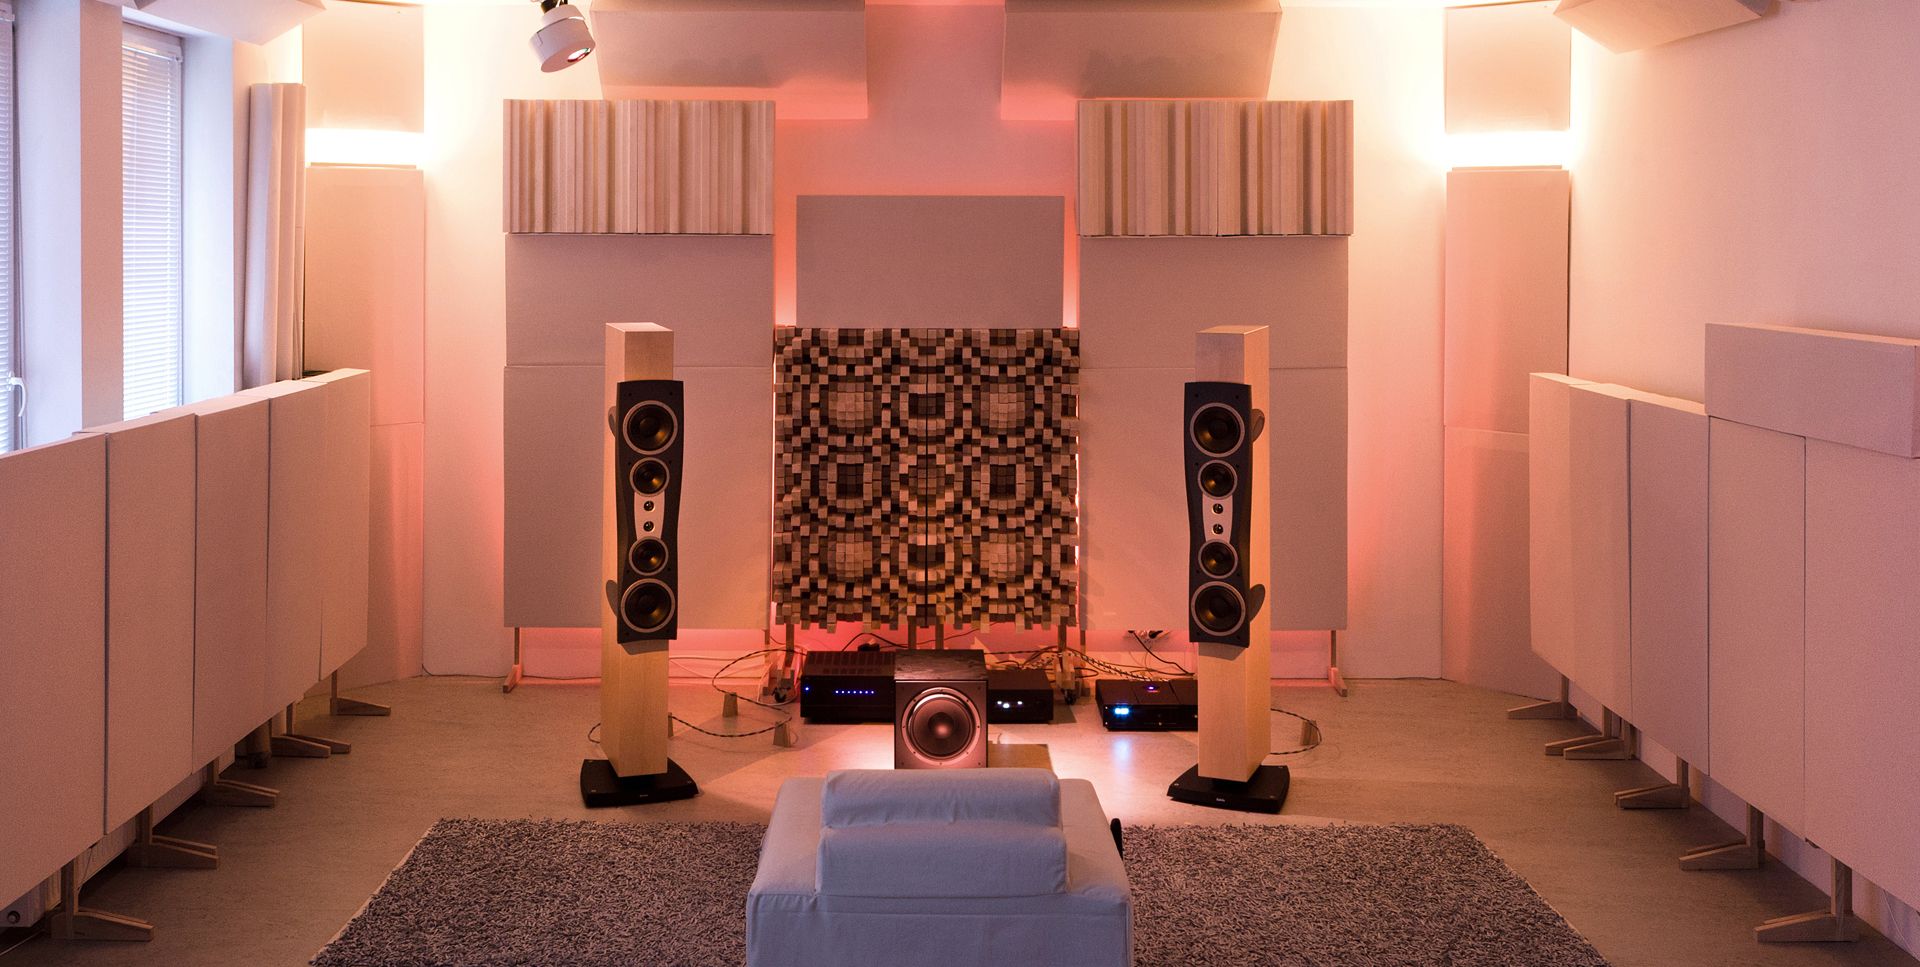
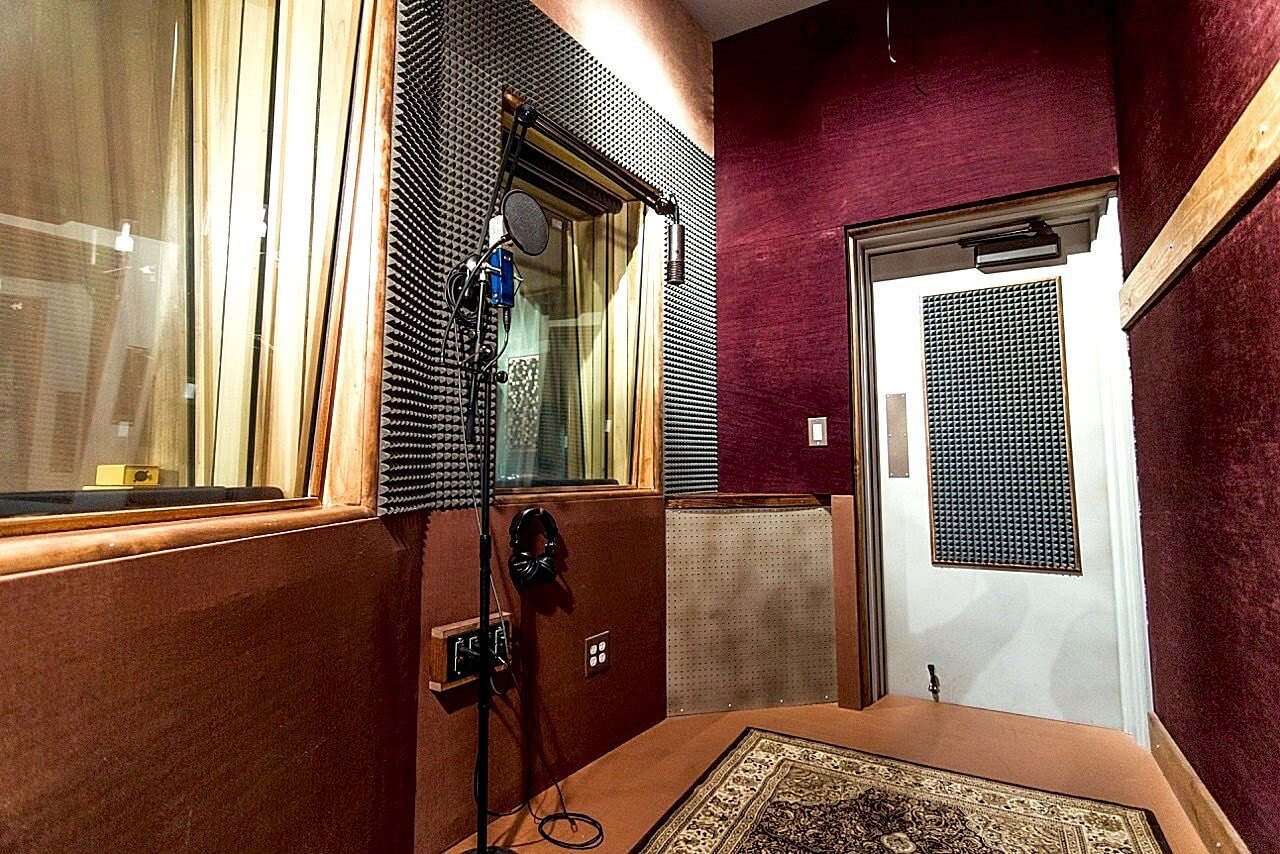
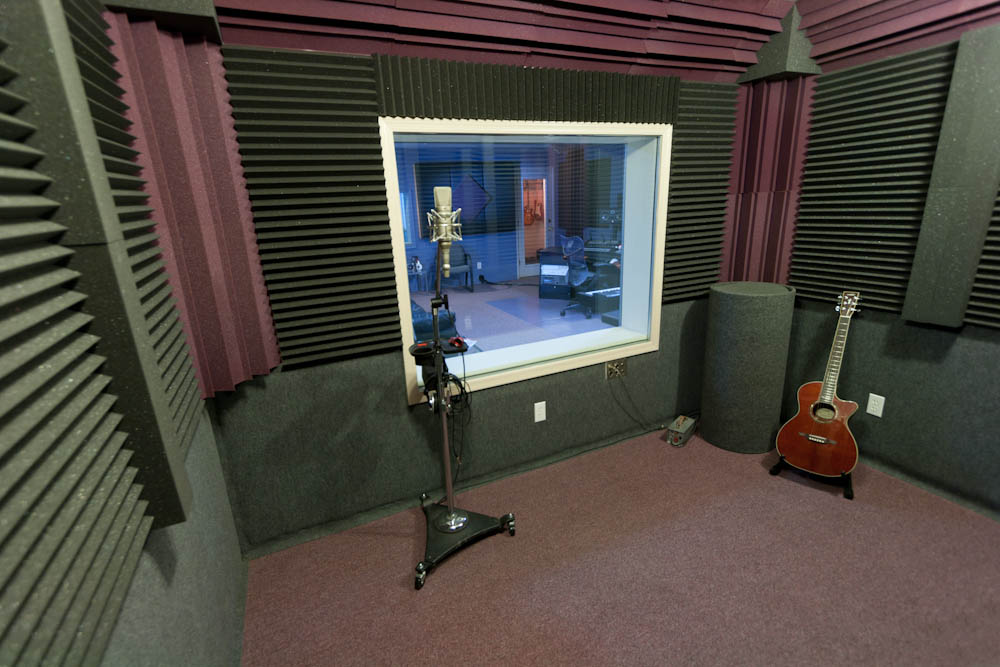
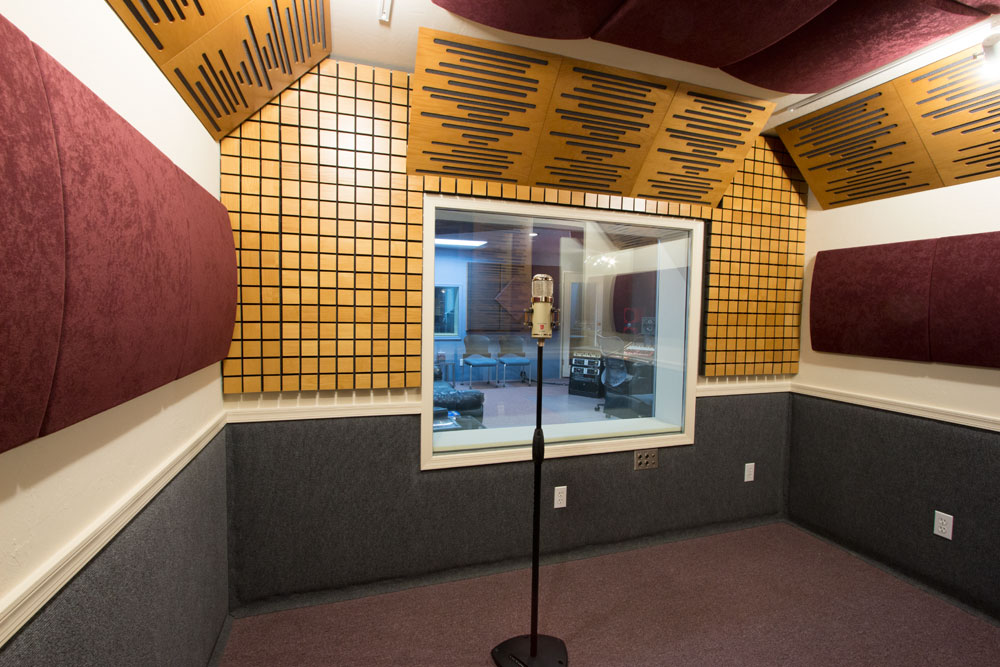
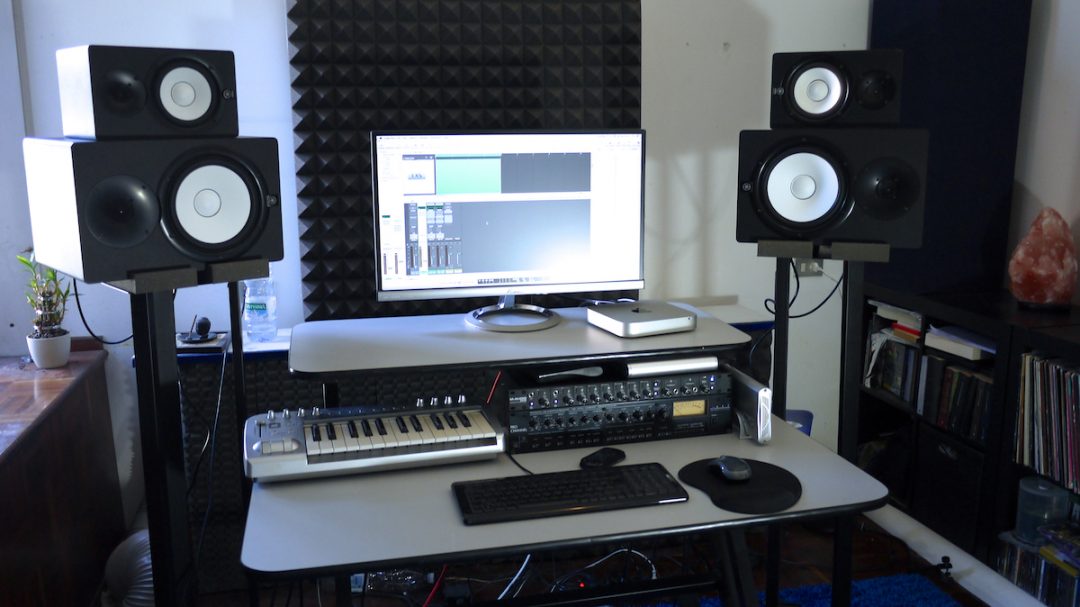
When recording vocals in a living room, the first thing you need to consider is the acoustic treatment of the space. This refers to the materials and techniques used to control the sound in the room. Without proper acoustic treatment, your recordings may sound muddy, echoey, or have unwanted background noise. To improve the acoustics of your living room recording space, you can use sound-absorbing materials such as acoustic panels, blankets, or carpets. These materials can help to reduce reflections and absorb sound waves, resulting in a cleaner and more professional vocal recording.


Acoustic Treatment


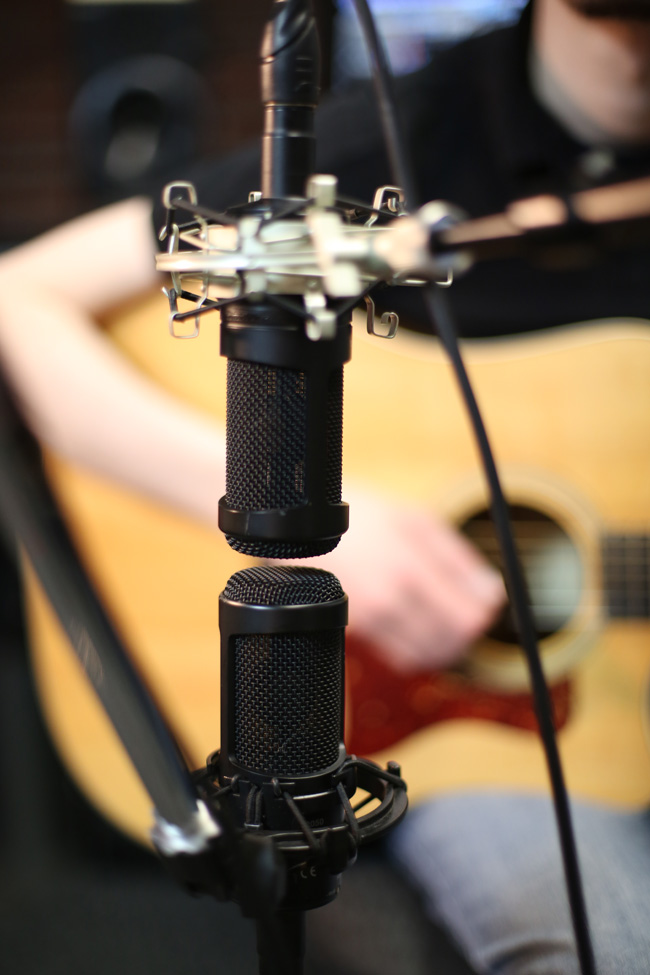
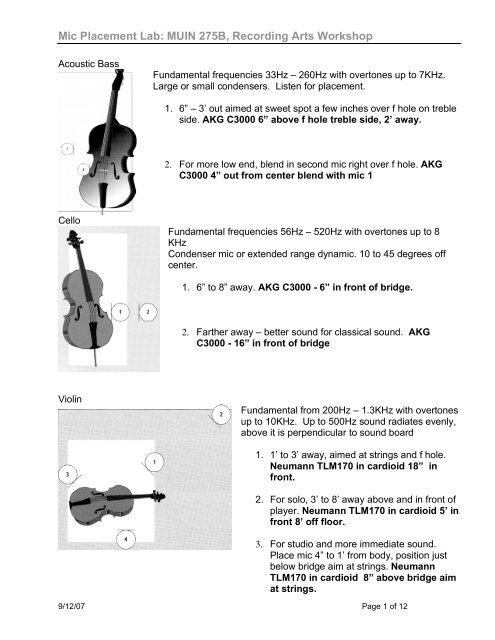
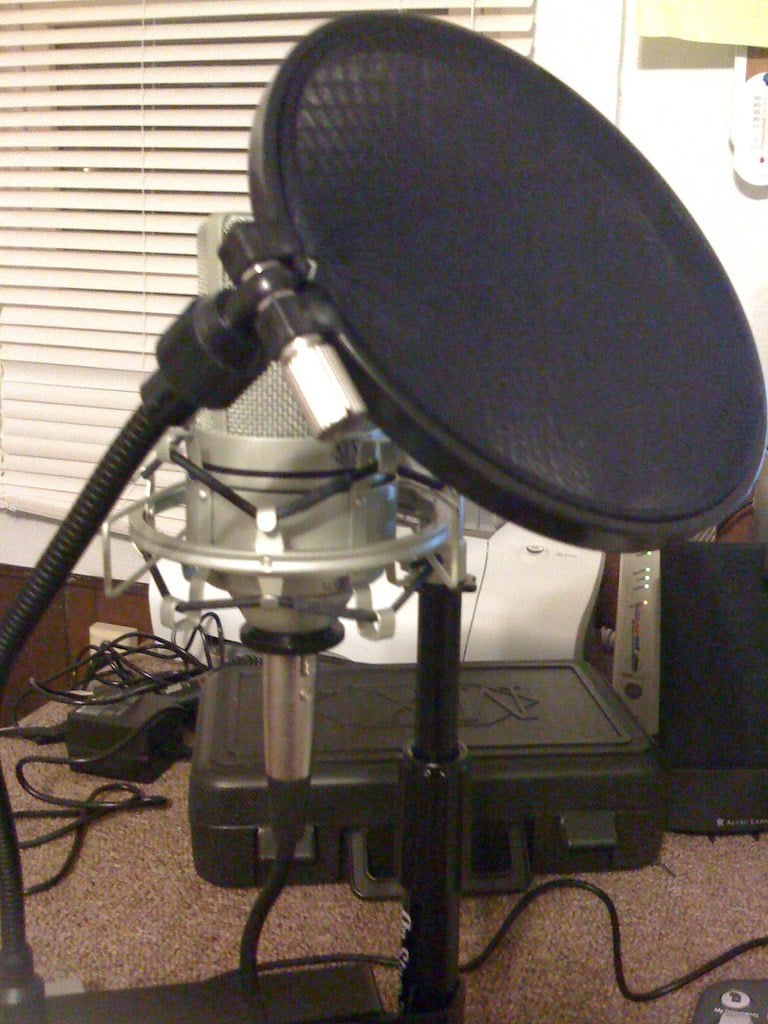
Microphone Placement
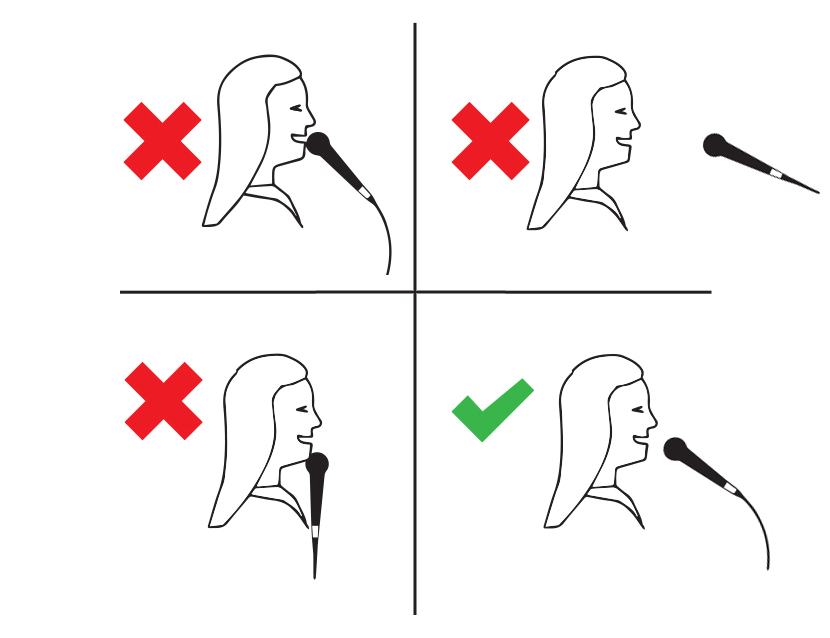
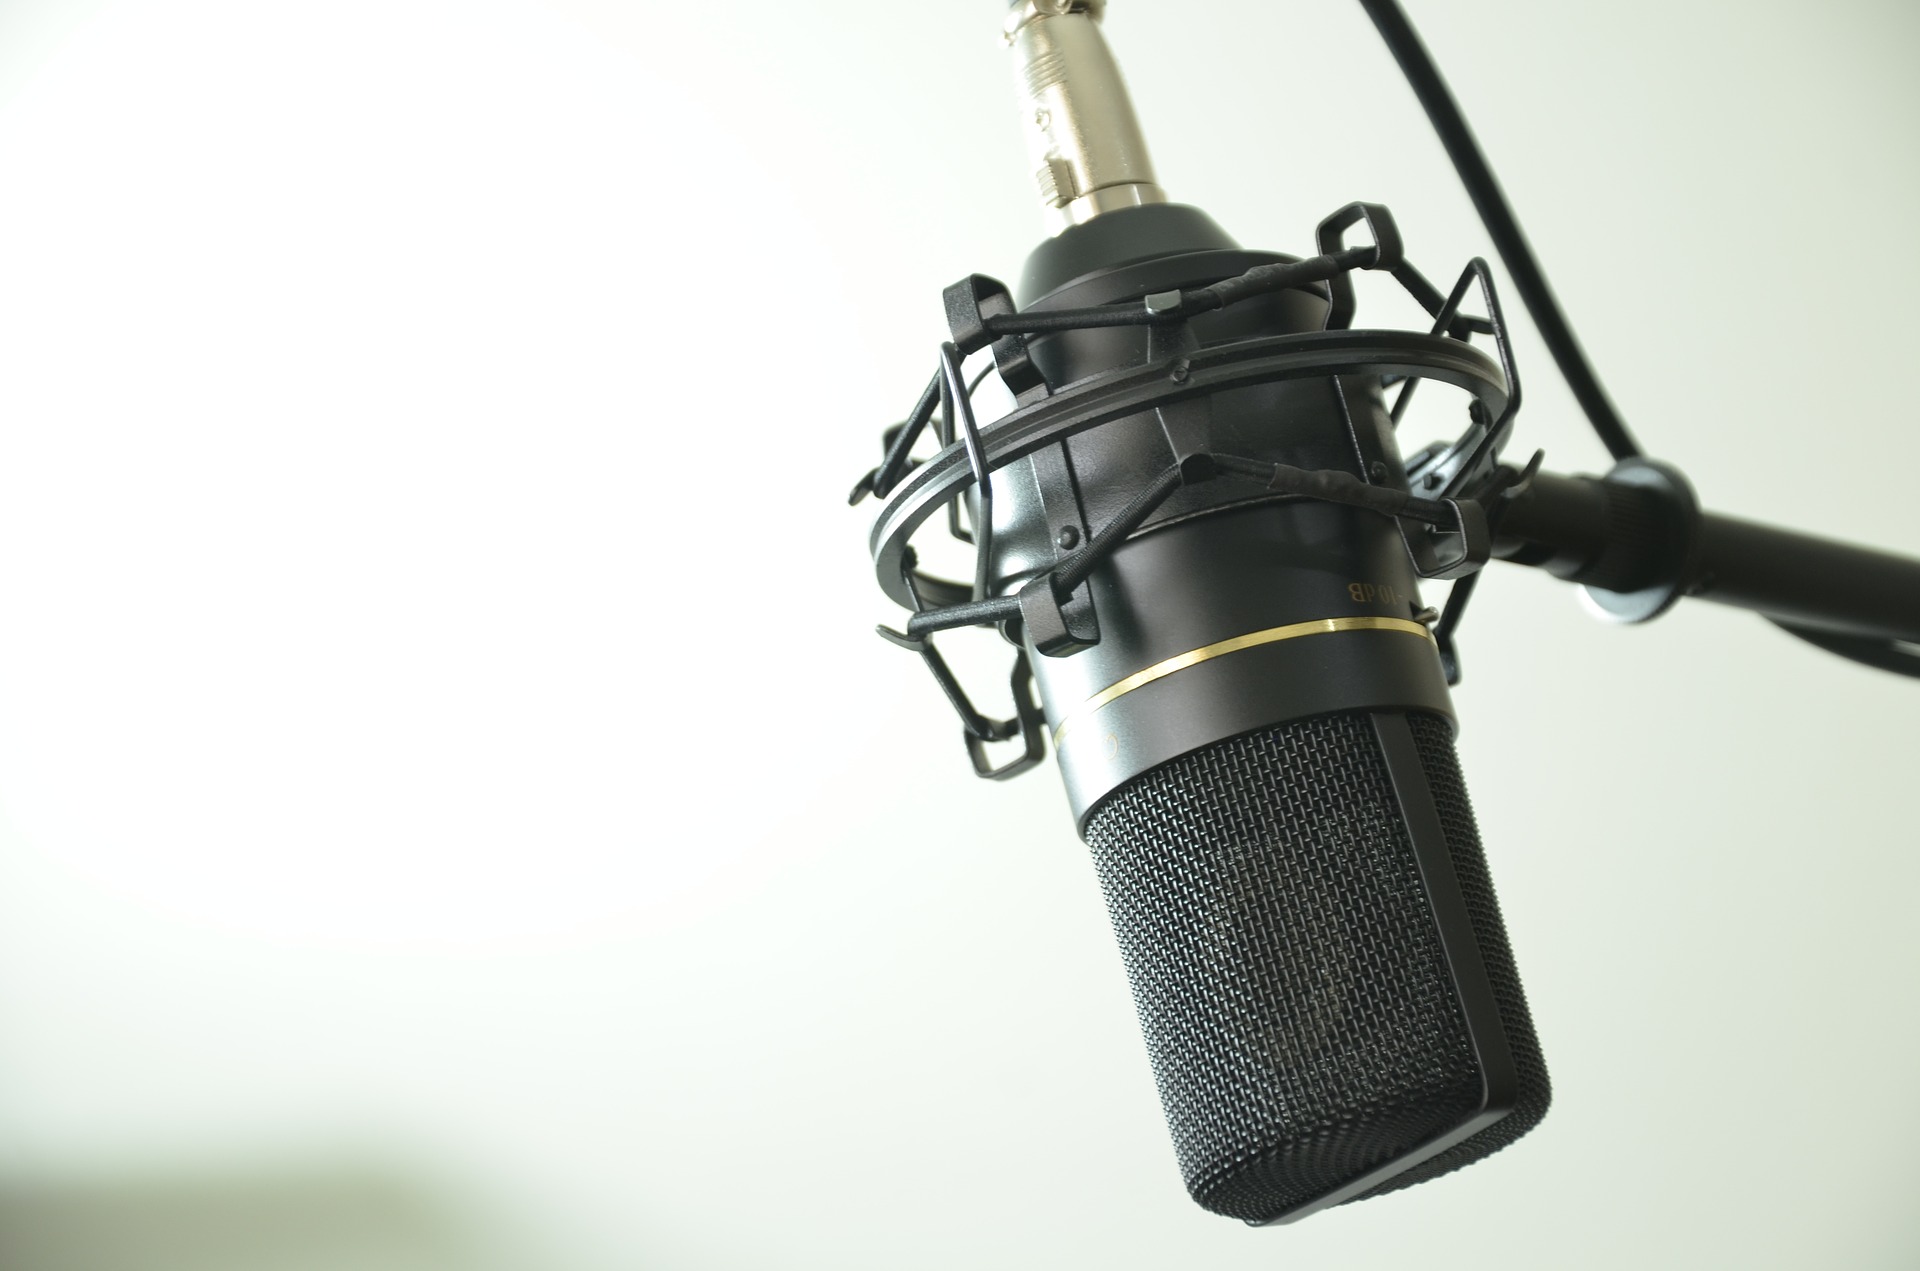
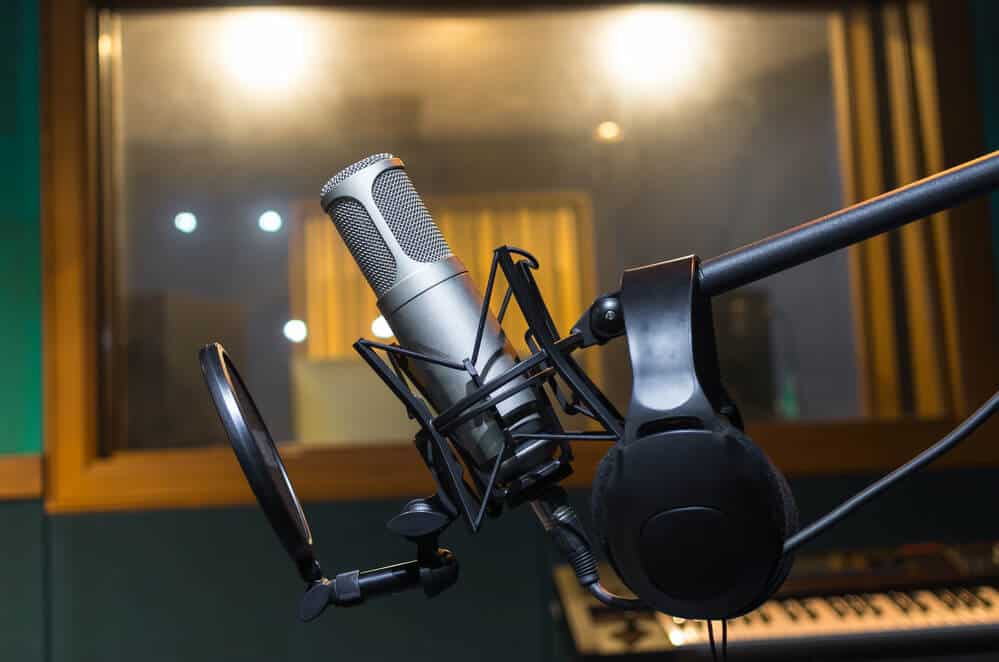
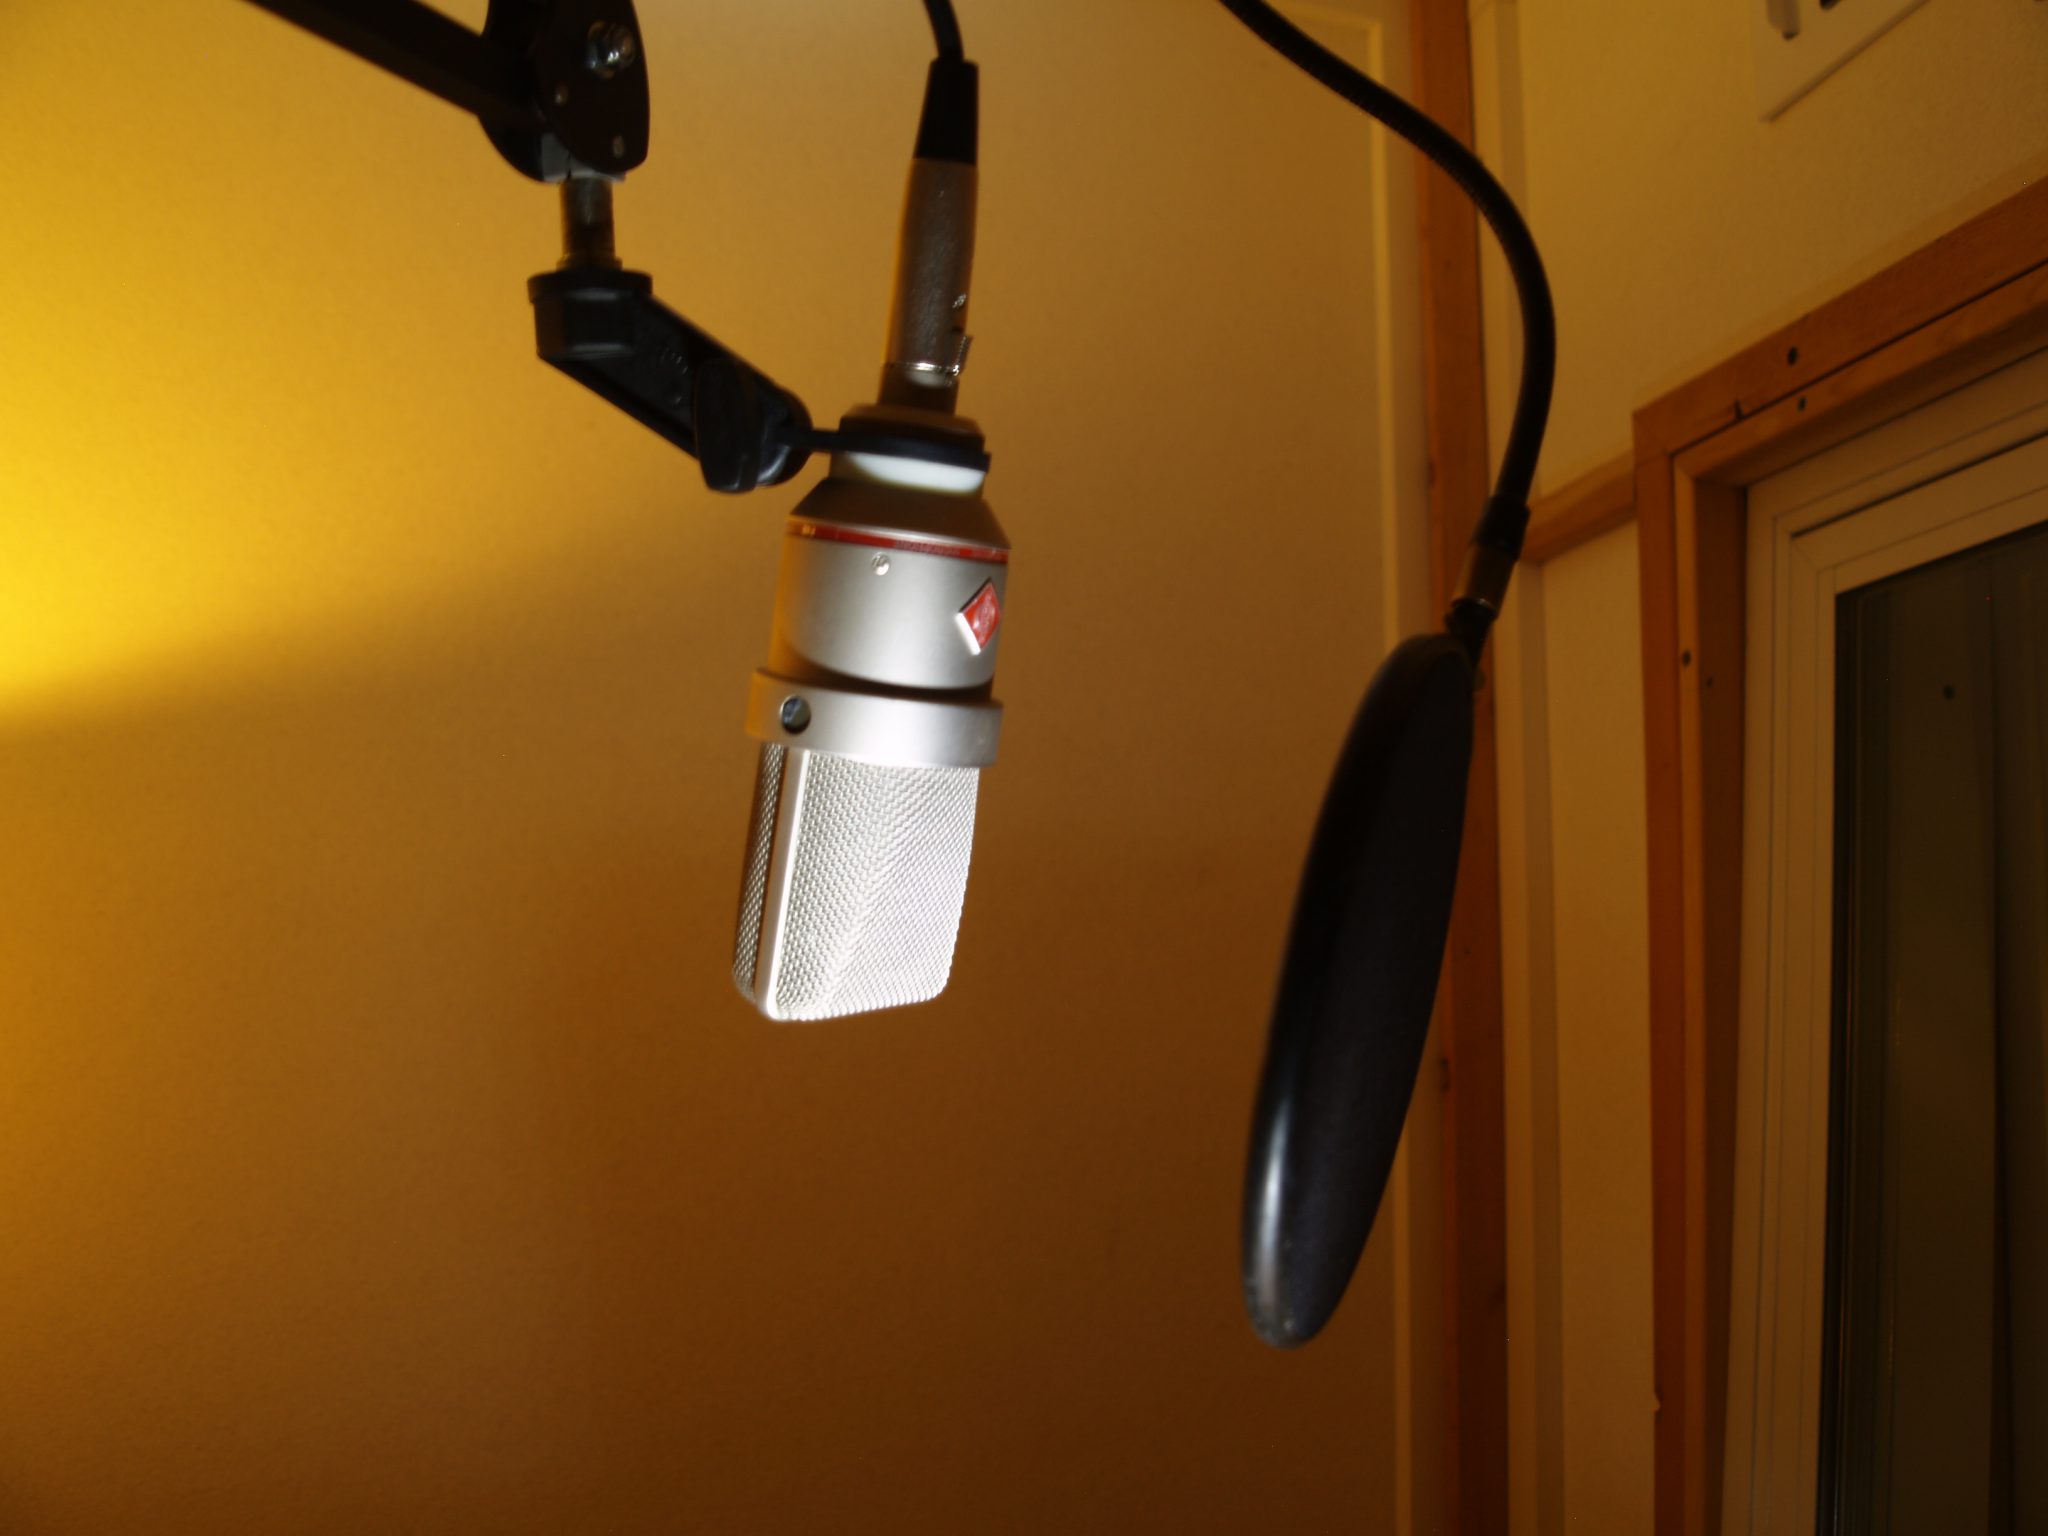
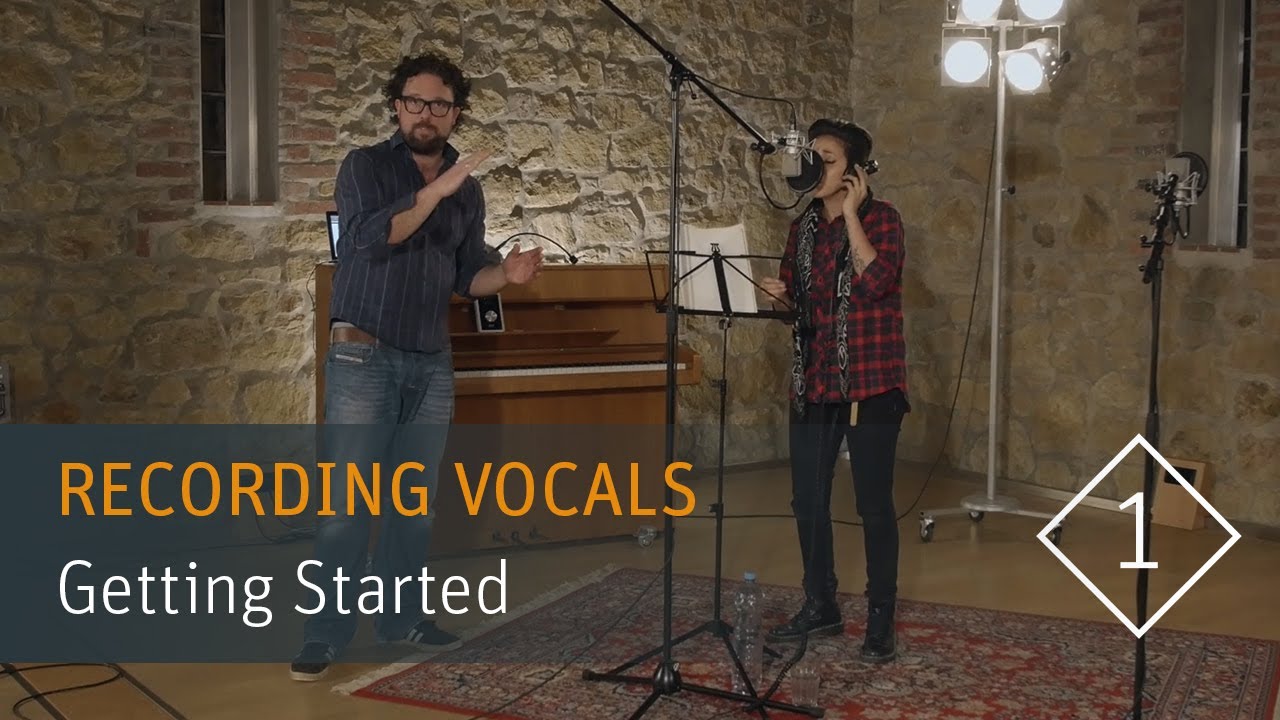
Another crucial factor in recording vocals in a living room is the placement of your microphone. The type of microphone you use, along with its placement, can greatly affect the quality of your recording. If you are using a condenser microphone, it is essential to place it at a distance from the vocalist to avoid picking up unwanted background noise. A good rule of thumb is to place the microphone about six to eight inches away from the vocalist's mouth. Experiment with different placements to find the sweet spot for your microphone and room acoustics.
Microphone Placement


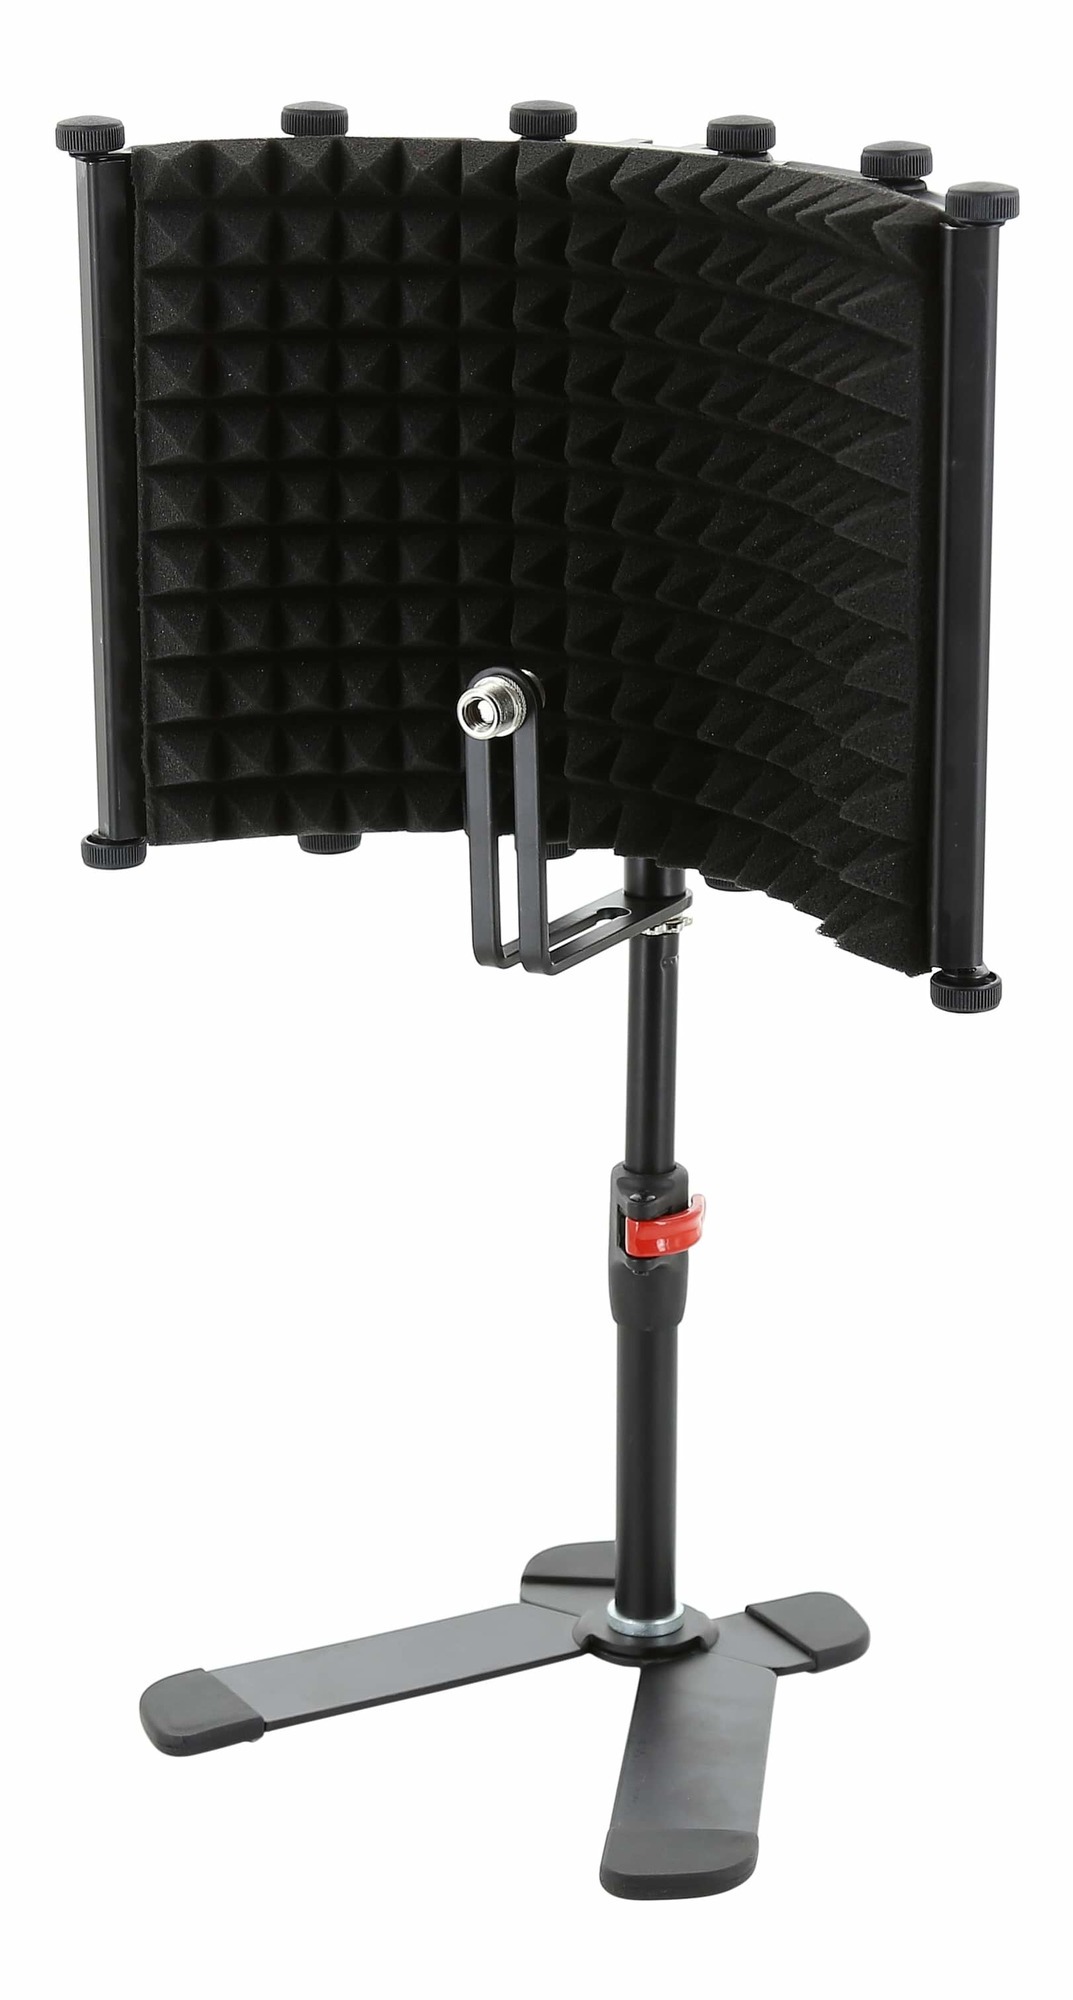
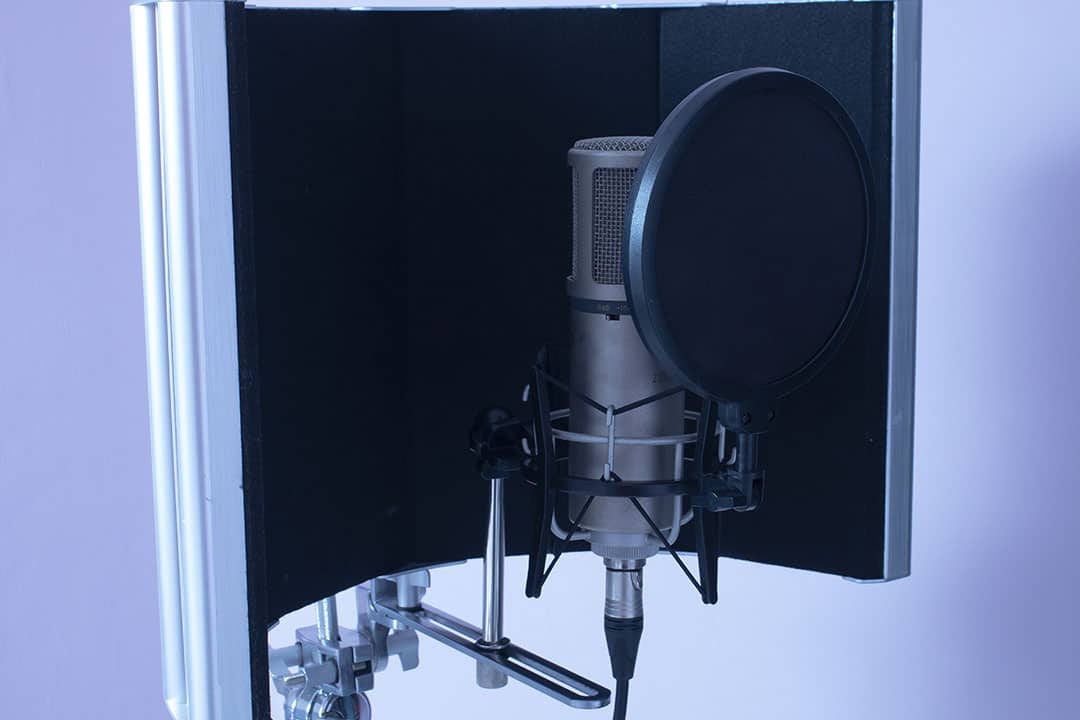
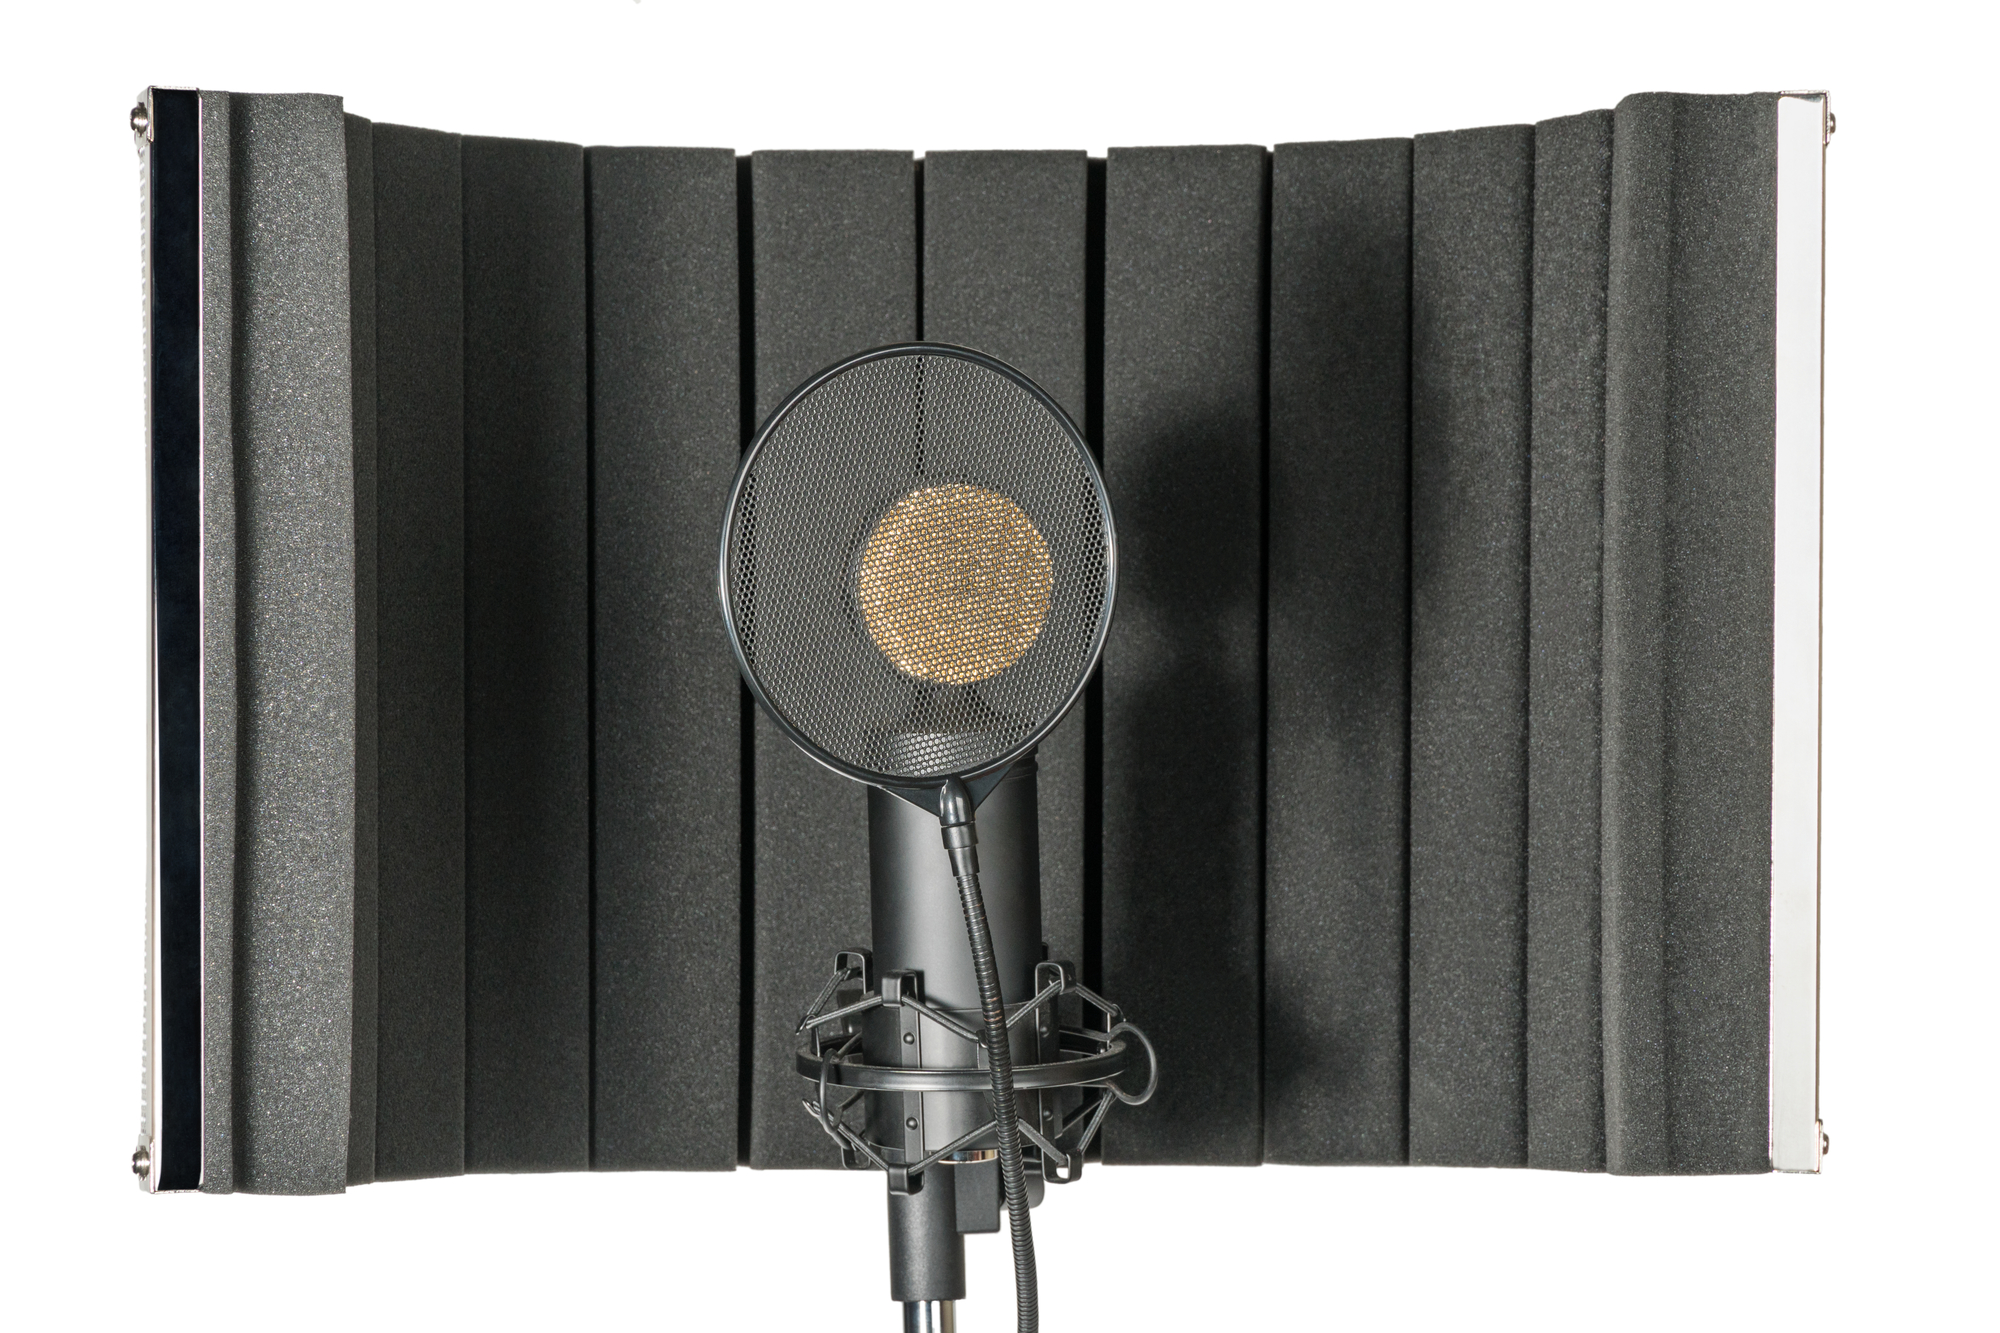
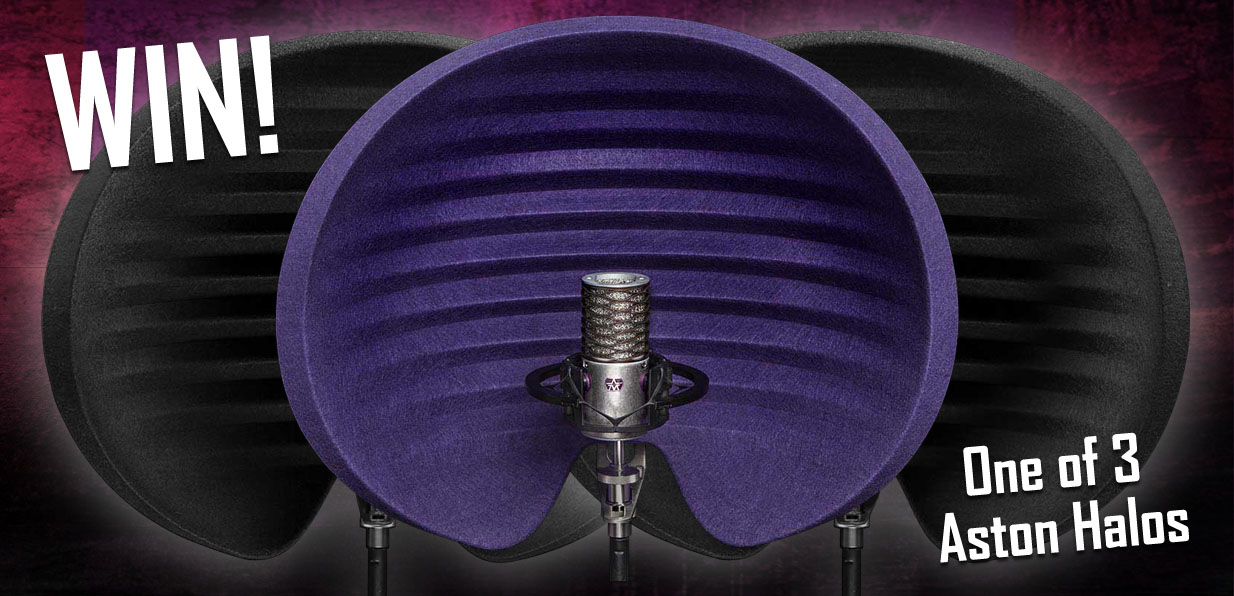
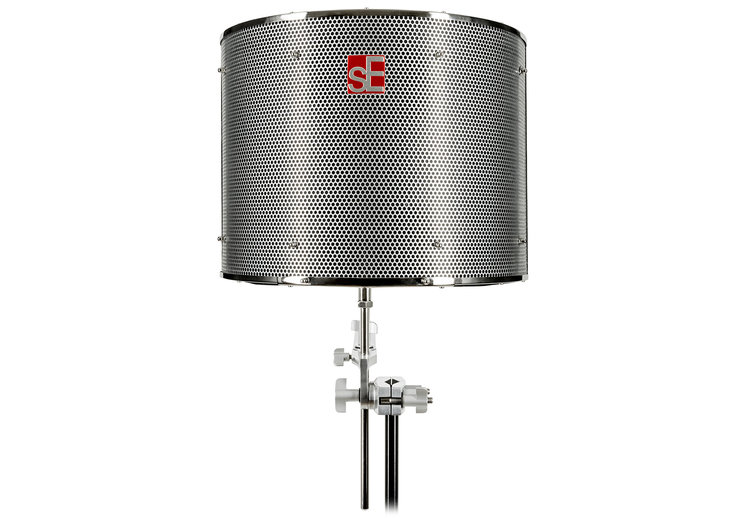
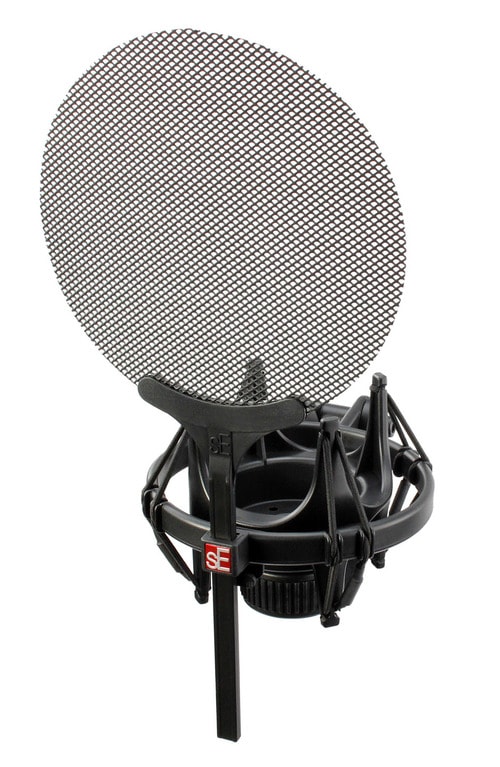
Reflection Filters
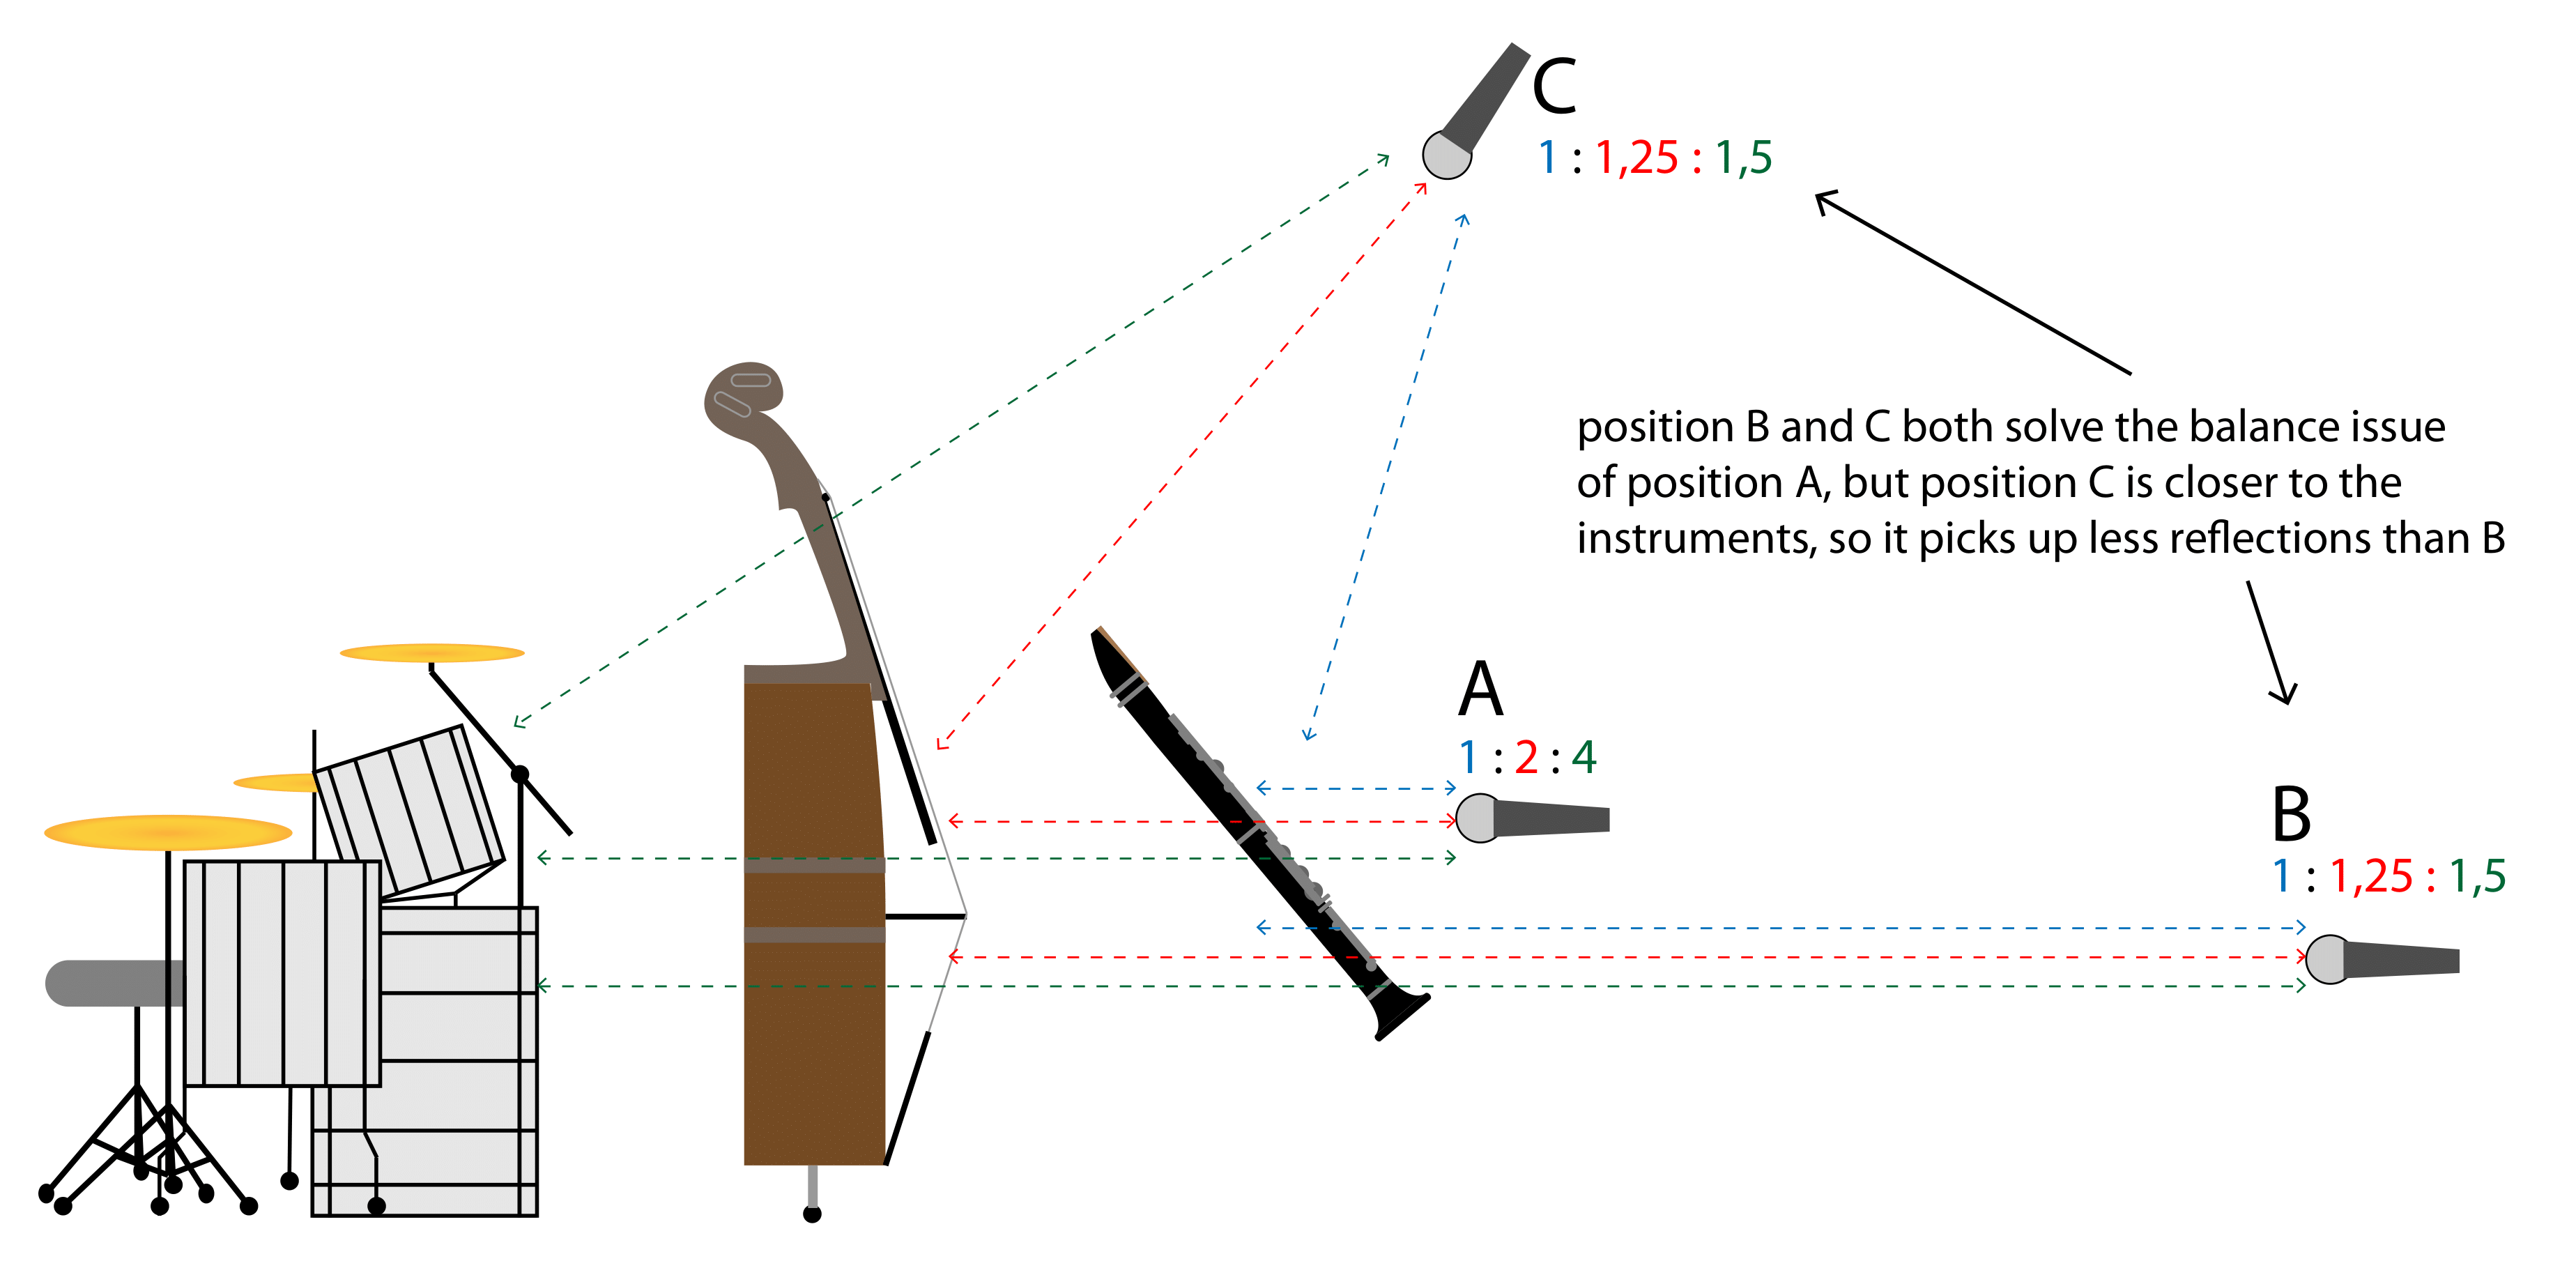
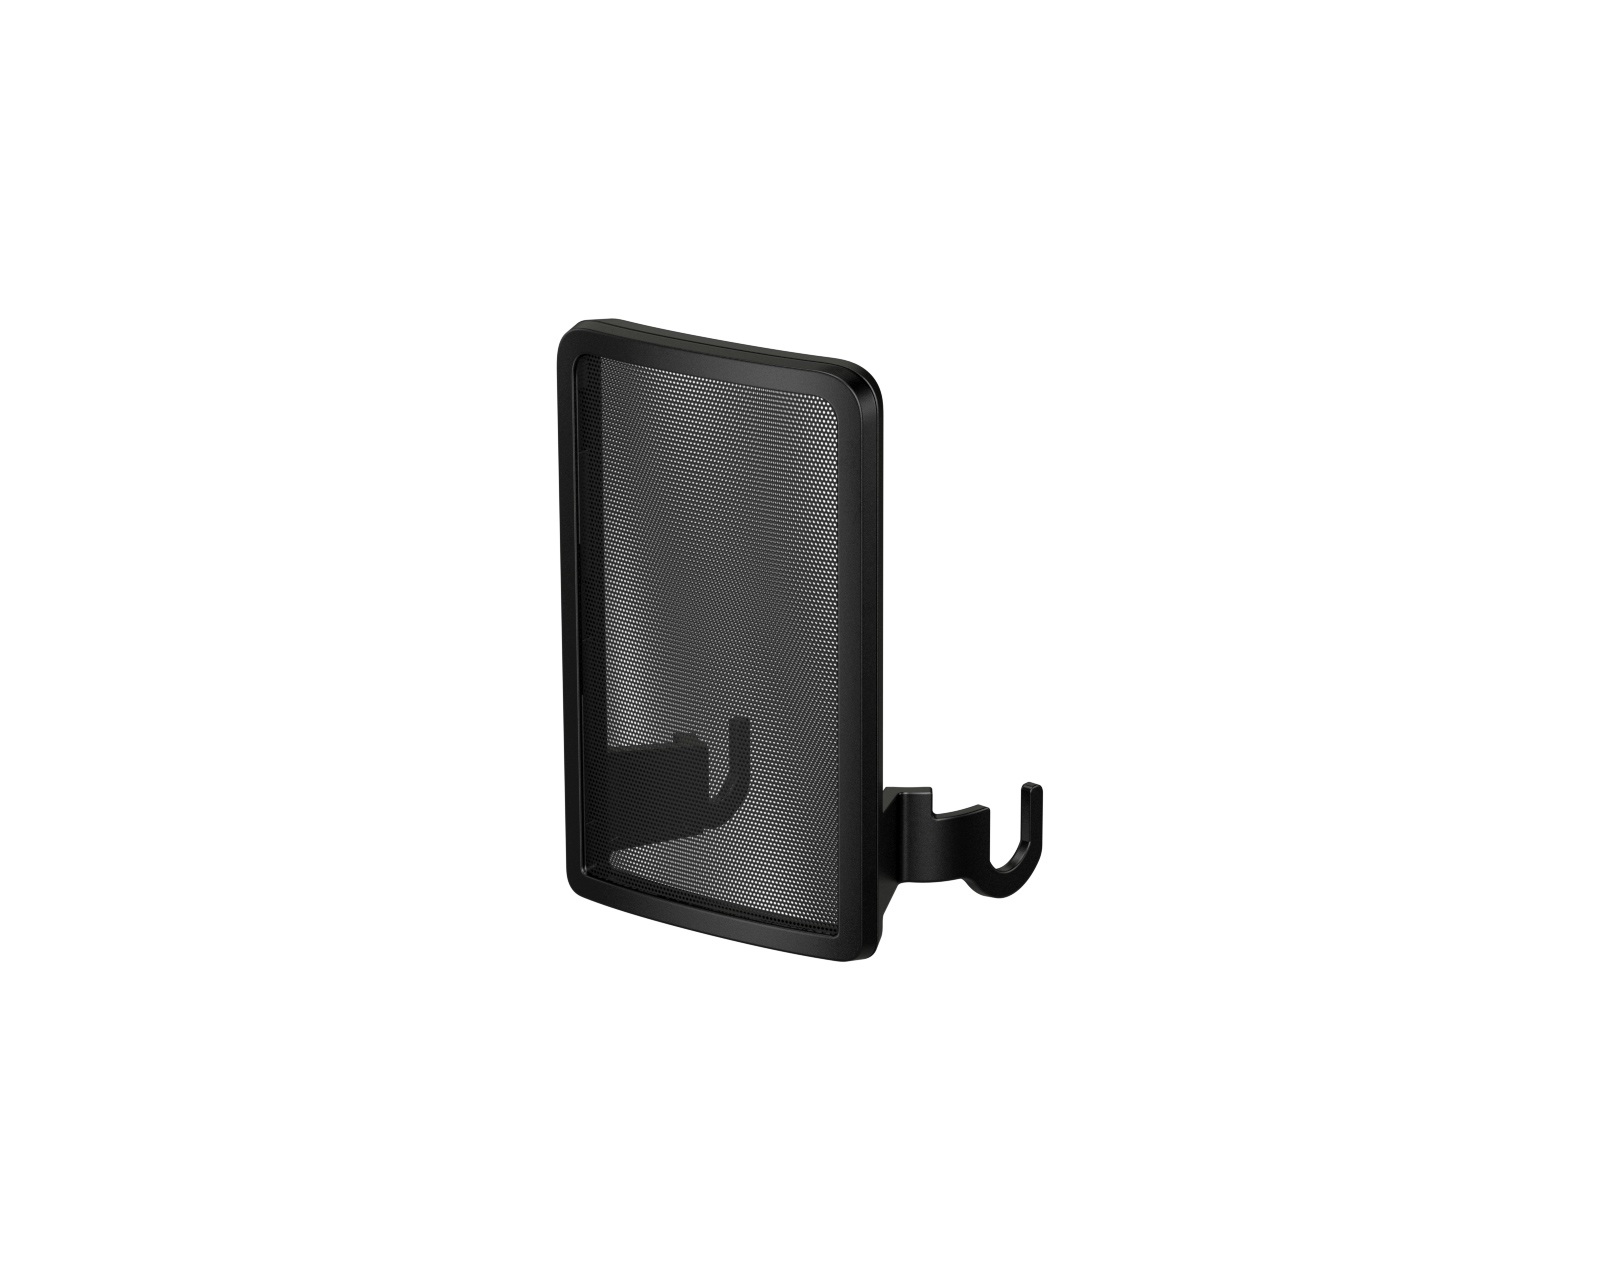
Reflection filters, also known as vocal shields, are a great tool to have when recording vocals in a living room. They are portable, easy to set up, and can help to improve the quality of your recordings. Reflection filters are designed to absorb and diffuse sound waves, reducing the amount of room sound picked up by the microphone. This can be especially useful when recording vocals in a less-than-ideal space, such as a living room. Place the reflection filter behind the microphone and adjust it to find the best position for your recording.


Reflection Filters

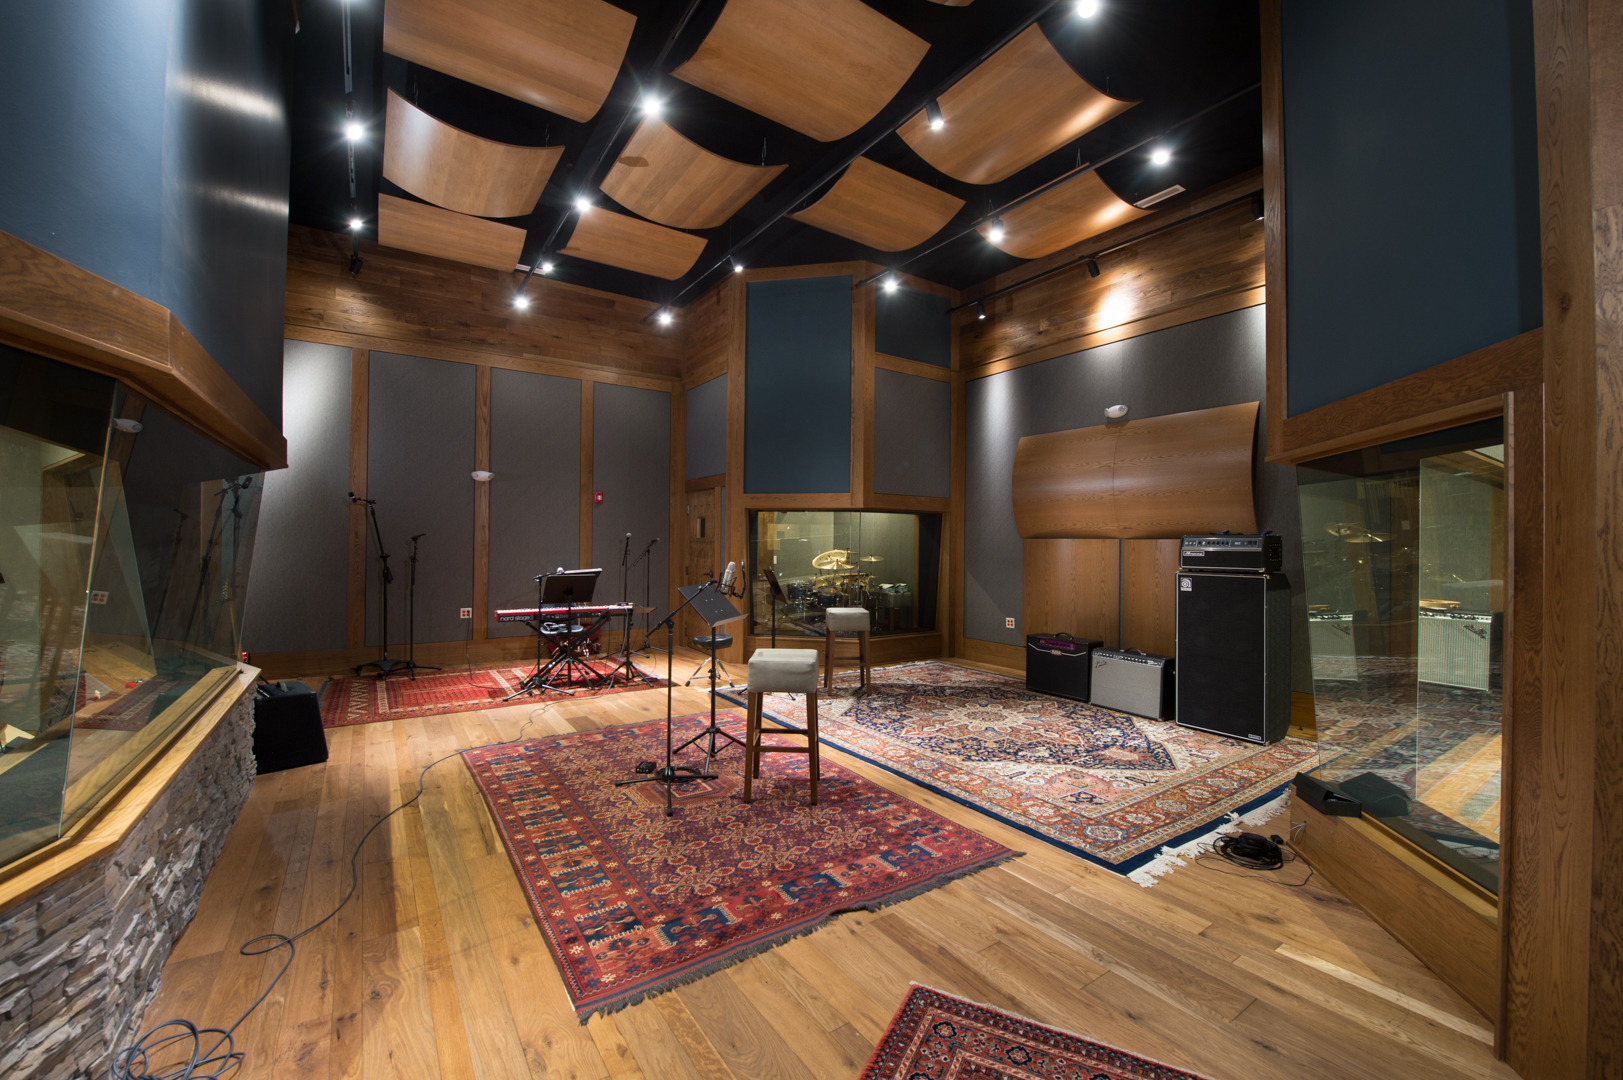
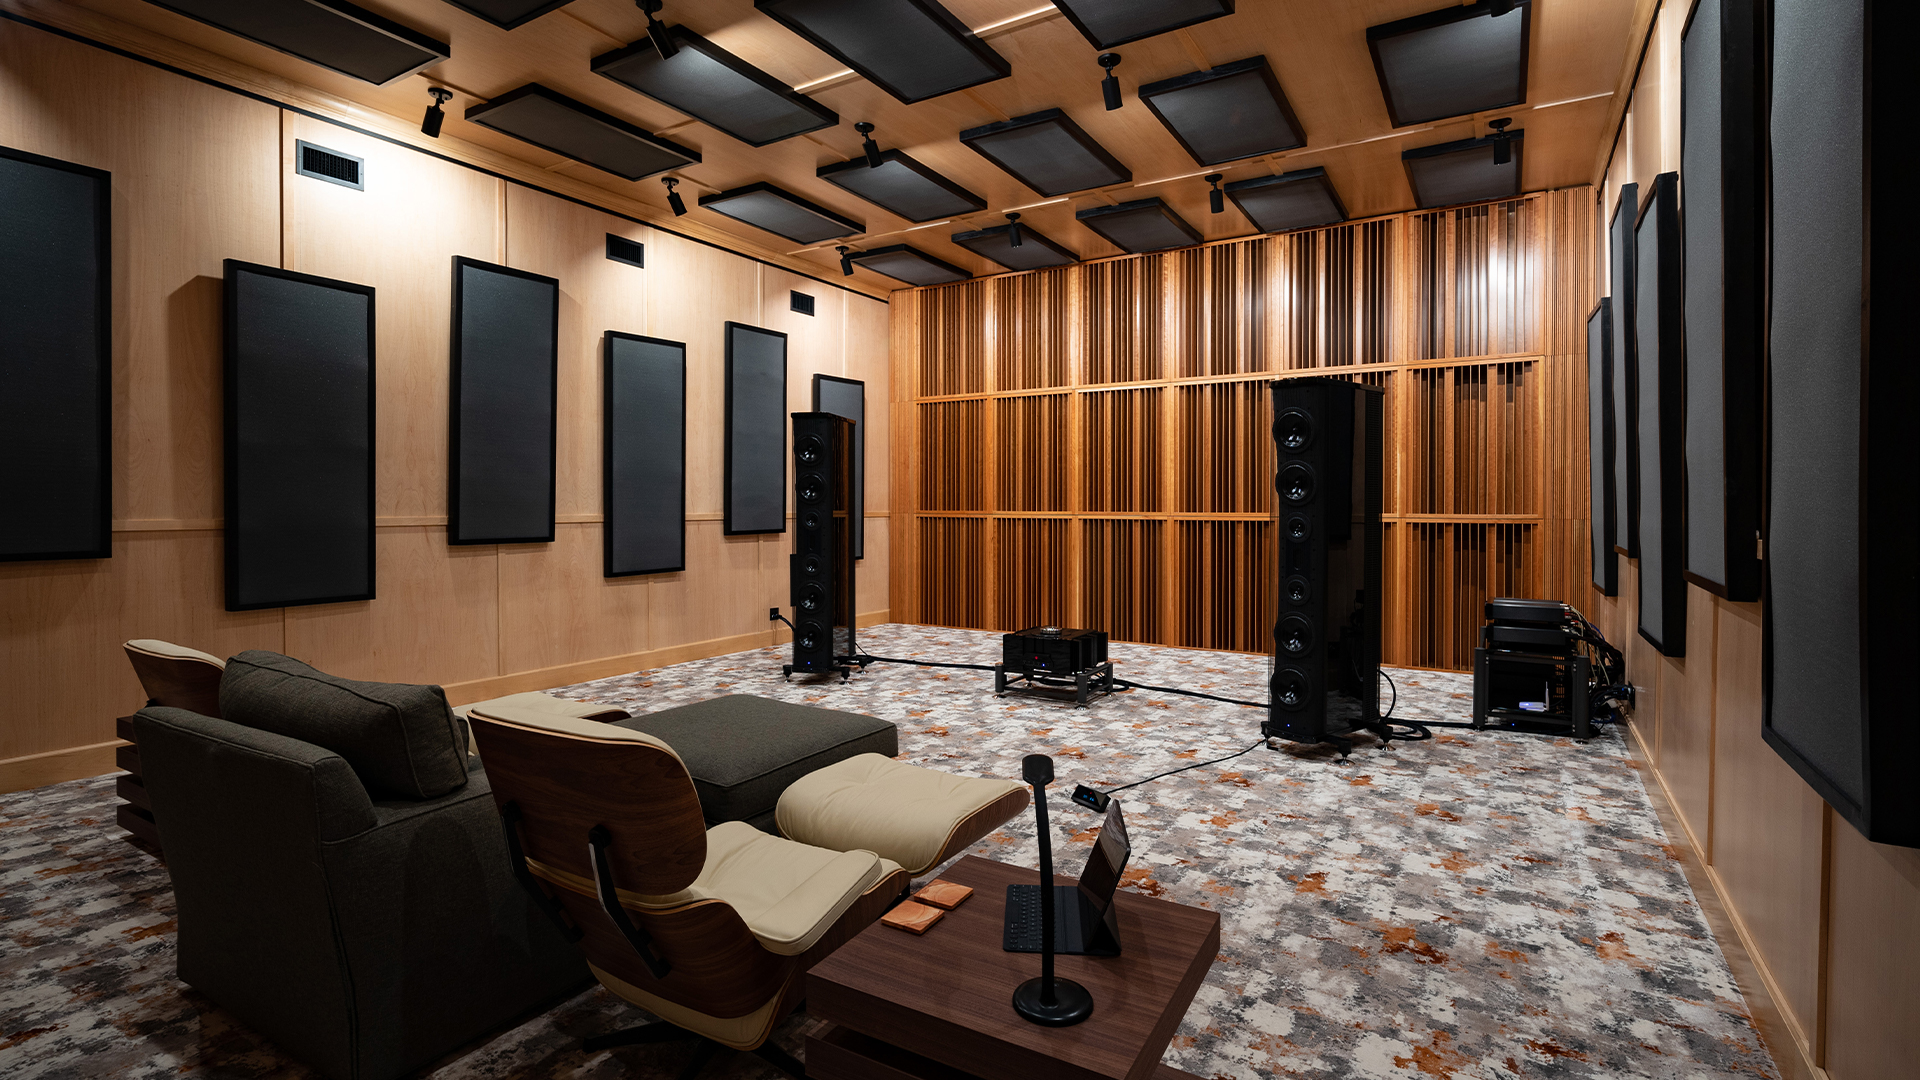
Room Acoustics
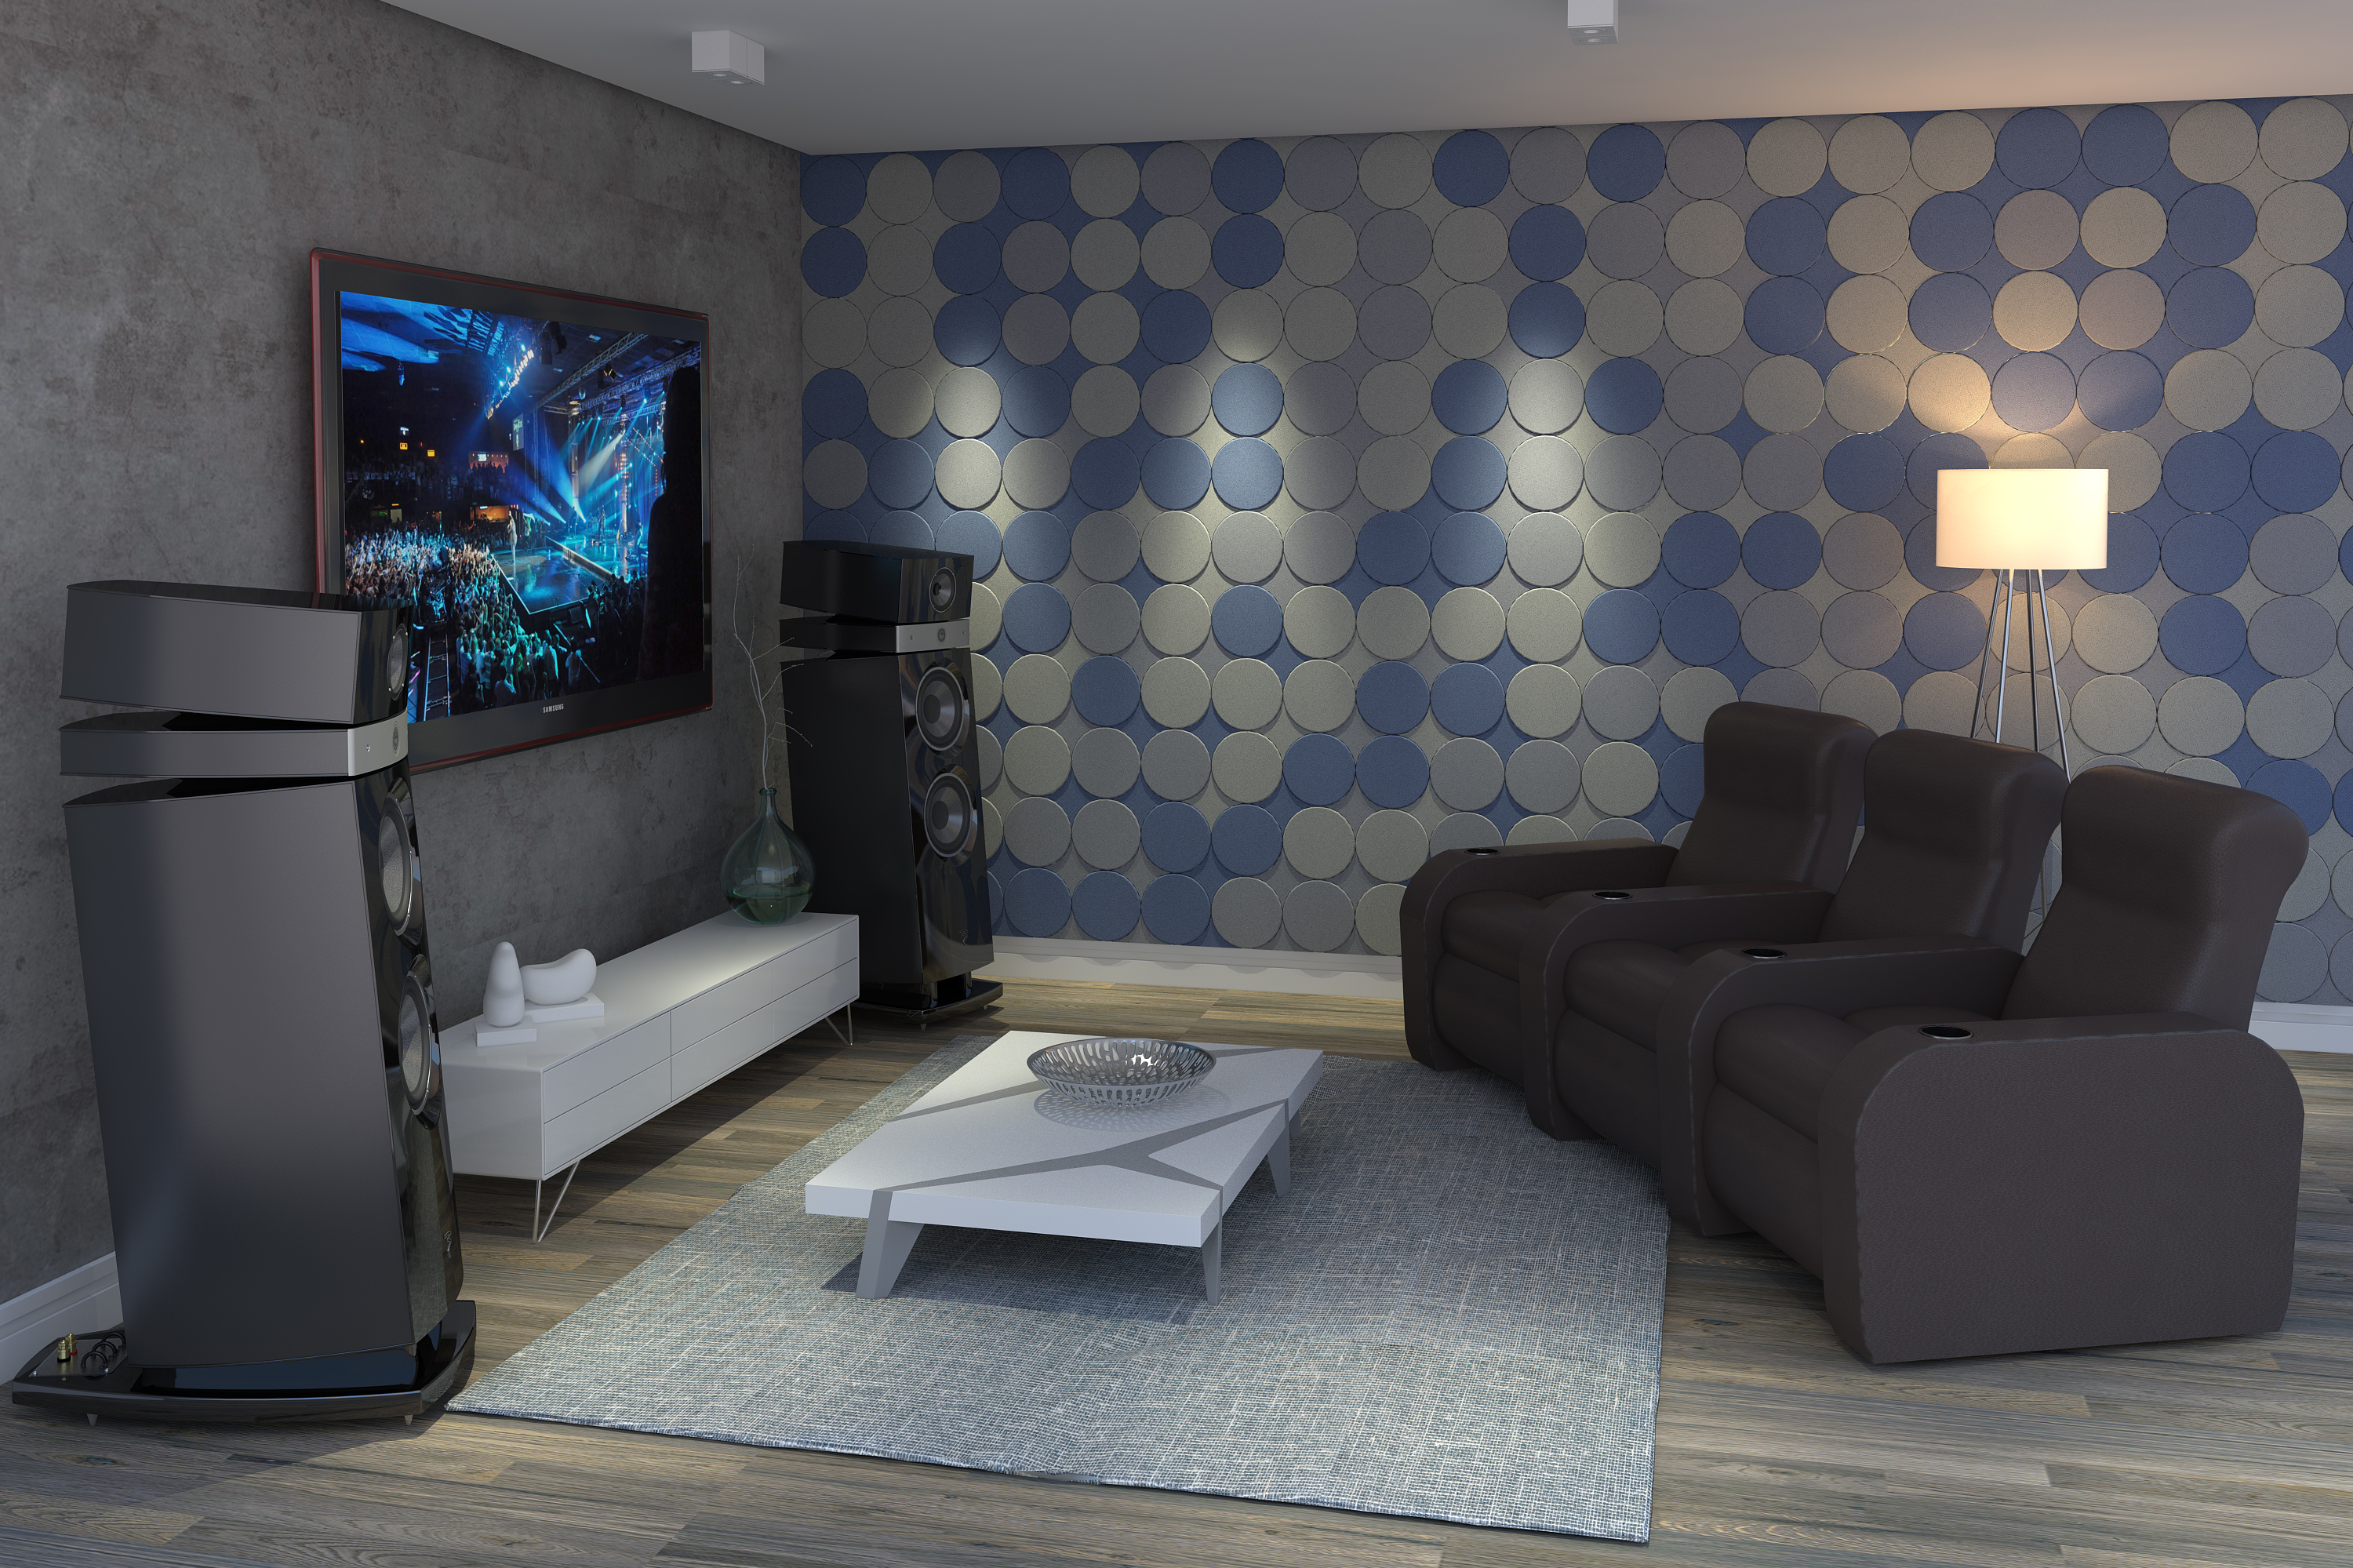
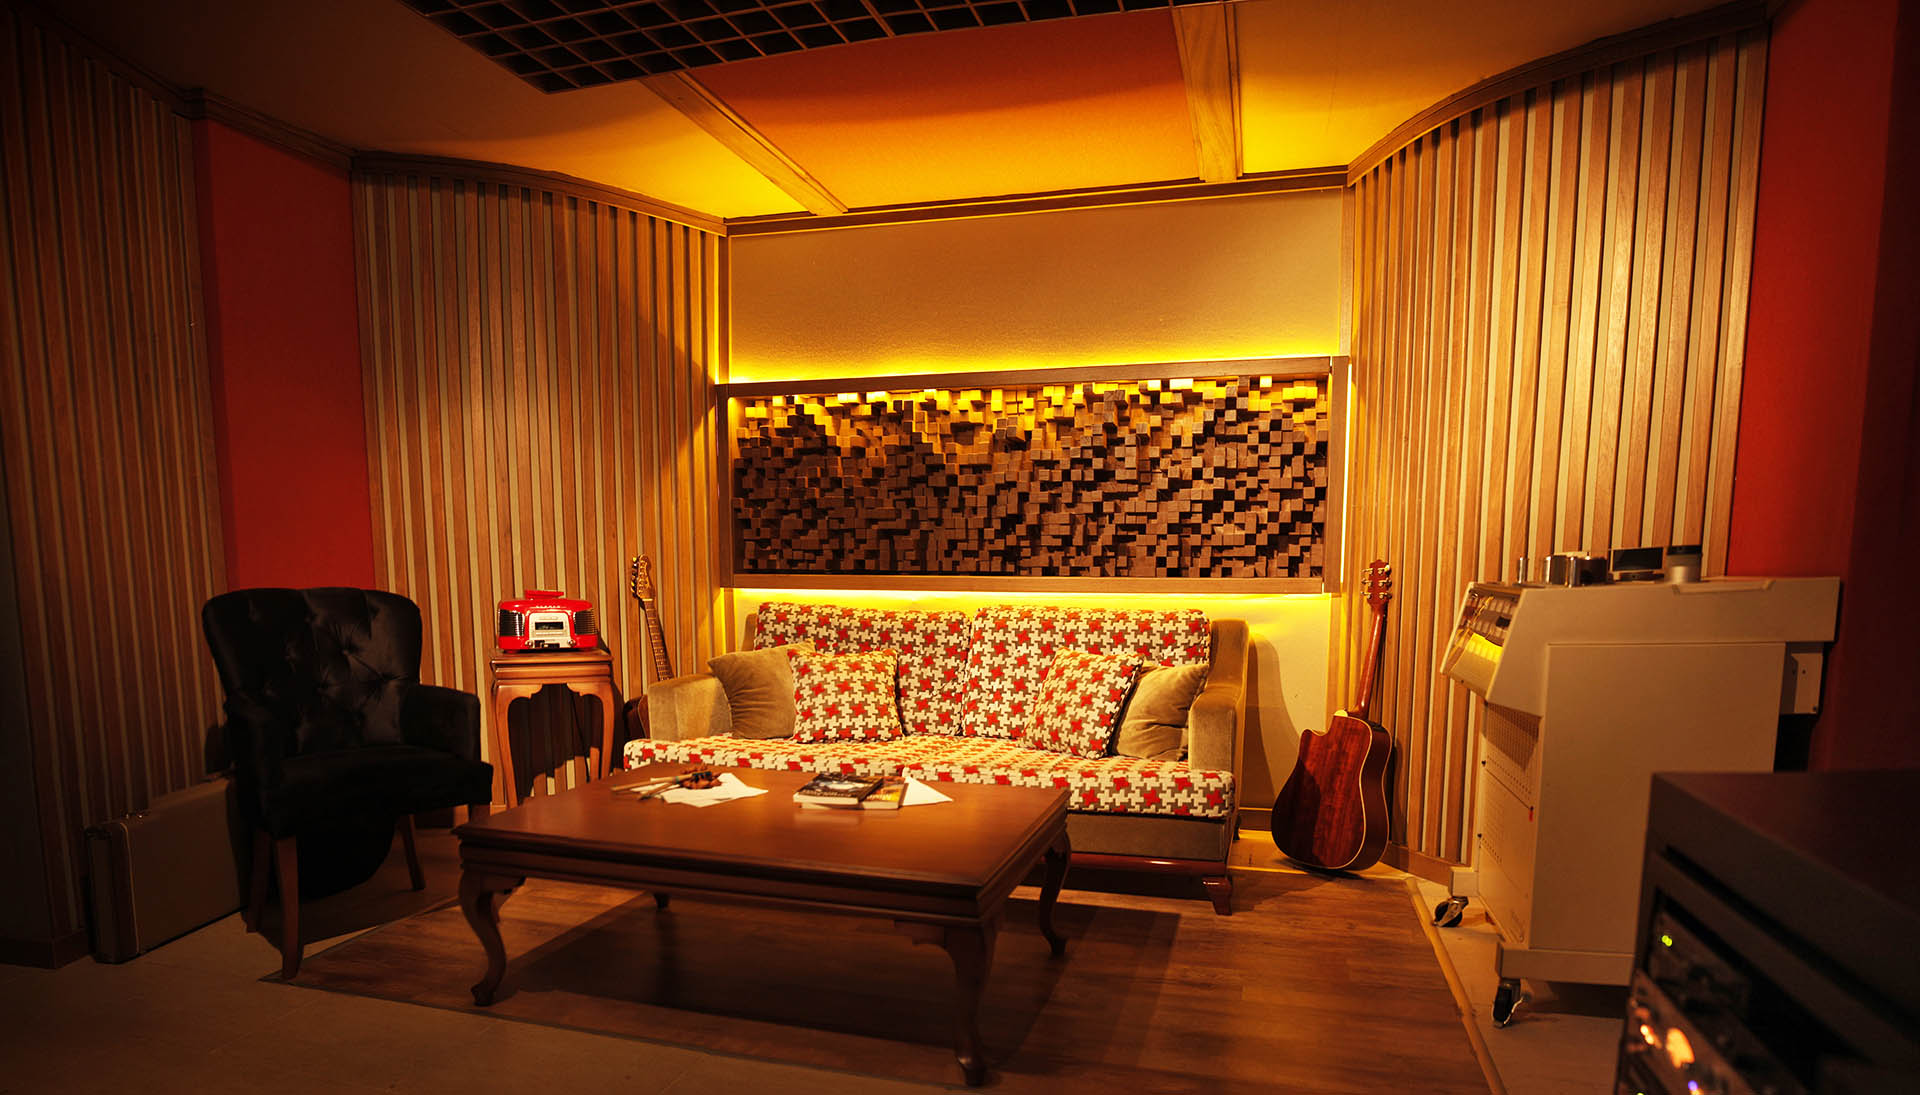
The acoustics of your living room can greatly impact the quality of your vocal recordings. If your living room has hard, reflective surfaces such as hardwood floors and bare walls, you may experience unwanted echoes and reverberations in your recordings. To improve the room acoustics, you can add soft furnishings such as rugs, curtains, and upholstered furniture. These materials can help to absorb sound waves and reduce reflections, resulting in a more controlled and professional-sounding recording.


Room Acoustics


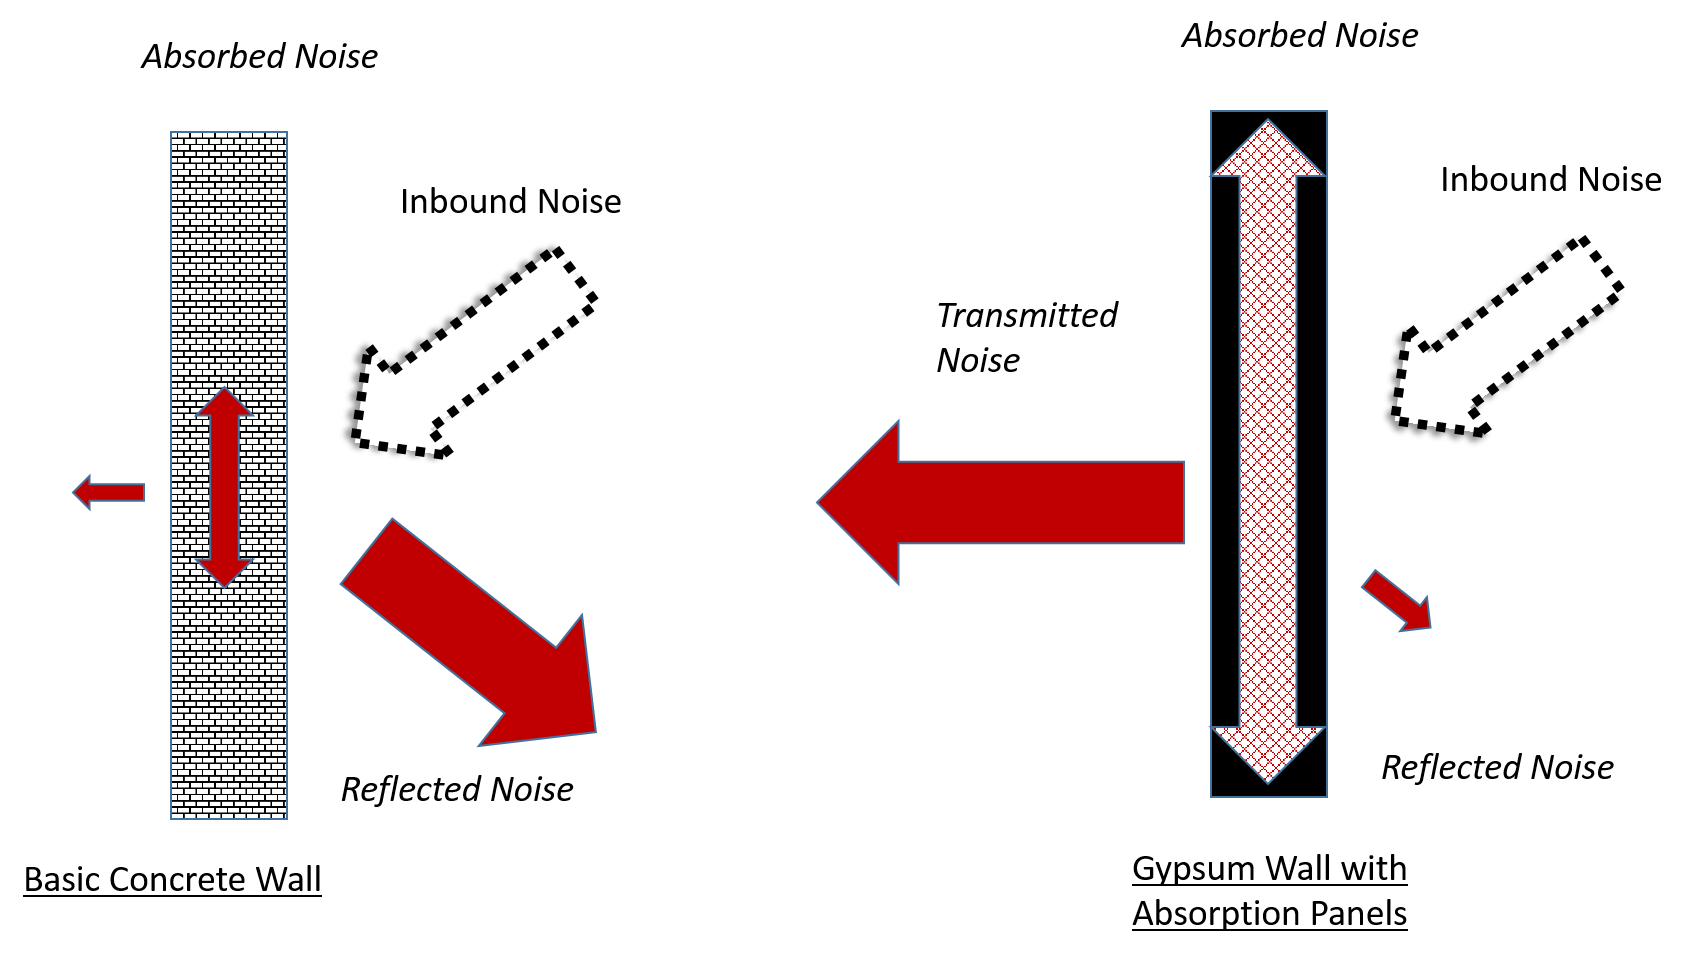
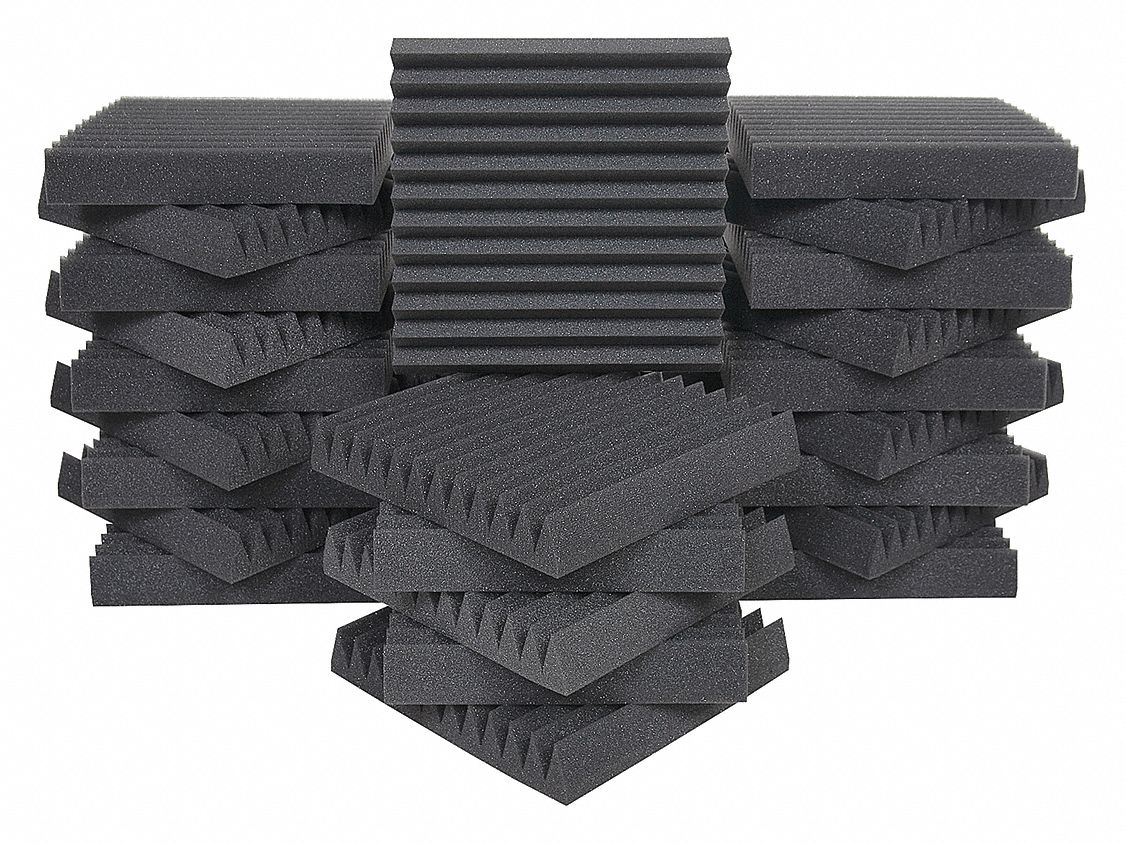
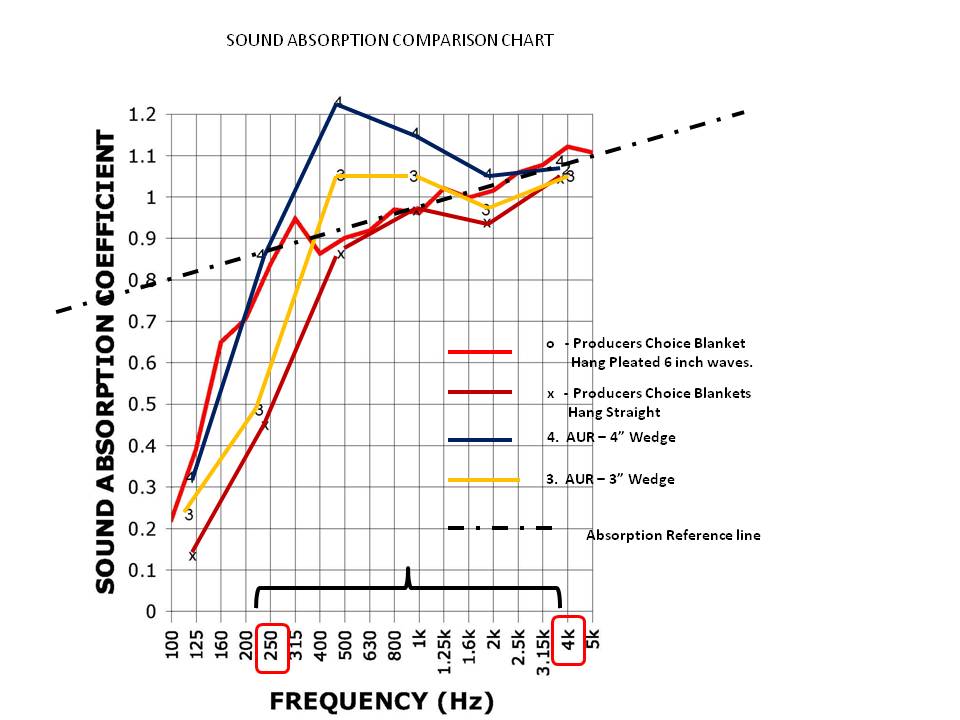
Sound Absorption
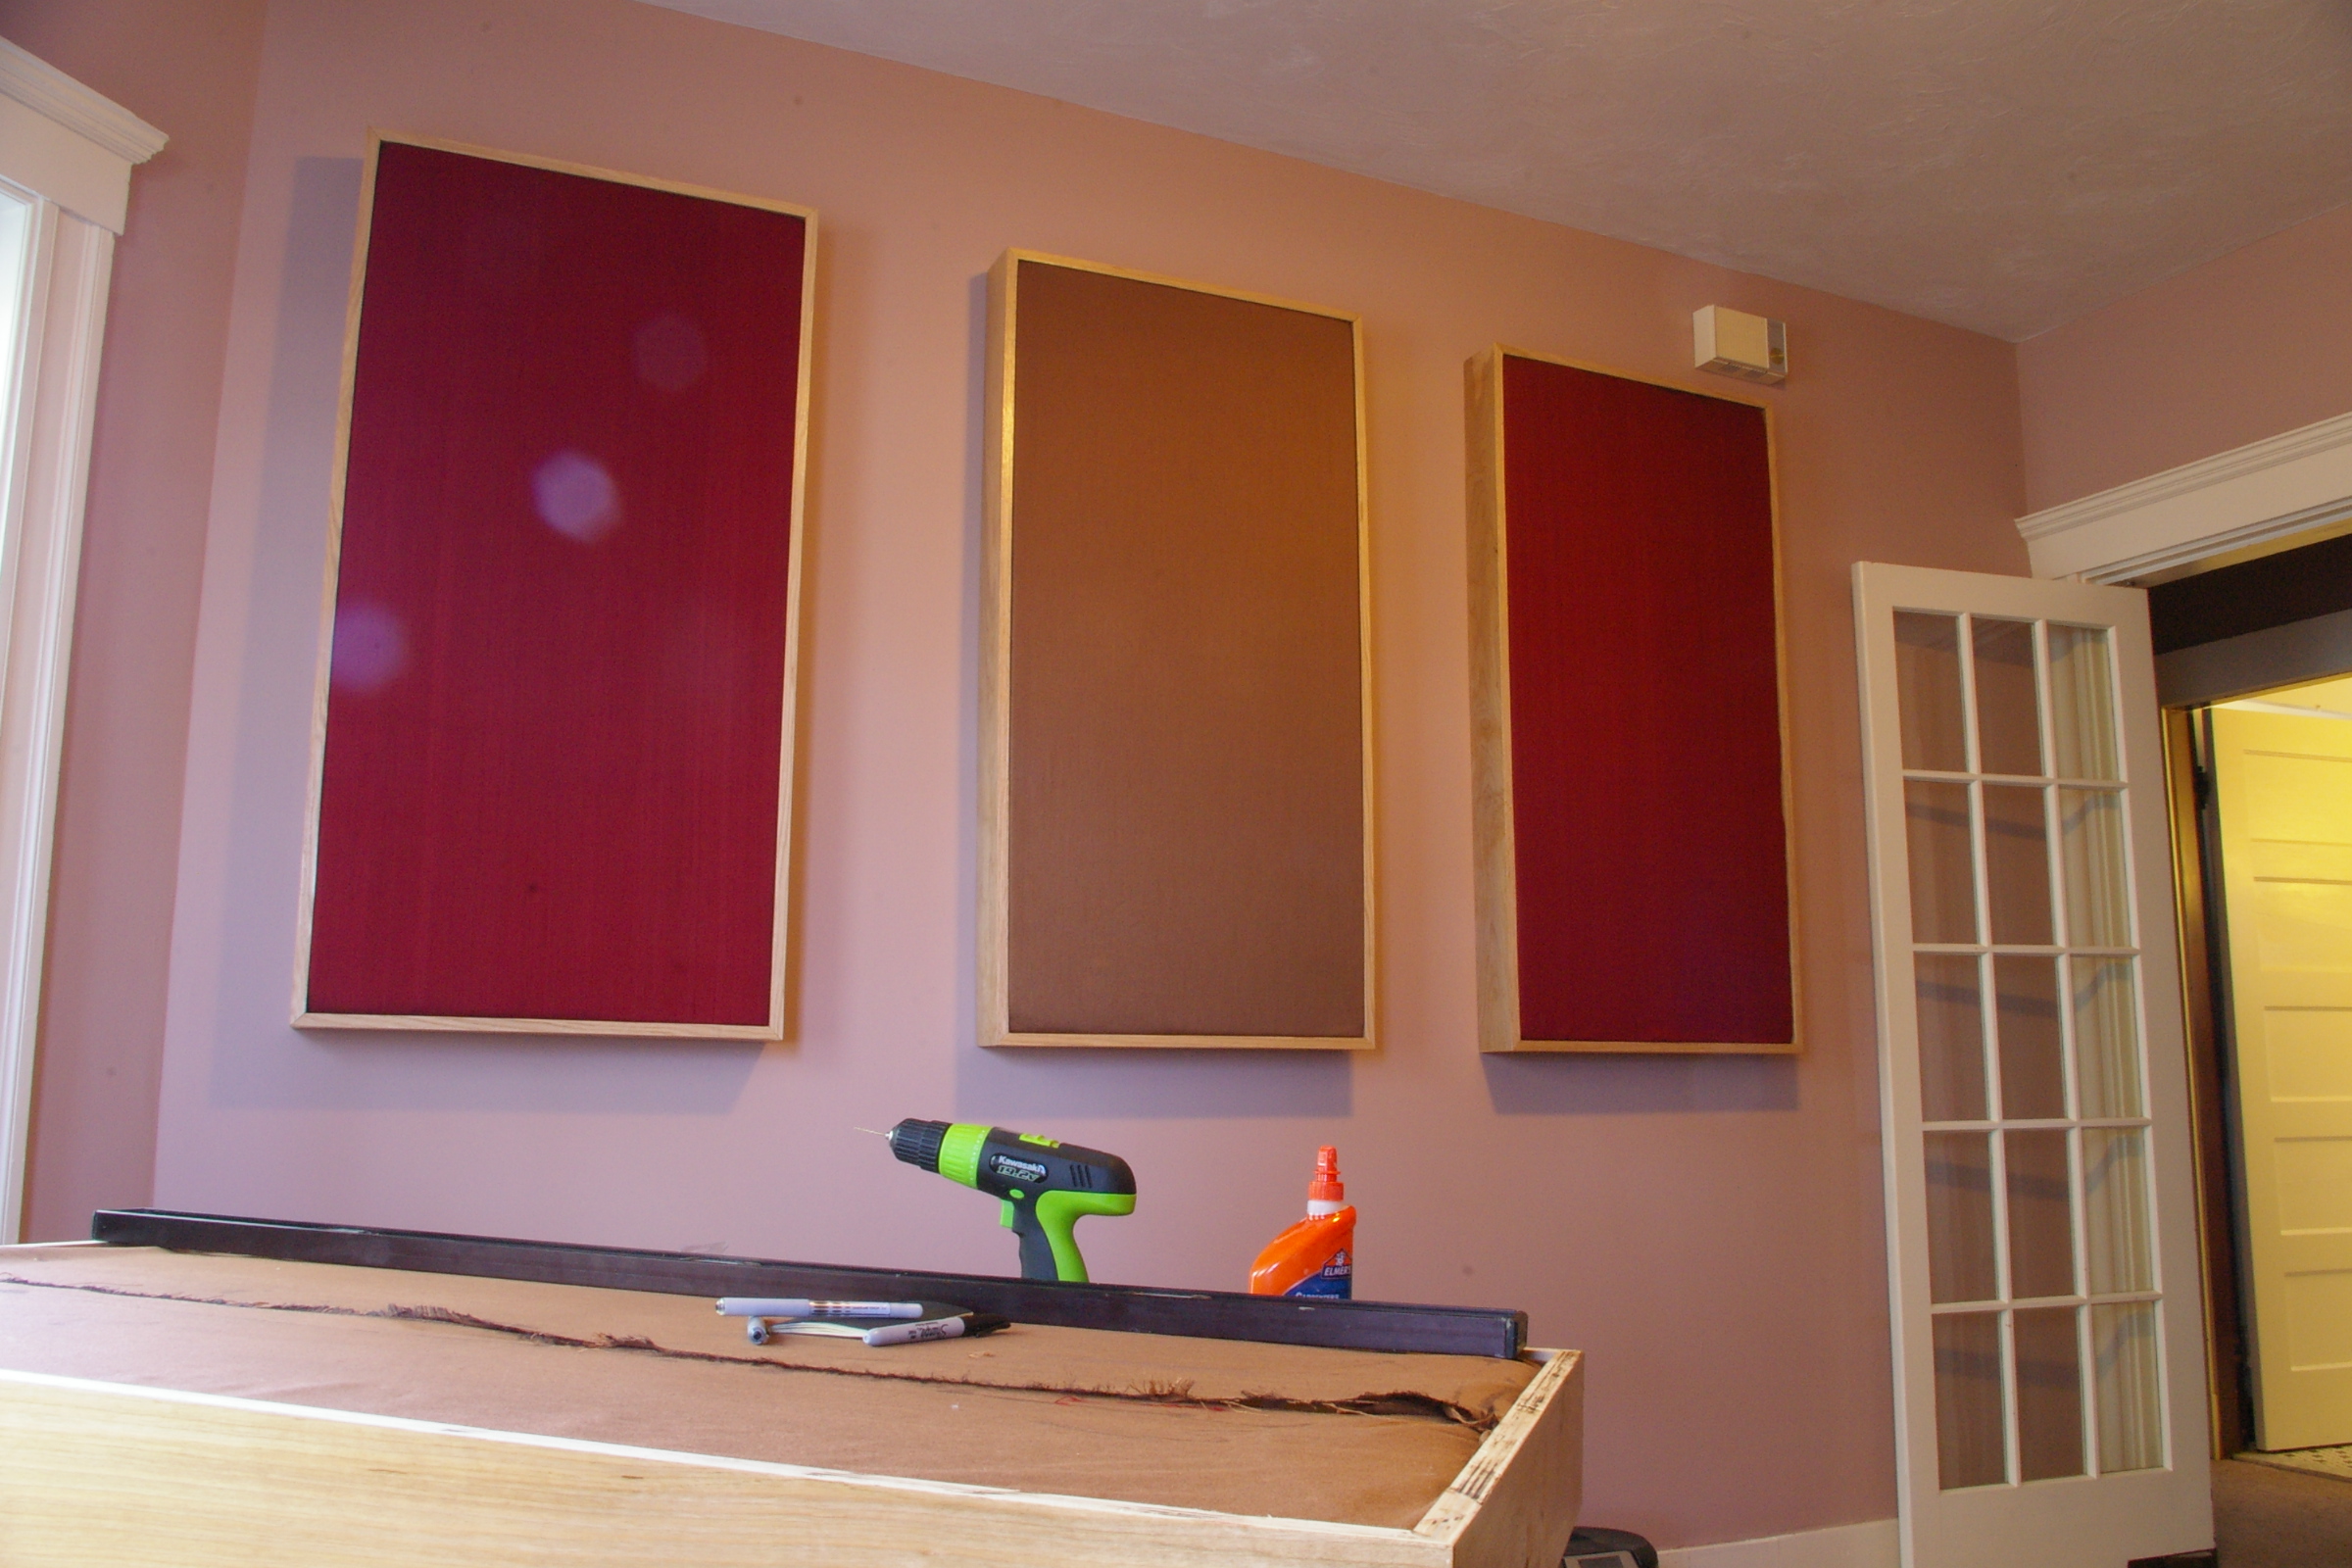
Sound absorption is a crucial element in recording vocals in a living room. As mentioned earlier, materials such as acoustic panels, blankets, and carpets can help to absorb sound waves and reduce reflections. However, if you don't have access to these materials, you can also use everyday items such as pillows and blankets to absorb sound. Place these items strategically around the room to reduce the amount of unwanted sound bouncing around and affecting your recordings.


Sound Absorption


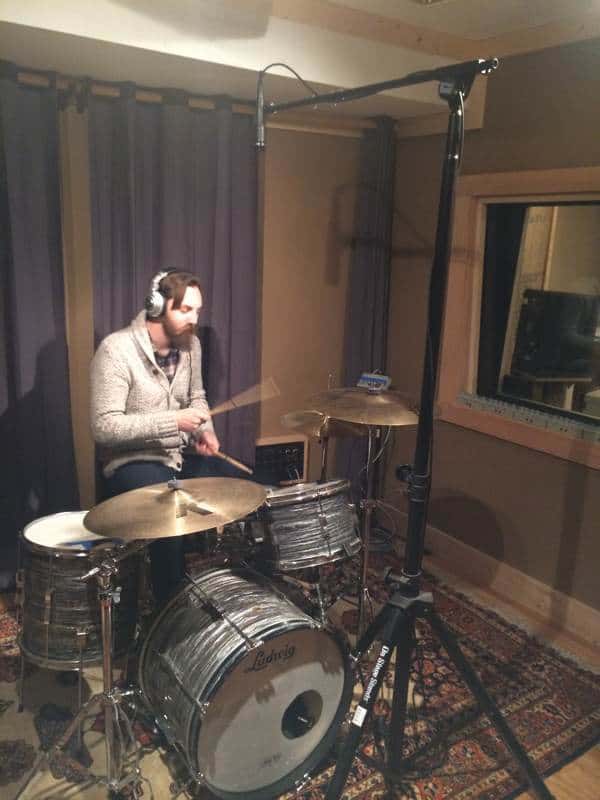
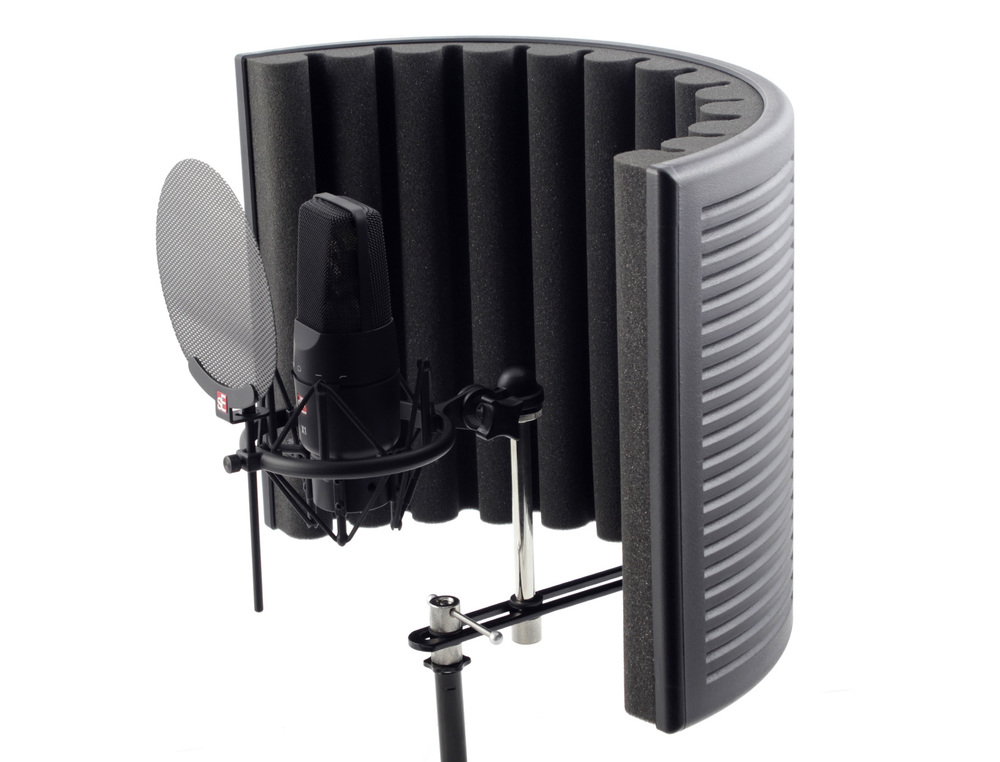
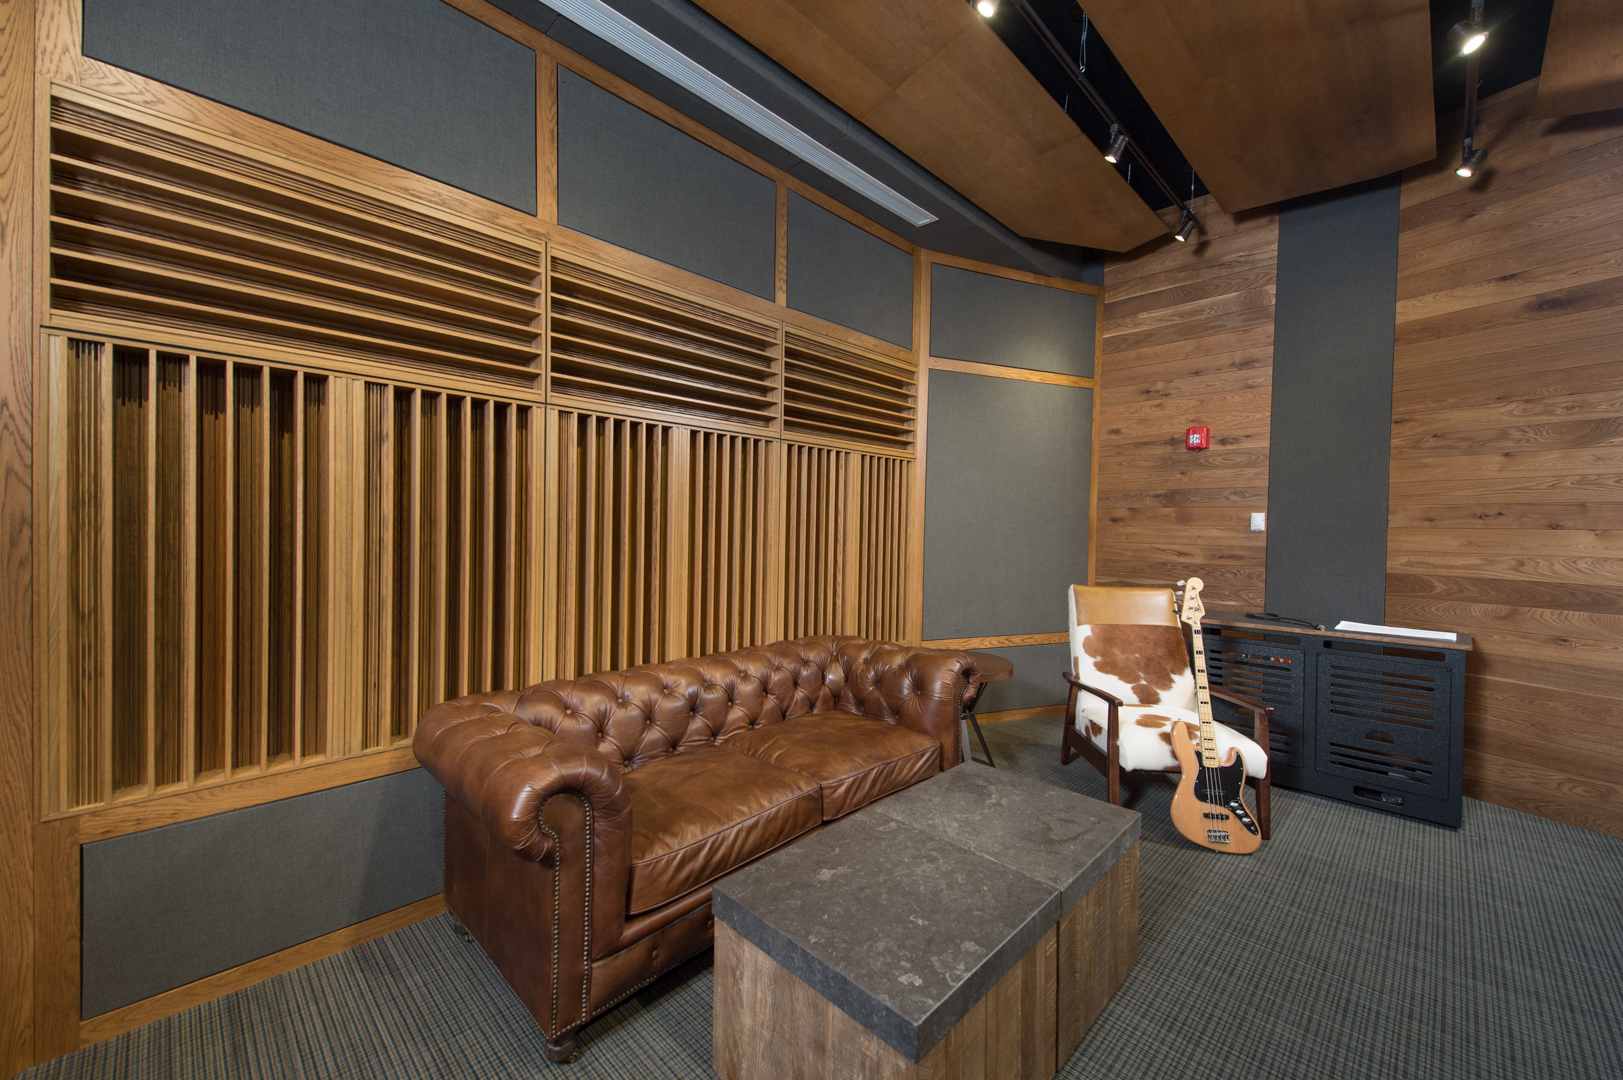
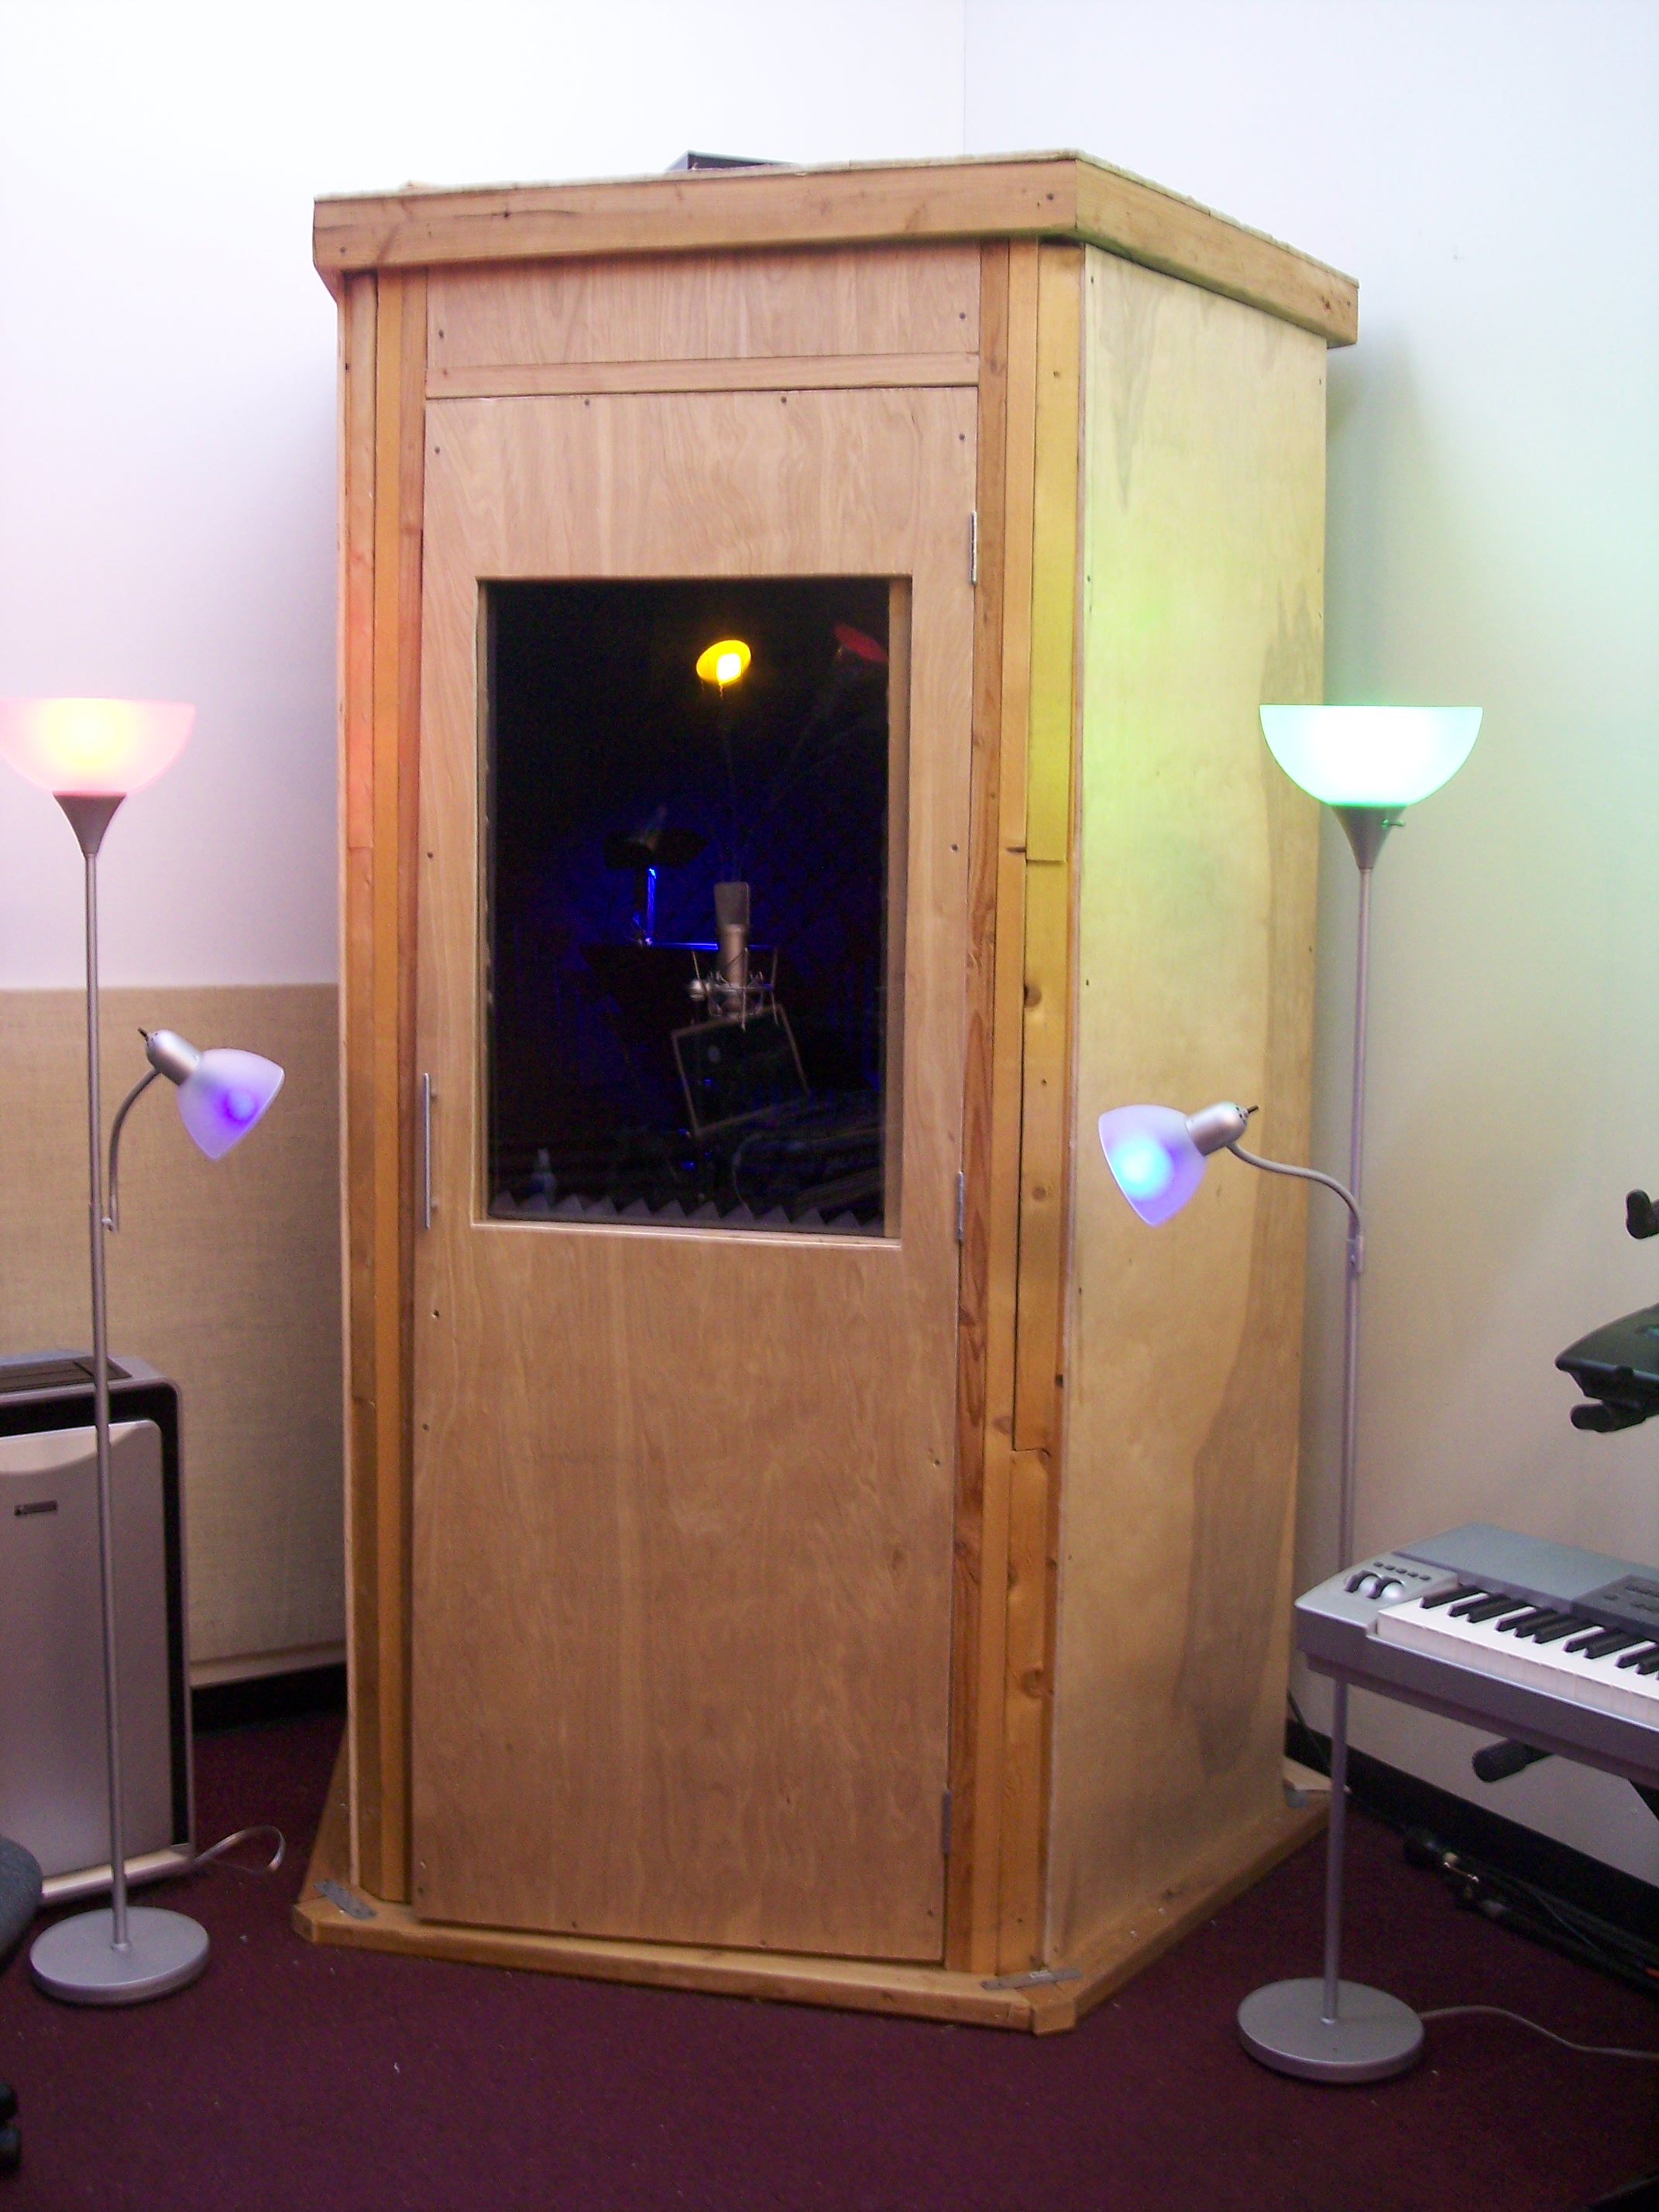
Vocal Booth
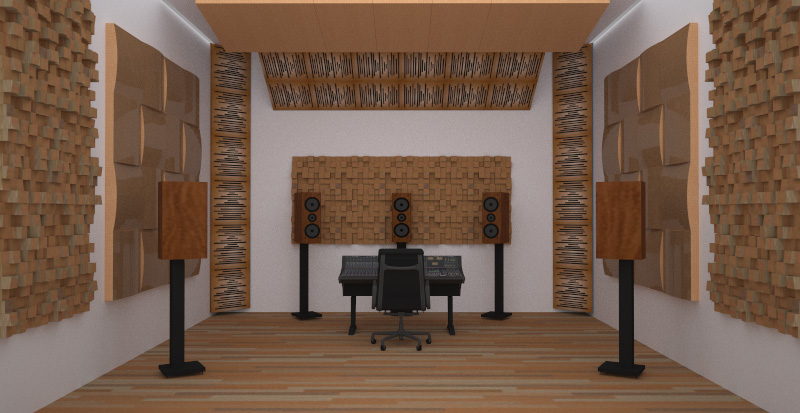
Creating a vocal booth in your living room is another great way to improve the quality of your vocal recordings. A vocal booth is a small, soundproofed space where the vocalist can stand and record without any outside noise or interference. While it may not be possible to build a permanent vocal booth in your living room, there are portable options available. You can purchase a vocal booth shield or portable vocal booth to create a controlled recording environment within your living room.


Vocal Booth
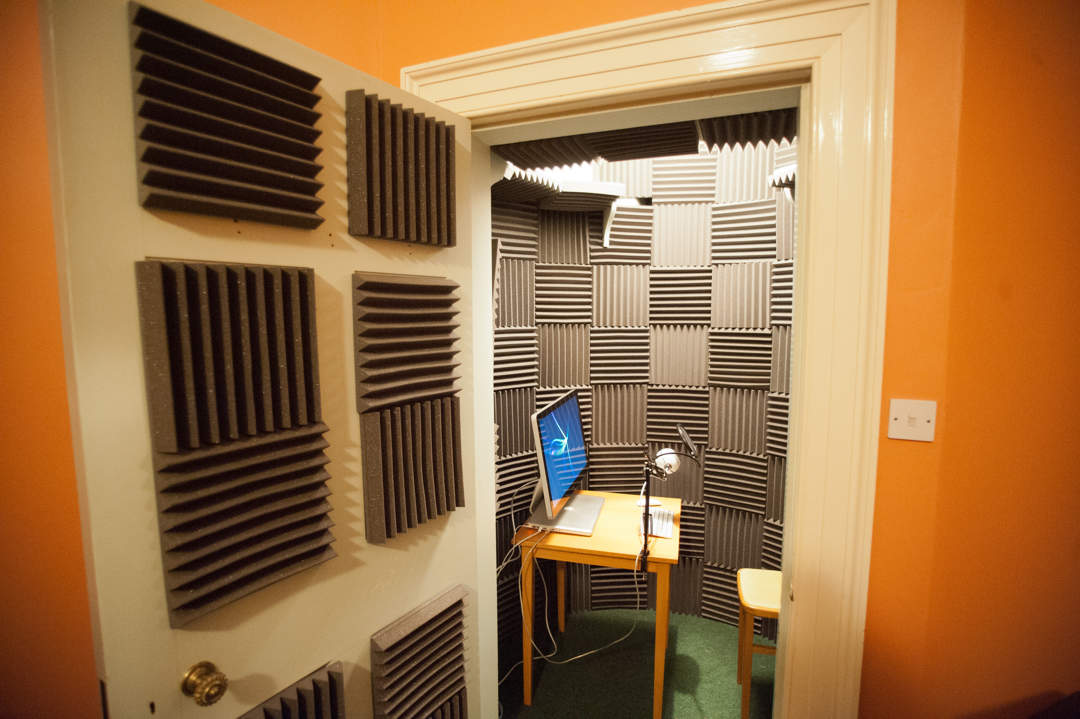

DIY Recording
Recording vocals in a living room on a budget? Don't worry, you can still achieve professional-sounding recordings with some DIY techniques. If you don't have access to professional equipment, you can use household items to improve the acoustics of your living room. For example, you can create your own microphone isolation box using a large cardboard box and some acoustic foam. You can also use thick blankets or comforters to create a makeshift vocal booth.


DIY Recording


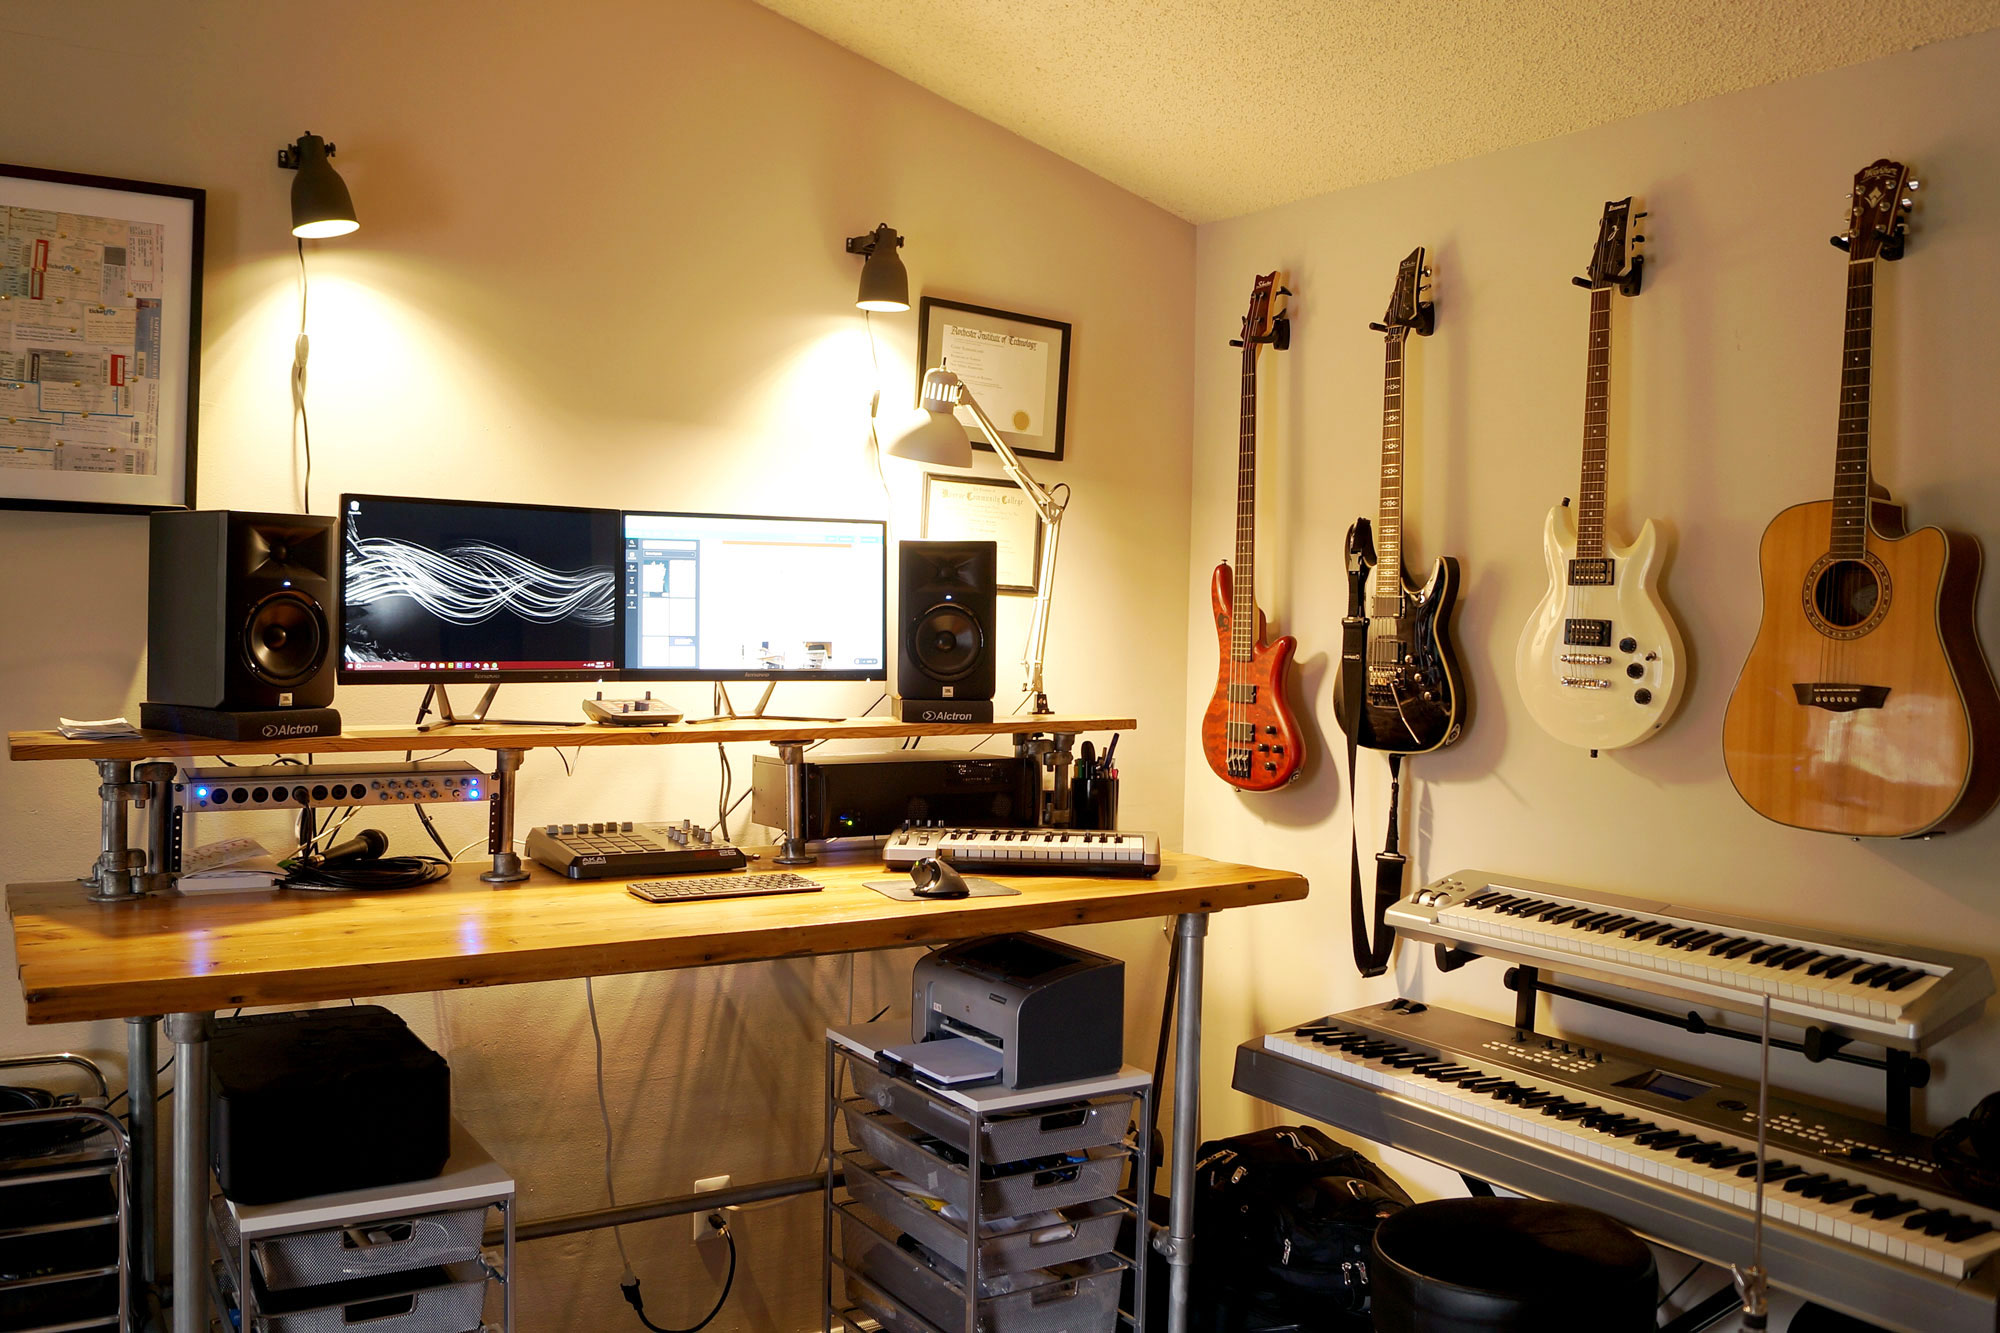
Home Studio
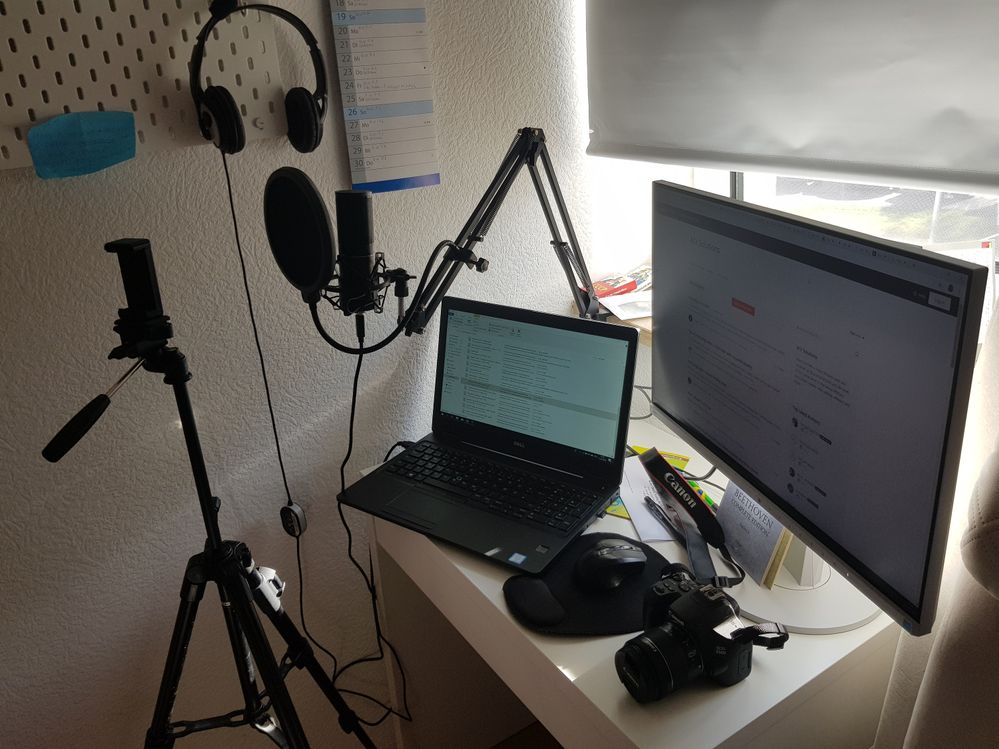
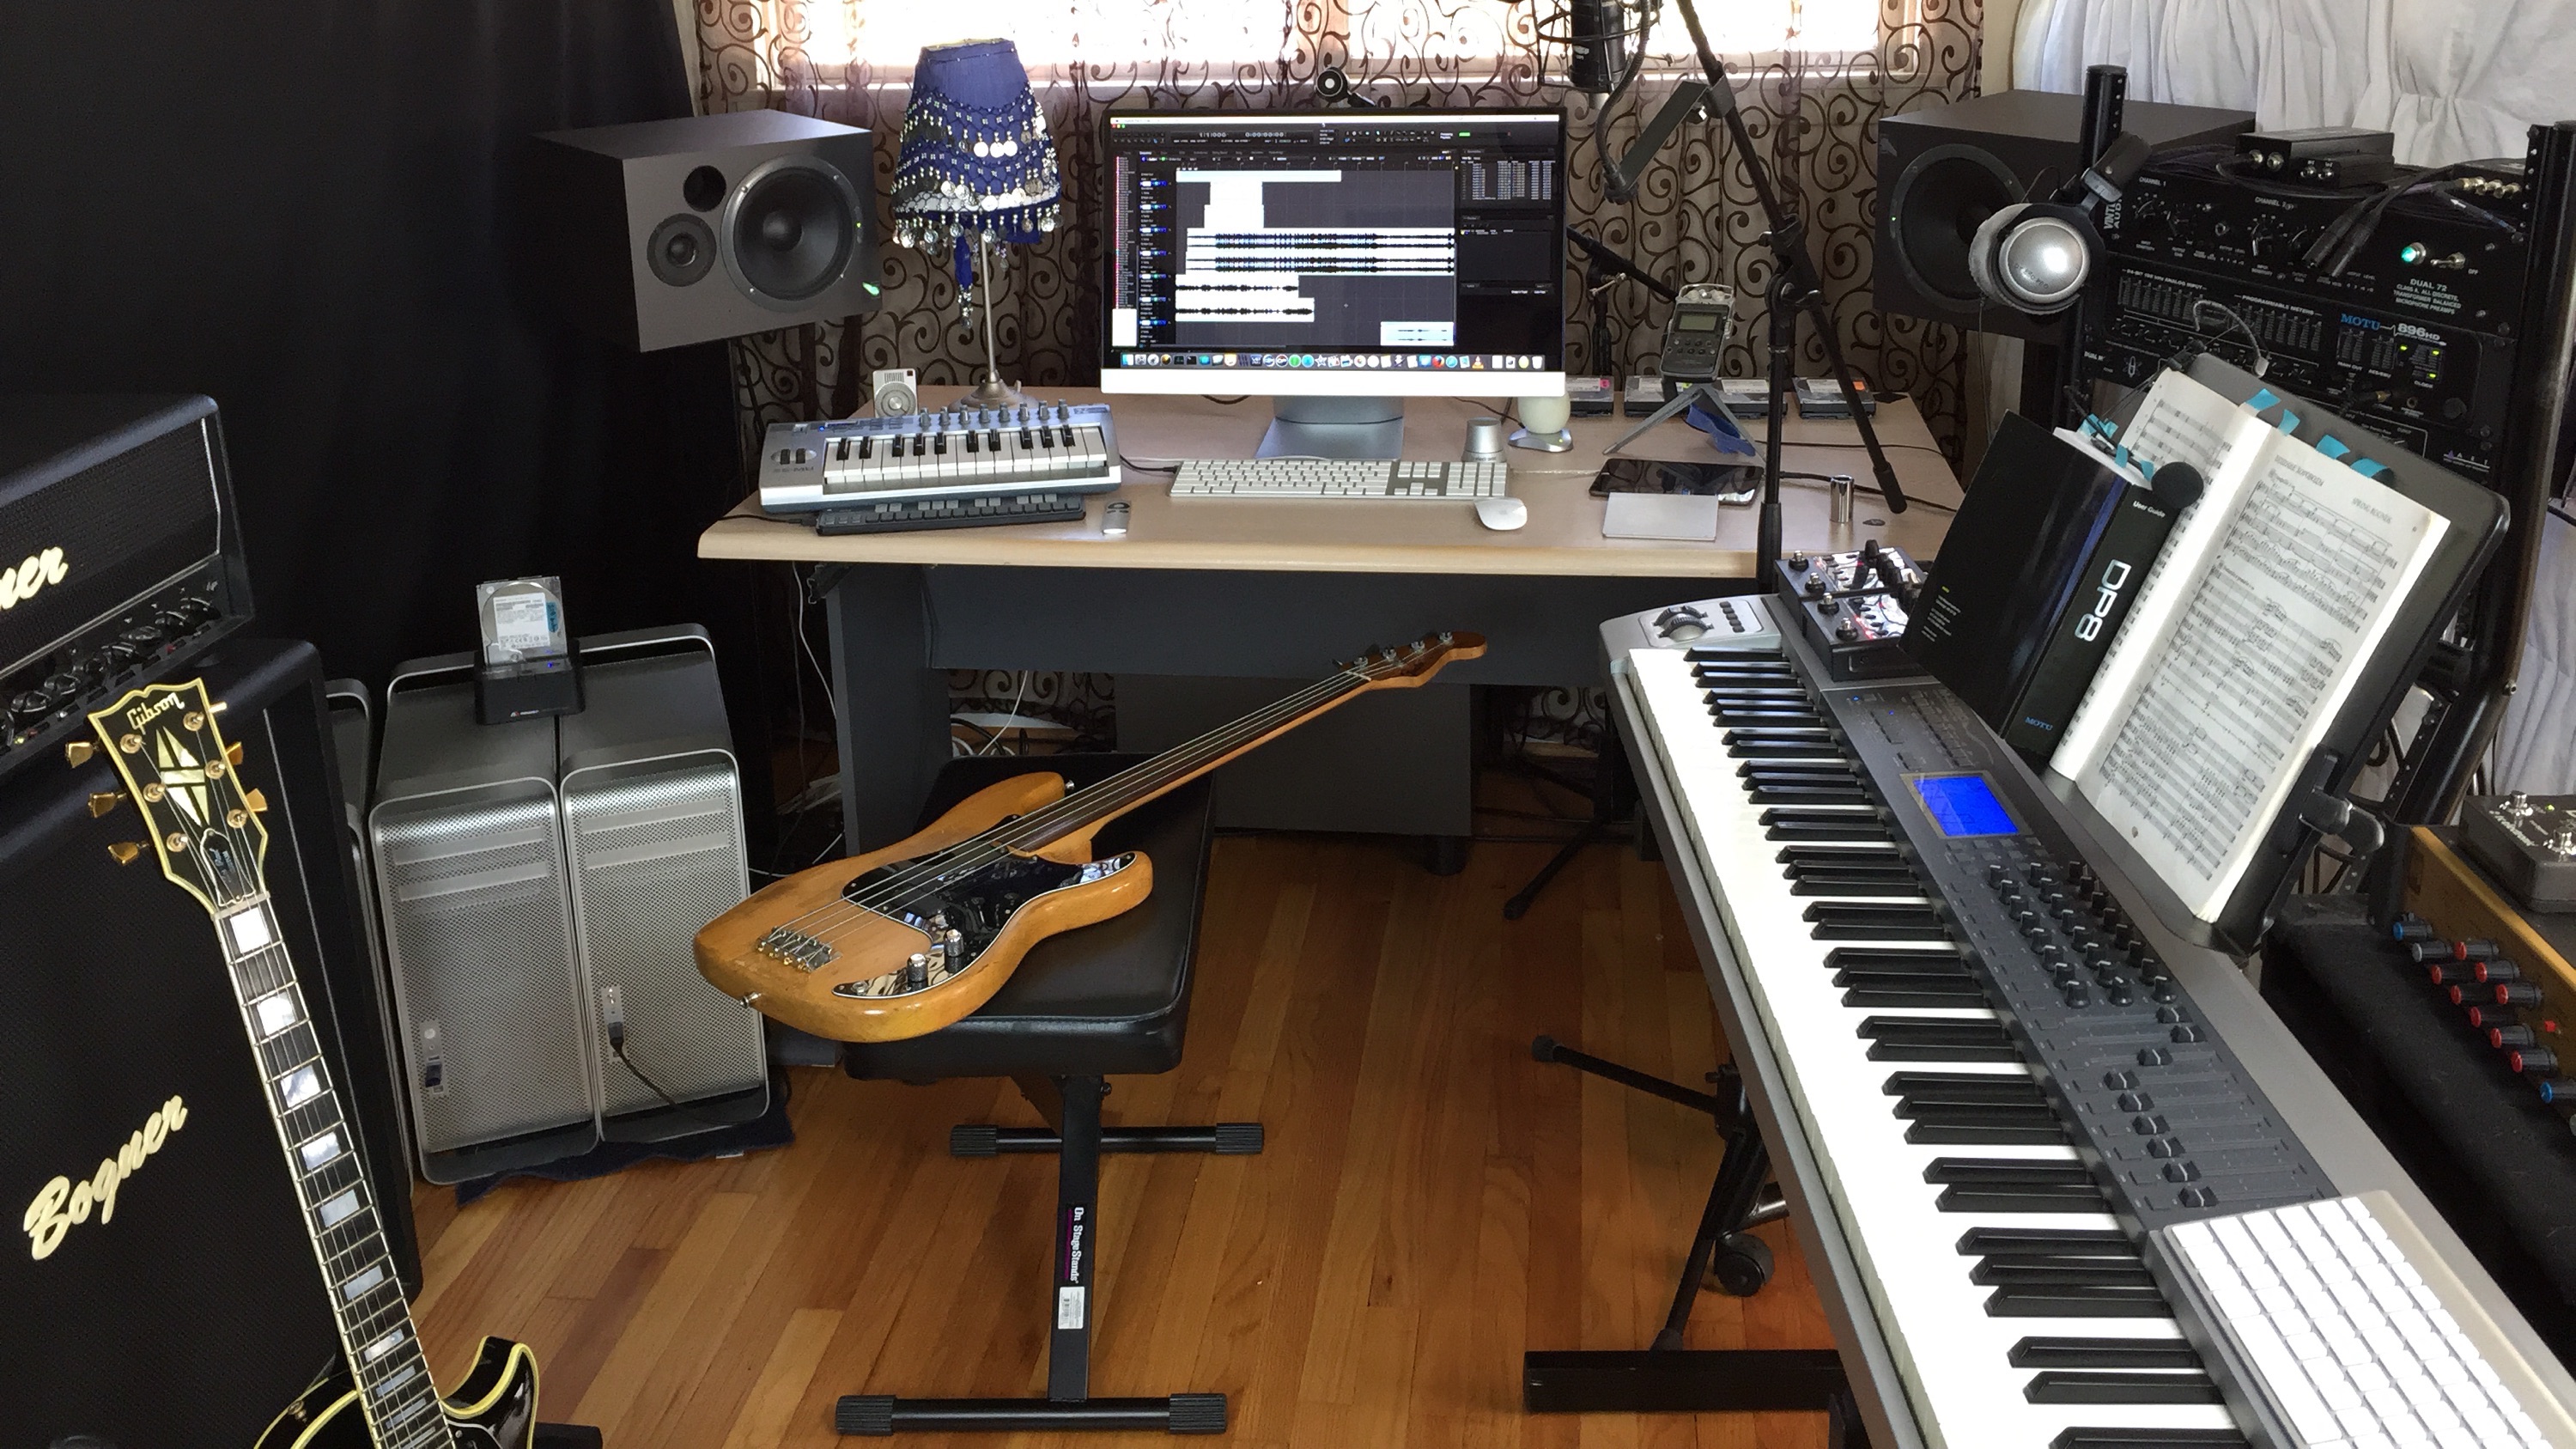
Having a dedicated home studio is every musician's dream, but it may not be feasible for everyone. However, with the rise of digital recording technology, it is now possible to create a professional recording studio in your living room. All you need is a good audio interface, a DAW (digital audio workstation), and some quality microphones. With these tools, you can record and produce high-quality vocal tracks in the comfort of your own living room.


Home Studio


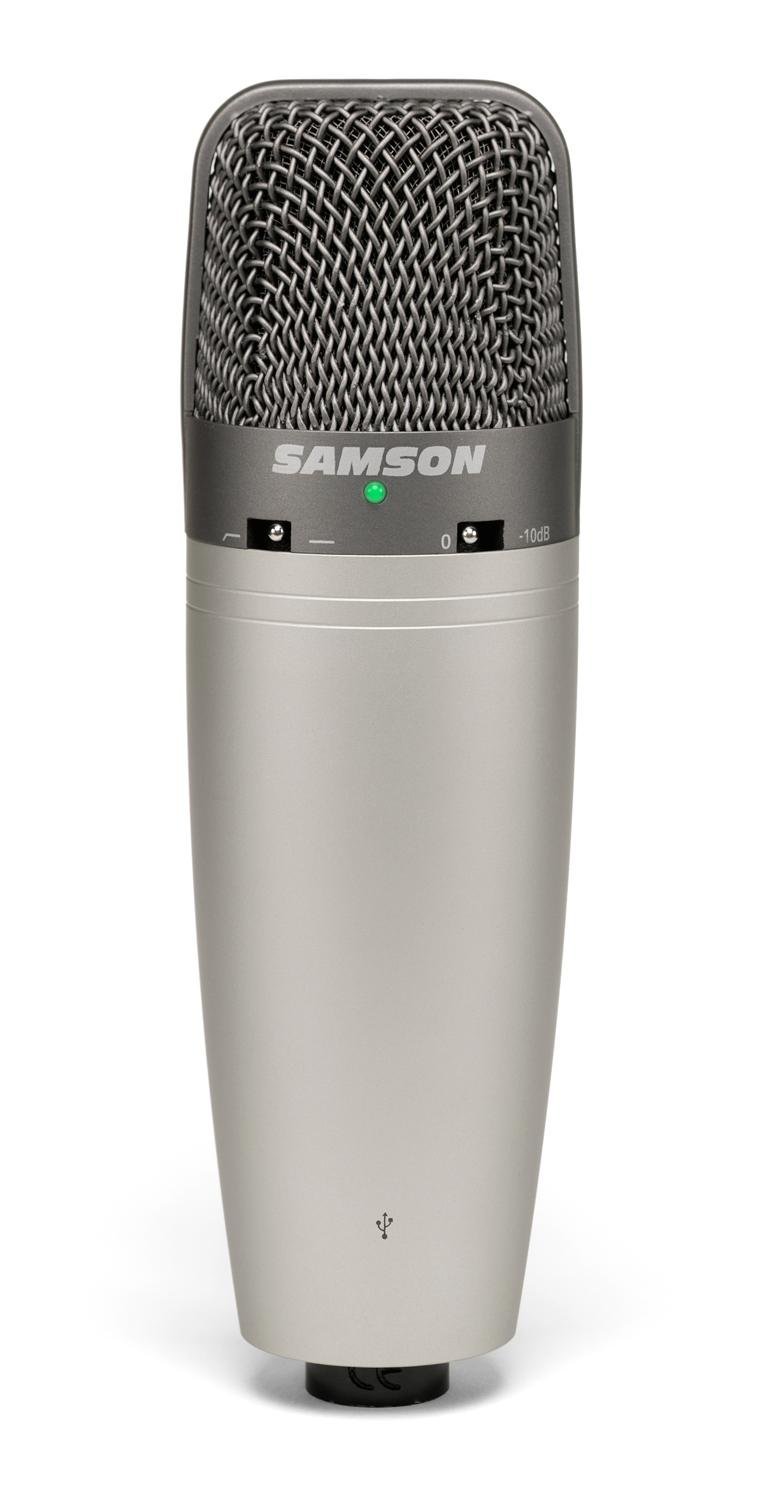
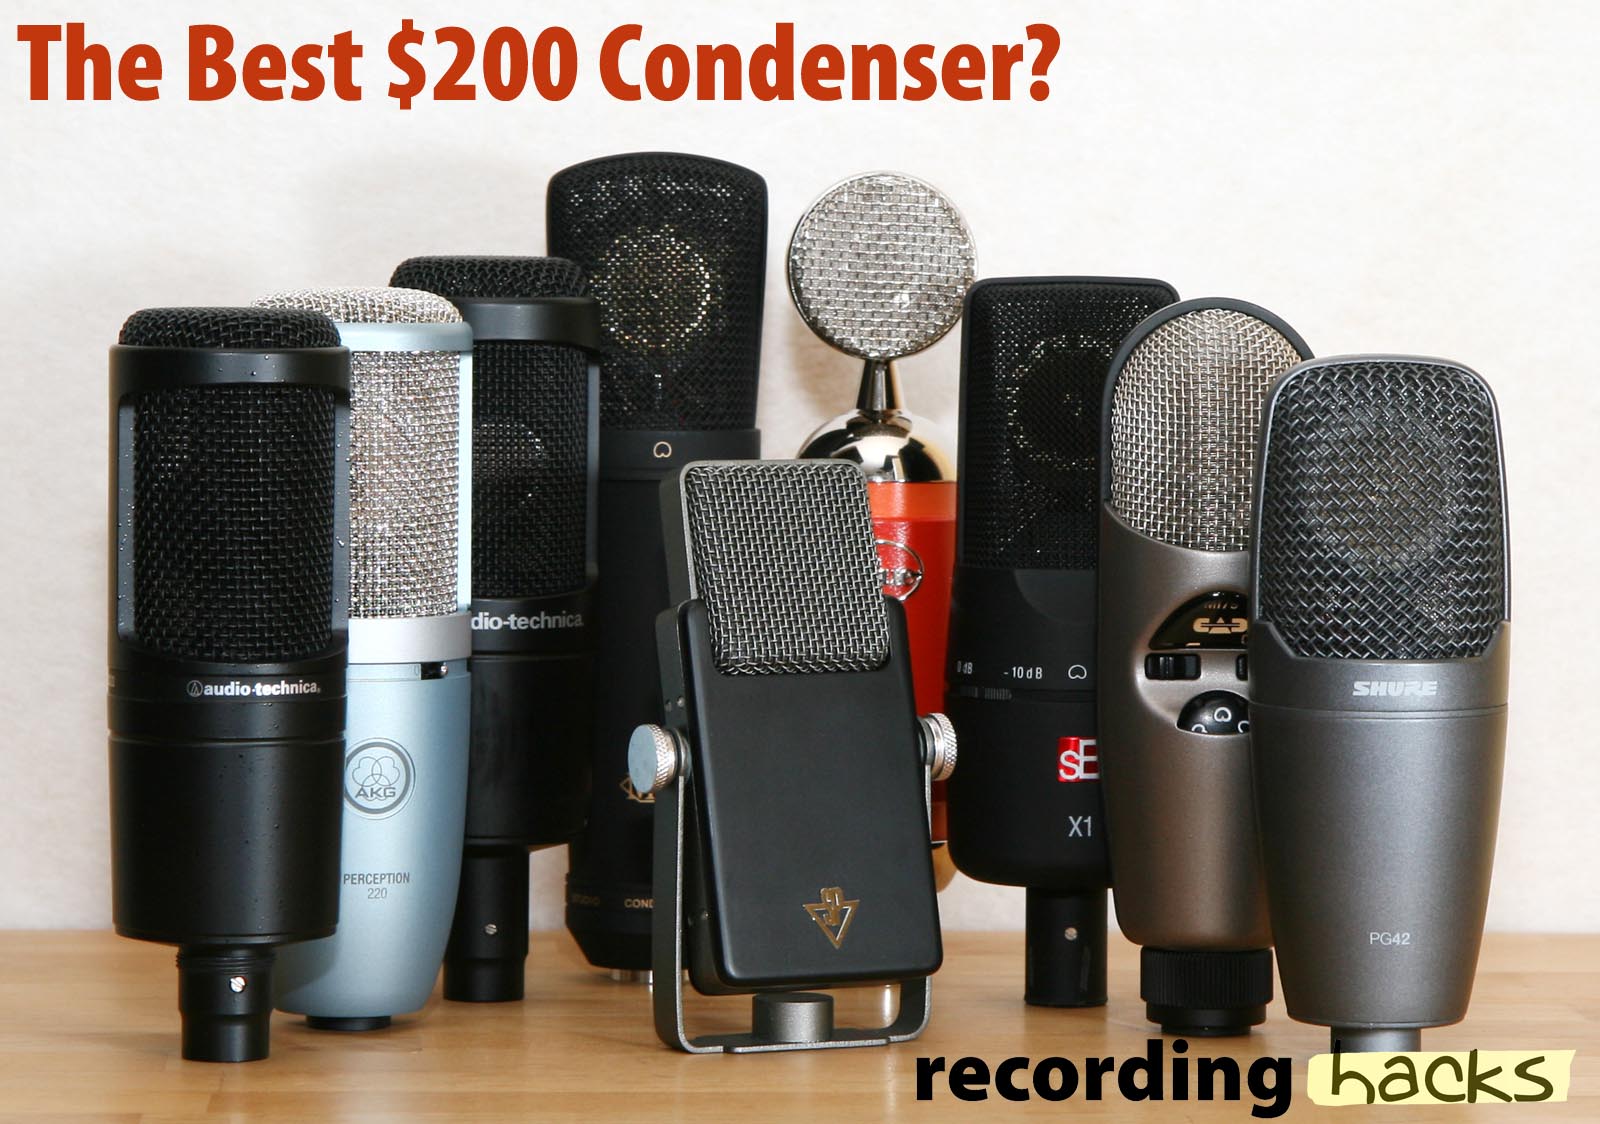
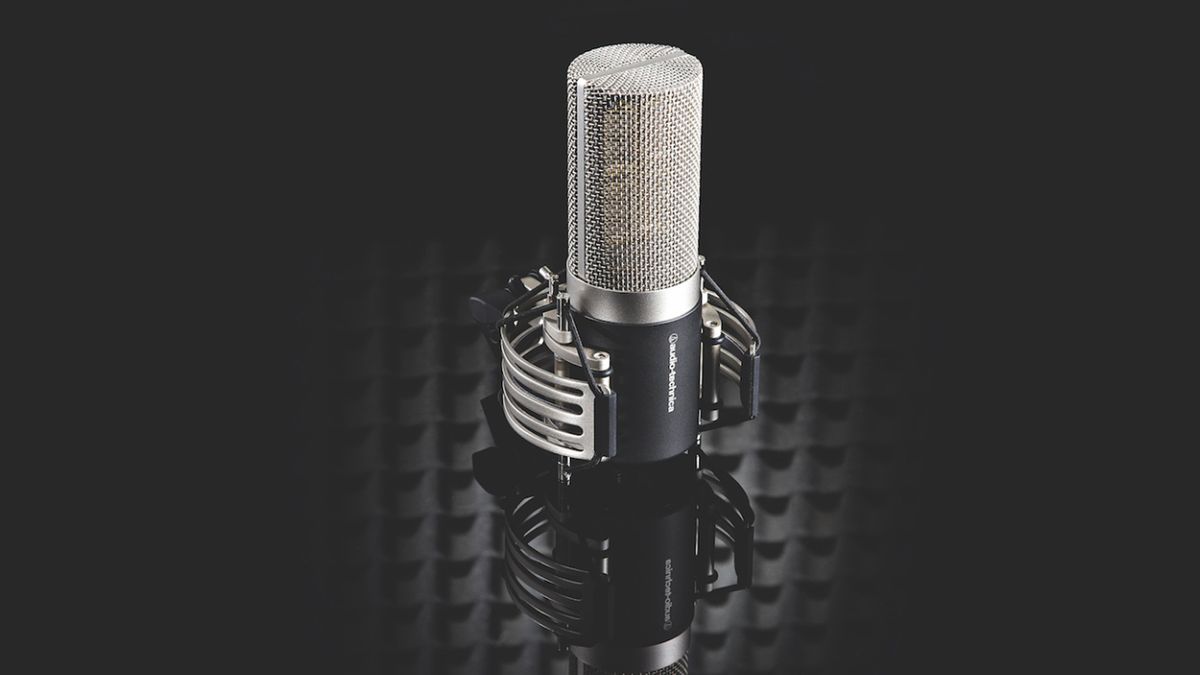
Condenser Microphone
When it comes to recording vocals in a living room, a condenser microphone is often the preferred choice. These microphones are designed to capture a wide frequency range and are great for capturing detail and nuance in vocal performances. However, they can also be more sensitive to background noise, so it's essential to choose the right condenser microphone and use proper microphone placement techniques. Popular options for recording vocals in a living room include the Rode NT1-A, AKG C214, and Audio-Technica AT2035.

Condenser Microphone


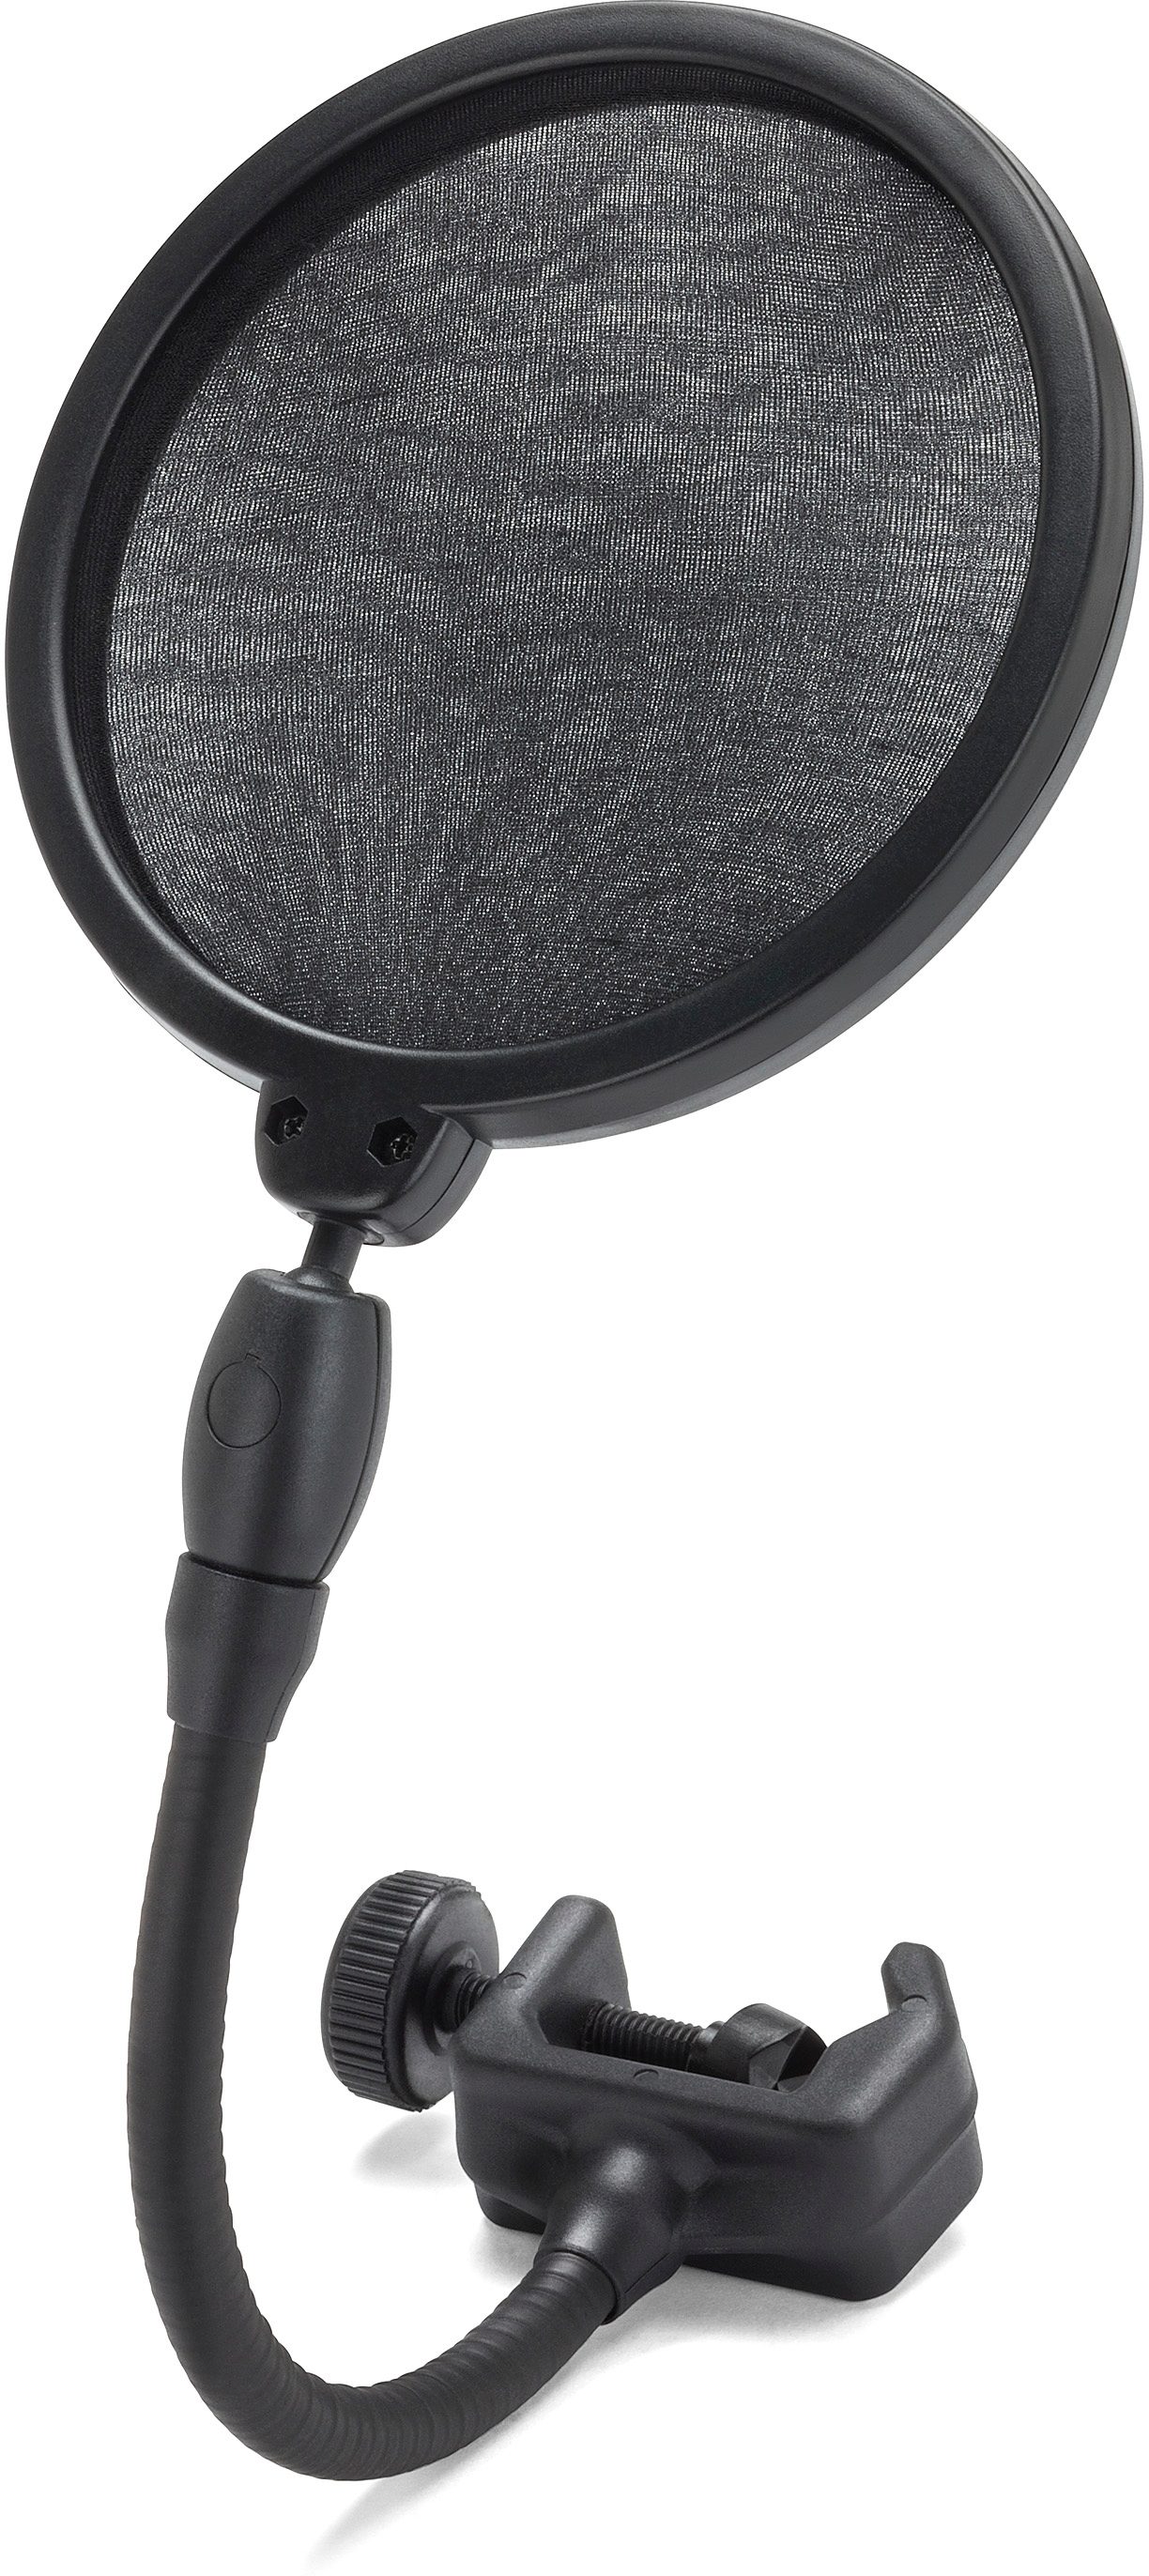
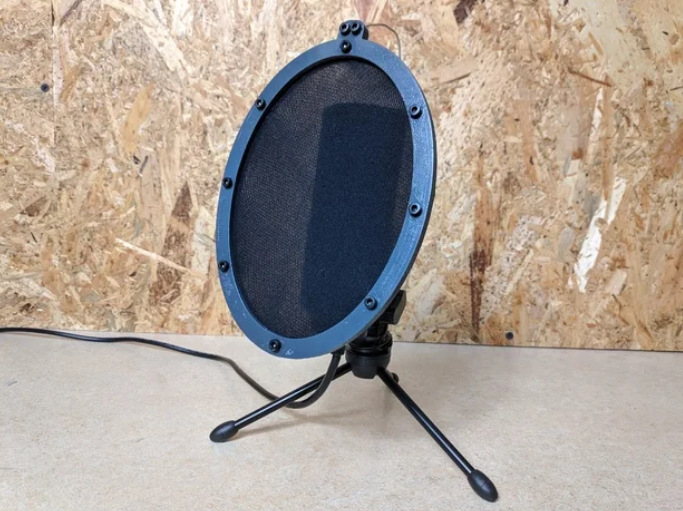
Pop Filter
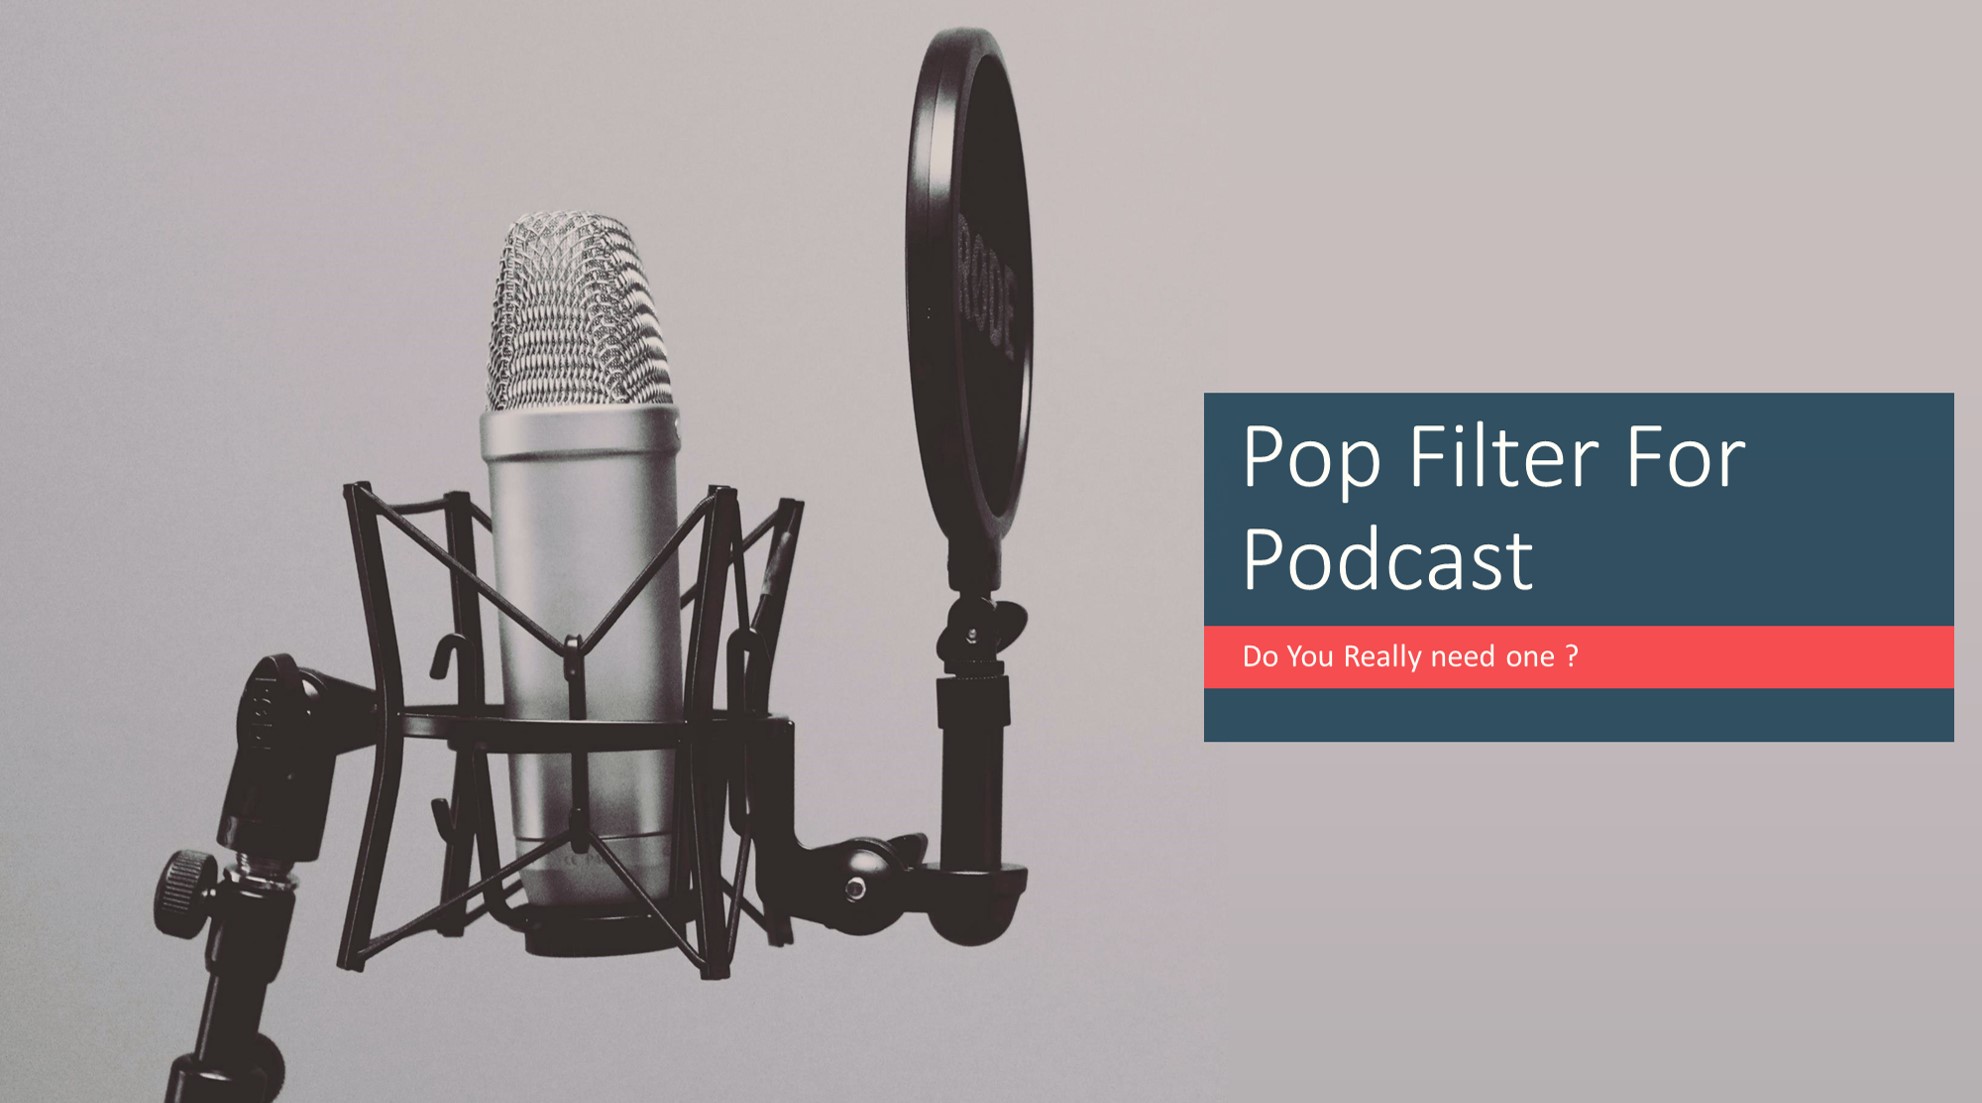
A pop filter is a small, but essential, tool for recording vocals in a living room. It is a circular mesh screen that is placed in front of the microphone to prevent plosives (popping sounds) from being picked up in the recording. Plosives are caused by bursts of air from the vocalist's mouth when pronouncing certain syllables, and they can be very distracting in a vocal recording. A pop filter helps to diffuse these bursts of air and produce a cleaner, more polished vocal recording.
Pop Filter


Creating an Ideal Recording Space in Your Living Room

Soundproofing is Key
 When it comes to recording vocals in a living room, achieving a high-quality sound can be challenging due to external noises such as traffic, neighbors, and household activities. To combat this, it is important to invest in soundproofing materials to create an ideal recording space.
Acoustic panels, sound barriers, and thick curtains
can help minimize outside noises and absorb any unwanted echoes or reverberations within the room.
When it comes to recording vocals in a living room, achieving a high-quality sound can be challenging due to external noises such as traffic, neighbors, and household activities. To combat this, it is important to invest in soundproofing materials to create an ideal recording space.
Acoustic panels, sound barriers, and thick curtains
can help minimize outside noises and absorb any unwanted echoes or reverberations within the room.
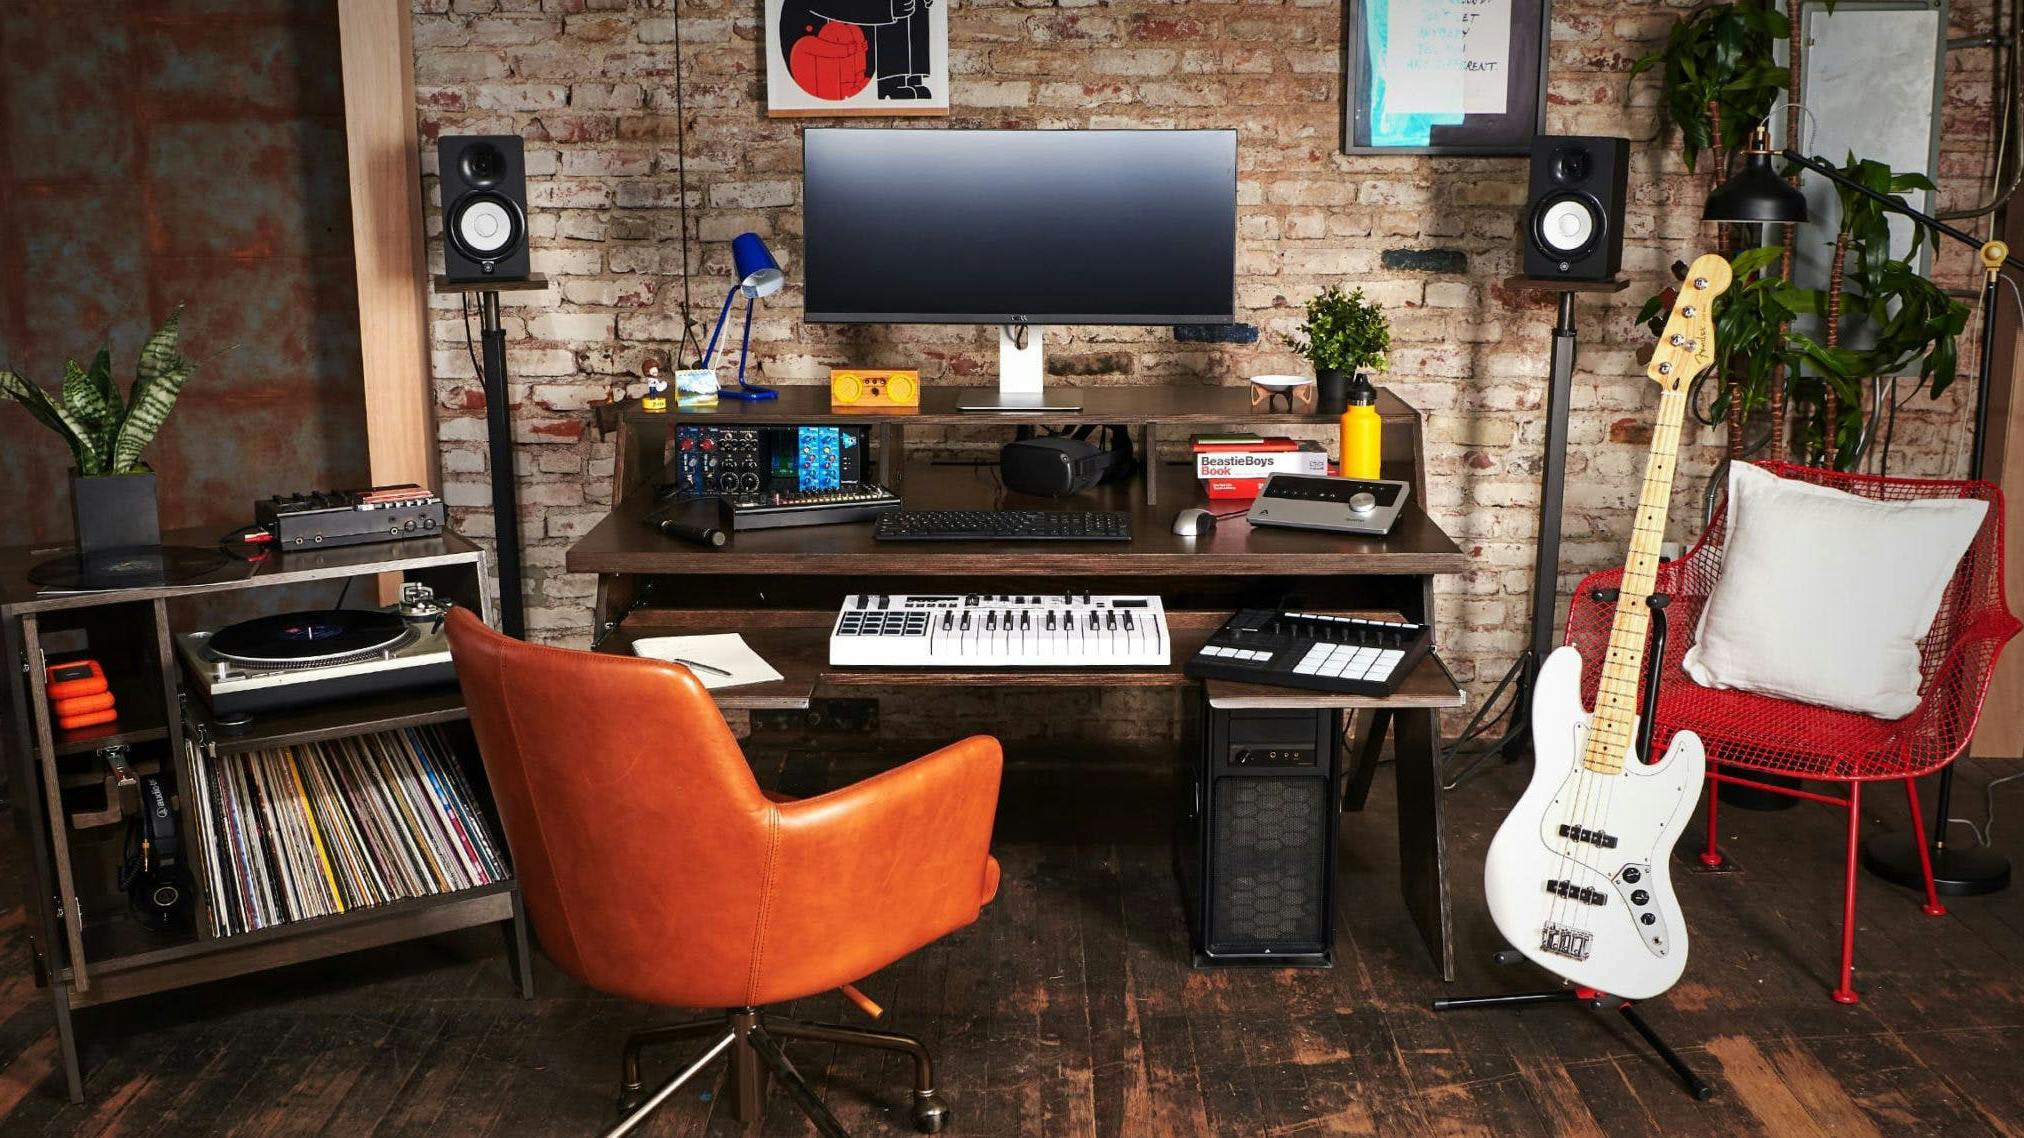
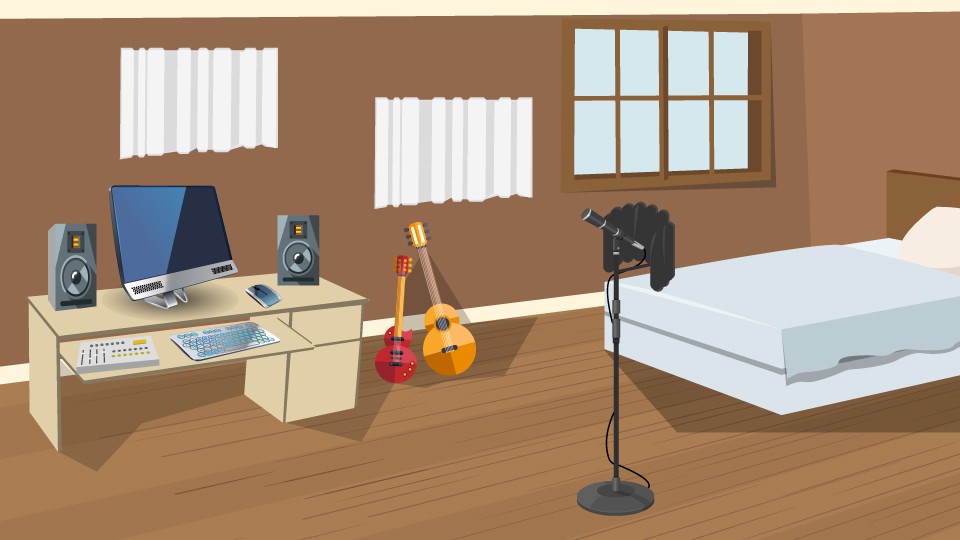
Utilize Natural Acoustics
 One advantage of recording vocals in a living room is the natural acoustics that can be utilized to enhance the sound quality.
Hardwood floors, high ceilings, and large windows
can all contribute to a warm and natural reverb in the recordings. Experiment with different areas of the room to find the best spot for recording, and consider using furniture and rugs to further enhance the acoustics.
One advantage of recording vocals in a living room is the natural acoustics that can be utilized to enhance the sound quality.
Hardwood floors, high ceilings, and large windows
can all contribute to a warm and natural reverb in the recordings. Experiment with different areas of the room to find the best spot for recording, and consider using furniture and rugs to further enhance the acoustics.
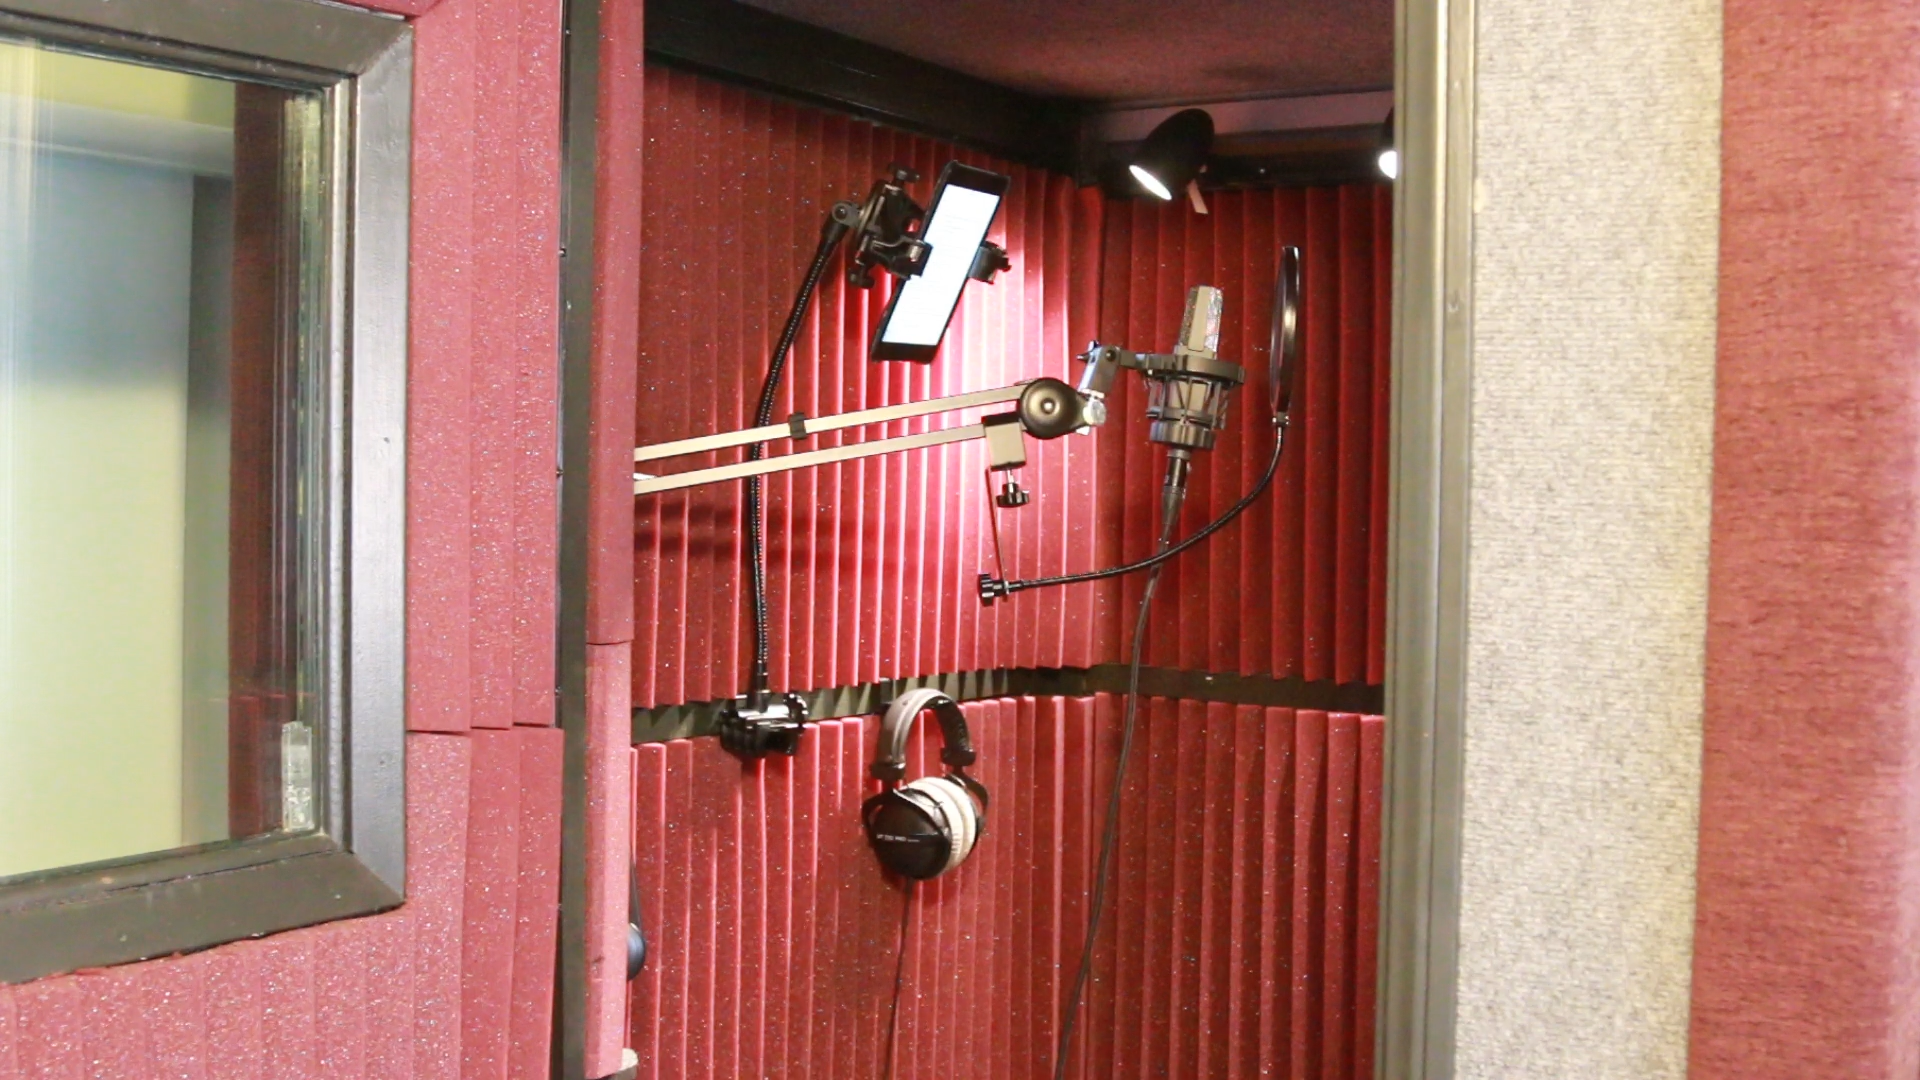
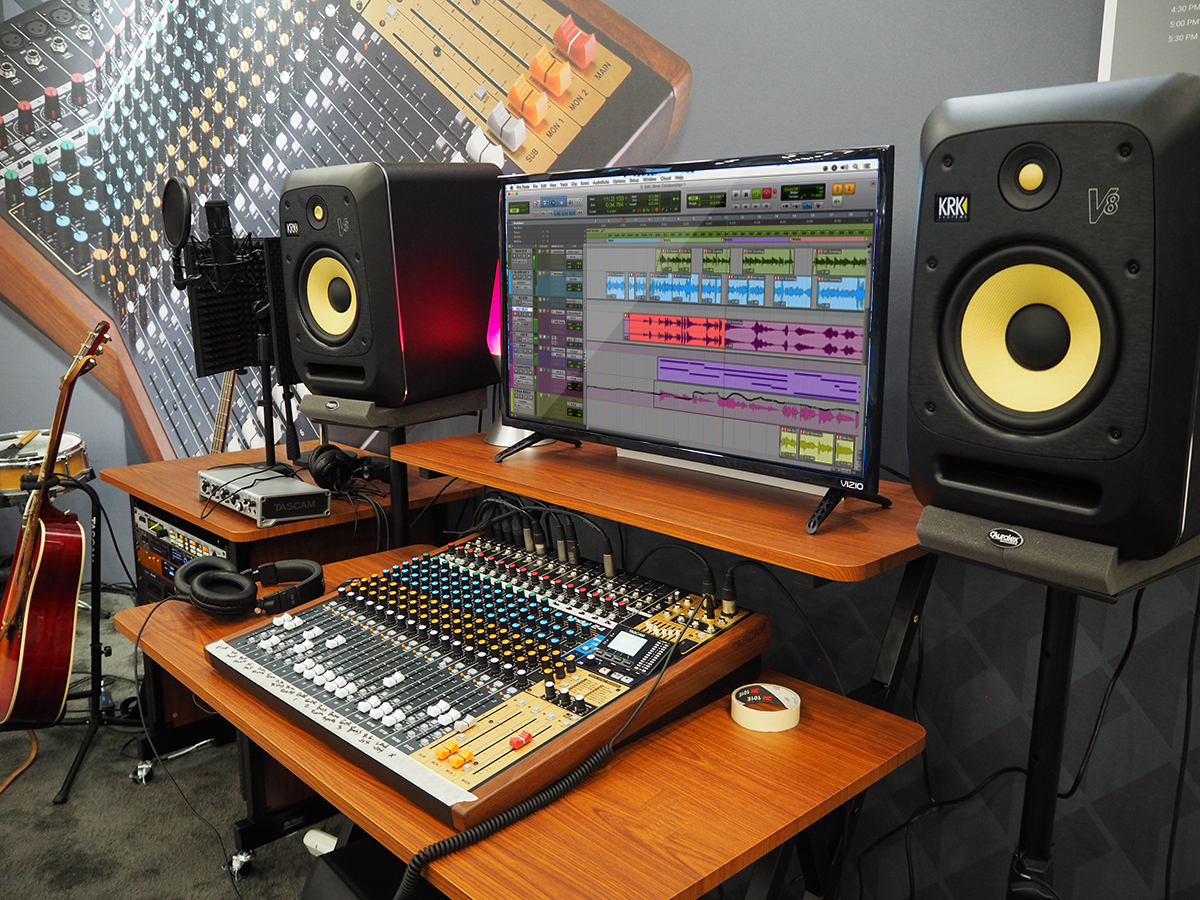
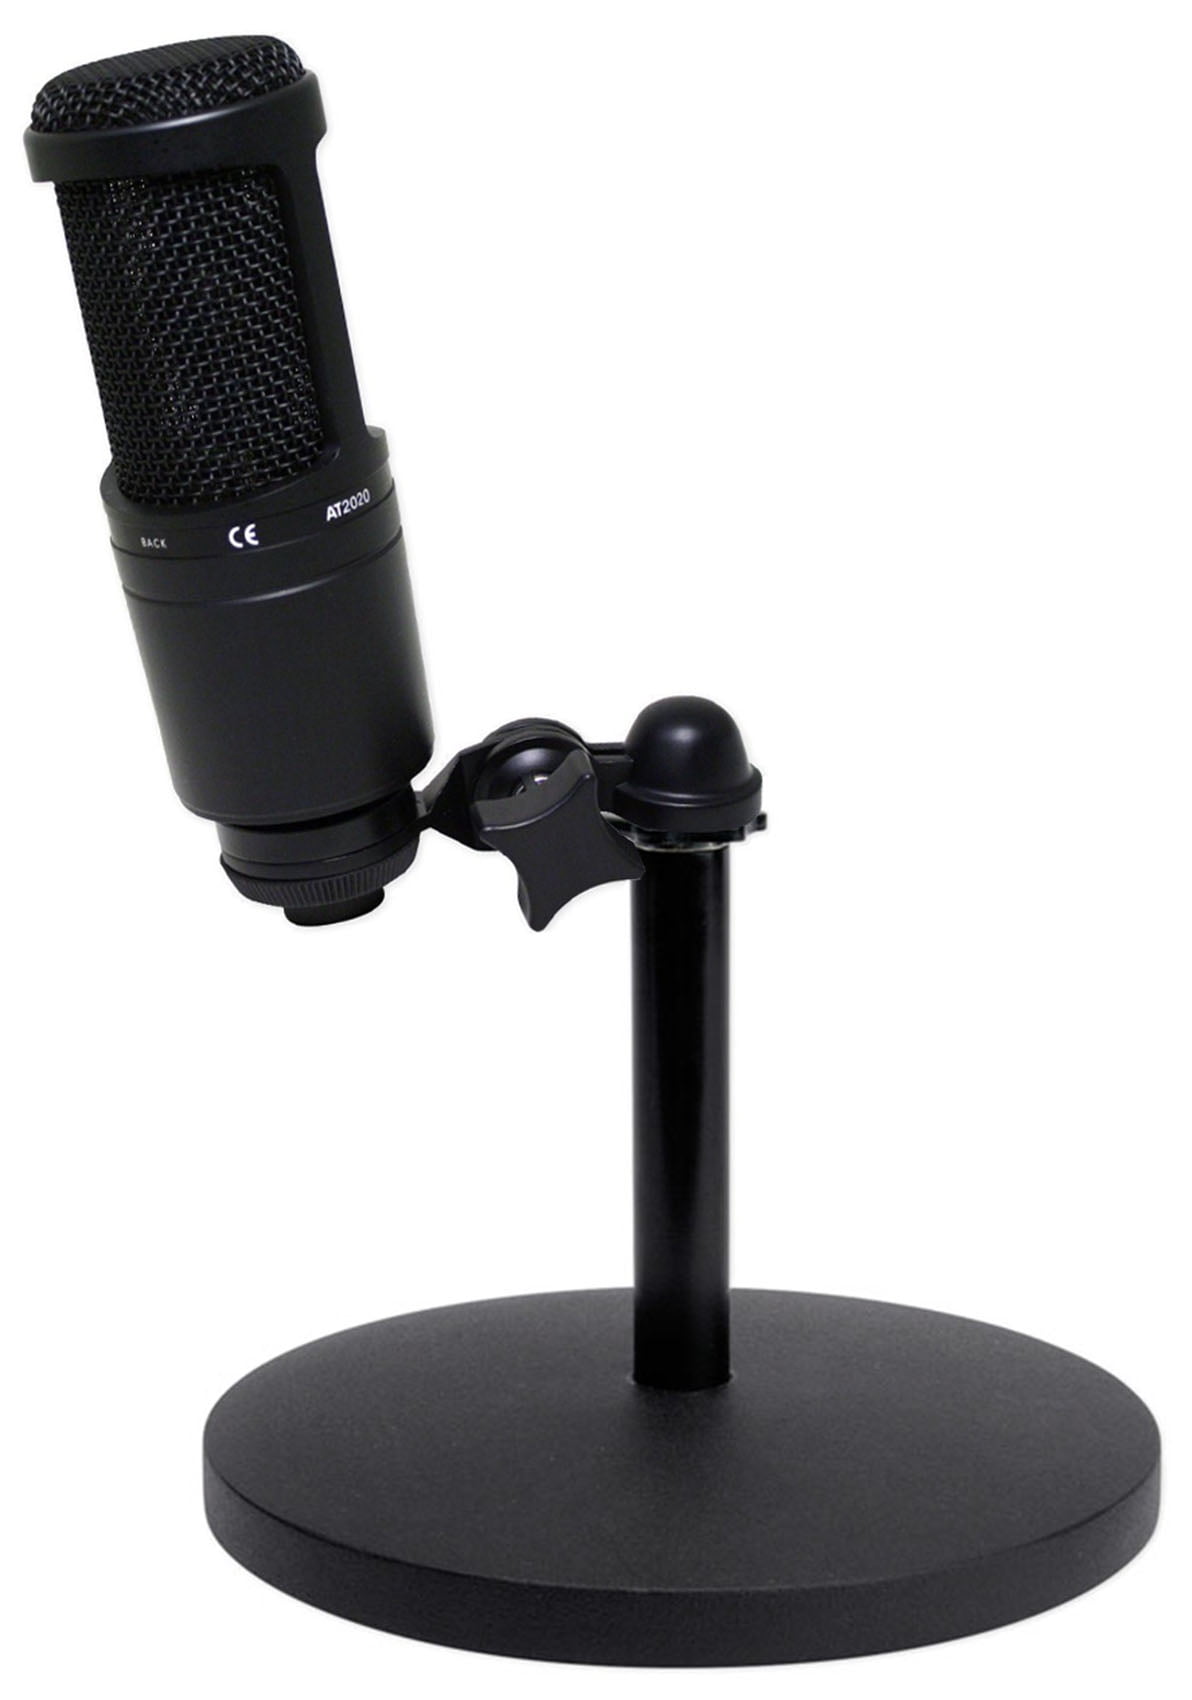
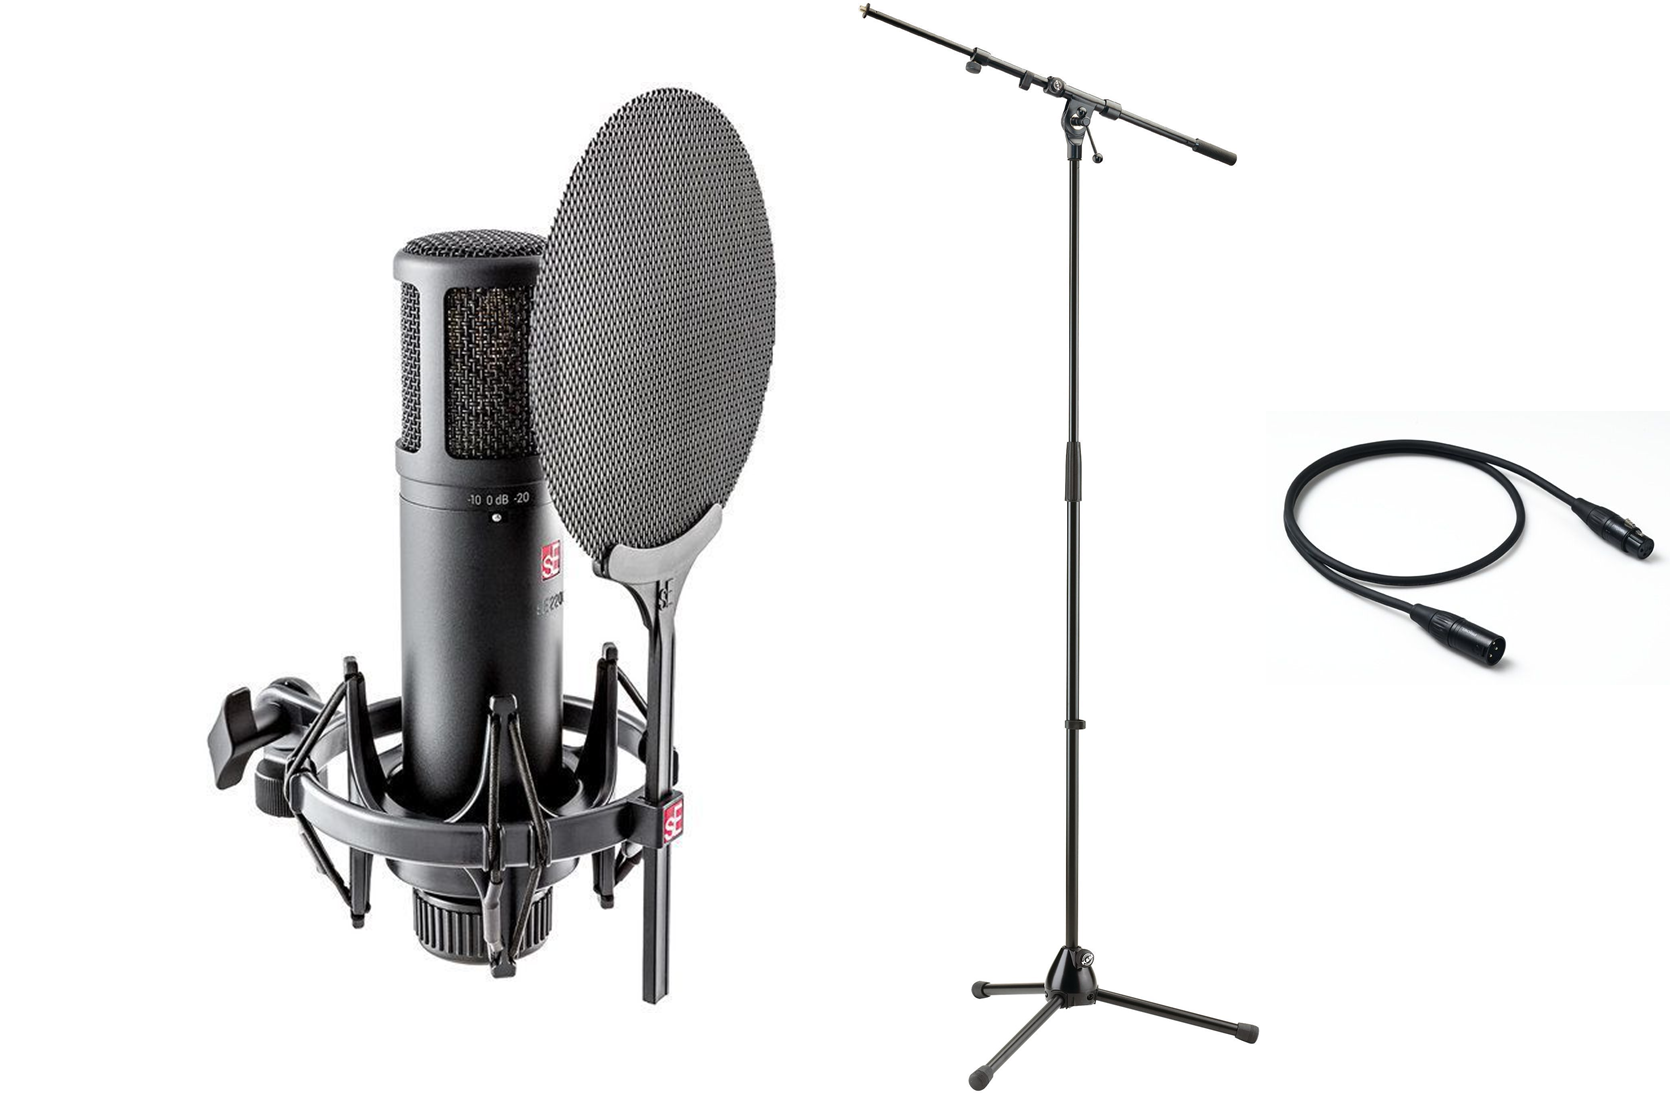
Proper Equipment and Setup
 To achieve professional-sounding vocals, it is important to have the right equipment and setup in place.
A high-quality microphone, pop filter, and microphone stand
are essential for clear and crisp vocals. Additionally, make sure to position the microphone at an appropriate distance from the singer to avoid any distortion.
Setting up the recording equipment in a separate area of the room
can also help minimize any background noises.
To achieve professional-sounding vocals, it is important to have the right equipment and setup in place.
A high-quality microphone, pop filter, and microphone stand
are essential for clear and crisp vocals. Additionally, make sure to position the microphone at an appropriate distance from the singer to avoid any distortion.
Setting up the recording equipment in a separate area of the room
can also help minimize any background noises.
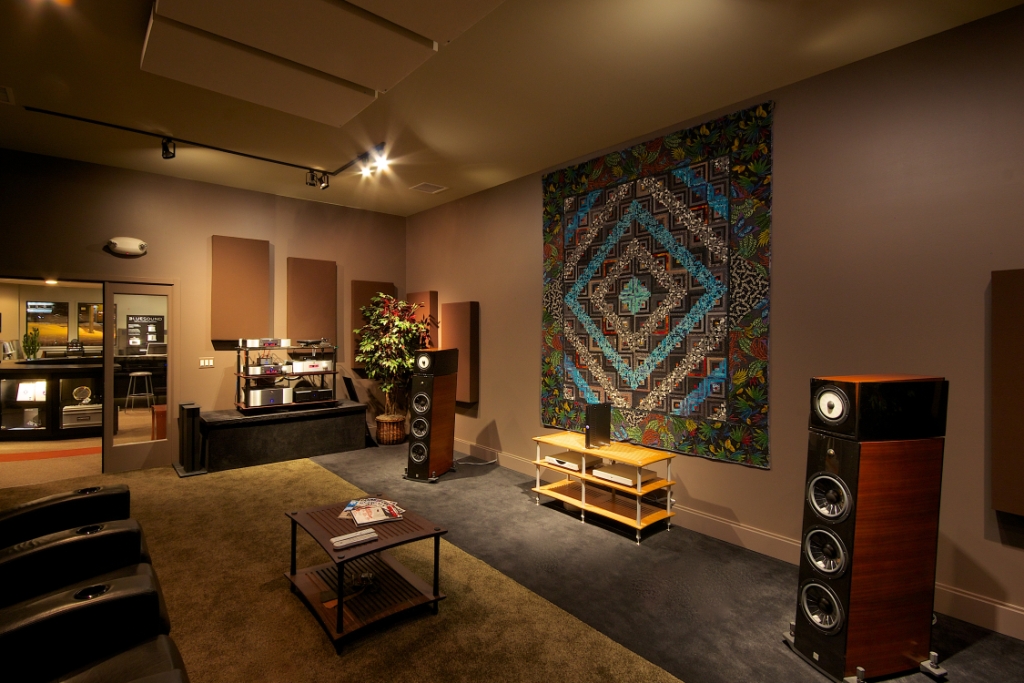
Consider the Lighting
 Lighting may not seem like an important factor when recording vocals, but it can actually make a difference in the overall sound quality.
Harsh overhead lighting can create a buzzing sound in recordings,
so it is best to use softer and more indirect lighting options. Natural lighting from windows can also add a warm and inviting atmosphere to the recording space.
Lighting may not seem like an important factor when recording vocals, but it can actually make a difference in the overall sound quality.
Harsh overhead lighting can create a buzzing sound in recordings,
so it is best to use softer and more indirect lighting options. Natural lighting from windows can also add a warm and inviting atmosphere to the recording space.
Final Thoughts
 With the right techniques and equipment, recording vocals in a living room can result in professional-sounding recordings. Remember to
invest in soundproofing materials, utilize natural acoustics, have the proper equipment and setup,
and consider the lighting in the room. With these tips, you can turn your living room into a versatile and efficient recording space.
With the right techniques and equipment, recording vocals in a living room can result in professional-sounding recordings. Remember to
invest in soundproofing materials, utilize natural acoustics, have the proper equipment and setup,
and consider the lighting in the room. With these tips, you can turn your living room into a versatile and efficient recording space.