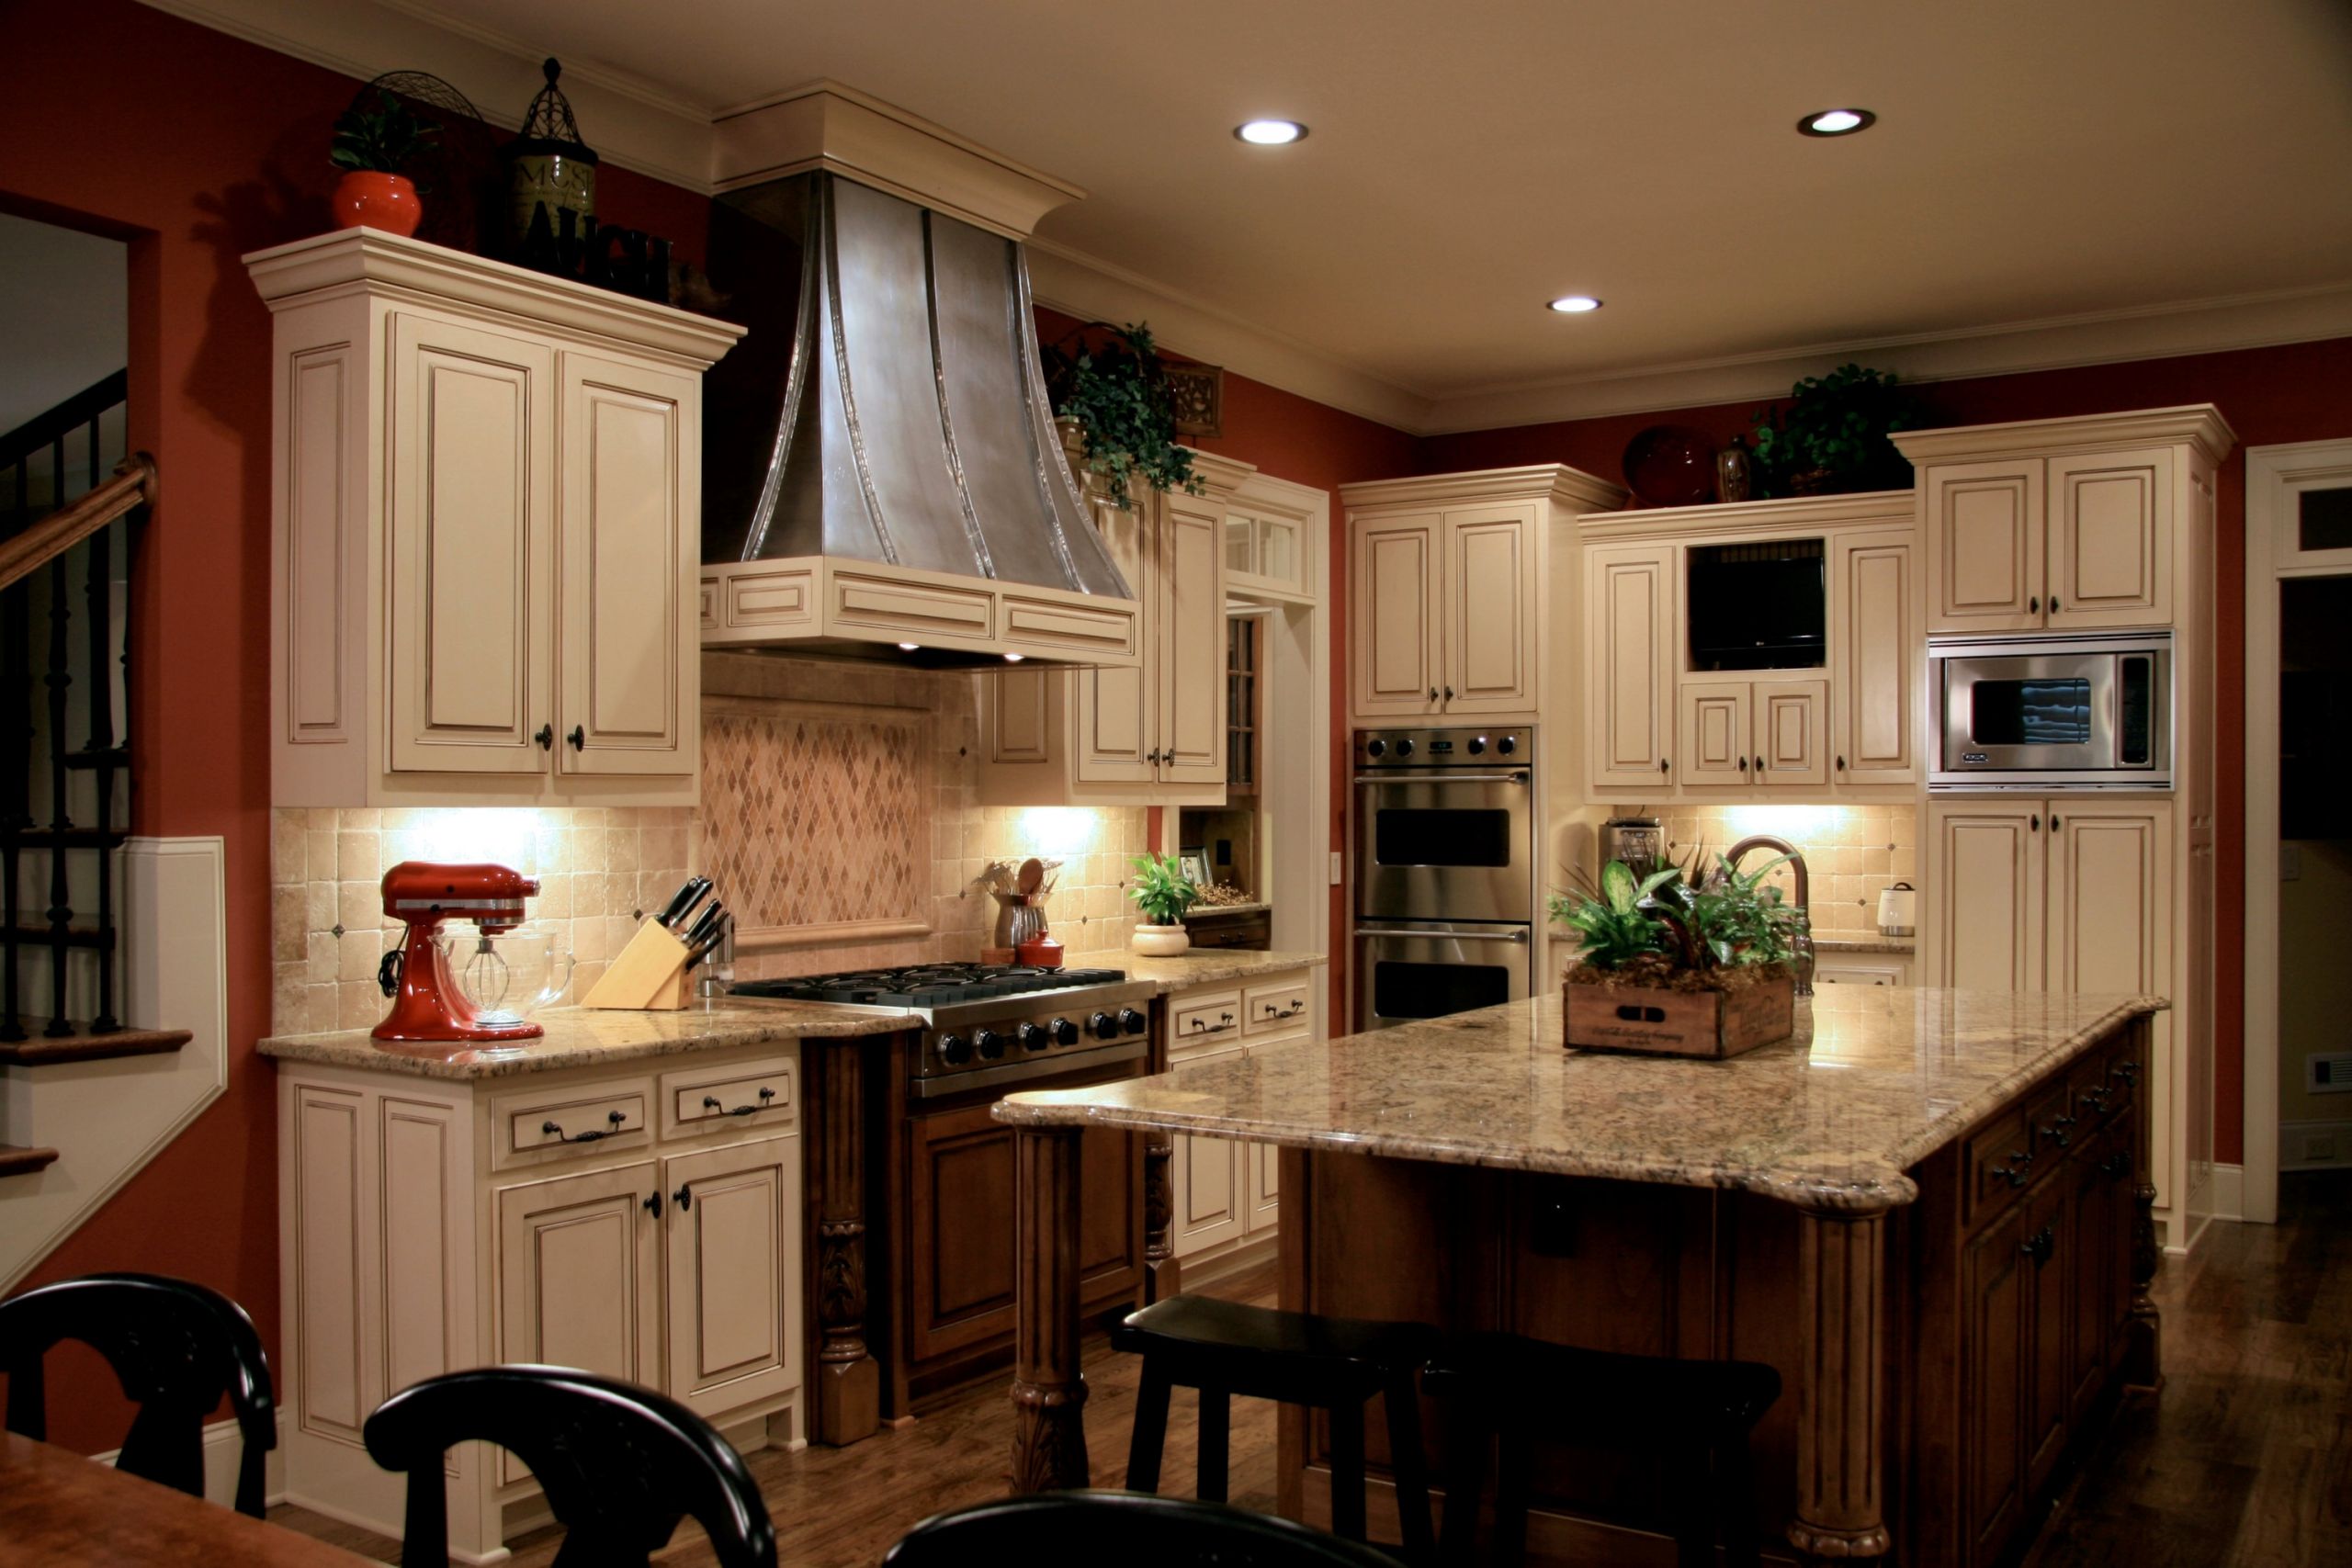
Proper lighting in your kitchen is essential for creating a functional and inviting space. Recessed lighting, also known as can lights or pot lights, is a popular choice for kitchen lighting due to its sleek and modern design. But with so many options and considerations, it can be overwhelming to plan out your recessed lighting layout. Here is a guide to help you plan and install your recessed lighting in the kitchen.Recessed Lighting Layout Guide: How to Plan Your Kitchen Lighting

Recessed Lighting Layout Guide: How to Plan Your Kitchen Lighting
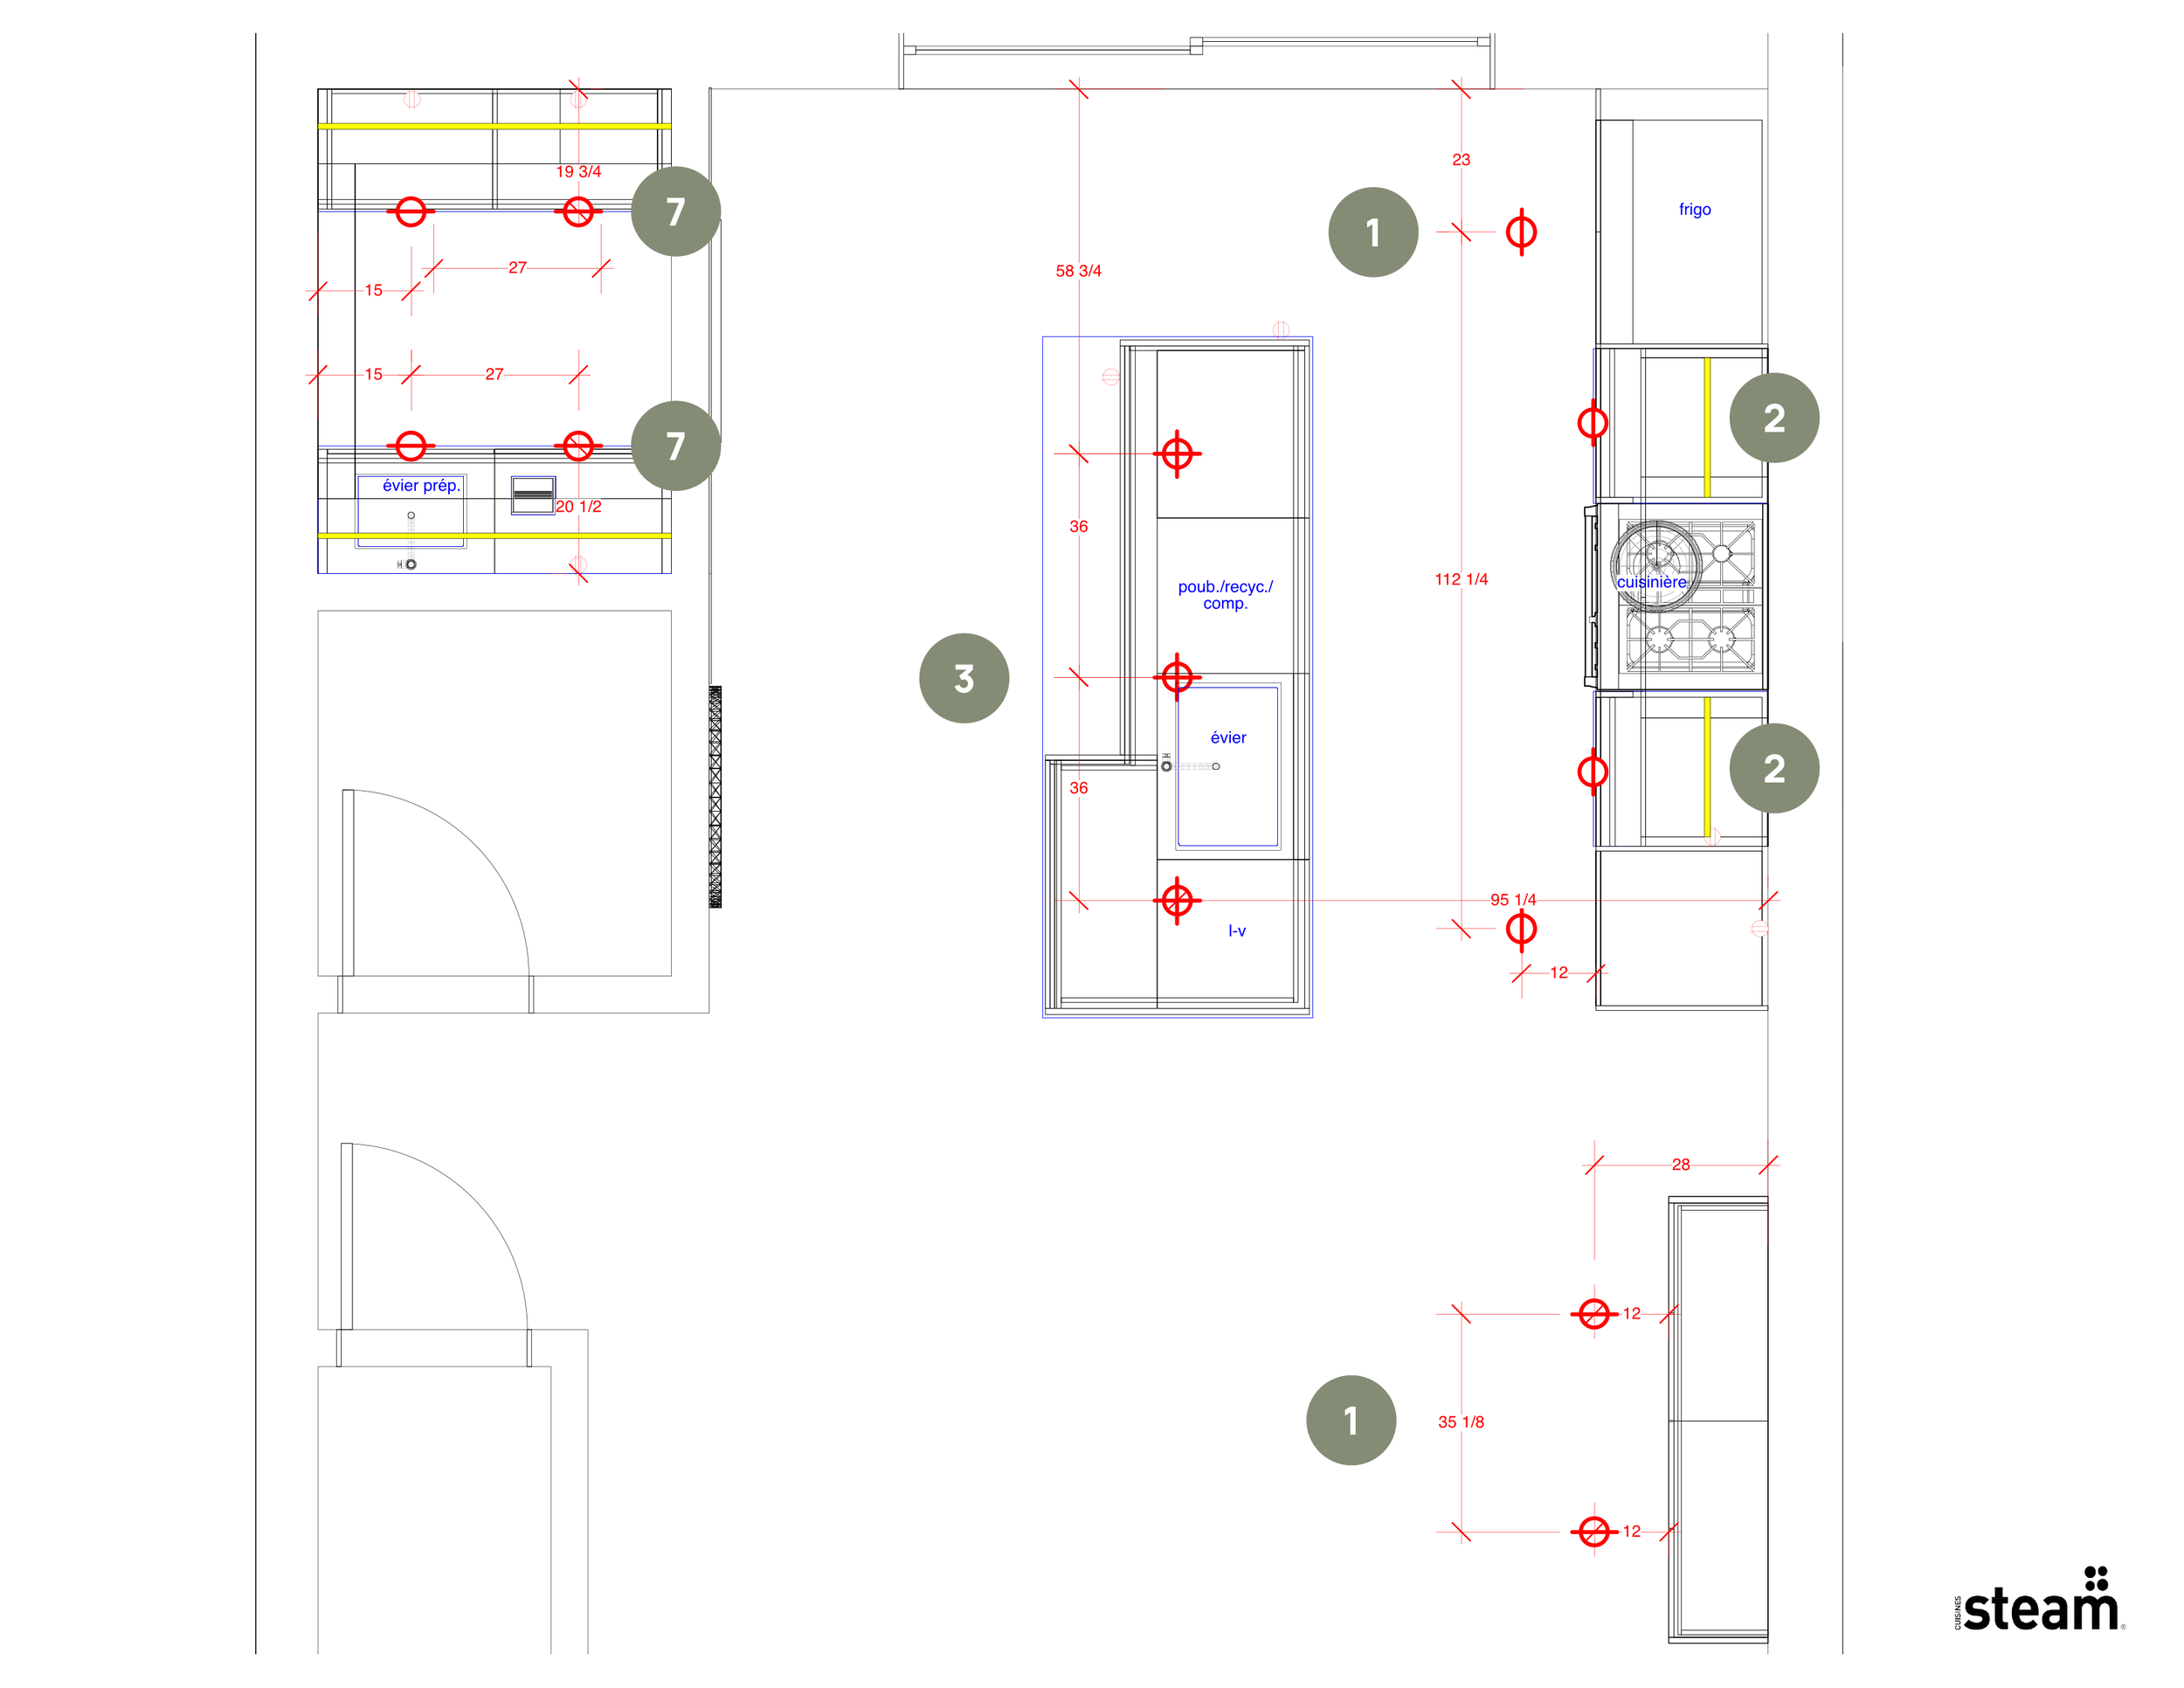
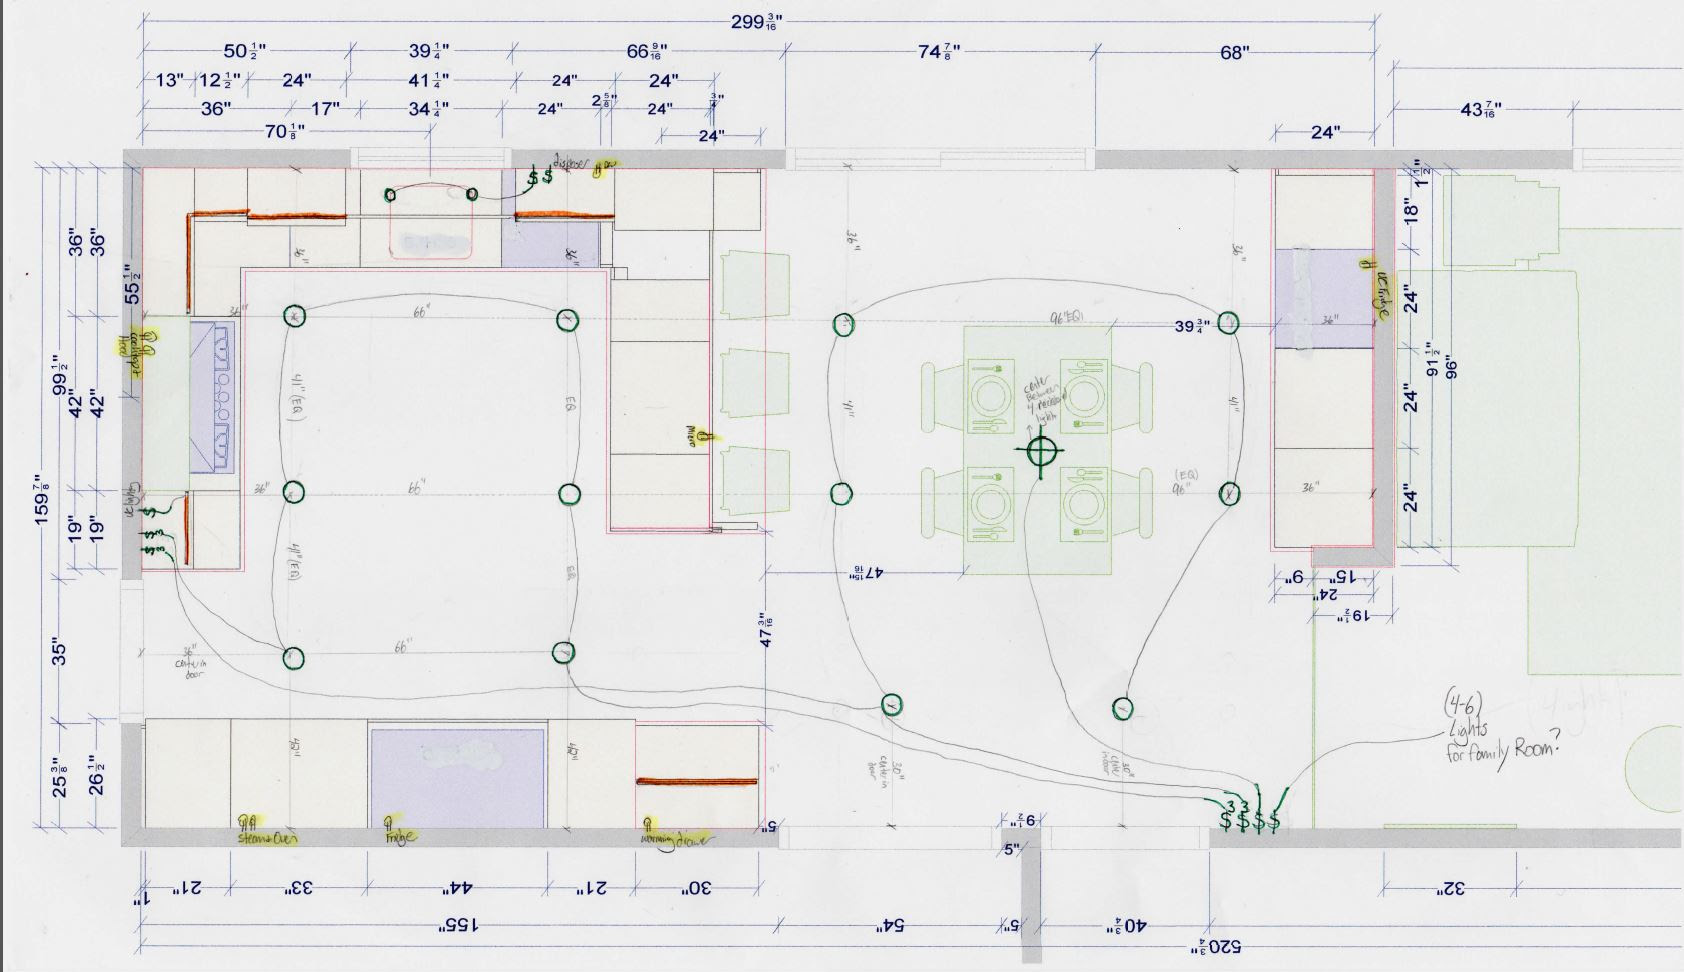

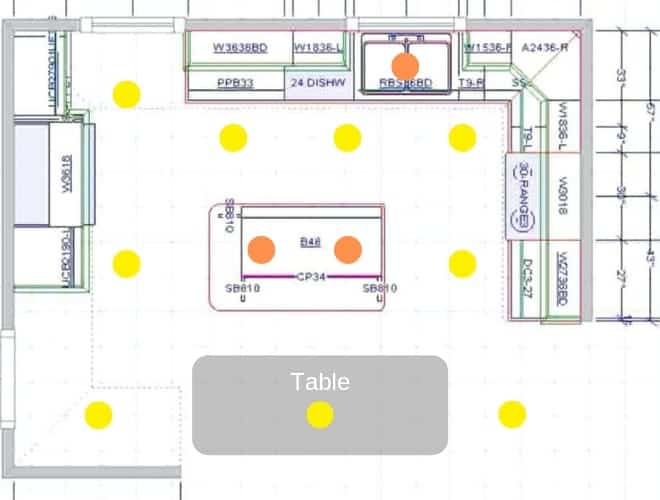
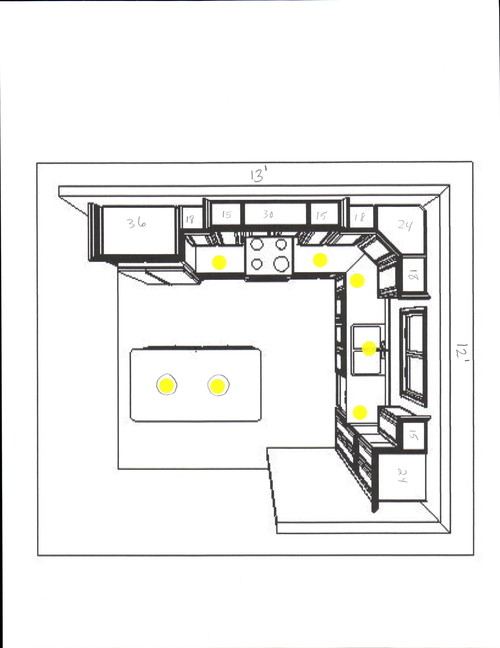
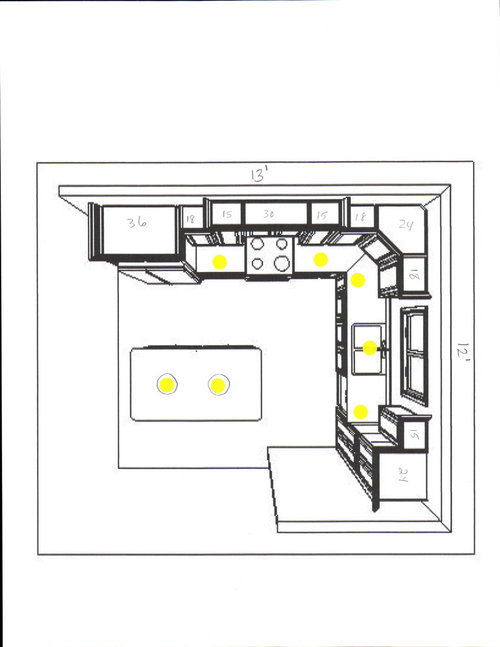
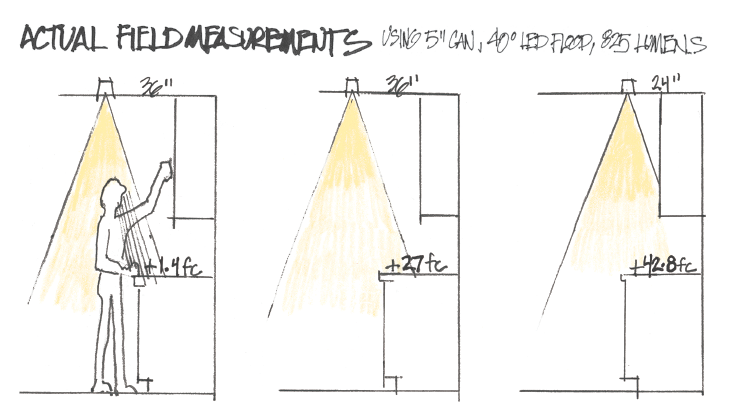
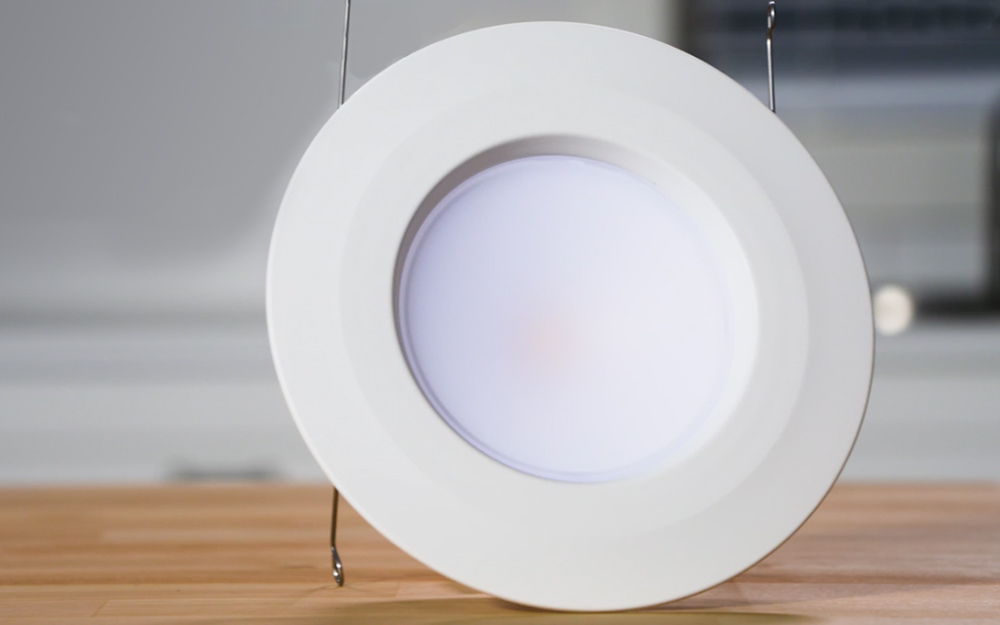
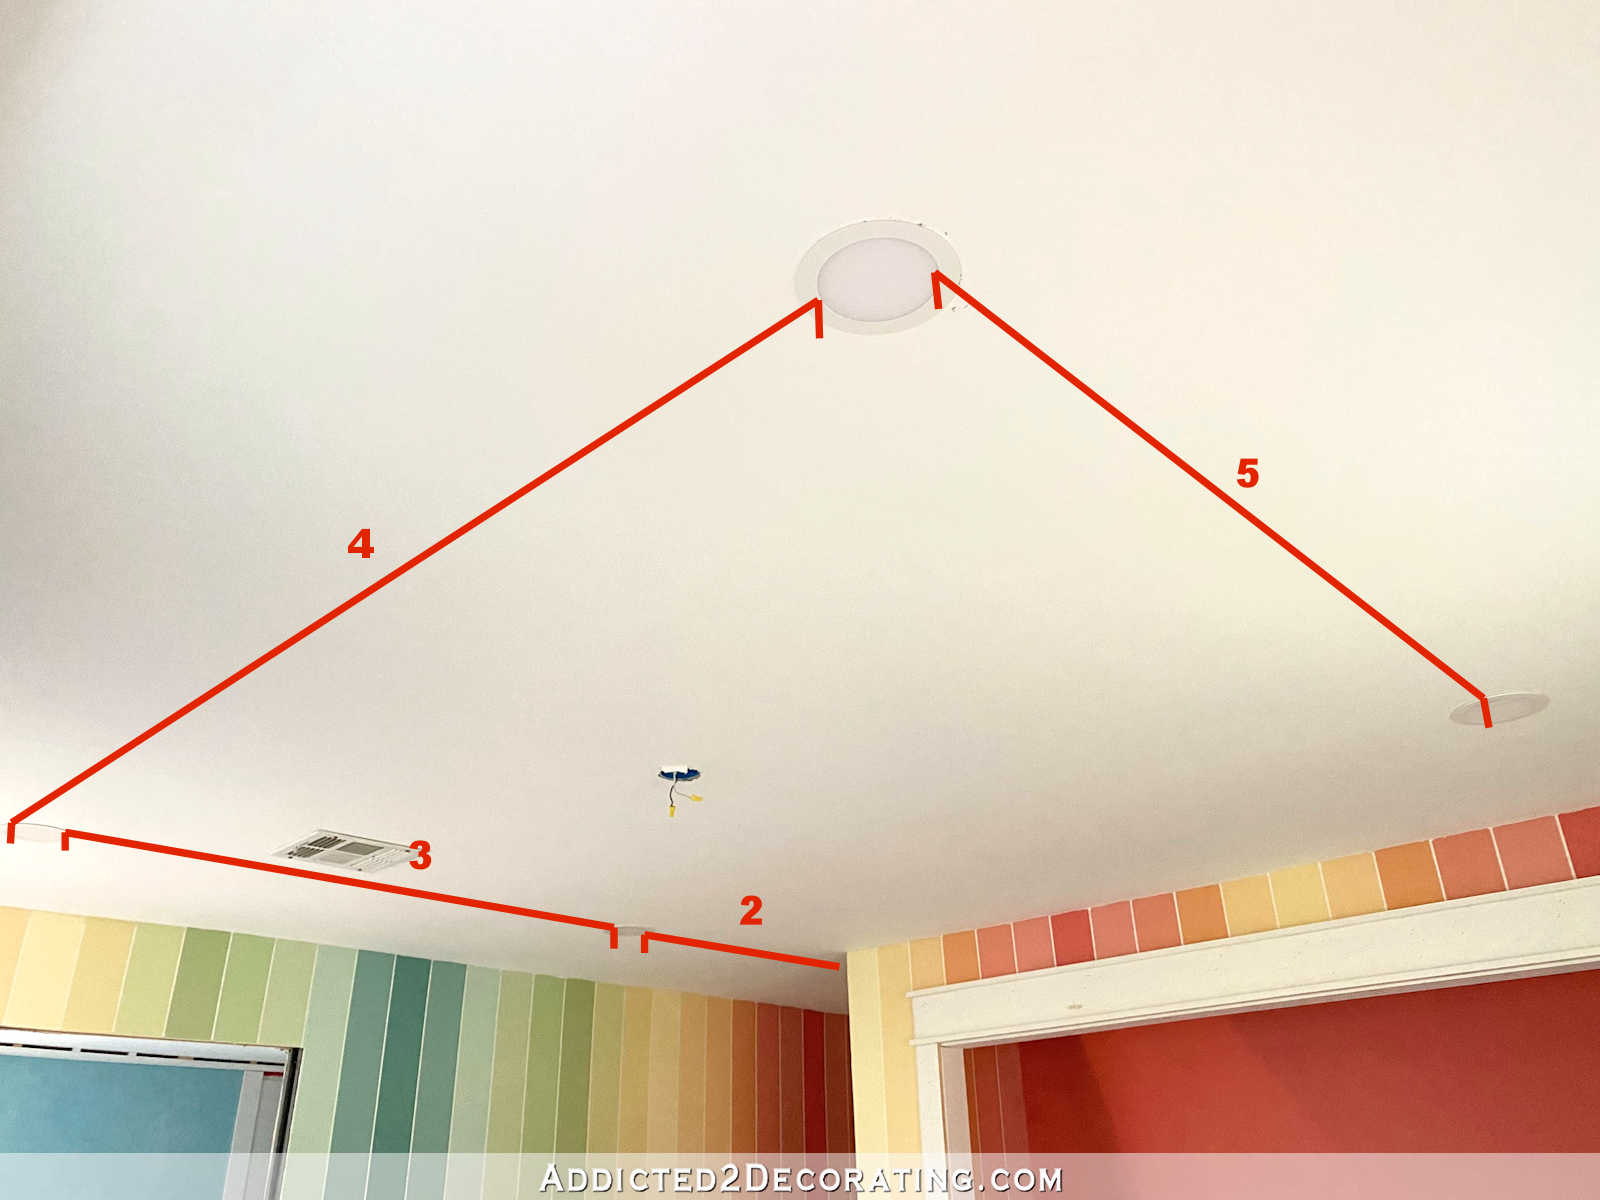
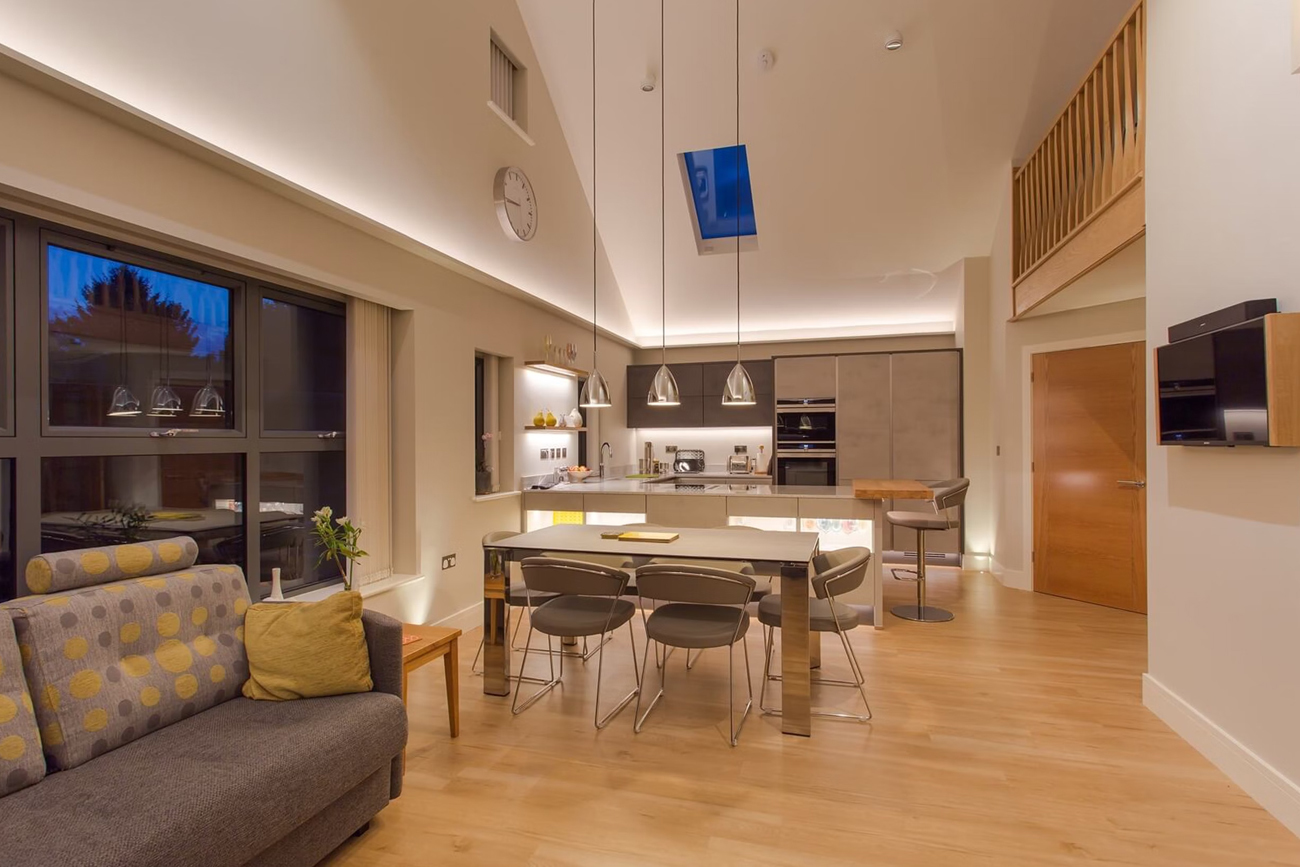
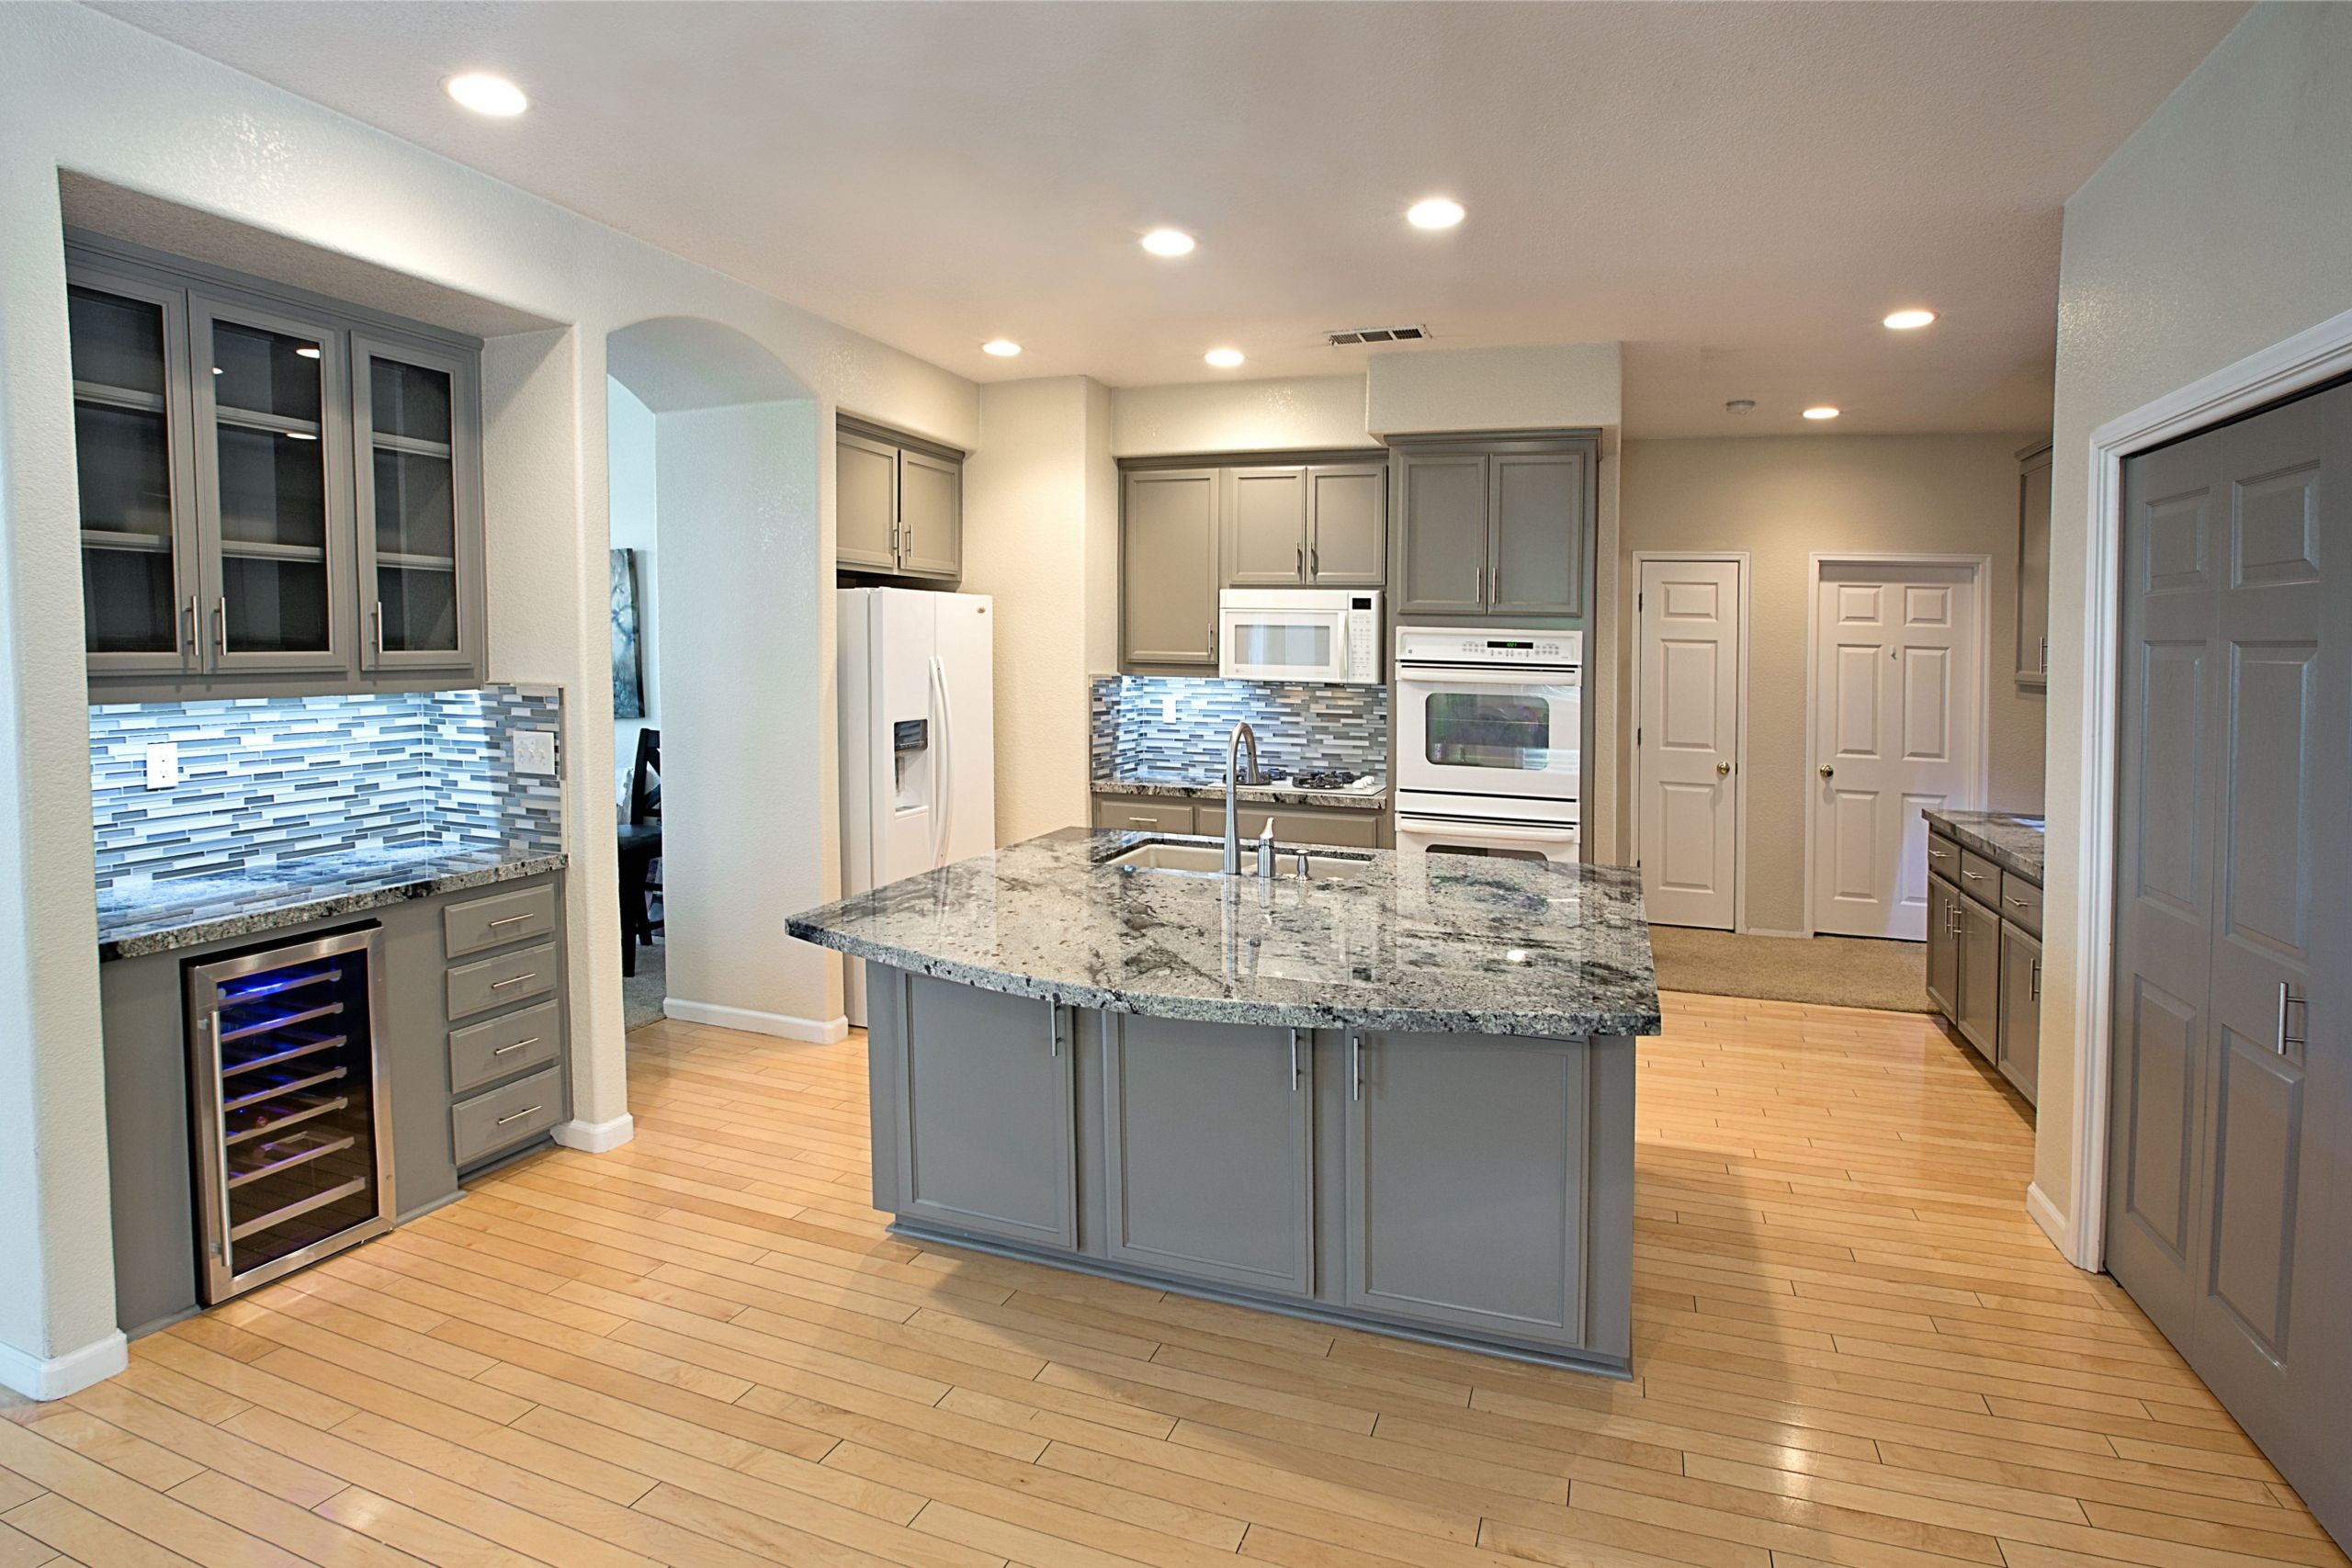
Step 1: Determine the Size and Number of Lights The first step in planning your recessed lighting layout is to determine the size and number of lights needed for your kitchen. This will depend on the size of your kitchen, ceiling height, and the amount of natural light available. A general rule of thumb is to have one light for every 4-6 square feet of ceiling space. For a more accurate calculation, you can use an online recessed lighting calculator. Step 2: Decide on the Placement and Spacing Next, you will need to decide on the placement and spacing of your recessed lights. The goal is to have even and balanced lighting throughout the kitchen. A good rule of thumb is to have the lights spaced 4-6 feet apart in the center of the kitchen and 2-3 feet apart around the perimeter. For areas that require more focused lighting, such as the sink or stovetop, consider installing a light directly above or slightly off-center. Step 3: Consider the Angle of the Lights The angle of your recessed lights can make a big difference in the overall look and functionality of your kitchen. For a more subtle and ambient lighting, install the lights at a 90-degree angle. For a more dramatic and focused lighting, install the lights at a 30-45 degree angle. You can also mix and match angles for a layered and dynamic lighting effect. Step 4: Plan for Dimmers and Switches Lastly, consider adding dimmers and switches to your recessed lighting layout. This will give you the flexibility to adjust the lighting to your desired level and create different moods in the kitchen. Make sure to plan for enough switches to control the different zones of lighting in your kitchen.How to Layout Recessed Lighting in 4 Easy Steps


How to Layout Recessed Lighting in 4 Easy Steps


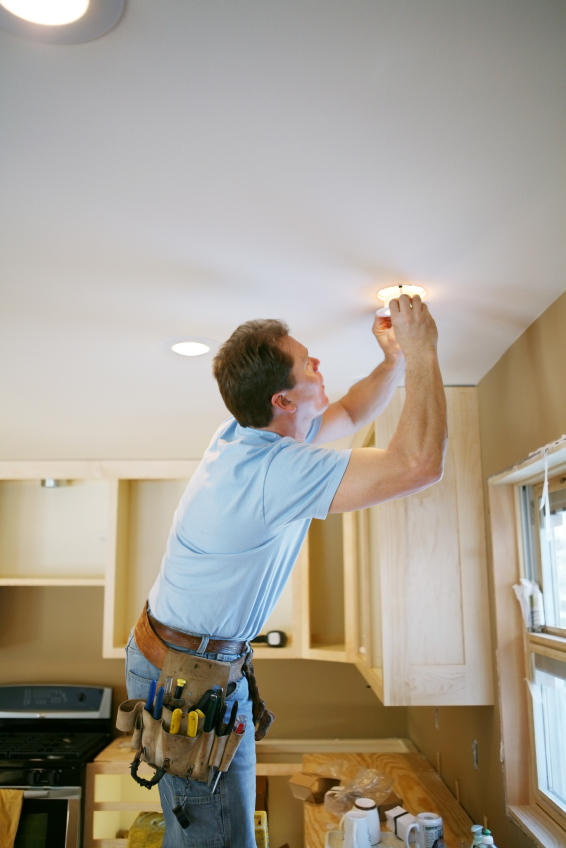
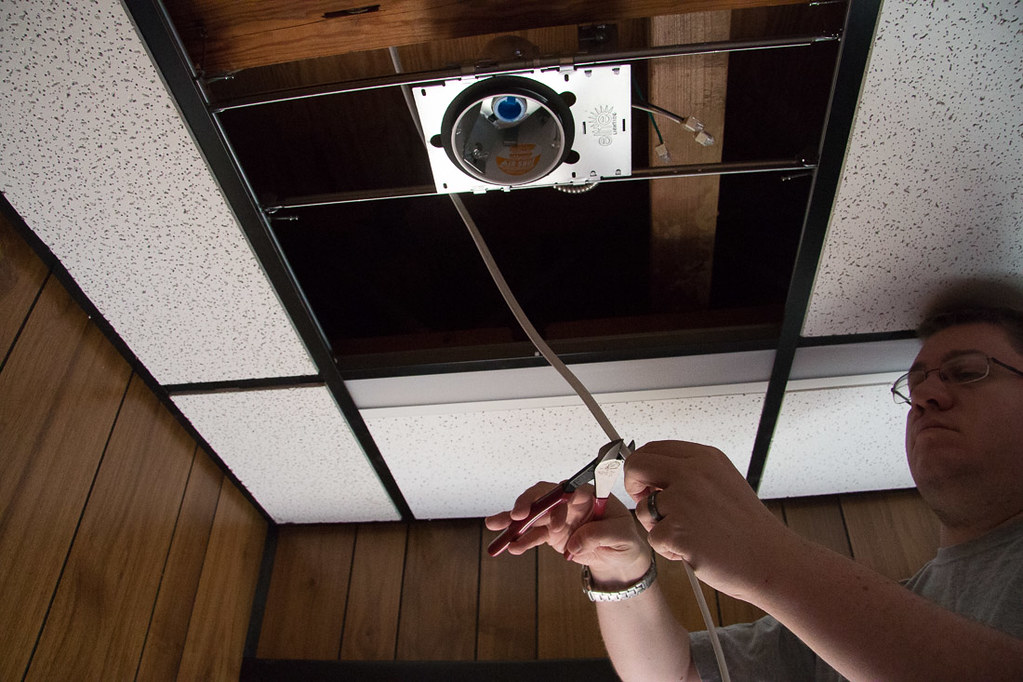
Now that you have a plan for your recessed lighting layout, it's time to install them in your kitchen. Here are the steps to follow: Step 1: Gather Your Materials Before you begin the installation, make sure you have all the necessary materials on hand. This includes recessed lighting kits, a ladder, wire strippers, screwdrivers, and electrical tape. Step 2: Turn Off the Power Safety should always be the top priority when working with electricity. Before starting any installation, turn off the power to the area where you will be installing the lights. This can be done at the circuit breaker. Step 3: Cut the Holes Using a stud finder, locate the ceiling joists and mark where you want to install the lights. Use a hole saw to cut the holes for the lights. Make sure the holes are the same size as the trim of the recessed light kit. Step 4: Run the Wiring If you are installing new lights, you will need to run the wiring from the power source to each light location. This may require the help of an electrician if you are not experienced in electrical work. Step 5: Install the Lights Follow the instructions provided with your recessed lighting kit to install the lights. This typically involves connecting the wiring, securing the light in the hole, and attaching the trim. Step 6: Connect the Wiring and Test the Lights Once all the lights are installed, connect the wiring and test the lights to ensure they are working properly. If any lights are not working, double-check the wiring connections and make sure the power is turned on. Step 7: Install the Dimmers and Switches If you have planned for dimmers and switches, now is the time to install them. Follow the instructions provided with the dimmer and switch kit to properly install and wire them.How to Install Recessed Lighting in a Kitchen


How to Install Recessed Lighting in a Kitchen

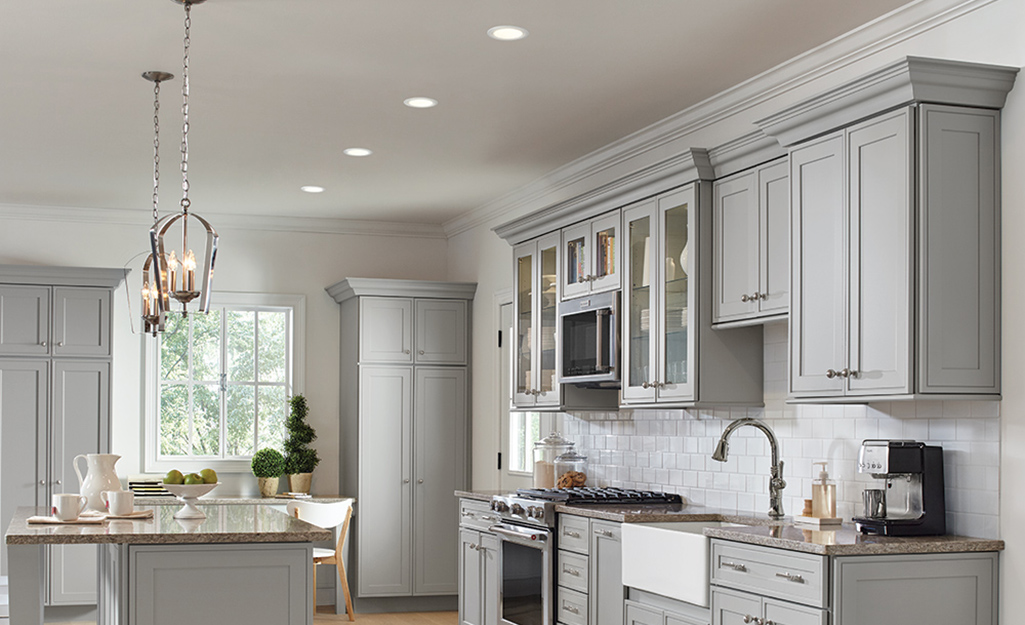

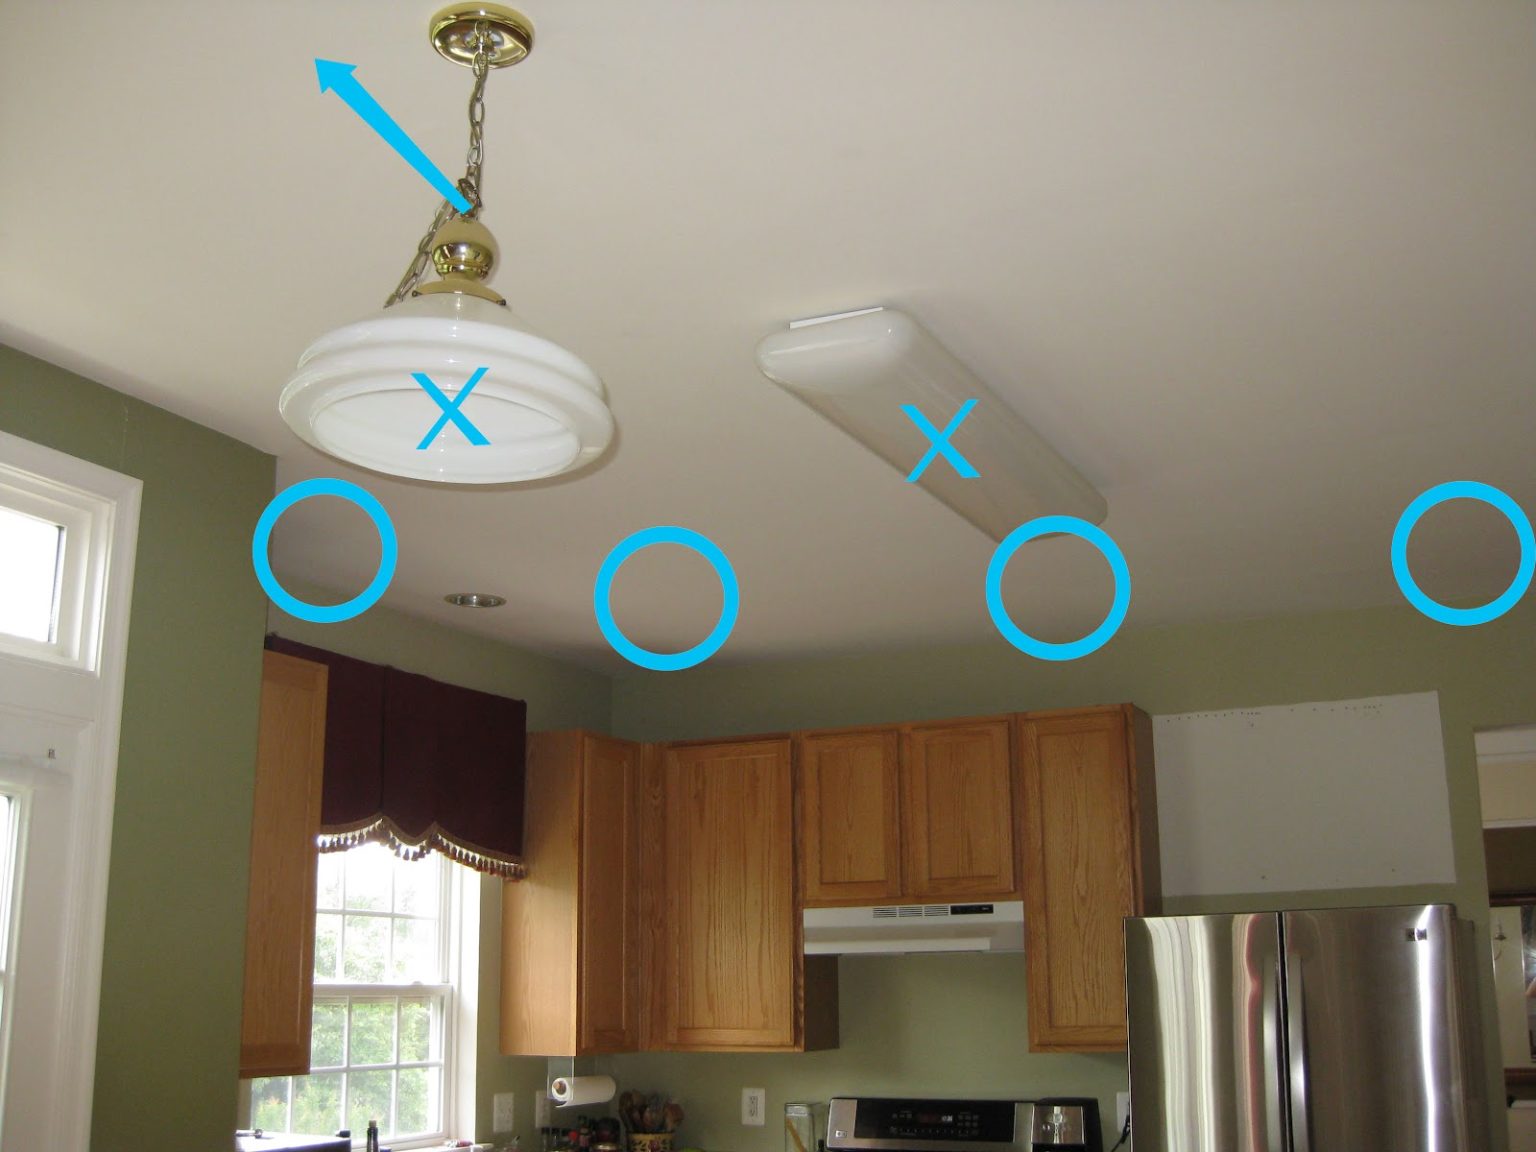


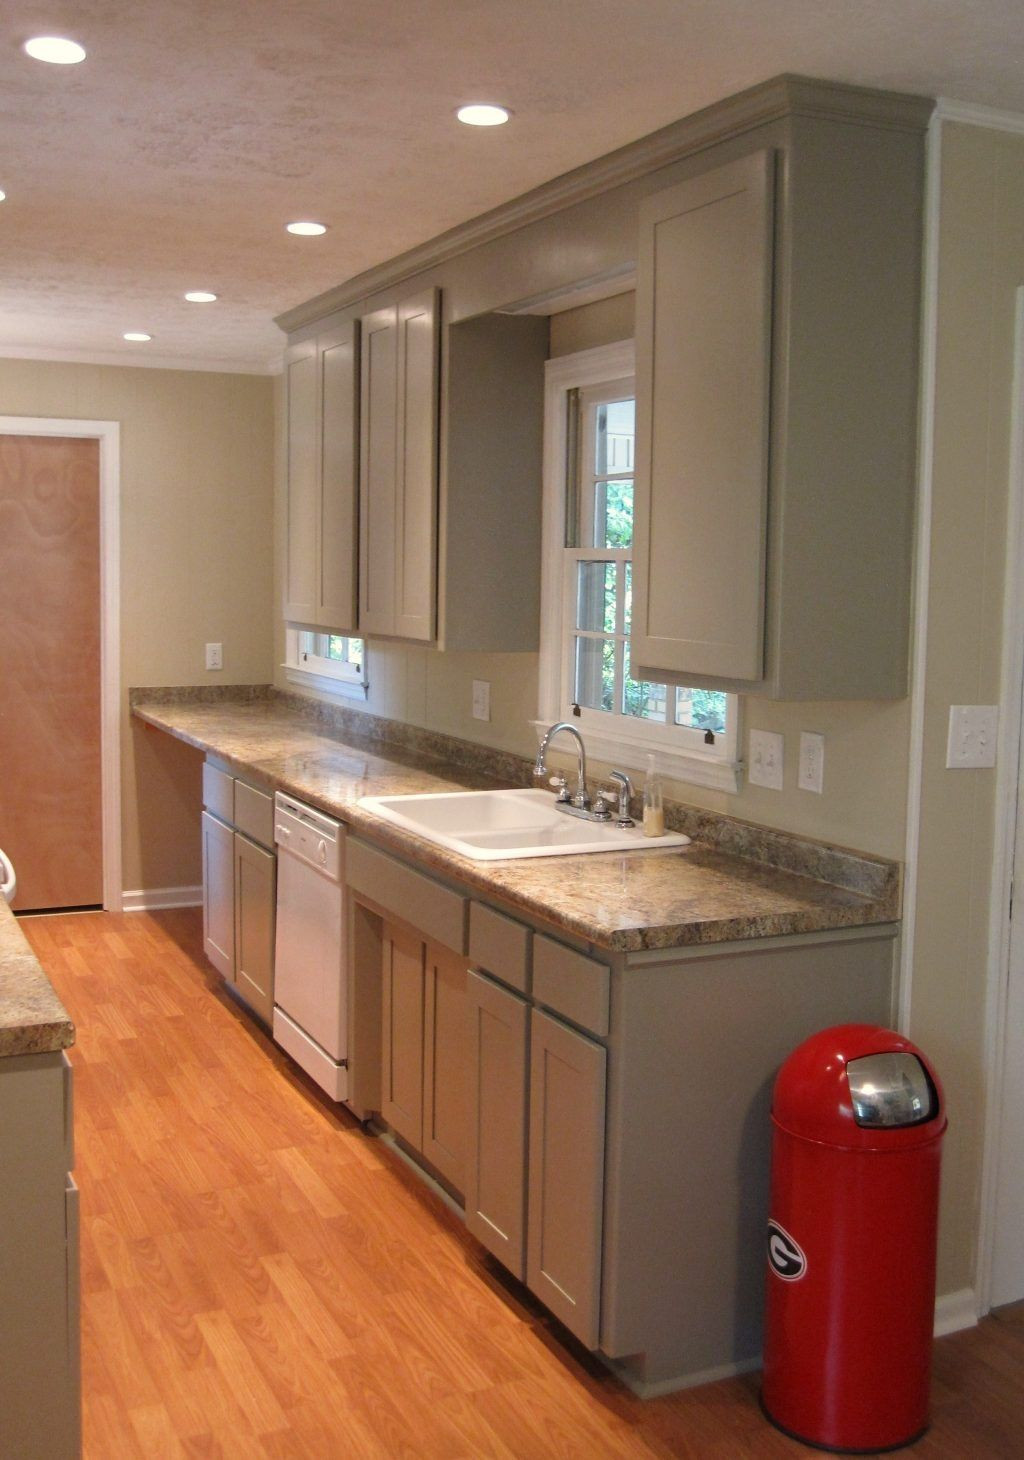
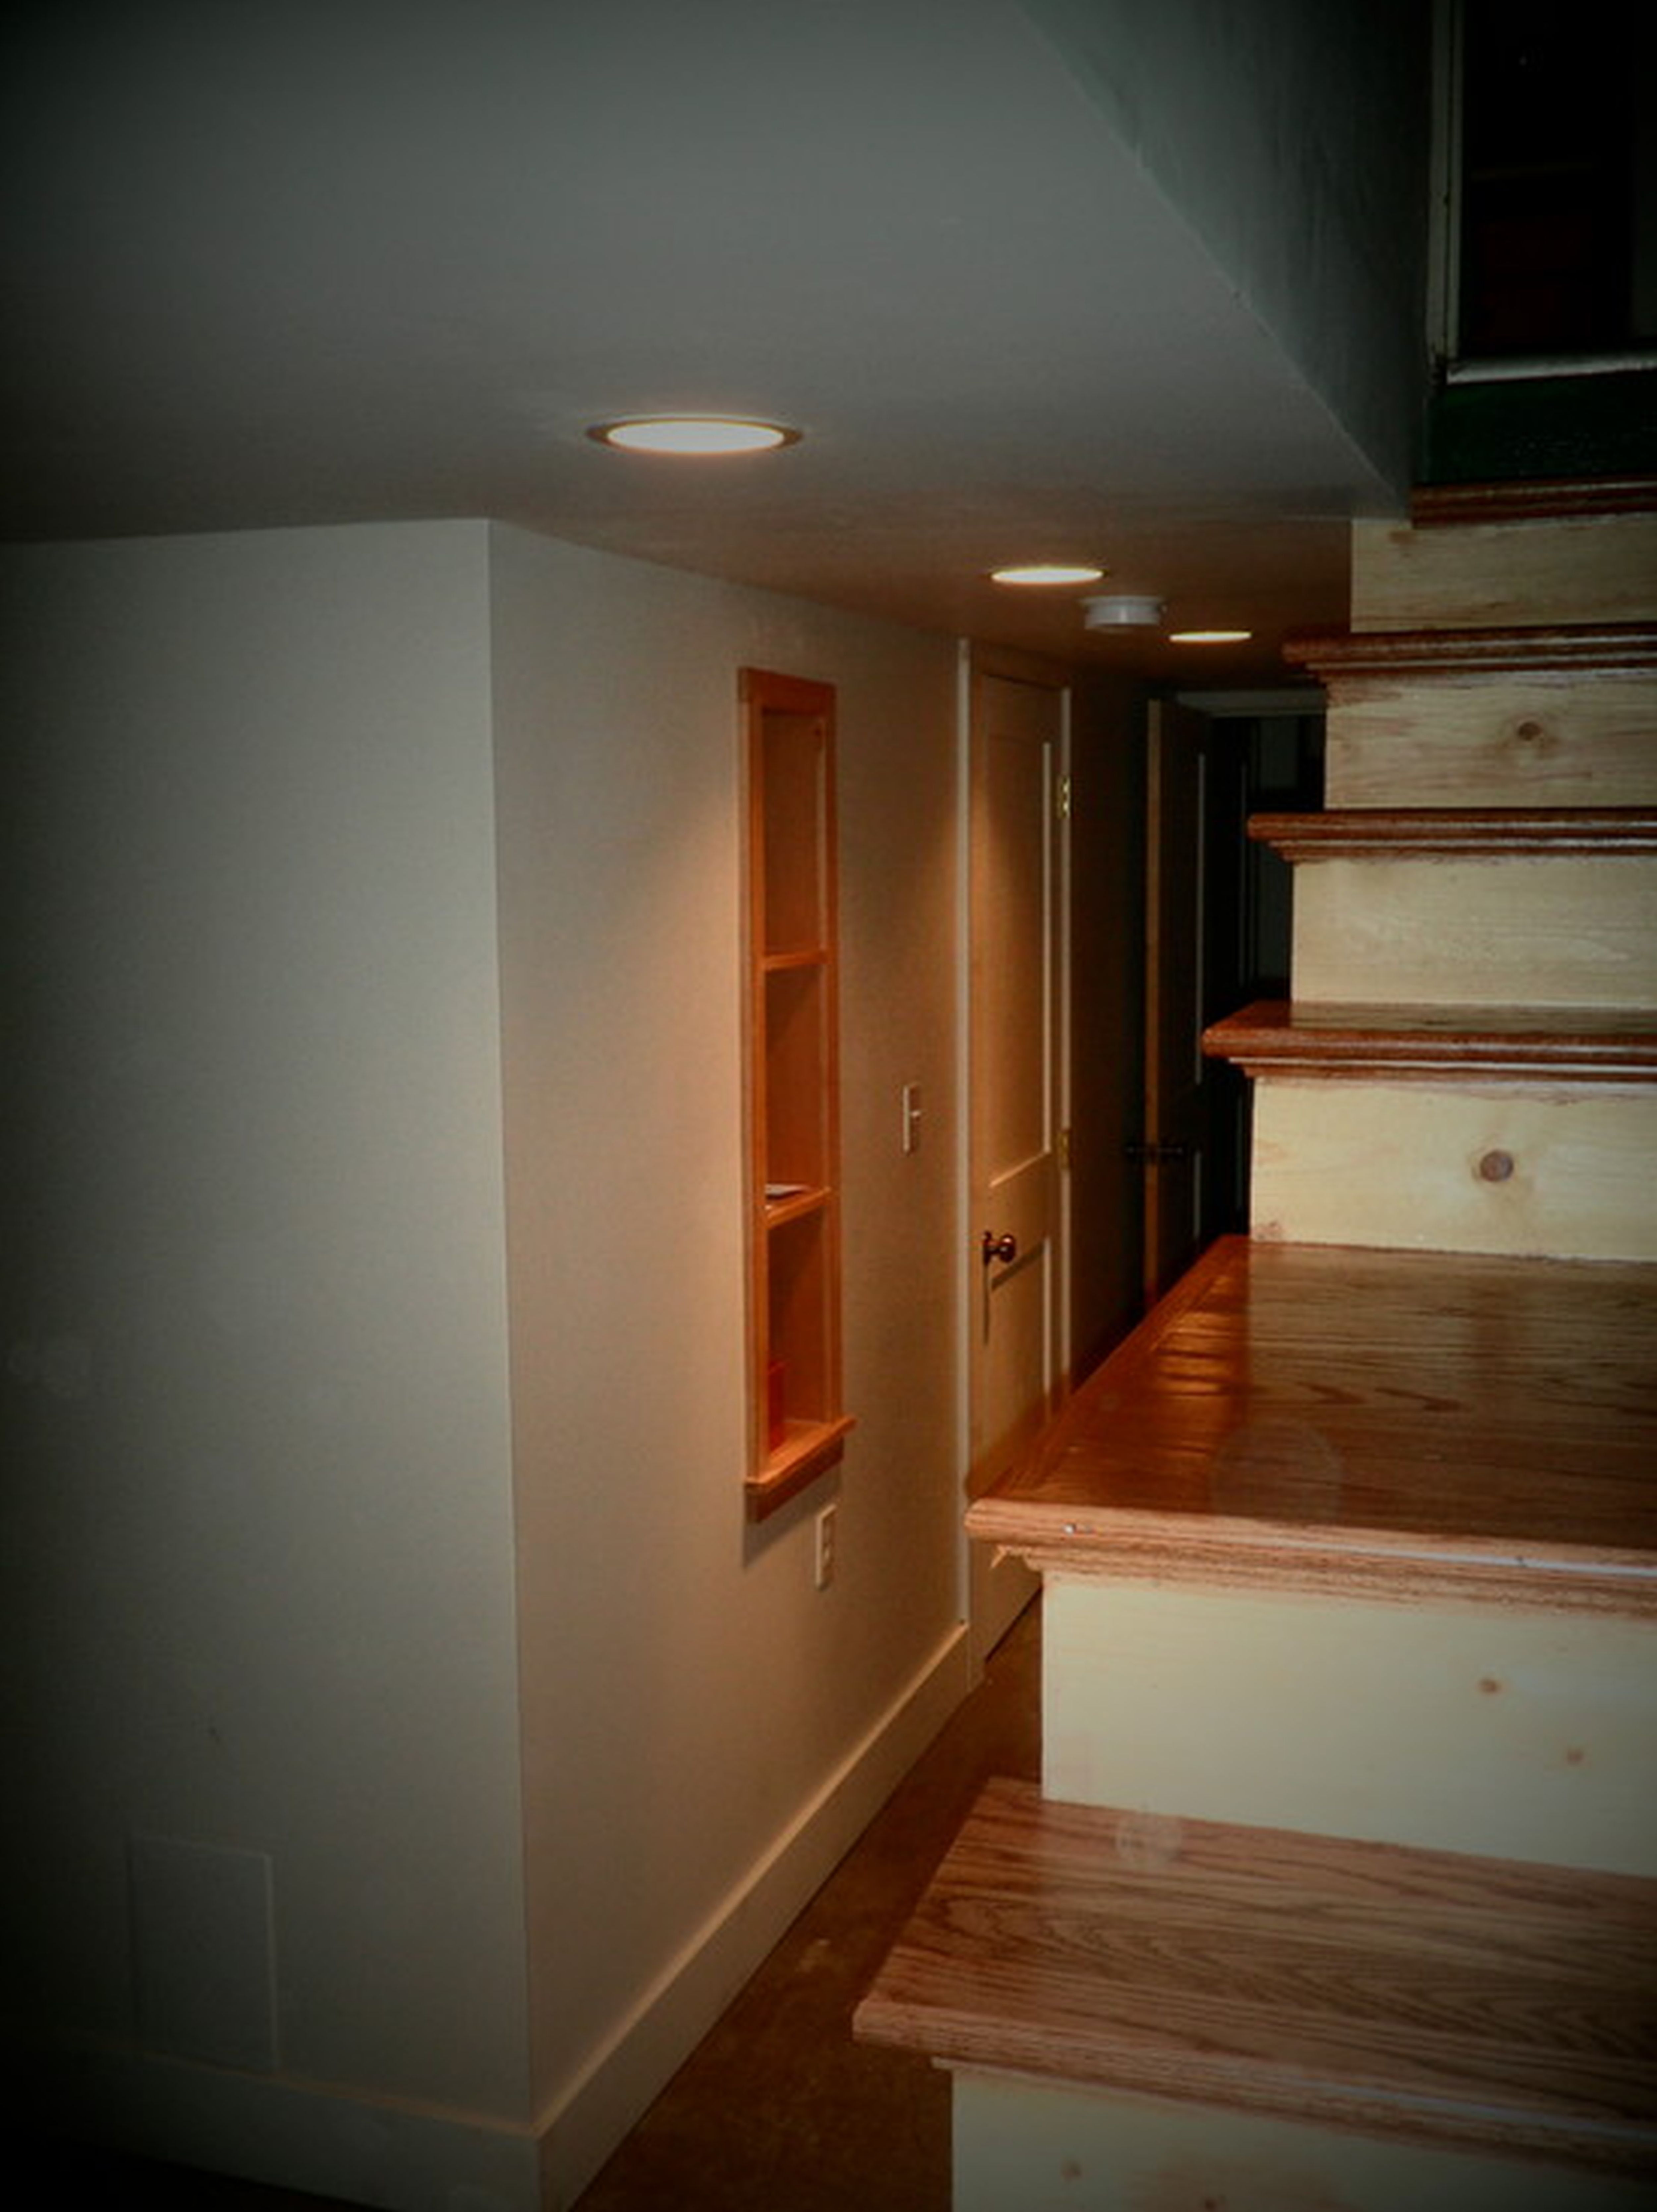
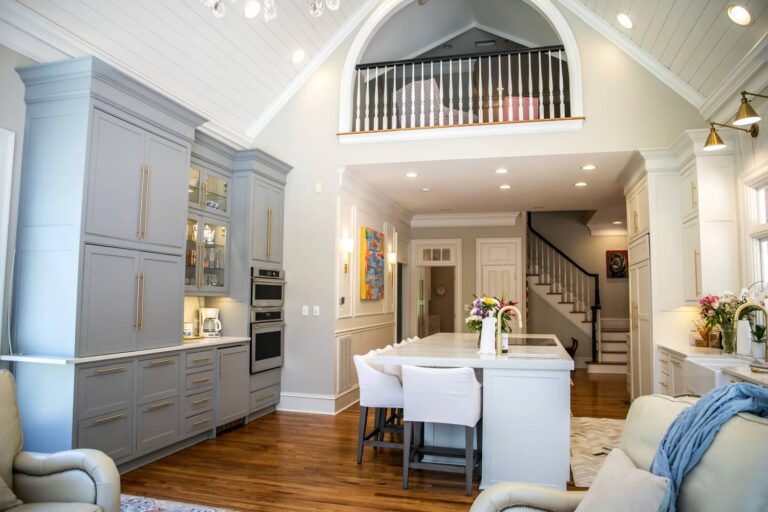
When it comes to recessed lighting in the kitchen, proper placement and spacing are crucial for achieving the right balance of light. Here are some tips to keep in mind: - Place lights in the center of the kitchen and evenly spaced throughout the perimeter for balanced lighting. - Consider the angle of the lights to create a different lighting effect. - Install lights above areas that require more focused lighting, such as the sink or stovetop. - Use dimmers and switches to control the lighting and create different moods in the kitchen.Kitchen Recessed Lighting Placement and Spacing Guide


Kitchen Recessed Lighting Placement and Spacing Guide


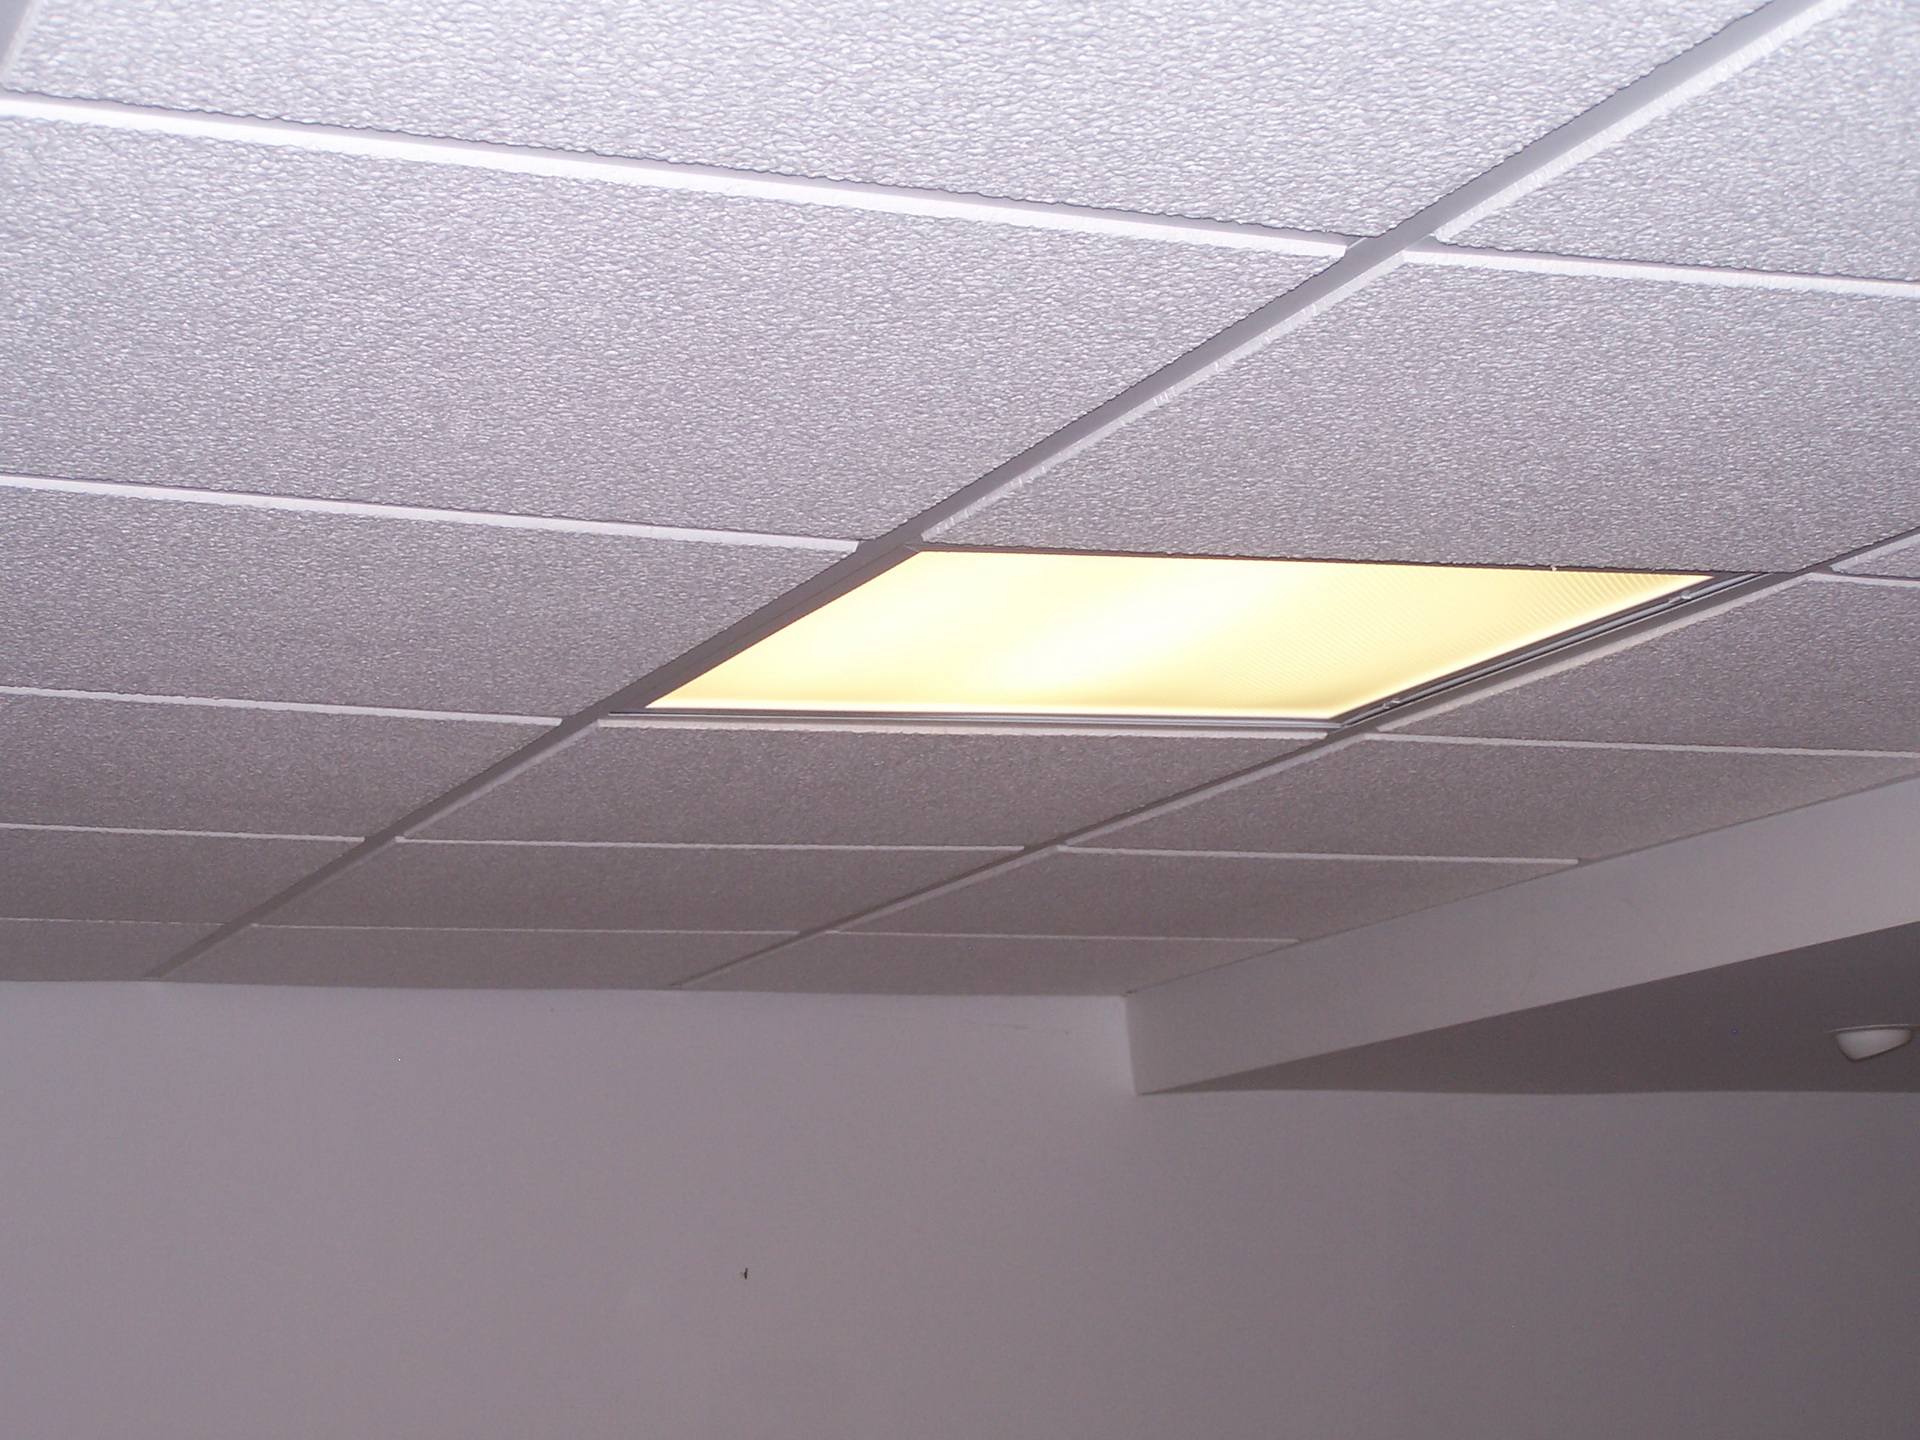
Drop ceilings, also known as suspended ceilings, can be a bit trickier to install recessed lighting in. Here are the steps to follow: Step 1: Determine the Location of the Lights First, determine where you want to install the lights in the drop ceiling. Make sure to take into account the placement and spacing guidelines mentioned earlier. Step 2: Cut the Holes in the Ceiling Tiles Using a hole saw, cut holes in the ceiling tiles where you want to install the lights. Make sure the holes are the same size as the trim of the recessed light kit. Step 3: Install the Lights Follow the instructions provided with your recessed lighting kit to install the lights in the drop ceiling. This typically involves securing the light in the hole and attaching the trim. Step 4: Connect the Wiring and Test the Lights Once all the lights are installed, connect the wiring and test the lights to ensure they are working properly.How to Install Recessed Lighting in a Drop Ceiling

How to Install Recessed Lighting in a Drop Ceiling

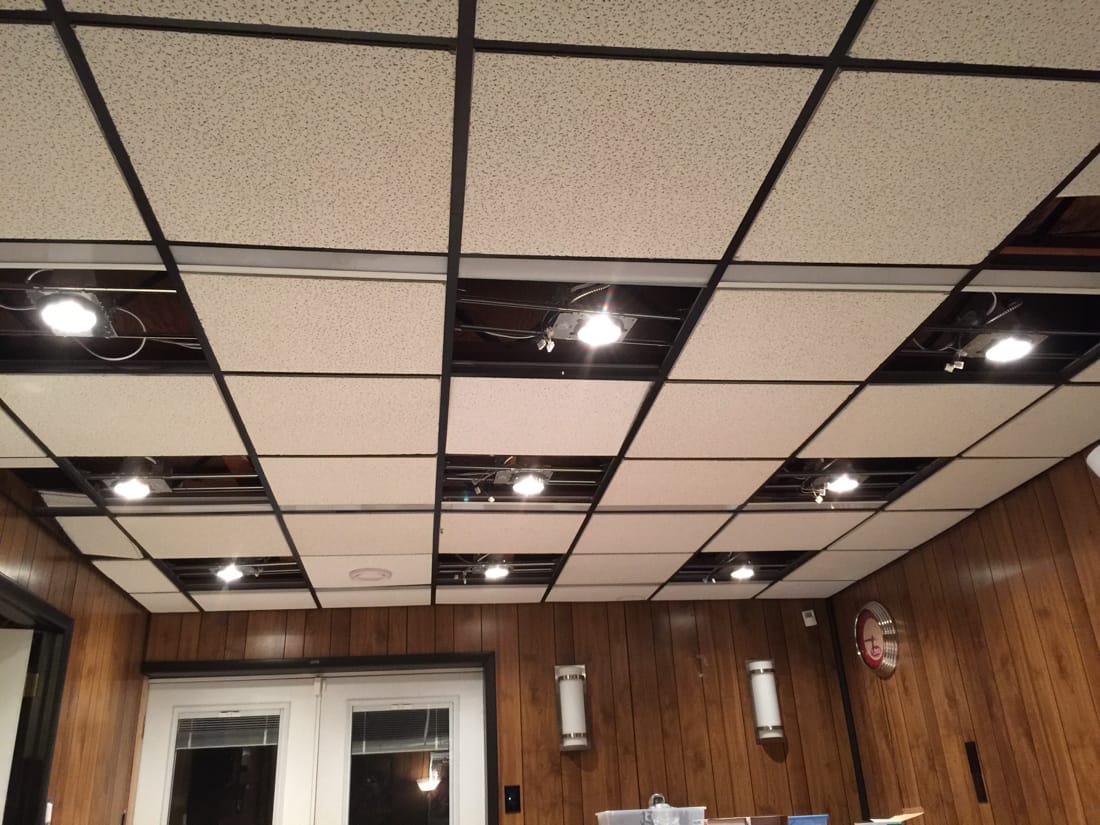


Suspended ceilings, also known as T-bar or grid ceilings, require a different approach when it comes to installing recessed lighting. Here's how to do it: Step 1: Determine the Location of the Lights Similar to drop ceilings, determine where you want to install the lights in the suspended ceiling. Step 2: Create Support for the Lights Using 1x4 boards, create support for the lights by screwing them between the ceiling joists where you want the lights to be installed. Step 3: Cut the Holes in the Ceiling Tiles Using a hole saw, cut holes in the ceiling tiles where you want to install the lights. Make sure the holes are the same size as the trim of the recessed light kit. Step 4: Install the Lights Follow the instructions provided with your recessed lighting kit to install the lights in the suspended ceiling. This typically involves securing the light in the hole and attaching the trim. Step 5: Connect the Wiring and Test the Lights Once all the lights are installed, connect the wiring and test the lights to ensure they are working properly.How to Install Recessed Lighting in a Suspended Ceiling


How to Install Recessed Lighting in a Suspended Ceiling

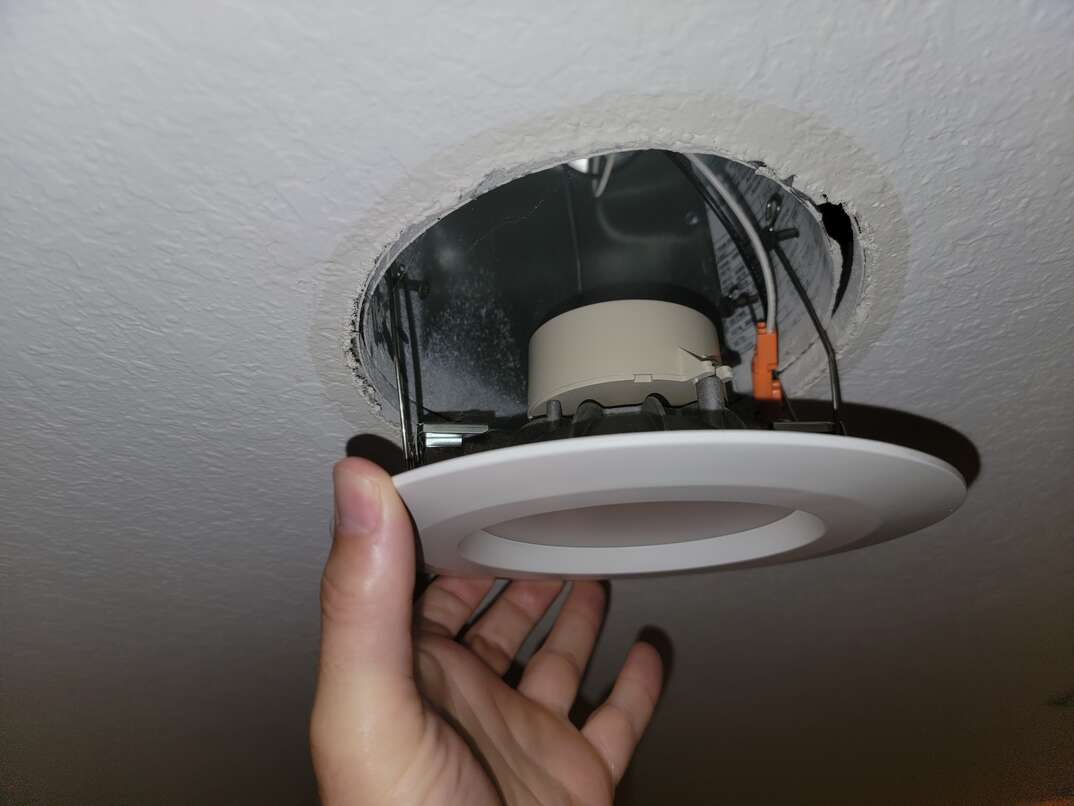


If you have a finished ceiling, the process of installing recessed lighting may require some extra steps. Here's what you need to do: Step 1: Determine the Location of the Lights Similar to other ceiling types, determine where you want to install the lights in the finished ceiling. Step 2: Cut the Holes in the Ceiling Using a drywall saw, cut holes in the ceiling where you want to install the lights. Make sure the holes are the same size as the trim of the recessed light kit. Step 3: Install the Lights Follow the instructions provided with your recessed lighting kit to install the lights in the finished ceiling. This typically involves securing the light in the hole and attaching the trim. Step 4: Connect the Wiring and Test the Lights Once all the lights are installed, connect the wiring and test the lights to ensure they are working properly.How to Install Recessed Lighting in a Finished Ceiling
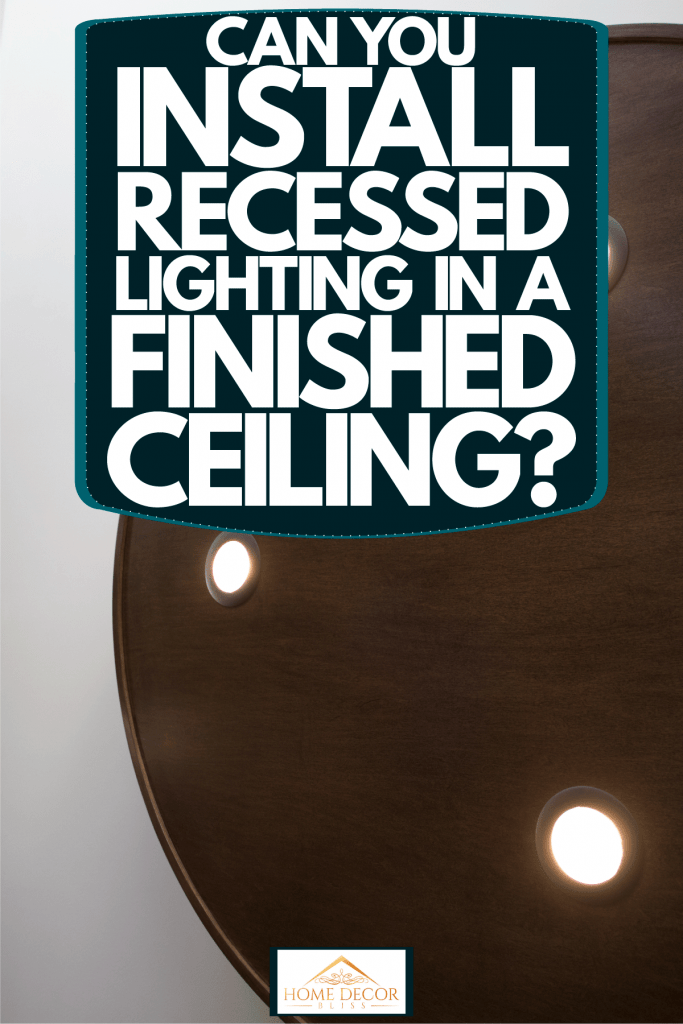

How to Install Recessed Lighting in a Finished Ceiling


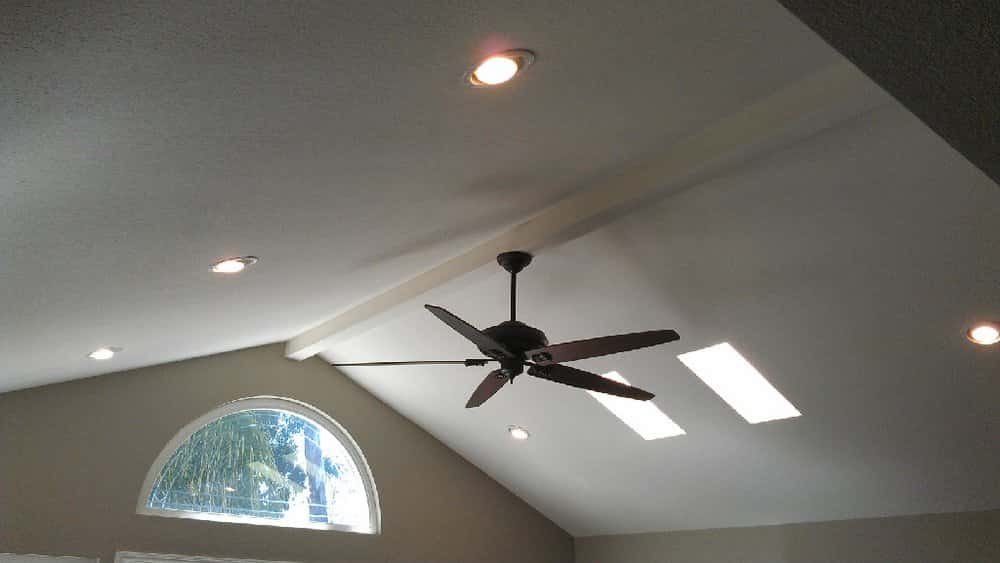
If you have a sloped ceiling, the process of installing recessed lighting can be a bit more challenging. Here's what you need to do: Step 1: Determine the Location of the Lights Determine where you want to install the lights on the sloped ceiling. Make sure to take into account the placement and spacing guidelines mentioned earlier. Step 2: Measure the Angle of the Slope Using a protractor or a digital angle finder, measure the angle of the slope where you want to install the lights. Step 3: Cut the Holes in the Ceiling Using a hole saw, cut holes in the ceiling where you want to install the lights. Make sure the holes are the same size as the trim of the recessed light kit. Step 4: Install the Lights Follow the instructions provided with your recessed lighting kit to install the lights in the sloped ceiling. This typically involves securing the light in the hole and attaching the trim. Step 5: Connect the Wiring and Test the Lights Once all the lights are installed, connect the wiring and test the lights to ensure they are working properly.How to Install Recessed Lighting in a Sloped Ceiling


How to Install Recessed Lighting in a Sloped Ceiling


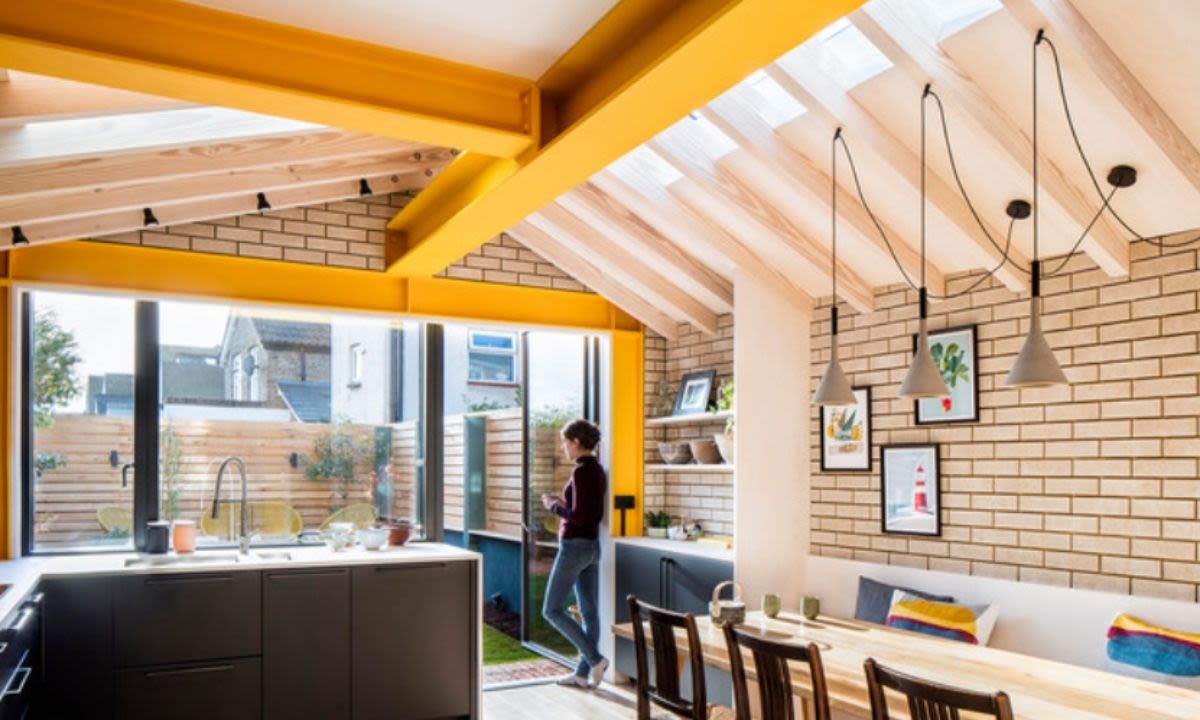
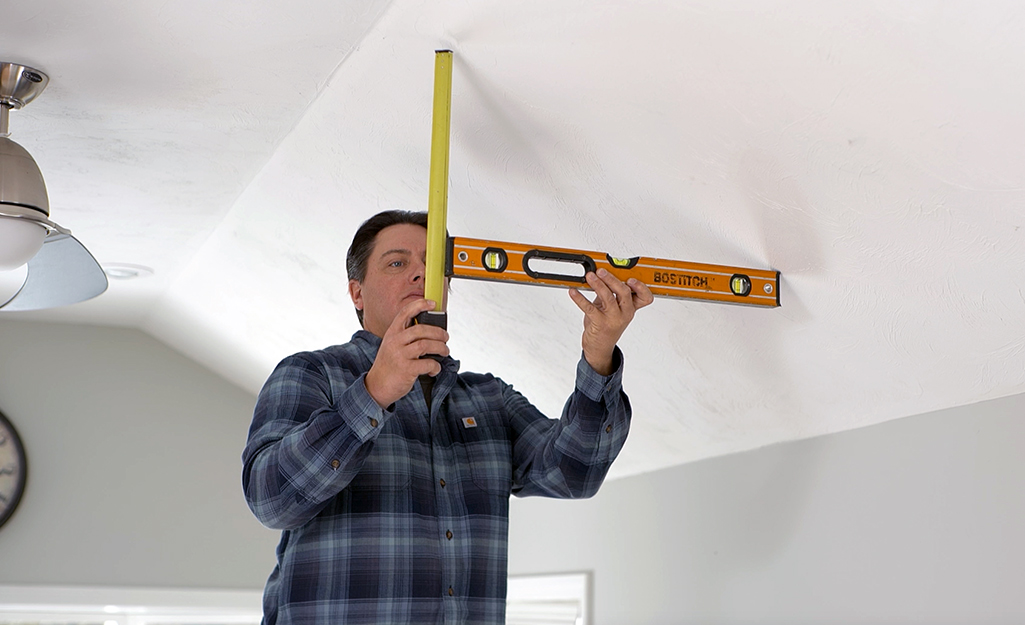

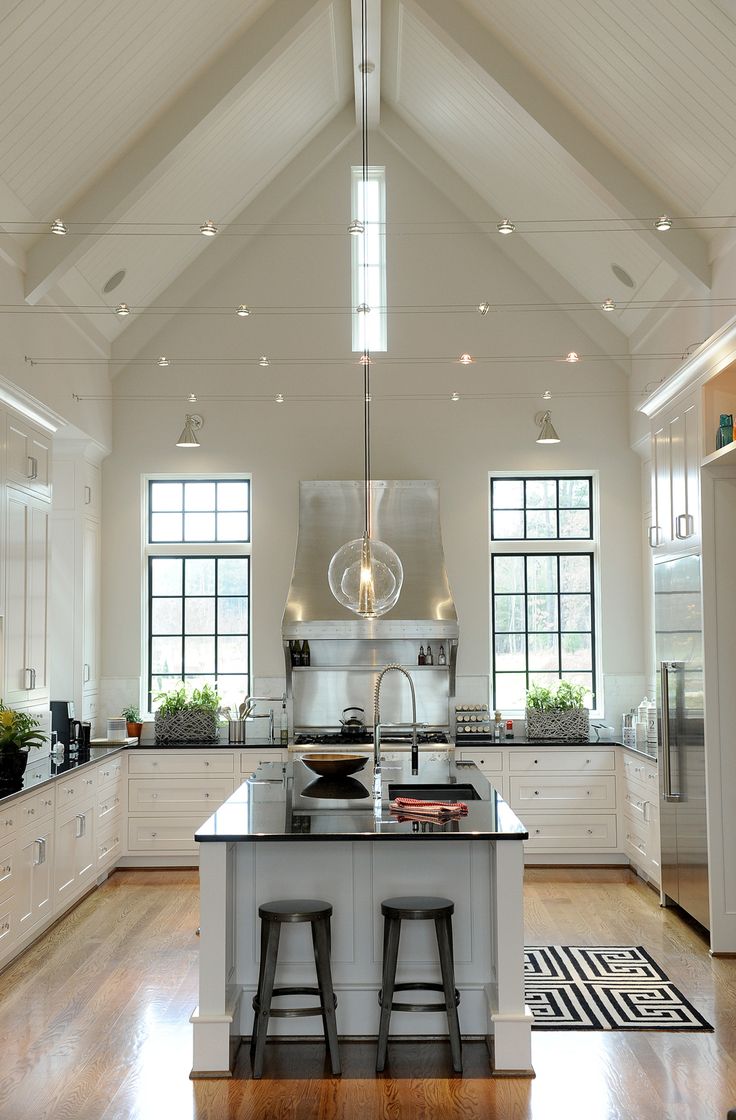
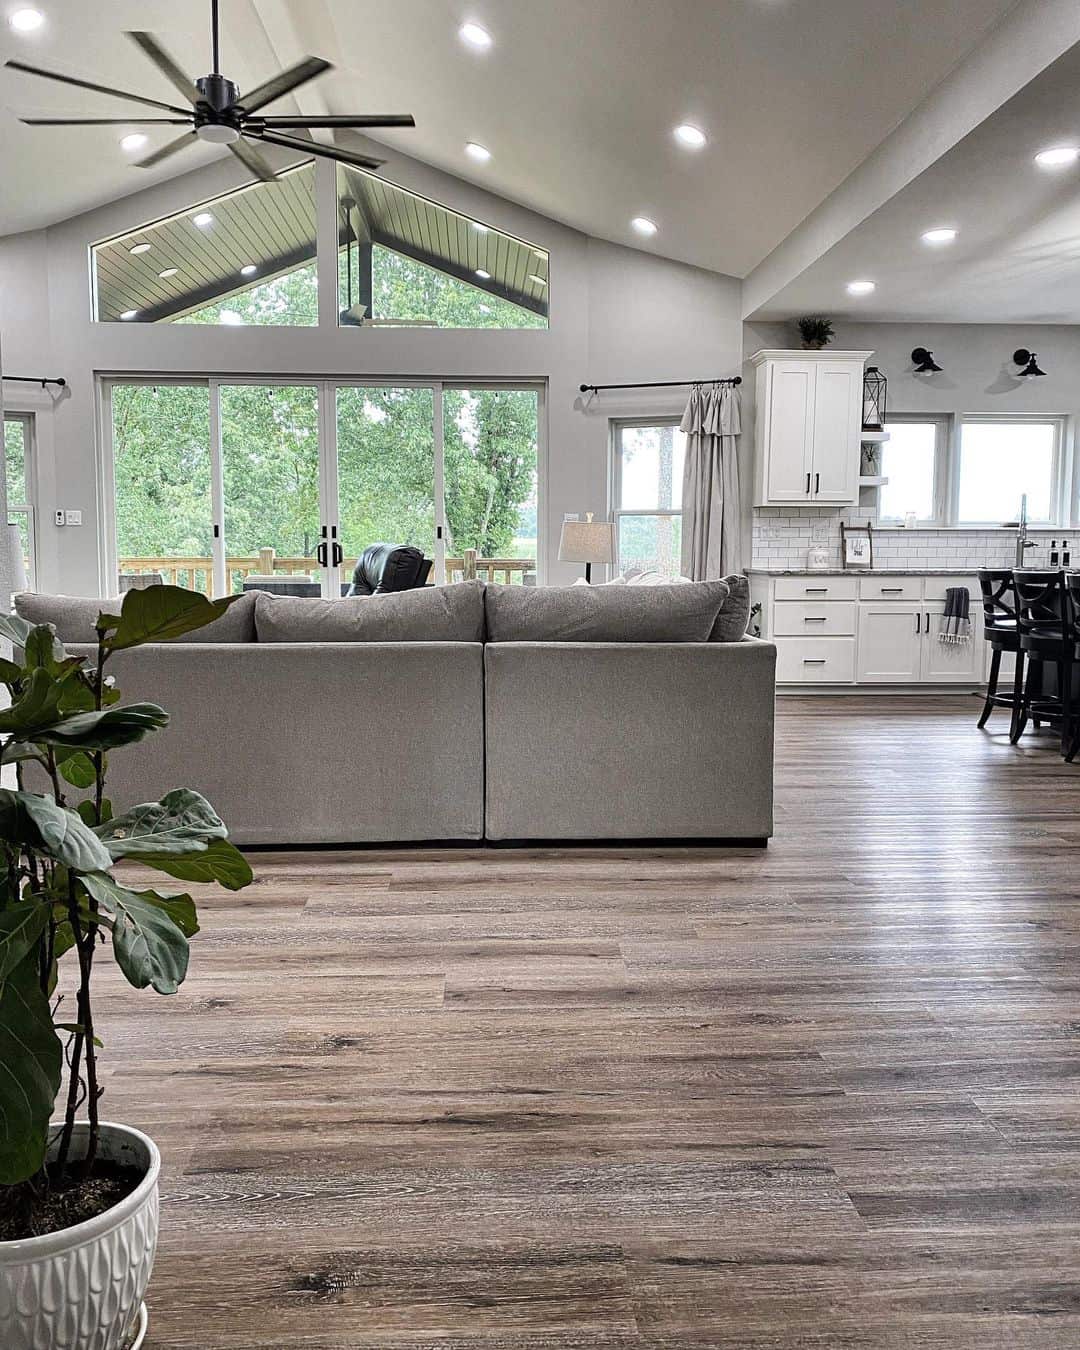
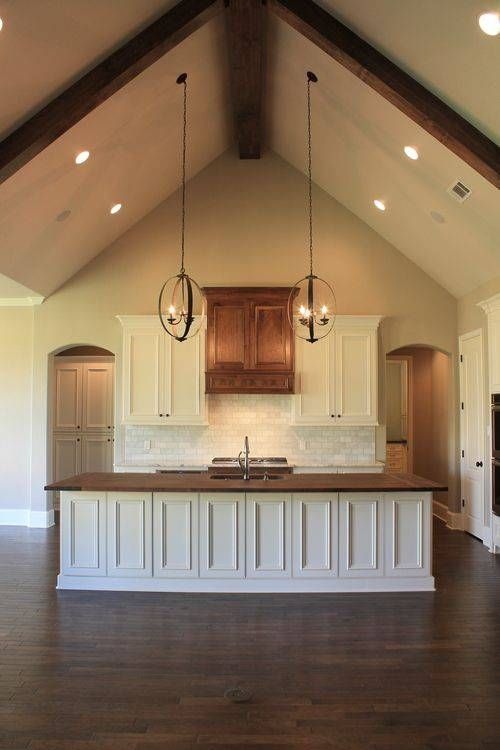
Vaulted ceilings add a sense of grandeur and spaciousness to a room, but they can also be a challenge when it comes to installing recessed lighting. Here's how to do it: Step 1: Determine the Location of the Lights Determine where you want to install the lights on the vaulted ceiling. Make sure to take into account the placement and spacing guidelines mentioned earlier. Step 2: Measure the Angle of the Ceiling Using a protractor or a digital angle finder, measure the angle of the ceiling where you want to install the lights. Step 3: Cut the Holes in the Ceiling Using a hole saw, cut holes in the ceiling where you want to install the lights. Make sure the holes are the same size as the trim of the recessed light kit. Step 4: Install the Lights Follow the instructions provided with your recessed lighting kit to install the lights in the vaulted ceiling. This typically involves securing the light in the hole and attaching the trim. Step 5: Connect the Wiring and Test the Lights Once all the lights are installed, connect the wiring and test the lights to ensure they are working properly.How to Install Recessed Lighting in a Vaulted Ceiling

How to Install Recessed Lighting in a Vaulted Ceiling


Cathedral ceilings, also known as high or vaulted ceilings, can be a challenge when it comes to installing recessed lighting. Here's how to do it: Step 1: Determine the Location of the Lights Determine where you want to install the lights on the cathedral ceiling. Make sure to take into account the placement and spacing guidelines mentioned earlier. Step 2: Measure the Angle of the Ceiling Using a protractor or a digital angle finder, measure the angle of the ceiling where you want to install the lights. Step 3: Cut the Holes in the Ceiling Using a hole saw, cut holes in the ceiling where you want to install the lights. Make sure the holes are the same size as the trim of the recessed light kit. Step 4: Install the Lights Follow the instructions provided with your recessed lighting kit to install the lights in the cathedral ceiling. This typically involves securing the light in the hole and attaching the trim. Step 5: Connect the Wiring and Test the Lights Once all the lights are installed, connect the wiring and test the lights to ensure they are working properly. With this guide, you should now have a better understanding of how to plan, install, and layout recessed lighting in your kitchen. Whether you have a standard flat ceiling or a more challenging sloped or cathedral ceiling, there are ways to incorporate recessed lighting into your kitchen design. Remember to always follow safety precautions and consult a professional if you are unsure. Happy lighting! How to Install Recessed Lighting in a Cathedral Ceiling


How to Install Recessed Lighting in a Cathedral Ceiling


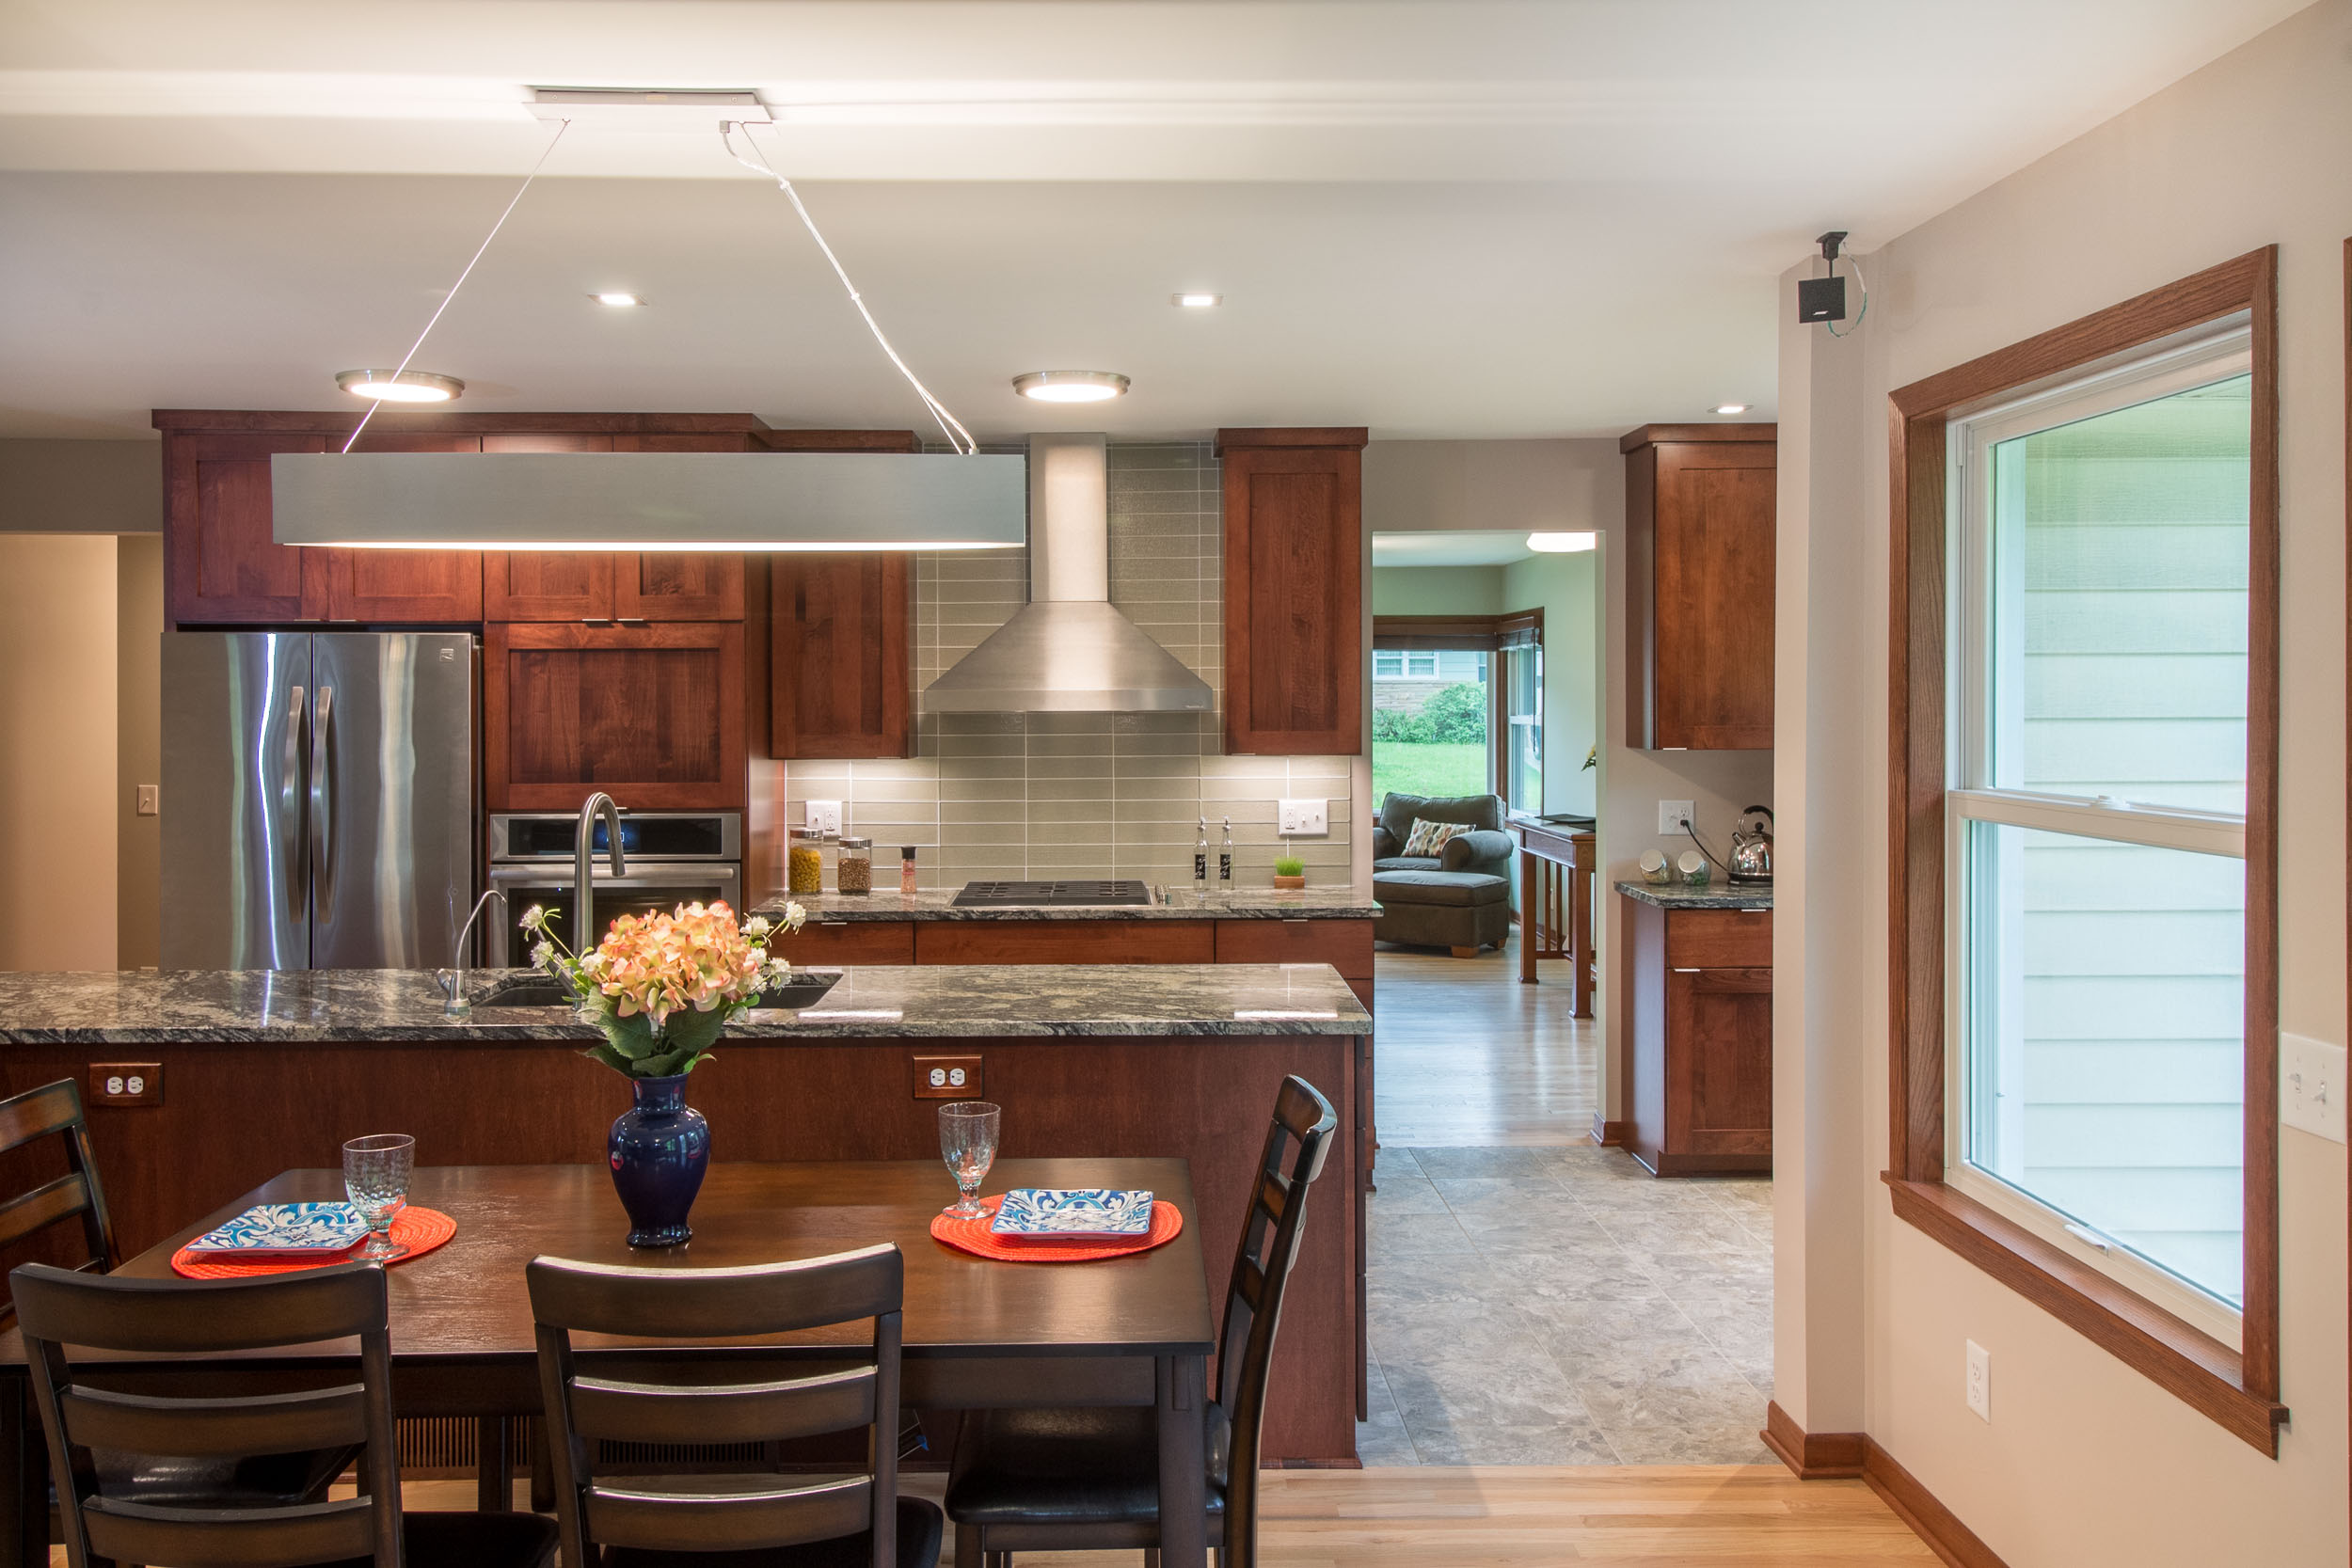
The Benefits of Installing Recessed Lights in Your Kitchen
:max_bytes(150000):strip_icc()/kitchenrecessedlighting-GettyImages-155383268-dec5caad600541ff81cbdd6d06846c66.jpg)
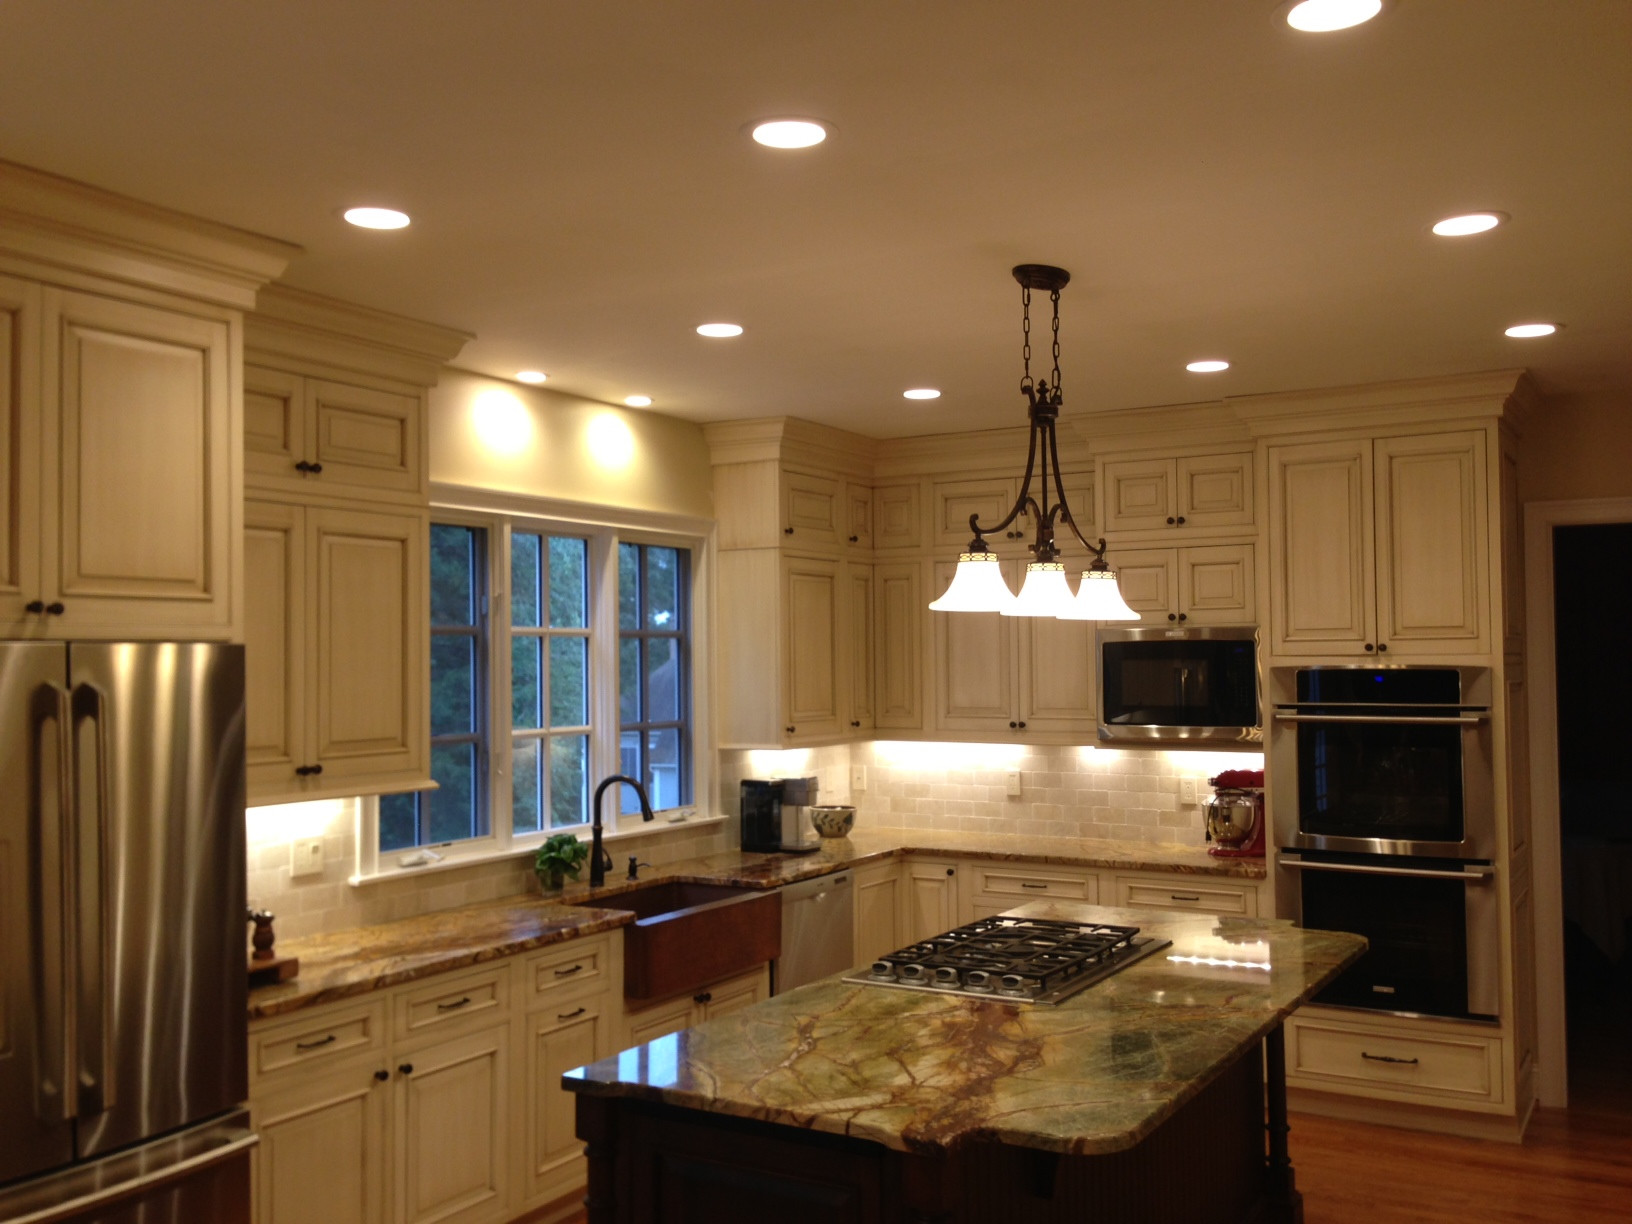
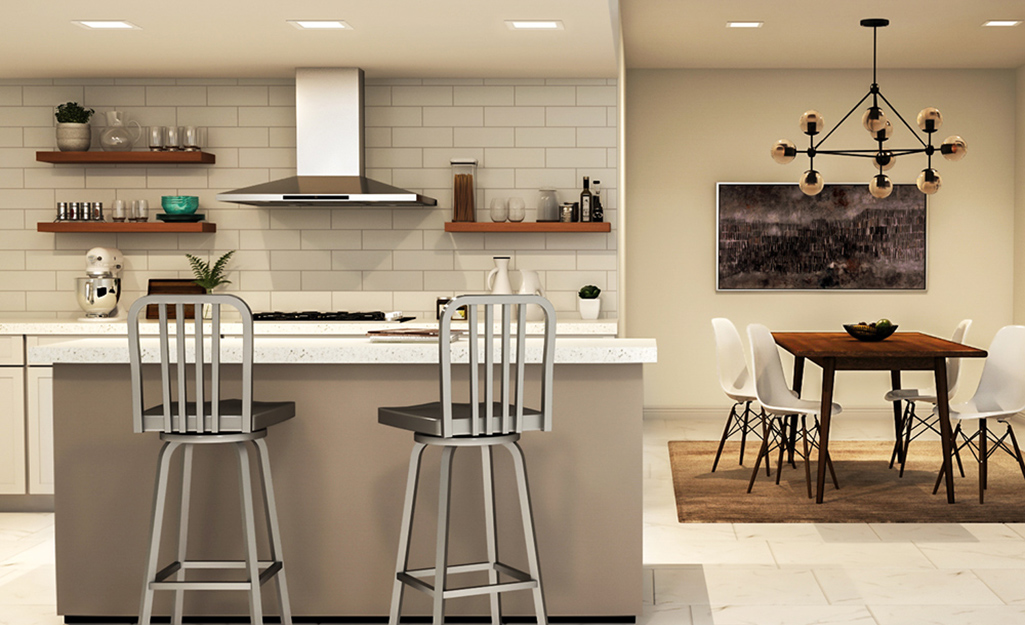
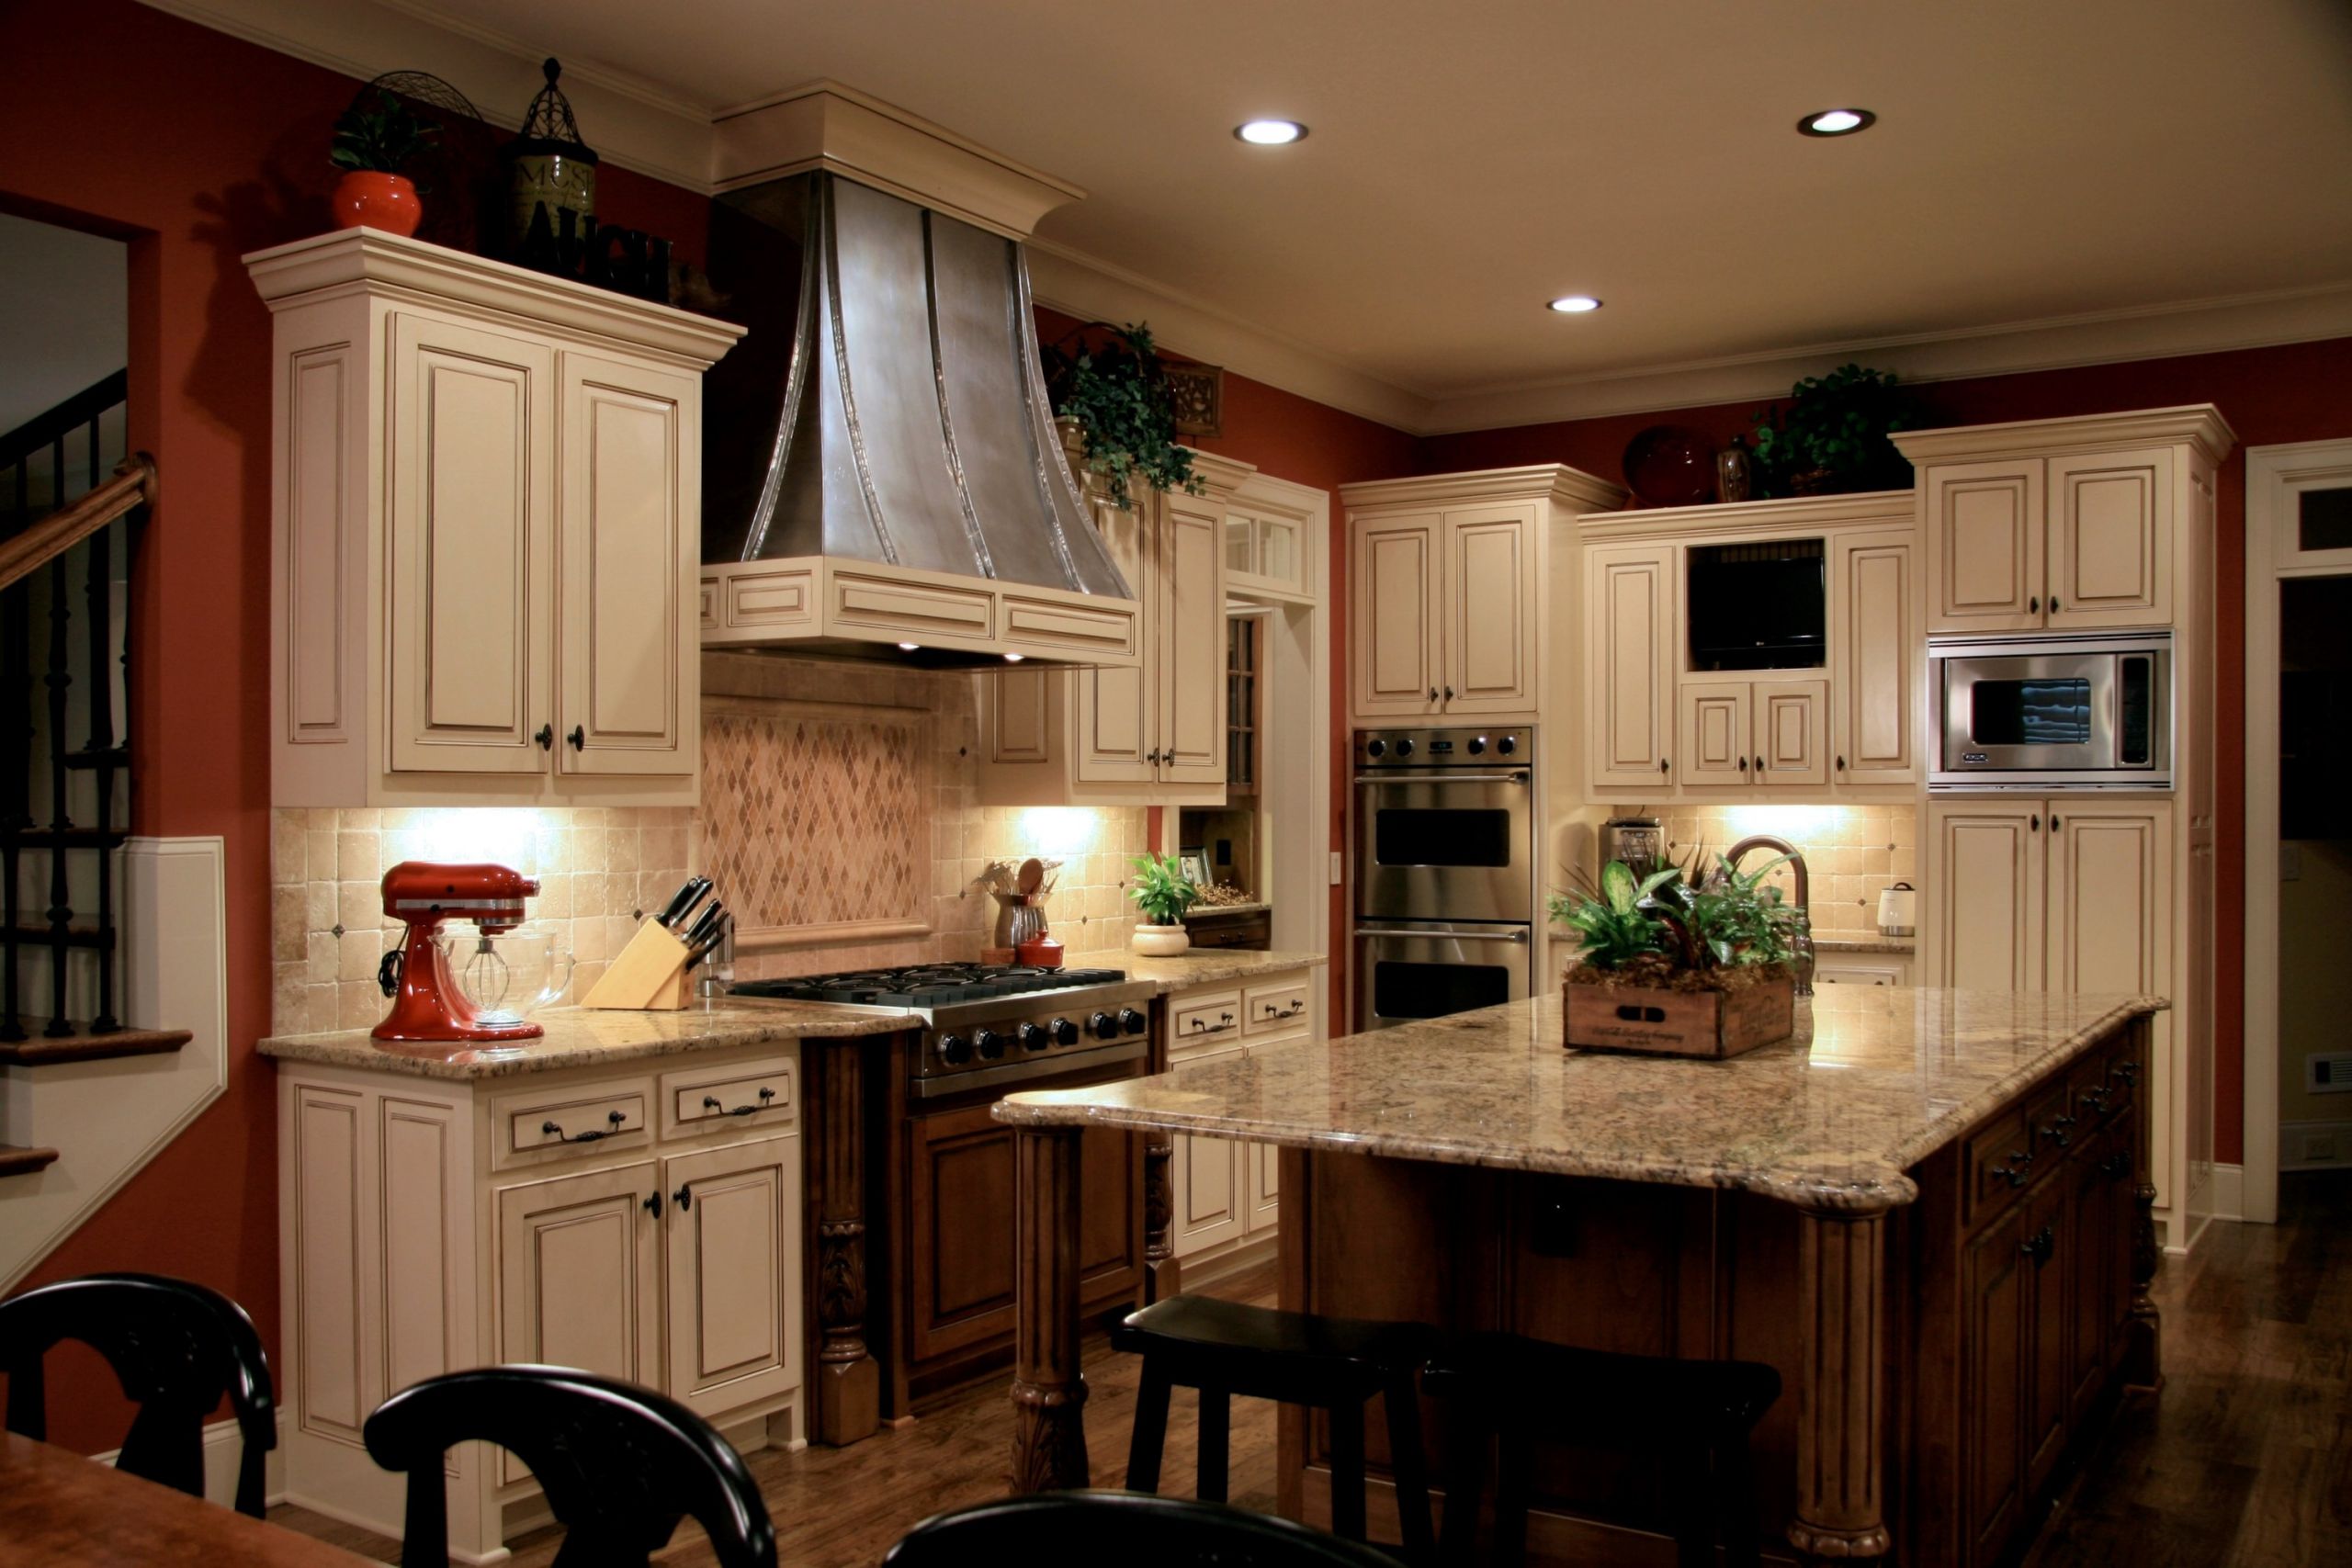
Maximize Space and Aesthetics
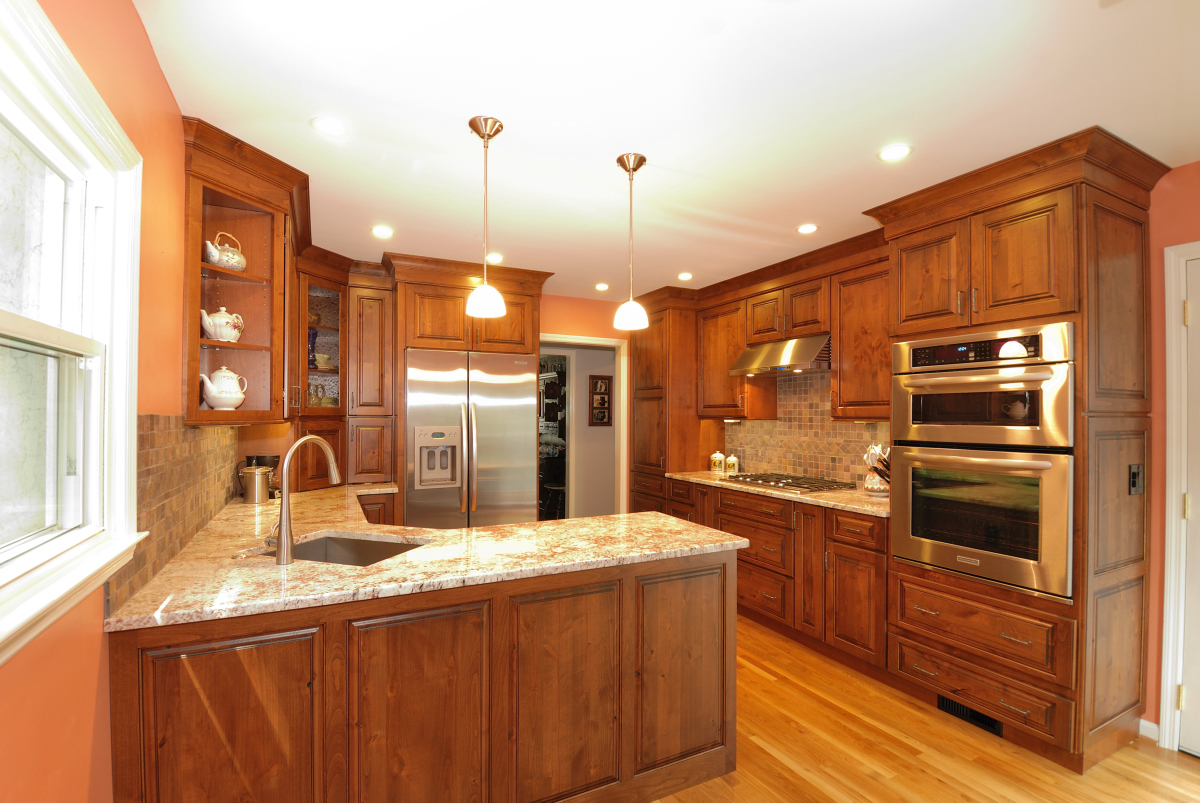
 One of the key elements to consider when designing a kitchen is lighting. Choosing the right type of lighting can make a significant difference in the overall look and feel of the space. This is where
recessed lights
come in. These small,
low-profile fixtures
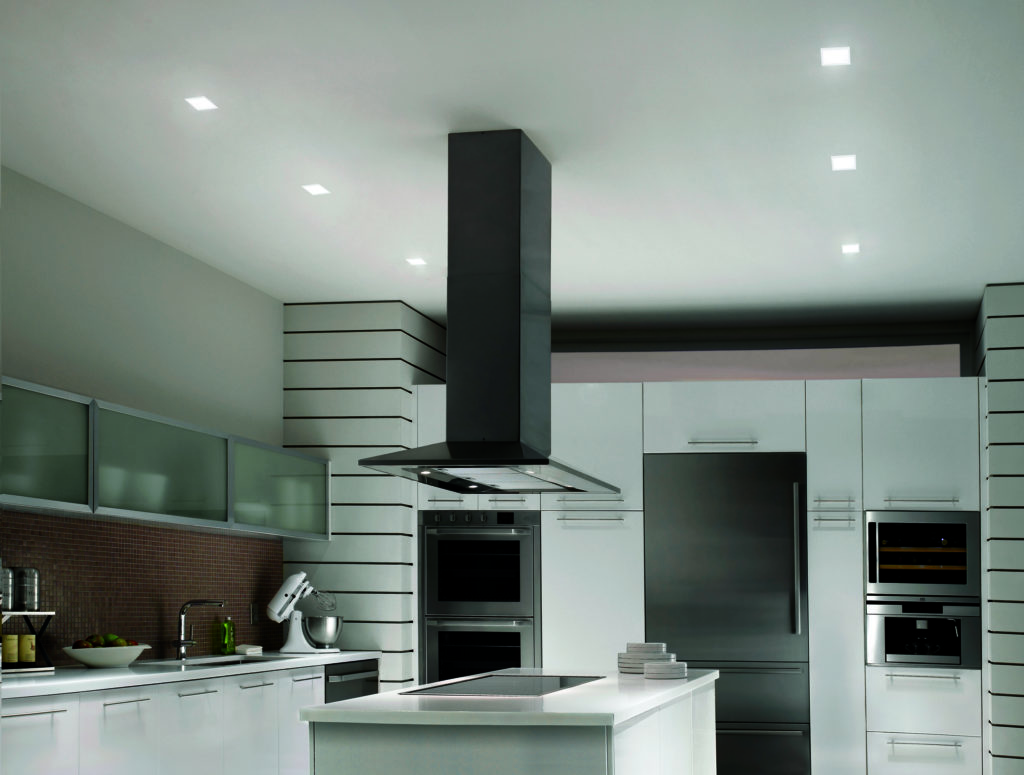
are installed into the ceiling, providing a sleek and modern look while also maximizing space. By eliminating the need for bulky light fixtures,
recessed lights
create a clean and uncluttered look in your kitchen. This is especially beneficial for smaller kitchens, where every inch of space counts.
One of the key elements to consider when designing a kitchen is lighting. Choosing the right type of lighting can make a significant difference in the overall look and feel of the space. This is where
recessed lights
come in. These small,
low-profile fixtures
are installed into the ceiling, providing a sleek and modern look while also maximizing space. By eliminating the need for bulky light fixtures,
recessed lights
create a clean and uncluttered look in your kitchen. This is especially beneficial for smaller kitchens, where every inch of space counts.
Enhance Visibility and Functionality
 Apart from aesthetics,
recessed lights
also serve a practical purpose in the kitchen. They are perfect for providing
task lighting
in areas where you need bright, focused light. Whether you're chopping vegetables, preparing meals, or cooking,
recessed lights
can be strategically placed above work areas to provide ample lighting. This not only enhances visibility and makes it easier to perform tasks, but it also adds to the overall functionality of your kitchen.
Apart from aesthetics,
recessed lights
also serve a practical purpose in the kitchen. They are perfect for providing
task lighting
in areas where you need bright, focused light. Whether you're chopping vegetables, preparing meals, or cooking,
recessed lights
can be strategically placed above work areas to provide ample lighting. This not only enhances visibility and makes it easier to perform tasks, but it also adds to the overall functionality of your kitchen.
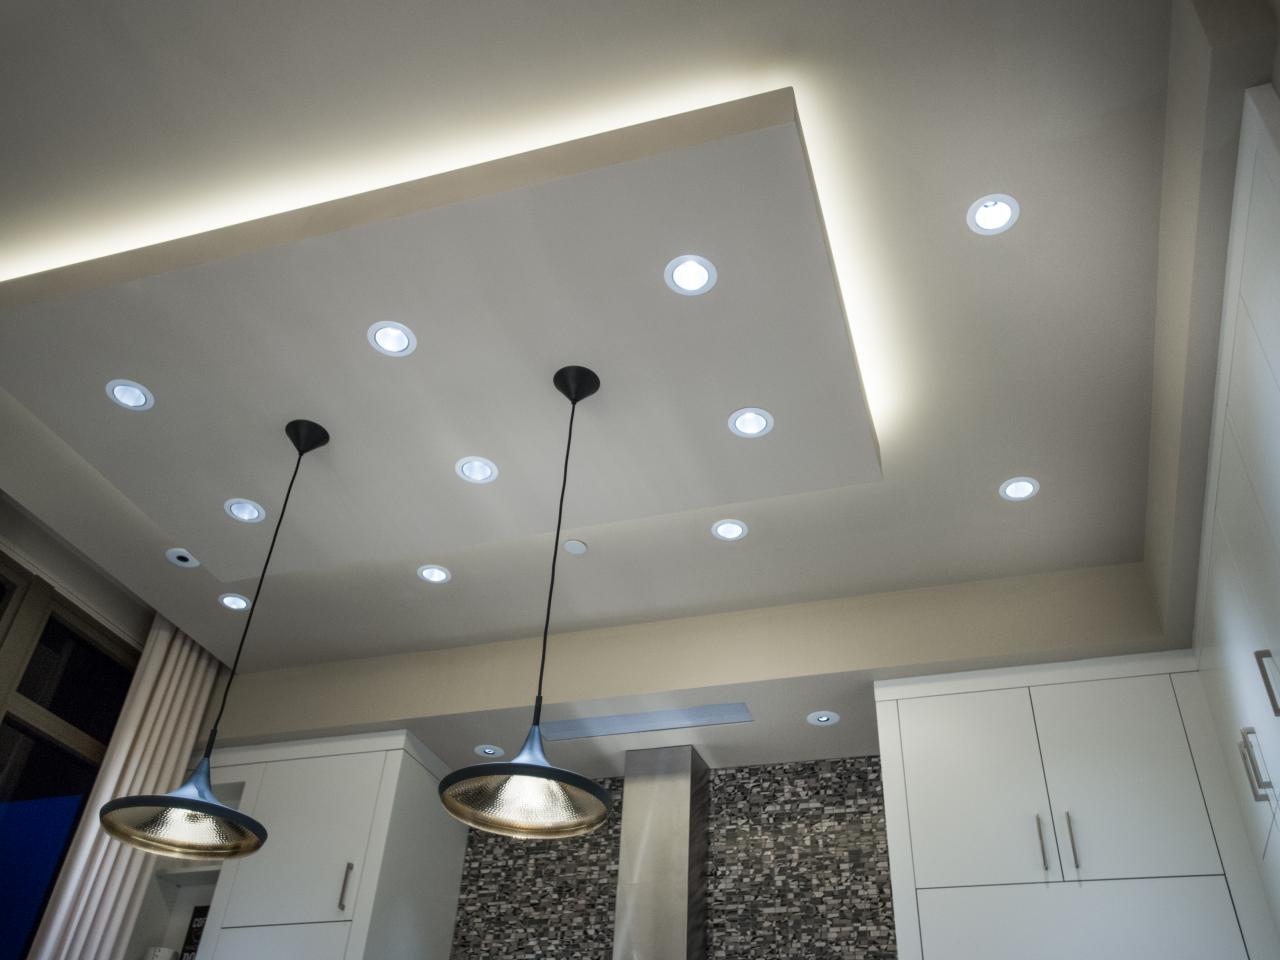
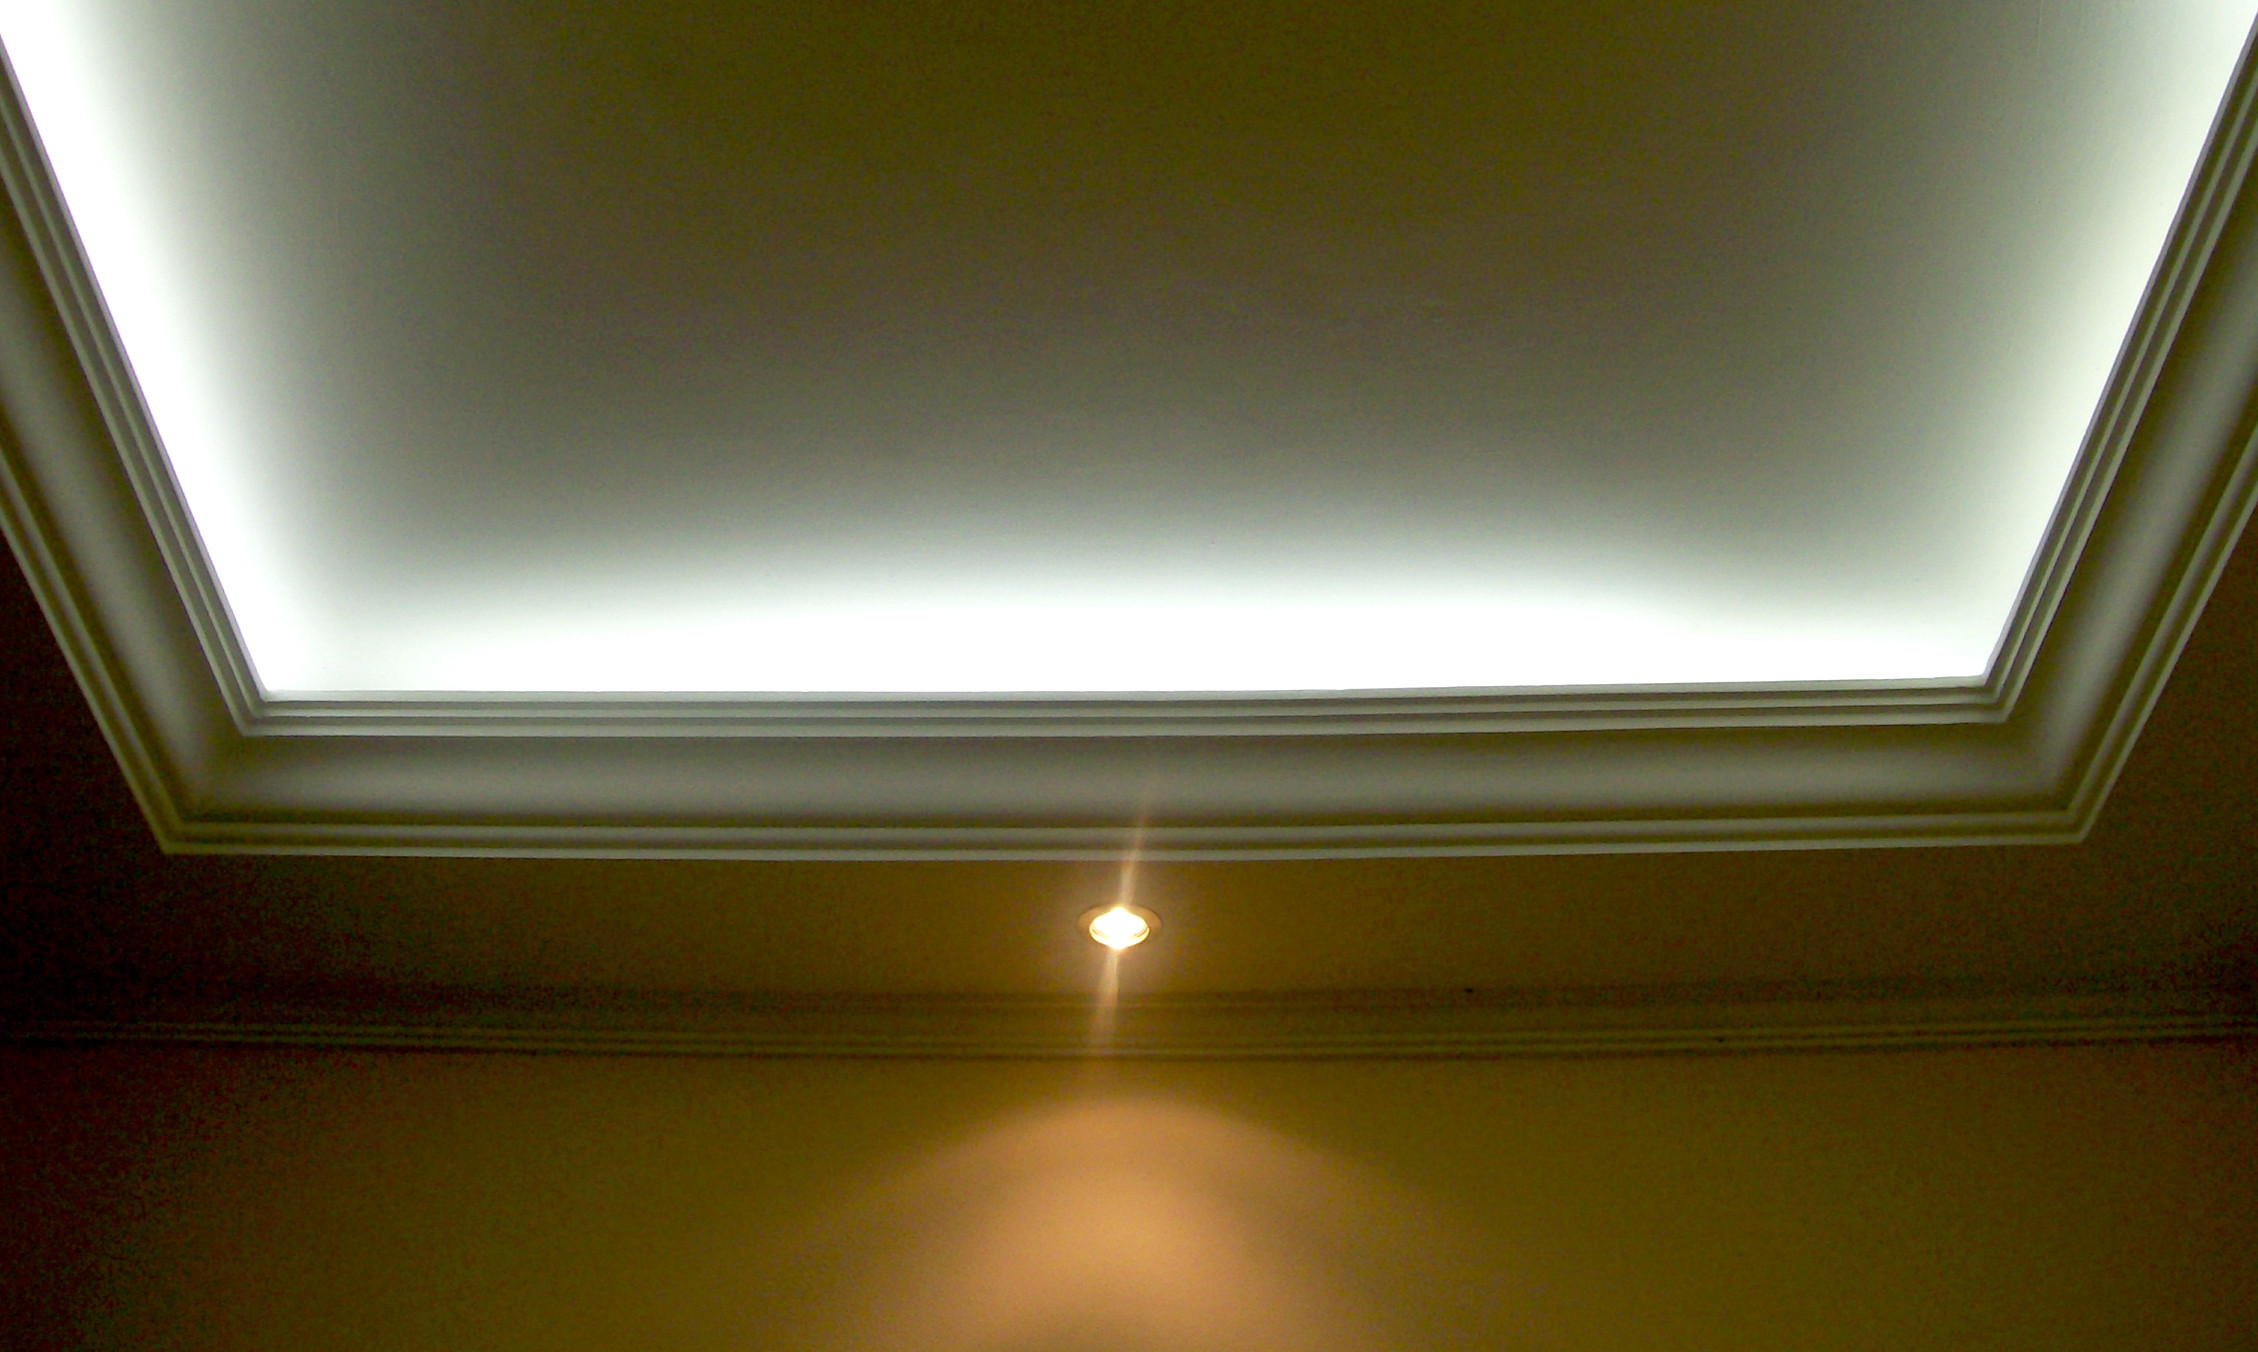
Create a Versatile Lighting Scheme
 Another advantage of
recessed lights
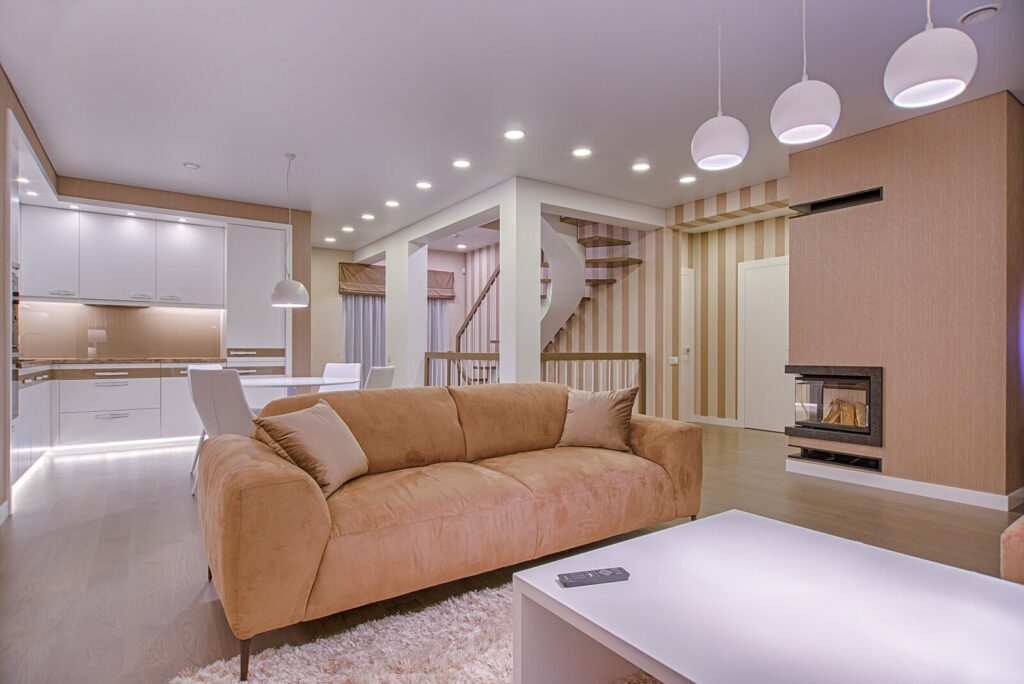
is their versatility. They can be used in various ways to create different lighting effects in your kitchen. For example,
accent lights
can be installed above cabinets or underneath shelves to highlight decorative elements or create a warm ambiance.
Dimmable recessed lights
also offer the option to adjust the brightness level, allowing you to create the perfect atmosphere for different occasions.
Another advantage of
recessed lights
is their versatility. They can be used in various ways to create different lighting effects in your kitchen. For example,
accent lights
can be installed above cabinets or underneath shelves to highlight decorative elements or create a warm ambiance.
Dimmable recessed lights
also offer the option to adjust the brightness level, allowing you to create the perfect atmosphere for different occasions.
Energy and Cost Efficiency
 With the rising costs of electricity, energy efficiency is an important consideration in any home design.
Recessed lights
are a great choice for those looking to save on energy and costs. They use
LED bulbs
which are known for their energy efficiency and long lifespan. This means you won't have to replace bulbs as often, saving you money in the long run. Additionally,
recessed lights
consume less energy compared to other types of lighting, making them an environmentally friendly choice.
With the rising costs of electricity, energy efficiency is an important consideration in any home design.
Recessed lights
are a great choice for those looking to save on energy and costs. They use
LED bulbs
which are known for their energy efficiency and long lifespan. This means you won't have to replace bulbs as often, saving you money in the long run. Additionally,
recessed lights
consume less energy compared to other types of lighting, making them an environmentally friendly choice.
Conclusion
 In conclusion,
recessed lights
are a popular choice for modern kitchen designs due to their space-saving, aesthetic, and functional benefits. They offer a versatile lighting scheme, while also being energy and cost-efficient. So if you're in the process of designing or renovating your kitchen, consider incorporating
recessed lights
for a sleek and practical lighting solution.
In conclusion,
recessed lights
are a popular choice for modern kitchen designs due to their space-saving, aesthetic, and functional benefits. They offer a versatile lighting scheme, while also being energy and cost-efficient. So if you're in the process of designing or renovating your kitchen, consider incorporating
recessed lights
for a sleek and practical lighting solution.