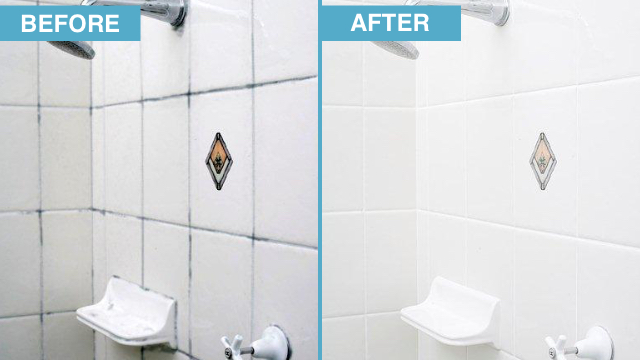
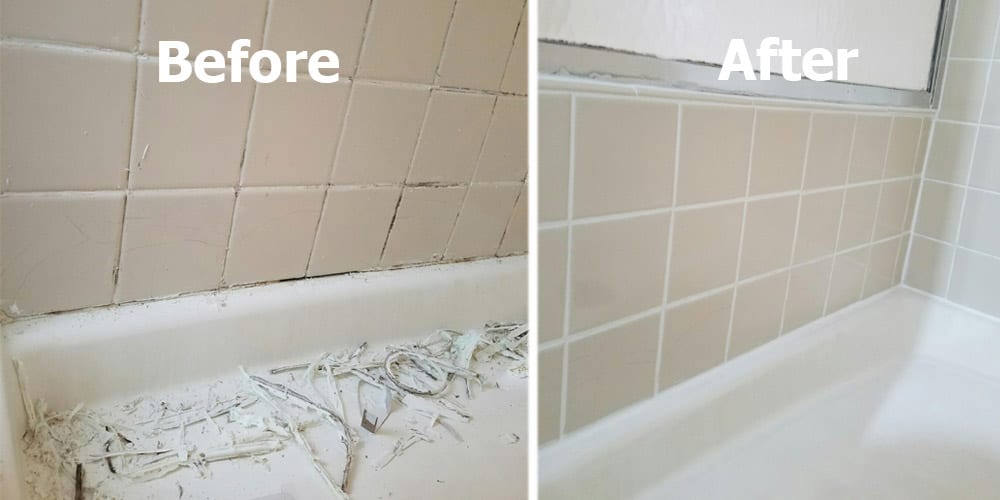
If you're tired of looking at your dull, stained, or cracked kitchen wall tiles, it may be time to consider regrouting. Not only will this improve the appearance of your kitchen, but it can also help prevent any water damage or mold growth. But before you grab your trowel and start scraping away at the old grout, let's go through a step-by-step guide on how to regrout your kitchen tiles.Regrouting Kitchen Wall Tiles: A Step-by-Step Guide
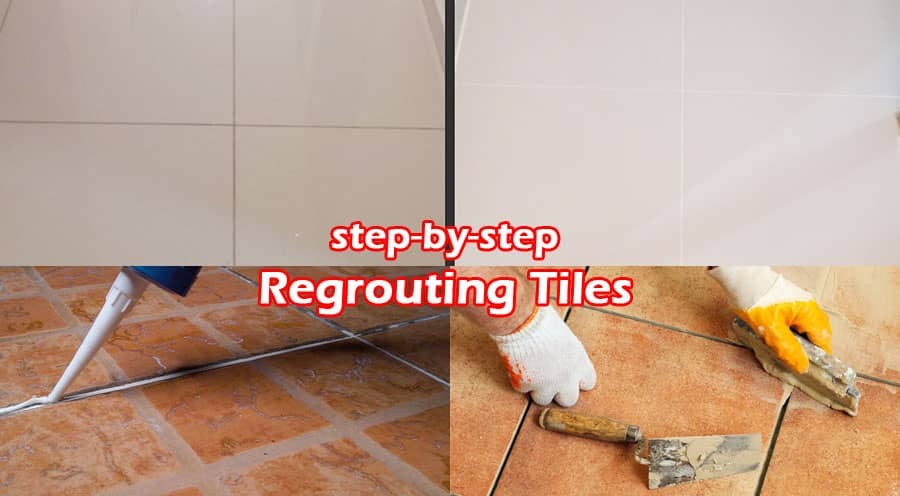
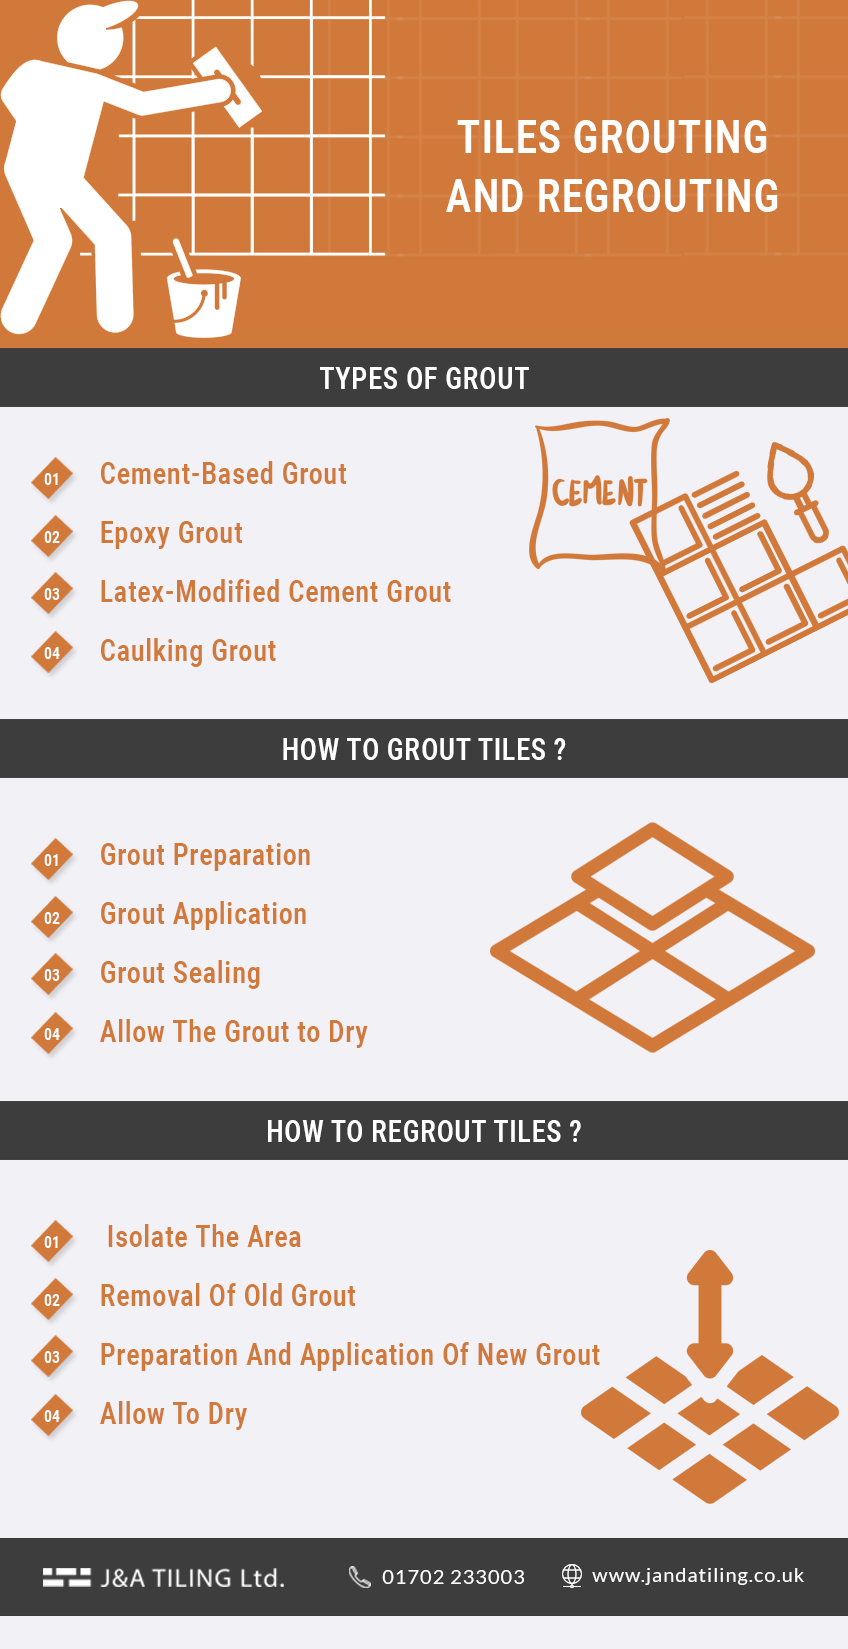
Regrouting your kitchen tiles is a DIY project that can save you time and money compared to hiring a professional. However, it does require some patience and attention to detail. Here's a breakdown of the process: Step 1: Prepare the Area Step 2: Choose the Right Grout Step 3: Mix the Grout Step 4: Apply the Grout Step 5: Wipe Away Excess Grout Step 6: Let it CureHow to Regrout Kitchen Tile: DIY Guide
Before you begin, make sure to protect your countertops and floors with plastic sheeting or towels to catch any debris or spills. You should also remove any loose or damaged tiles and thoroughly clean the area to remove any dirt, grime, or old grout.
There are different types of grout available, such as sanded, unsanded, and epoxy grout. Make sure to choose the right one for your kitchen tiles based on the size of the grout lines and the material of your tiles. Sanded grout is ideal for larger grout lines, while unsanded grout is better for smaller lines and more delicate tiles.
Follow the instructions on the grout packaging to mix the grout to the right consistency. Use a grout float to mix the grout until it reaches a smooth, peanut butter-like consistency.
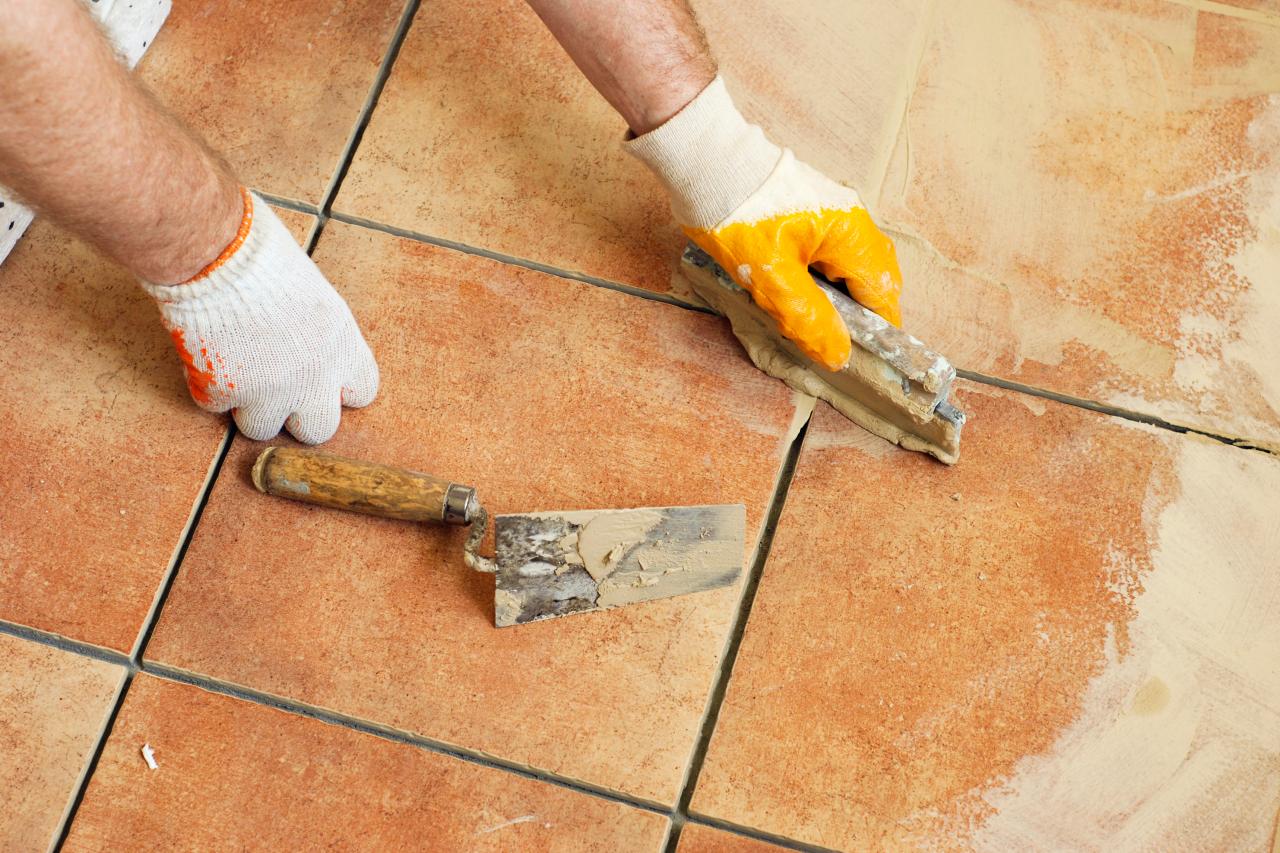
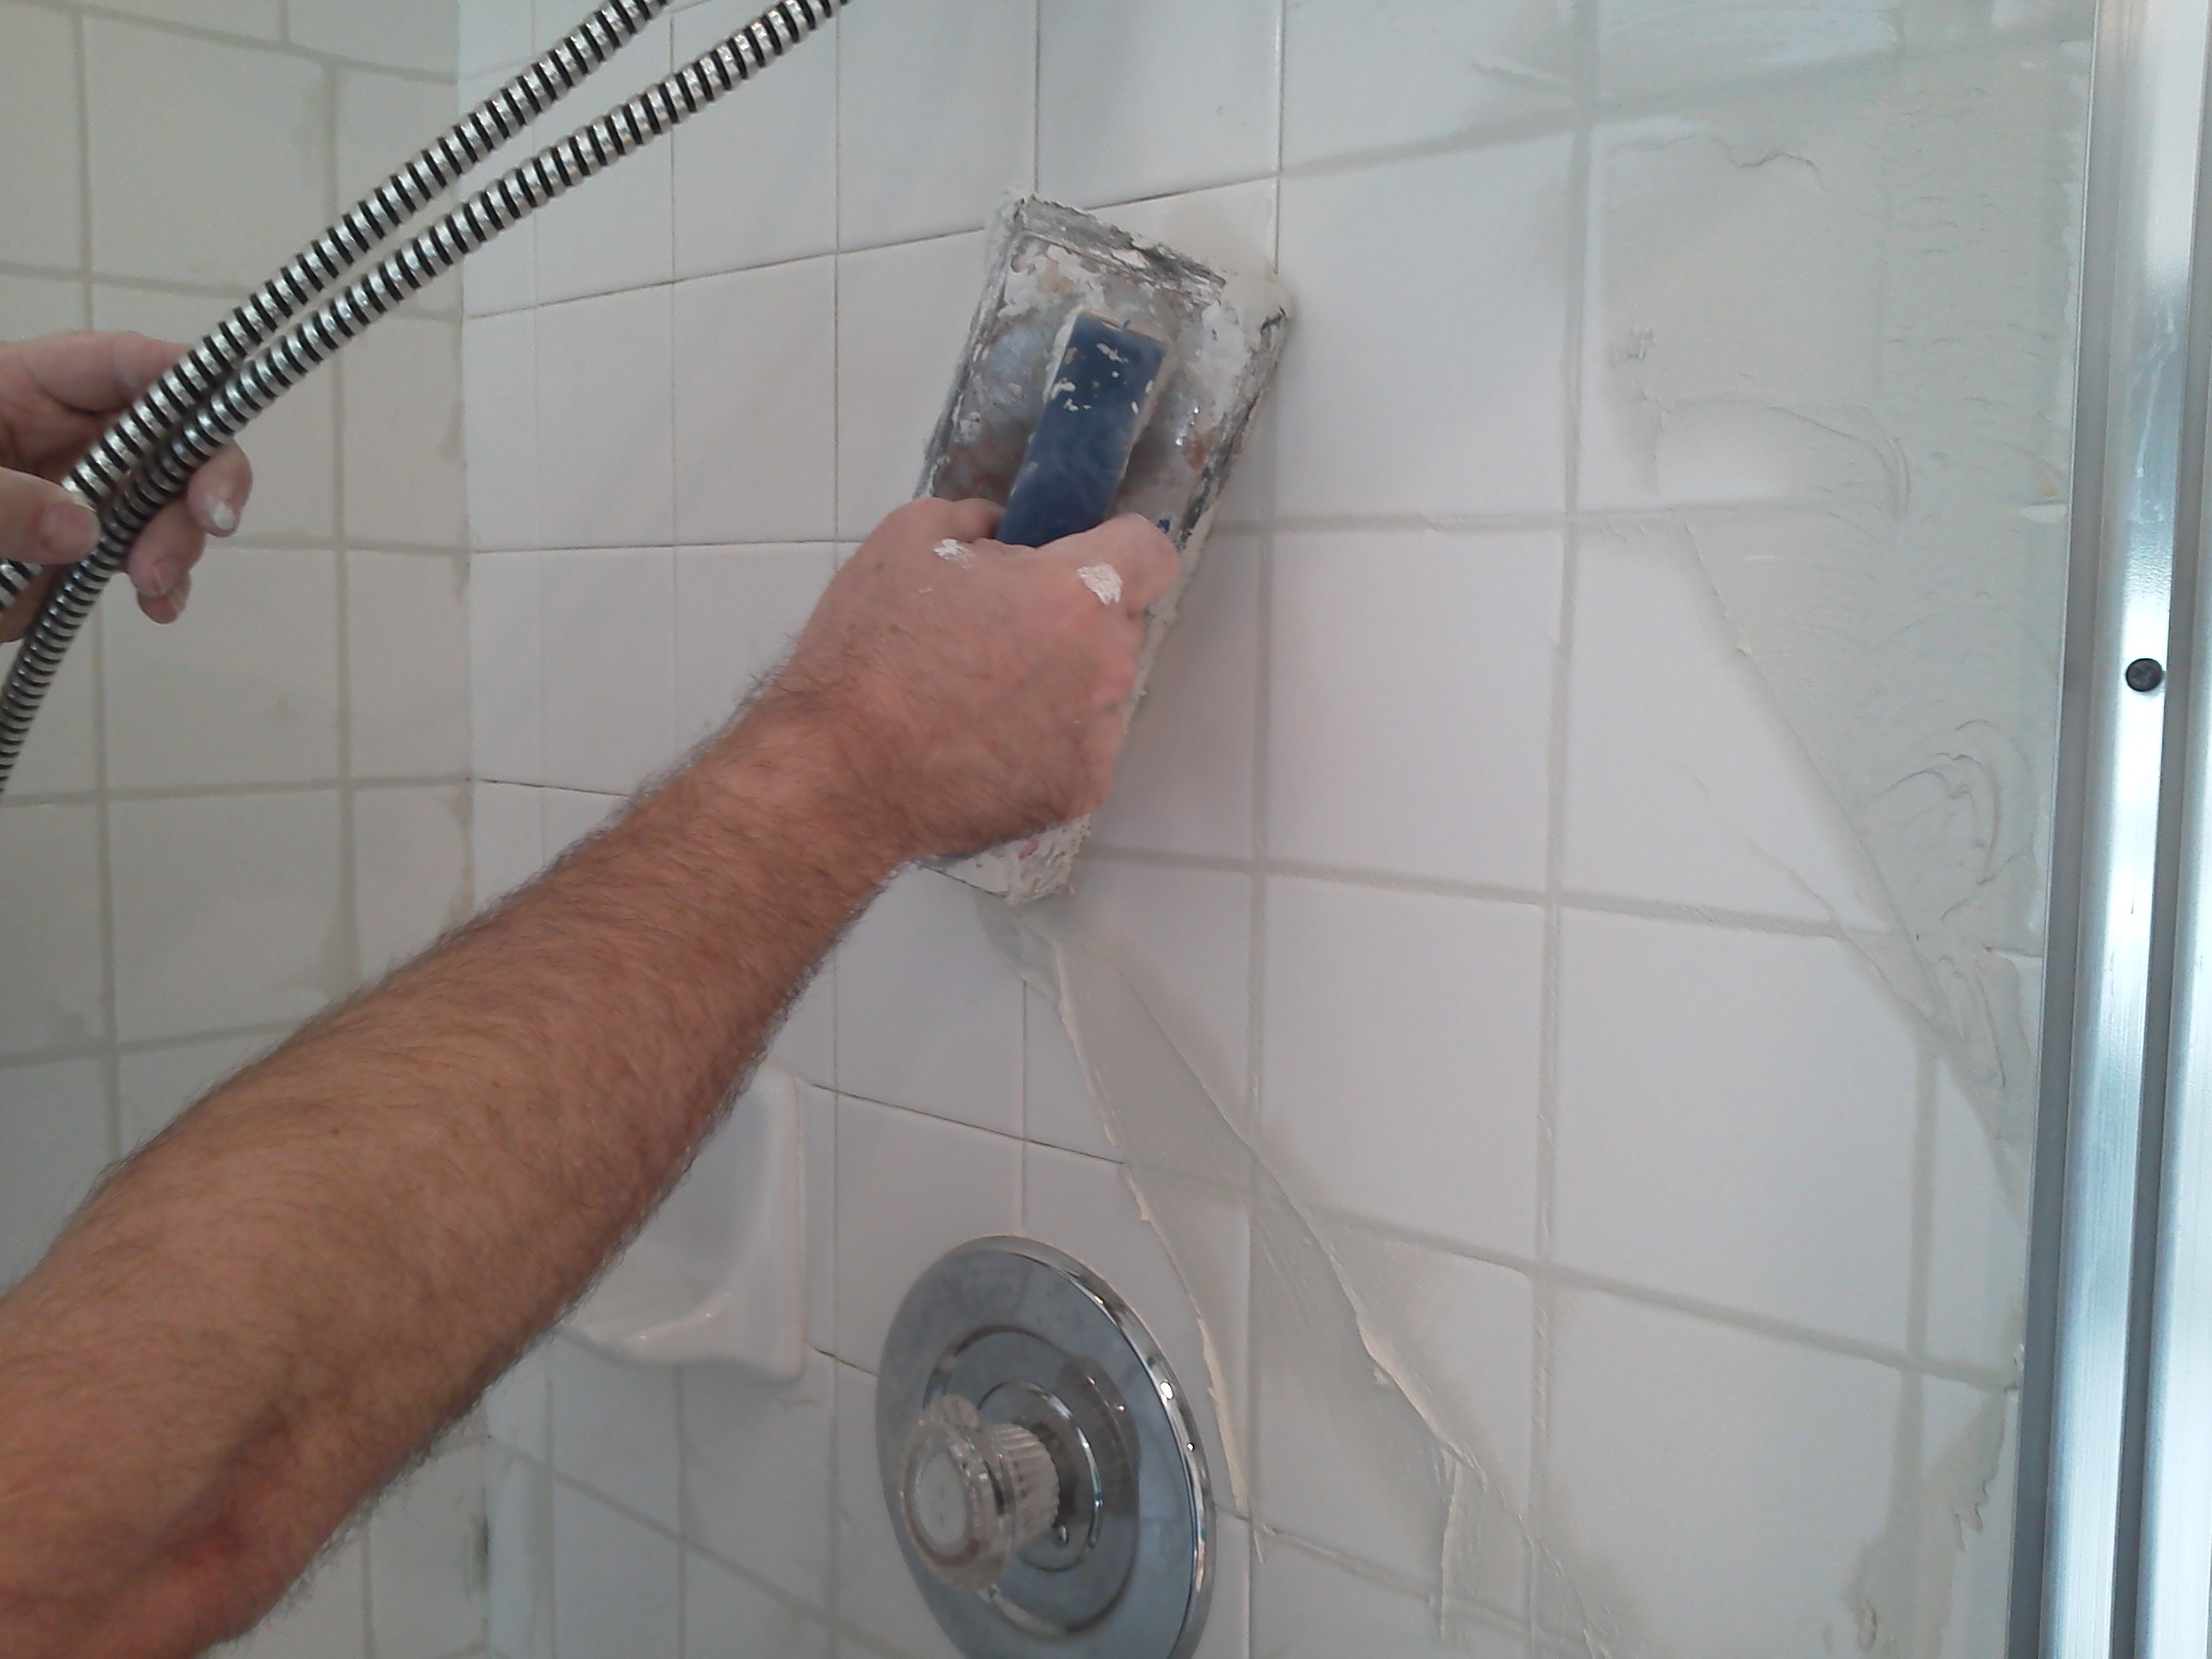
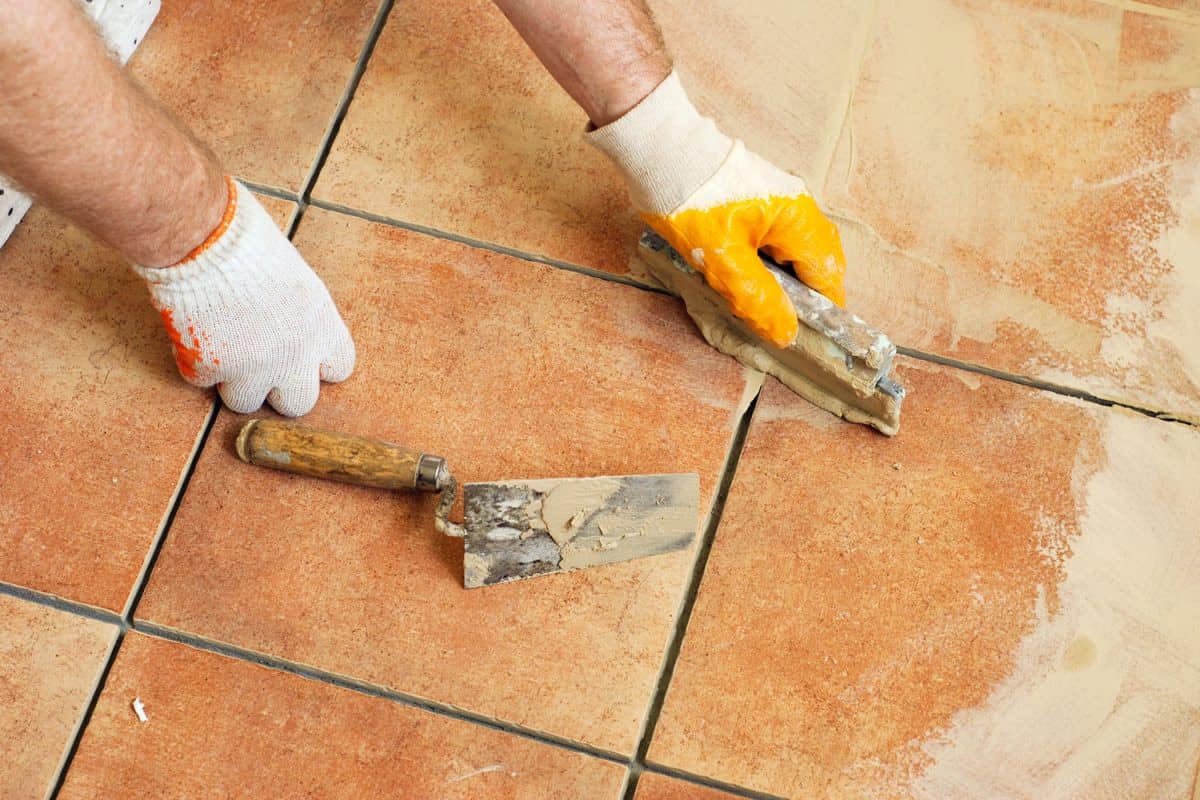
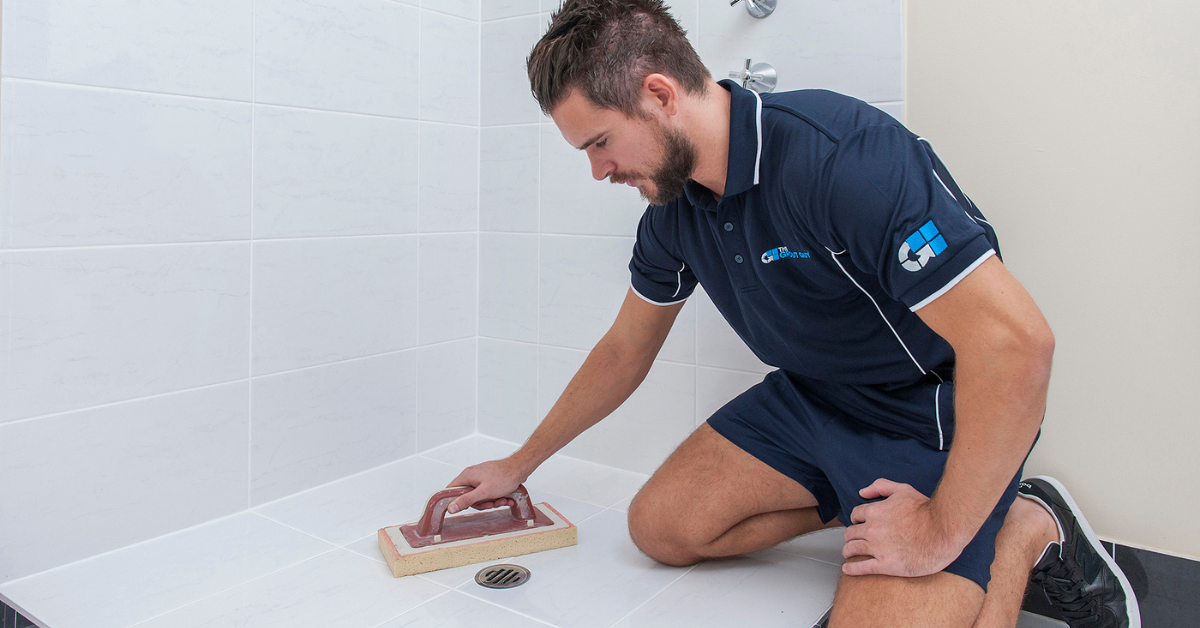
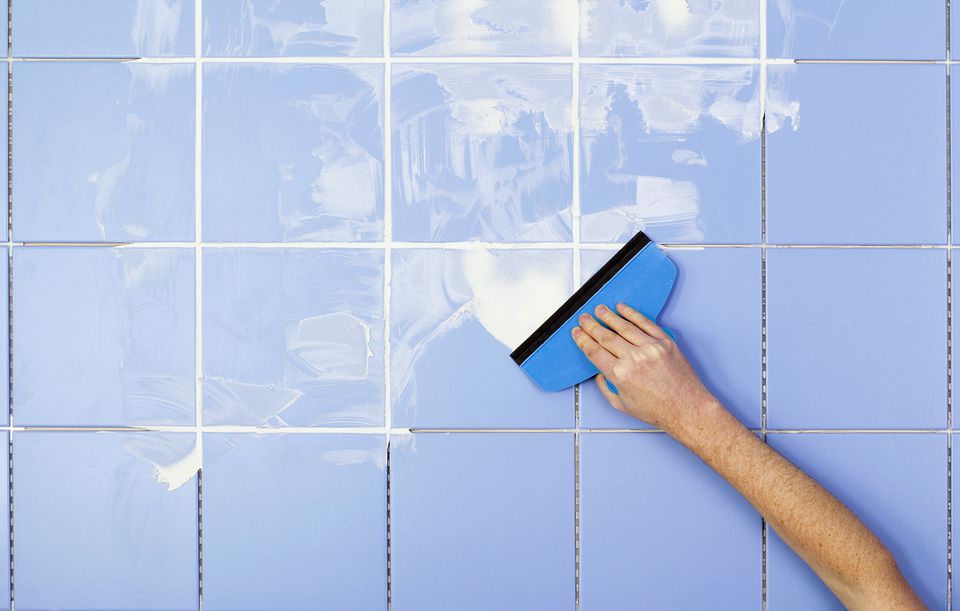
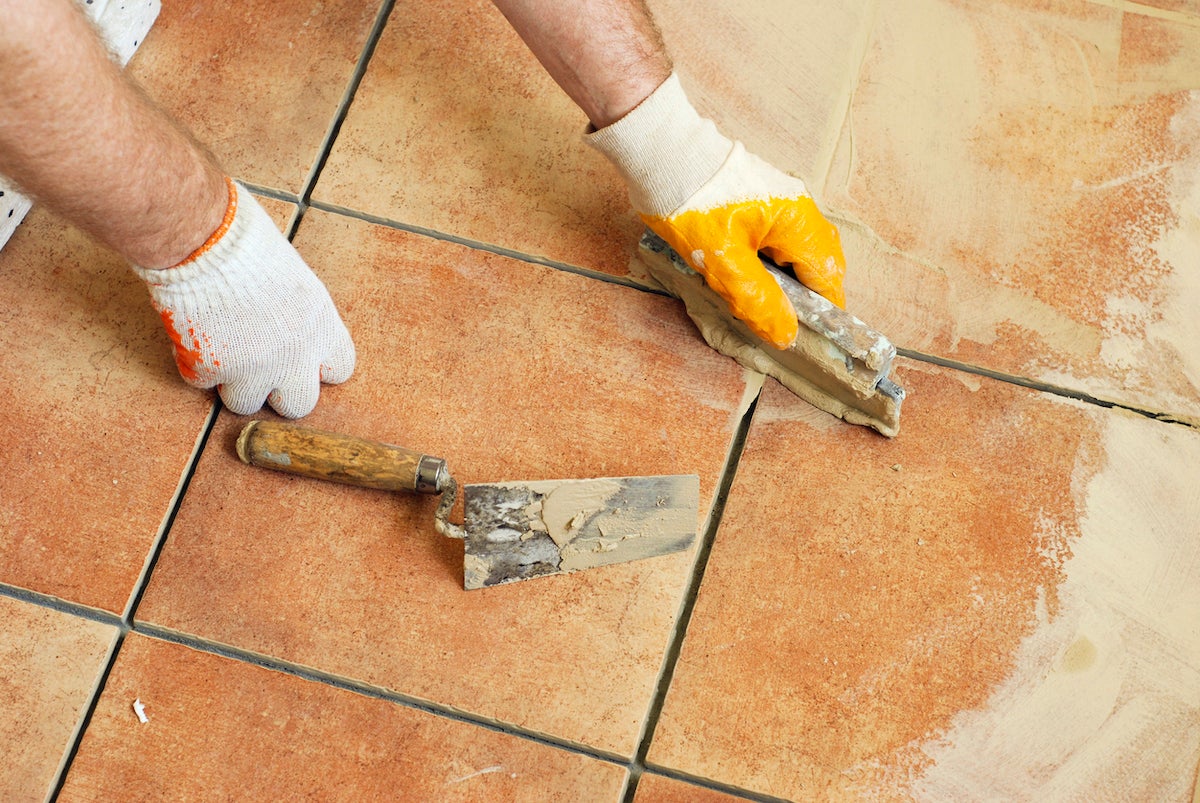
Using the grout float, scoop up a generous amount of grout and spread it over the tiles at a 45-degree angle. Make sure to push the grout into the grout lines and fill them completely. Then, use the grout float to scrape off any excess grout from the surface of the tiles.
After letting the grout sit for 15-20 minutes, use a damp sponge to wipe away any excess grout from the surface of the tiles. Rinse the sponge frequently and make sure to wipe in a circular motion to avoid pulling out the grout from the lines.
Allow the grout to cure for at least 24 hours before exposing it to water or heavy use. This will ensure that the grout sets properly and prevents any cracking or crumbling.
Now that you know the basics of regrouting, here are some tips and tricks to help make the process smoother and more successful: Tip 1: Test the Grout Color Tip 2: Use a Grout Saw Tip 3: Seal the GroutRegrouting Kitchen Tiles: Tips and Tricks
Before applying the grout to your entire kitchen, test a small area to make sure the color is what you want. Grout can dry lighter or darker than expected, so it's always best to test beforehand.
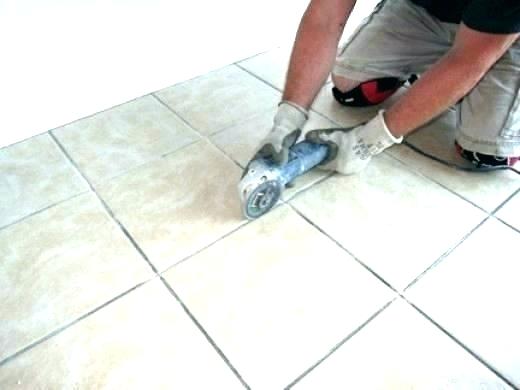
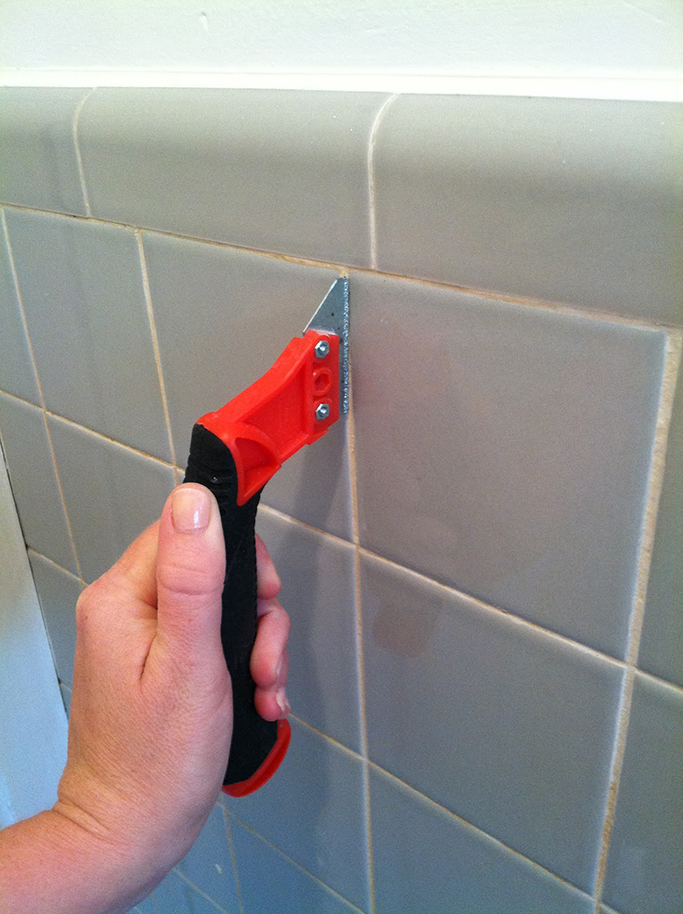
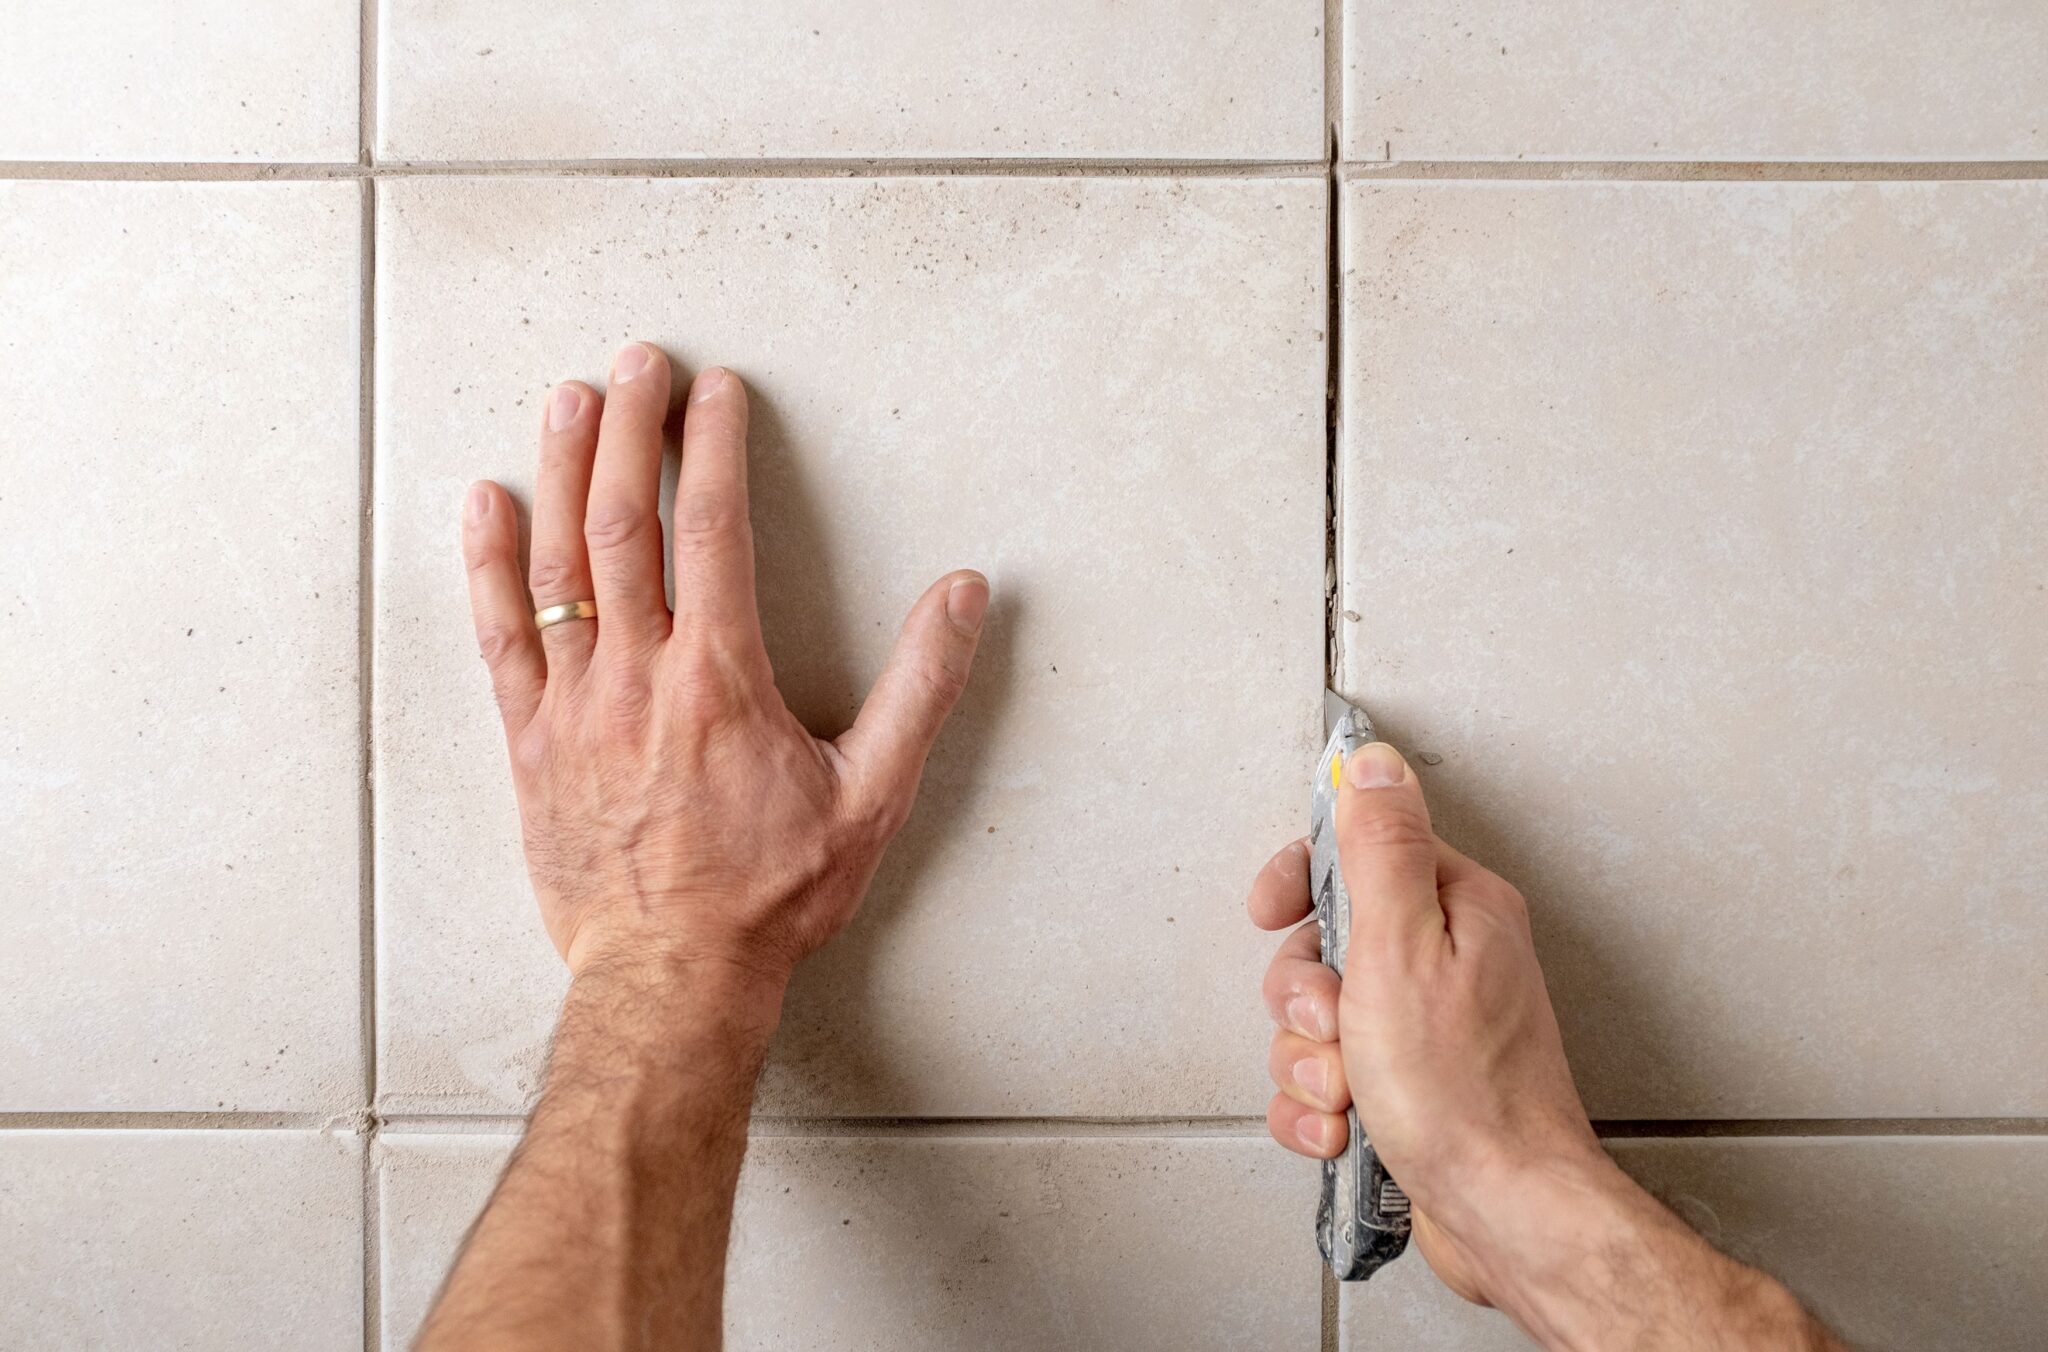
If you have stubborn grout that won't come out, use a grout saw to remove it. This tool is specifically designed to scrape out old grout and can make the process much easier.
To protect your newly grouted kitchen tiles from staining, make sure to seal the grout after it has cured. This will also make it easier to clean and maintain in the long run.
Regrouting your kitchen tiles not only enhances the appearance of your kitchen but also offers several practical benefits: 1. Prevents Water Damage 2. Eliminates Mold and Mildew 3. Improves HygieneThe Benefits of Regrouting Kitchen Tiles
Over time, old grout can crack and become porous, allowing water to seep through and cause damage to your walls. Regrouting can help seal any gaps and prevent water from penetrating the surface.
Mold and mildew love to grow in damp and dark environments, making your kitchen tiles the perfect breeding ground. By regrouting, you can remove any existing mold and prevent it from coming back.
Old grout can harbor bacteria and germs, making it difficult to keep your kitchen clean and hygienic. Regrouting will not only remove any bacteria but also make it easier to clean and maintain your kitchen tiles.
While regrouting is a relatively simple process, there are some common mistakes that people make that can affect the outcome. Here are a few to avoid: Mistake 1: Rushing the Process Mistake 2: Not Cleaning Properly Mistake 3: Using Too Much WaterRegrouting Kitchen Tiles: Common Mistakes to Avoid
Regrouting takes time, and rushing through the steps can result in a messy and uneven finish. Take your time and make sure to follow each step carefully.
Before regrouting, it's crucial to clean the area thoroughly to remove any dirt, grime, or old grout. Failure to do so can result in the new grout not adhering properly and causing problems down the line.
While water is necessary to mix and clean the grout, using too much can weaken it and cause it to crack or crumble. Make sure to use a damp sponge rather than a wet one to wipe away excess grout.
The frequency of regrouting your kitchen tiles will depend on various factors, such as the quality of the grout used, the amount of wear and tear, and the level of maintenance. In general, it's recommended to regrout every 5-10 years to ensure your kitchen tiles stay in top condition.How Often Should You Regrout Kitchen Tiles?
To regrout your kitchen tiles, you'll need the following tools and materials: Tools: Materials:Regrouting Kitchen Tiles: Tools and Materials You'll Need
- Grout saw
- Grout float
- Sponge
- Bucket
- Plastic sheeting
- Trowel
- Gloves
- Safety glasses
- Grout
- Water
- Sealant
- Plastic bags
- Paper towels
Before diving into a regrouting project, it's essential to weigh the pros and cons to determine if it's the right choice for your kitchen tiles: Pros: Cons:Regrouting Kitchen Tiles: Pros and Cons
- Improves appearance
- Prevents water damage
- Eliminates mold and mildew
- Improves hygiene
- Cost-effective compared to replacing tiles
- Time-consuming
- Requires patience and attention to detail
- Can be messy
- May need to remove and replace damaged tiles
If your kitchen tiles are severely damaged or outdated, you may be wondering if it's better to regrout or replace them altogether. Here are some factors to consider: Regrouting: Replacing Tiles:Regrouting vs. Replacing Kitchen Tiles: Which is Better?
- More cost-effective
- Can be done as a DIY project
- Suitable for minor repairs or improvements
- Can enhance the appearance of existing tiles
- More expensive
- Requires professional installation
- Suitable for extensive damage or major upgrades
- Provides the opportunity to choose new tiles and design
With so many types of grout available, it can be overwhelming to choose the right one for your kitchen tiles. Here are some tips to help you make the best decision: Type of Grout: Color: Durability: Maintenance: With these tips in mind, you can choose the right grout for your kitchen tiles and ensure a long-lasting and visually appealing finish.How to Choose the Right Grout for Your Kitchen Tiles
As mentioned earlier, there are different types of grout, such as sanded, unsanded, and epoxy grout. Make sure to choose the one that is best suited for your kitchen tiles.
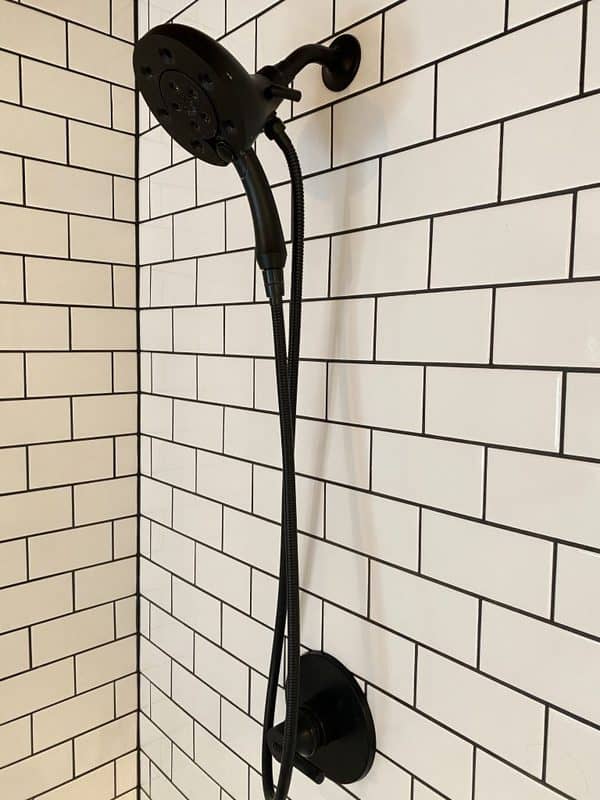
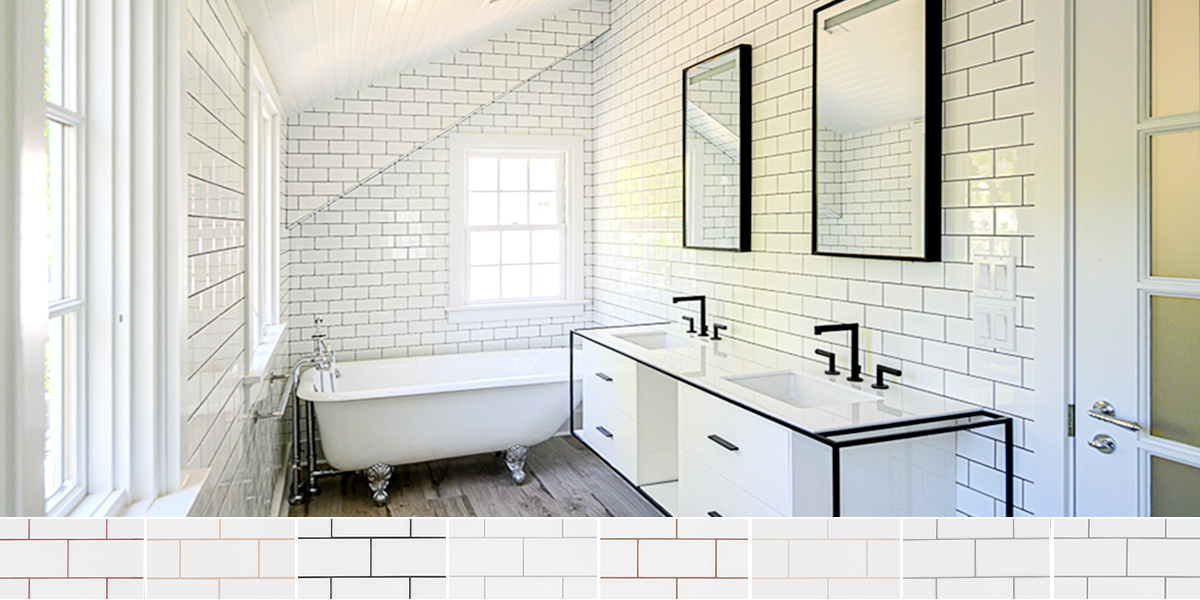
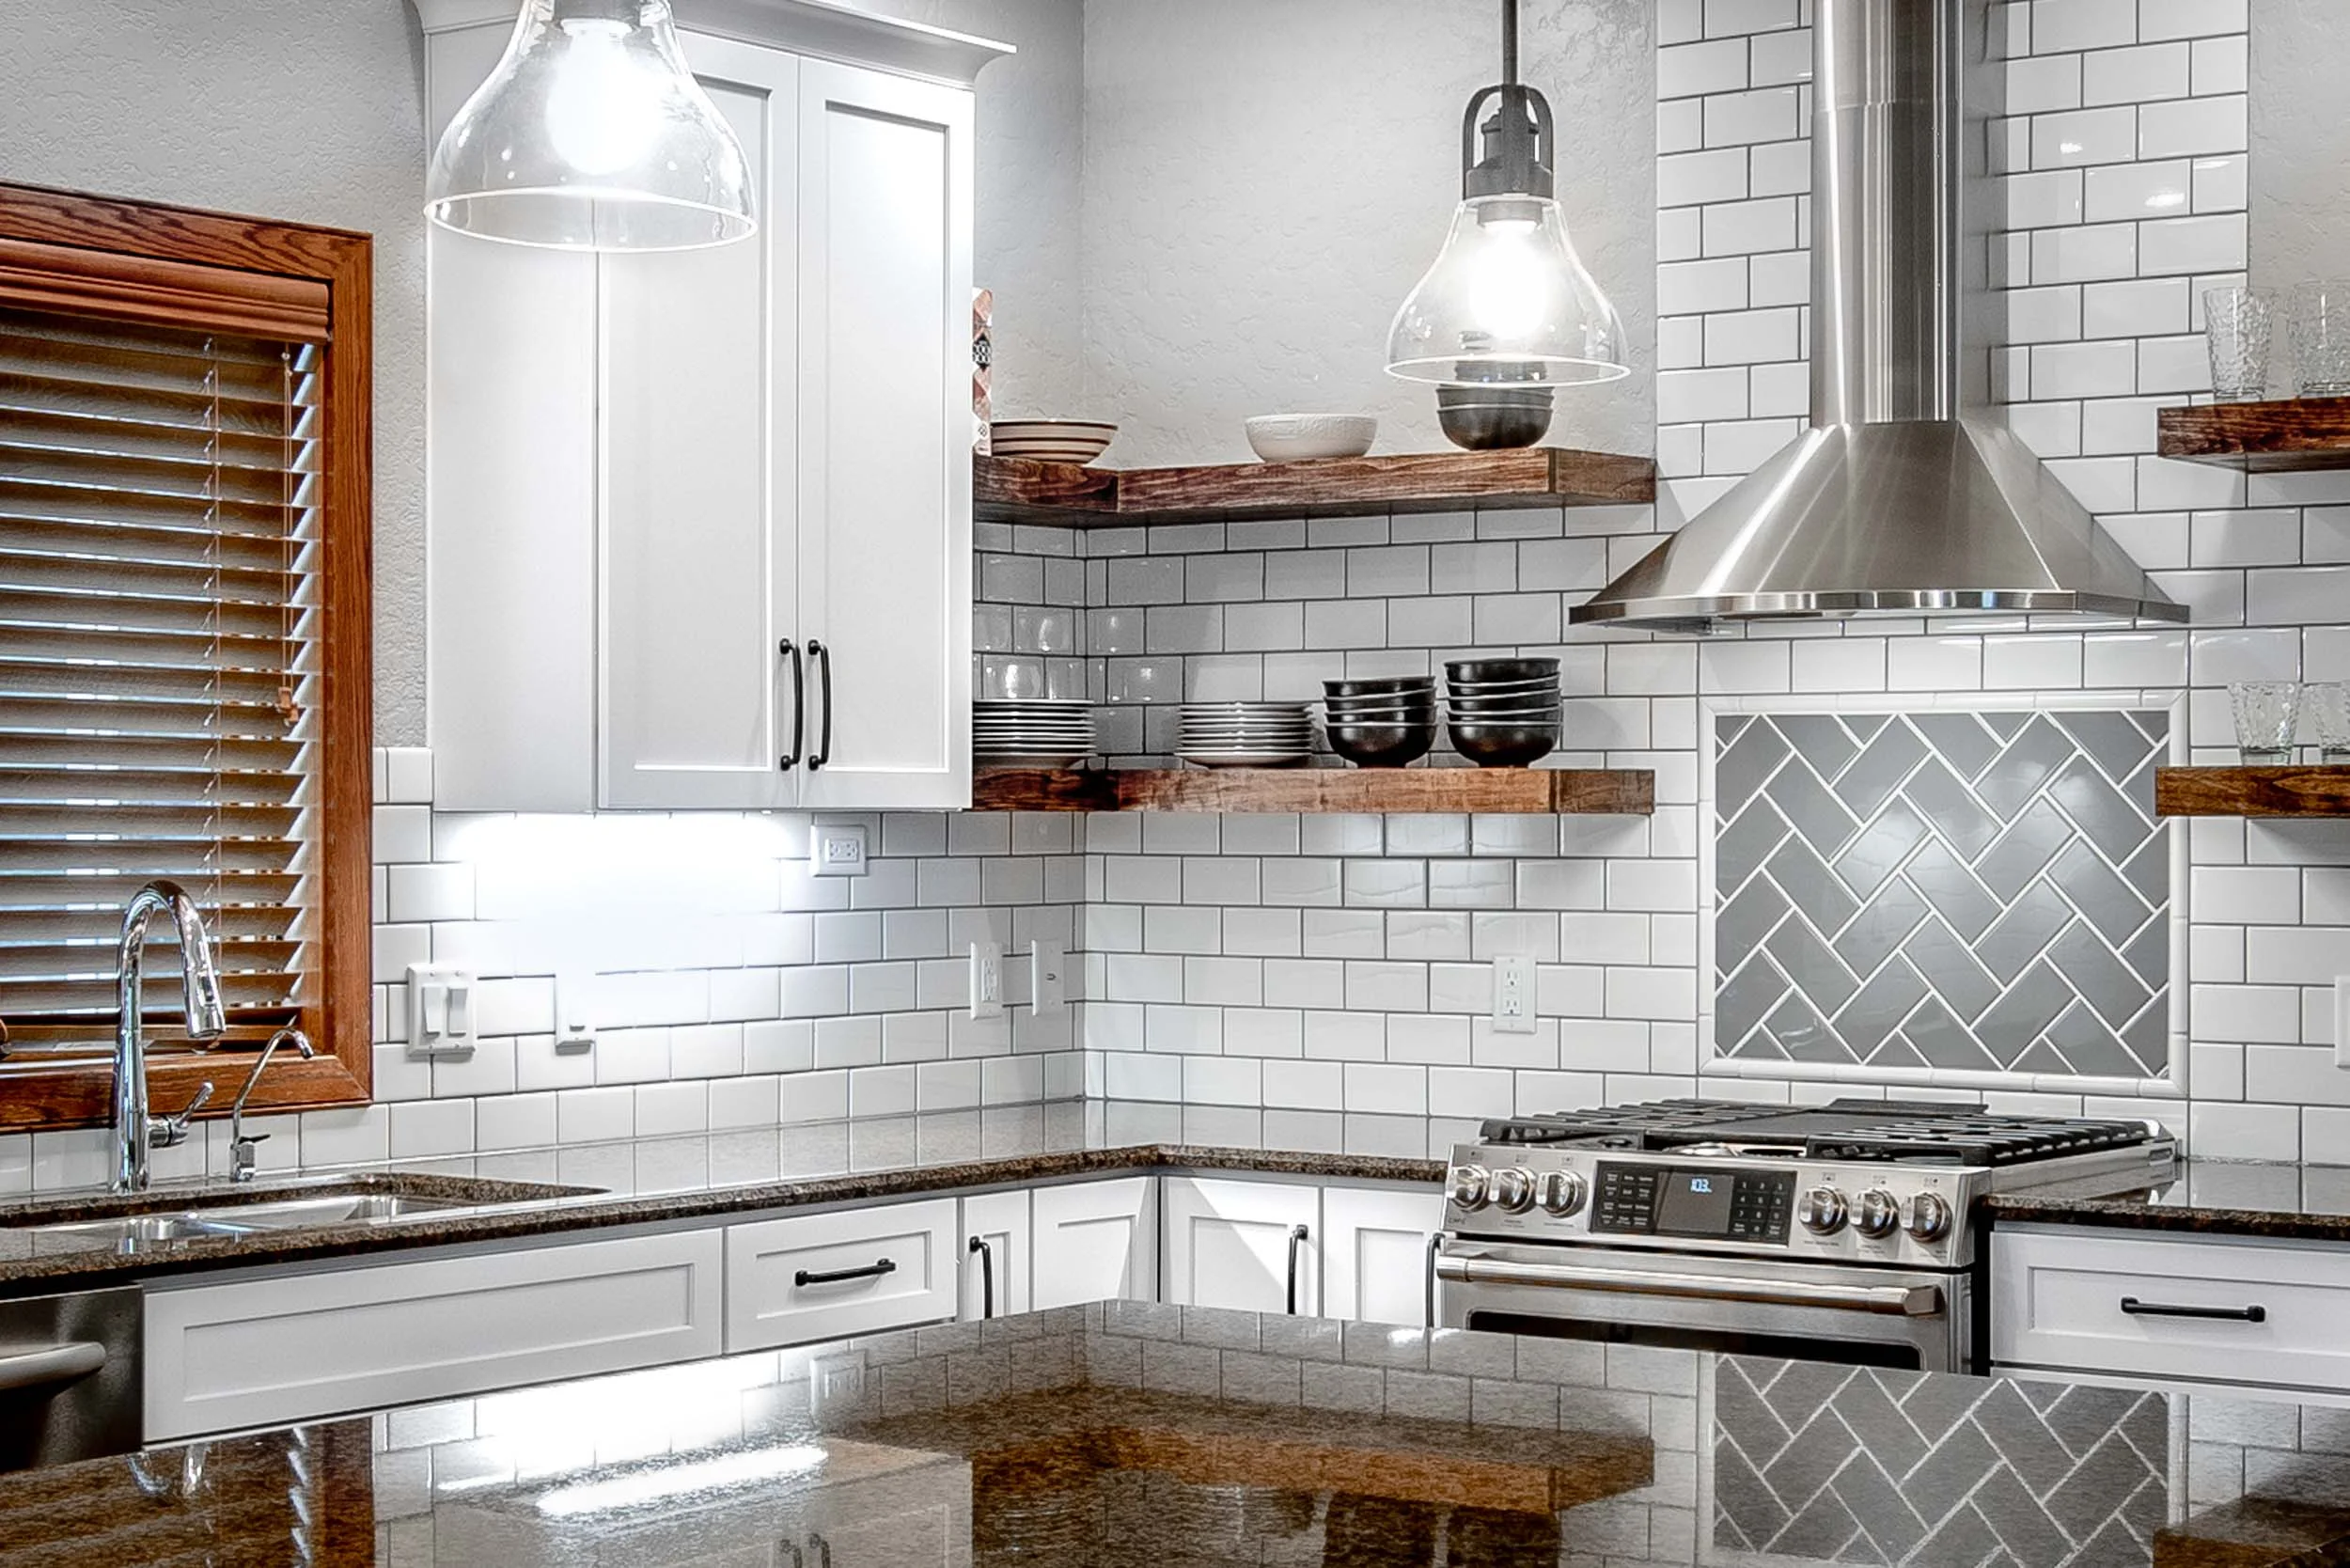
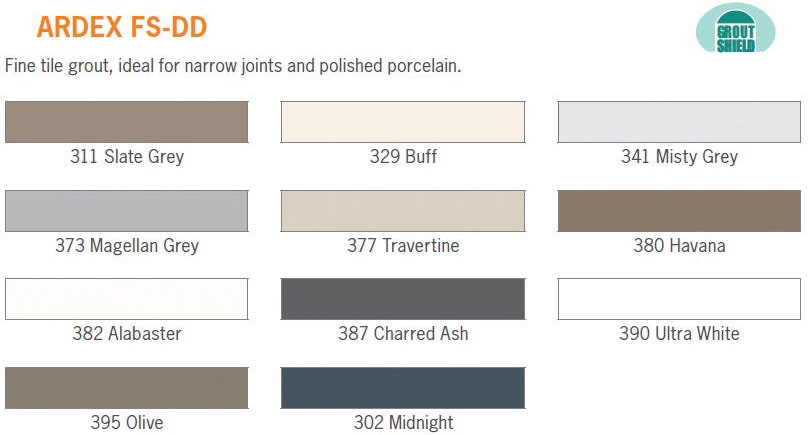
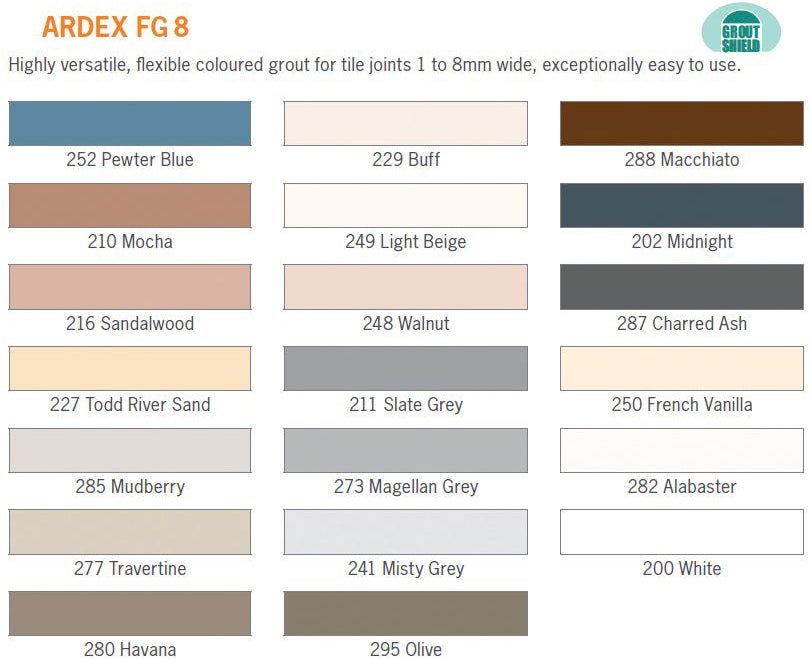
Consider the color of your kitchen tiles and the look you are trying to achieve. You can choose a grout color that matches or contrasts with your tiles to create a unique look.
Some grouts are more durable than others, especially in high-traffic areas like the kitchen. Consider the level of wear and tear your tiles will be subjected to and choose a grout that can withstand it.
Certain types of grout require more maintenance than others. Epoxy grout, for example, is more resistant to stains and water but requires special cleaners to maintain its appearance.
Why Re-Grouting Your Kitchen Wall Tiles is Essential for a Beautiful and Functional Home
:max_bytes(150000):strip_icc()/How_to_Regrout_Ceramic_Tile_64434_08-63a0298cea2a47ba985a0a17ed65d278.jpg)
The Importance of Maintaining Your Kitchen Tiles
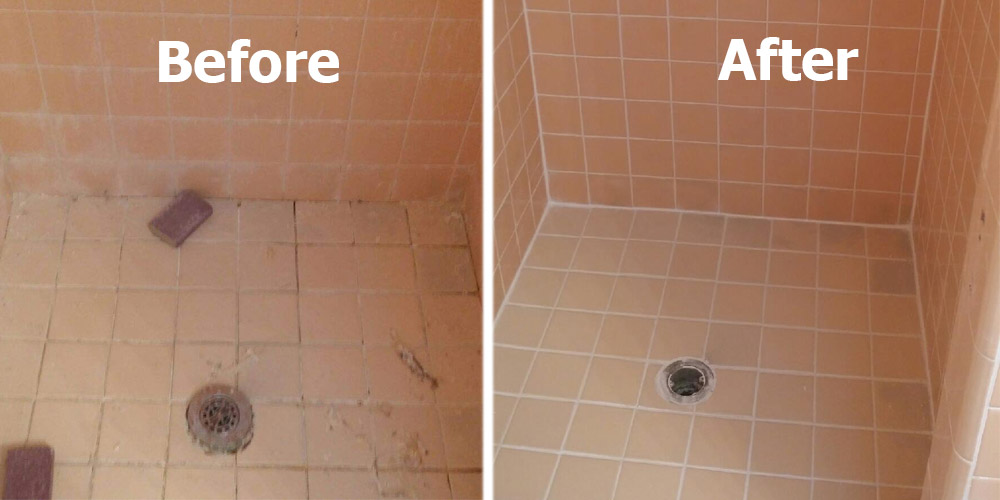
 When it comes to house design, the kitchen is often considered the heart of the home. It is where we gather with family and friends, cook delicious meals, and make memories. That is why it is important to keep this space not only functional but also aesthetically pleasing. One key aspect of maintaining a beautiful kitchen is by regularly re-grouting your kitchen wall tiles.
Over time, grout can become discolored and deteriorate, which not only affects the appearance of your kitchen but also poses potential health and safety hazards.
The Benefits of Re-Grouting
 Re-grouting your kitchen wall tiles has numerous benefits that go beyond just improving the appearance of your kitchen.
One of the main benefits is that it helps to prevent mold and mildew growth.
Grout is porous and can easily absorb moisture, creating the perfect breeding ground for these harmful substances. By regularly re-grouting, you can seal off any cracks or gaps in the grout, preventing moisture from seeping in and causing mold and mildew to grow.
Another benefit of re-grouting is that it helps to maintain the structural integrity of your kitchen walls.
As the grout deteriorates, it can cause the tiles to become loose and shift, creating potential safety hazards.
By re-grouting, you can ensure that your tiles are securely in place, reducing the risk of accidents and injuries.
The Process of Re-Grouting
:max_bytes(150000):strip_icc()/remove_tile_grout_in_a_few_simple_steps_1822630_06-2c9f510610dd4dcd9e6981ed1dc8fb79.jpg) Re-grouting your kitchen wall tiles may seem like a daunting task, but it is actually a relatively simple process. The first step is to remove the old grout using a grout saw or a specialized grout removal tool.
It is important to remove all of the old grout to ensure a strong bond with the new grout.
Once all the old grout is removed, you can mix a new batch of grout according to the manufacturer's instructions and apply it to the gaps between the tiles. After letting it dry for a few minutes, you can use a damp sponge to wipe away any excess grout and smooth out the surface.
Re-grouting your kitchen wall tiles may seem like a daunting task, but it is actually a relatively simple process. The first step is to remove the old grout using a grout saw or a specialized grout removal tool.
It is important to remove all of the old grout to ensure a strong bond with the new grout.
Once all the old grout is removed, you can mix a new batch of grout according to the manufacturer's instructions and apply it to the gaps between the tiles. After letting it dry for a few minutes, you can use a damp sponge to wipe away any excess grout and smooth out the surface.
Conclusion
 In conclusion, re-grouting your kitchen wall tiles is an essential step in maintaining a beautiful and functional home.
It not only improves the appearance of your kitchen but also helps to prevent mold and mildew growth and maintain the structural integrity of your walls.
With its numerous benefits and relatively easy process, re-grouting should be a regular part of your home maintenance routine. So, don't wait any longer, give your kitchen a fresh and clean look by re-grouting those tired and worn out tiles today!


:max_bytes(150000):strip_icc()/How_to_Regrout_Ceramic_Tile_64434_08-63a0298cea2a47ba985a0a17ed65d278.jpg)







/GettyImages-80033352-5883d84e3df78c2ccdeb8d69.jpg)
















/hand-spreading-grout-on-tiles-with-grout-spreader-80033352-583c5e073df78c6f6a2f22b6.jpg)
