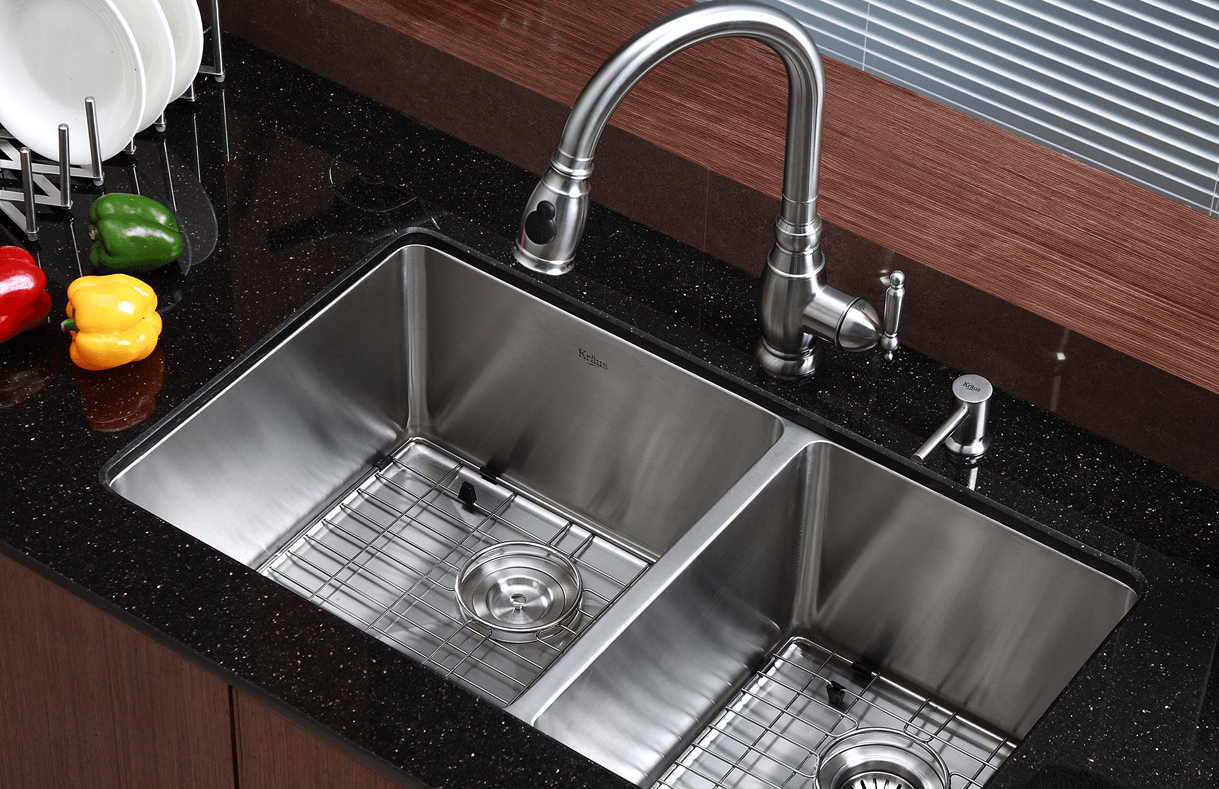
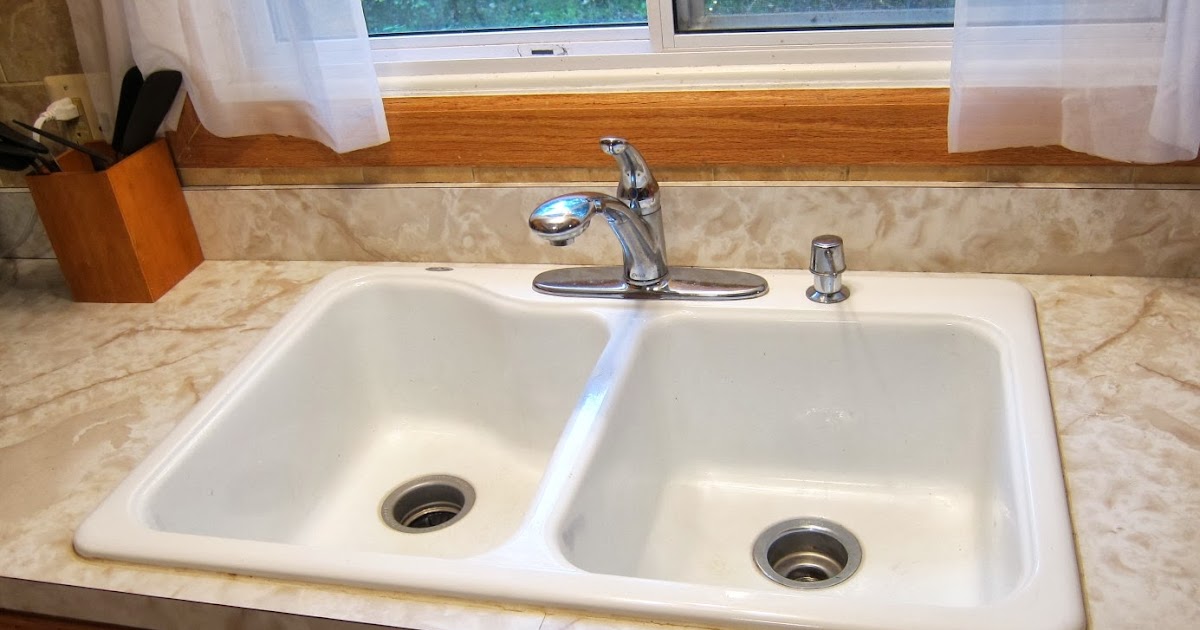
If you have an undermount stainless steel kitchen sink, you know how important it is to have a tight seal around the edges. Over time, the caulk can start to wear out and create gaps where water can seep through. This can not only be unsightly, but it can also cause damage to your countertops and cabinets. Re-caulking your undermount sink is a simple and cost-effective solution to this problem. In this guide, we will walk you through the steps on how to re-caulk your undermount stainless steel kitchen sink.How to Re-Caulk an Undermount Stainless Steel Kitchen Sink


How to Re-Caulk an Undermount Stainless Steel Kitchen Sink


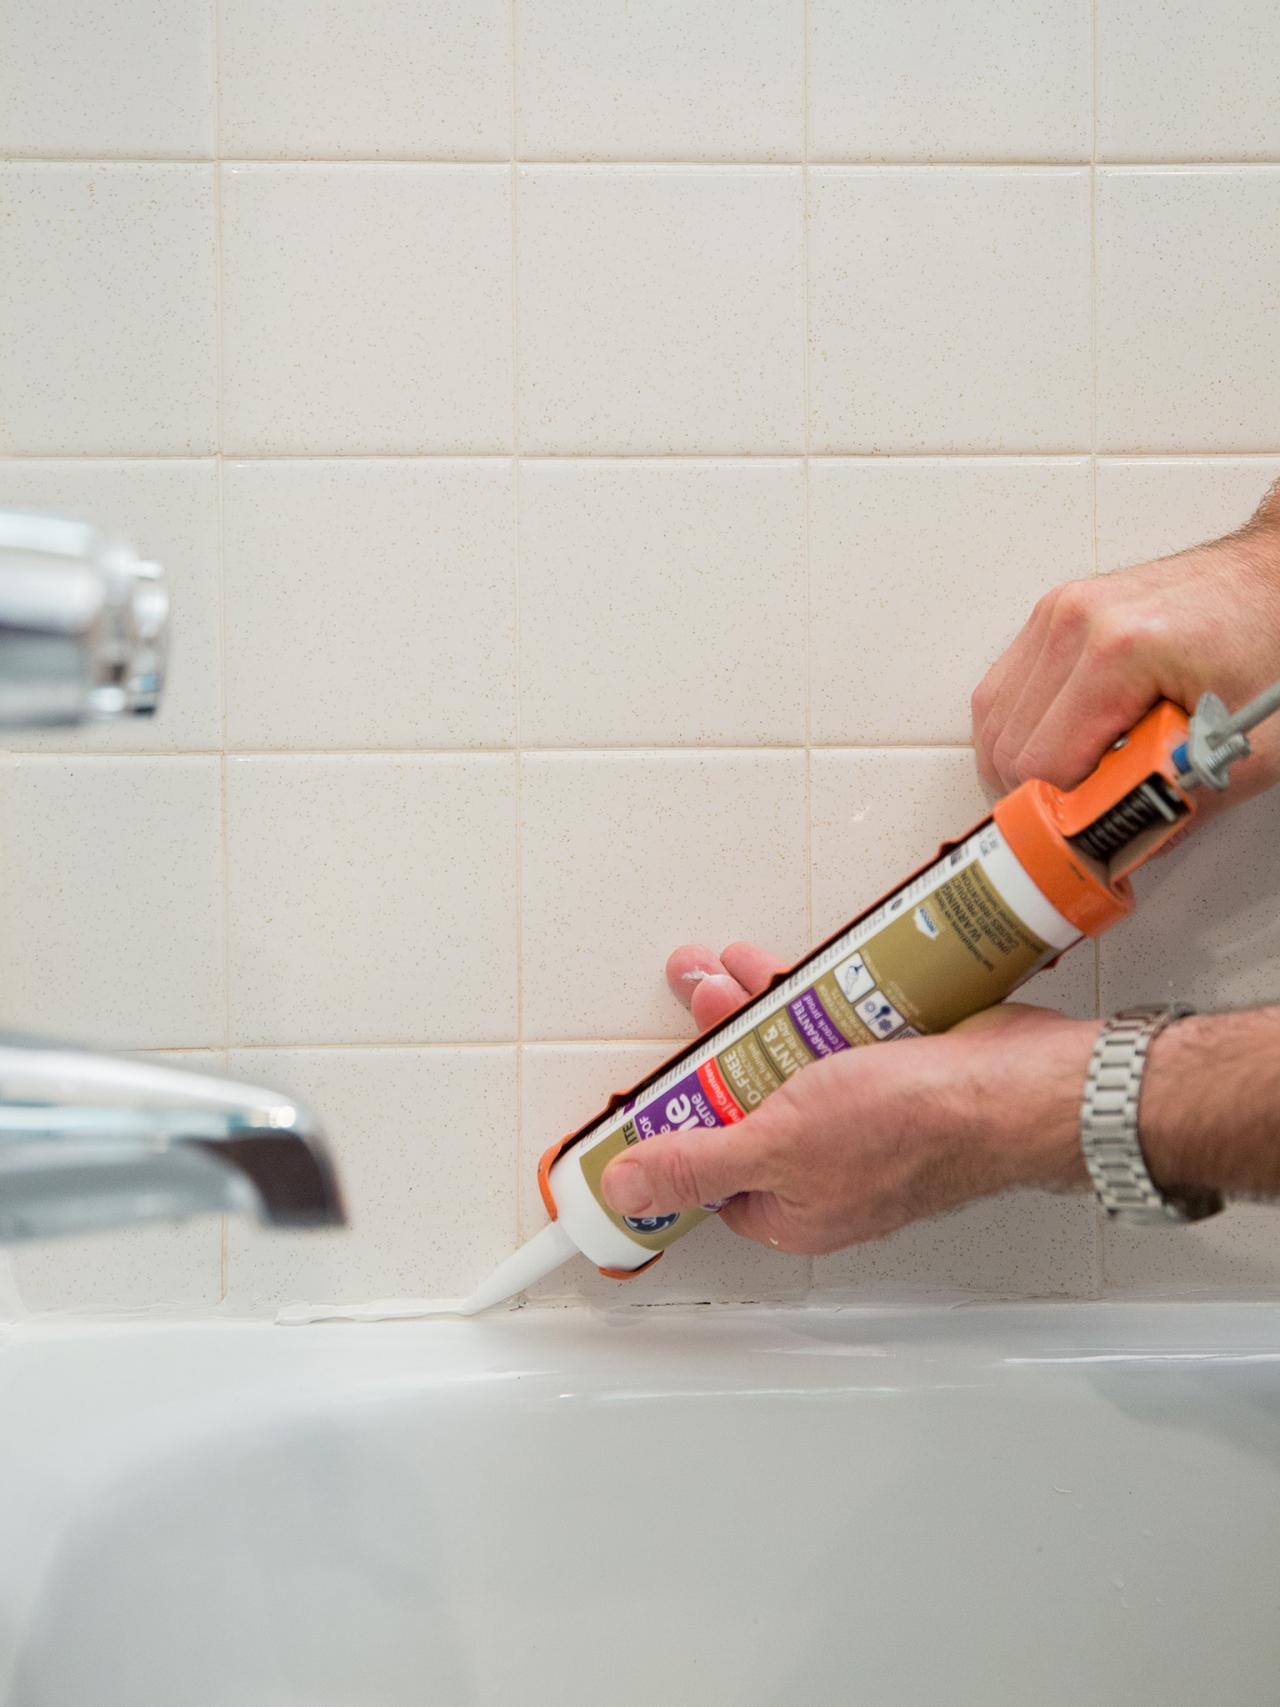
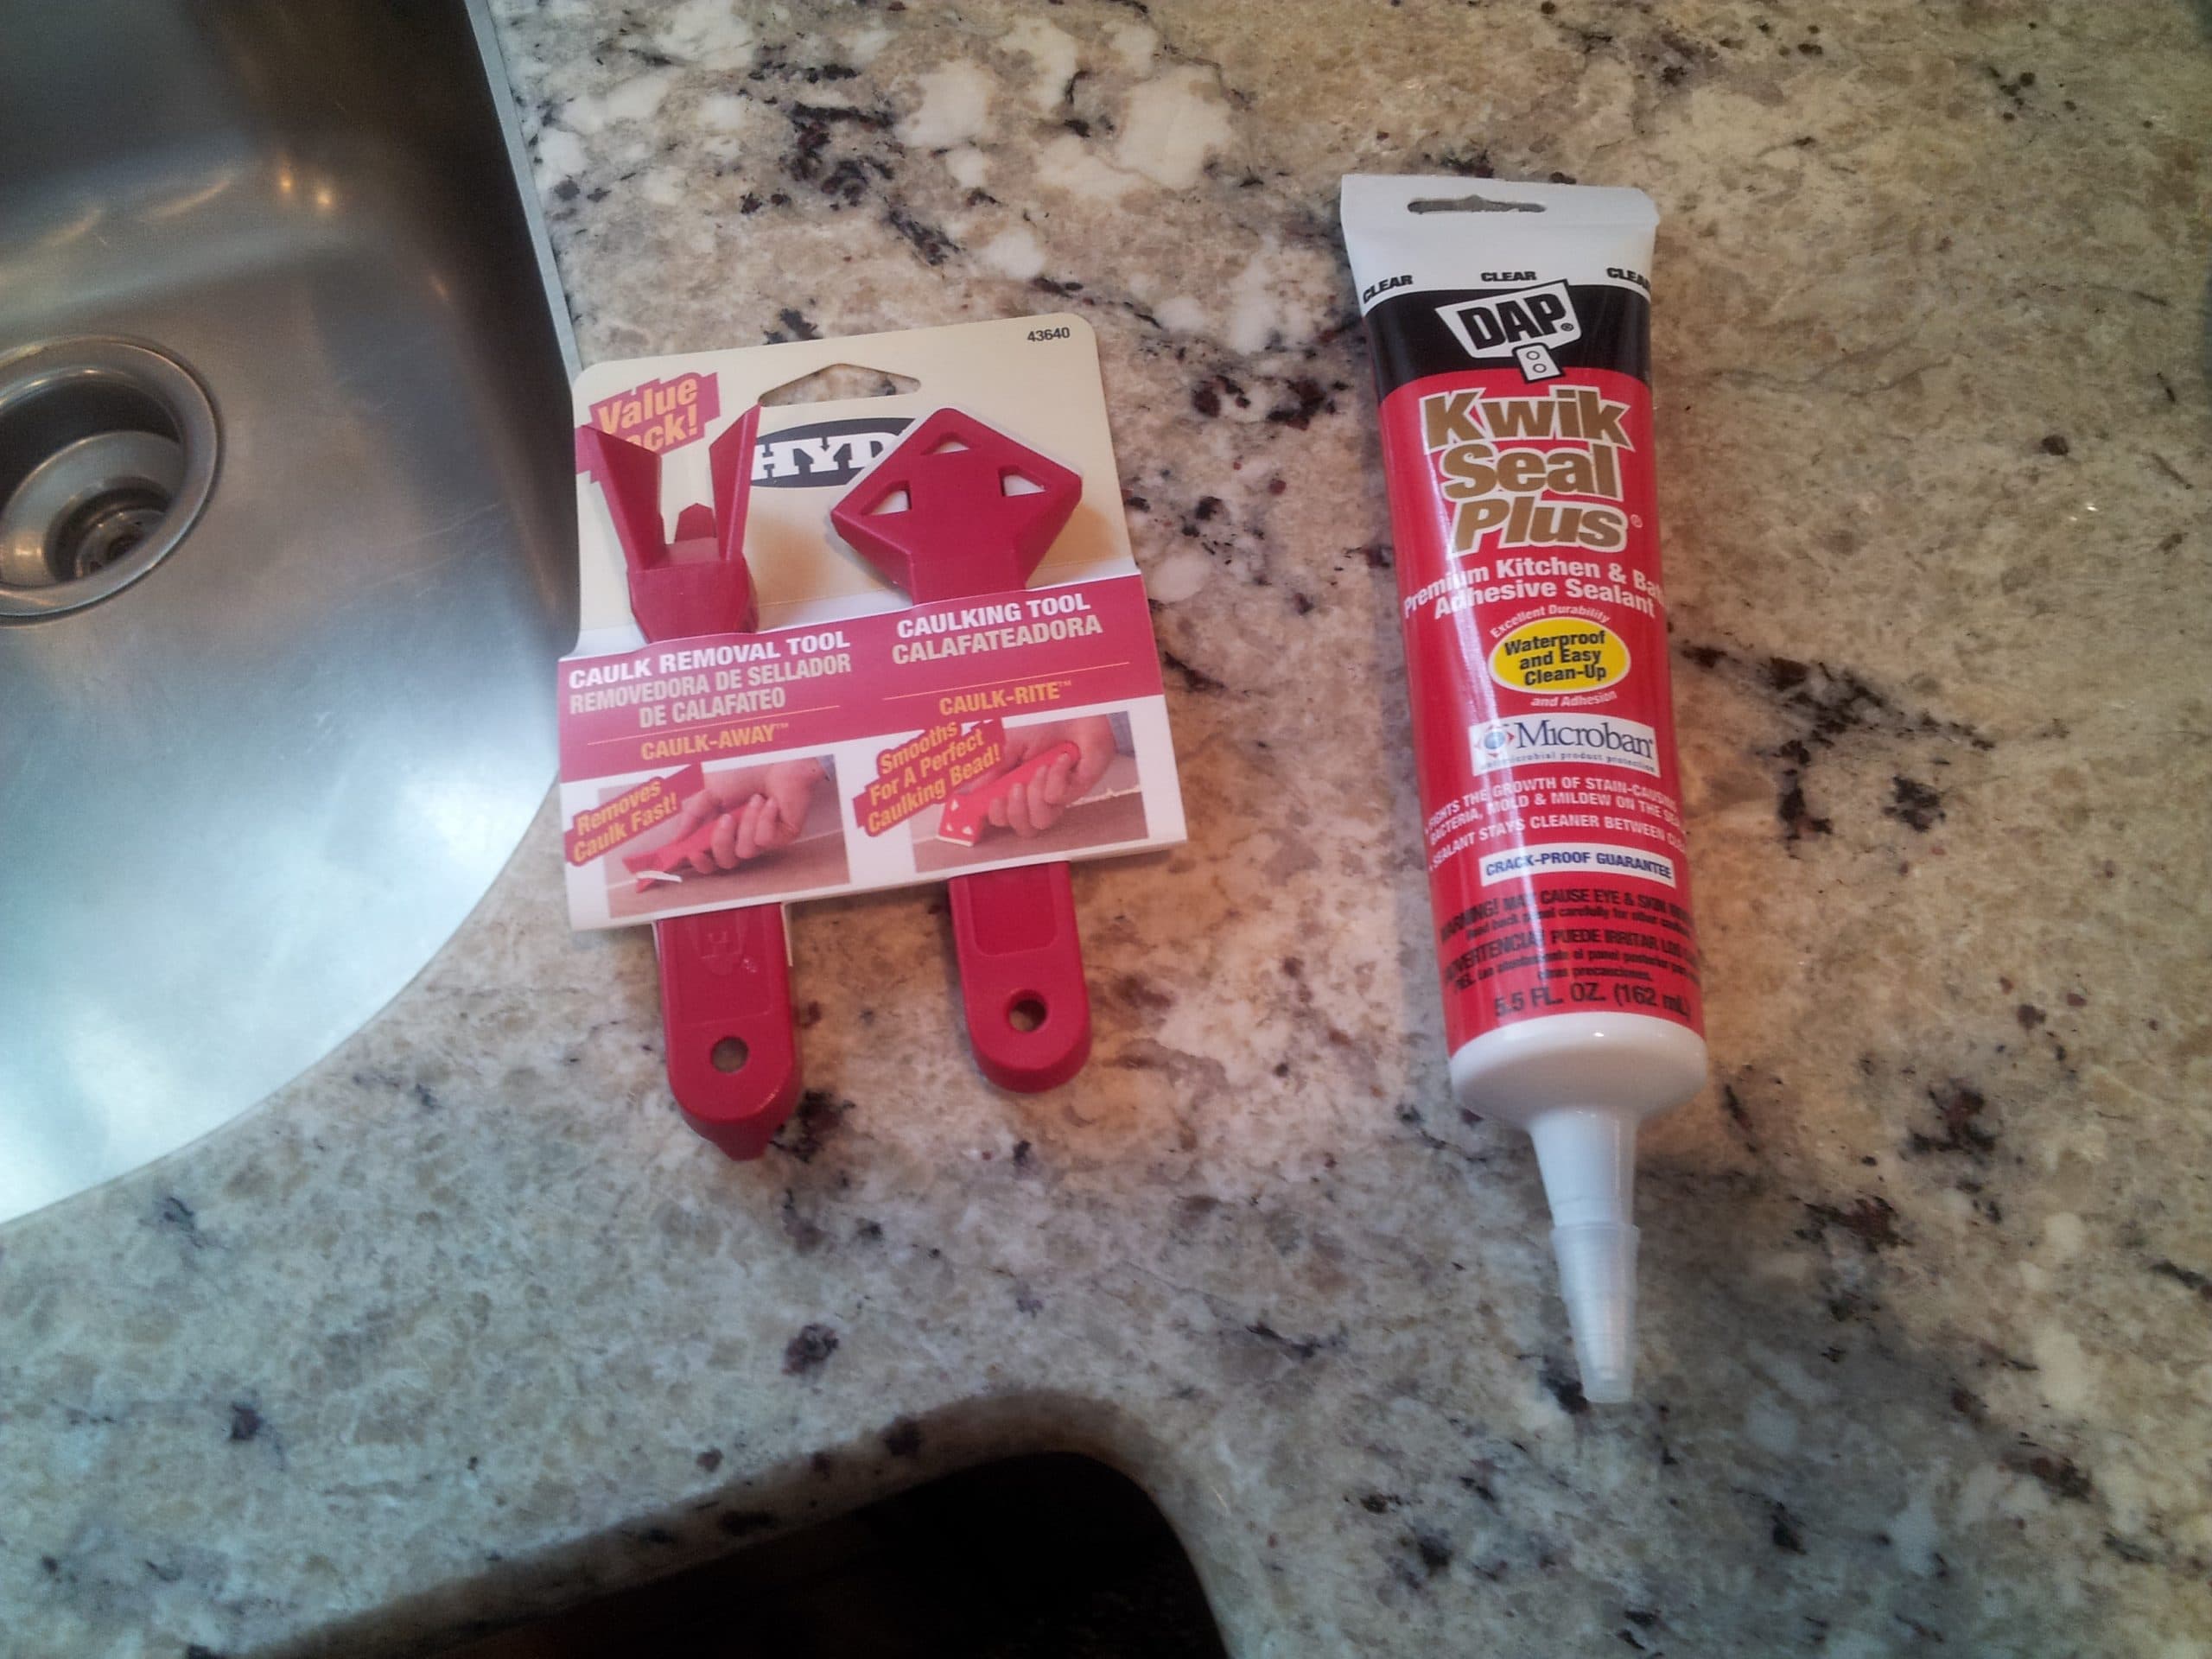
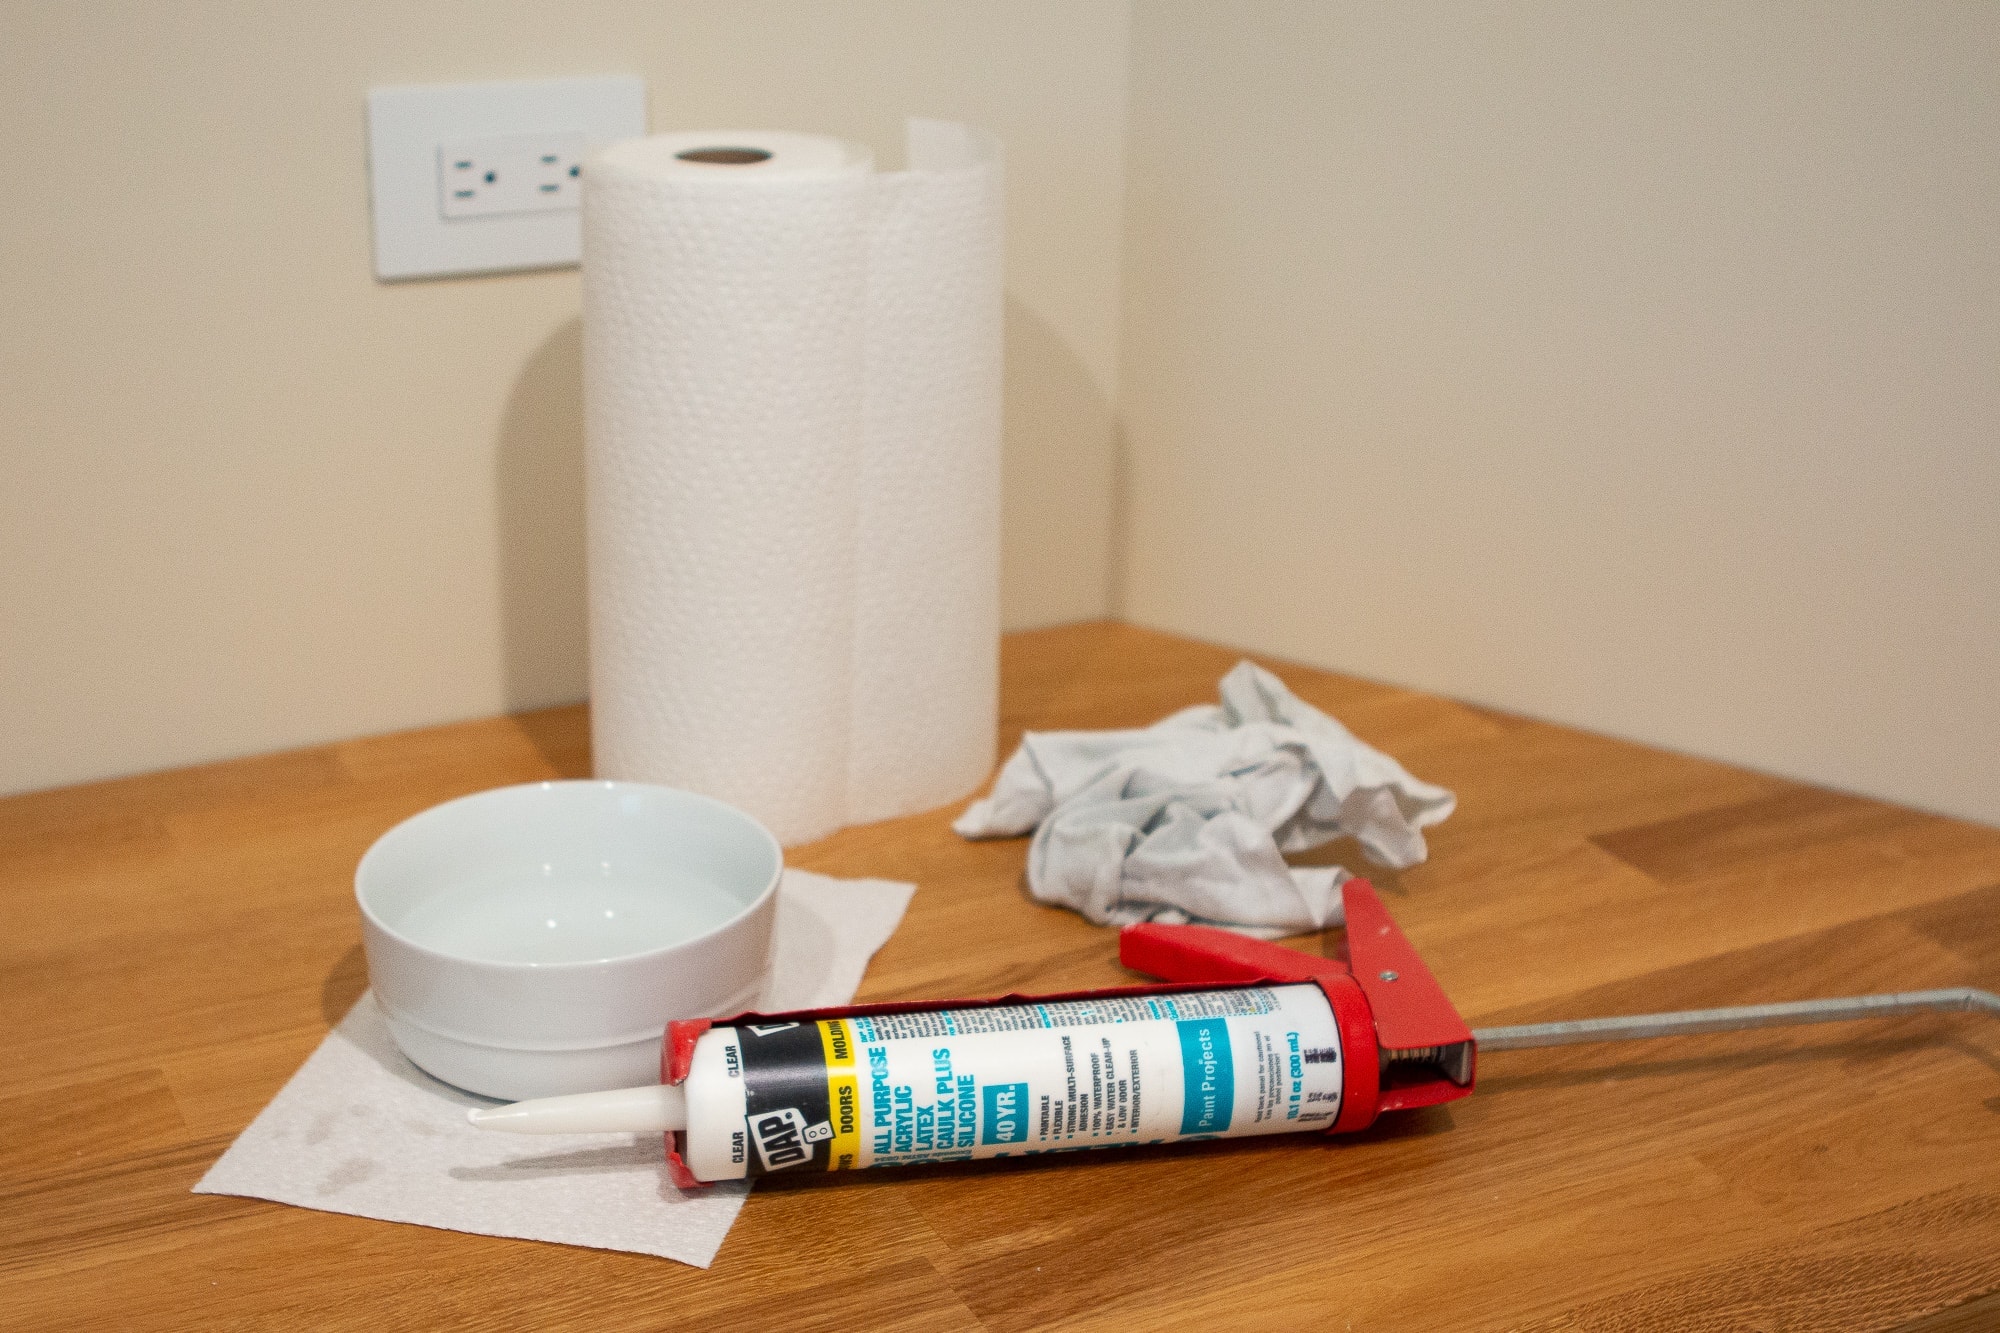
The first step in re-caulking your undermount stainless steel kitchen sink is to remove the old caulk. This can be done using a putty knife or a caulk removal tool. Start by scraping away as much of the old caulking as possible. Then, use a caulk remover or rubbing alcohol to clean the area and remove any remaining residue. Once the area is clean and dry, it's time to apply the new caulk. Use a high-quality silicone caulk that is specifically designed for use in kitchens and bathrooms. This type of caulk is waterproof and mold resistant, making it perfect for use around sinks.How to Remove and Re-Caulk a Kitchen Sink


How to Remove and Re-Caulk a Kitchen Sink


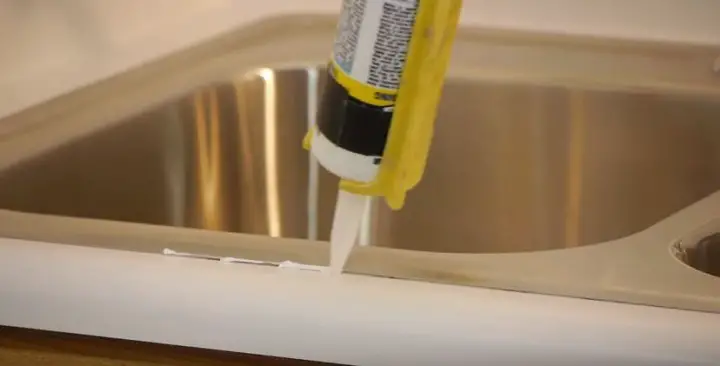
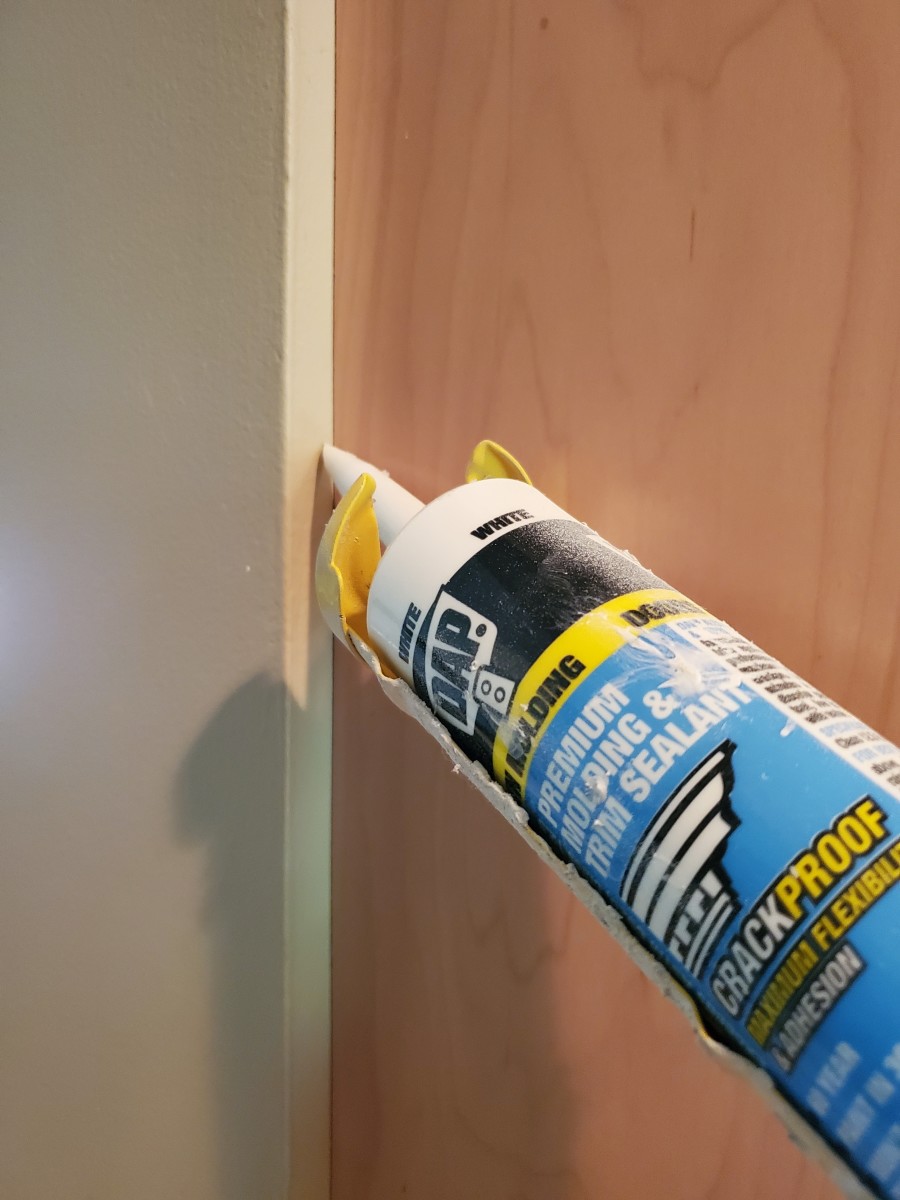
Before applying the new caulk, make sure to measure the length of your sink's edges so you know how much caulk you will need. It's always better to have a little extra than not enough. Once you have your caulk ready, cut the tip of the tube at a 45-degree angle and insert it into a caulk gun. Start at one end of your sink and apply a thin and even line of caulk along the edge. Use a wet finger or a caulk finishing tool to smooth out the caulk and create a tight seal. Continue this process around the entire sink until all edges are covered in caulk.How to Re-Caulk a Kitchen Sink


How to Re-Caulk a Kitchen Sink
.jpg)
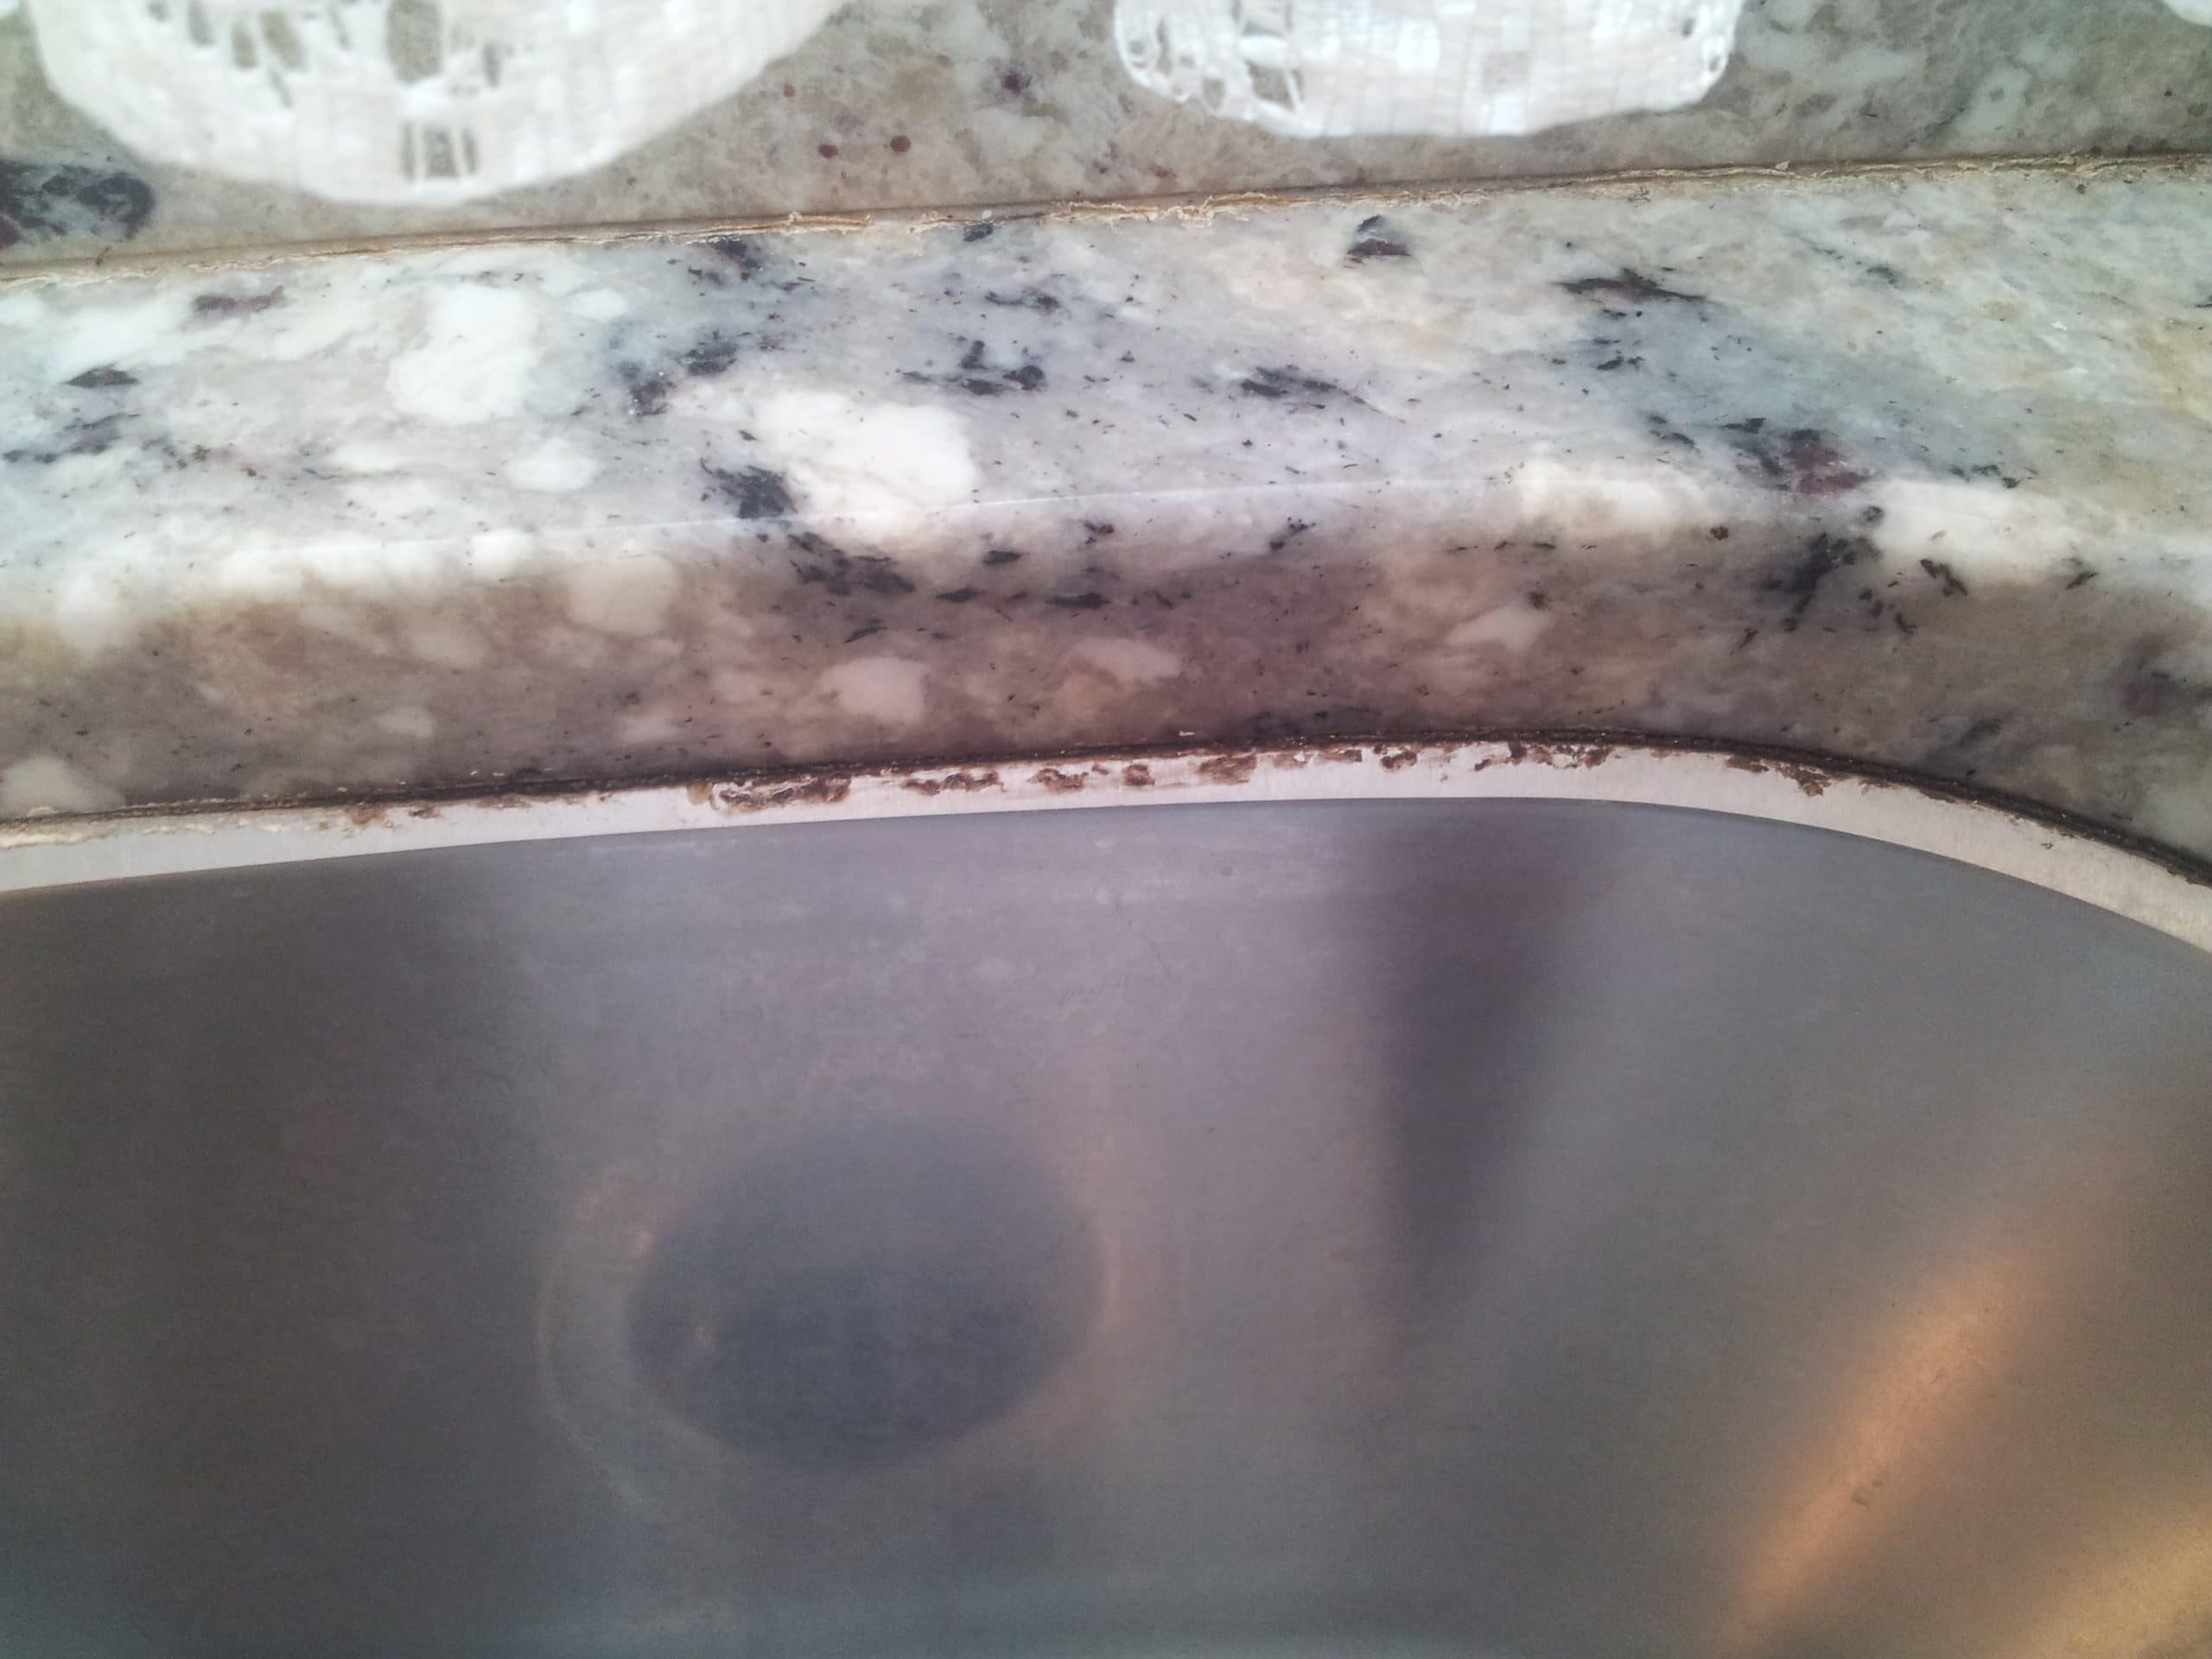
If you have a stainless steel sink, you may be wondering if the caulk will adhere properly. The good news is that silicone caulk works well on all types of surfaces, including stainless steel. Just make sure to clean the area well before applying the caulk to ensure a strong bond. For extra durability, you can also use a caulk specifically designed for use on stainless steel. These types of caulk are formulated to match the color and texture of stainless steel, creating a seamless and professional look.How to Re-Caulk a Stainless Steel Sink


How to Re-Caulk a Stainless Steel Sink


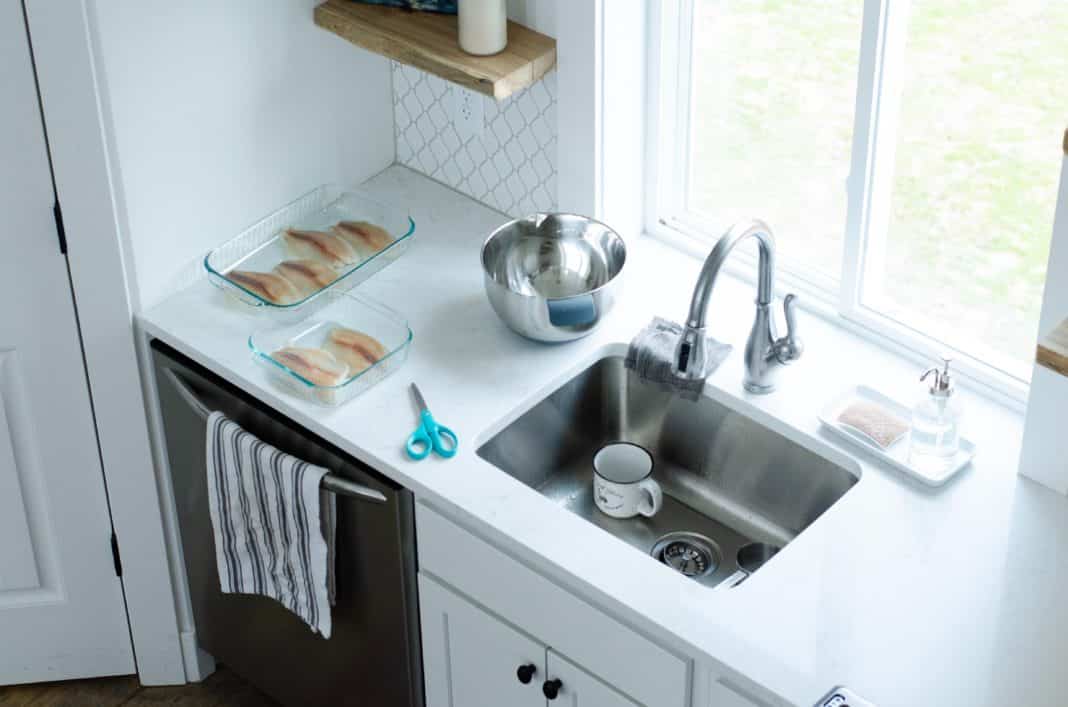
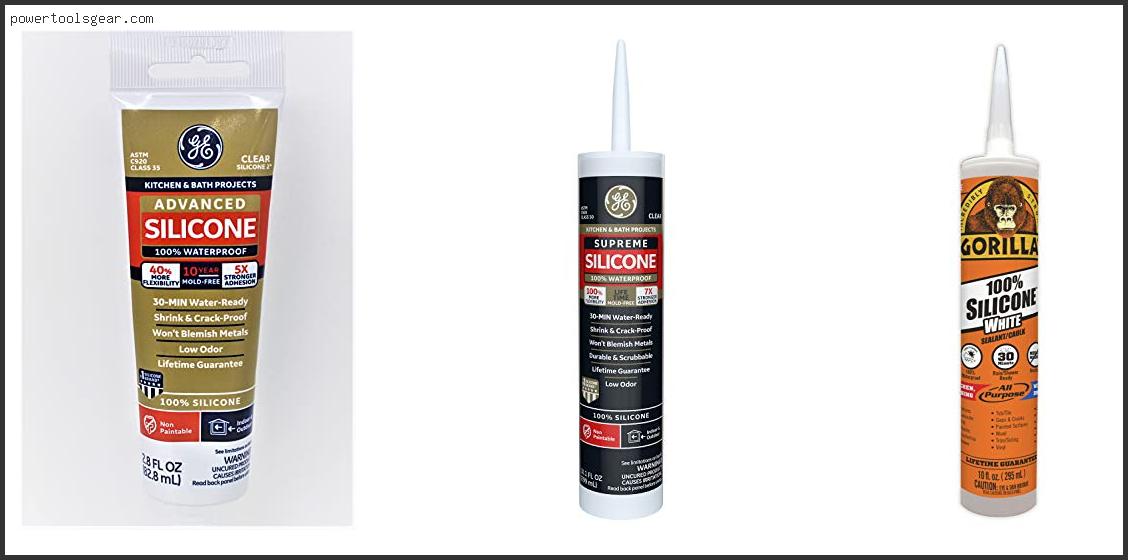
Using silicone caulk to re-caulk your undermount stainless steel kitchen sink is the best option for a long-lasting and waterproof seal. Silicone caulk is flexible, which is important for sinks that may shift or move slightly over time. It is also resistant to mold and mildew, making it perfect for use in areas that are constantly exposed to water. When using silicone caulk, make sure to use a silicone caulk remover to clean up any excess caulk before it dries. This will ensure a clean and professional finish.How to Re-Caulk a Kitchen Sink with Silicone

How to Re-Caulk a Kitchen Sink with Silicone


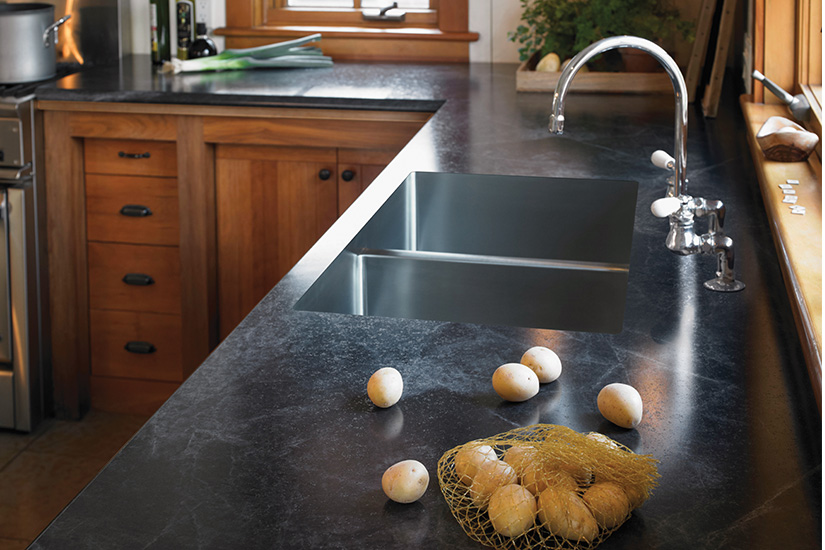
Re-caulking an undermount stainless steel kitchen sink with granite countertops requires a little extra care. Granite is a porous material, so you want to make sure to use a 100% silicone caulk that is safe for use on natural stone. This will prevent any discoloration or damage to your countertops. Also, when smoothing out the caulk, make sure to use a damp cloth instead of your finger. This will prevent any excess caulk from getting on your countertops and potentially staining them.How to Re-Caulk a Kitchen Sink with Granite Countertops


How to Re-Caulk a Kitchen Sink with Granite Countertops


If you have a tile countertop, you may need to use a little extra caulk to fill in any gaps between the tiles and the sink. This is normal and can be easily fixed by applying a thin layer of caulk along the edges. Make sure to use a clear silicone caulk to match the color of your tiles. After applying the caulk, use a damp cloth to wipe away any excess and smooth out the edges. This will create a seamless and watertight seal.How to Re-Caulk a Kitchen Sink with a Tile Countertop


How to Re-Caulk a Kitchen Sink with a Tile Countertop


Laminate countertops are a popular choice for kitchens, and they also require a little extra care when re-caulking an undermount sink. Make sure to use a non-abrasive cleaner when prepping the area for caulk. This will prevent any scratches or damage to the laminate surface. You can also use a caulk specifically designed for use on laminate surfaces to ensure a strong bond and a clean finish. Apply the caulk as you would for any other surface, then use a damp cloth to smooth out the edges and remove any excess.How to Re-Caulk a Kitchen Sink with a Laminate Countertop


How to Re-Caulk a Kitchen Sink with a Laminate Countertop
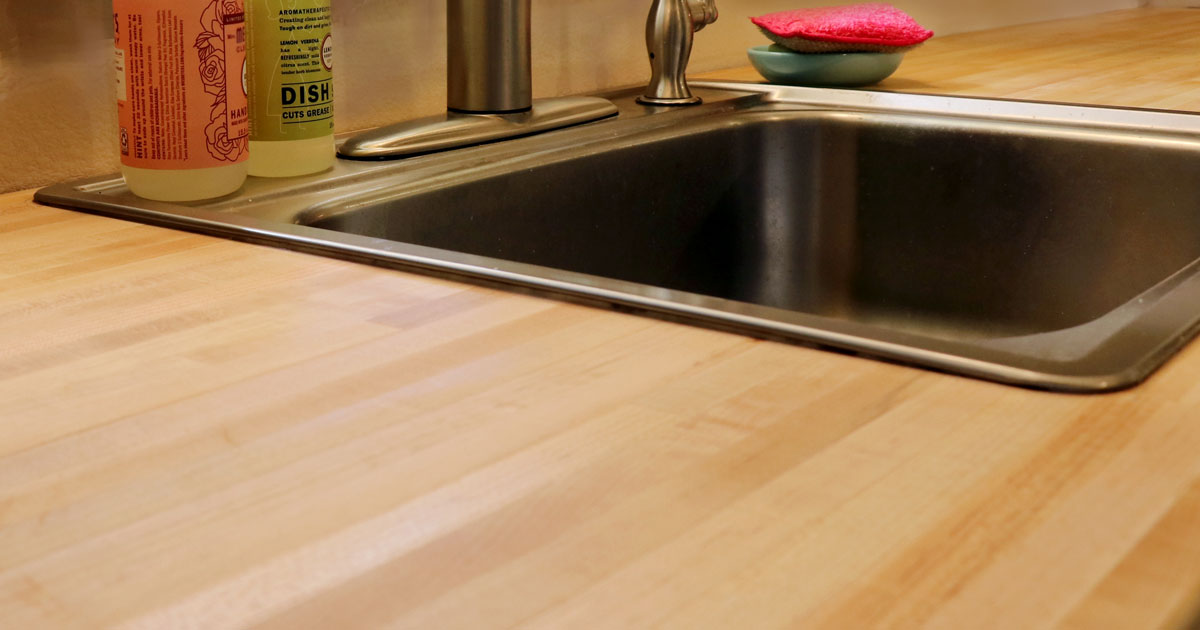
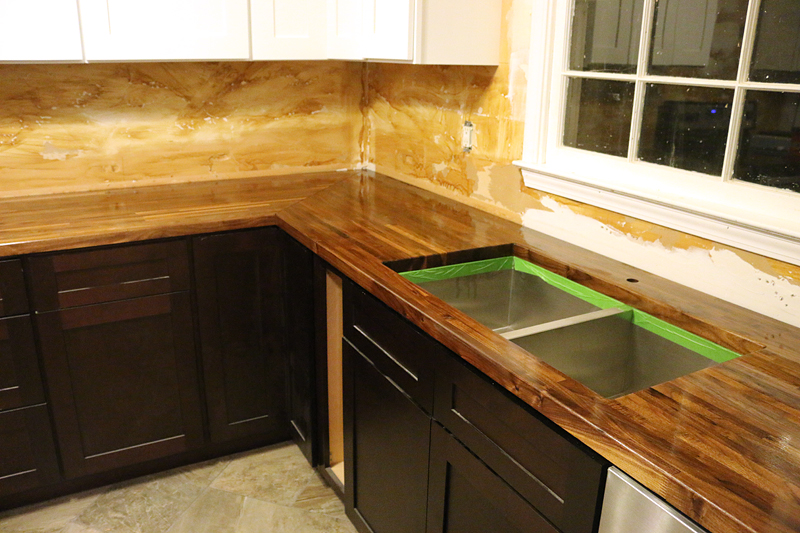
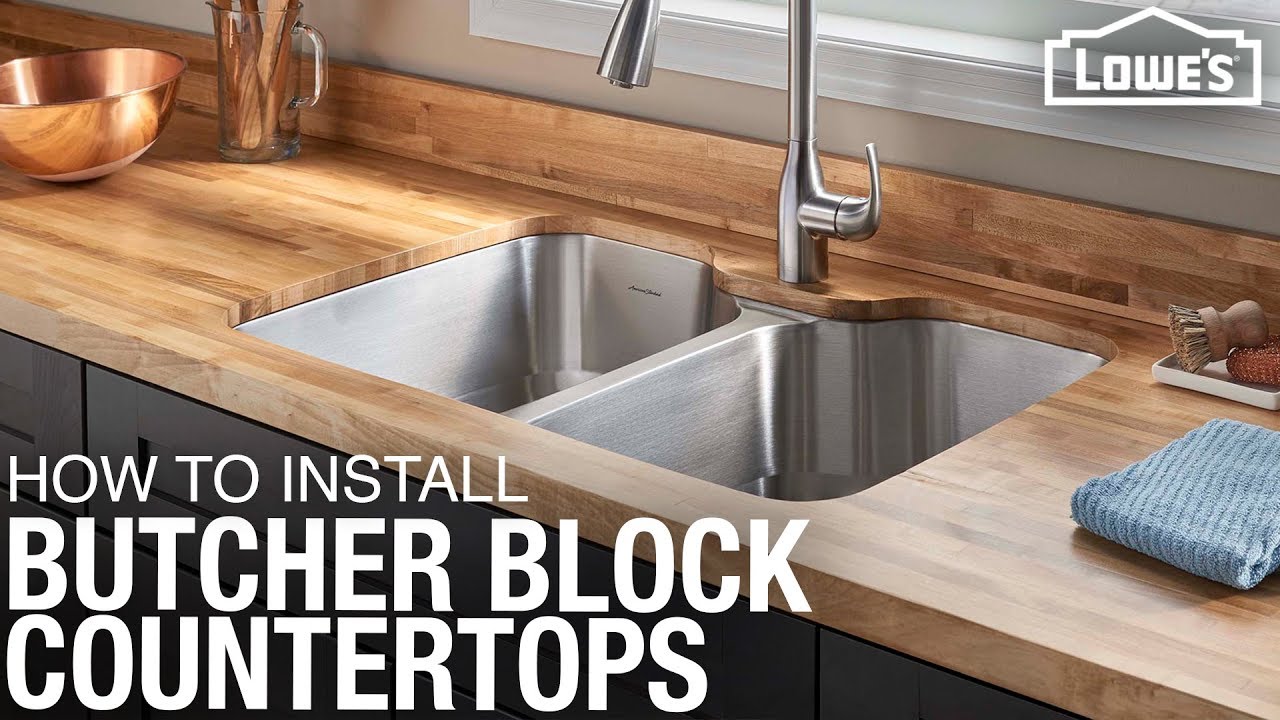
Butcher block countertops add a beautiful and natural touch to any kitchen. When re-caulking an undermount sink with a butcher block countertop, make sure to use a waterproof caulk that is safe for use on wood. This will prevent any water from seeping through and potentially damaging your countertops. Apply the caulk as you would on any other surface, then use a damp cloth to smooth out the edges and remove any excess. For extra protection, you can also apply a coat of wood sealant over the caulk to further waterproof the area.How to Re-Caulk a Kitchen Sink with a Butcher Block Countertop


How to Re-Caulk a Kitchen Sink with a Butcher Block Countertop


Lastly, if you have a solid surface countertop, such as quartz or Corian, you can use a clear silicone caulk to re-caulk your undermount stainless steel kitchen sink. These types of countertops are non-porous, so you don't have to worry about water seeping through and causing damage. When applying the caulk, make sure to use a damp cloth or a caulk finishing tool to smooth out the edges and create a clean and professional finish. Re-caulking your undermount stainless steel kitchen sink is a simple and essential maintenance task that can prevent future damage and keep your kitchen looking beautiful. By following these steps and using the right products, you can easily re-caulk your kitchen sink in no time. Don't forget to regularly check and re-caulk your sink to ensure a tight and long-lasting seal.How to Re-Caulk a Kitchen Sink with a Solid Surface Countertop


How to Re-Caulk a Kitchen Sink with a Solid Surface Countertop


Why Re-caulking Your Undermount Stainless Steel Kitchen Sink is Important for Maintaining a Beautiful House Design

The Importance of a Well-Maintained Kitchen Sink
 A kitchen sink is one of the most used and essential fixtures in any household. It sees a lot of wear and tear, from daily meal preparations to cleaning dishes. Over time, the caulking around the edges of your undermount stainless steel kitchen sink may start to deteriorate and crack. This not only affects the overall appearance of your sink but also poses potential problems such as water leaks and mold growth. That's why it is crucial to regularly check and re-caulk your undermount stainless steel kitchen sink to maintain a beautiful house design.
The Risks of Neglecting to Re-caulk
 Neglecting to re-caulk your undermount stainless steel kitchen sink can lead to a variety of issues that can affect the functionality and aesthetics of your kitchen. The cracks in the caulking can allow water to seep through, leading to water damage on your countertops and cabinets. This can not only be costly to repair but can also compromise the structural integrity of your kitchen. Additionally, water leaks can also create a breeding ground for mold and mildew, which can be harmful to your health and difficult to remove.
The Benefits of Re-caulking
 Re-caulking your undermount stainless steel kitchen sink may seem like a tedious task, but it is a small price to pay for the numerous benefits it provides. The most obvious benefit is the prevention of water leaks and mold growth, which can save you from costly repairs and potential health hazards. Re-caulking also helps to maintain a clean and hygienic kitchen, as it seals any gaps and prevents food particles and bacteria from getting trapped in the cracks. Additionally, re-caulking can give your kitchen a refreshed and updated look, enhancing the overall design of your house.
How to Re-caulk Your Undermount Stainless Steel Kitchen Sink
 Re-caulking your undermount stainless steel kitchen sink is a relatively simple process that can be done in a few easy steps. First, you will need to remove the old caulking using a scraper or a caulk removal tool. Next, clean the area thoroughly with a mild cleaner and let it dry completely. Then, using a caulk gun, apply a new layer of silicone caulk around the edges of your sink, making sure to fill in any gaps or cracks. Finally, use a damp cloth to smooth out the caulk and create a clean finish. Allow the caulk to dry completely before using your sink.
In conclusion, re-caulking your undermount stainless steel kitchen sink is an essential task for maintaining a beautiful house design. It not only prevents potential issues but also adds to the overall cleanliness and aesthetics of your kitchen. So, don't neglect this simple but crucial task and make sure to regularly check and re-caulk your kitchen sink to keep your house looking its best.
Re-caulking your undermount stainless steel kitchen sink is a relatively simple process that can be done in a few easy steps. First, you will need to remove the old caulking using a scraper or a caulk removal tool. Next, clean the area thoroughly with a mild cleaner and let it dry completely. Then, using a caulk gun, apply a new layer of silicone caulk around the edges of your sink, making sure to fill in any gaps or cracks. Finally, use a damp cloth to smooth out the caulk and create a clean finish. Allow the caulk to dry completely before using your sink.
In conclusion, re-caulking your undermount stainless steel kitchen sink is an essential task for maintaining a beautiful house design. It not only prevents potential issues but also adds to the overall cleanliness and aesthetics of your kitchen. So, don't neglect this simple but crucial task and make sure to regularly check and re-caulk your kitchen sink to keep your house looking its best.